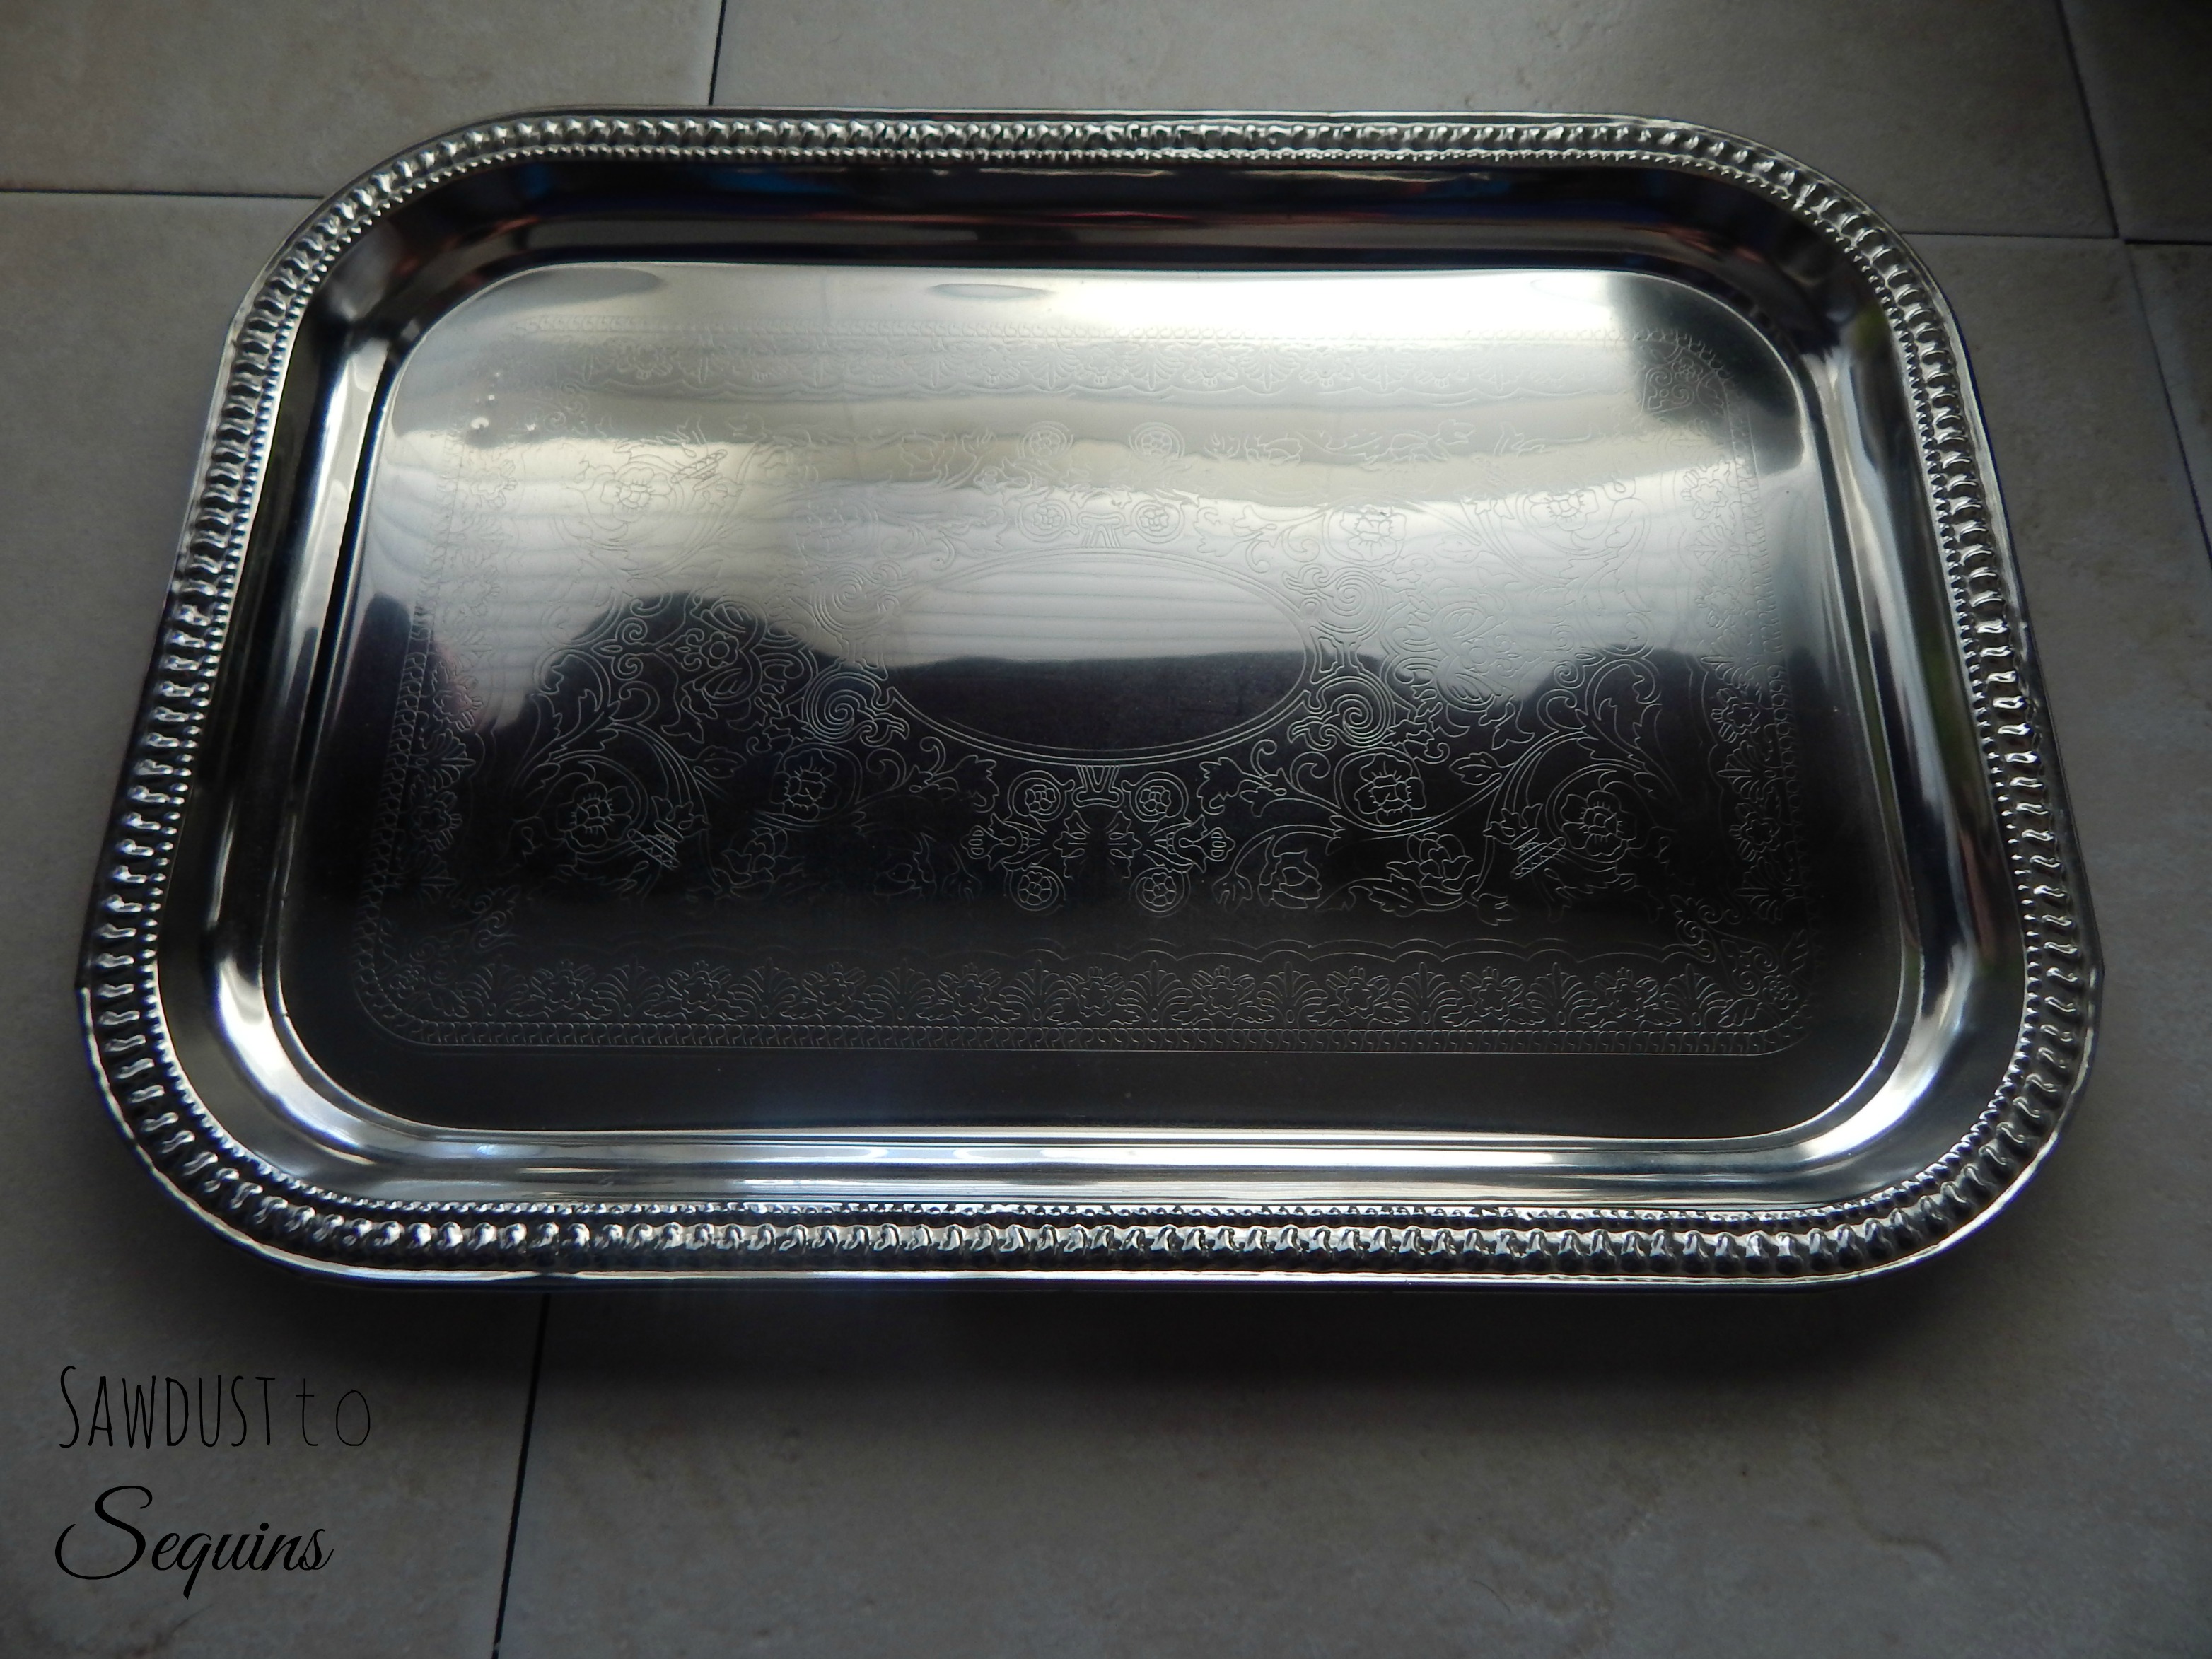
Okay, before I begin talking about this project can I just say how much I love the Dollar Tree. This post is in no way sponsored by them, I just love to save money when I can. I sing their praises because I purchased the tray for this project there and at any other store it would have been at least $10-$15. But did I pay that, you ask, NO just one dollar!!! Now on to the project…
I have been searching for the perfect piece to add to my craft/soap/computer room which will act as a place for me to display notes, pictures, and just any random thought I happen to write down. I came up with this..
Magnet Board with Mod Podge Clothes Pins
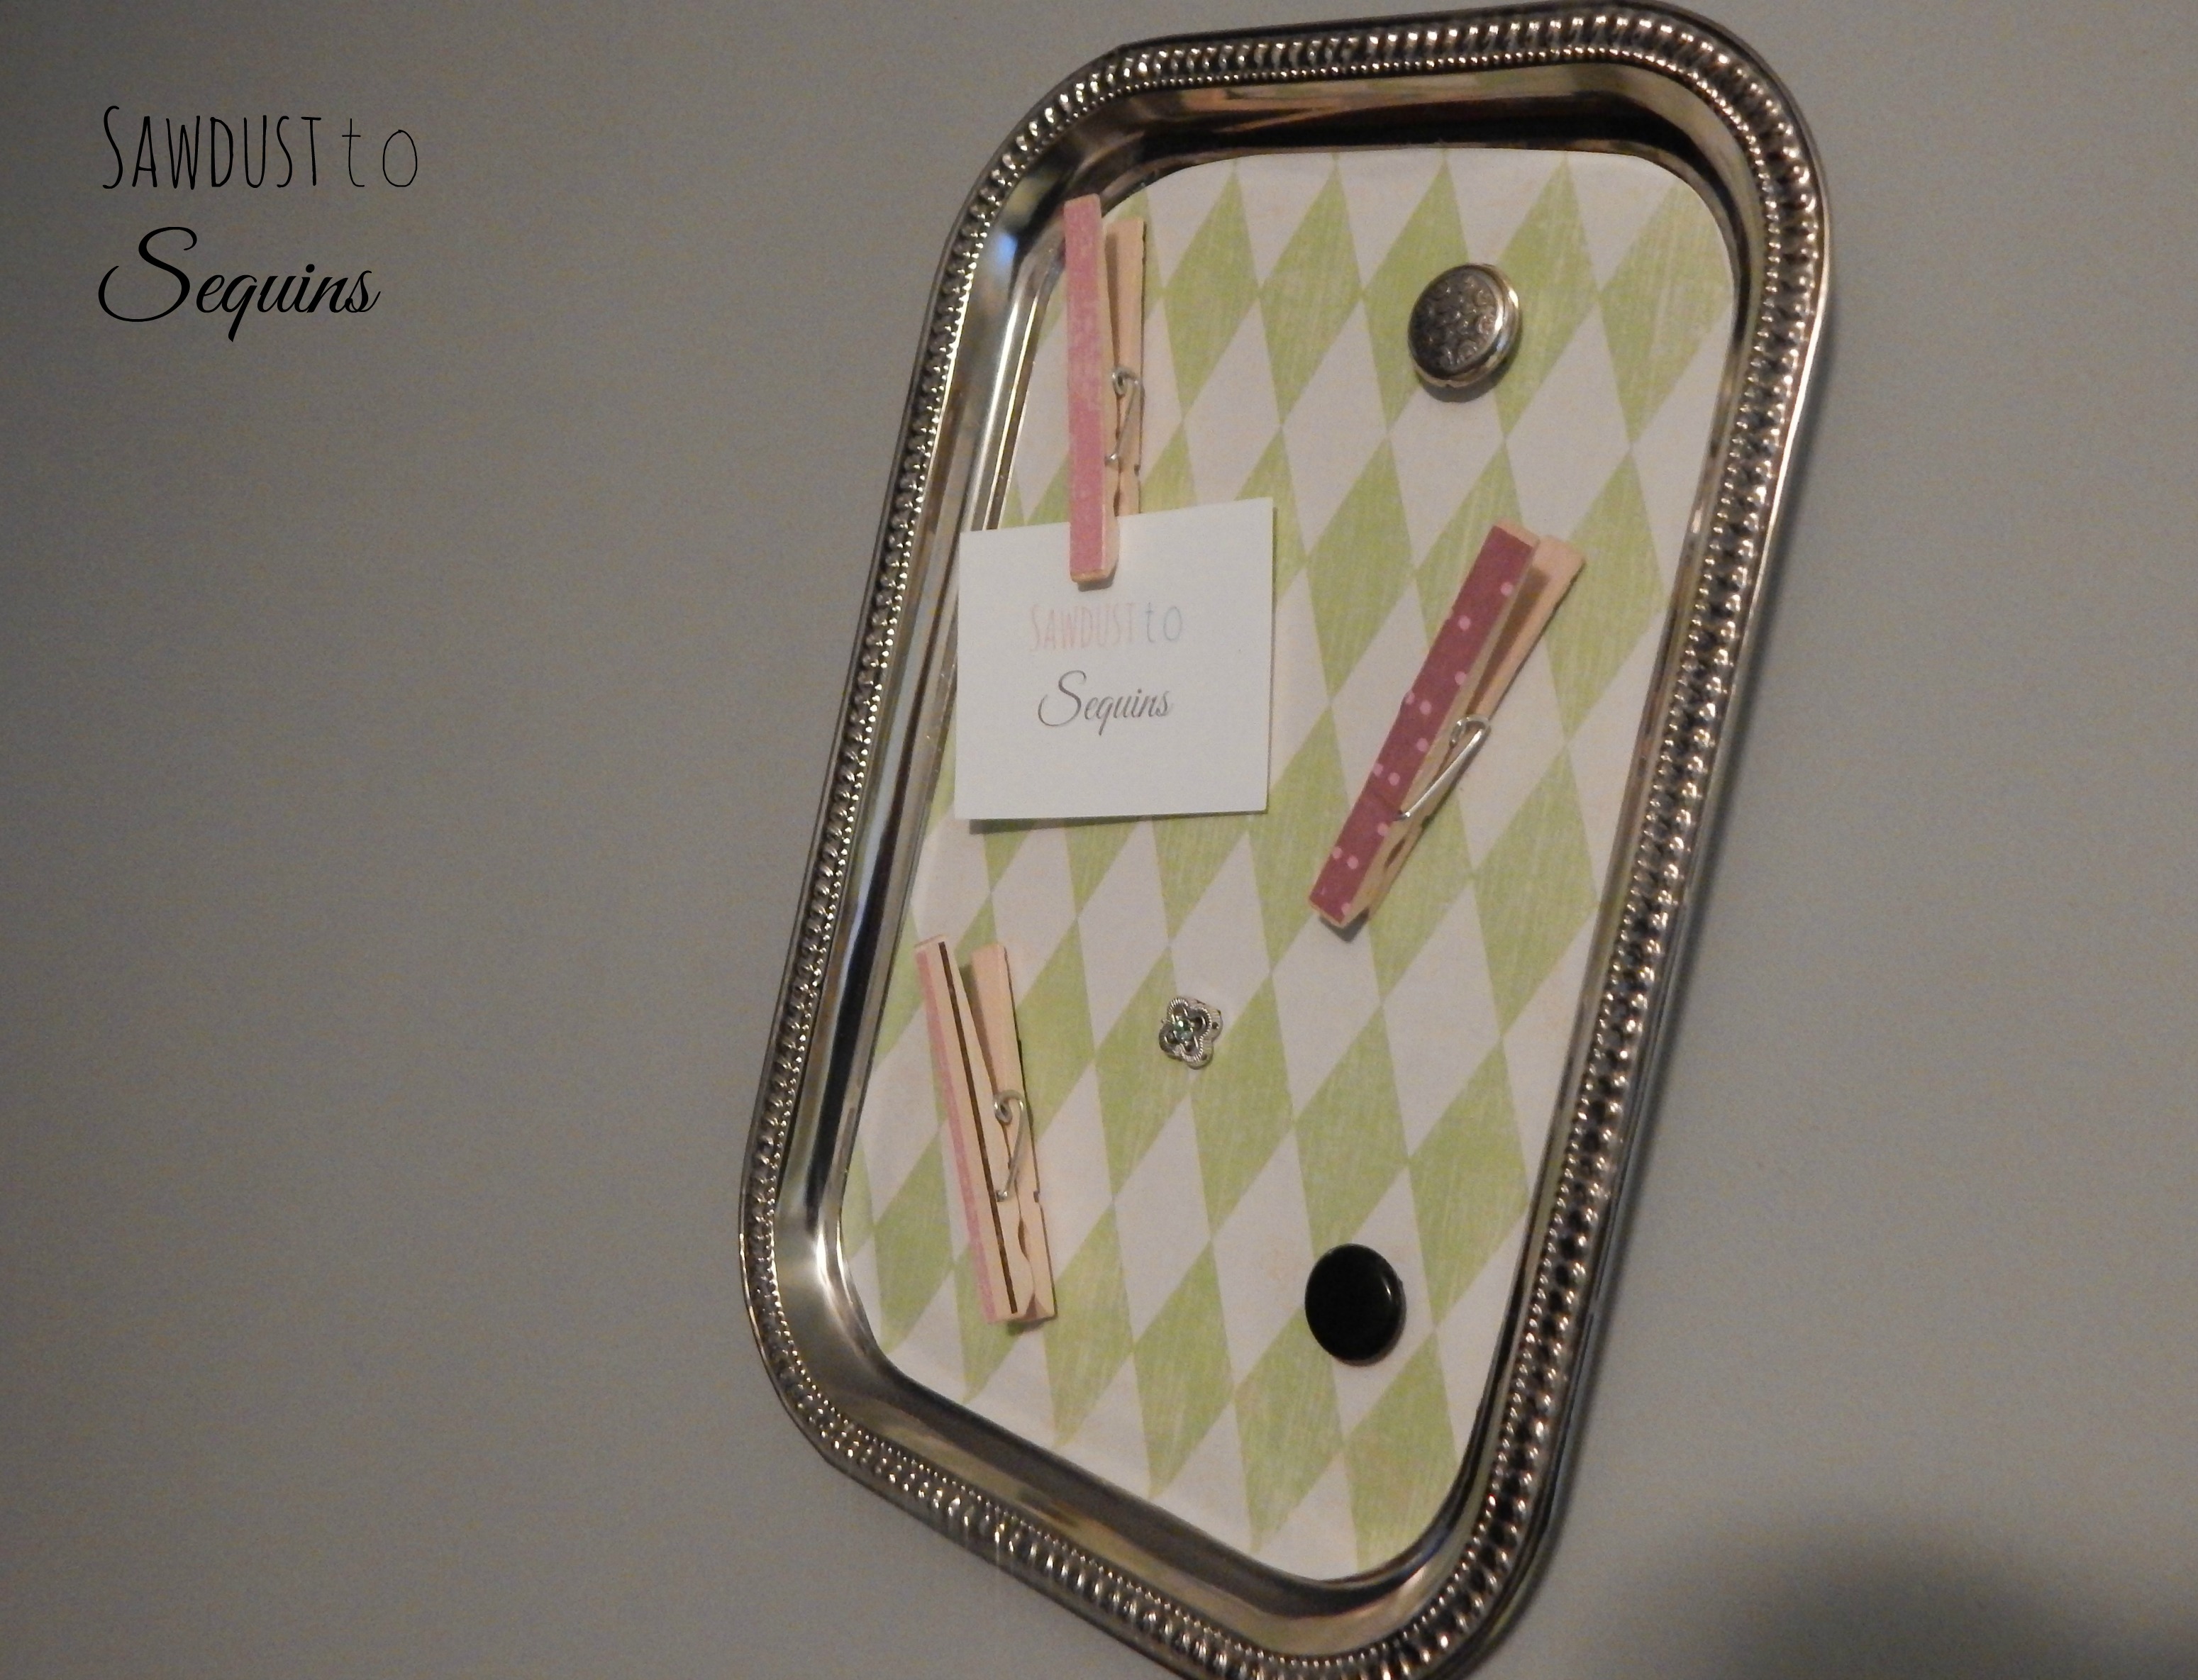
I just stumbled upon this tray while looking at the drinking glasses. I realized it would work perfect for this project, so I purchased one (or four…Don’t judge, it’s not nice).
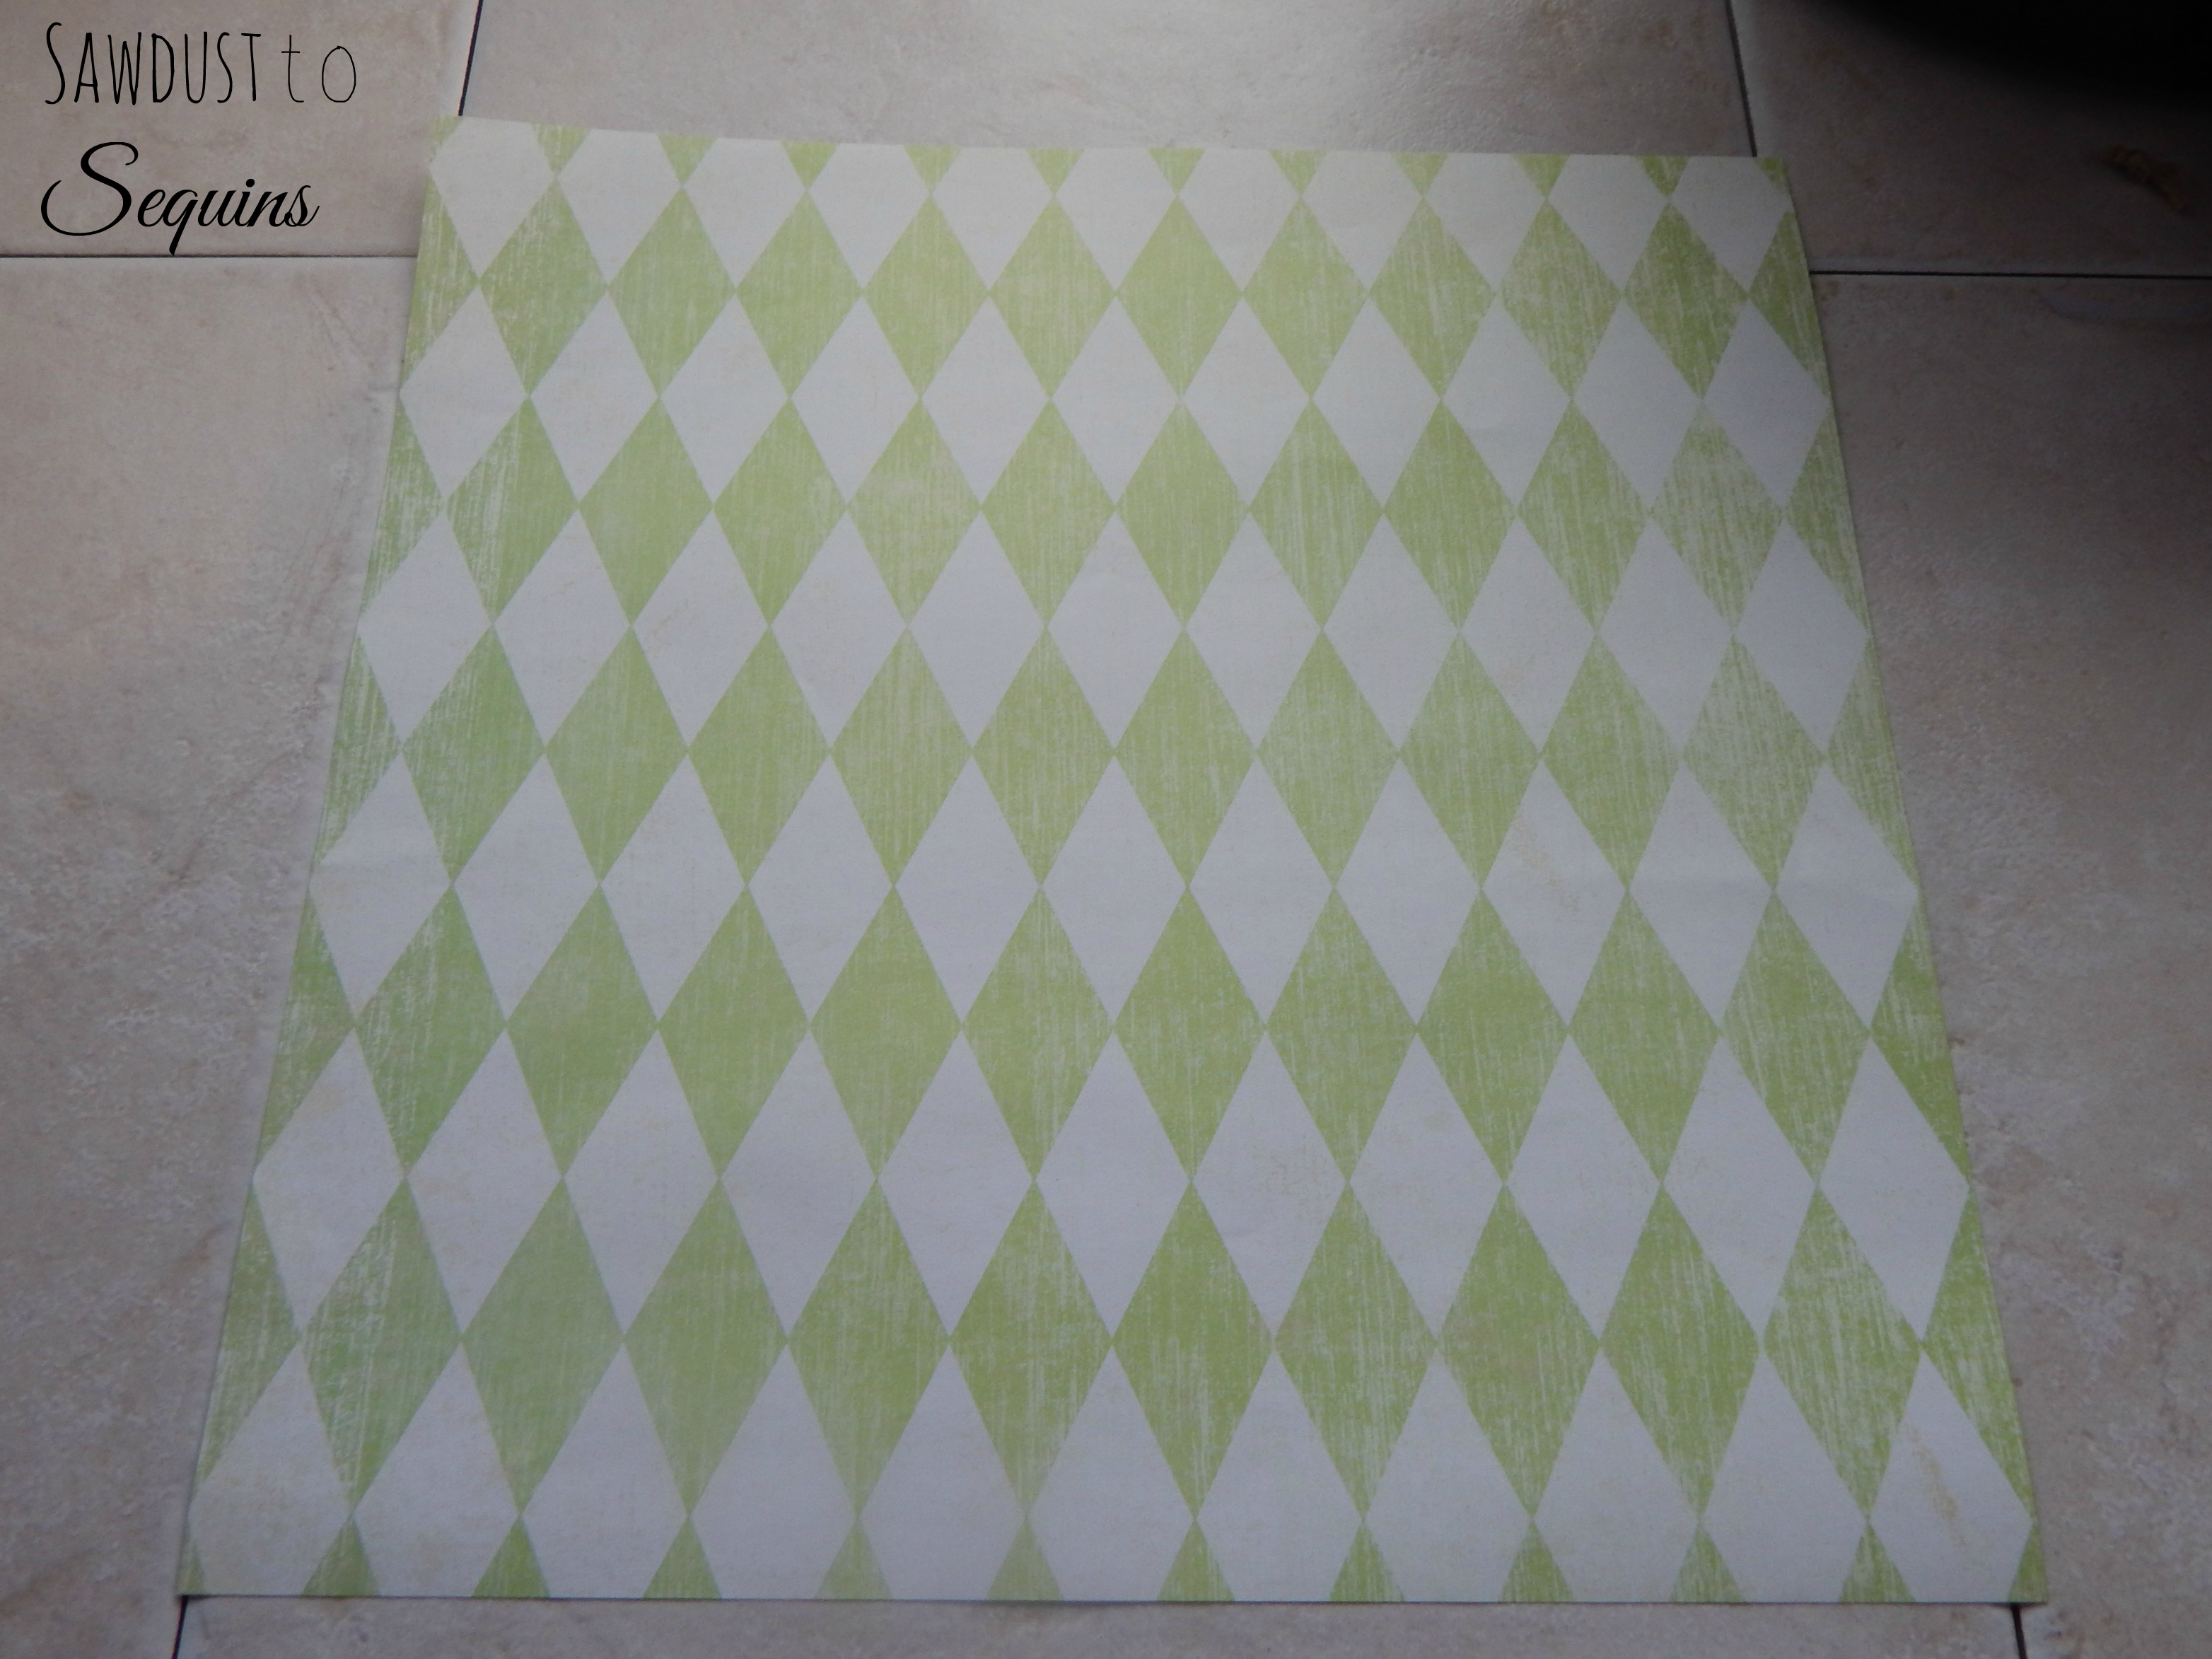
First thing you are going to need to do is pick out scrapbook paper big enough to fit on the inside of the tray. Here is the one I chose. I purchased it at Hobby Lobby for less than a dollar.
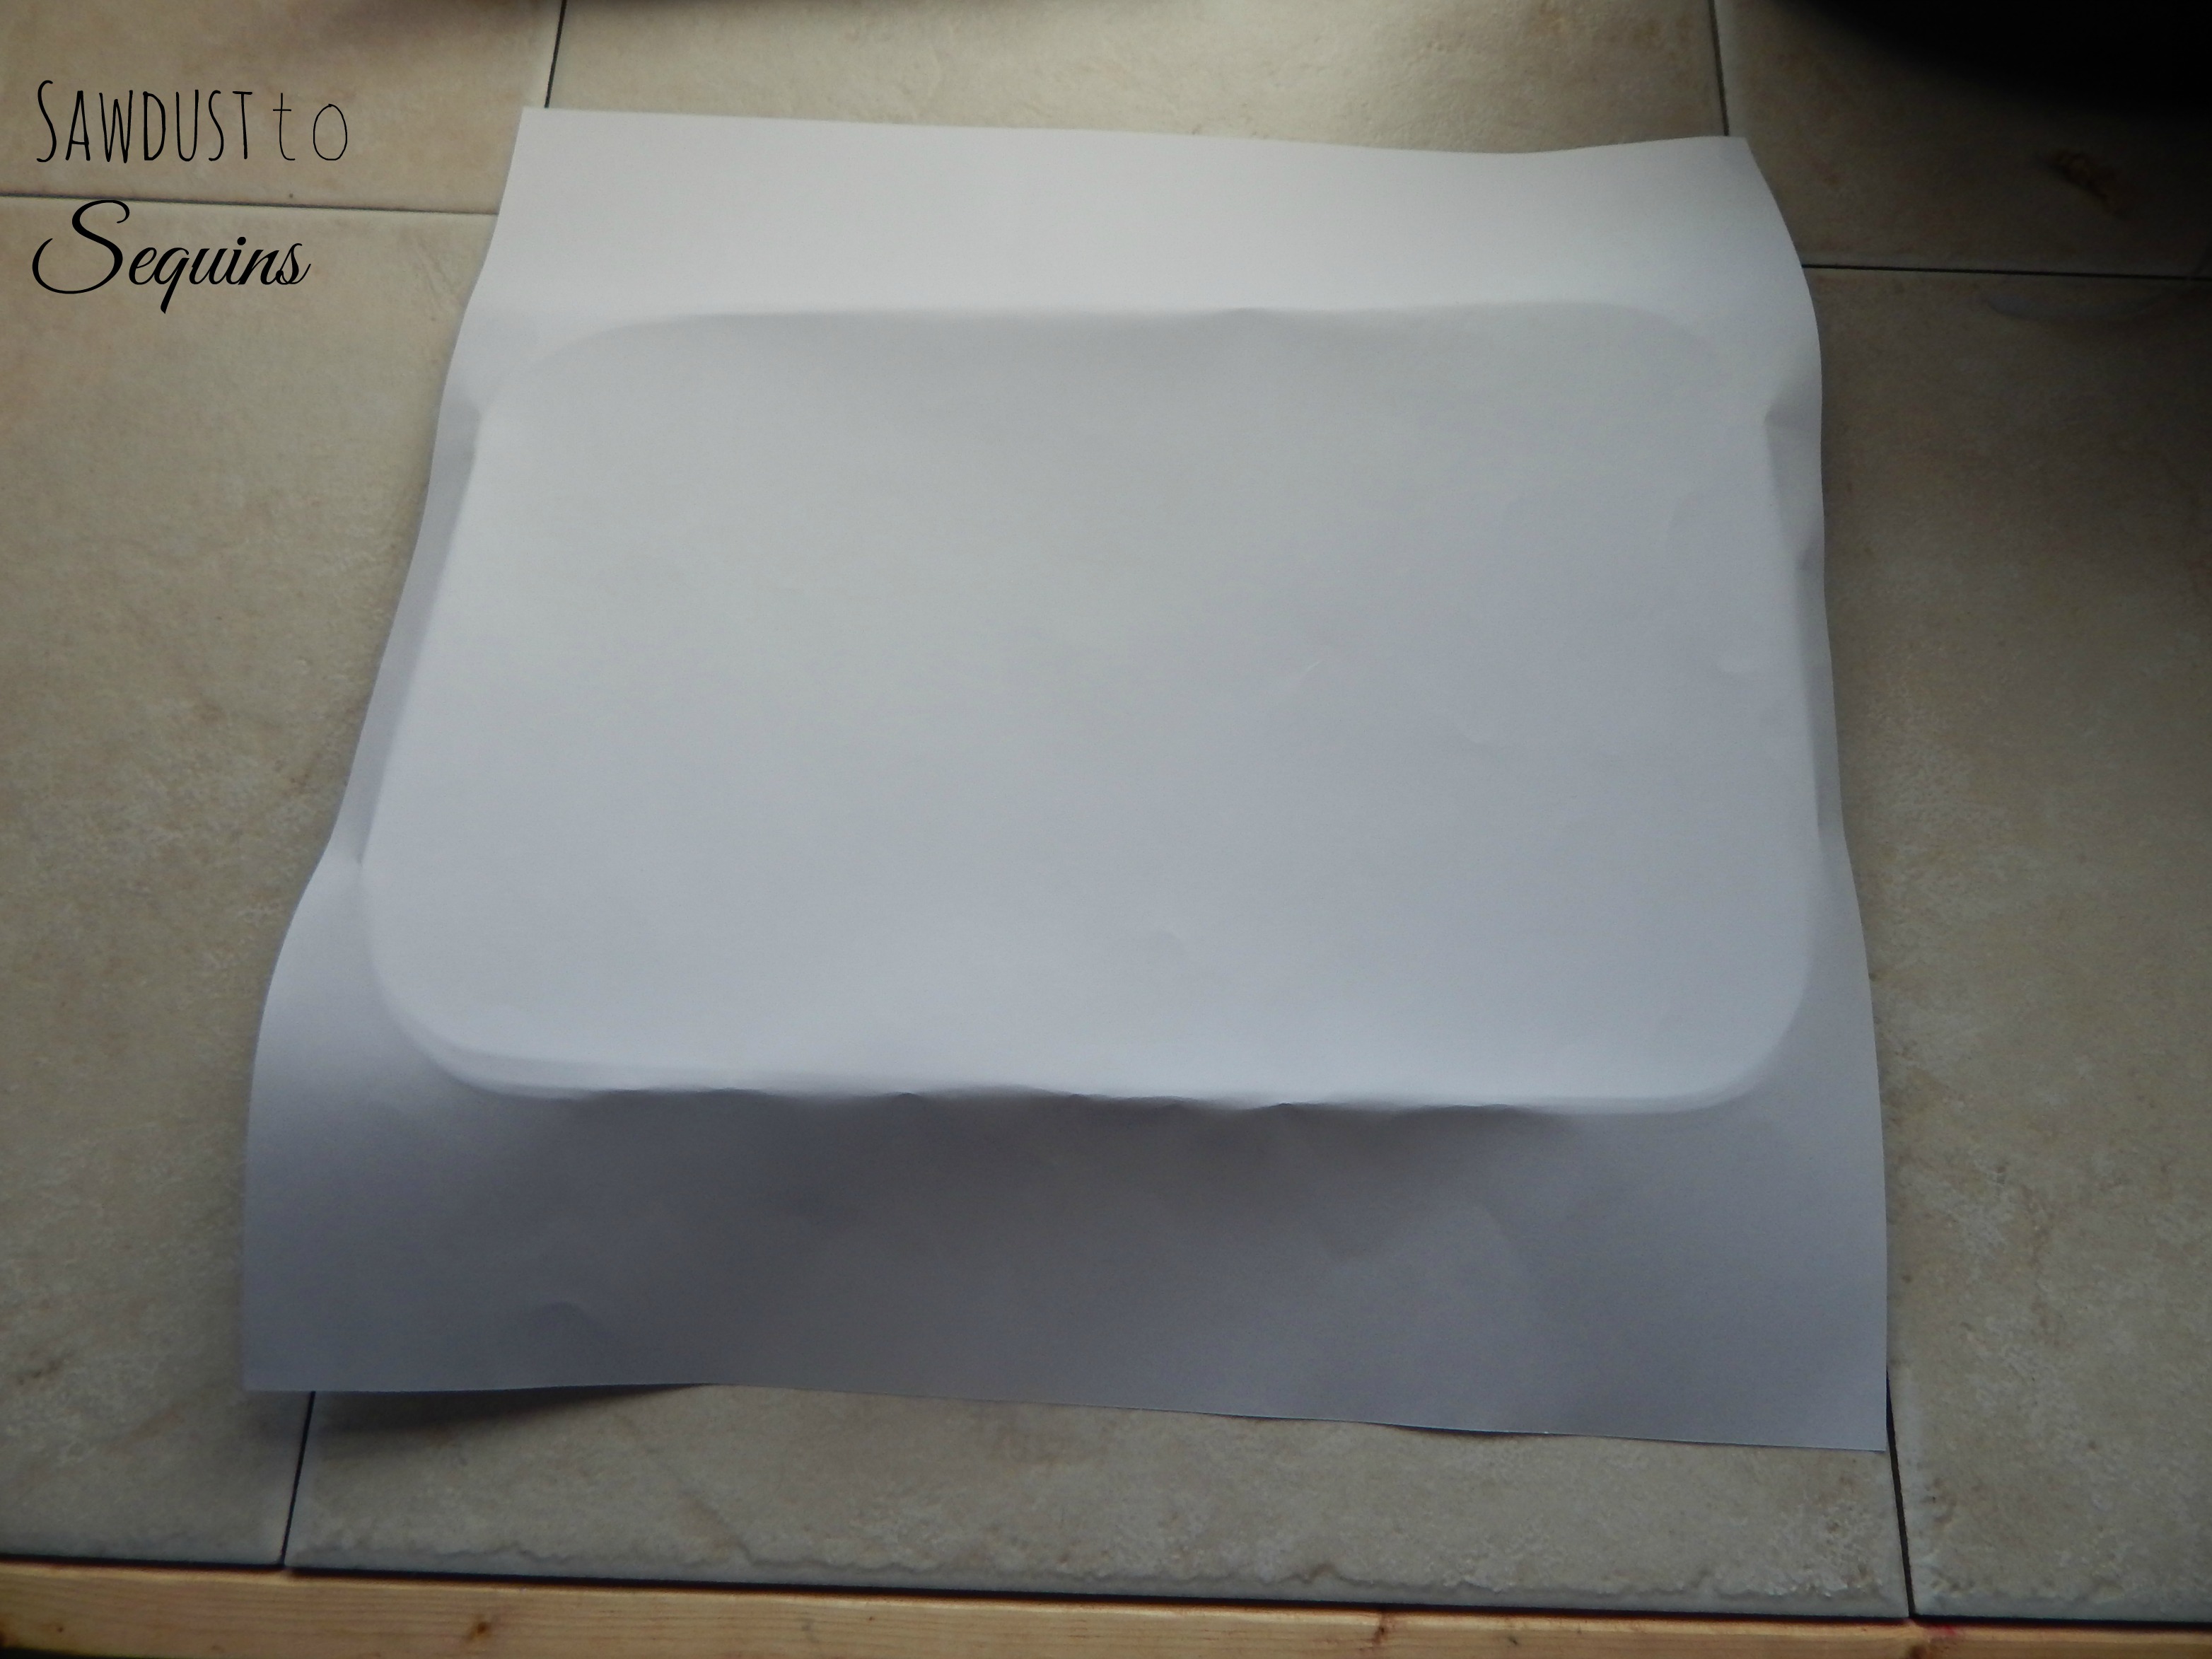
You will need to cut the paper down to size. You can trace the paper from the bottom of the tray, but I just flipped it over and scored the paper with my hands to give me a rough outline of where to cut.
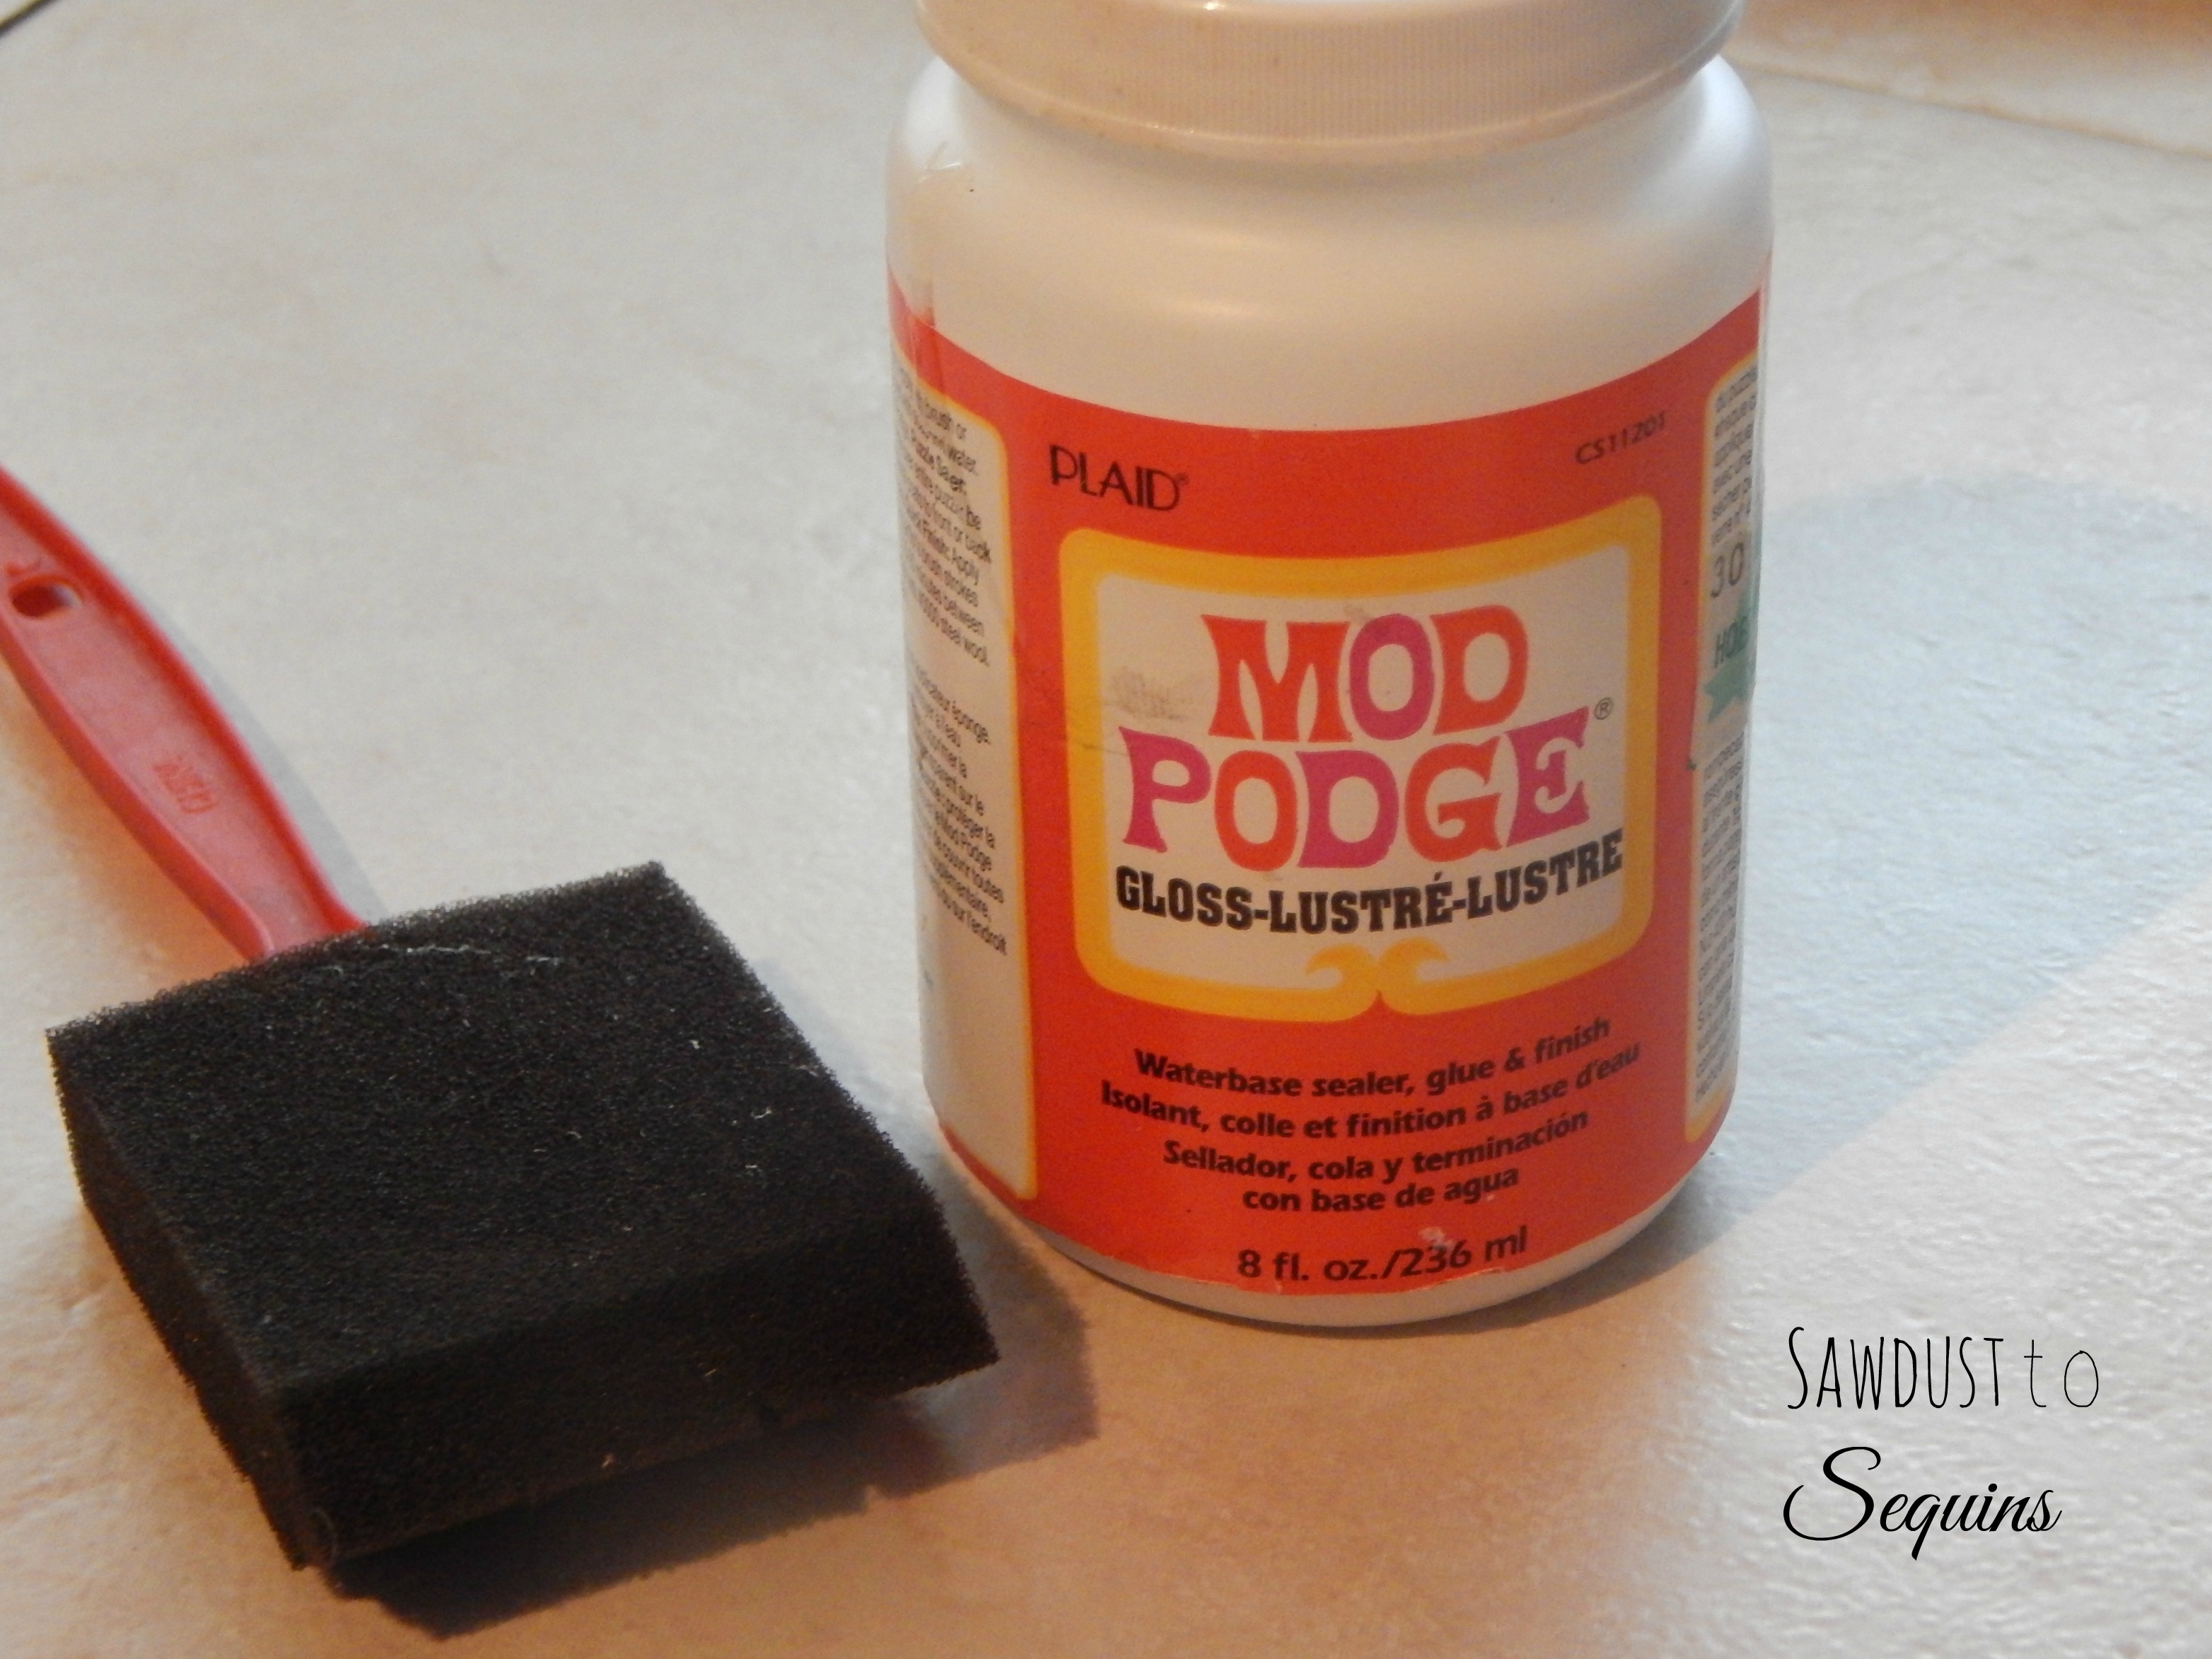
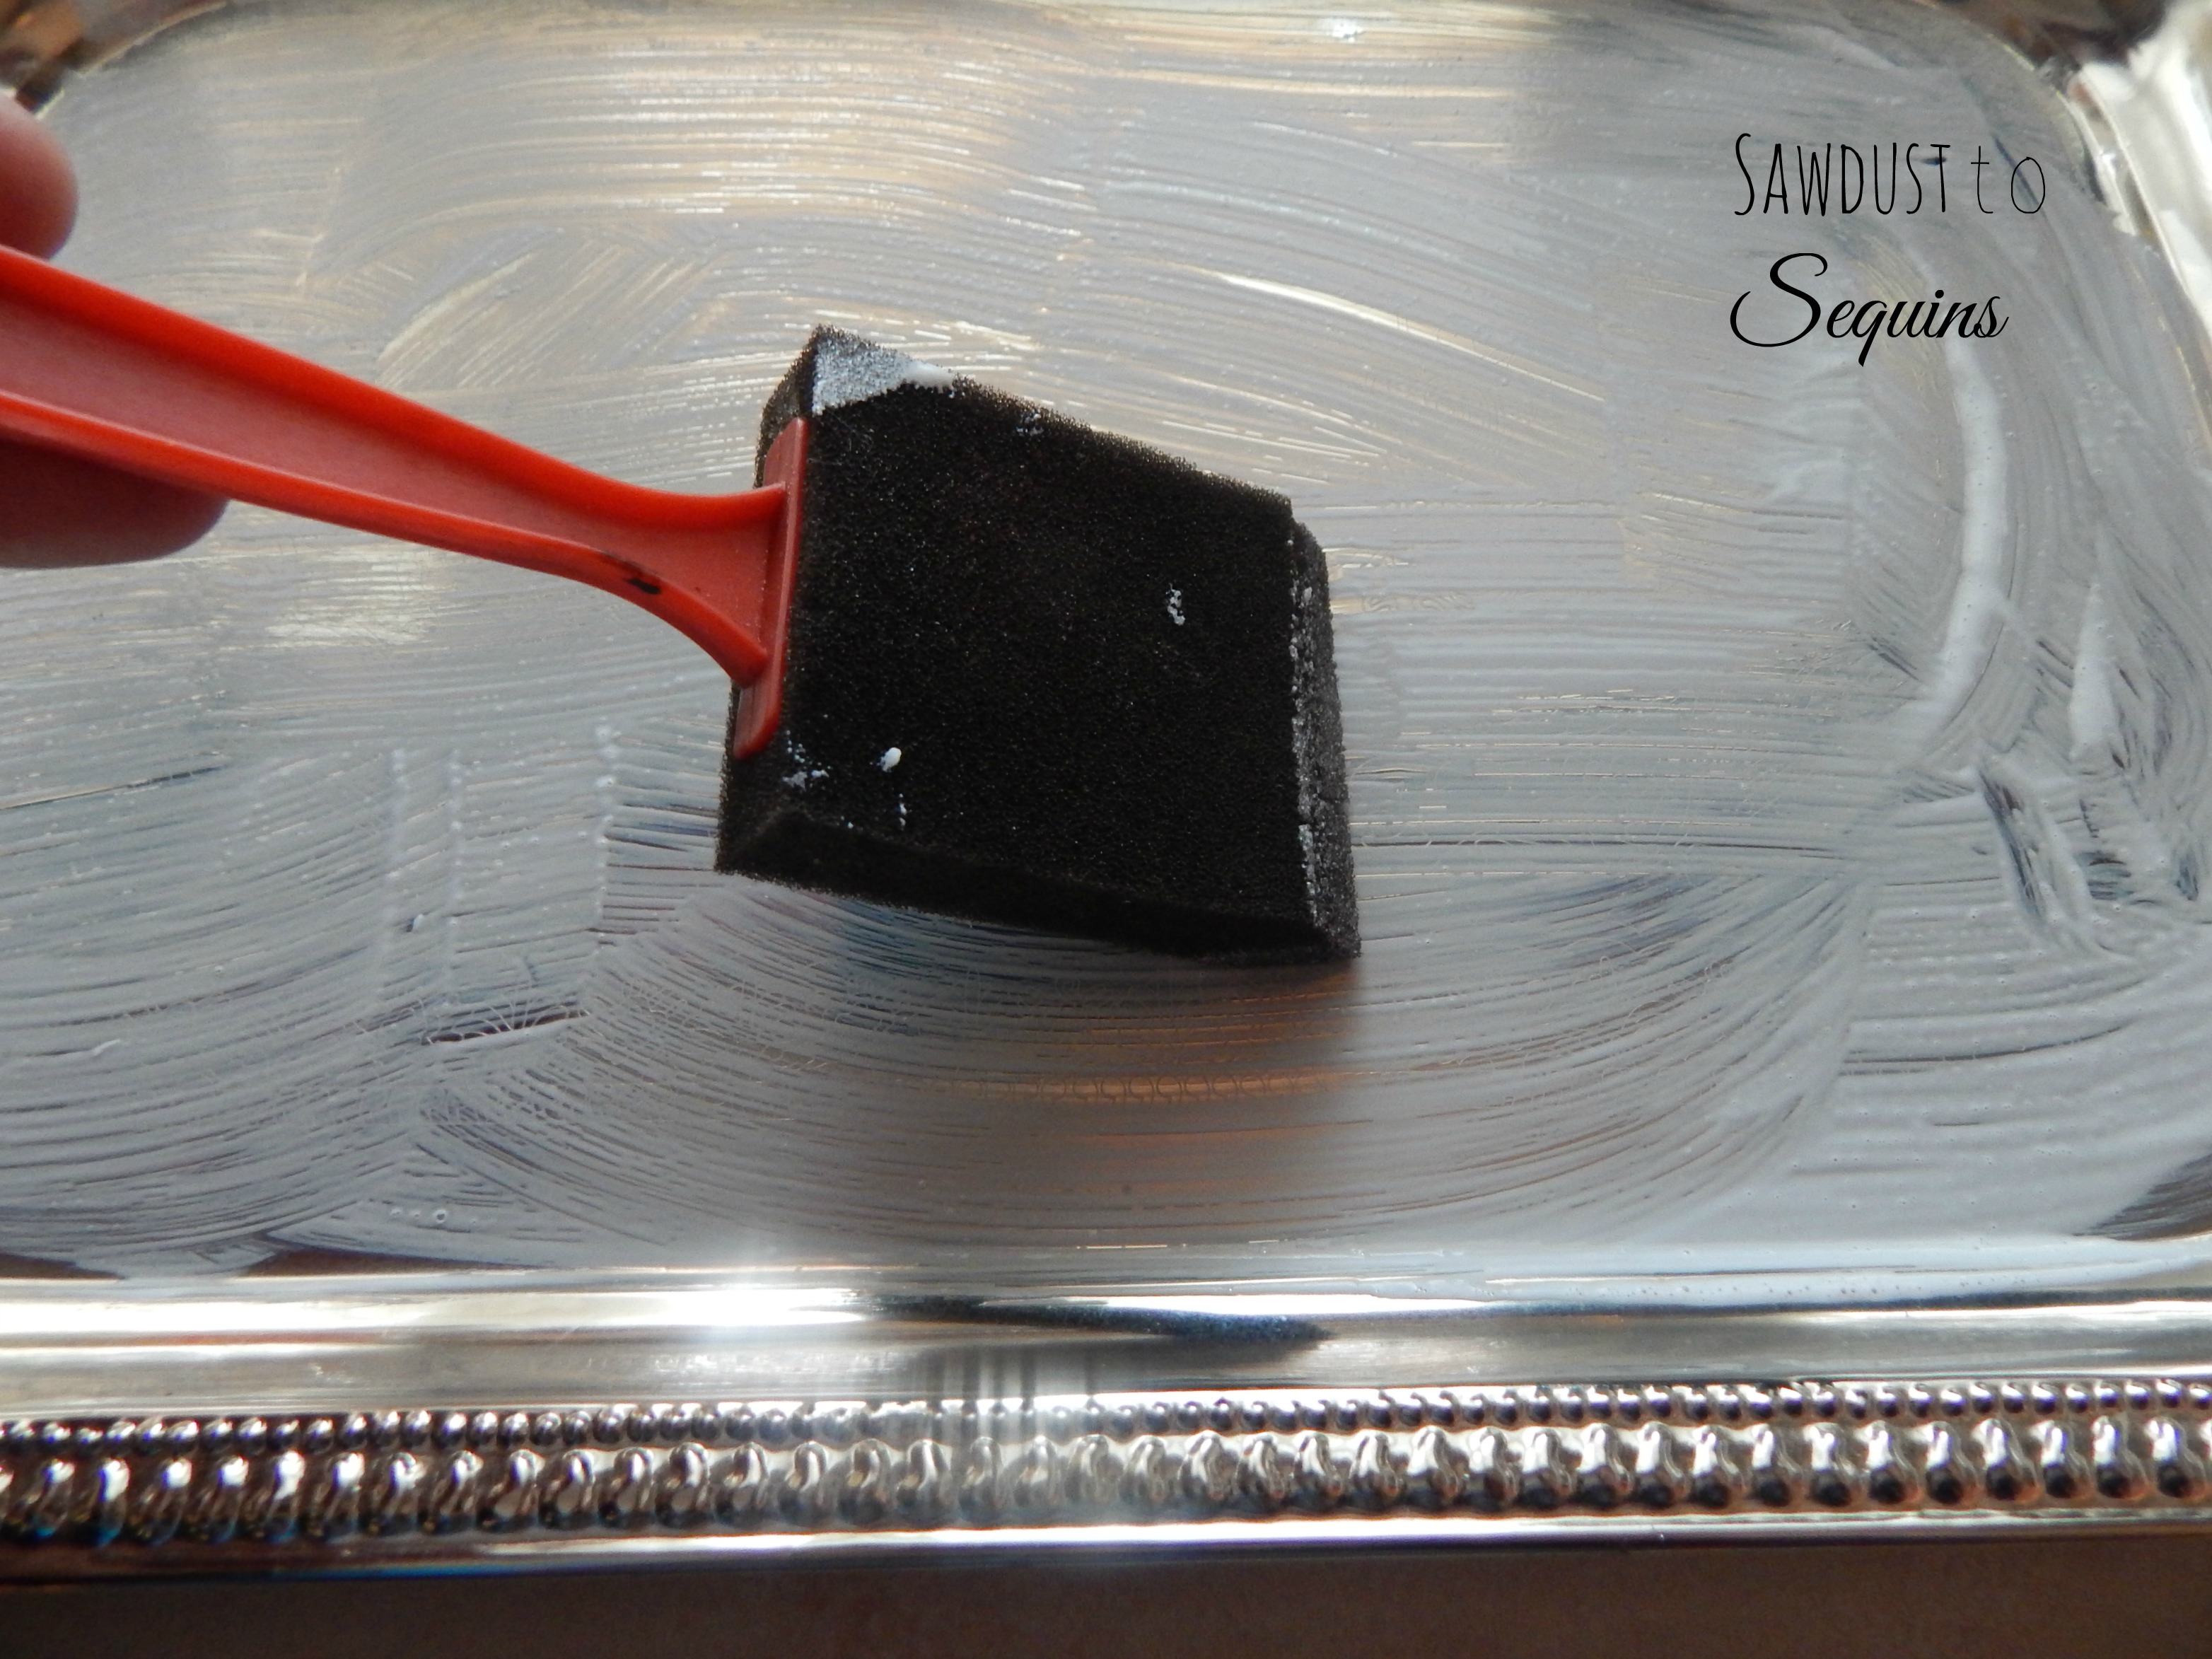
Once the paper fits in nicely, its time for the Mod Podge!! If you have never used this stuff, you should go out immediately and buy some (well after you read the post..Show a girl some love). But really, its awesome. It is applied best with a foam brush.
Apply a coat to the bottom layer of the tray where the paper will be placed.
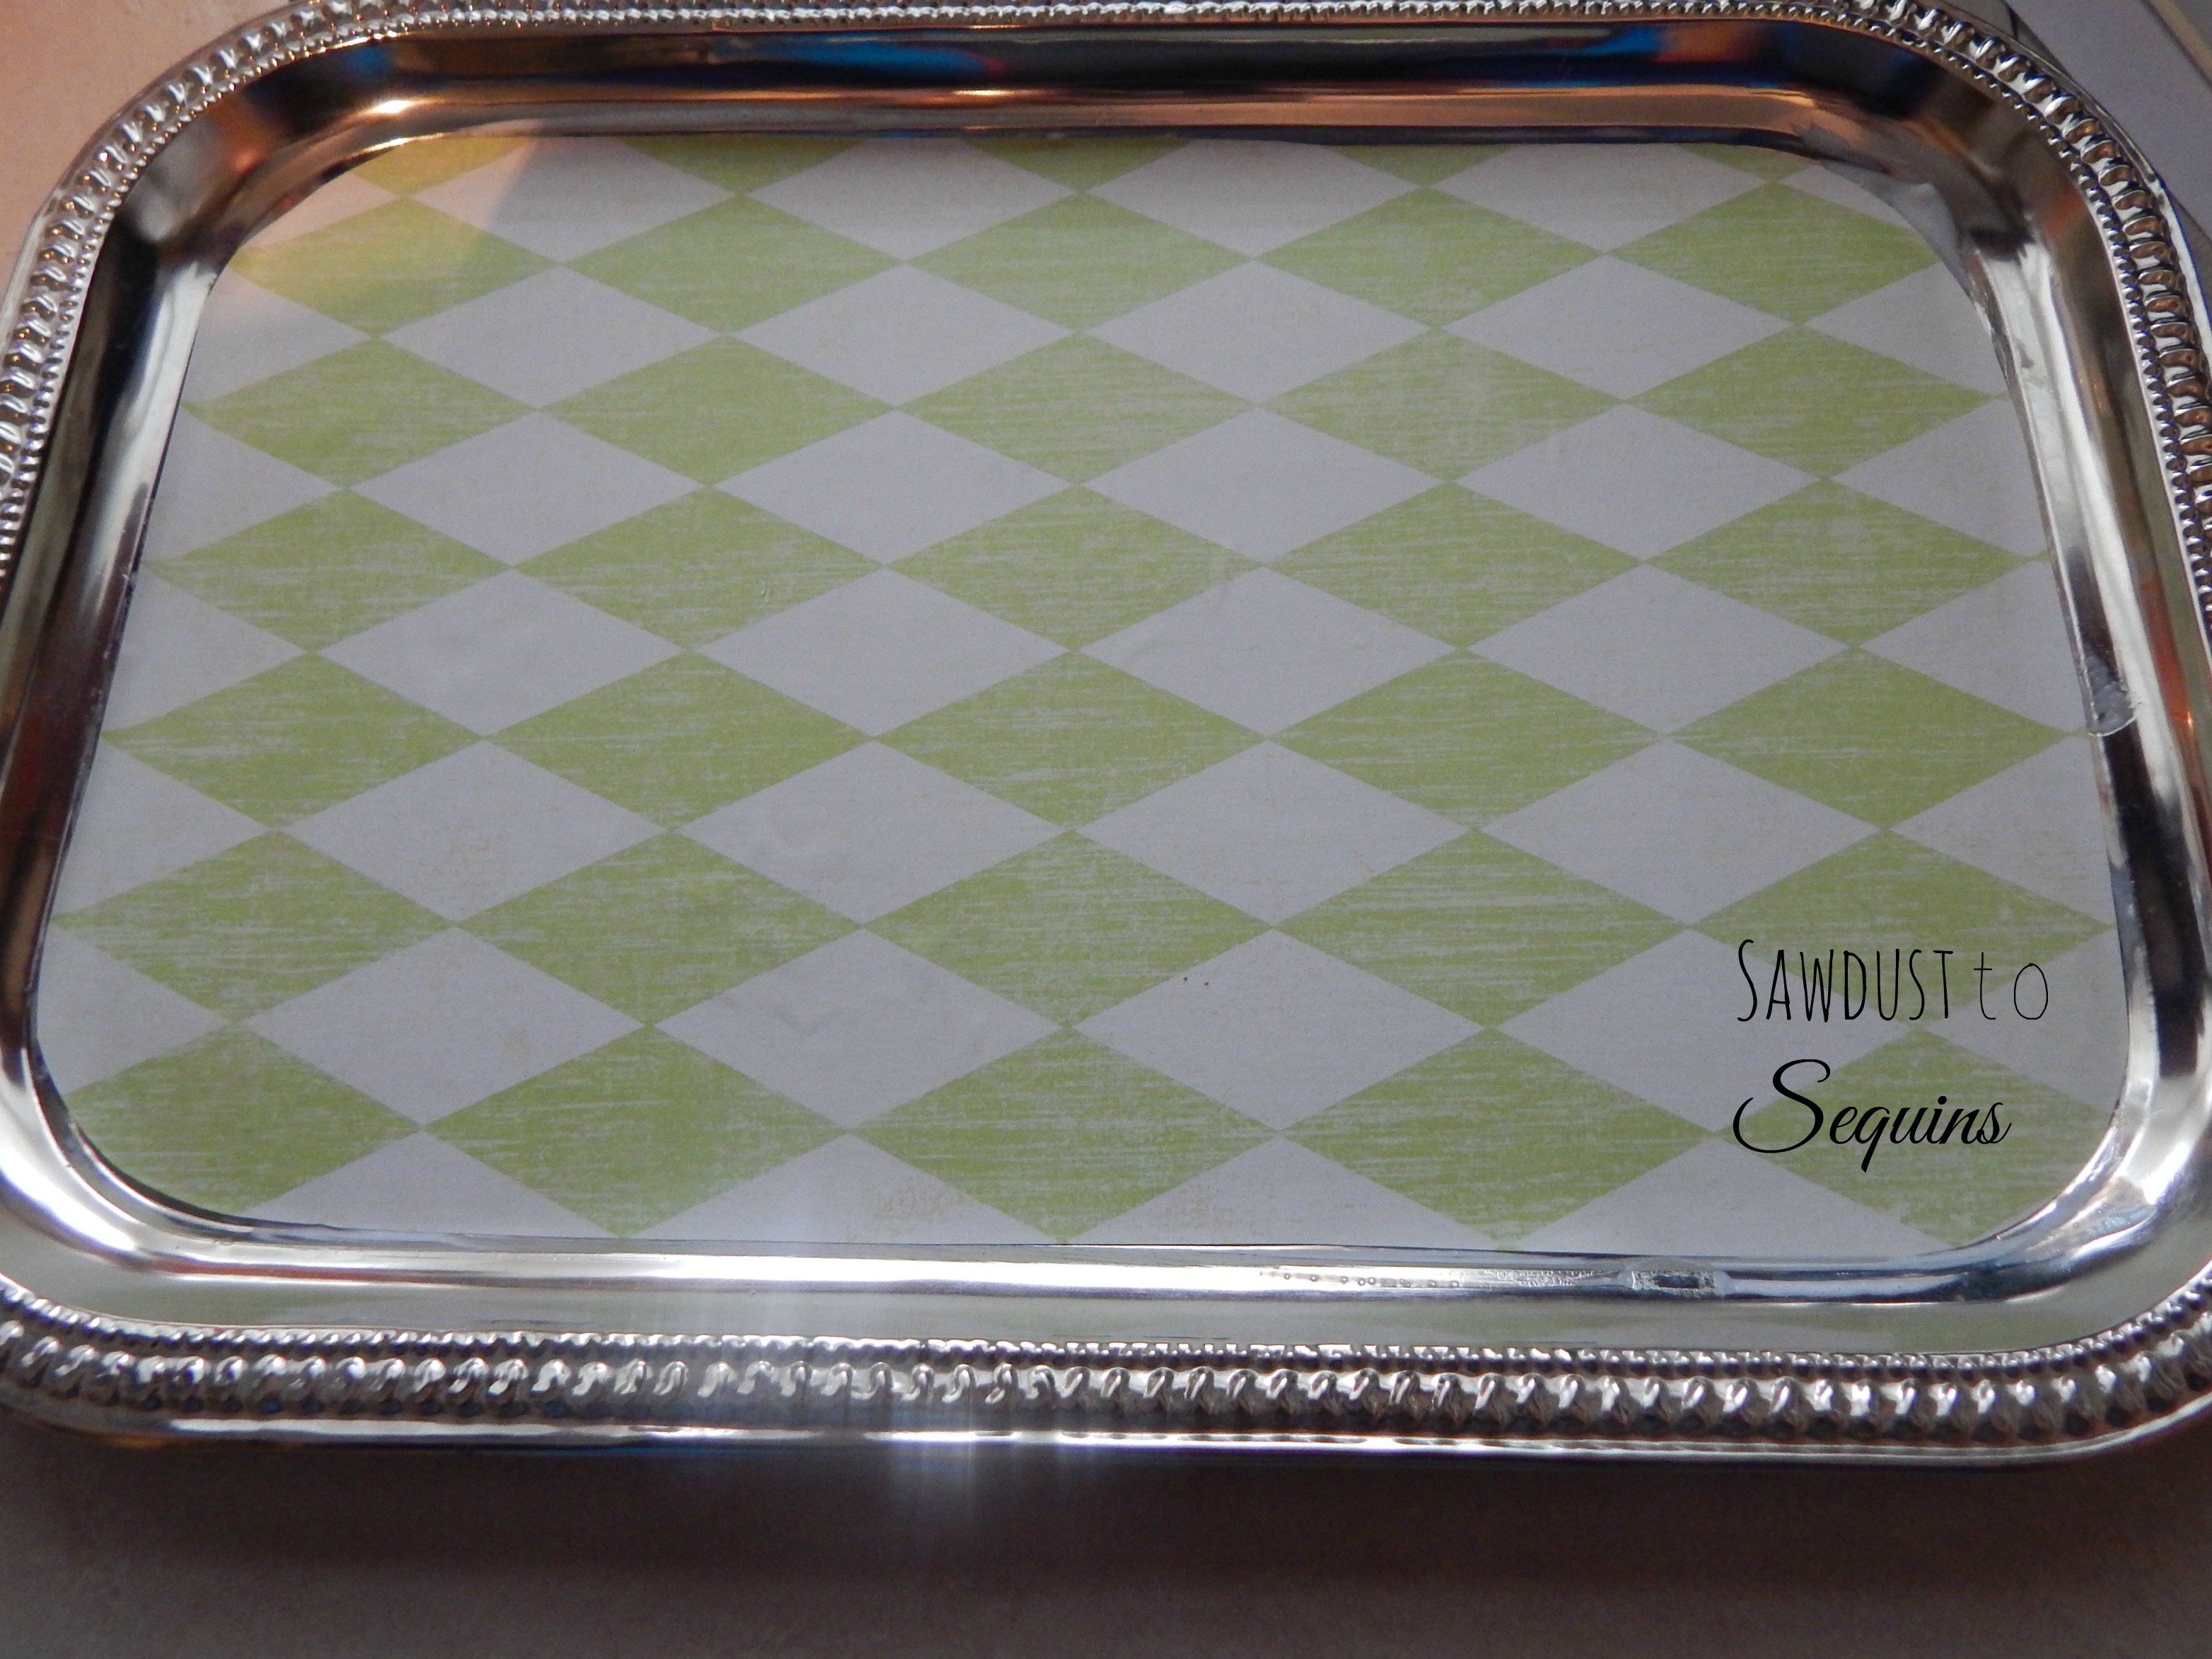
Place your paper down and smooth out any rough spots. Let this sit for a few minutes and apply another coat to the top of the paper. I also hot glued a picture hanger to the back.
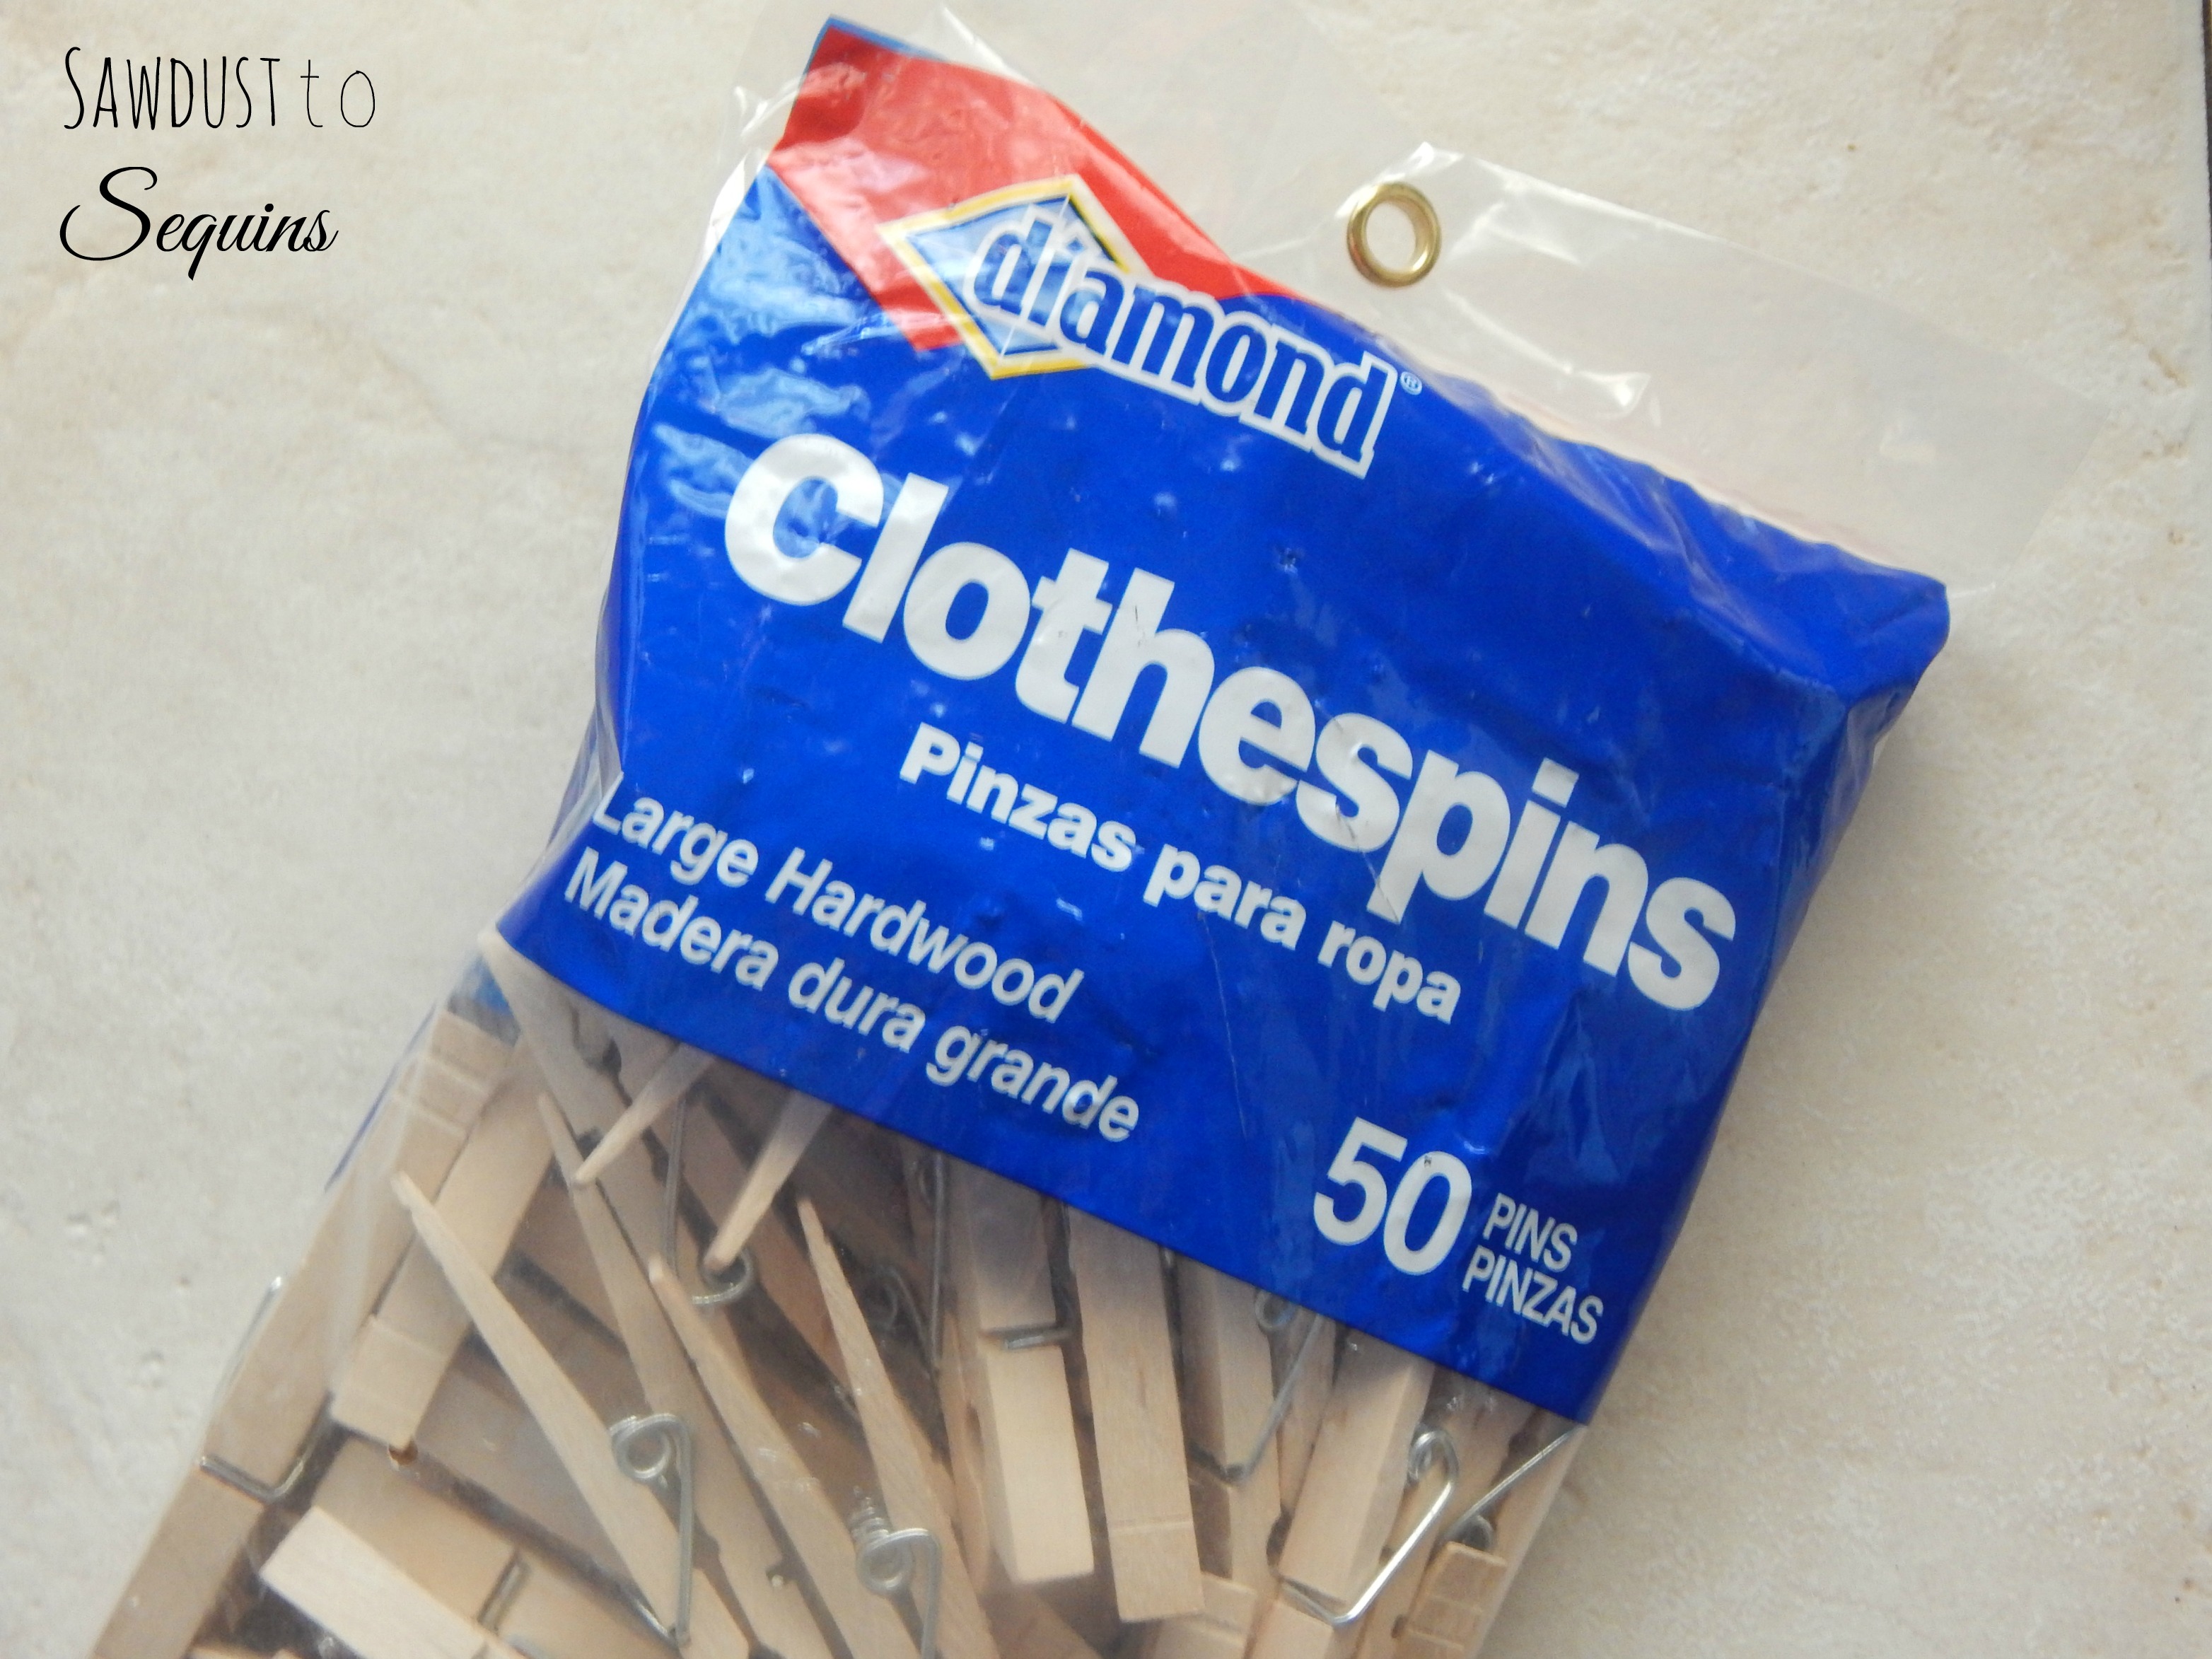
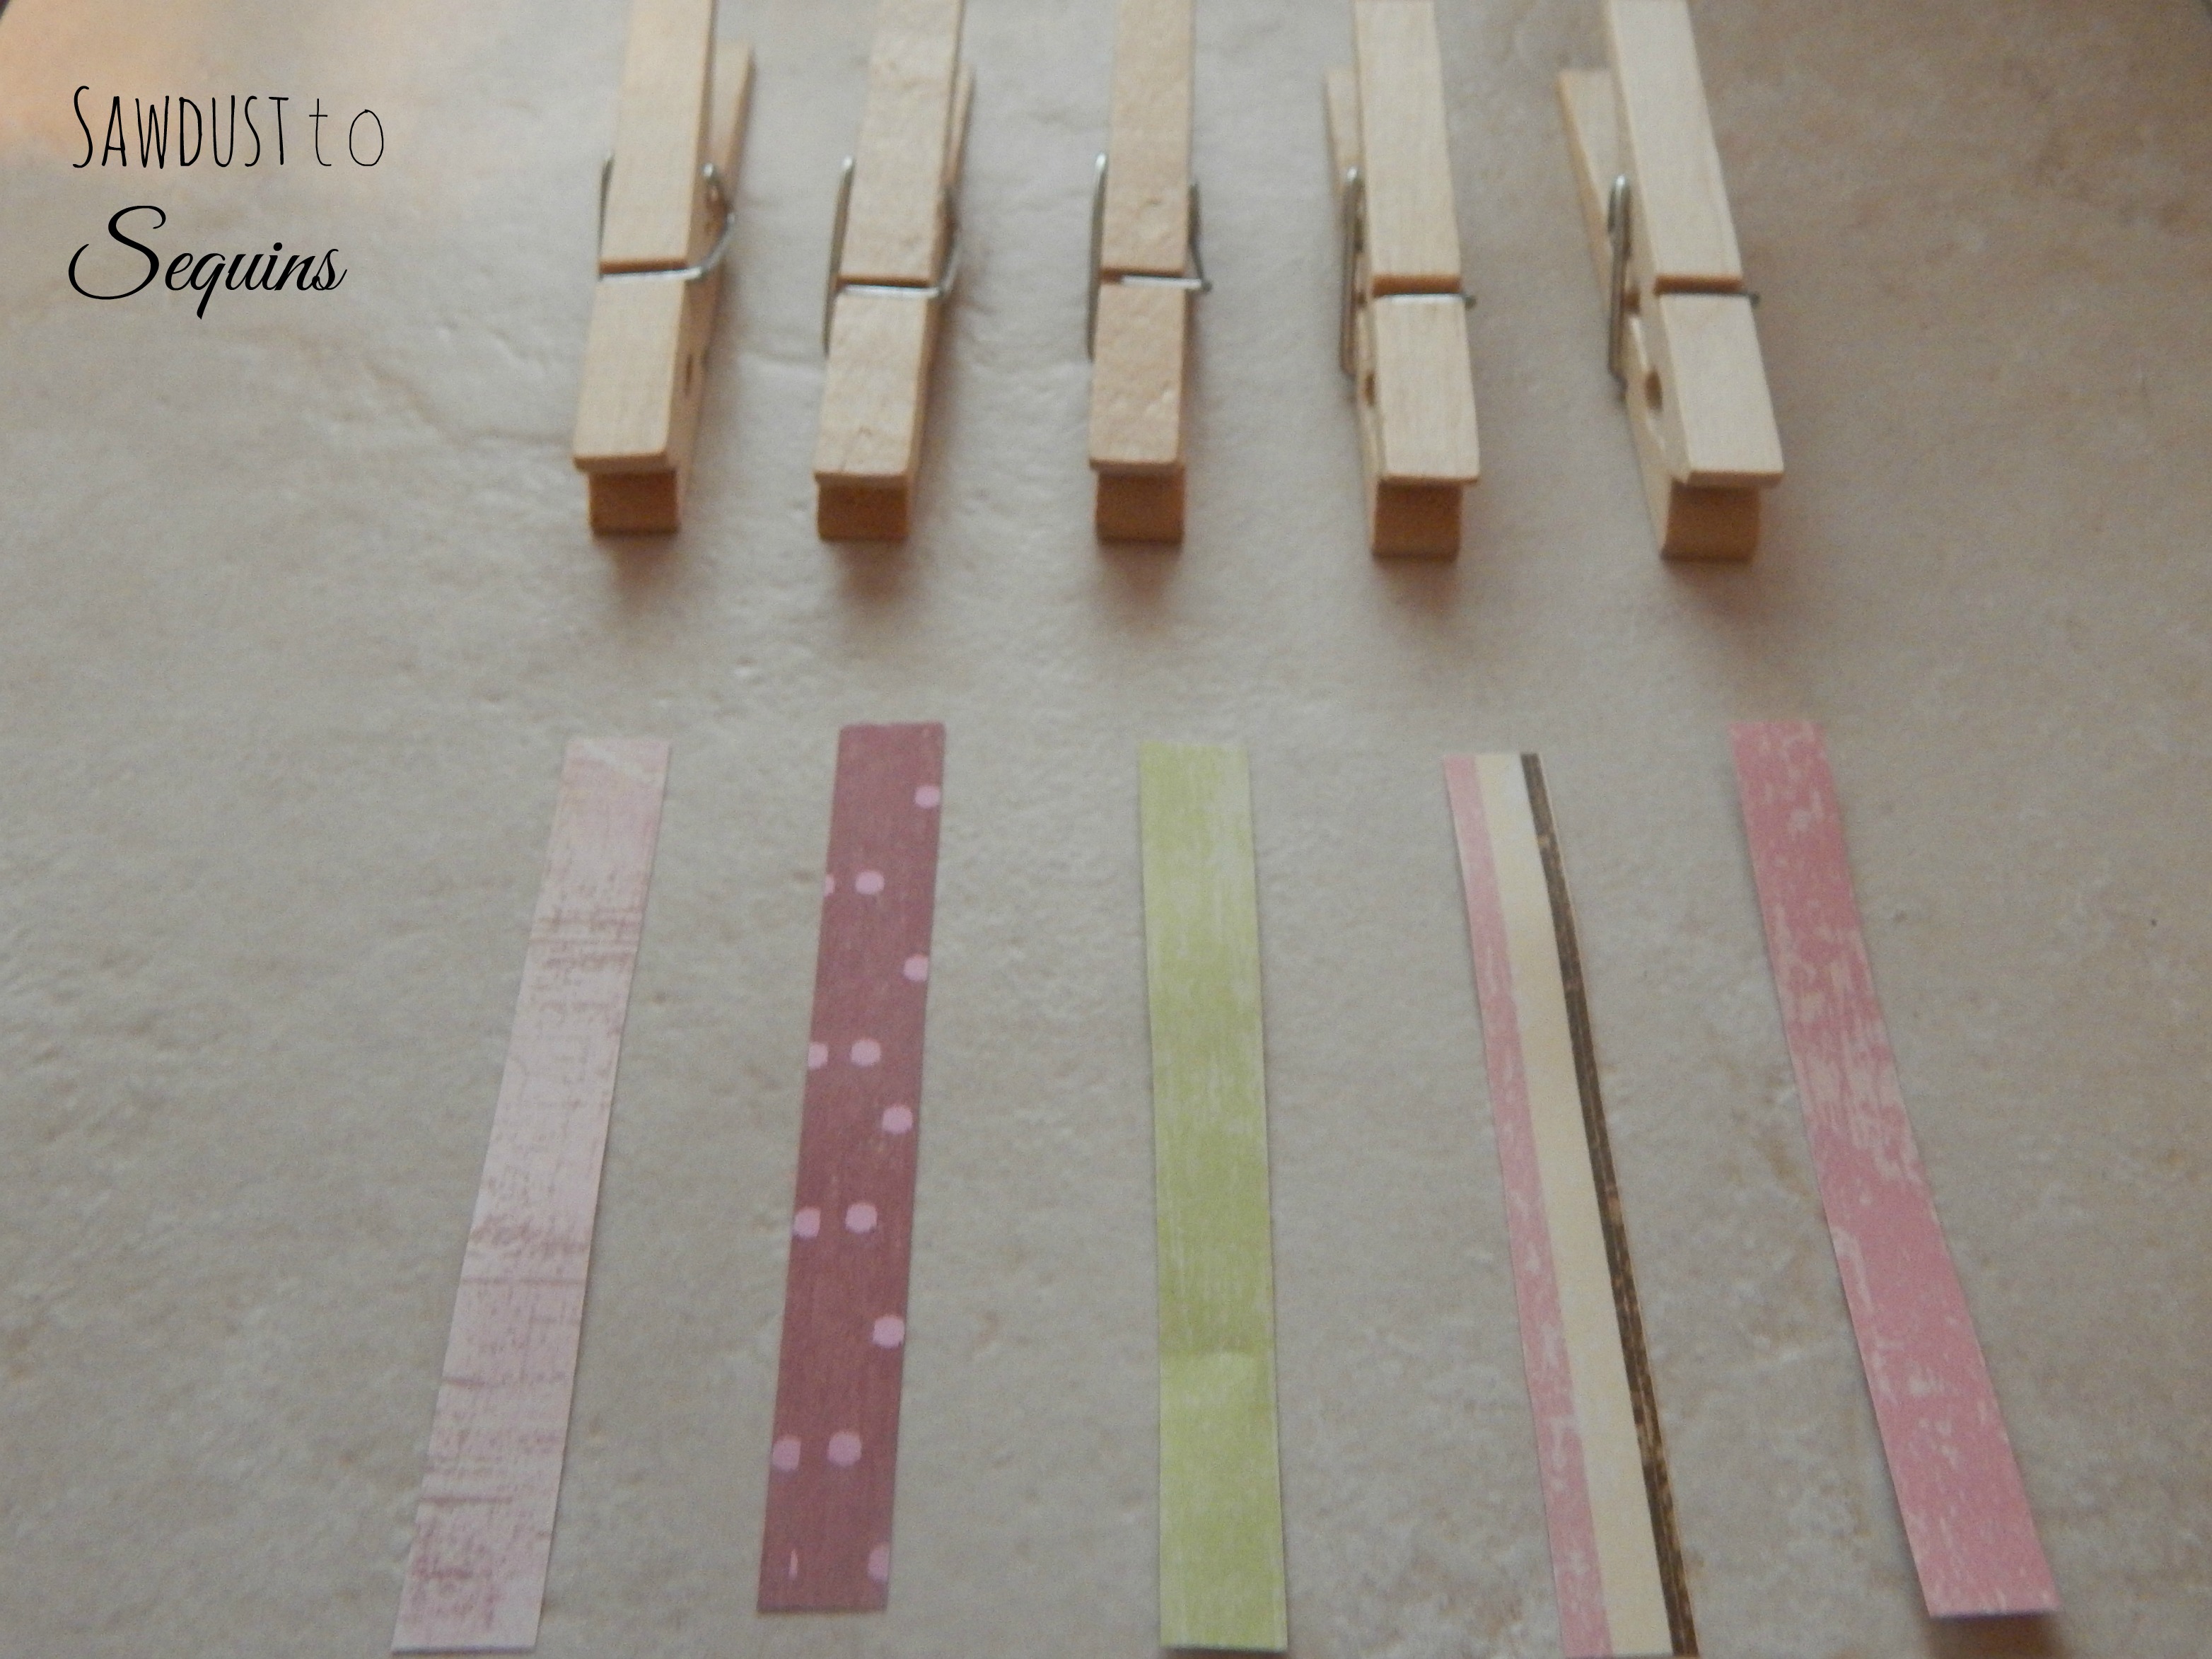
Now that the tray is done, lets move on to the clothes pins. I purchased a bag of 50 from Lowe’s for less than $3. They will last me a long time.
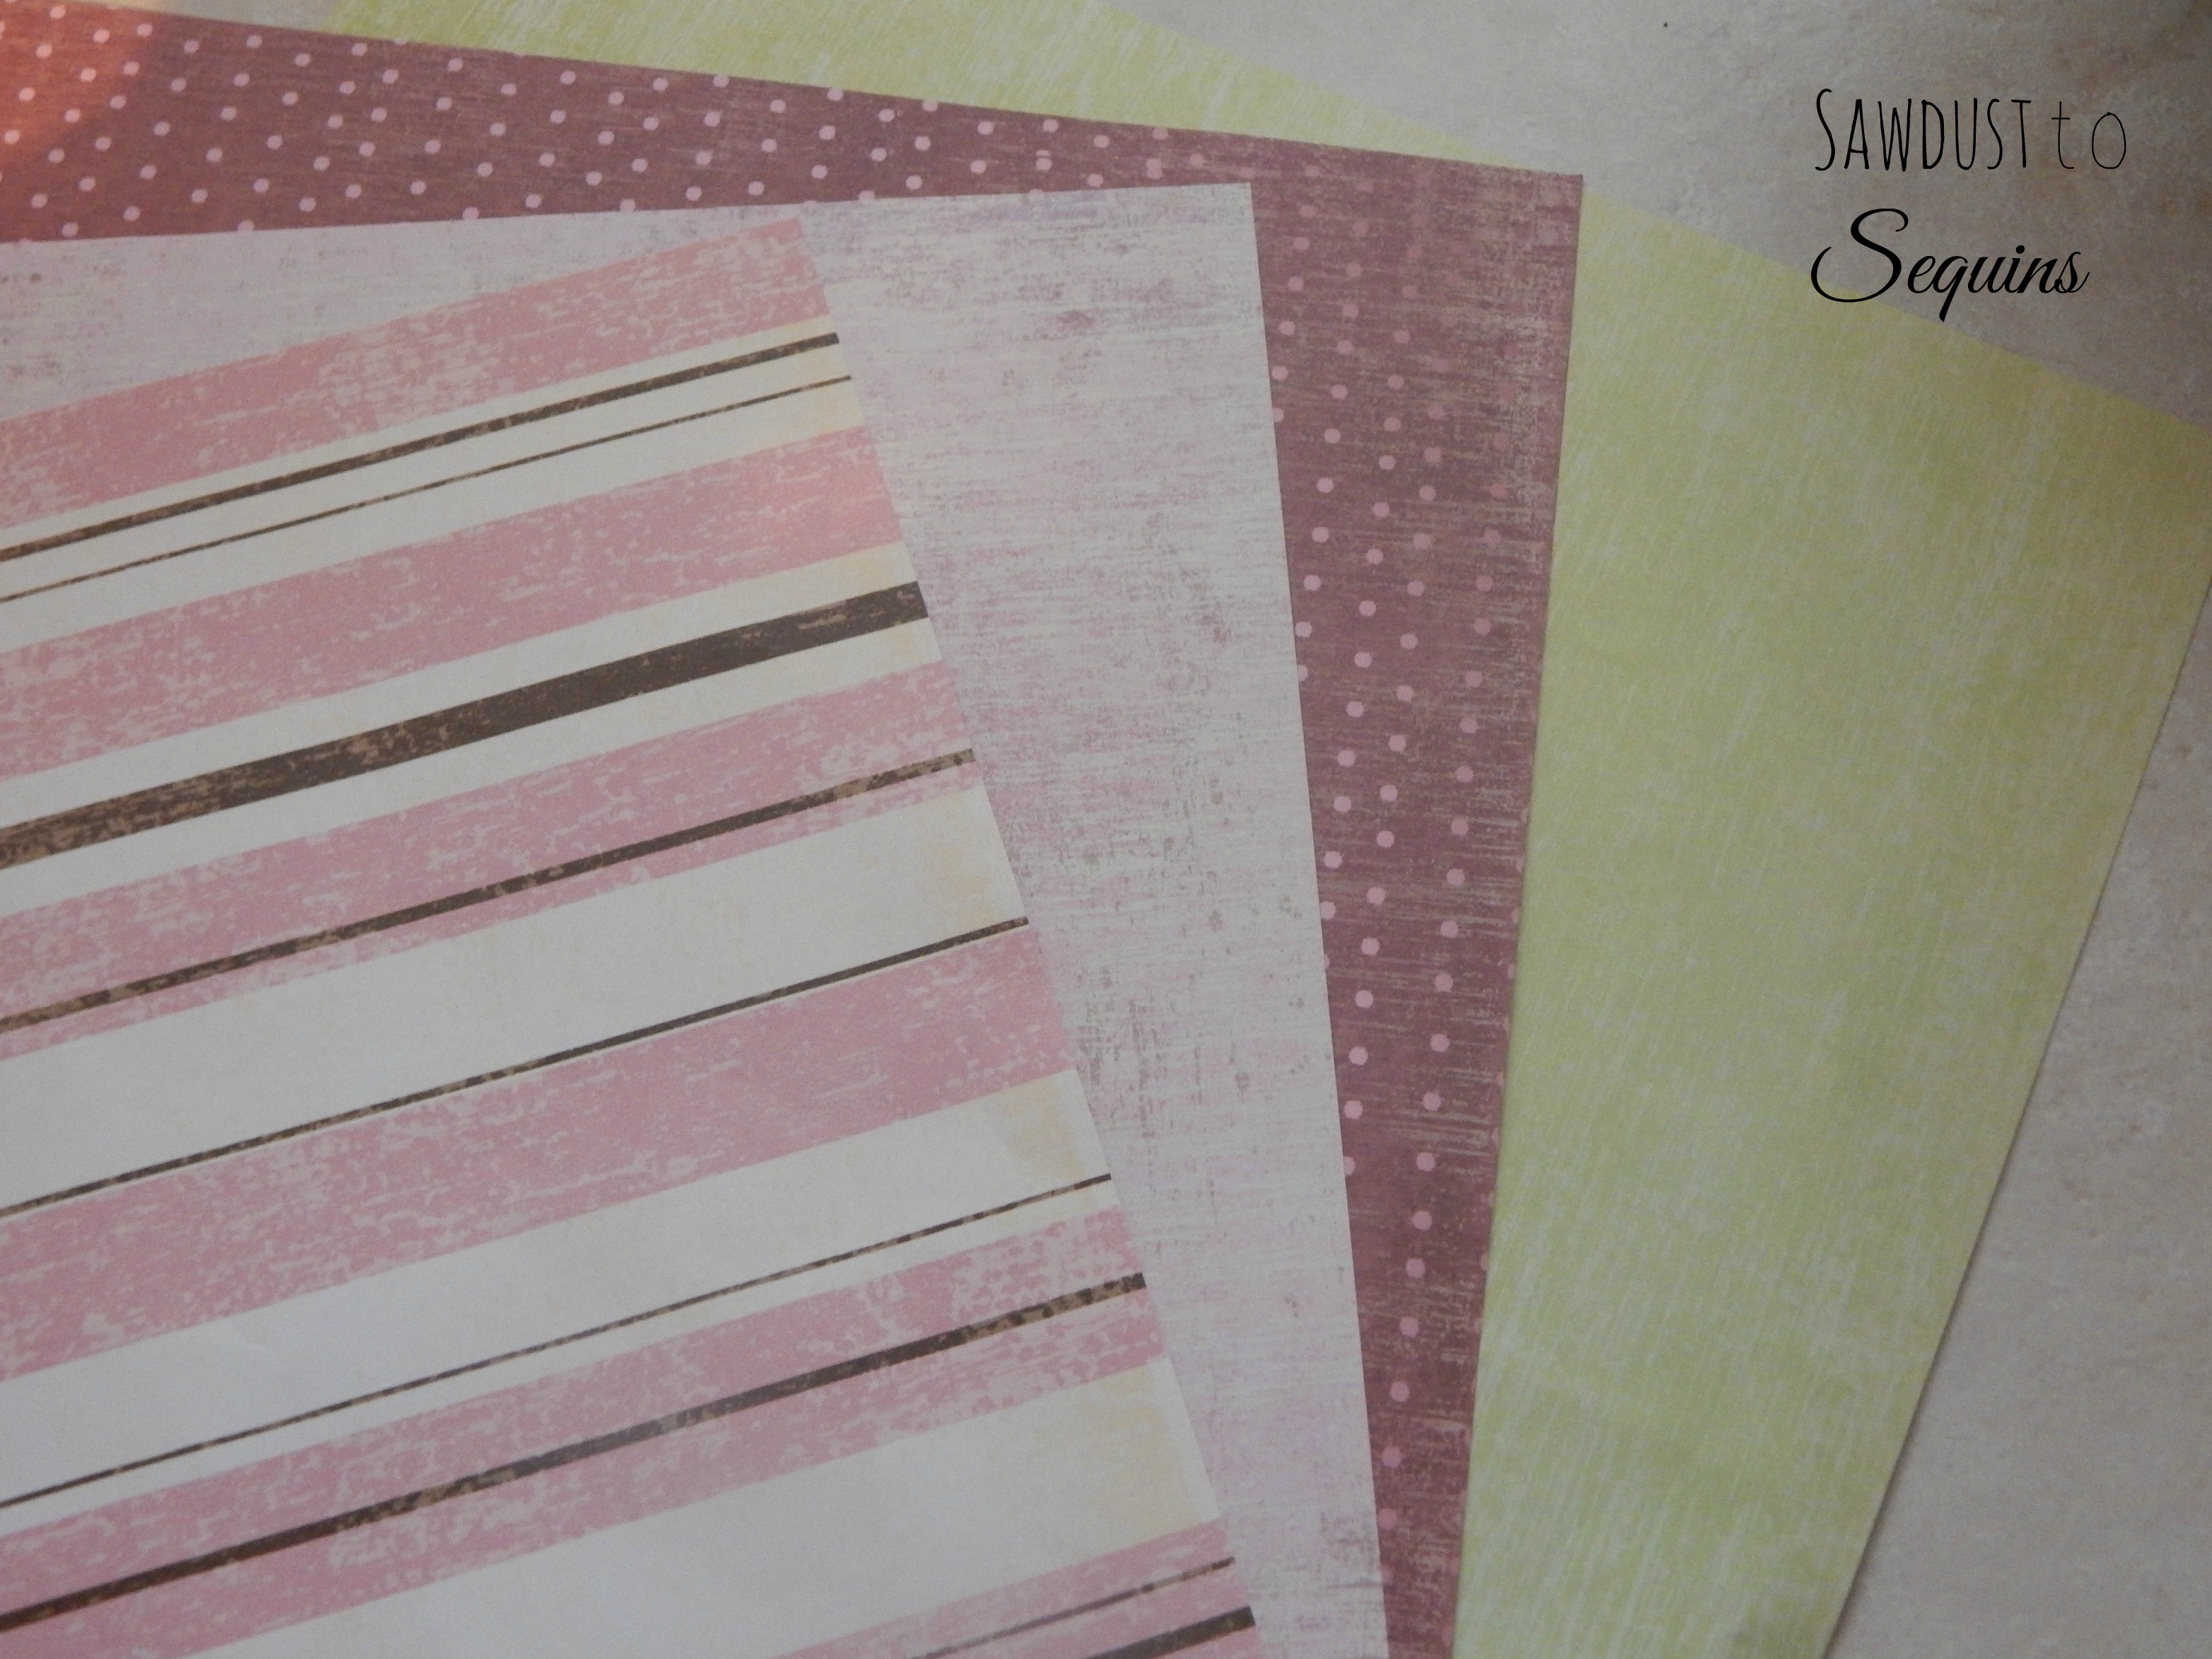
You will need to pick out some scrapbook paper that will coordinate with the paper you chose for the tray liner. Here are the patterns I chose to use.
Now you will need to cut strips of paper to fit on the front side of the clothes pins. Once you have one cut, I recommend using that as a template for the rest.
To attach the paper to the clothes pins, simply apply a coat of the Mod Podge onto the wood and lay the paper over it, smoothing out any rough spots.
Once that dries for a few minutes, apply a coat to the top of the paper as well. Here is a look at the finished clothes pins.

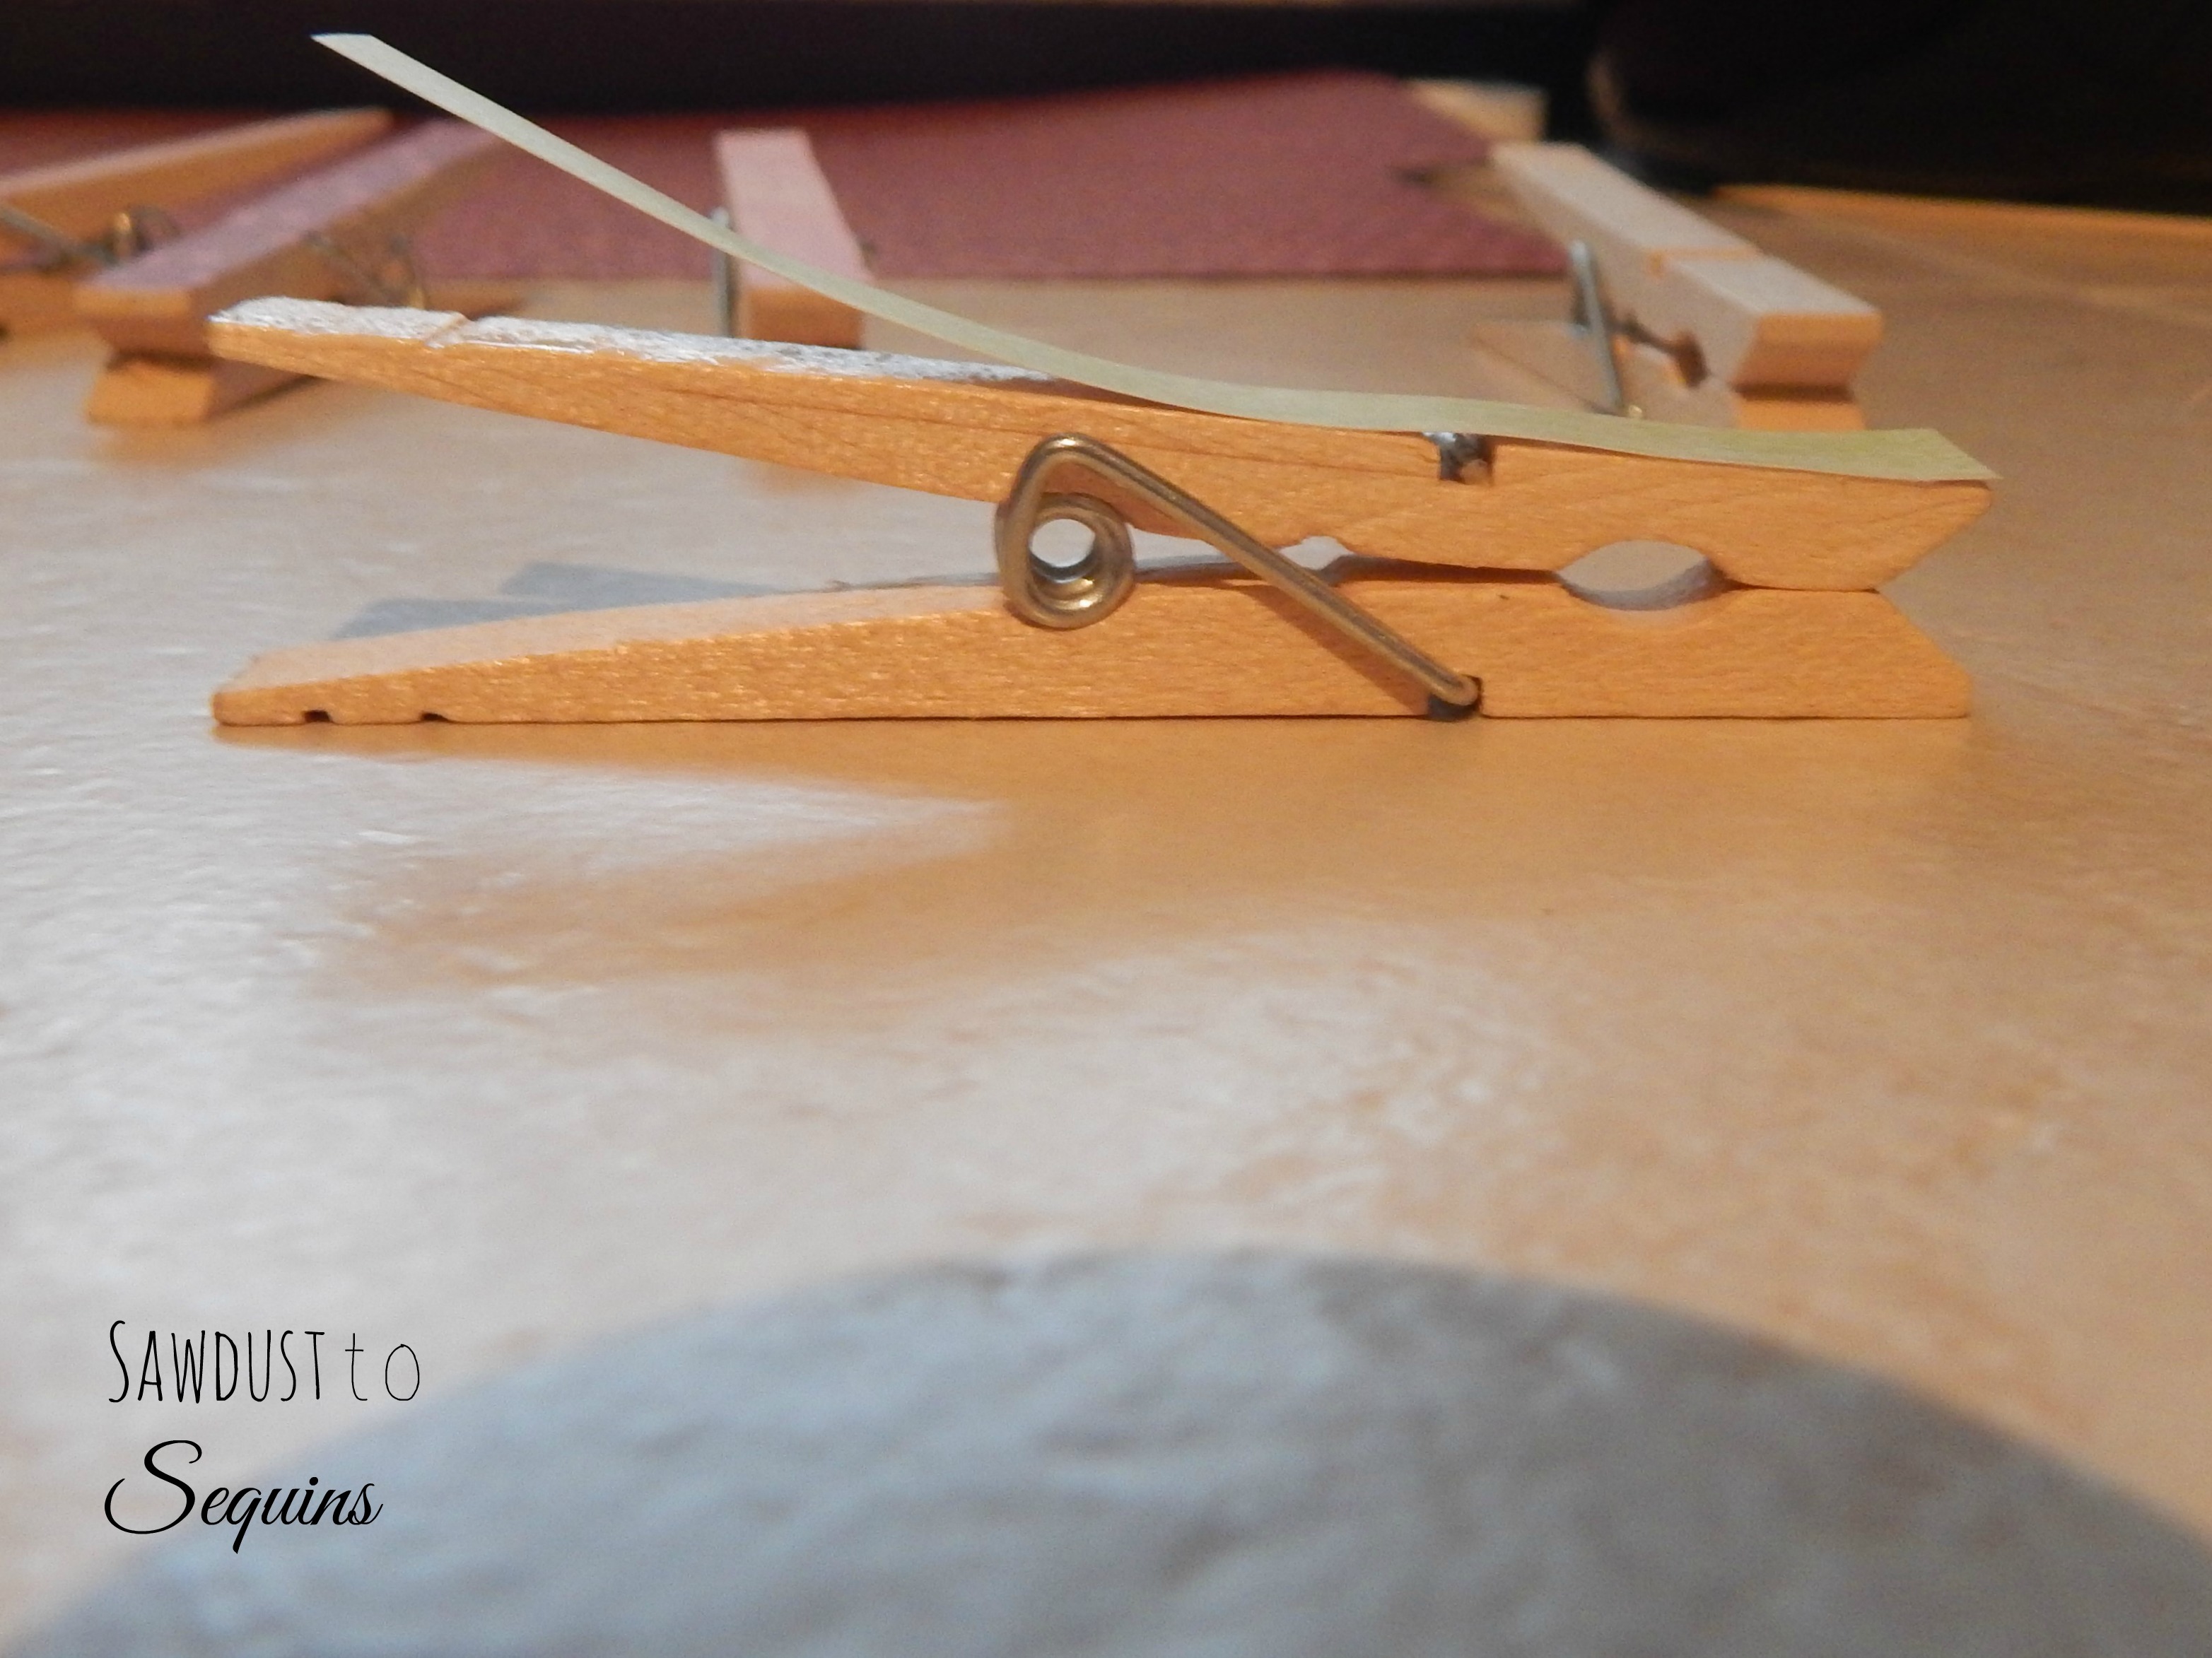
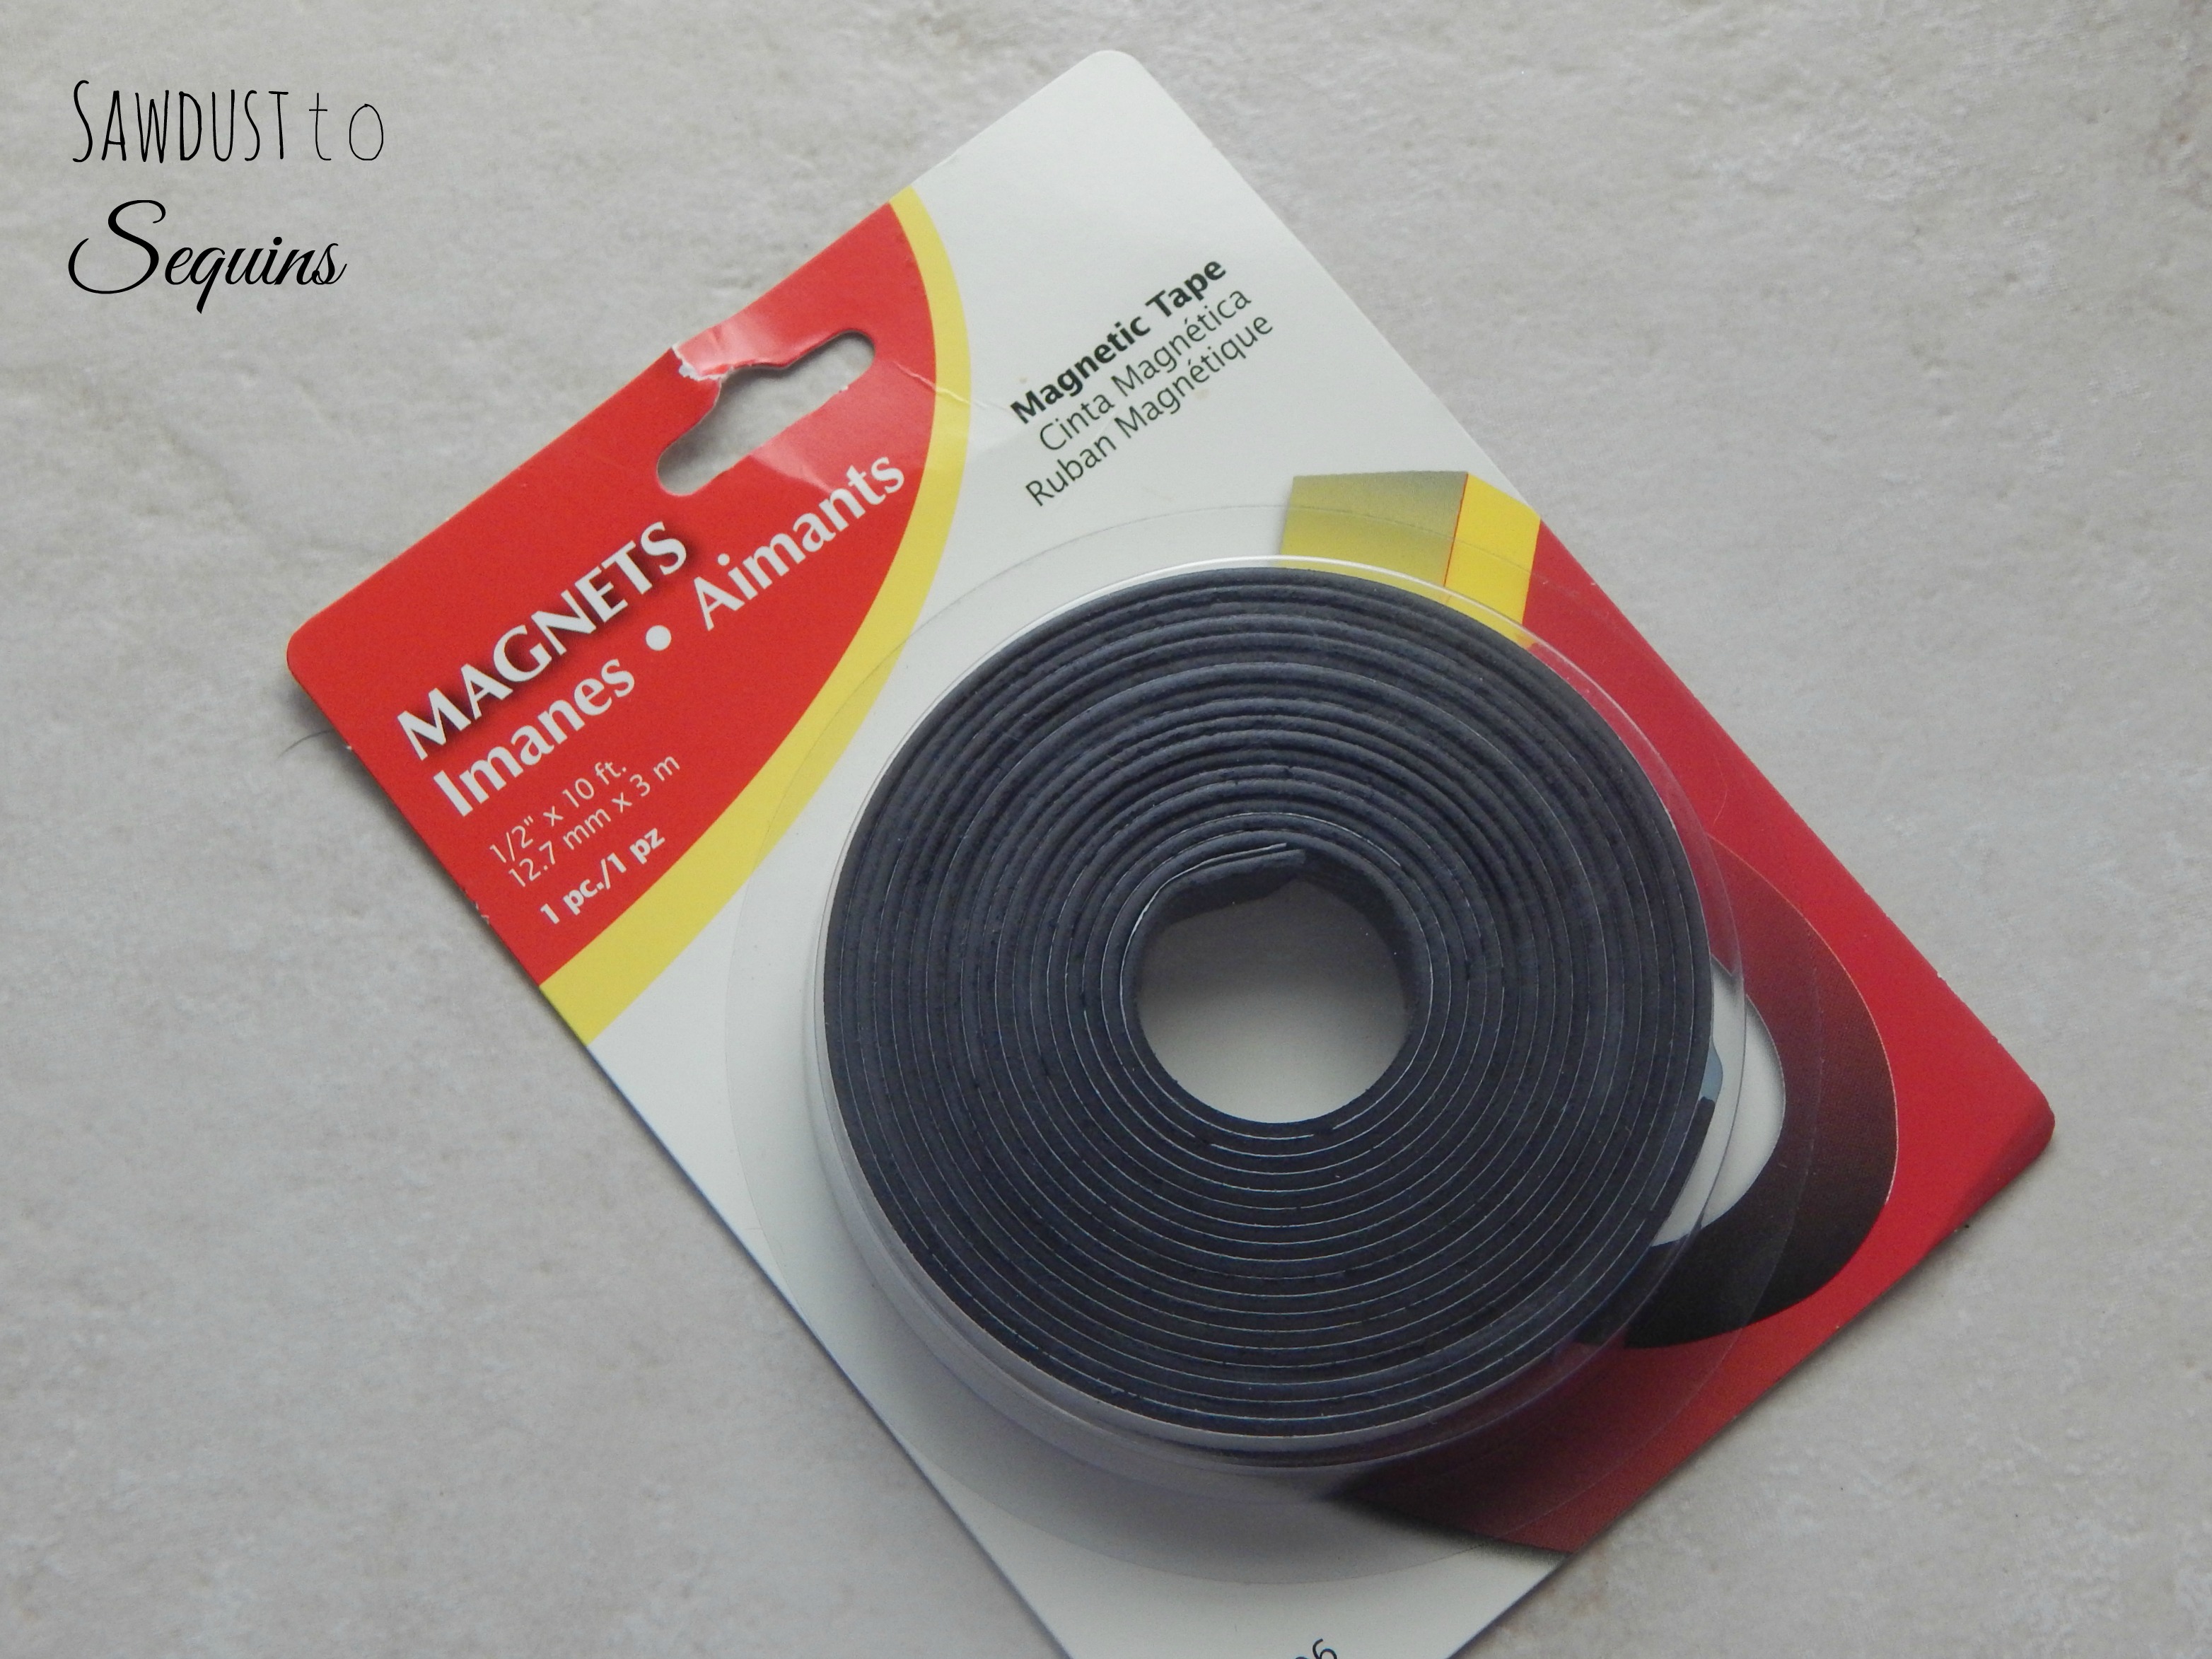
Since this is a magnet board, we need??? You guessed it, magnets. I picked this up at Lowe’s for around $4. Just like the clothes pins, this roll will last me a long time.
To attach the magnet to the clothes pins, I cut strips to fit and hot glued the magnet tape on. Even though this does have a sticky back, I would still hot glue. It really isn’t that sticky.
I also found some jewelry beads and decided to add magnets as well. Pretty much anything that is fairly lightweight and you feel comfortable putting glue on it will work for a magnet board. Have fun with it!!
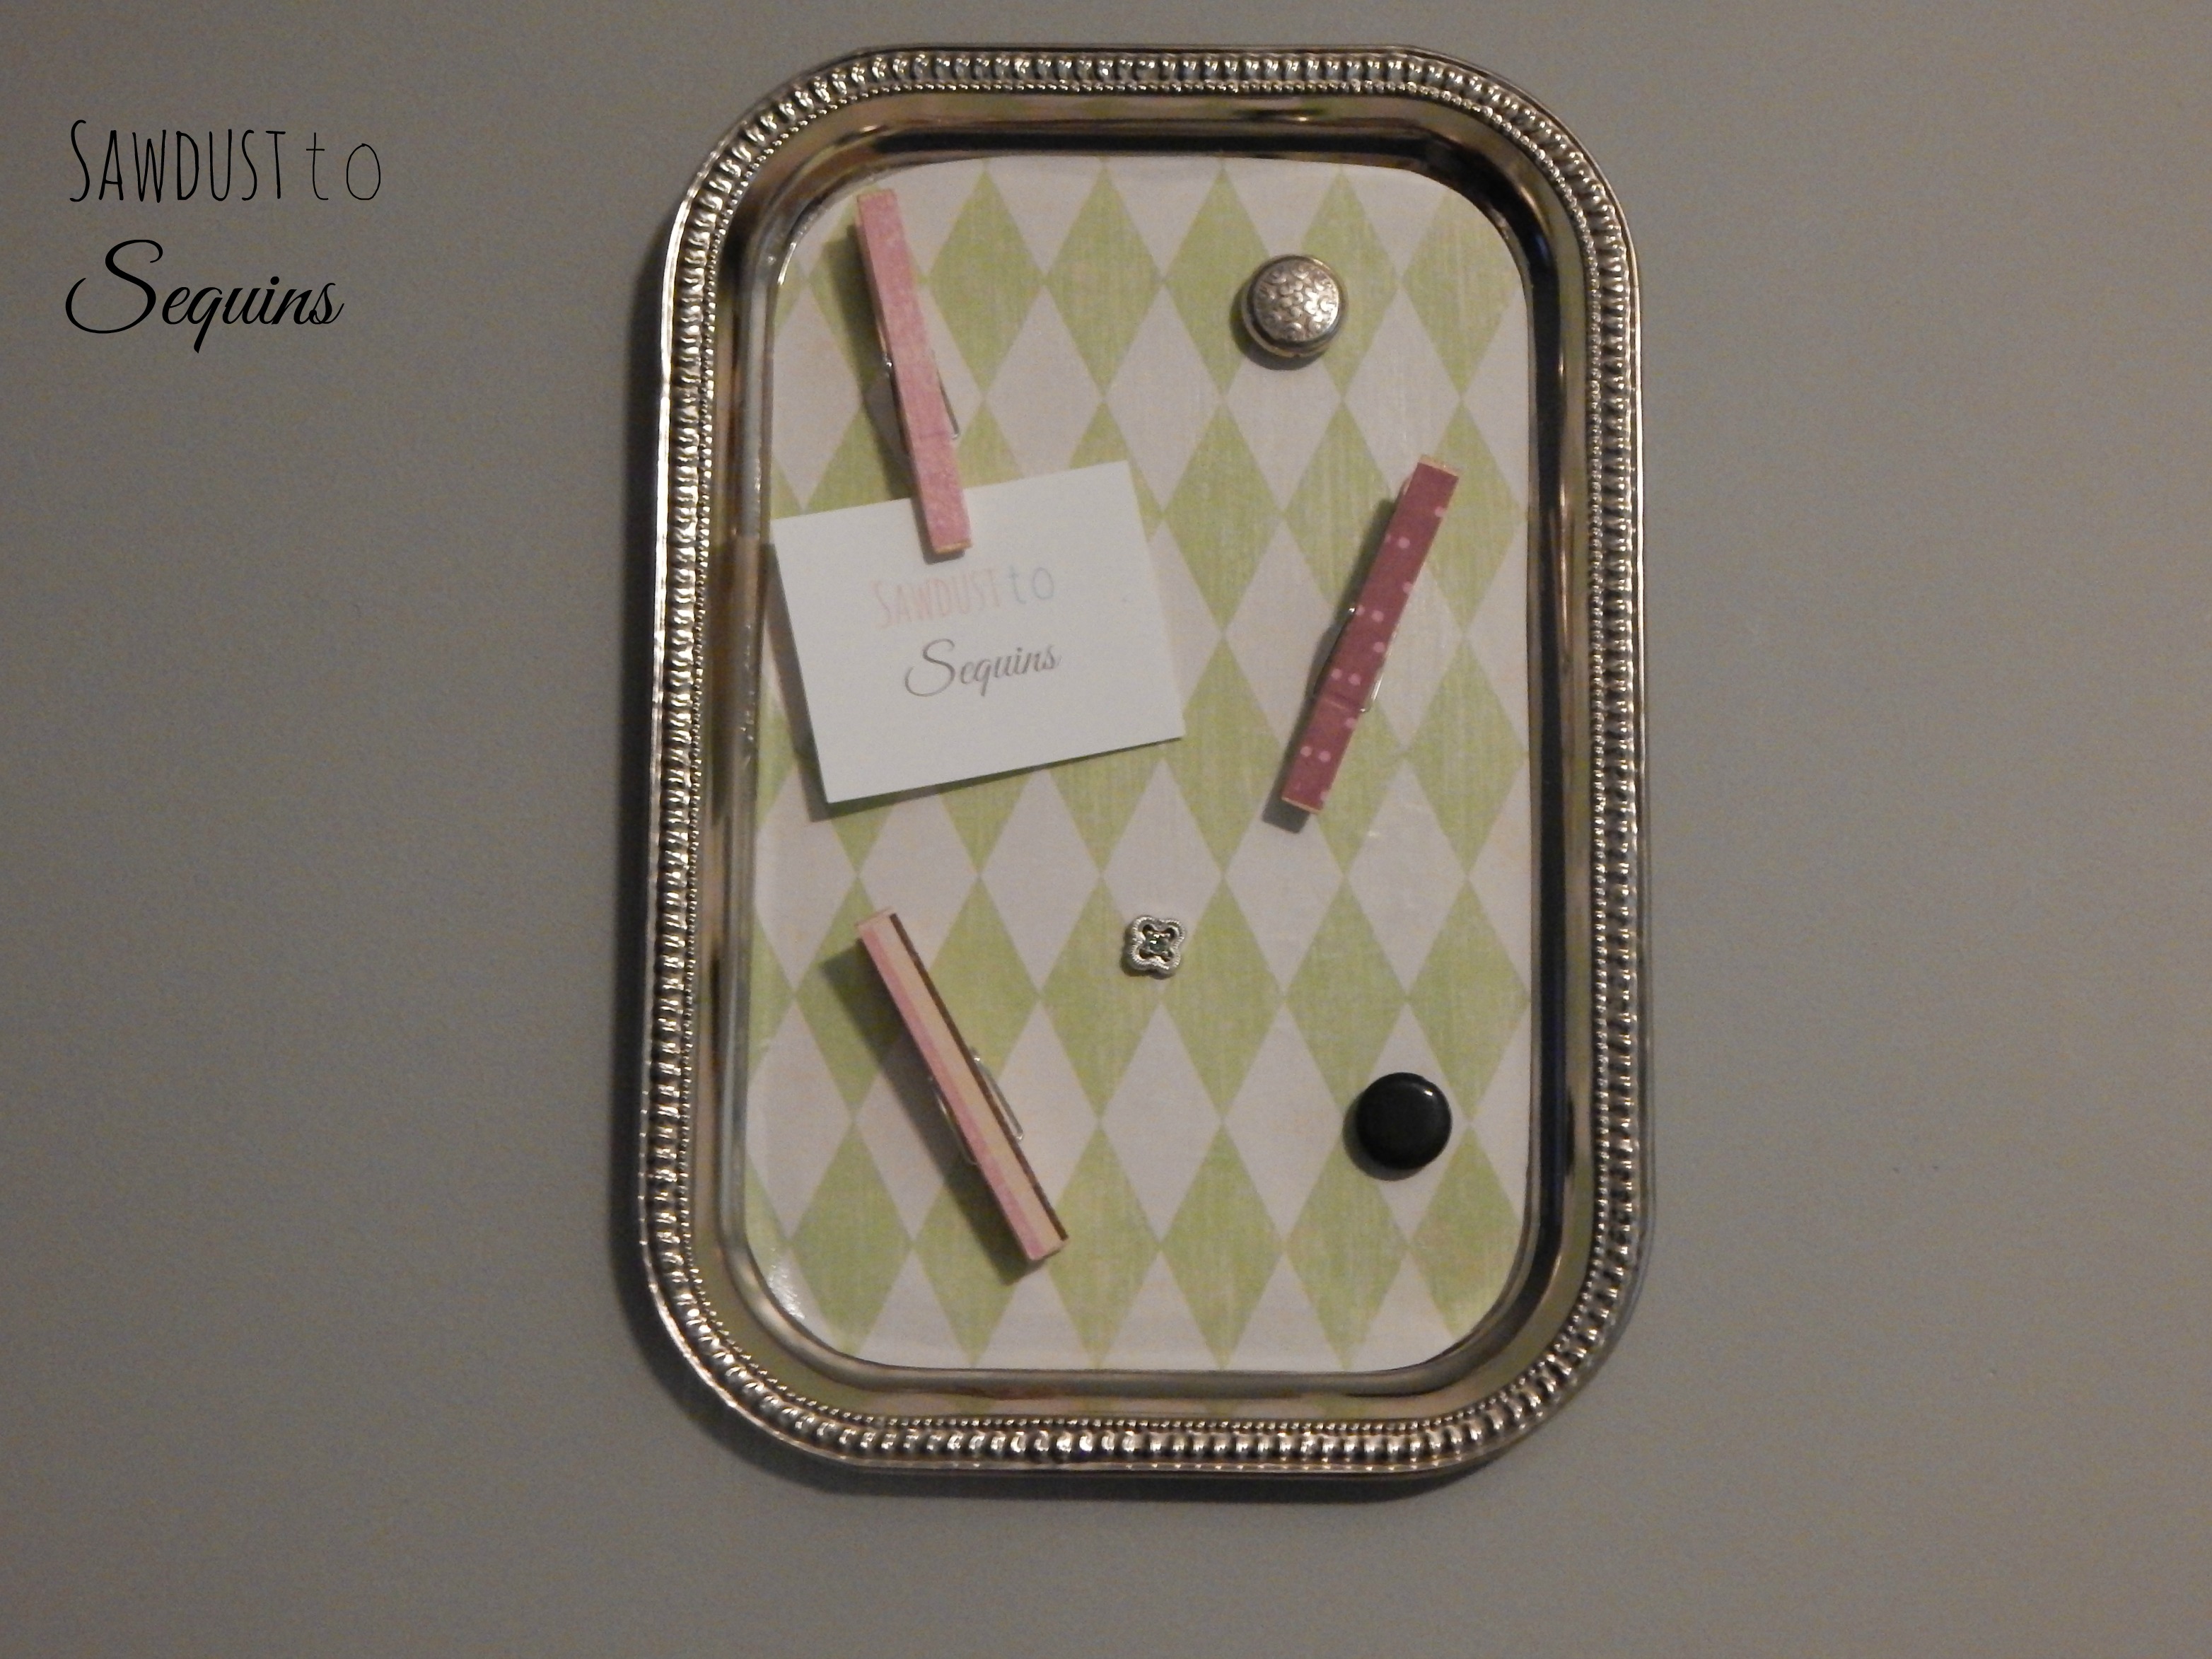
Here are some pics of the finished product….


I hope you enjoyed this post and thanks for stopping by. Go get crafty!
Be sure to follow me on Pinterest and Instagram to keep up with whats going on in my corner of the world.
Until next time,
Crissie