Hey all! To keep up with my latest projects, come follow along with me on Instagram and Pinterest.
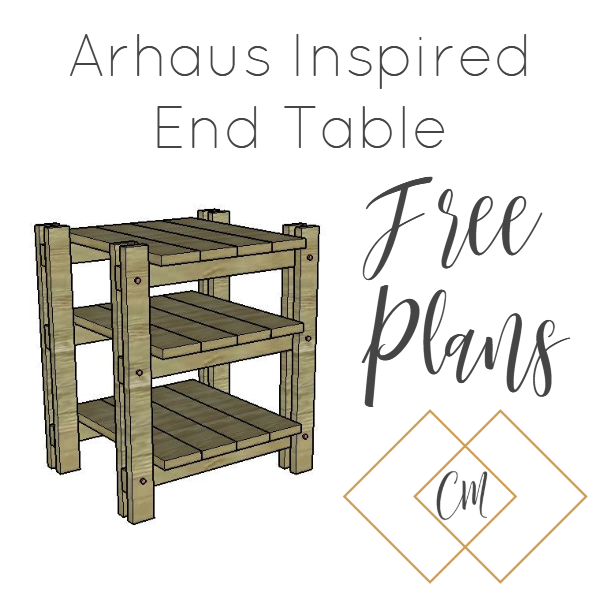
I recently had the pleasure of browsing through an Arhaus furniture store for the first time. All I can say is WOW! The furniture they have is beyond gorgeous, but unfortunately, so is the price tag. So, I have decided to make my first knockoff!!
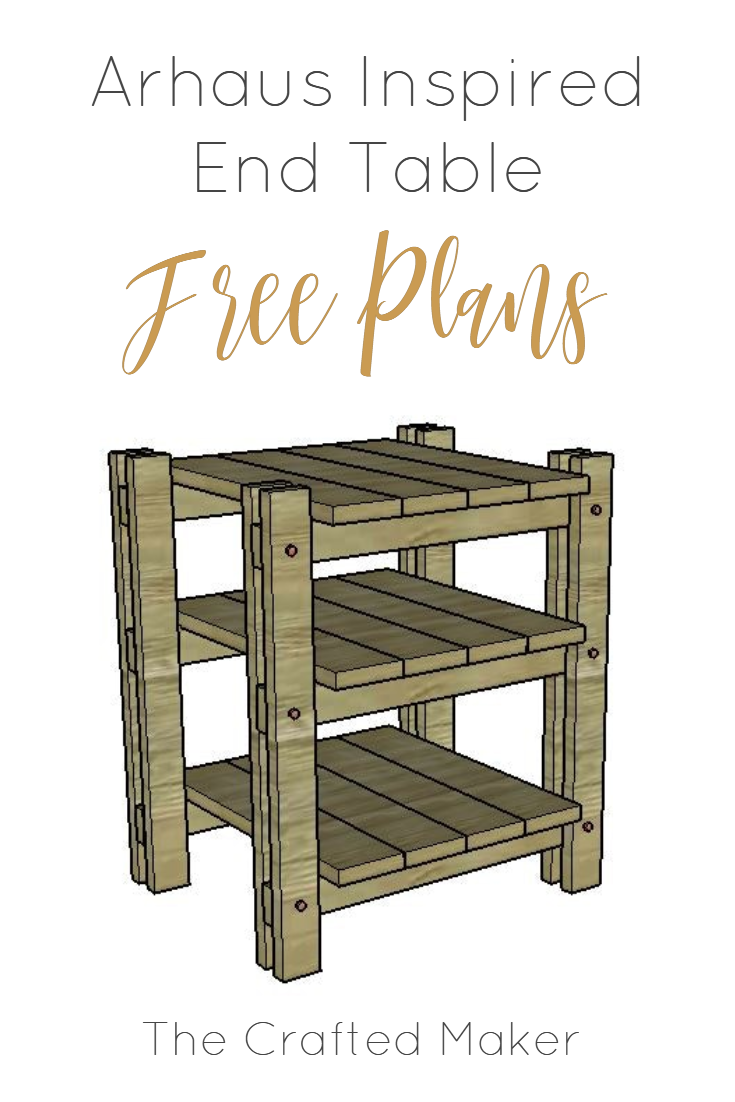
I have provided a downloadable plan you can use when building your own end table, but I will walk you through my build step by step.
*This blog post contains affiliate links. I may receive compensation when an item is purchased through a link. This allows me to bring you more free content at no extra cost to you.*
Let’s get to building…..
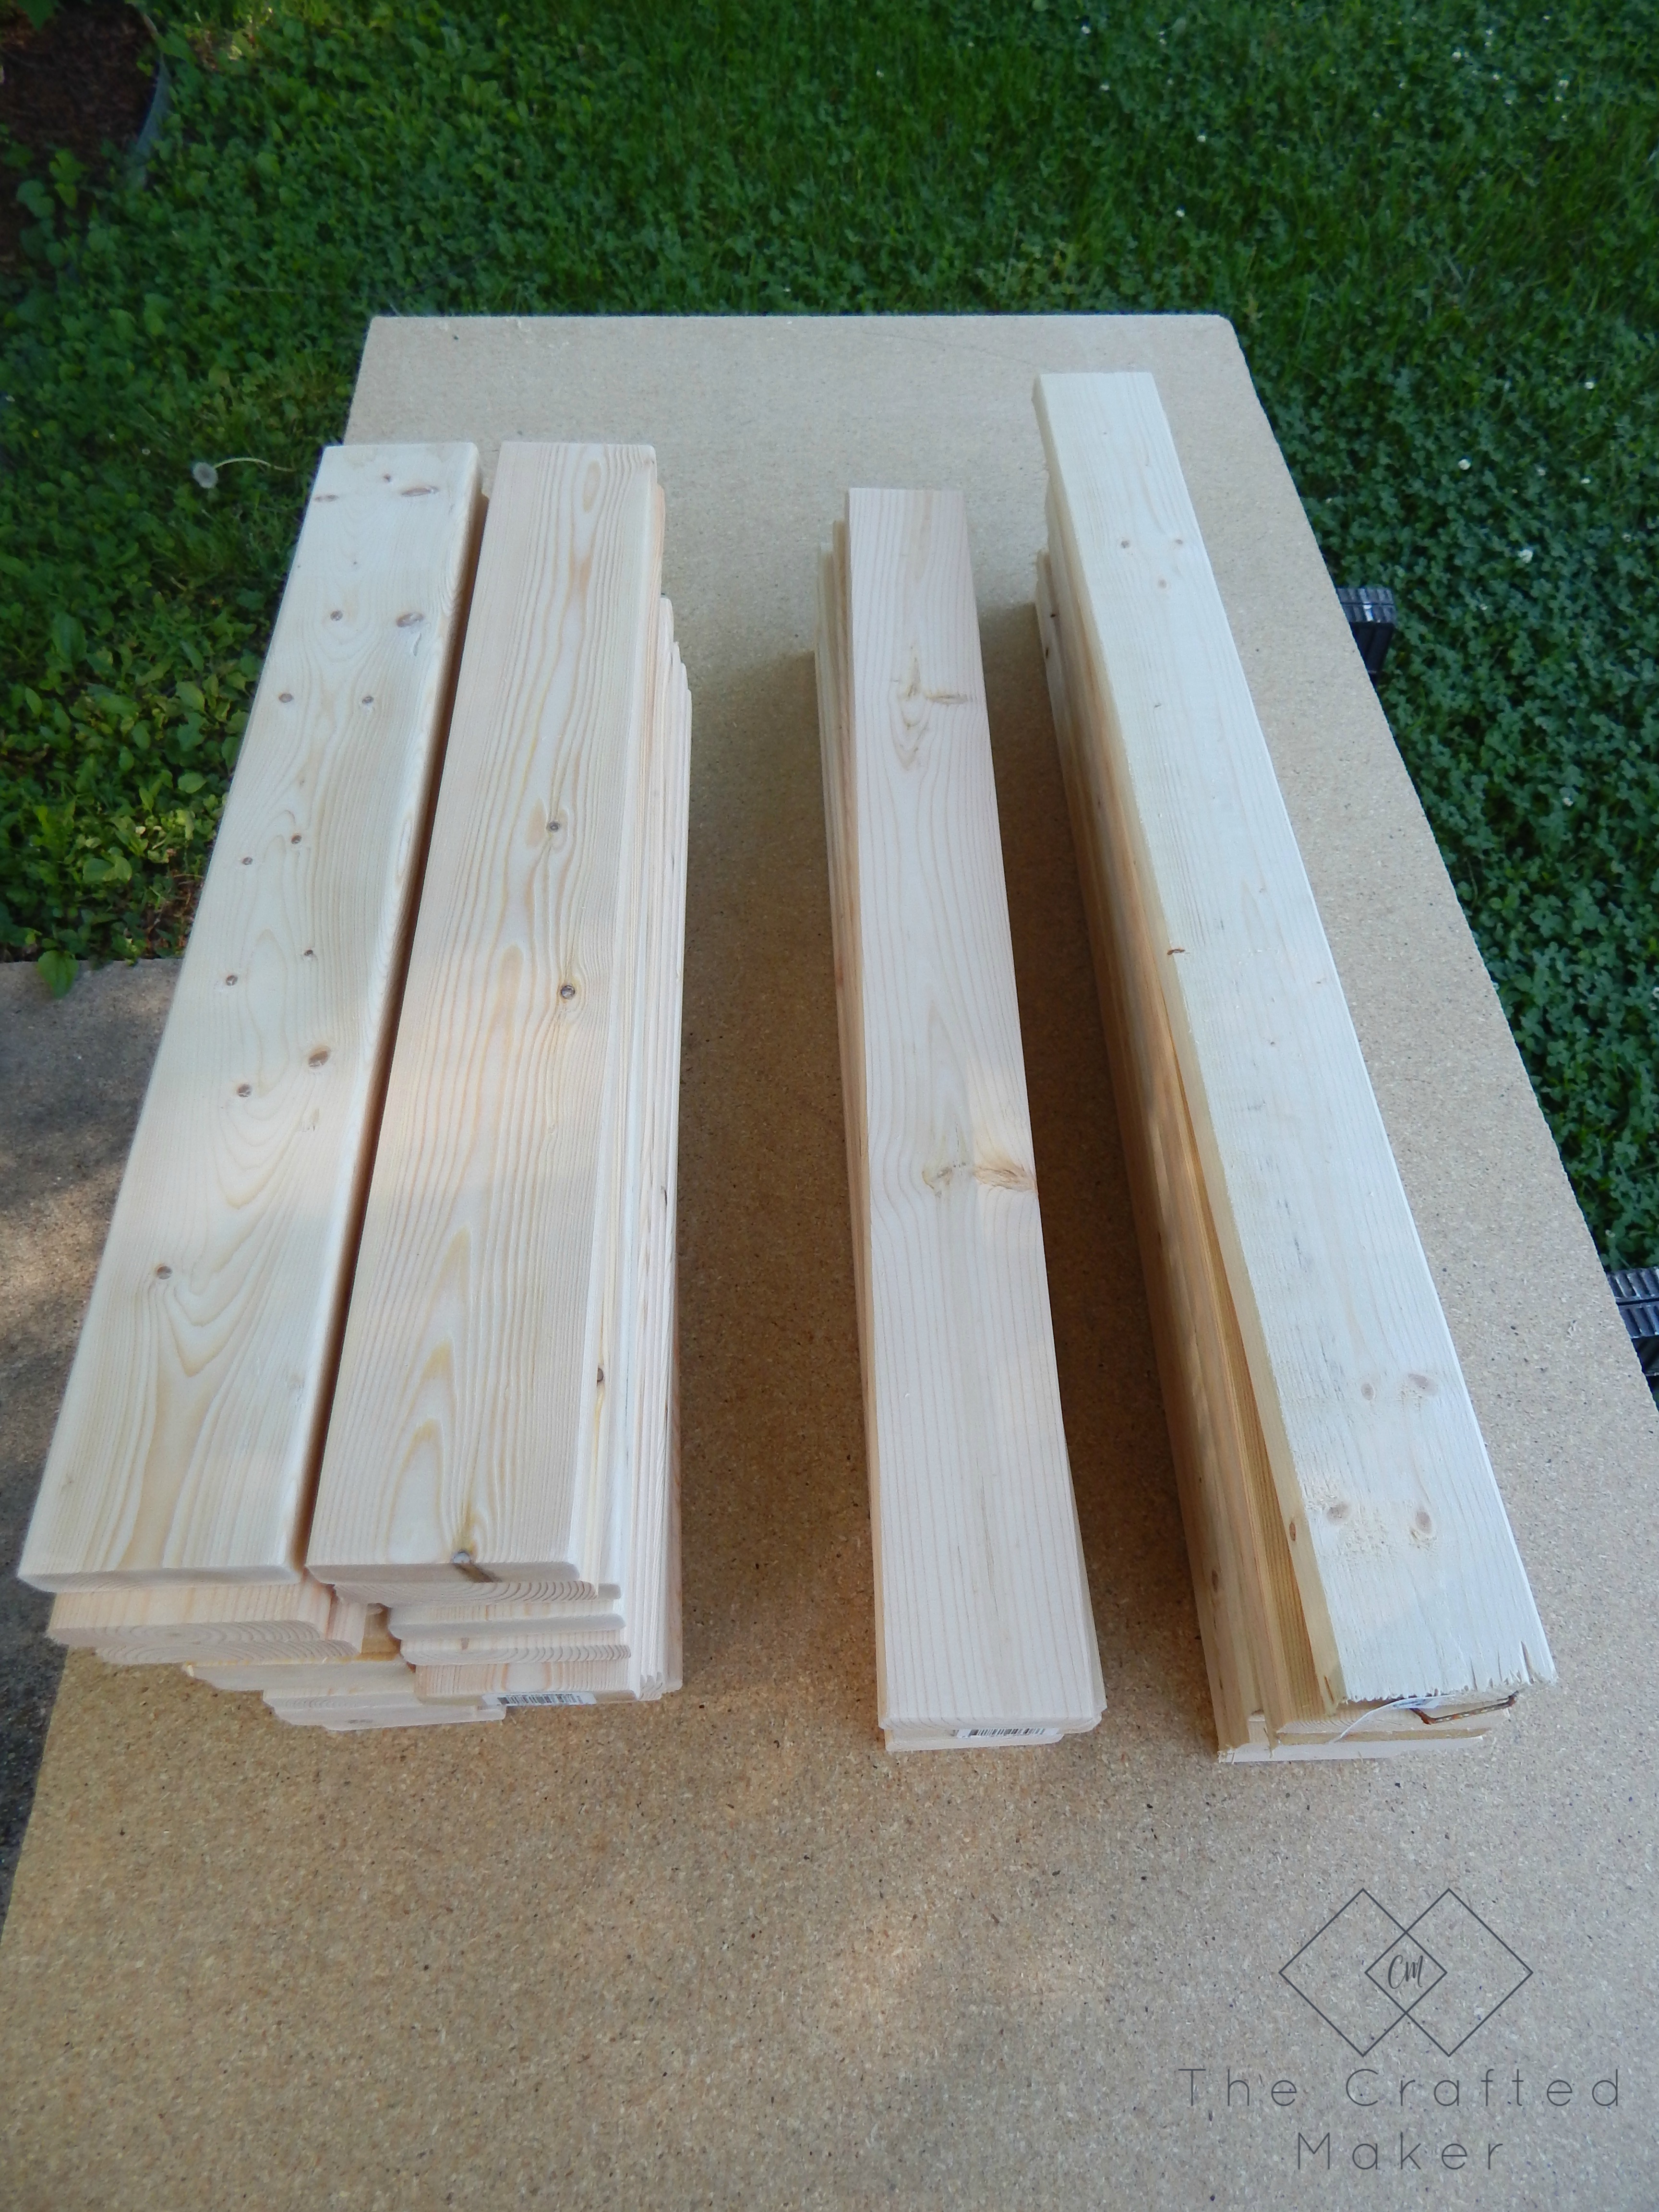
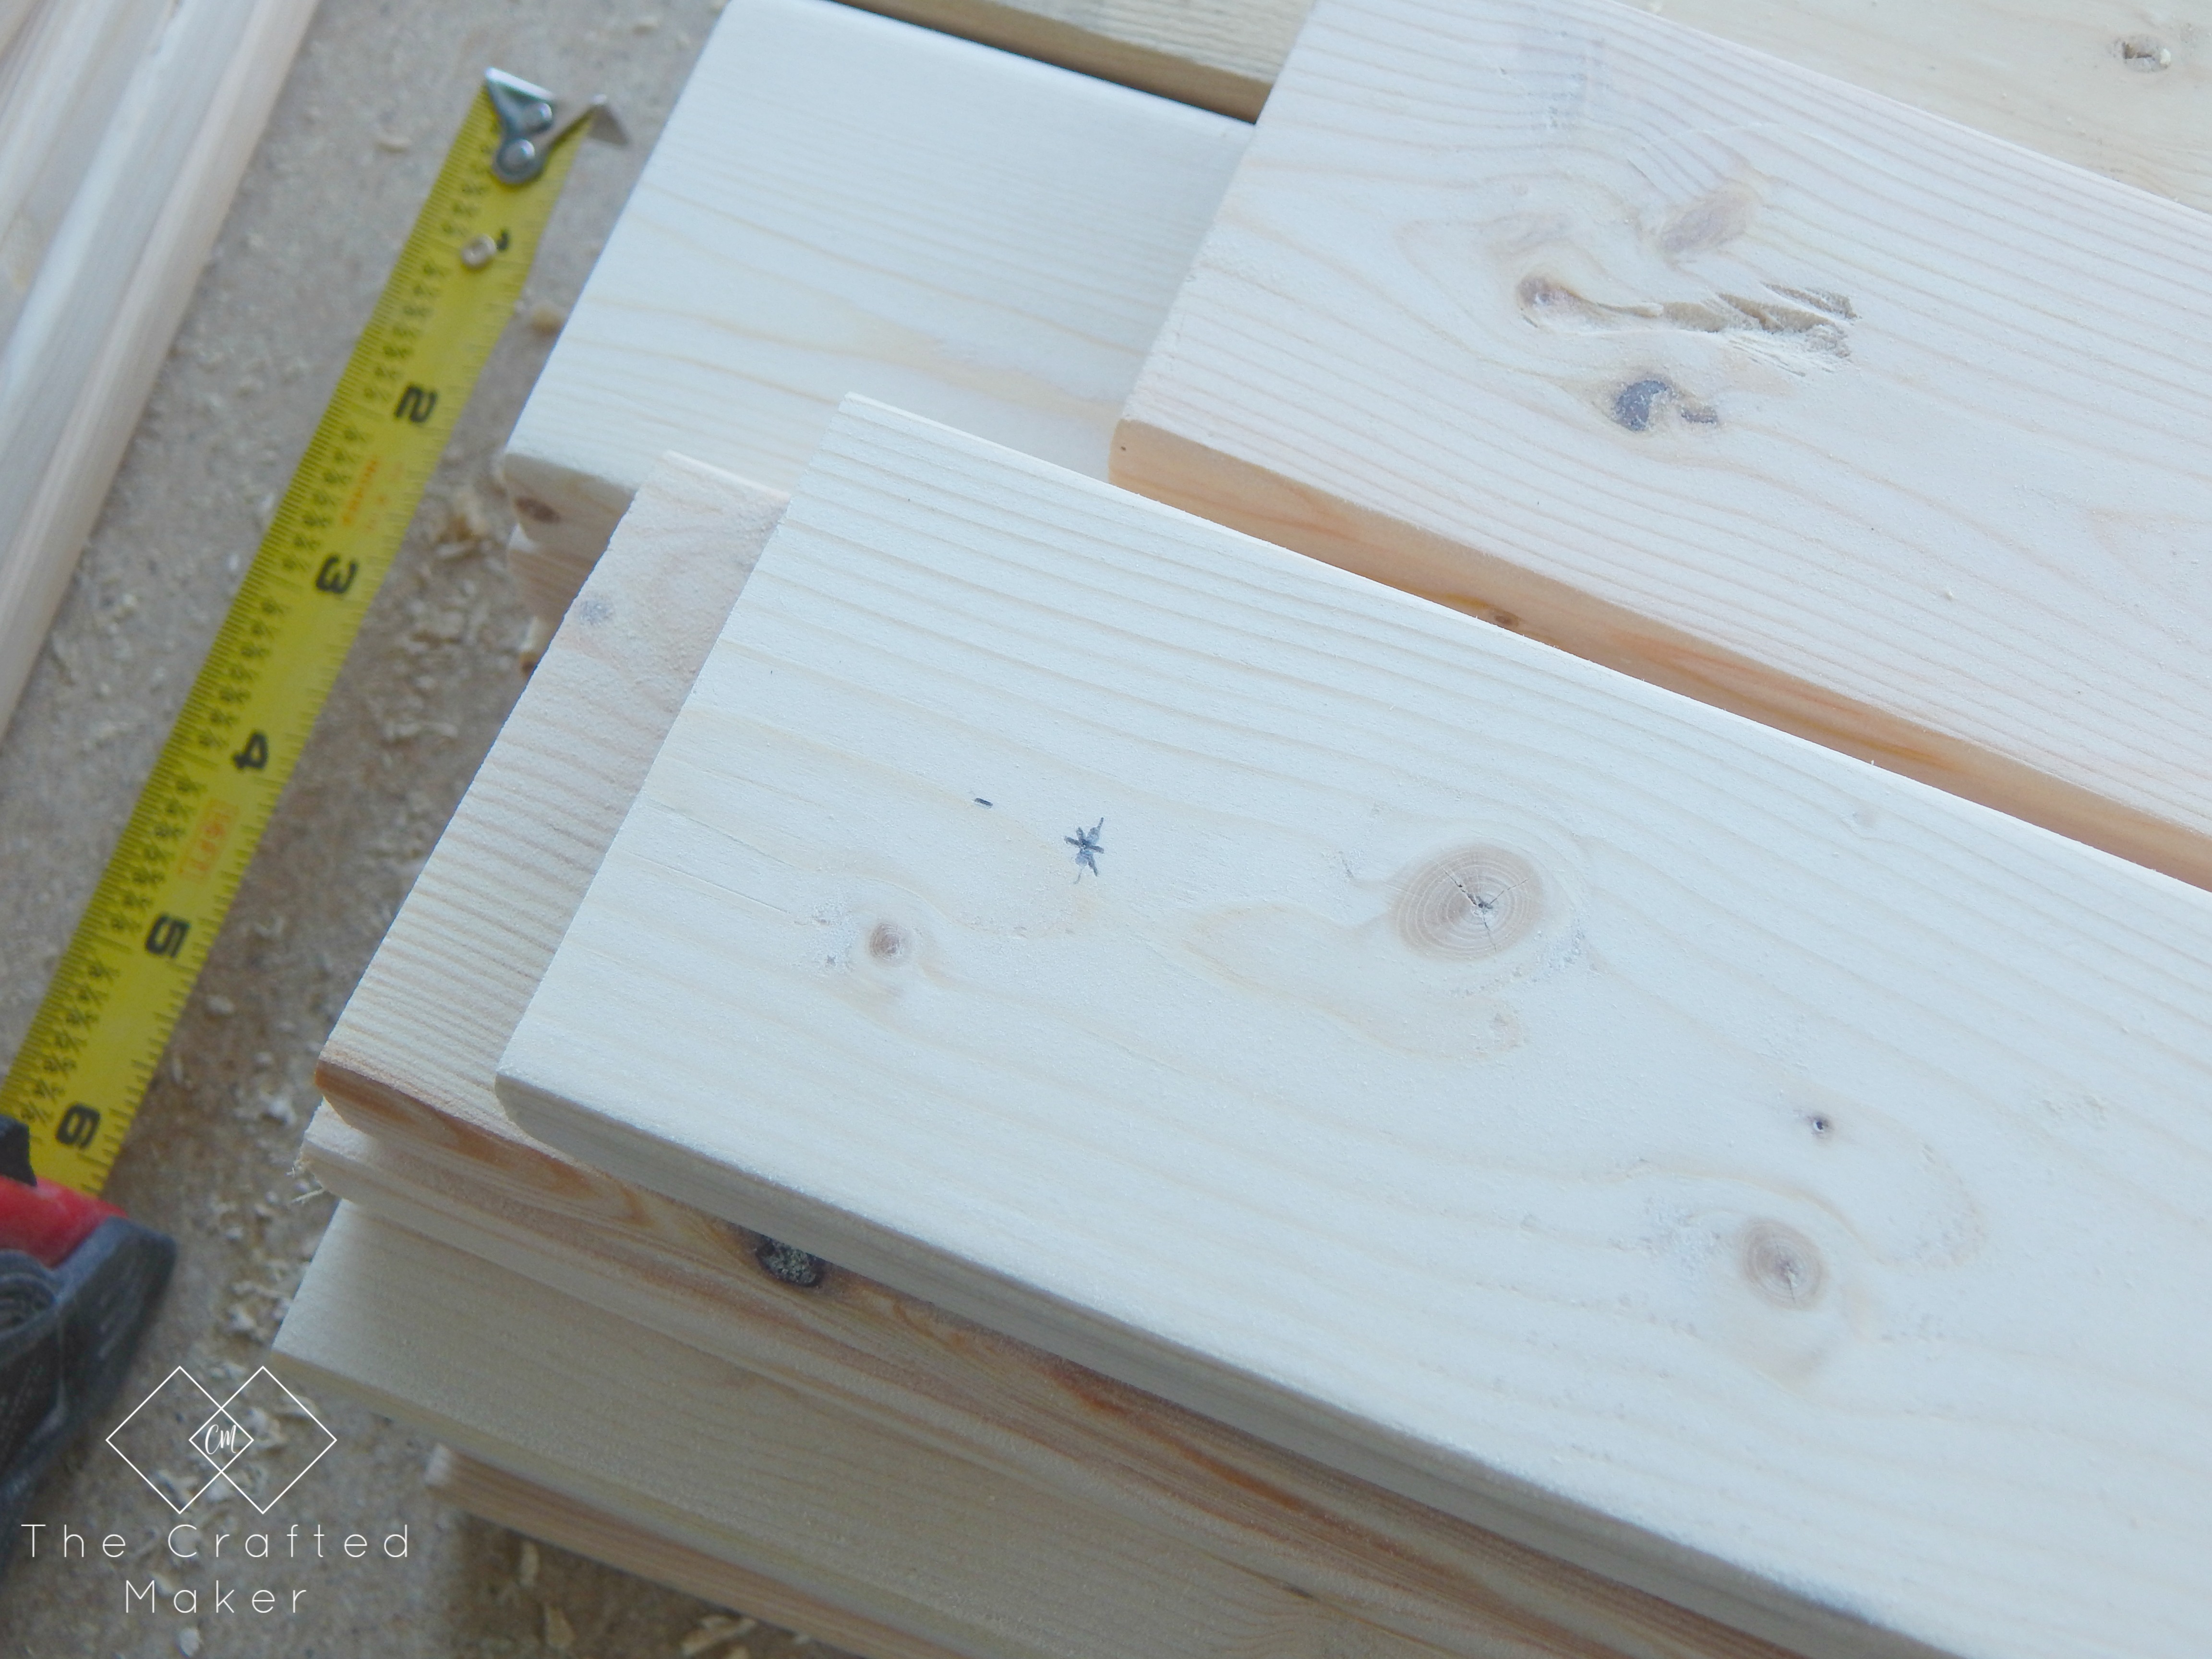
First things first, cut all of your boards to length according to the cut list.
Now, that the boards are cut, it’s time to drill the holes for the bolts to fit through. I used a 3/8″ spade bit for this part. If you need a set of spade bits, they will be in the tool department of your local hardware store or online here. 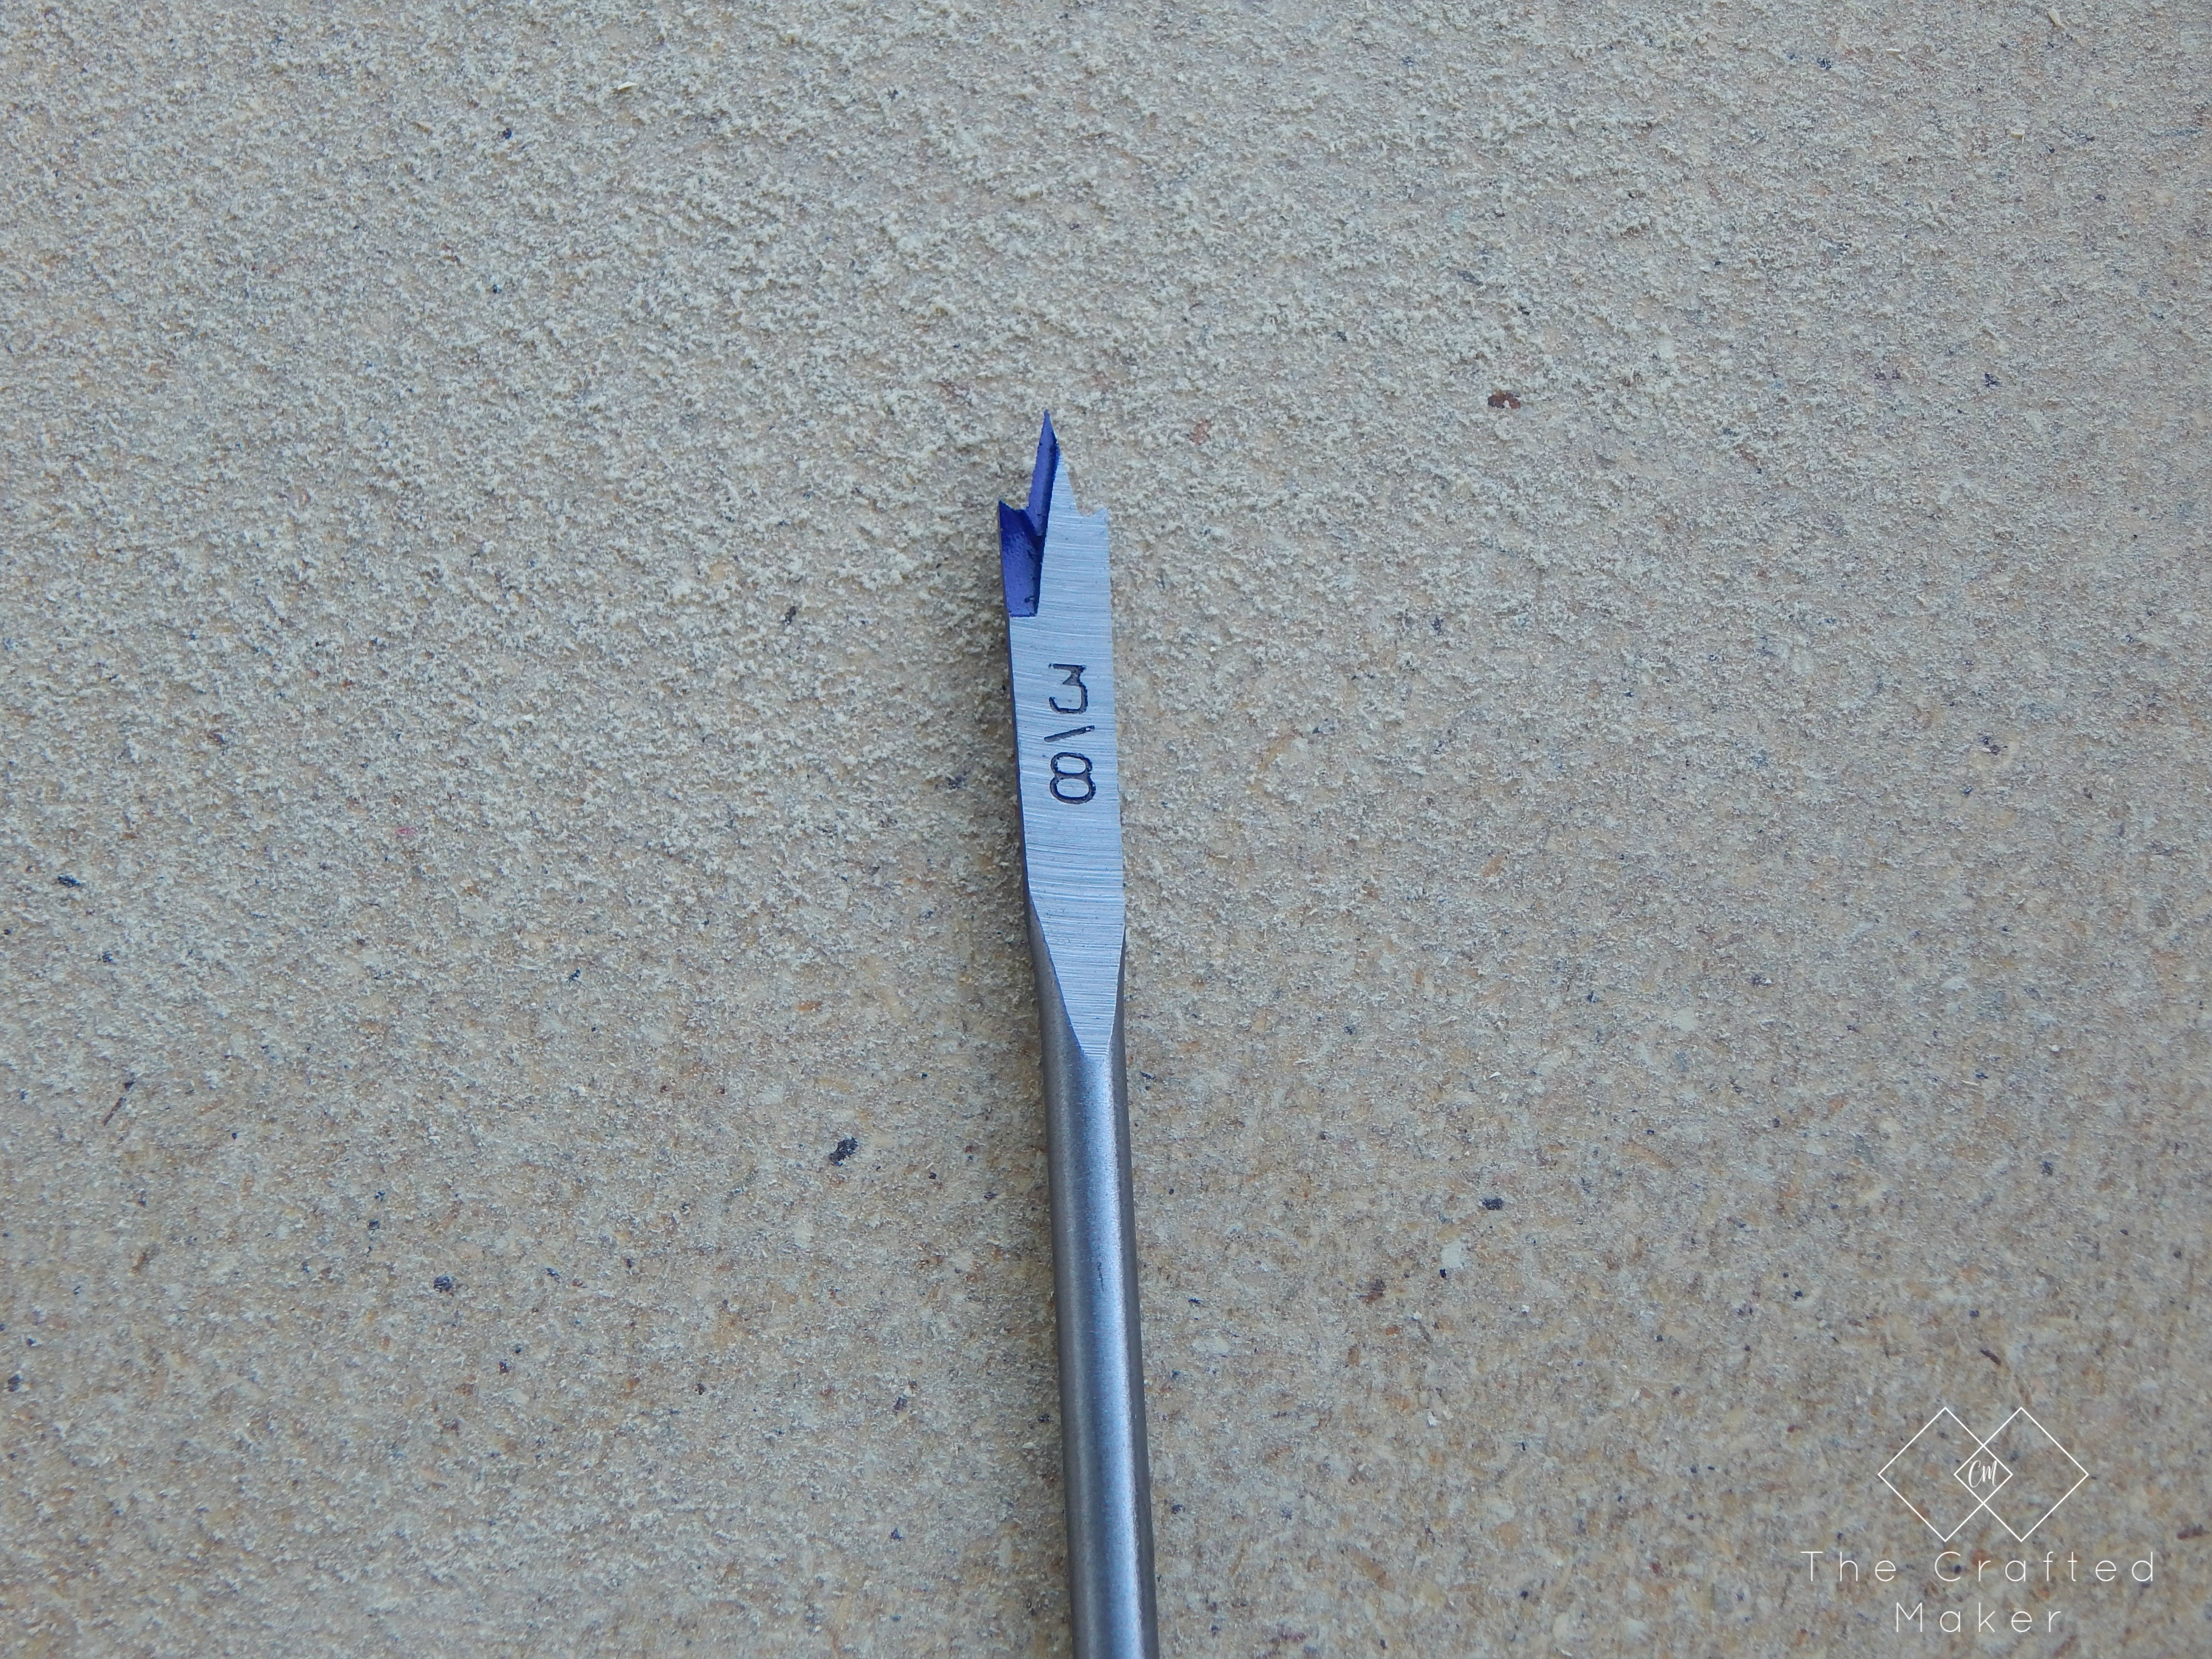
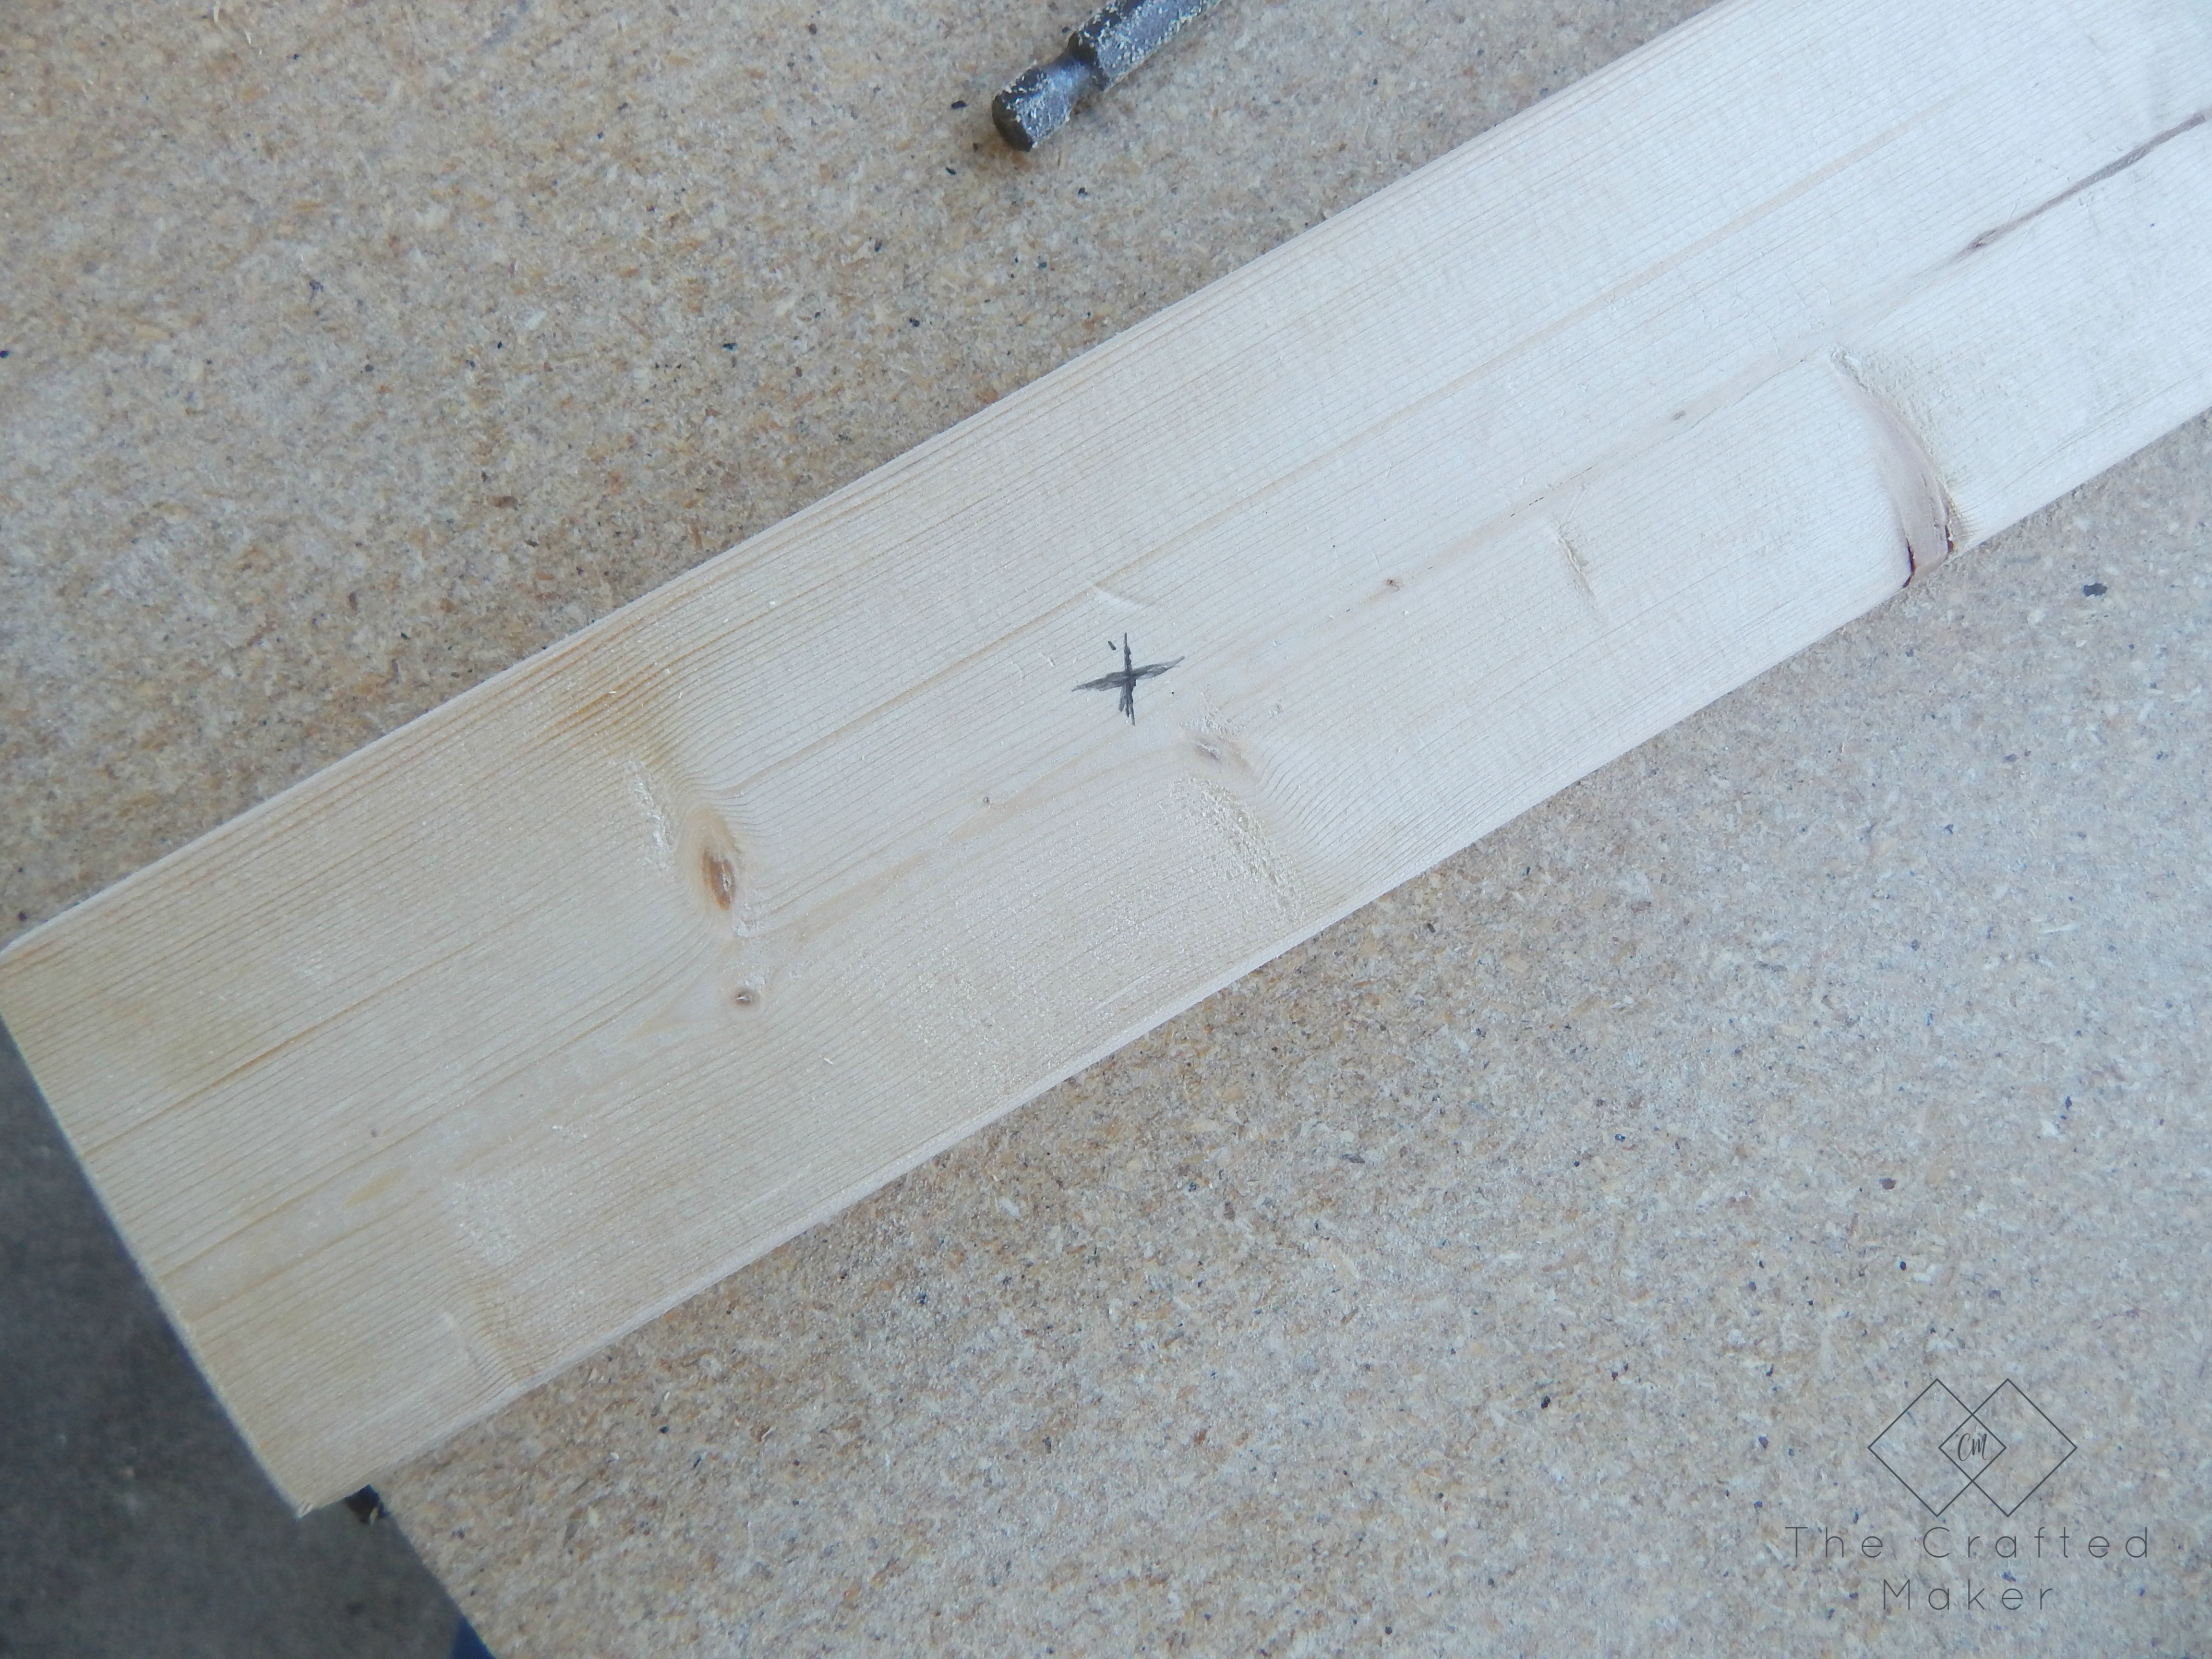
The 26″ 1X3 boards will have three holes in them. Measurements are 4.5″, 14.5″, and 22.75″ from the top of the board and 1.25″ from the sides.

The 24″ 1X3 boards will have two holes in them. The measurements for those are 1.25″ from the side and both ends.
Now that all of the holes are drilled with the spade bit, we can drill the pocket holes. I was in a building zone and forgot to take a pic of this, but the pocket holes are drilled into the 1X3 @ 24″ boards. I drilled two holes per board. These pocket holes are what will attach the shelf pieces to the end table.

Since this end table is layers of wood stacked together, it would be really hard to stain or paint after its assembled. So, I stopped and stained everything (except the underside of the shelf boards. You won’t be able to see those.) I went with Kona by Rust-Oleum, but I wiped it off ASAP. It gave the wood some of the rich color, just not as dark as normal. I really like the way it turned out by wiping it off so fast.
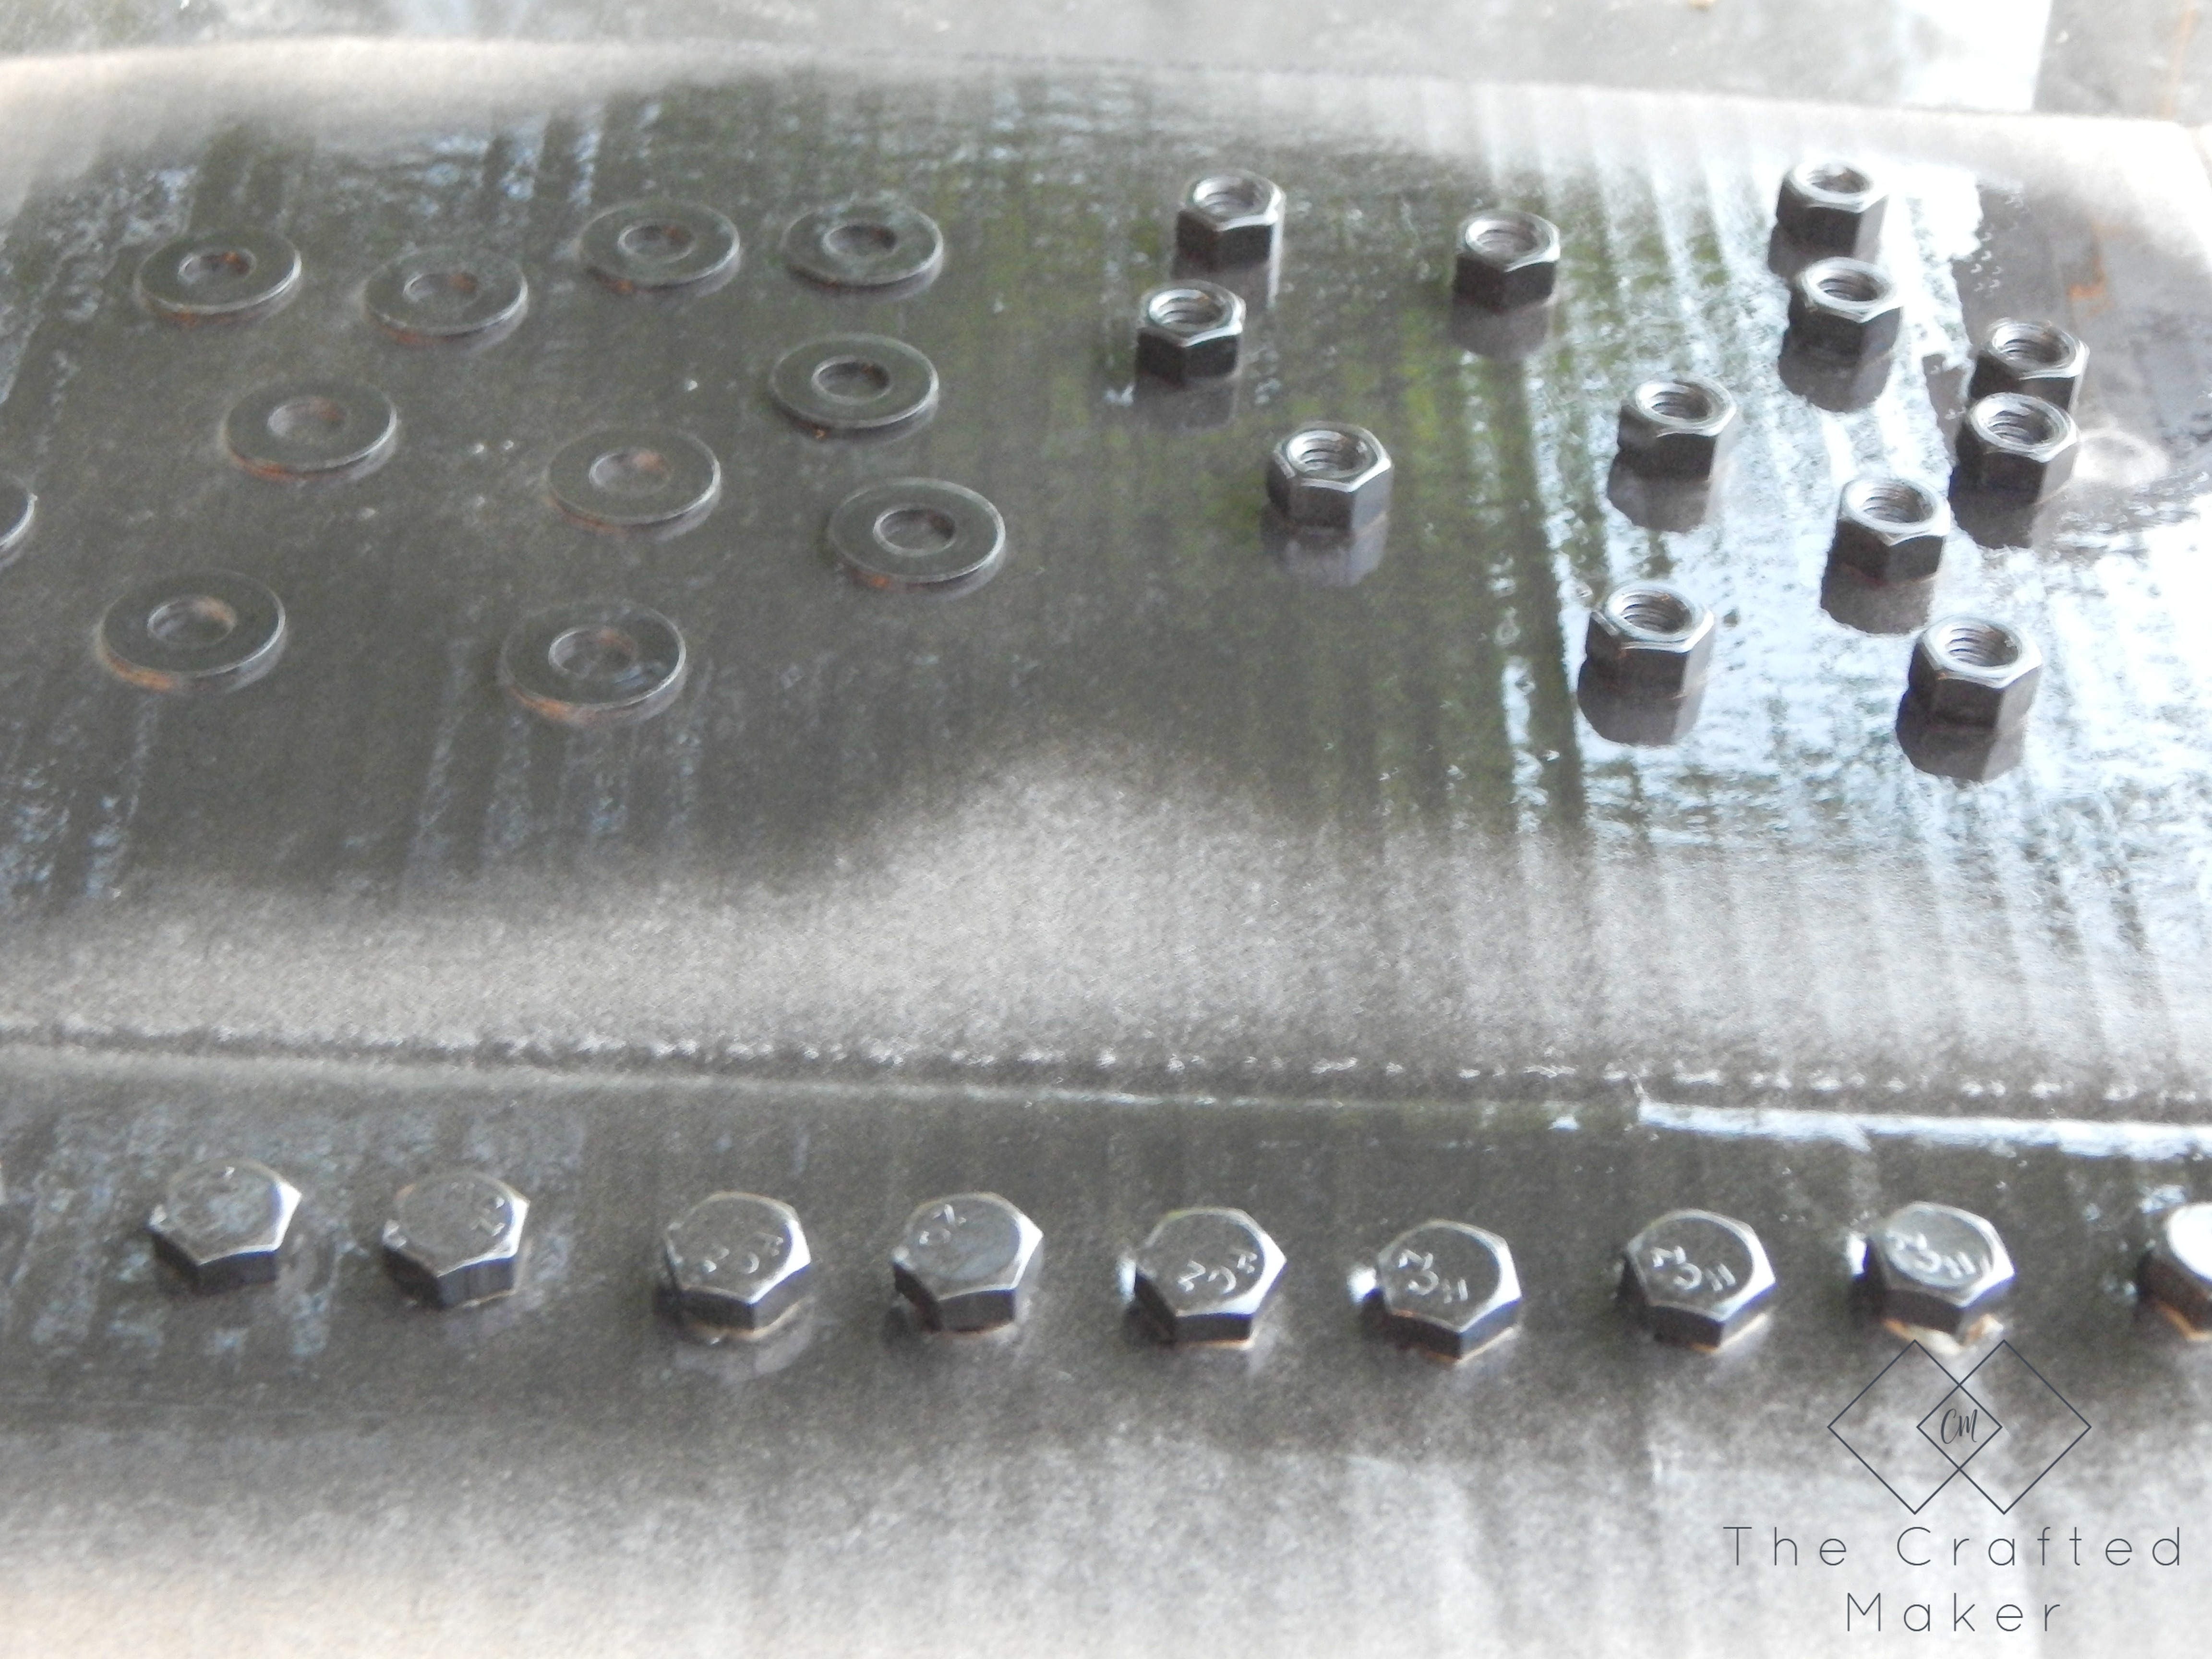
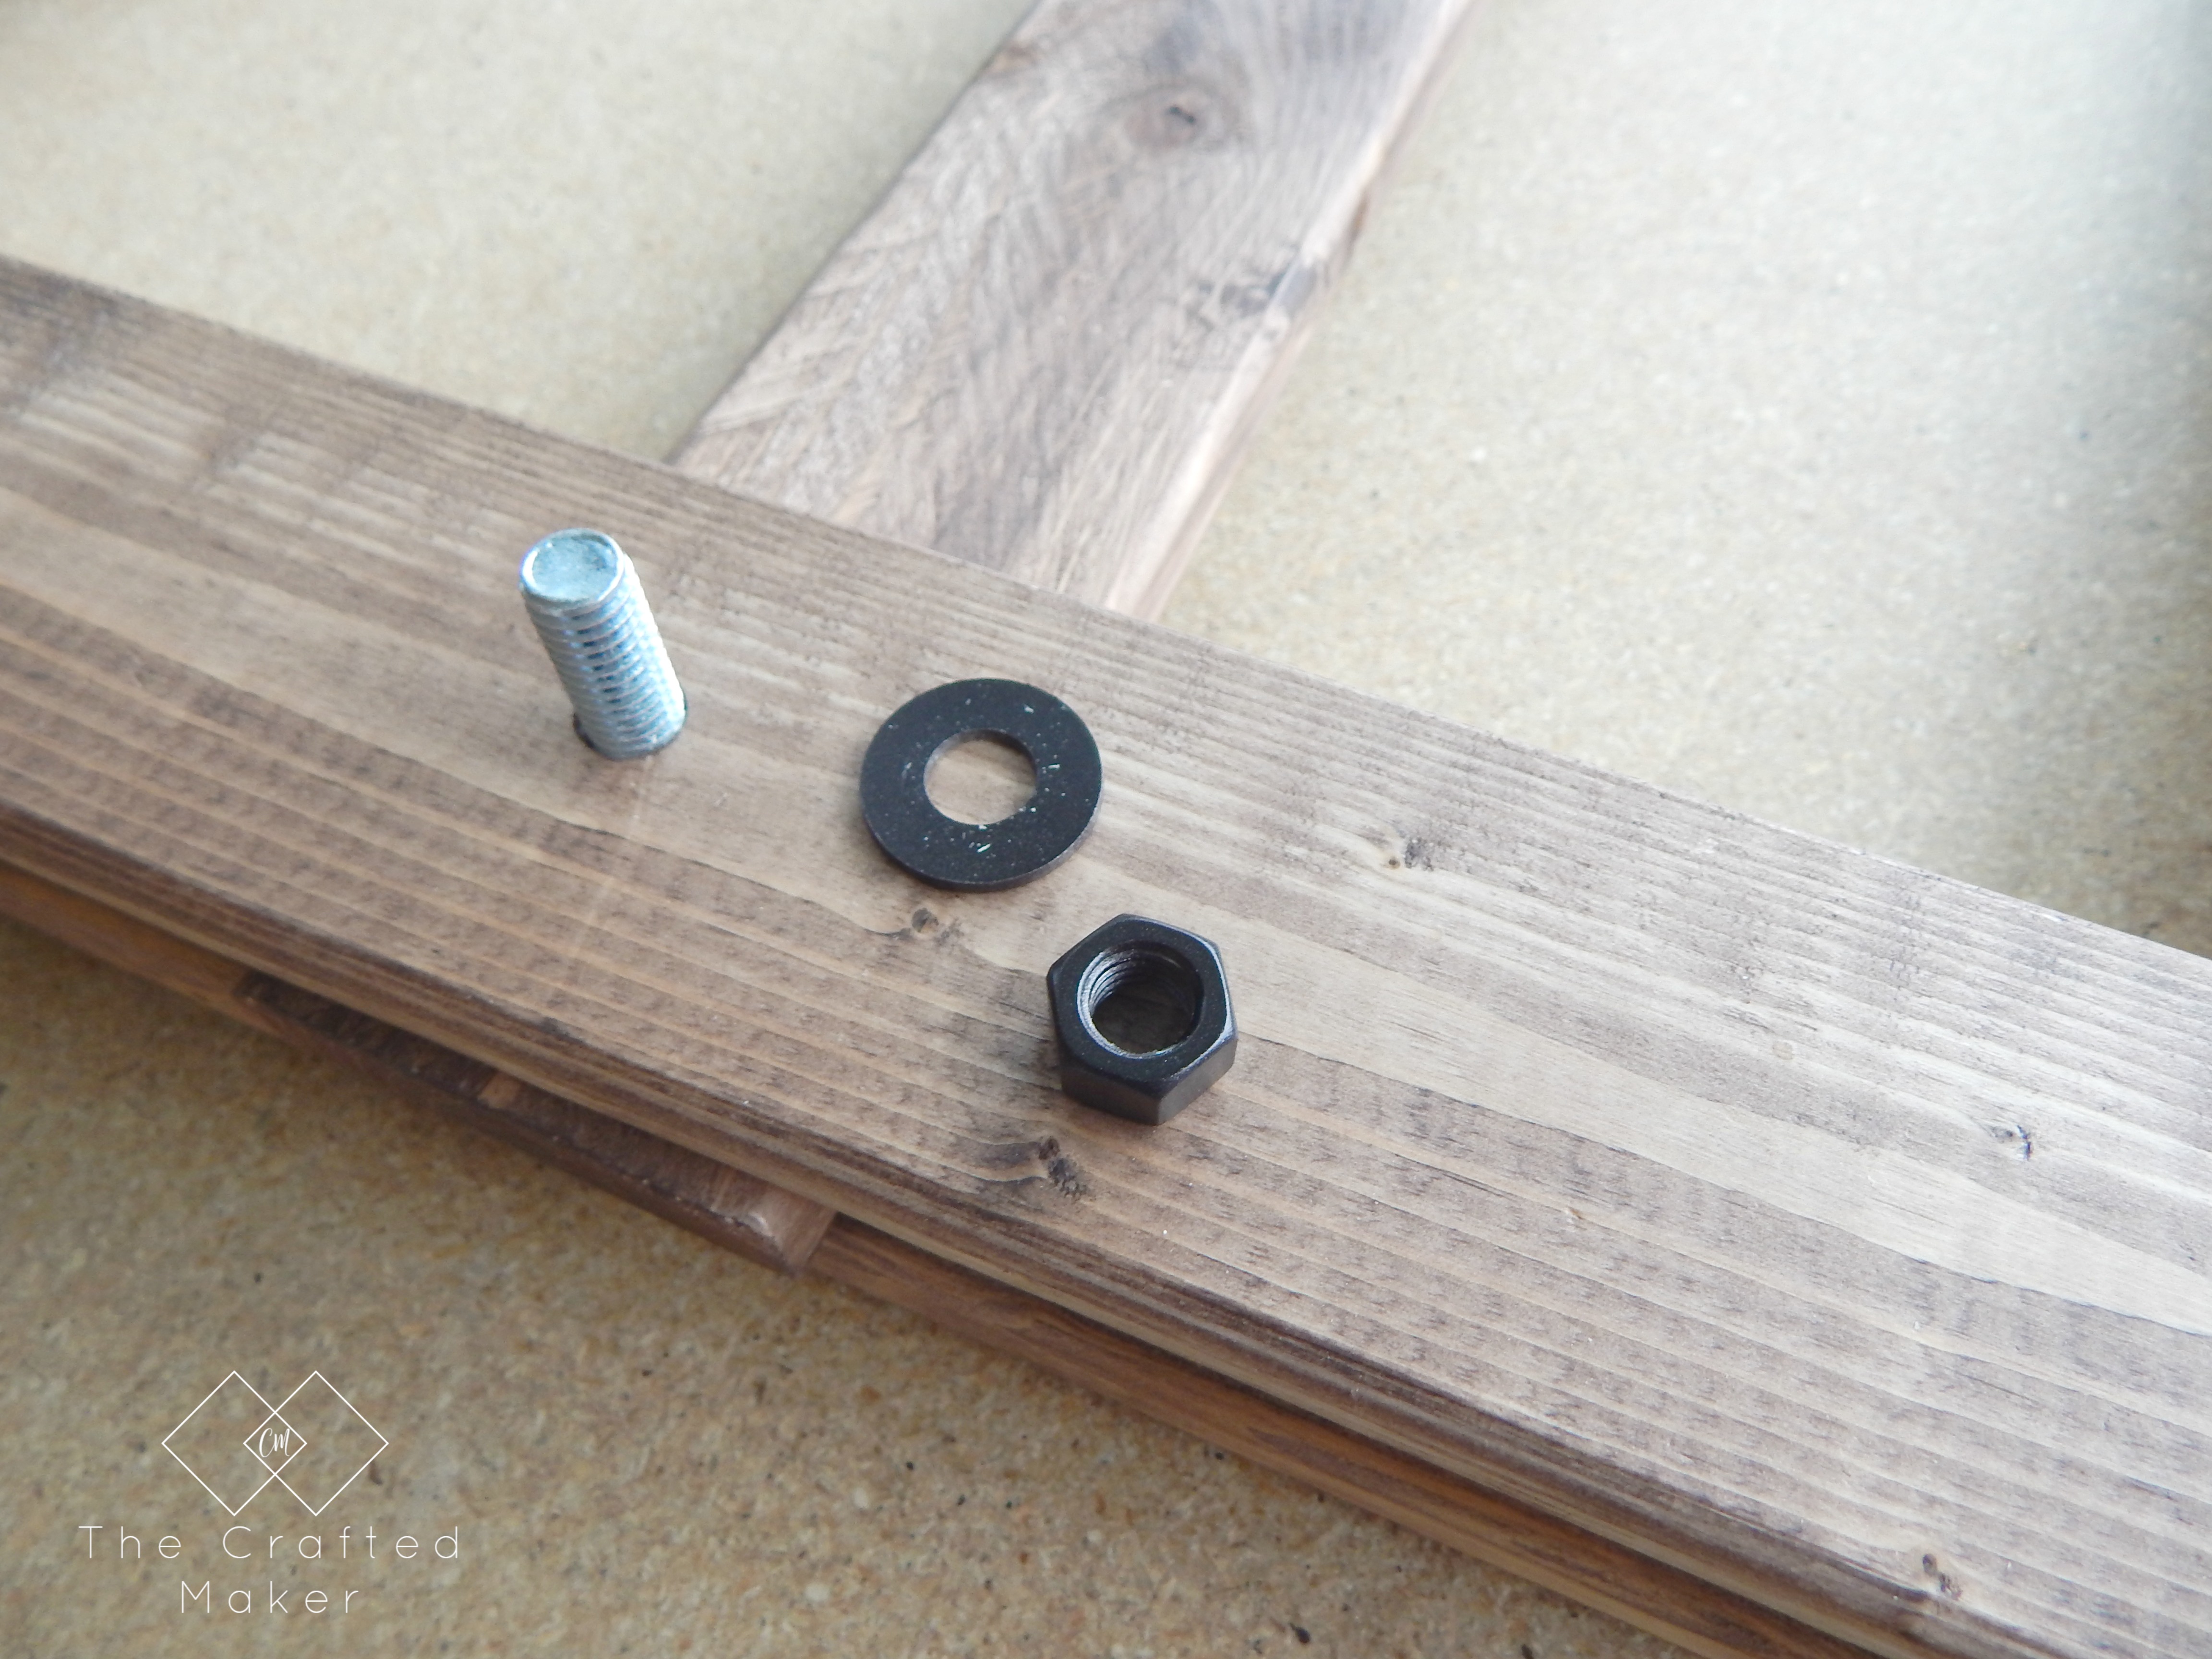
While I was letting the stain dry, I decided to go ahead and spray my bolts, hex nuts, and washers. If you can find them in a color you want, skip this step. Unfortunately, I couldn’t find anything but bright silver so I had to paint. I used Rust-Oleum metallic oil rubbed bronze. It worked great!!

I cut some holes in an old piece of cardboard for the bolts and placed the hex nuts and washers on top. I passed over everything a couple of times with the sprayer and waited for it to dry.
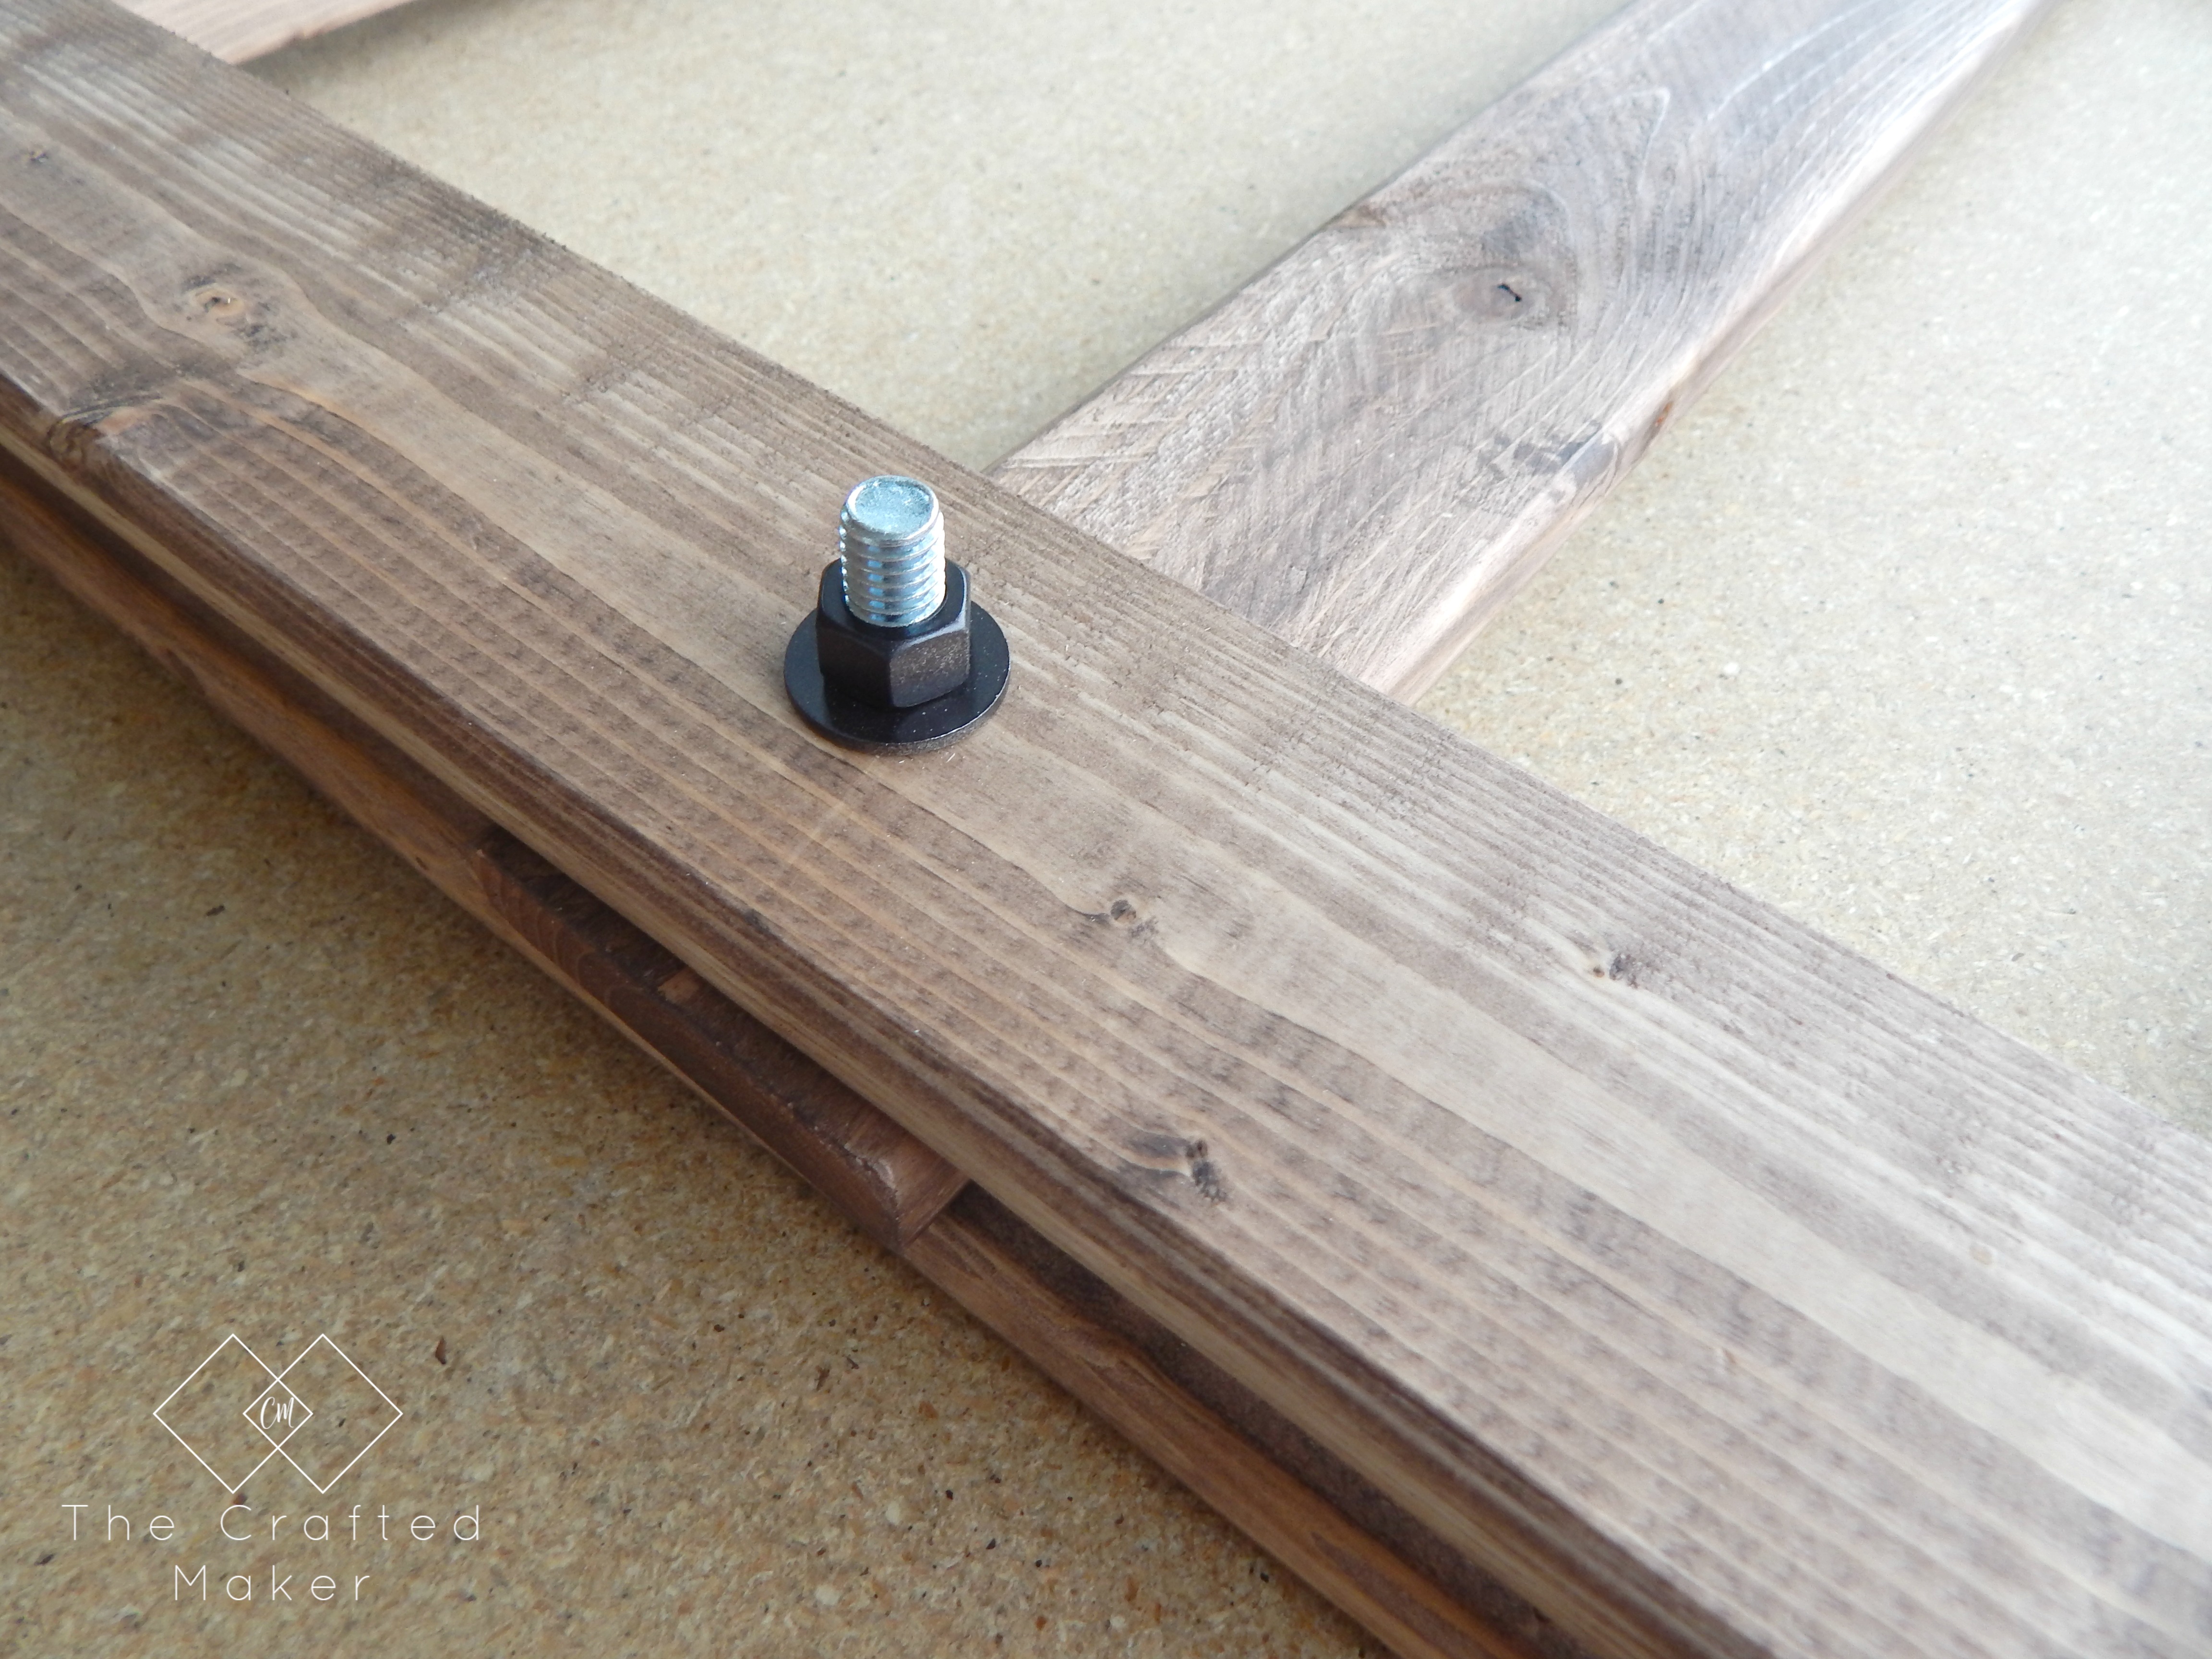
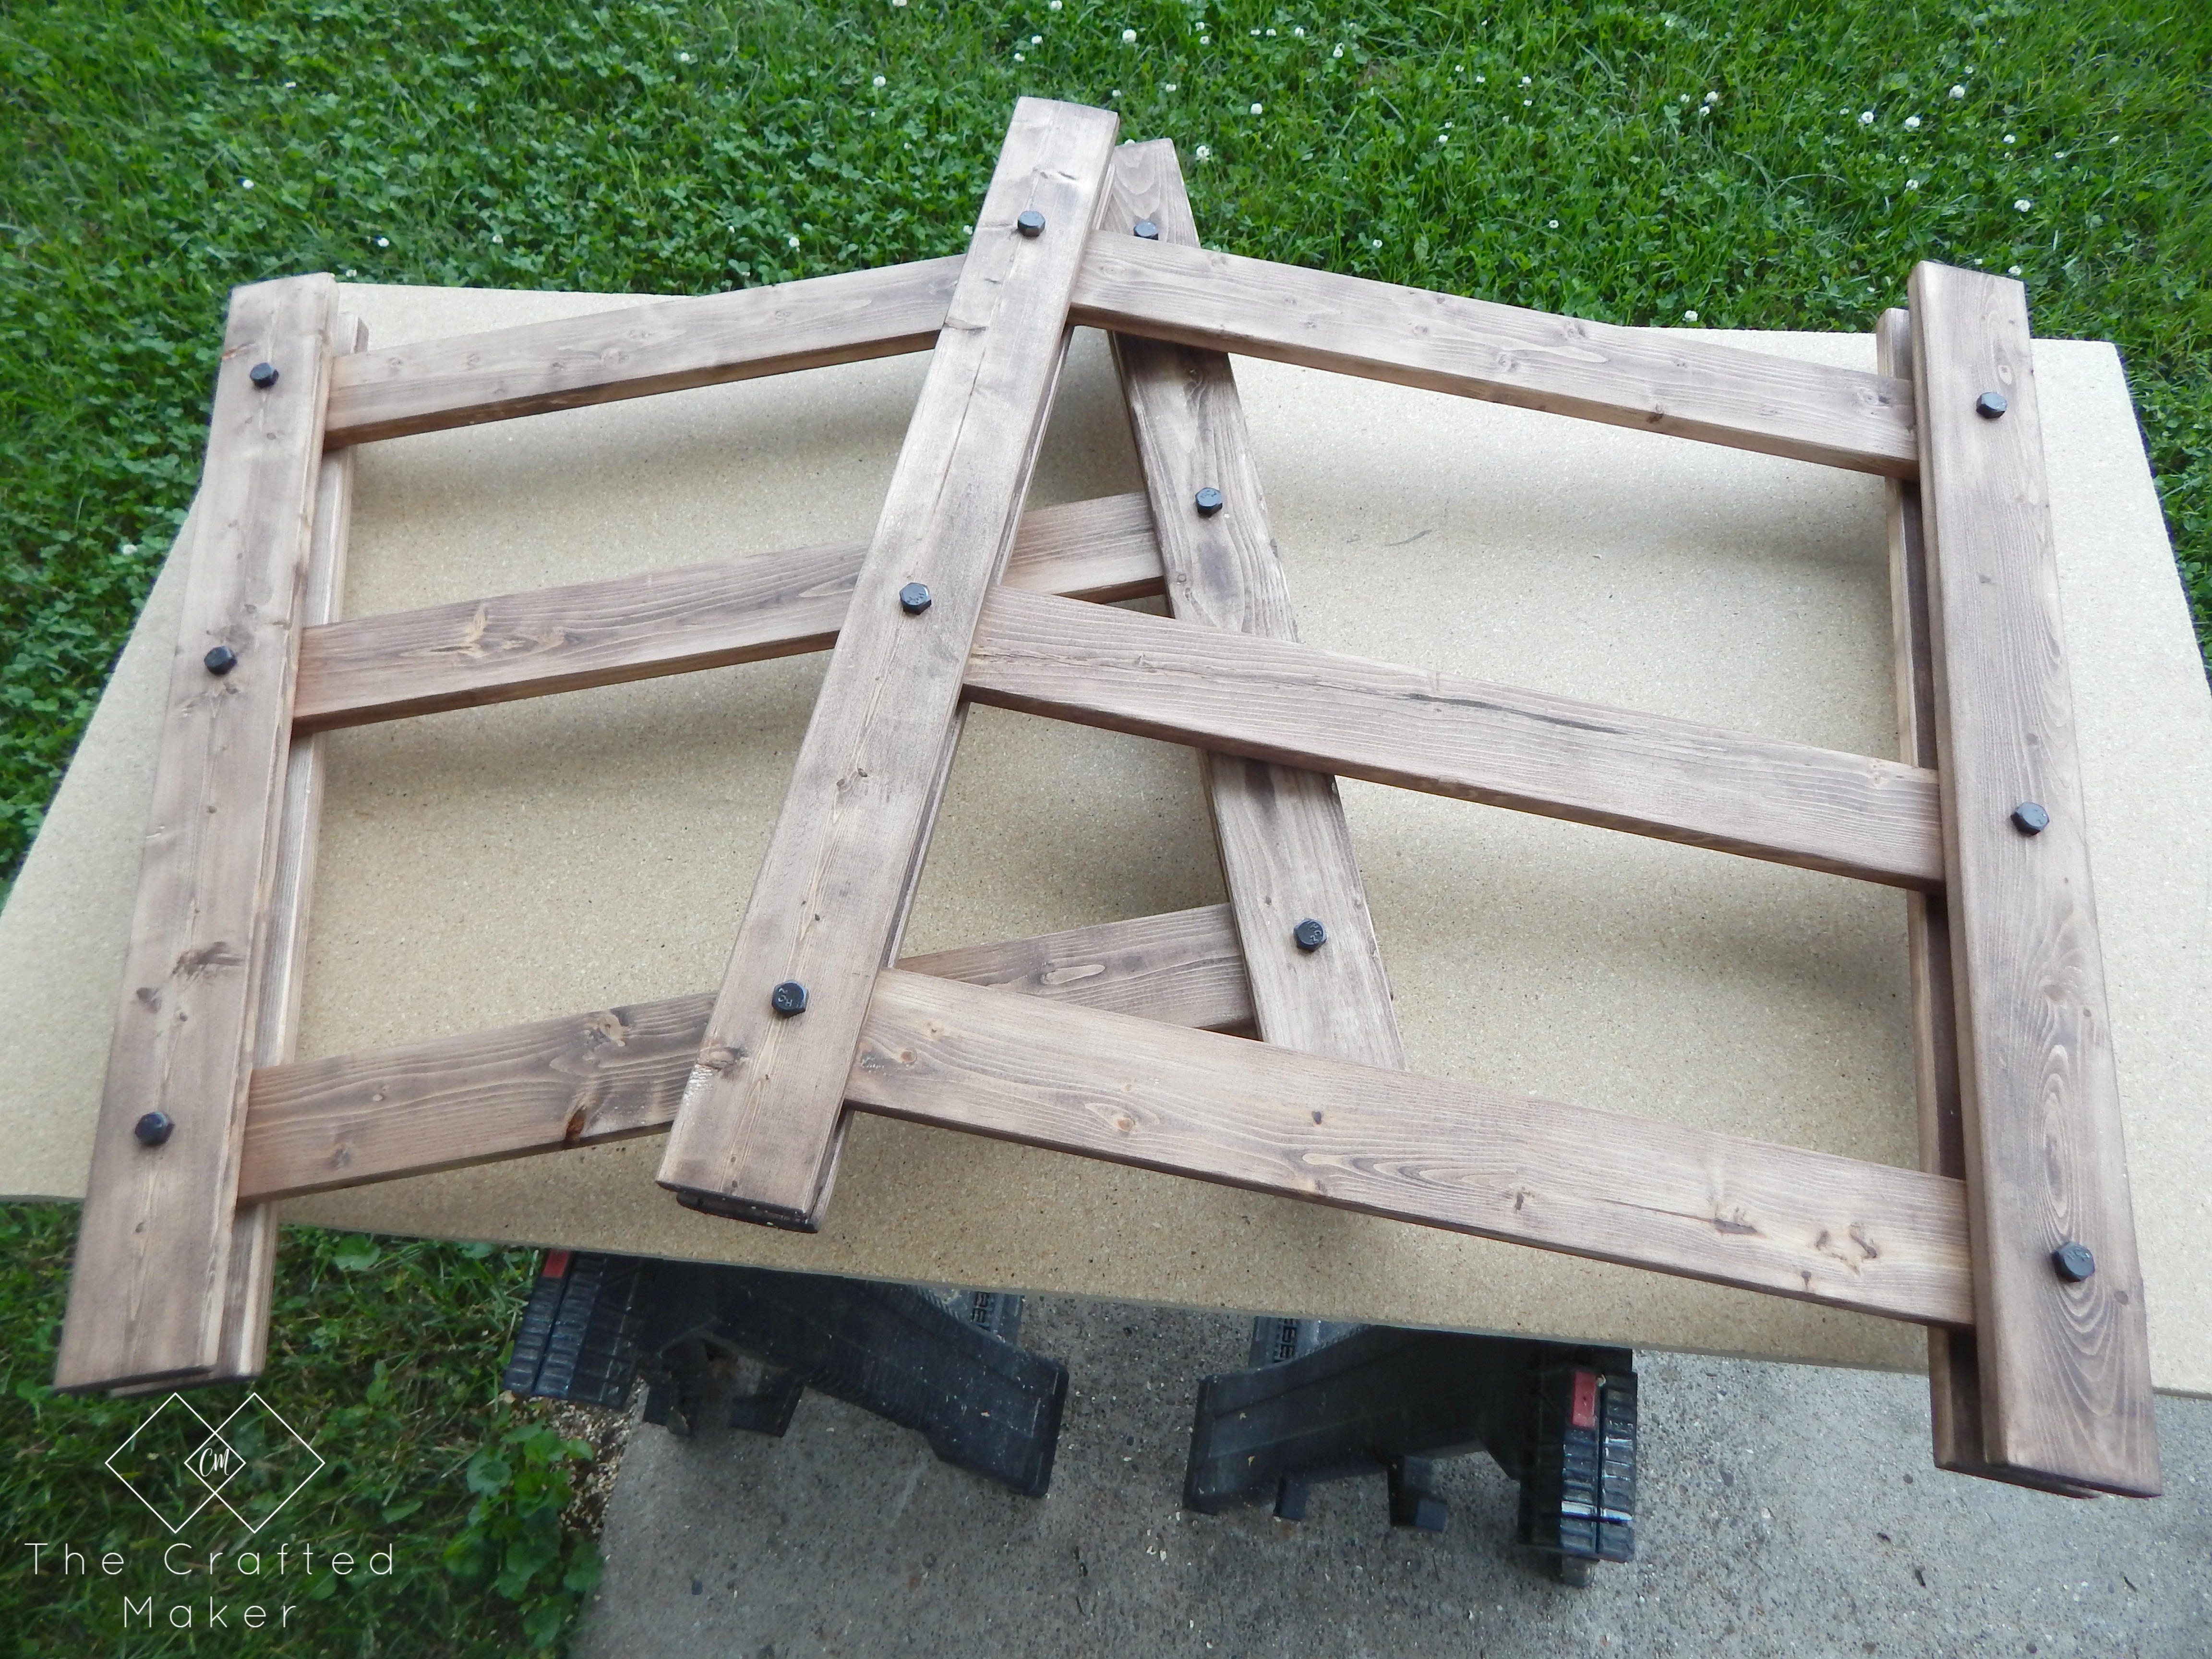
When everything was dry and ready to handle, I started to assemble the table. This is pretty easy. The holes will line up and show you where to place the boards. It’s just three layers of 1X3 boards held together with nuts and bolts. I placed a 24″ 1X3 between two 26″ 1X3 boards and threaded the bolt through to start the assembly.
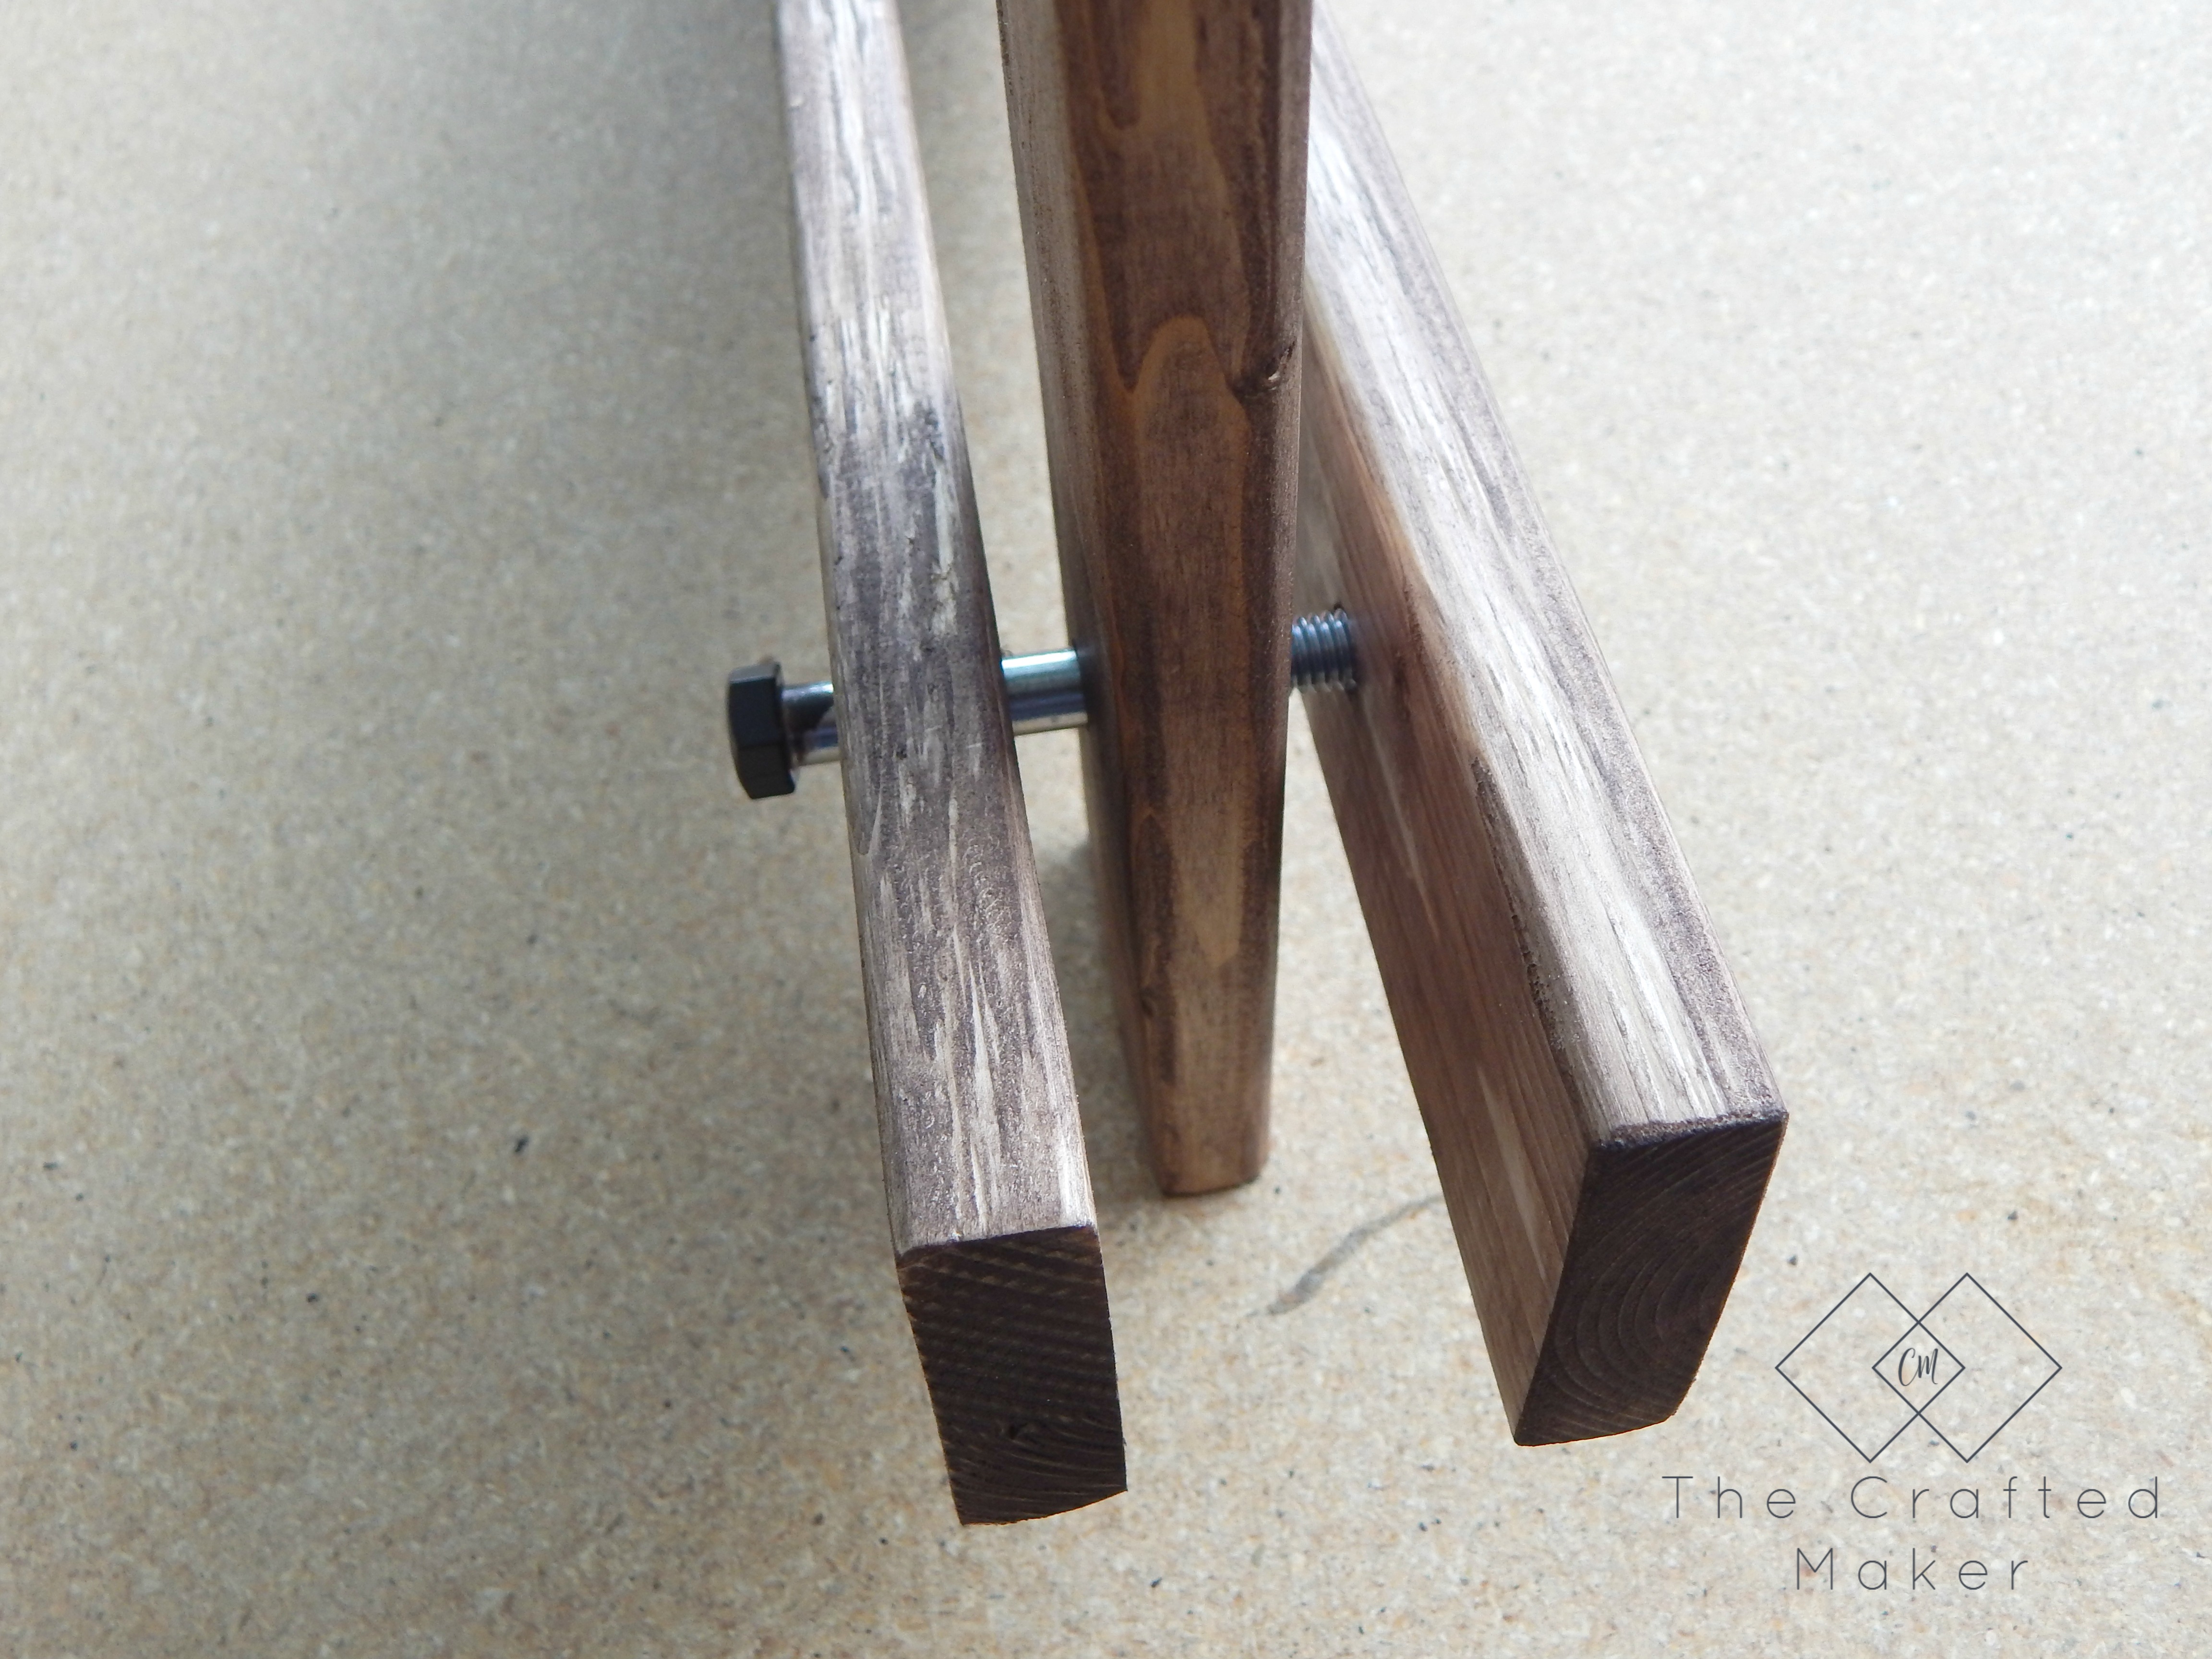
Some of the bolts went through just fine, and some I had to really push through. Just be careful if you painted your hardware, place a rag on the surface of the bolt if you need to push hard.
Once the bolt was through all of the boards, I secured it with a flat washer and a hex nut.
I put the flat washer on first, then threaded the hex nut onto the bolt. I just hand tightened them at this point, later I tightened them with a wrench. I learned the hard way to do this very carefully (several spots of scraped paint later, I was a little more gentle).
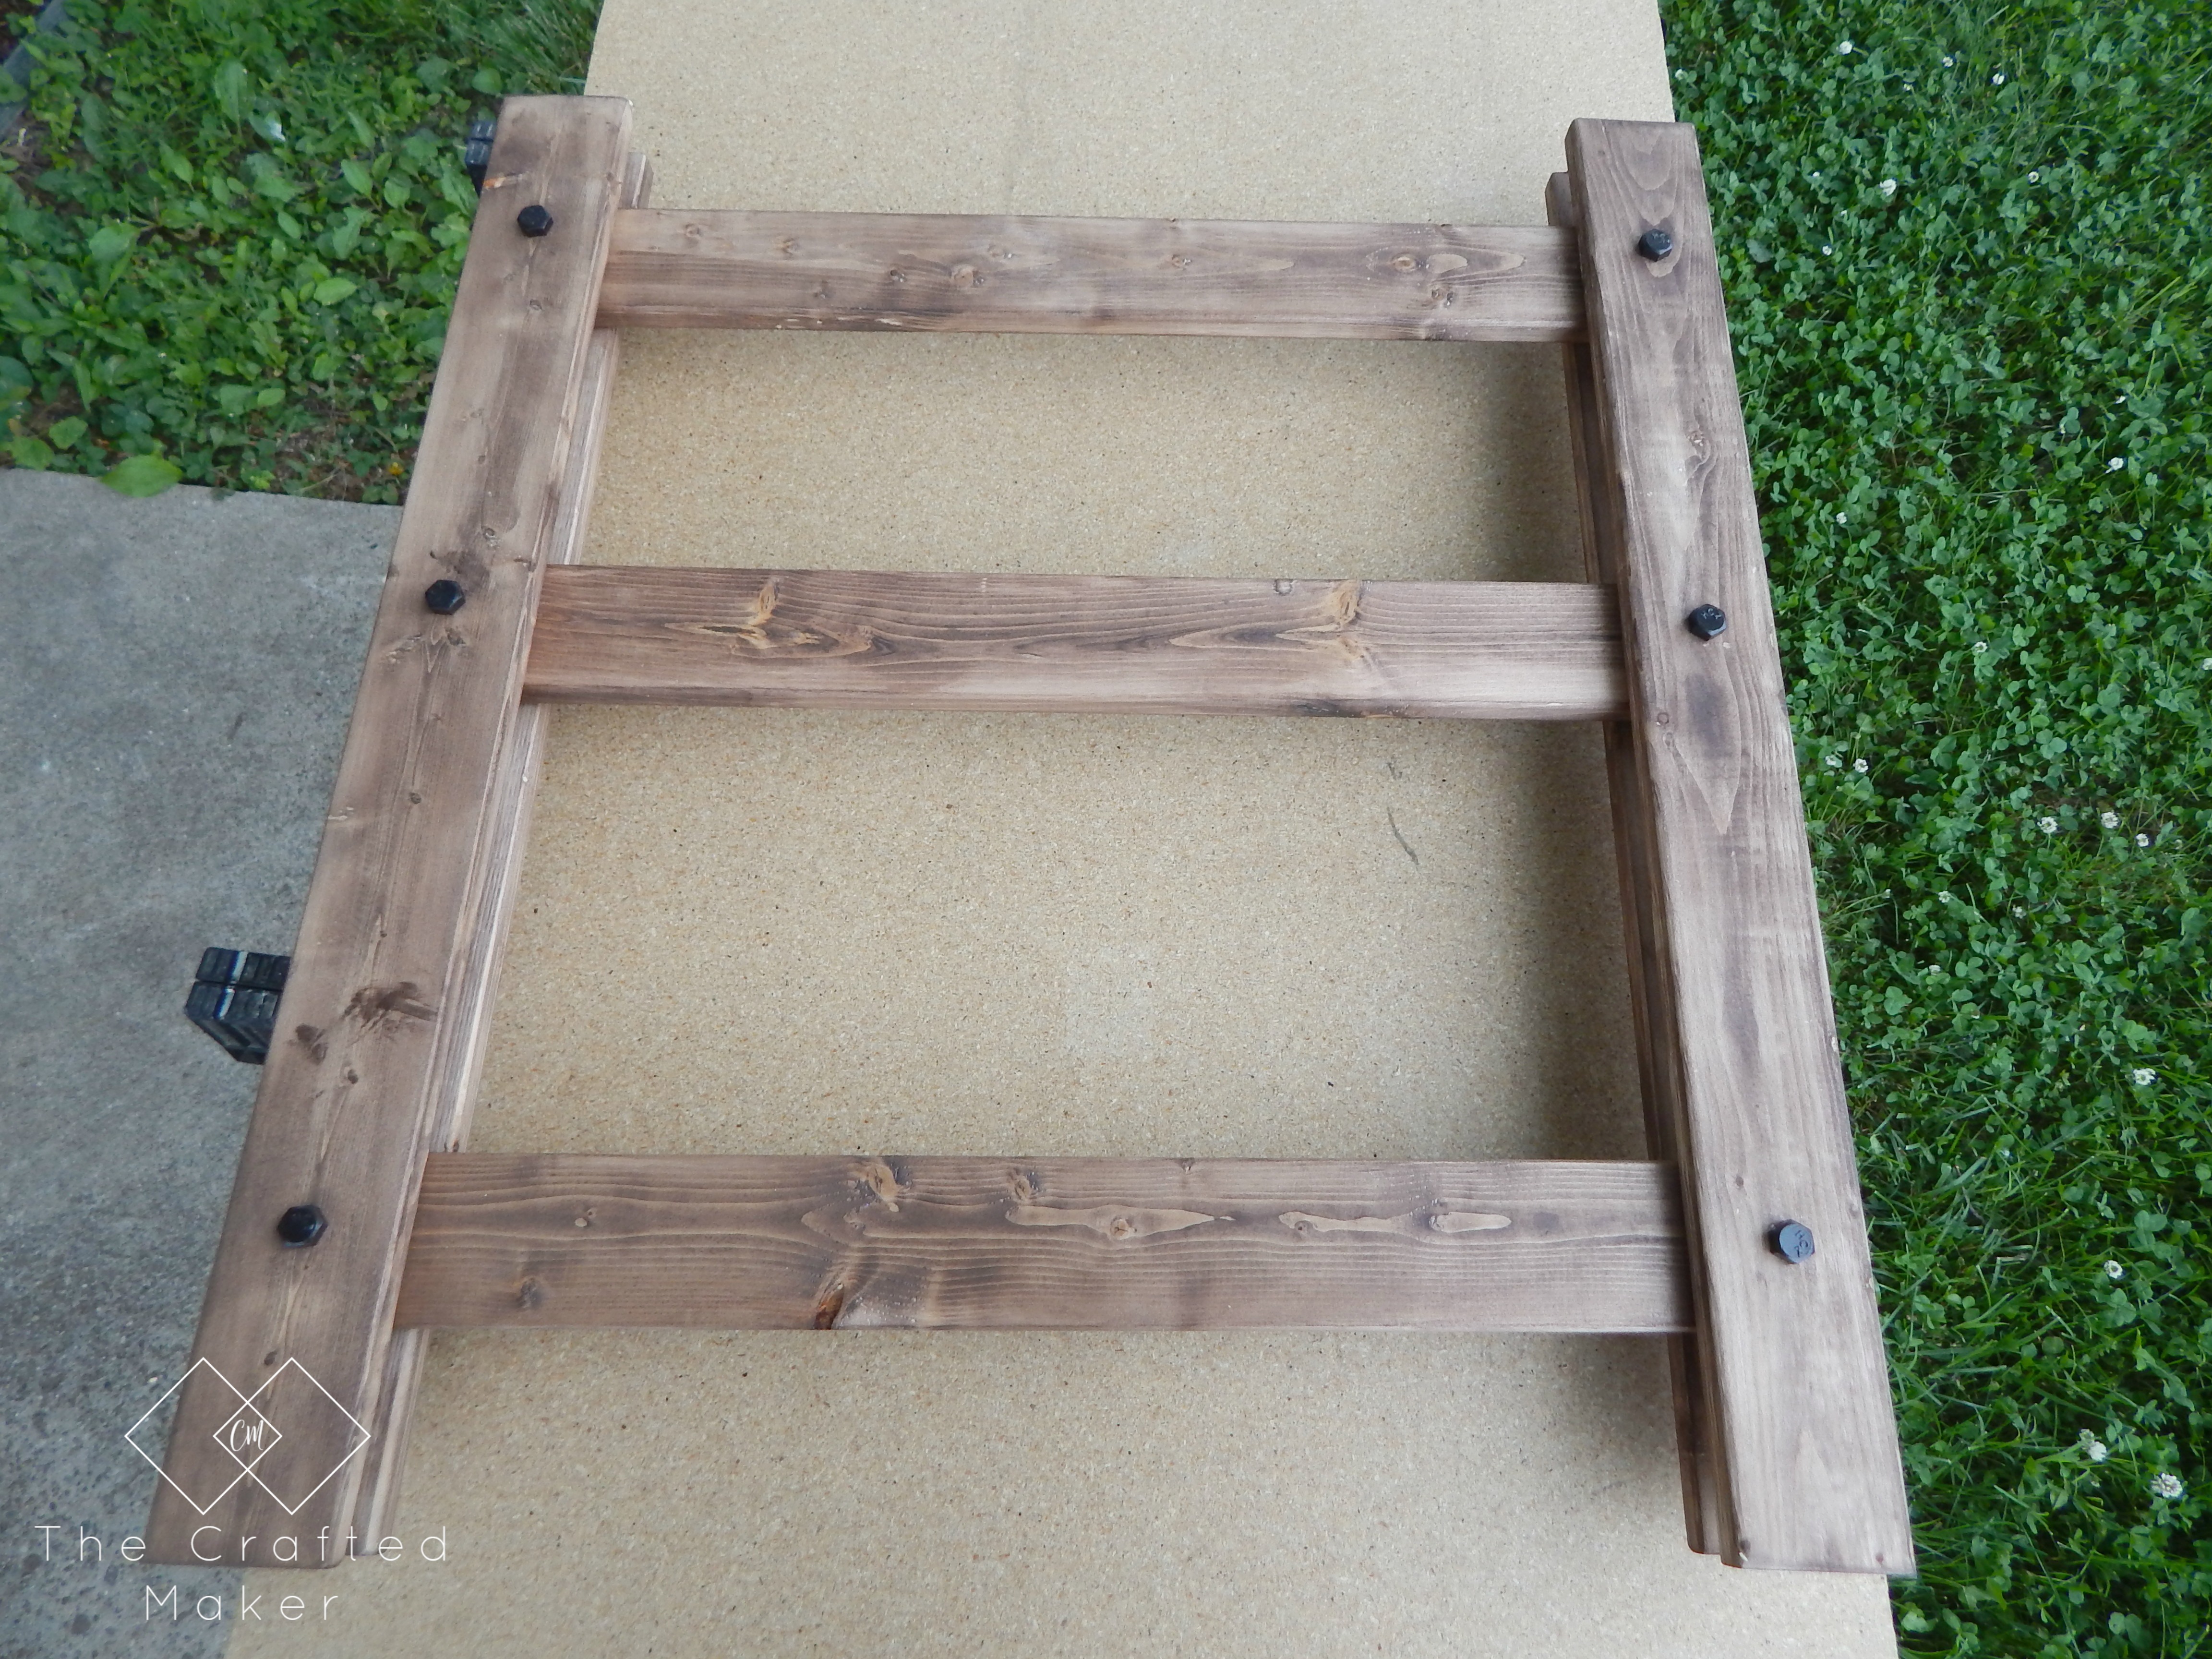
Repeat this step until you have all of your bolts threaded through your holes to form the first set of legs for your end table. This is what it looks like put together.
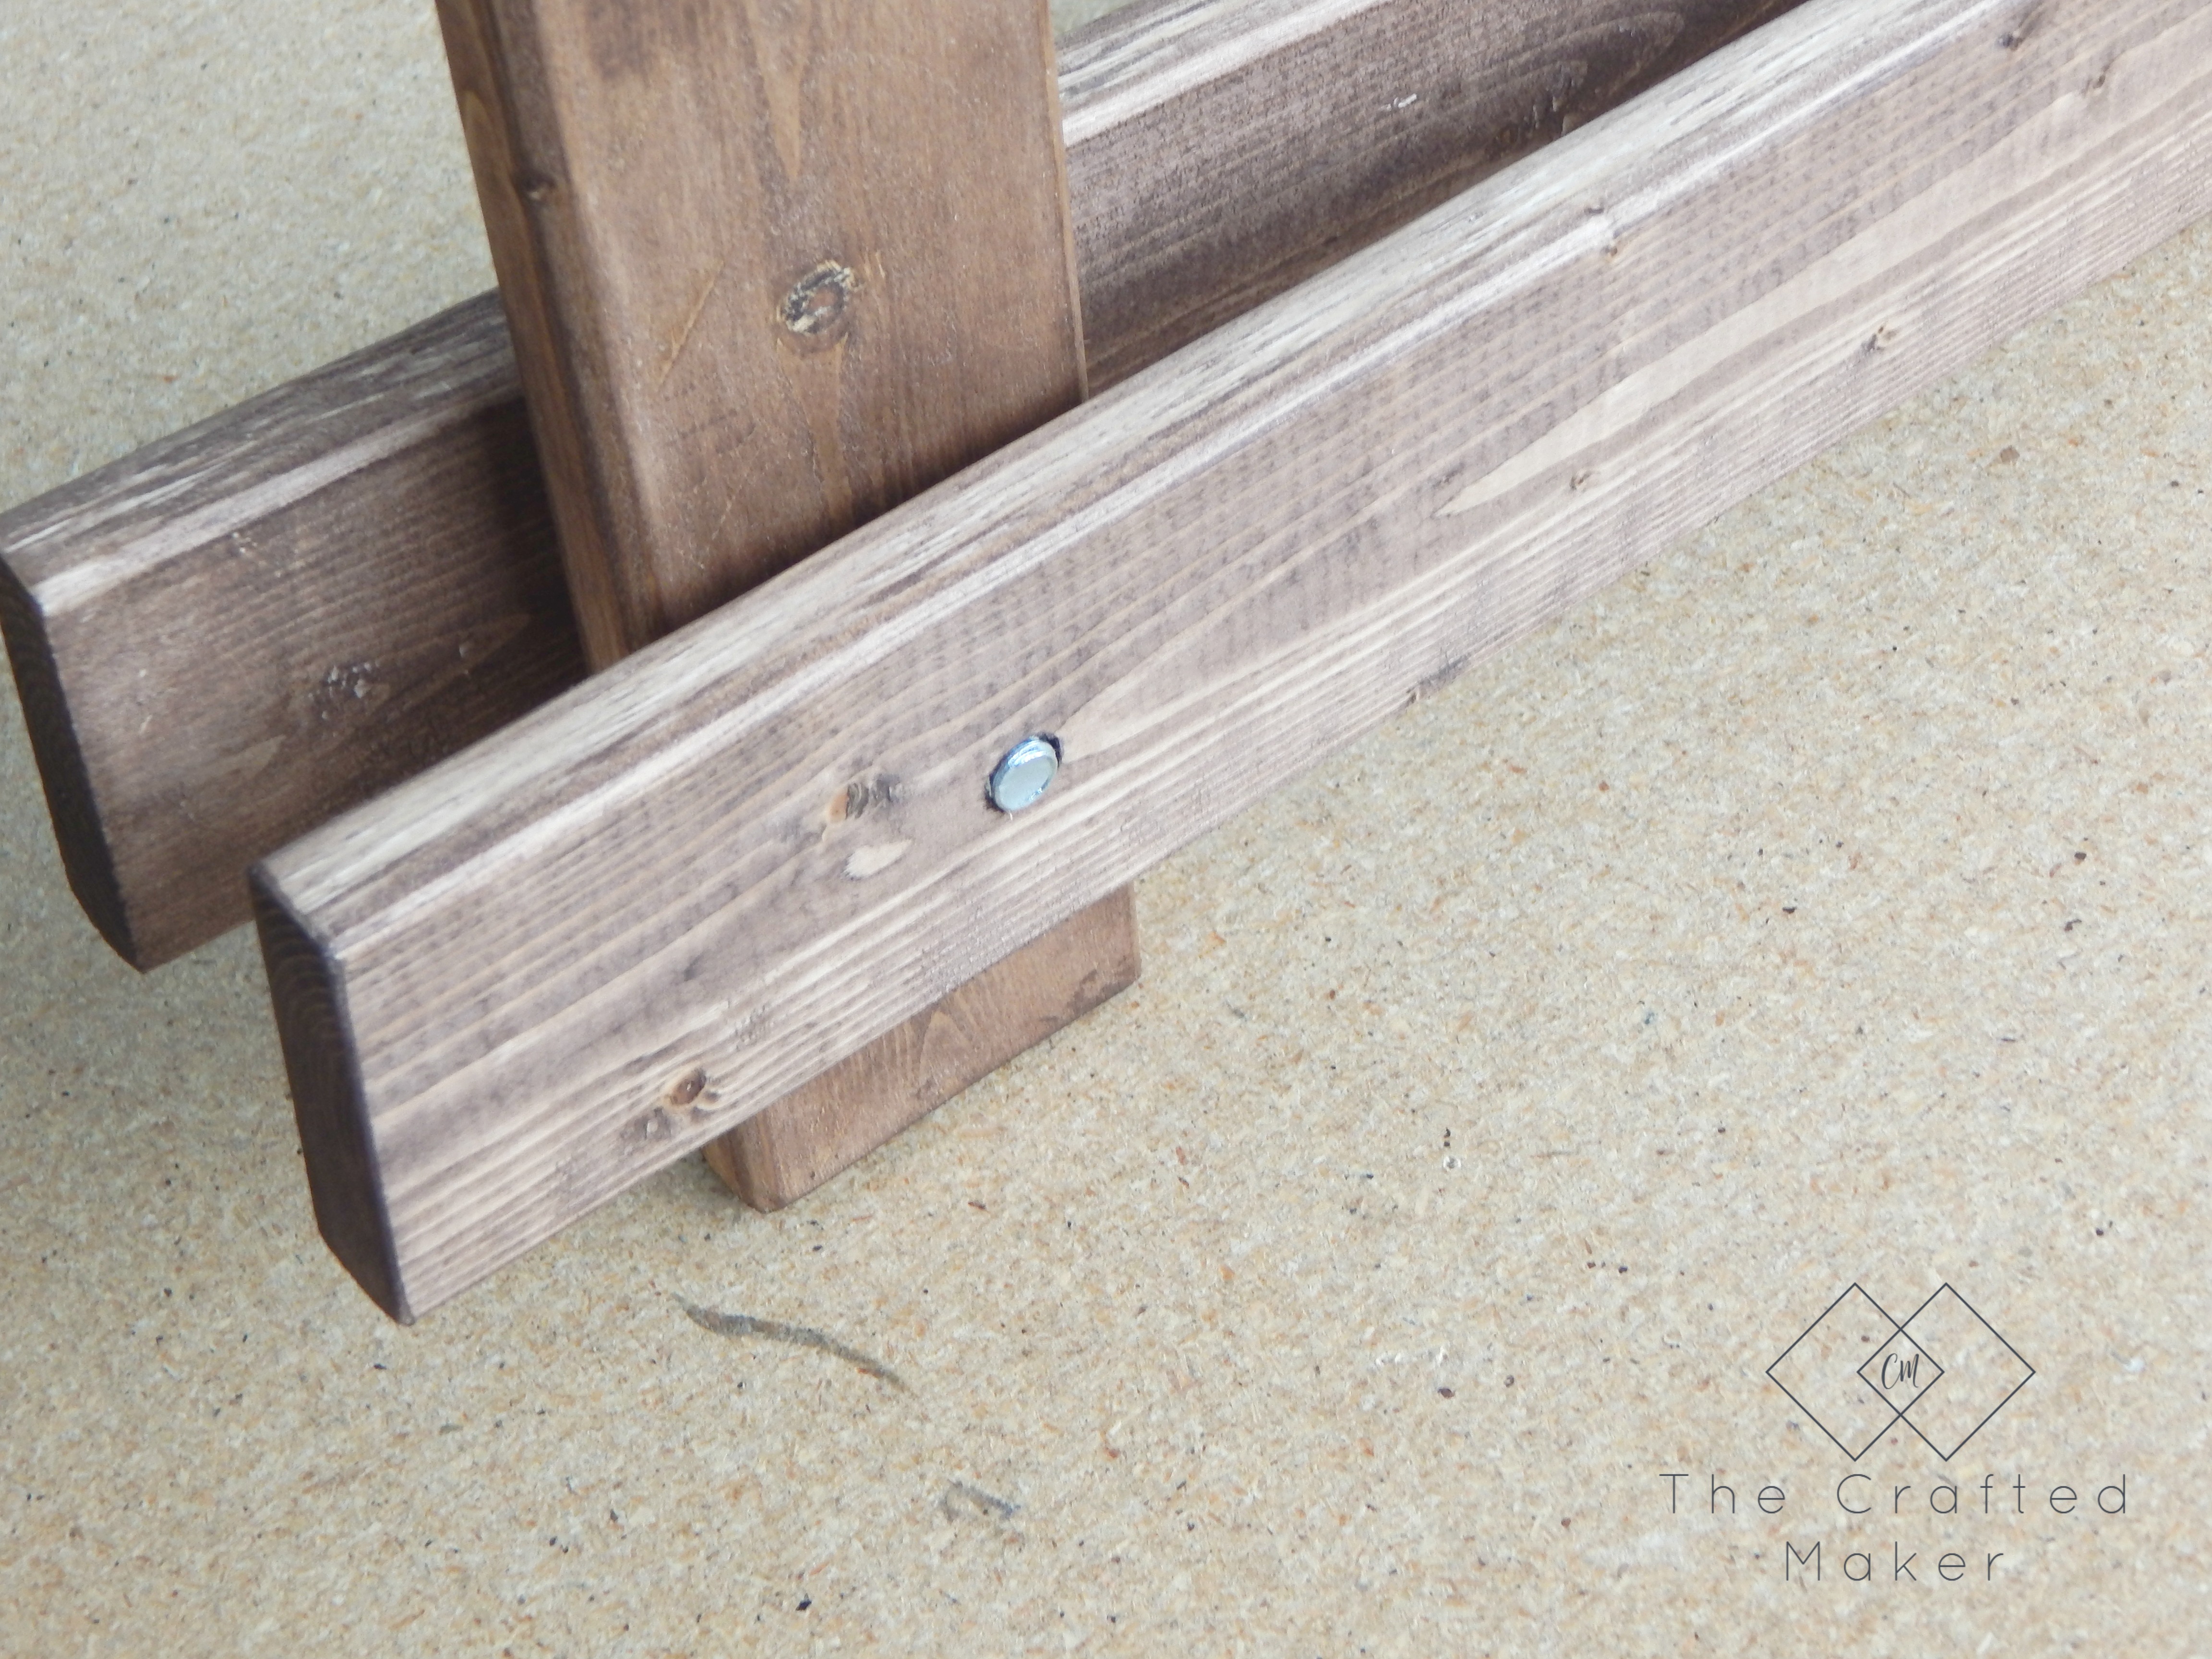
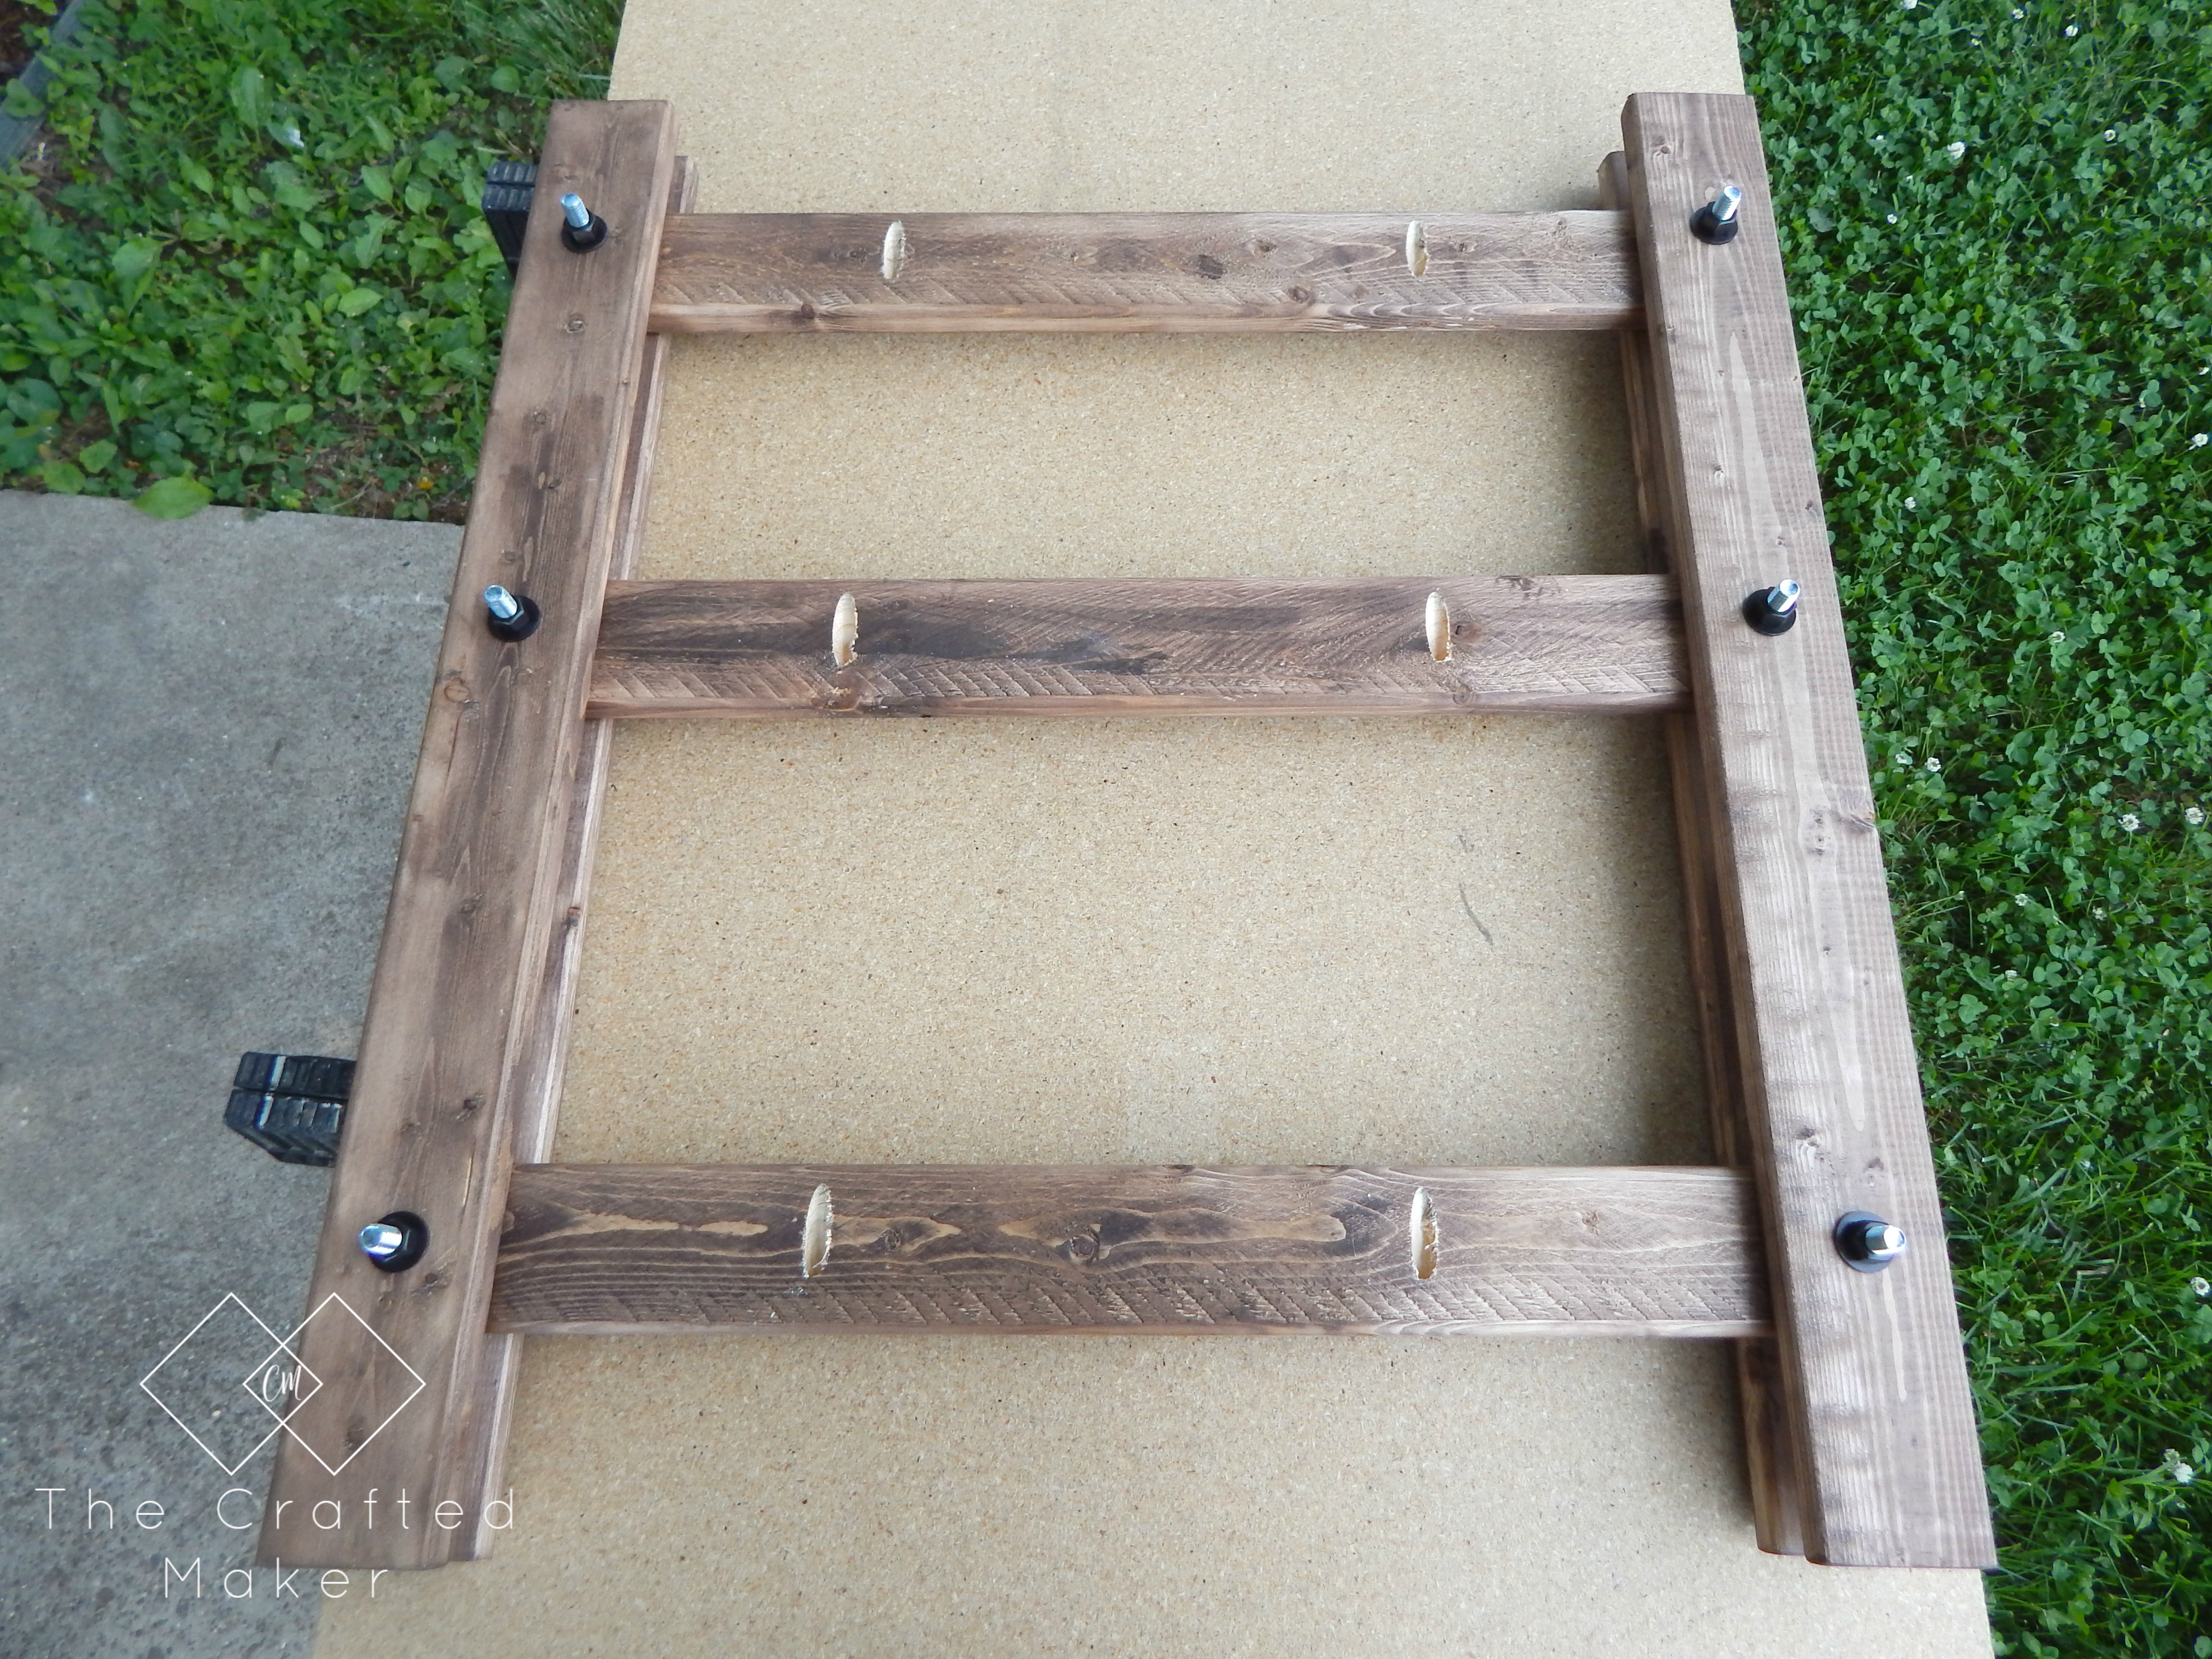
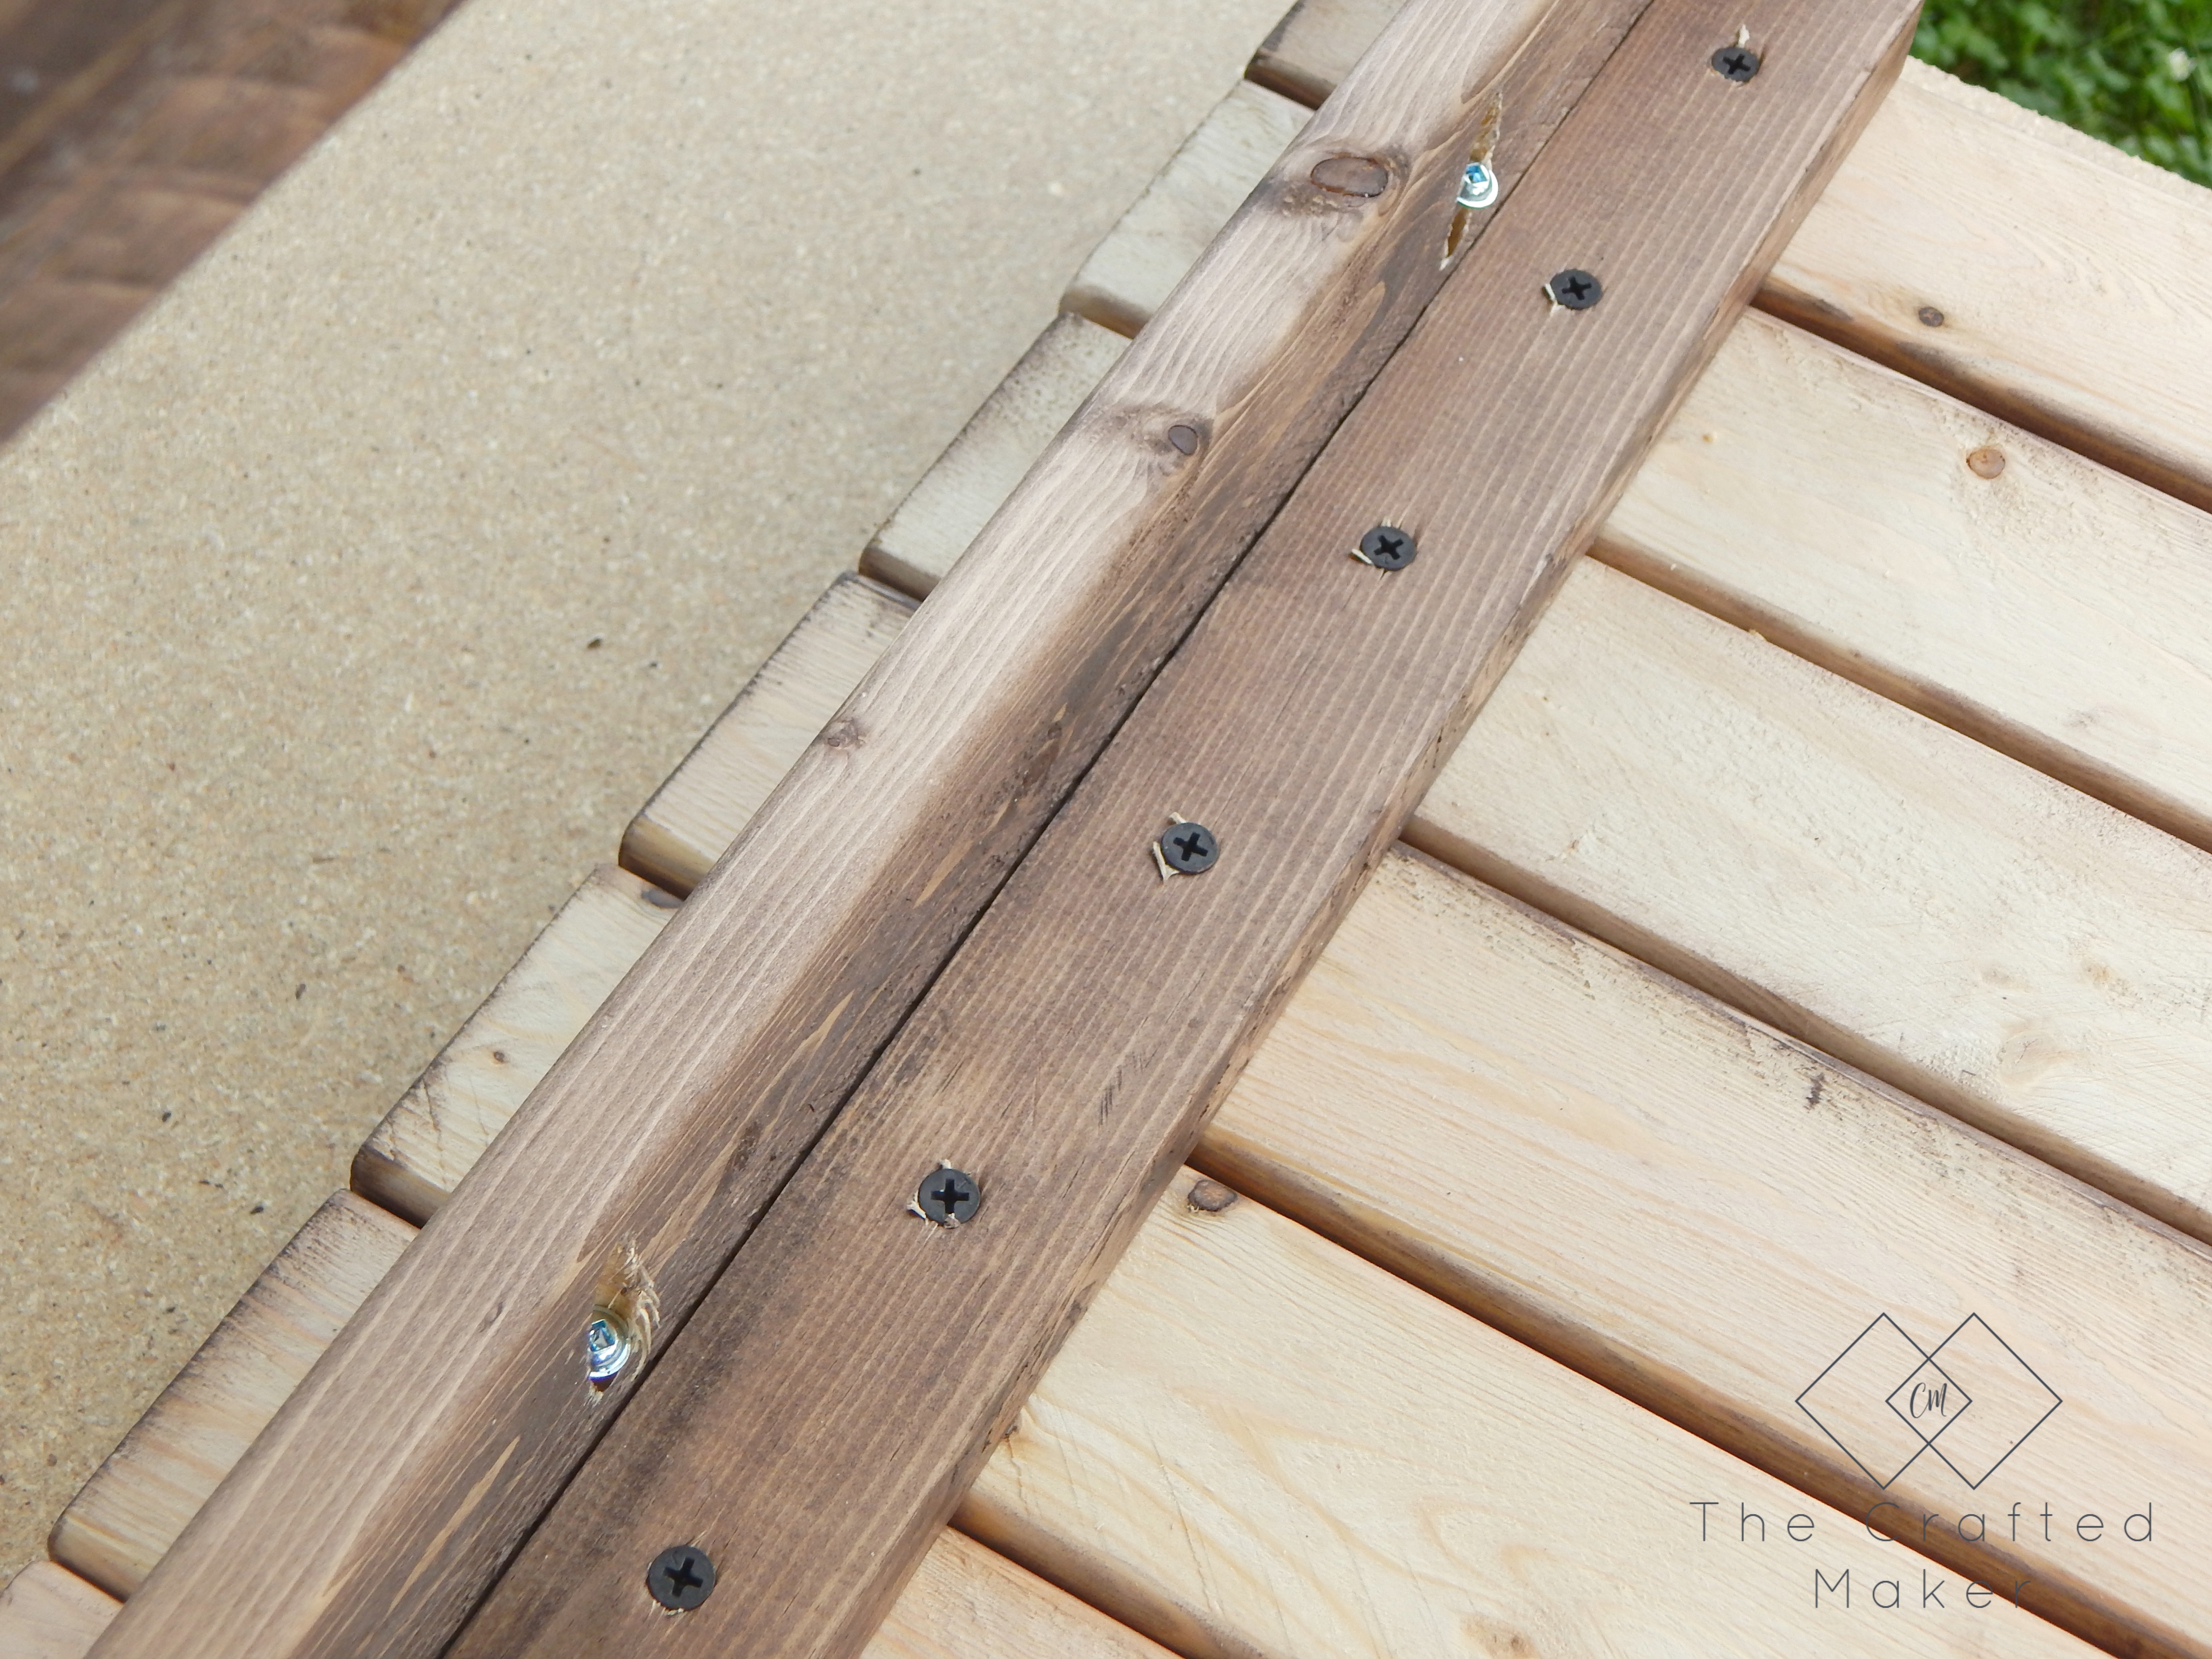
This is the inside of the legs, this is also a good shot of where I drilled the pocket holes.
Then, I repeated the same steps to make the second set of legs for the table.
Time to make the shelf units…
I placed seven 1X3 @ 18″ flat on my work surface and placed two 1X2 @ 17.5″ on top. I secured the boards by using 1 3/4″ wood screws.

I made three of the shelf units. Now time to assemble this beauty!
To make it easier on myself, I worked from the top down. With everything flipped upside down, I secured my top shelf unit to the legs with pocket hole screws. The shelf should hang over each side by 1″.
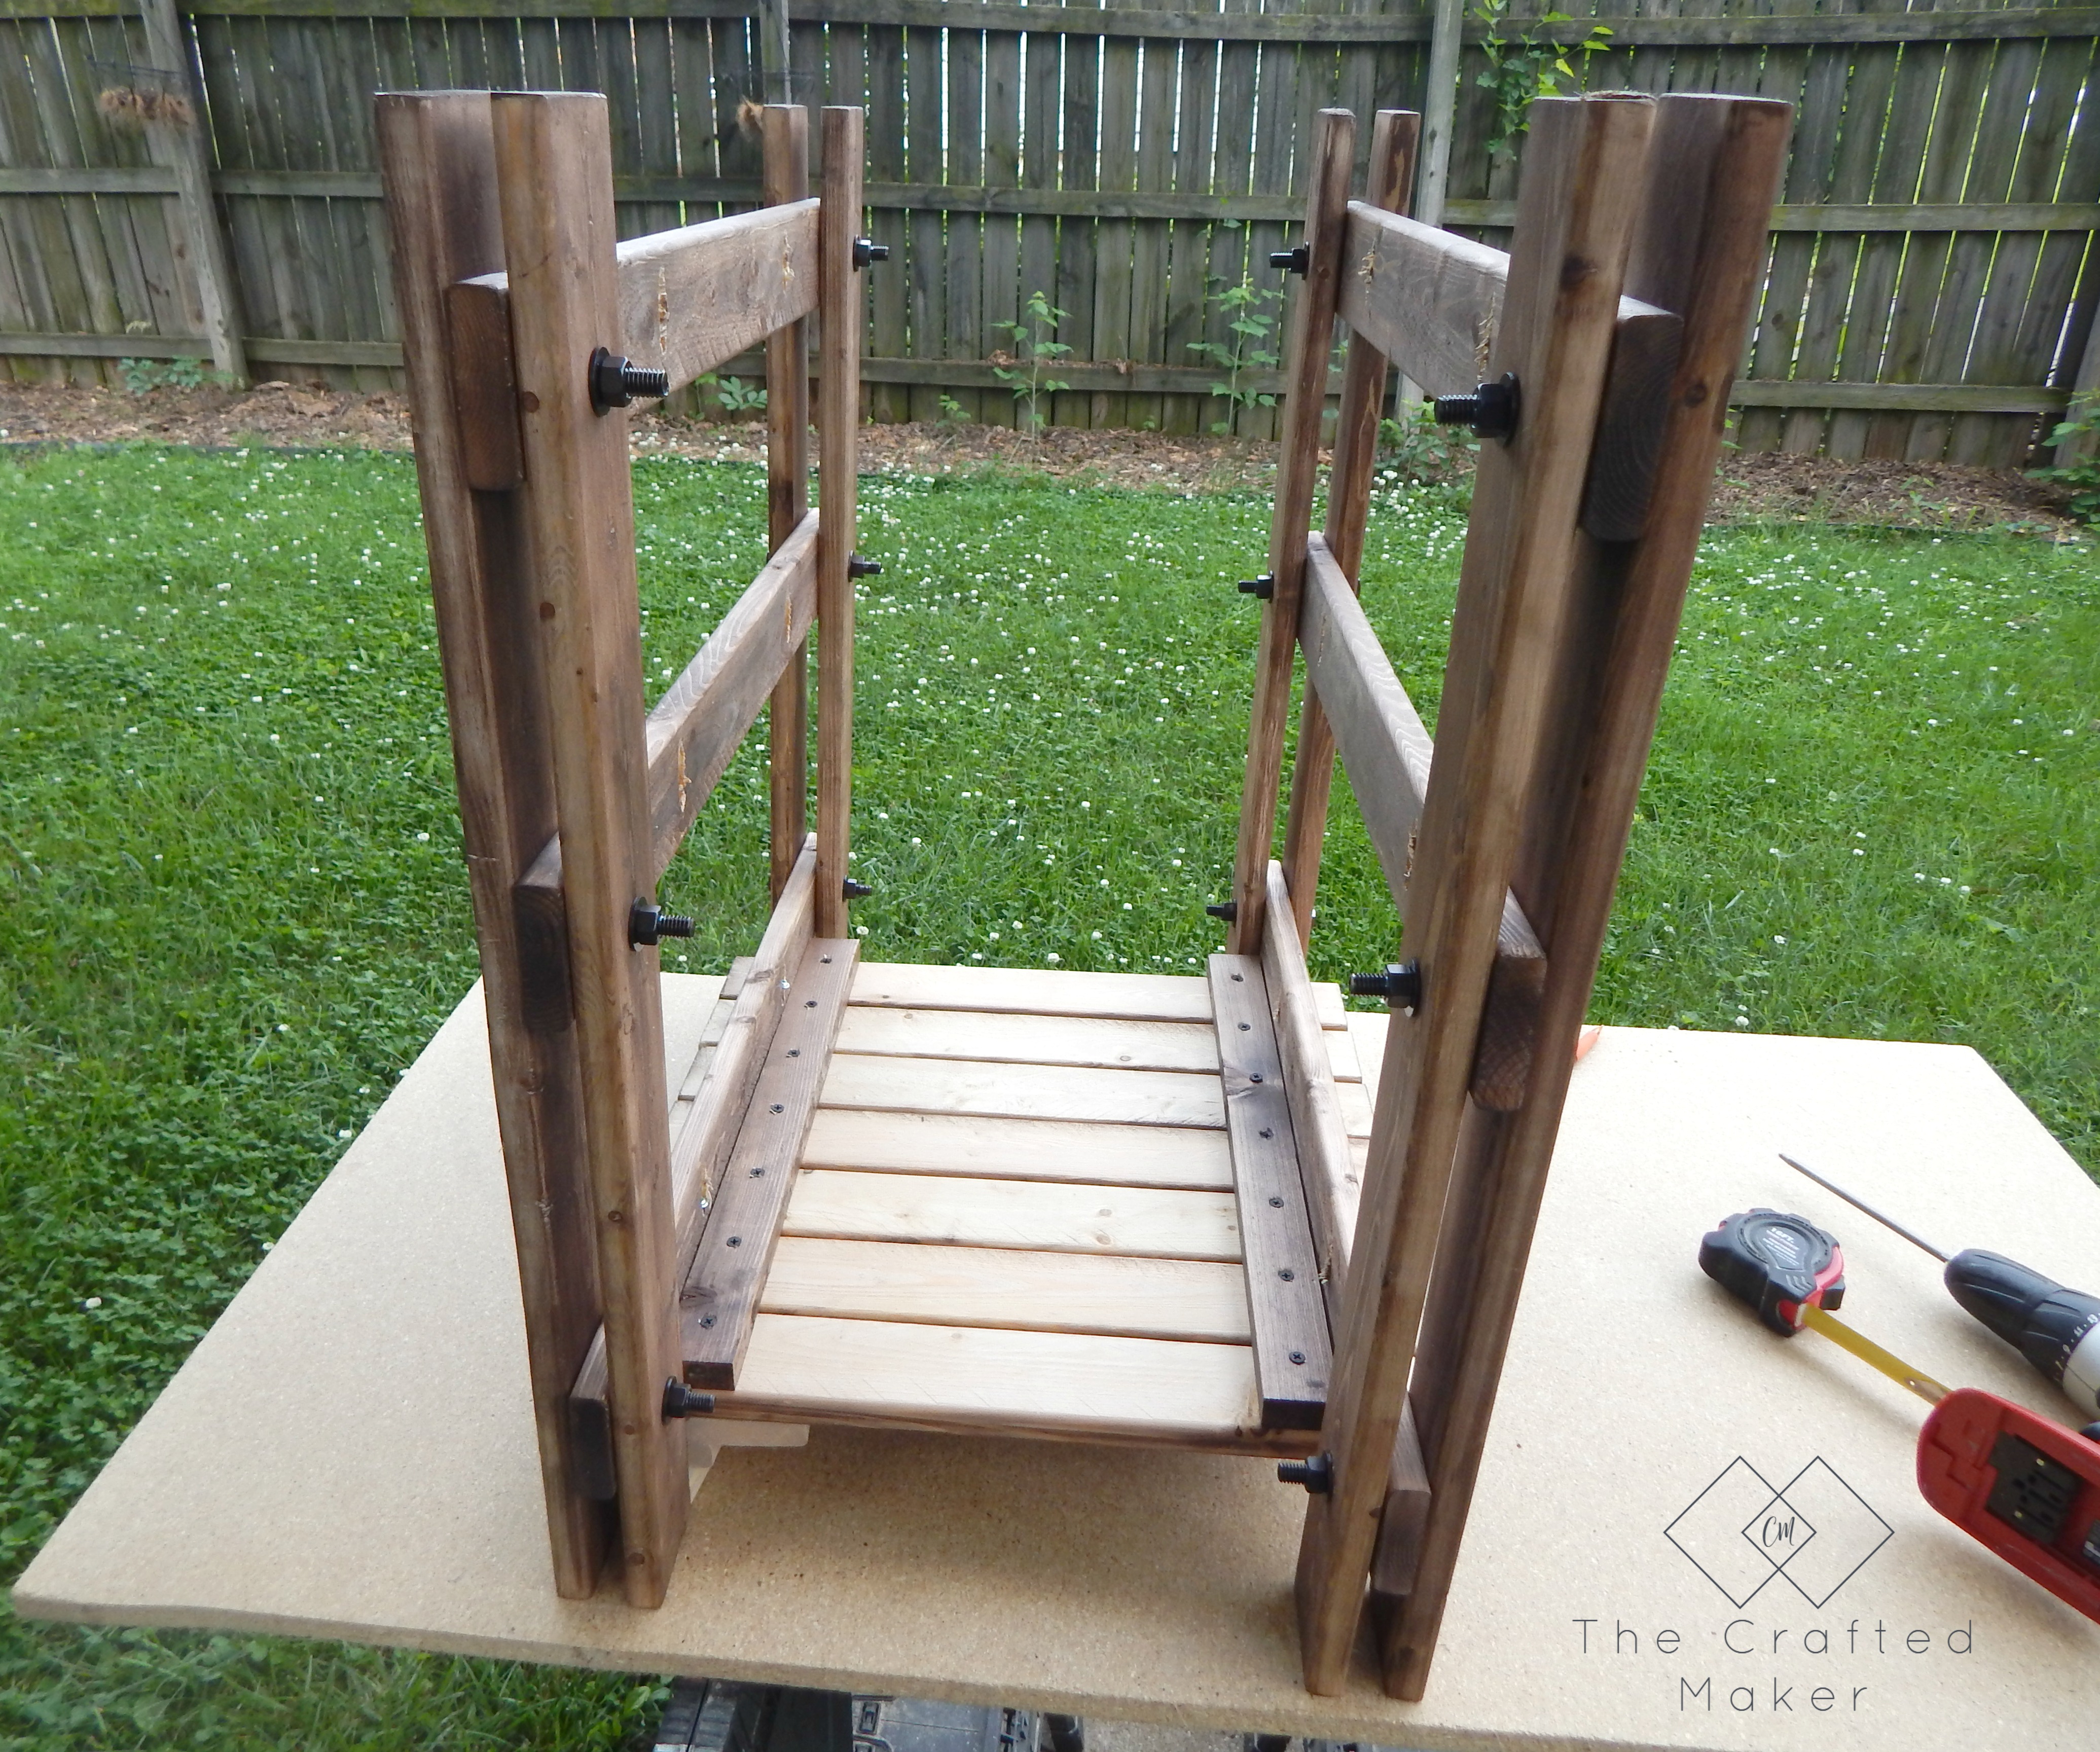
Repeat this for the next two shelf units and your end table is assembled!!
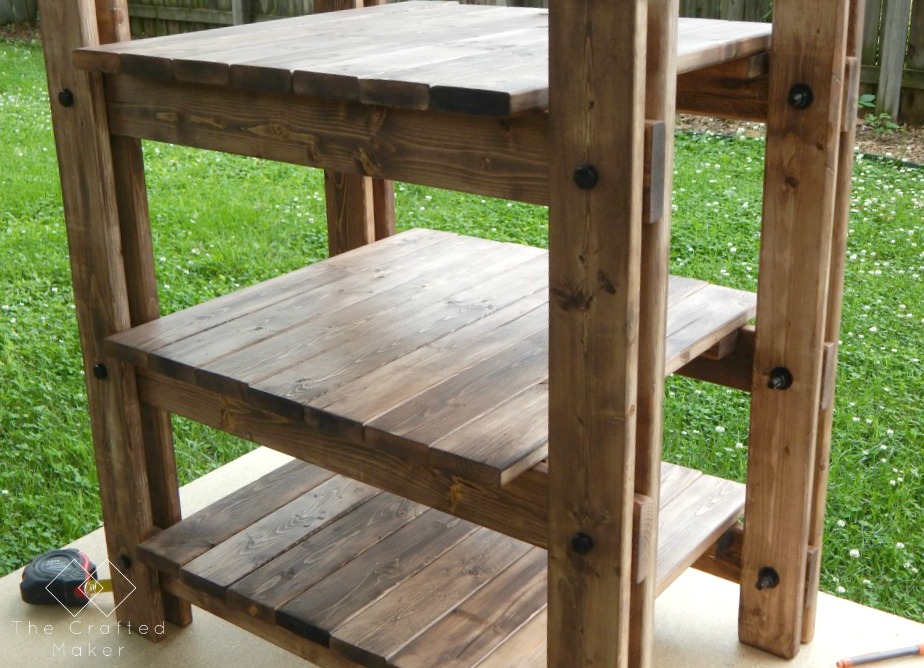
To finish things up, I tightened down the nuts to make the table more secure. I also sprayed some paint onto a foam brush and painted the ends of the bolts sticking through the back of the boards and repainted many a few dings on my original paint.
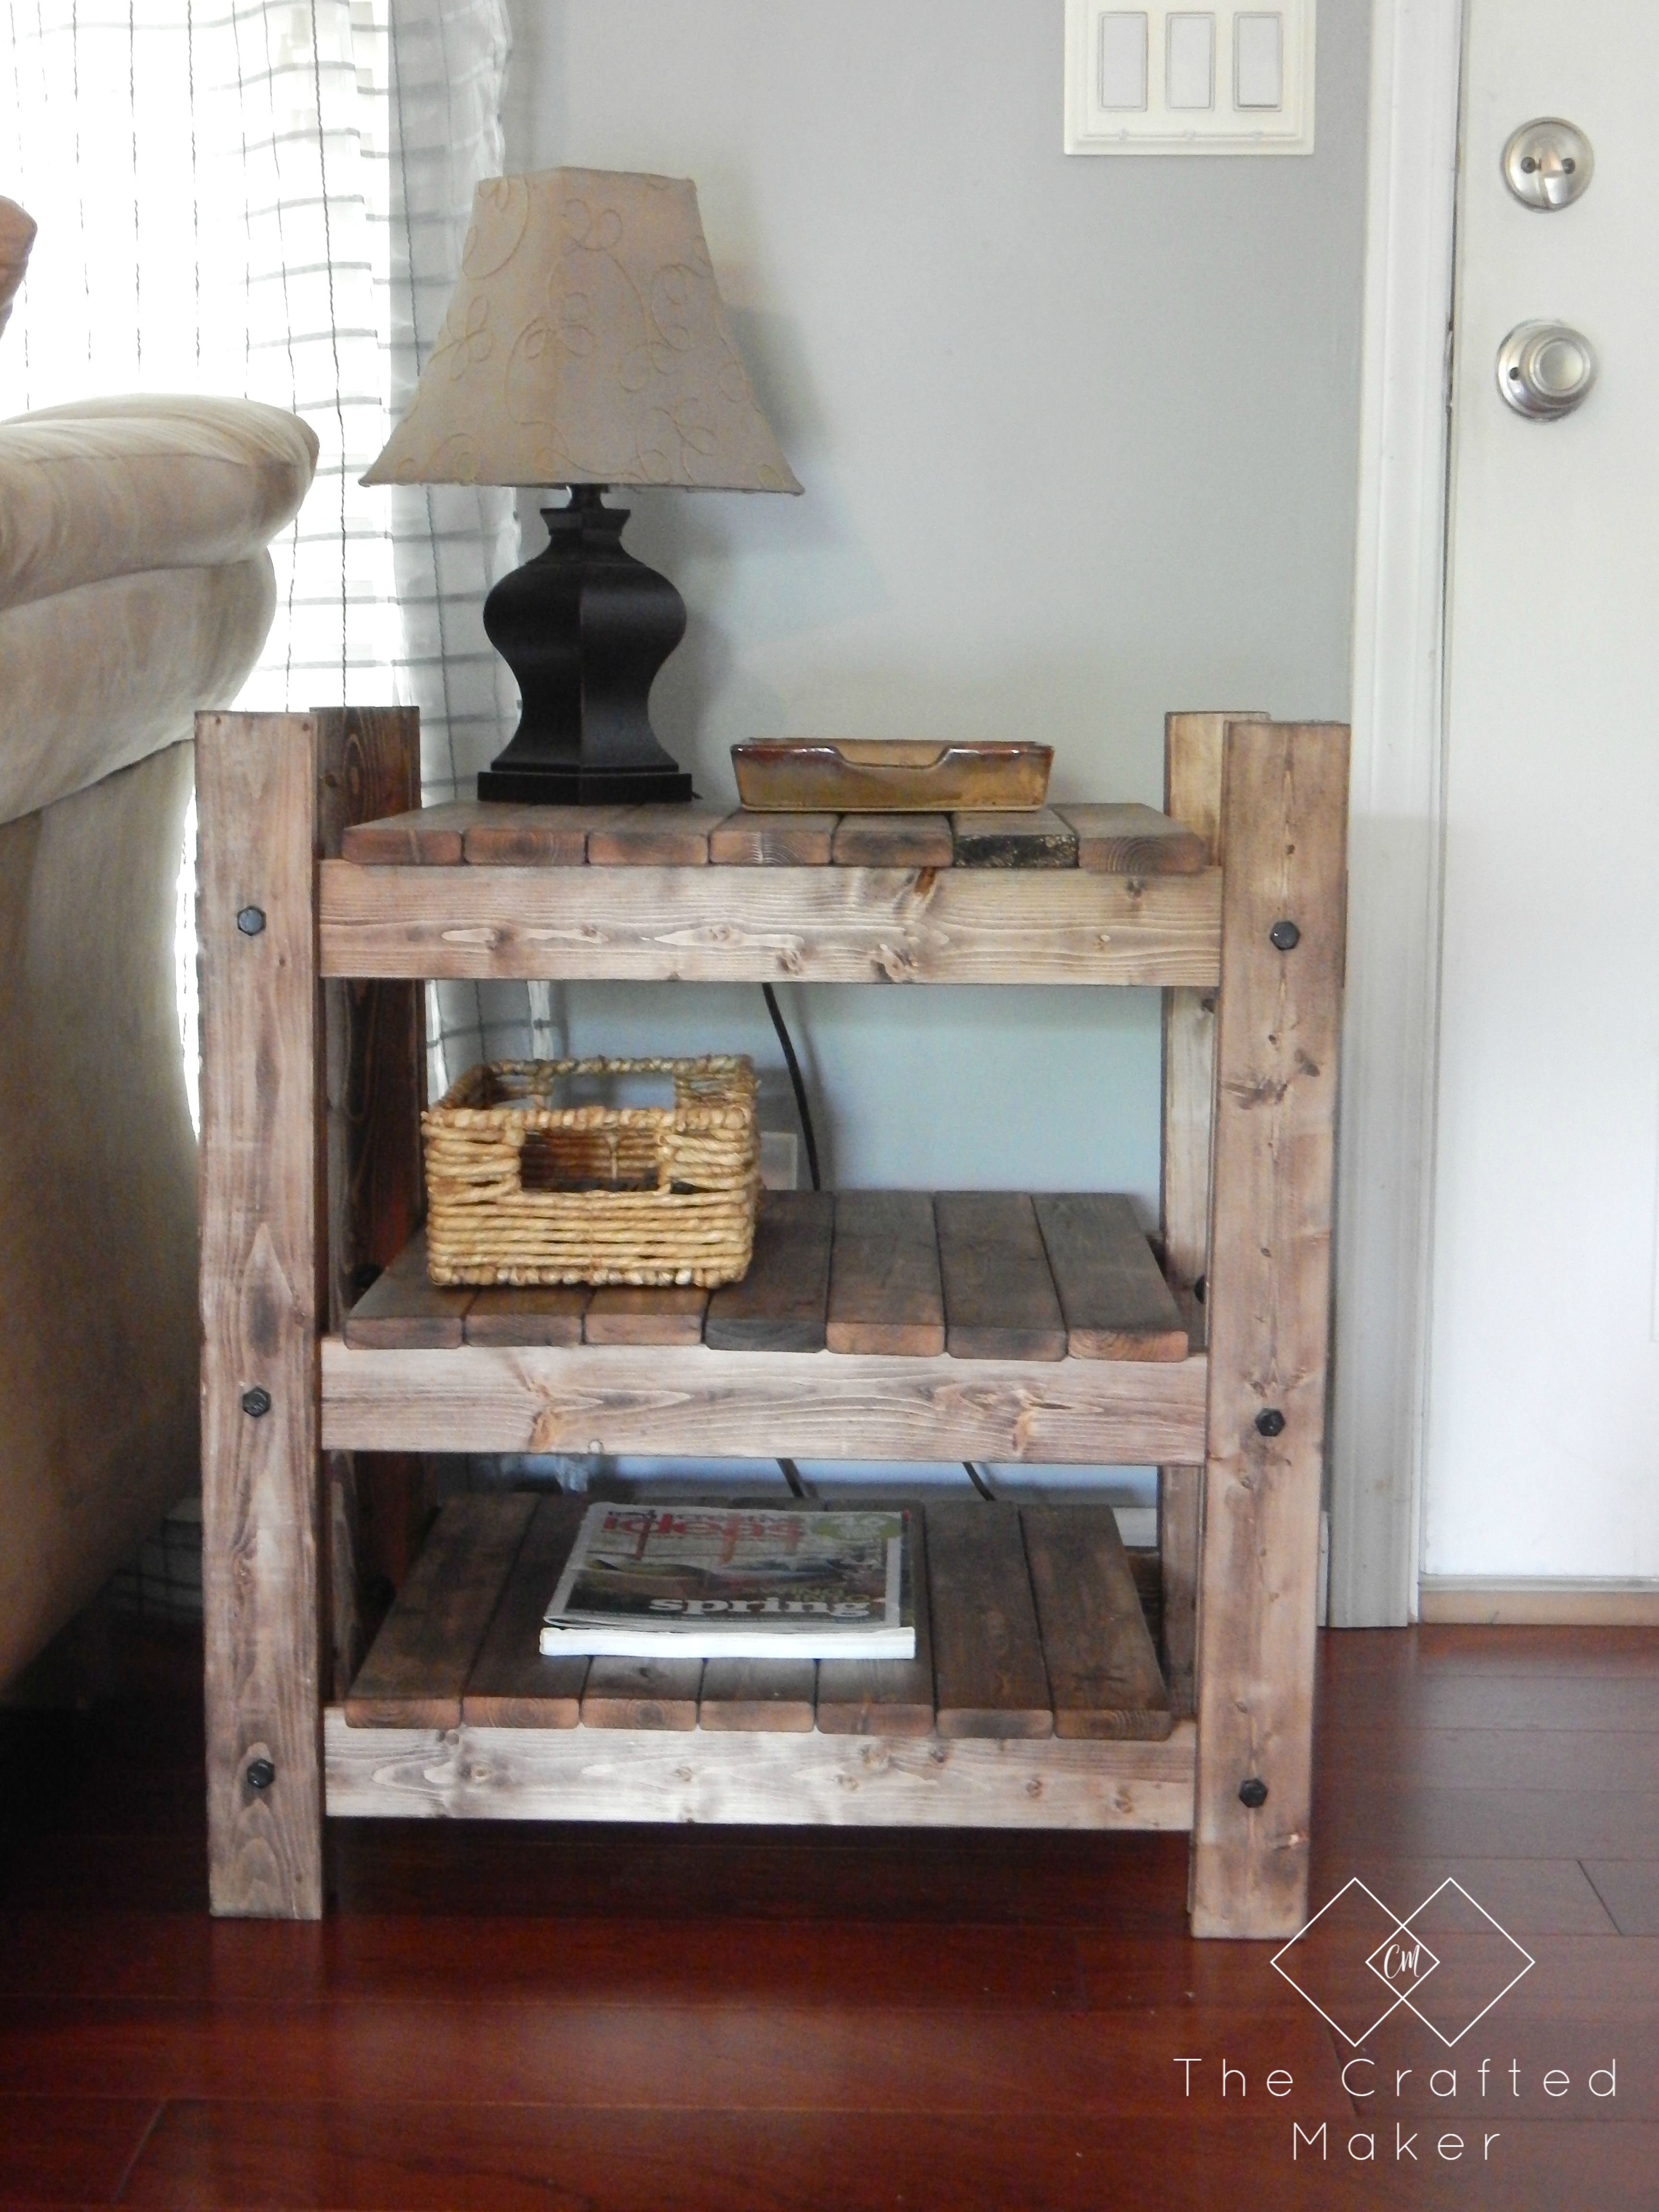
I really enjoyed this build and the fact that I now have a table for around $25 that looks like a $650 table is definitely an added bonus!!!
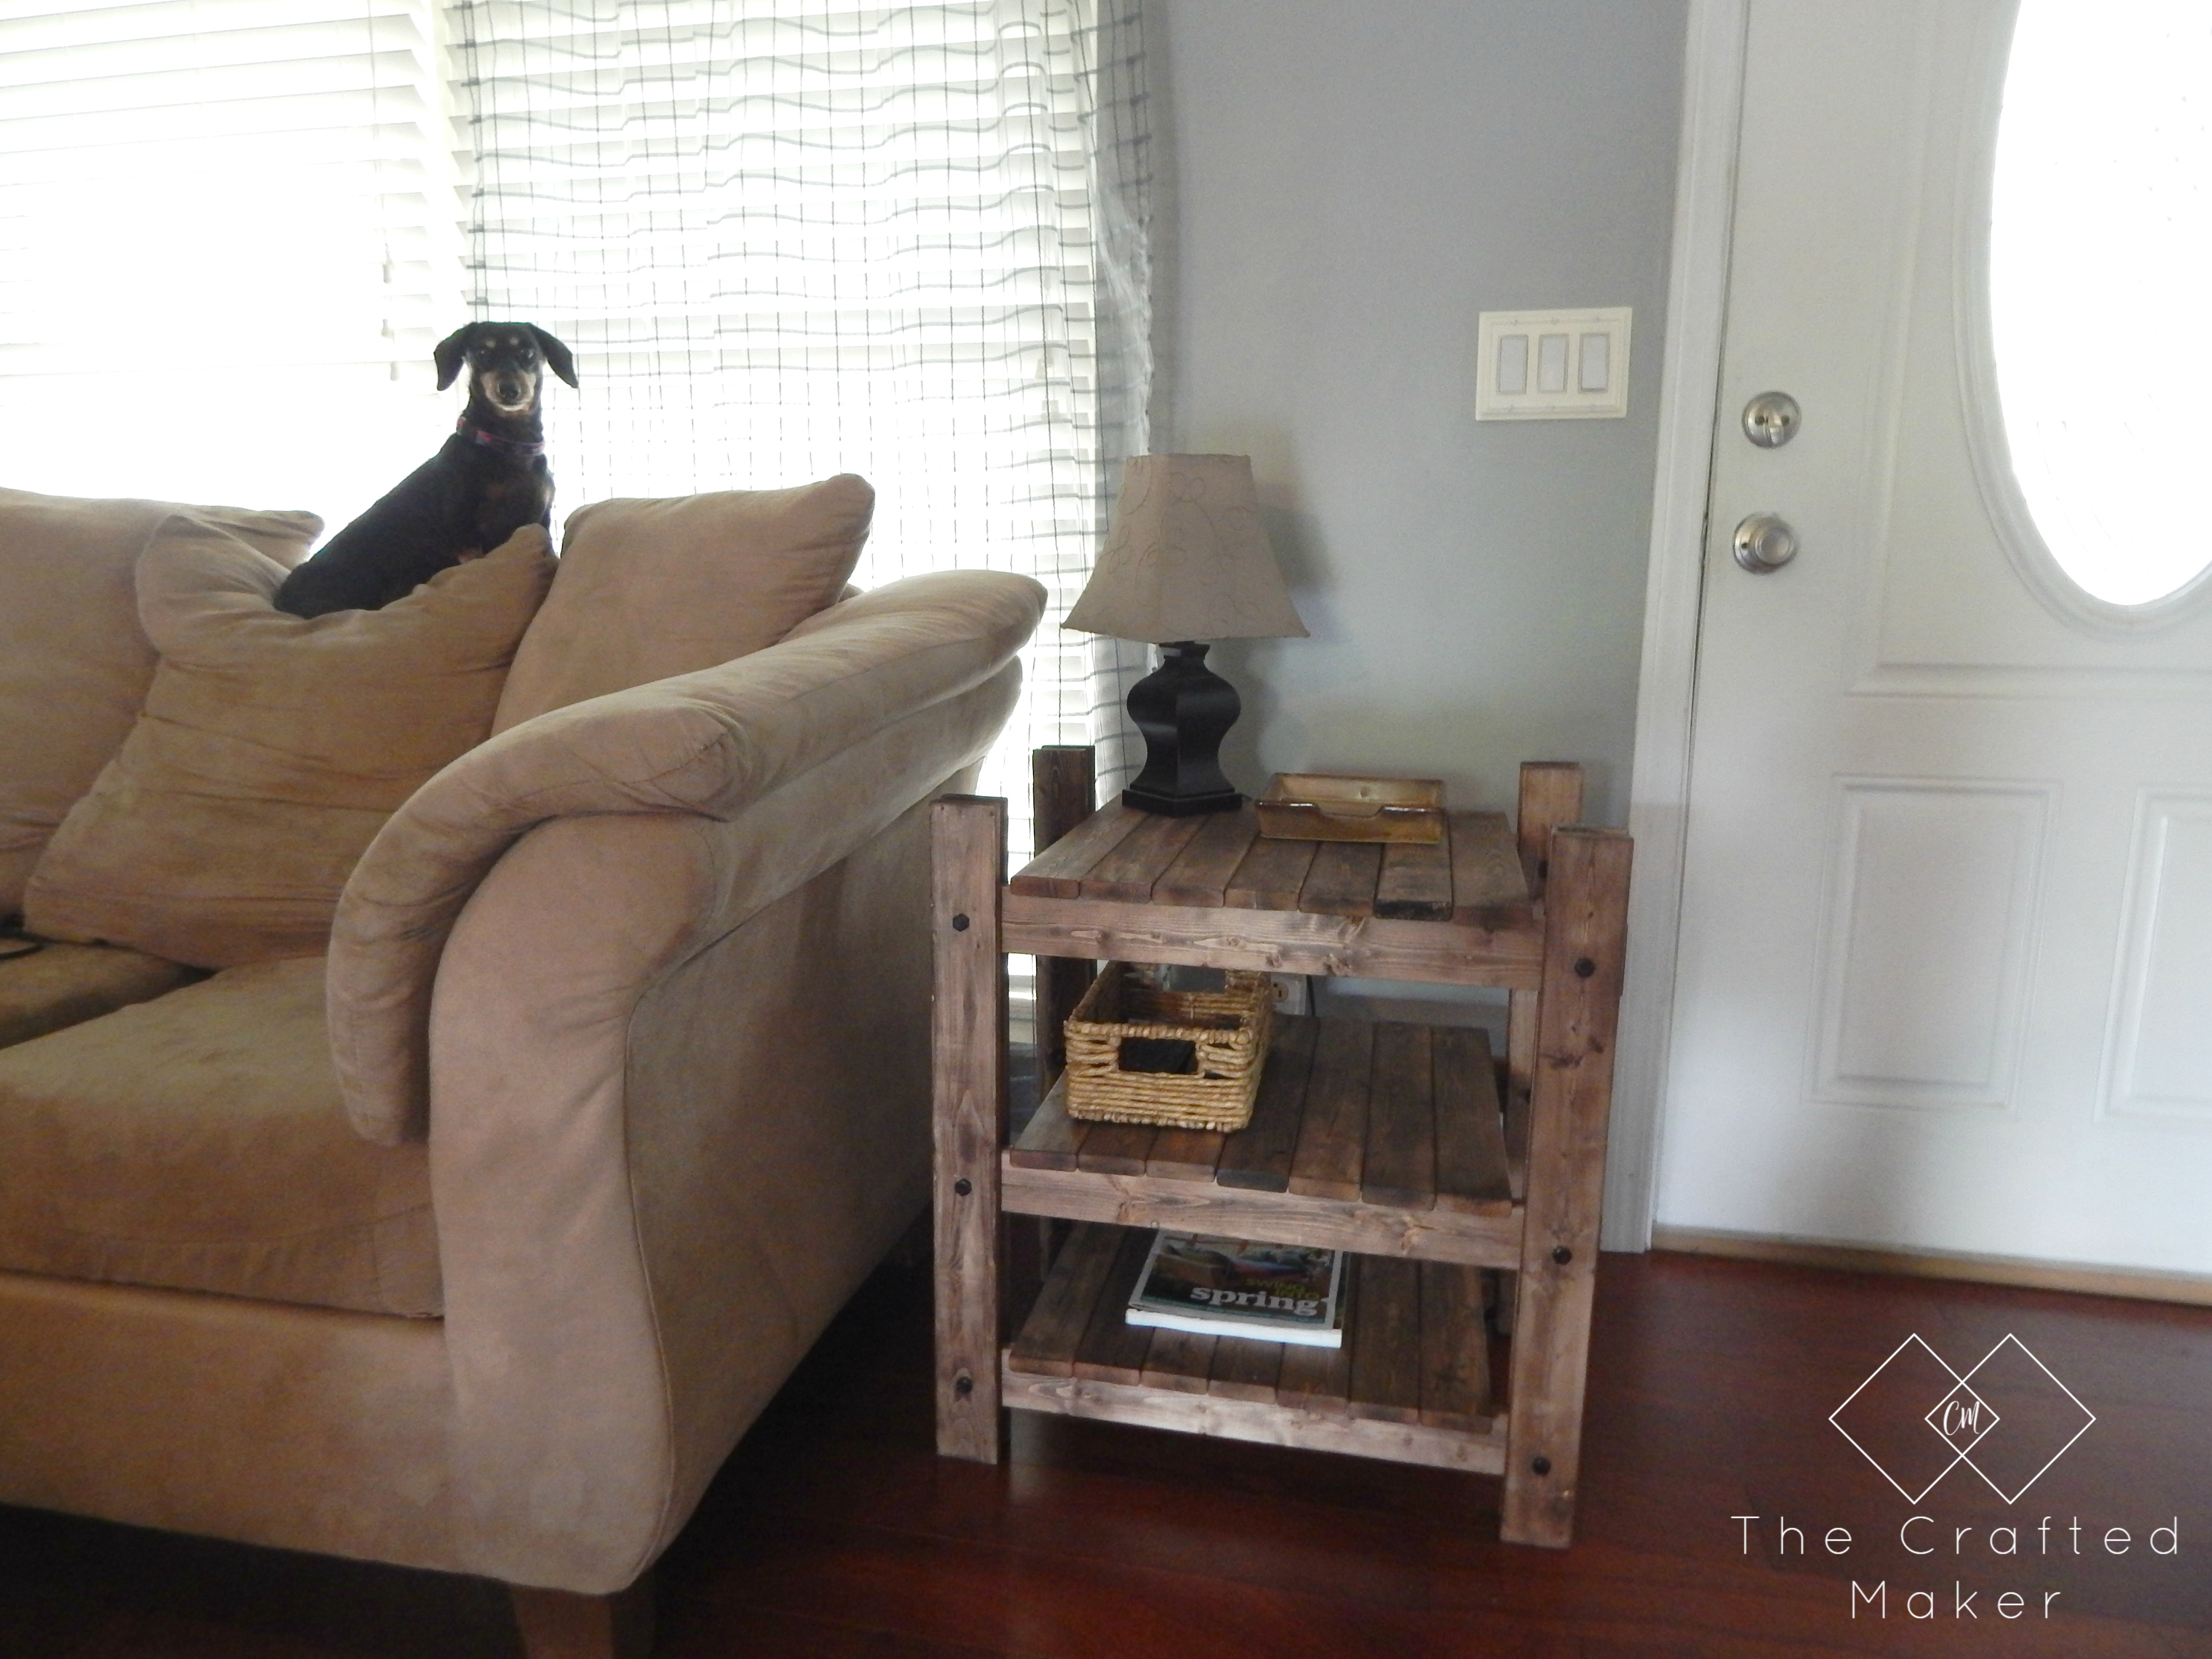
I did modify this table a bit to my own measurements. I wanted a deeper second shelf to hold a basket for my remotes and the third shelf is perfect to hold a few magazines.
Here are some after shots of the table in its new home… Even Daisy likes it.

I hope you enjoyed this build today and have fun making a couple of end tables for yourself.
Thanks for stopping by and spending some time with me!
Until next time…

Pinning is always appreciated!!

LOVE IT!!! Just pinned this. I would love for you to share your master piece at my party. Hope to see you there! http://chicbytab.blogspot.ca/2015/05/chic-by-you-wednesday-linky-party-8.html
Thanks Tabatha!! I would love to share on your site. Heading over to check it out now!
love this table, nice job! Where can I find the cut list?
Thank you so much! The cut list is in the PDF plans. Just click on the picture that says free plans. I hope you have fun building!
It’s so beautiful!!!! How heavy is it?
Thanks so much! I would say it weighs around 10-15 pounds.
It seems easy enough even for me, (78 years young), I am going to give it a try. What size nuts, washer and bolts did you use? Thank you for sharing your talent.
Thanks Rita! I used 3/8-in- 16 x 3-in hardware. I would love to see your table when you get it done. Feel free to email pics!
Where is the cut list? I have not be able to find it. Thanks!
Just click on the picture that that says free plans. That will open up the PDF and you can save it or print it out. Thanks for stopping by.
This is beautiful! I’m thinking I may try to make it and use it as a vanity in our tiny powder room. Maybe with a small galvanized tub for the sink? Thanks so much for creating and sharing this!
Thank you! That’s a great idea. I would love to see the finished project!
Love this!! Do you think a kreg jig is required or is there another way to attach the shelves to the sides?
Thanks so much Erin! You could use wood screws drilled in at an angle to attach the shelves, but I love using the Kreg because of the ease of use. It makes the angle for you and the joint is really strong.
What type of wood would you recommend for this project?
I used pine for mine, but any type of wood will work. The price will vary with different woods, so it just depends on the price you want to pay for it.
Home Depot or Lowes sell small L brackets that would work as well. I love this table and in the middle of building it.
Thanks Carl! You could use the L brackets also. I’m excited you are building the table. When you get done, I would love to see some pics. Feel free to email if you would like!
Hi Crissie, Love your ideas. Just finished the end table but couldn’t figure out how to attach photos! I finished it with a gloss polyurethane and it looks pretty good, Thanks for the idea !!
My local Lowes doesn’t seem to carry 1X3 lumber. Would another size work as well with the same measurements? For example, 2X4 or 1X4? I realize it would alter some aspects, but I can’t seem to find a 1X3 and I get looked at like I’m crazy when I ask.
Hi Sarah! Yes you can use 1×4 lumber for this build. This will cause the distance of the shelves to be closer together, but nothing major. If you want to keep the overall dimensions of the table the same, you will only use 5 of the 1×4 boards to make each shelf instead of the 7 required when using 1×3 boards. I hope this helps. If you have any other questions while building, just shoot me an email. Have fun!!
I was only able to find “Furring Strips” that were 1X3. Are those what you used? They had some that were like 79 cents to a dollar and that were a better board for 1.49. Thanks for your help!
Hi Hope! I did use furring strips for this build. Although they are a little more inexpensive, if finished right, they will turn out beautiful. Have fun with your build!!