Hey all! To keep up with my latest projects, come follow along with me on Pinterest and Instagram!
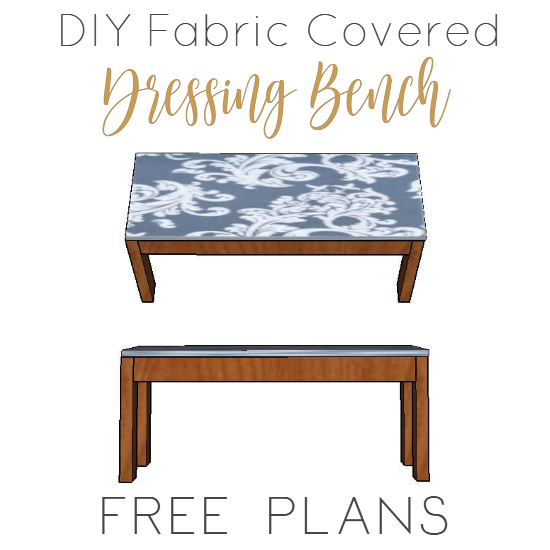
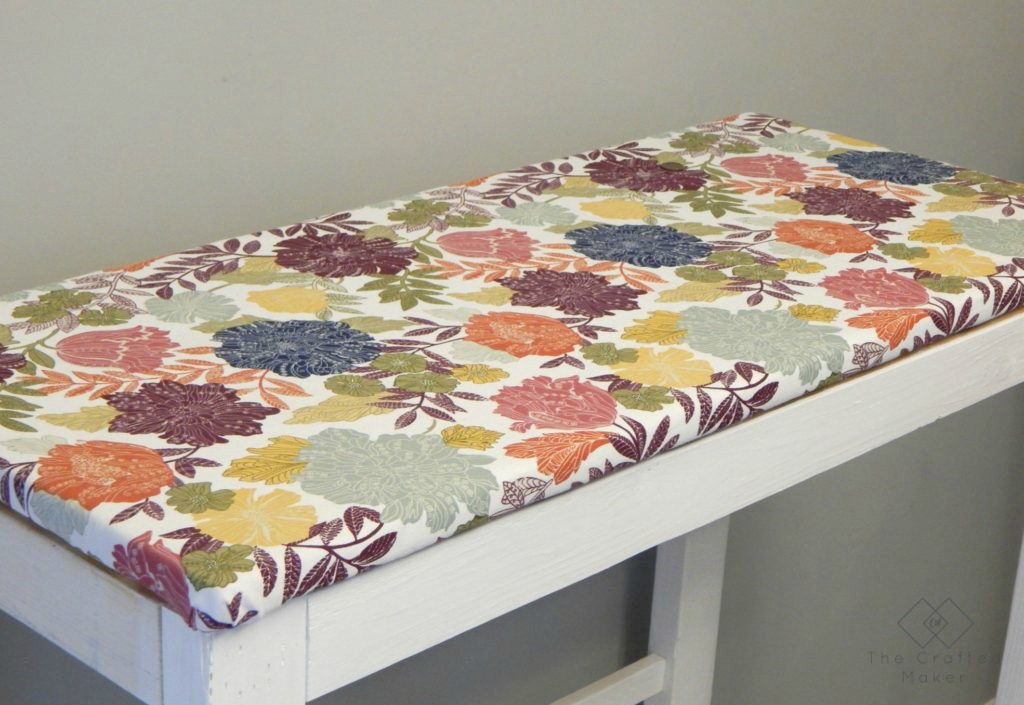
Happy Tuesday everyone! I don’t know about you all, but getting ready in the morning is a little rushed for me. For some time now, I have wanted a bench to put at the end of my bed so I could lay out my clothes at night for the next day and a place to put my shoes on. So, like always, I got to planning and designed a simple, but pretty DIY fabric dressing bench.
The bench is made out of very simple and easy to get materials and you can use any fabric you want for the cover. Though I would suggest something easy to clean down just in case you have any spills. You’ll need a staple gun, drill, multi-purpose adhesive, and a pocket hole machine for this project. In case you don’t have one of those you could substitute or get one from your home improvement store. Places like Raise often find discounts for power tools so there’s few reasons not to get them. I think it’s worth it because it helps to achieve the professional-looking seams and joins on this project. Overall I am very happy with how it turned out and it will definitely be something I will use every day.
I have included a free PDF plan. Just click on the picture and you can print it out or download to build your own bench!! I am also going to do a step-by-step of my build with you just in case you need someone to show you how it’s done. Enjoy!
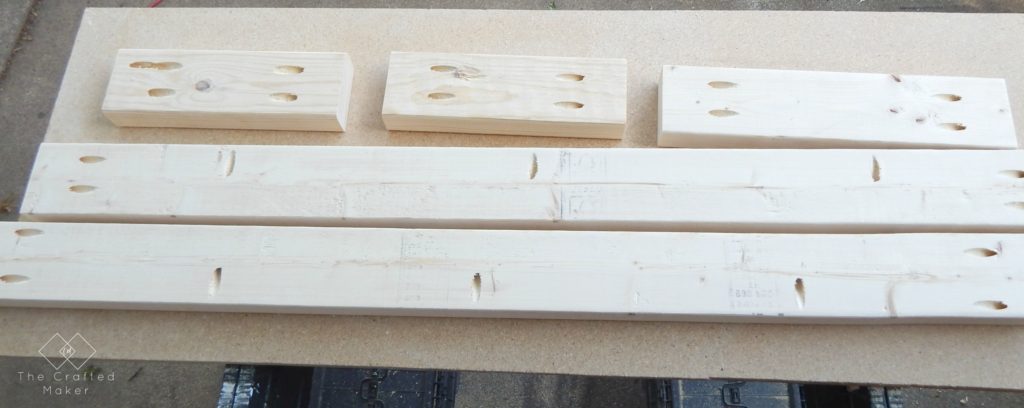
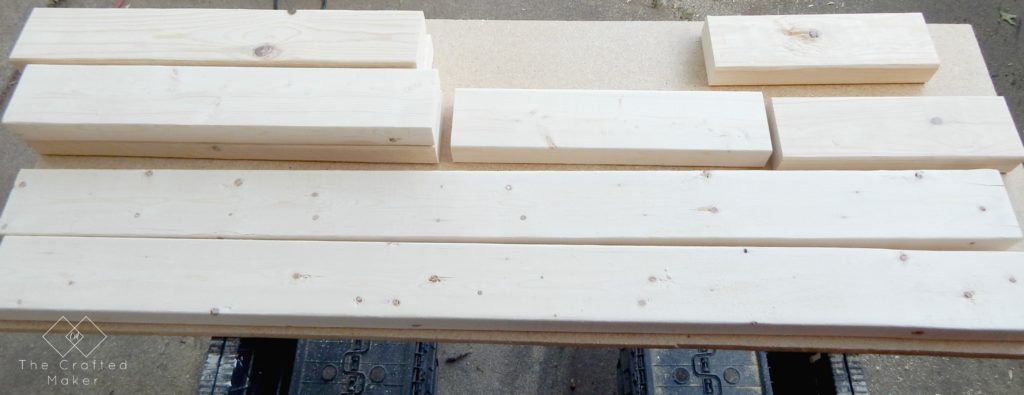
First things first, I cut all of the boards to length according to the cut list.
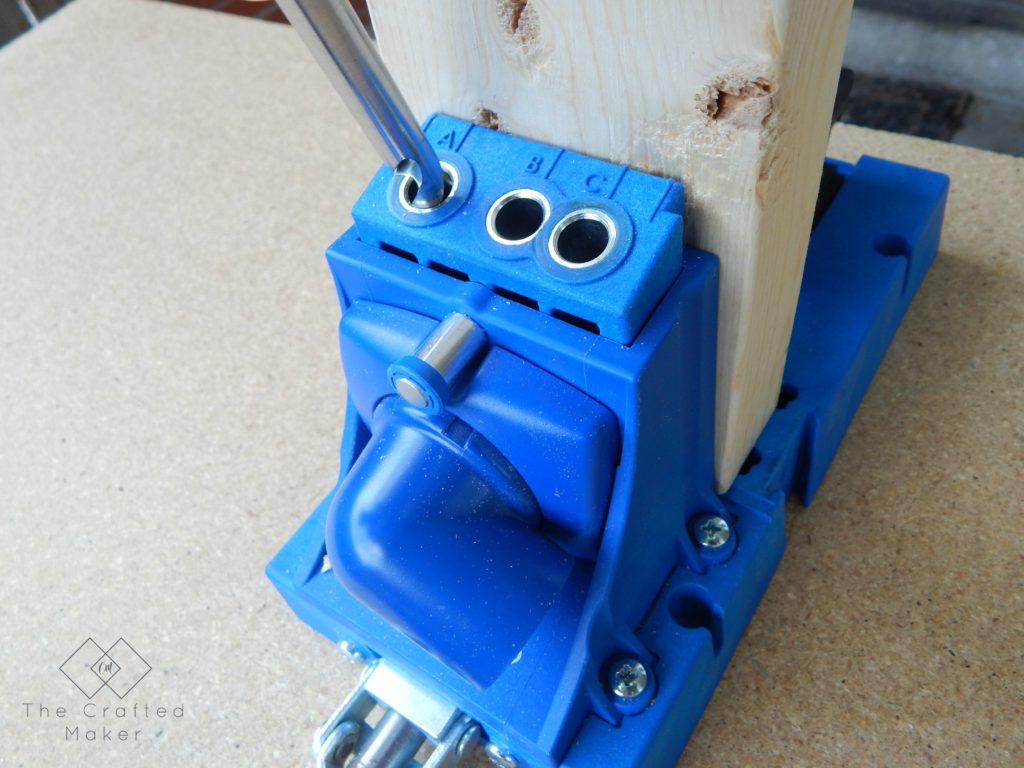
Now on to the pocket holes (secretly my favorite part of most builds). There is a list of the pocket hole placement in the plans.
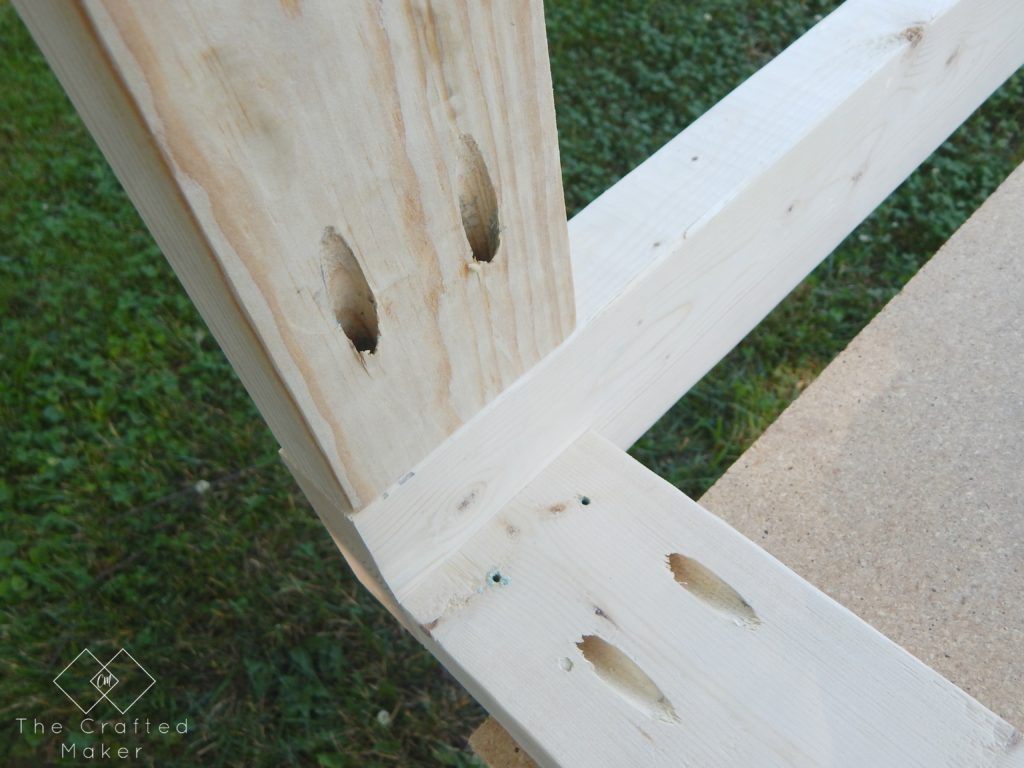
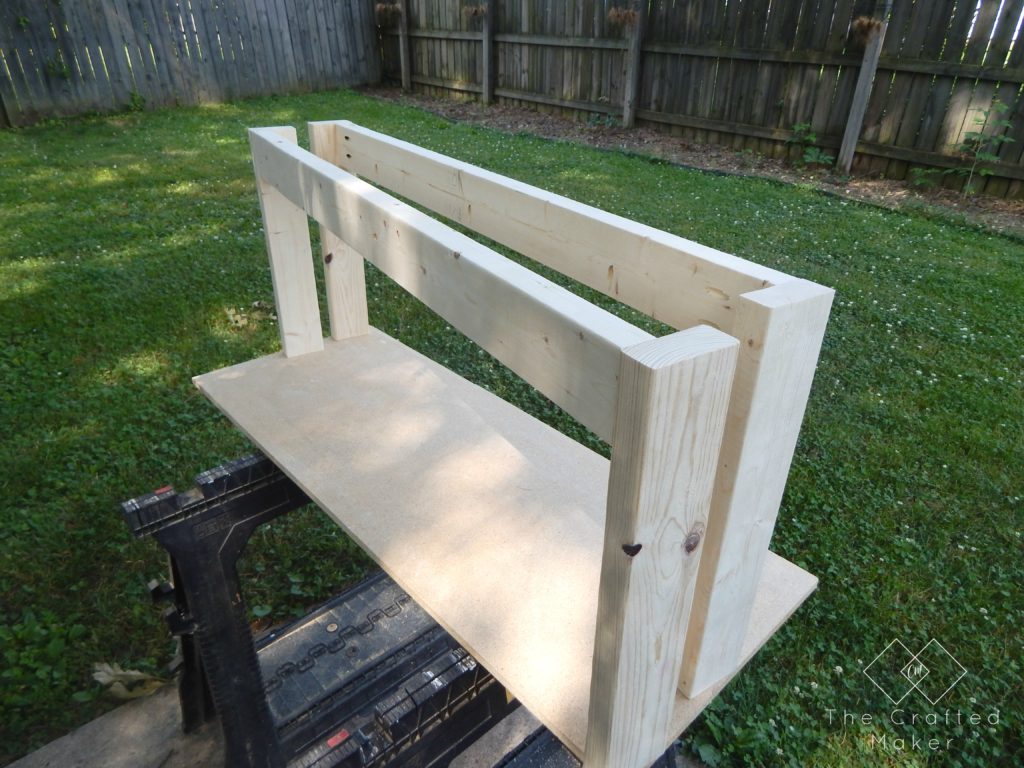
Once the pocket holes were drilled, I started to assemble the table. I started with the legs first. They are made by taking two of the 20″ boards and joining them with a 45″ board. There are two leg sections to make.
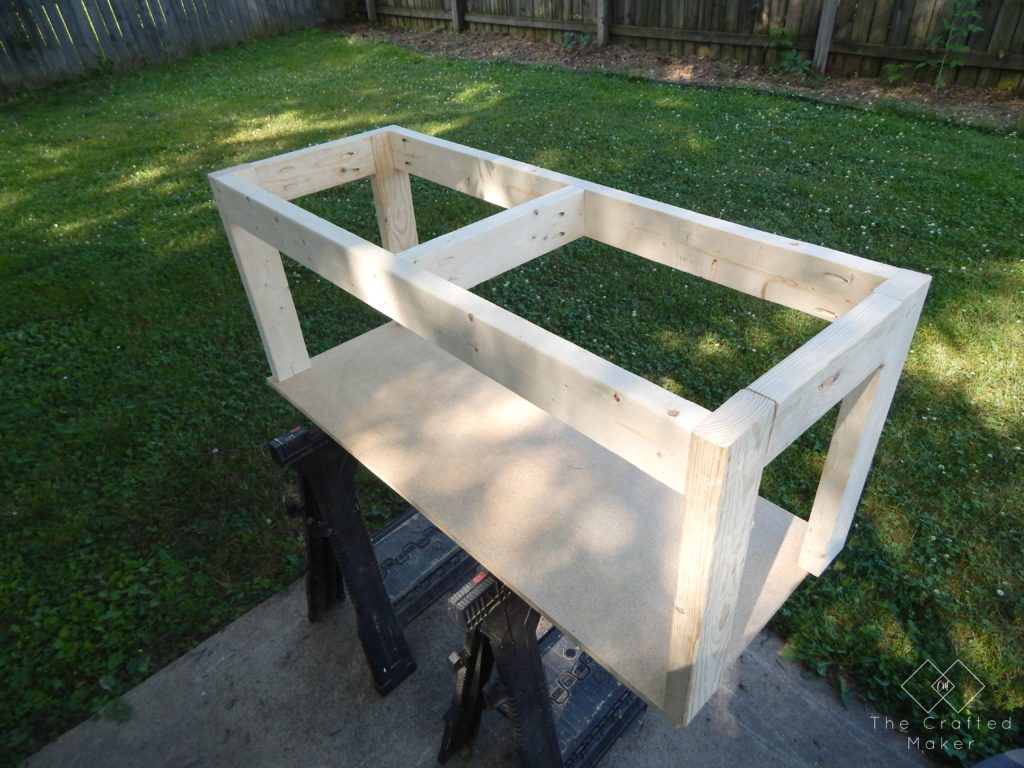
Once the leg sections were assembled, I took the two 11″ boards and the 15″ board and used them to join the sections together.
The table base is now assembled. Yay! I went ahead and finished the wood at this point so it would have a chance to dry completely before attaching the fabric covered top. If the fabric touches the bench base before it’s dry, you might ruin it.
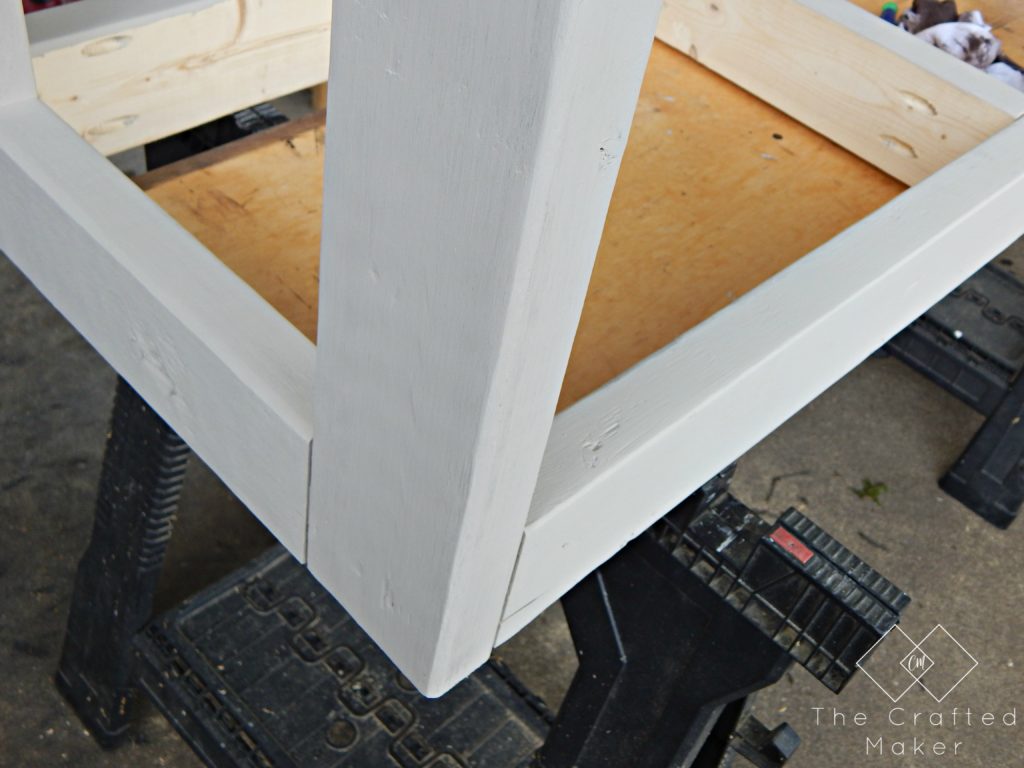
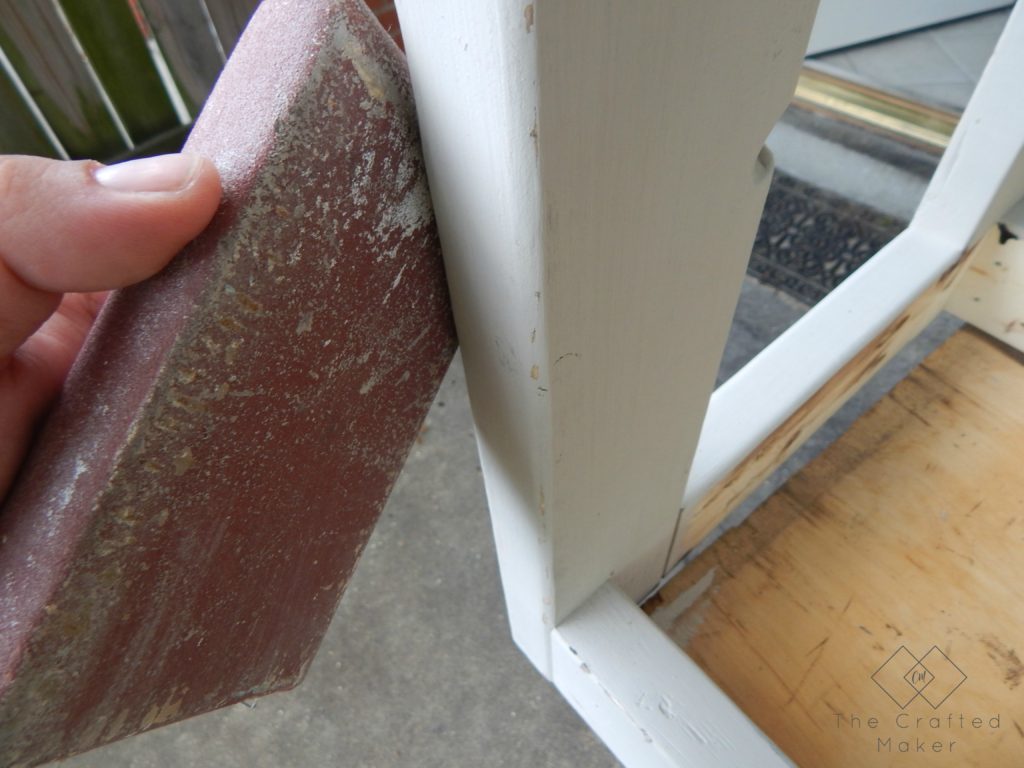
I decided to do something different with this piece. Usually, I just stain my furniture, but I stained, painted, and distressed this bench for something different. I applied a coat of Kona stain, let dry, then painted the whole bench base Versatile Gray by Sherwin Williams. Once the paint was completely dry, I took a sanding block and lightly scuffed up the edges of the base to add a little distressed look to it.
Time to make the top of the bench!! This is my first time working with fabric in a furniture piece and I kind of liked it…
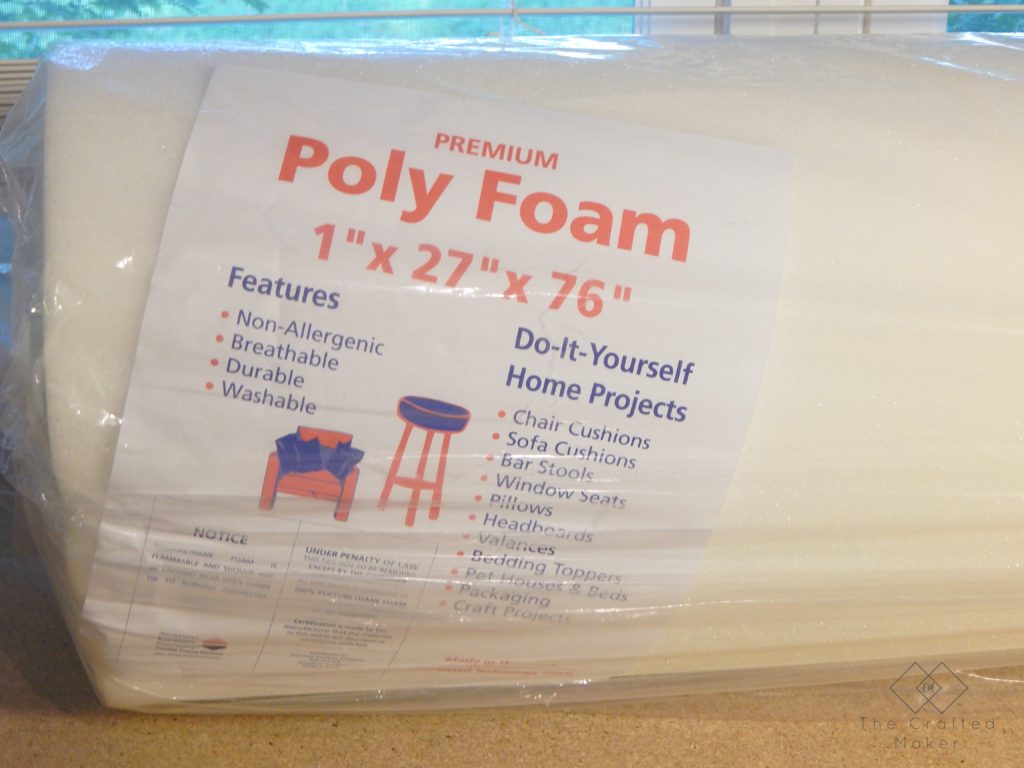
I wanted the bench to have some cushion when I sat down, so I purchased some poly foam from Hobby Lobby.
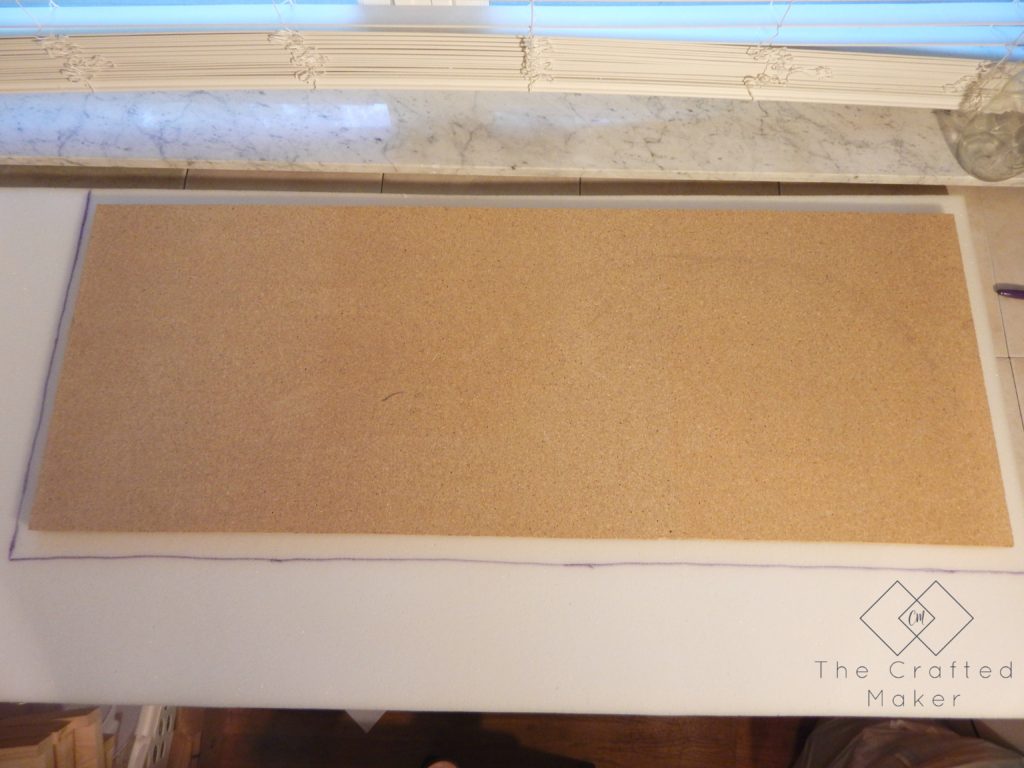
I placed the foam on a flat work surface and traced around the 48″X18″ piece of wood leaving about 1″ overhang on every side. Then I cut it out. I started with a pair of scissors but then switched to a utility knife. That worked much faster.
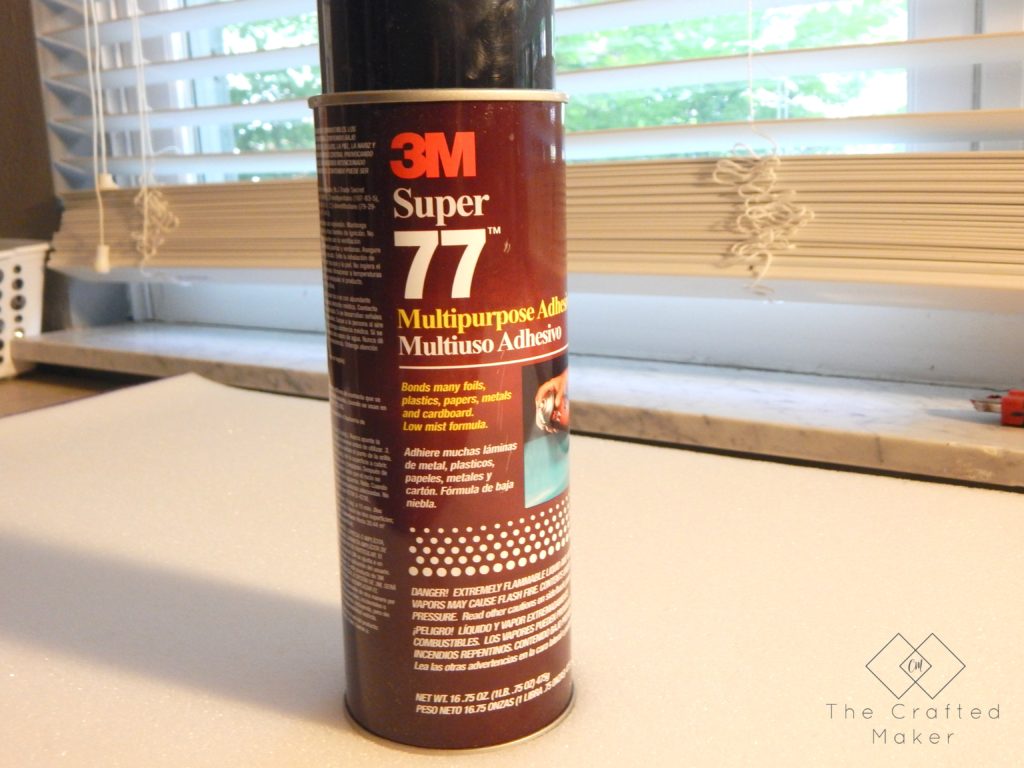
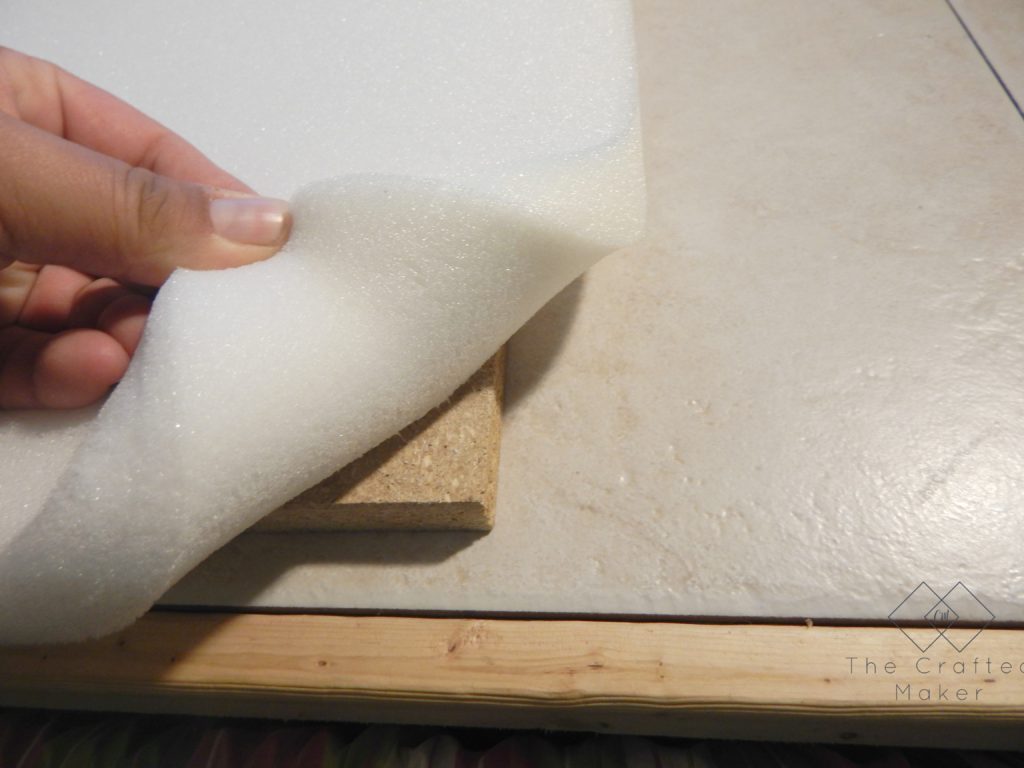
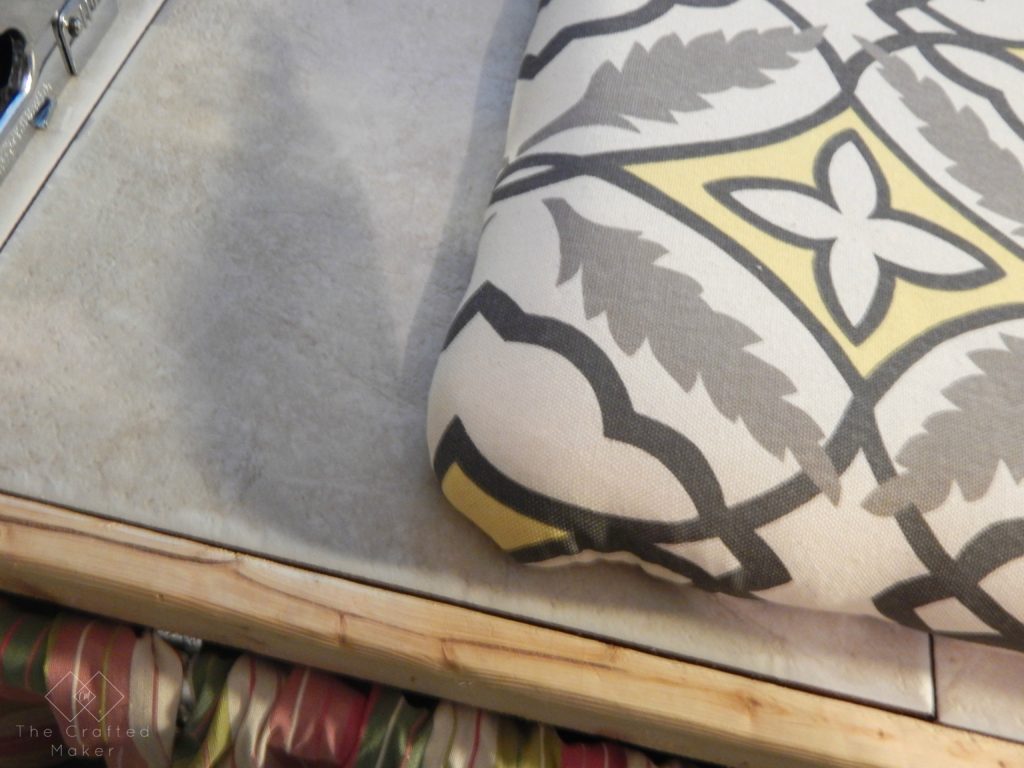
Then I used spray adhesive and attached the foam to the wood. This will keep the foam from moving when attaching the fabric.
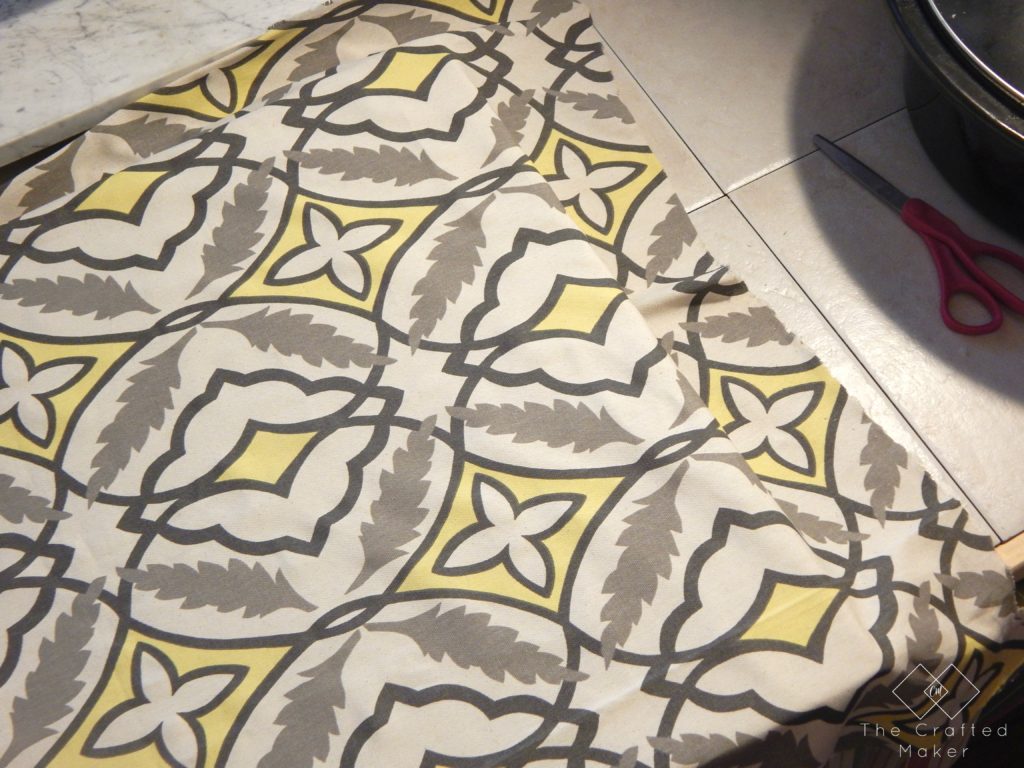
I placed my fabric over the foam and left about a 3″ overhang on each side. If you are using a fabric with a design on your bench, make sure it is straight before flipping over. I had to readjust a couple of times to get it right. Once I had it positioned the way I wanted, I lightly sprayed some adhesive in the corners just to keep it centered while I flipped it over.
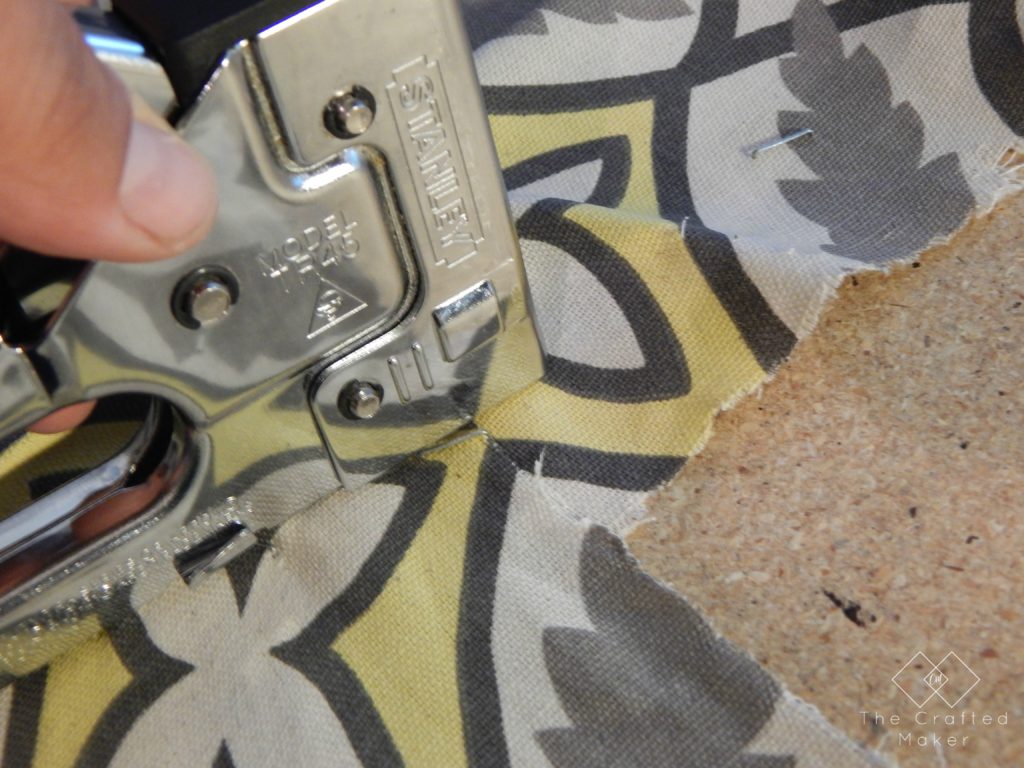
Then, I pulled the fabric firmly, but evenly, around all sides and attached with a staple gun.
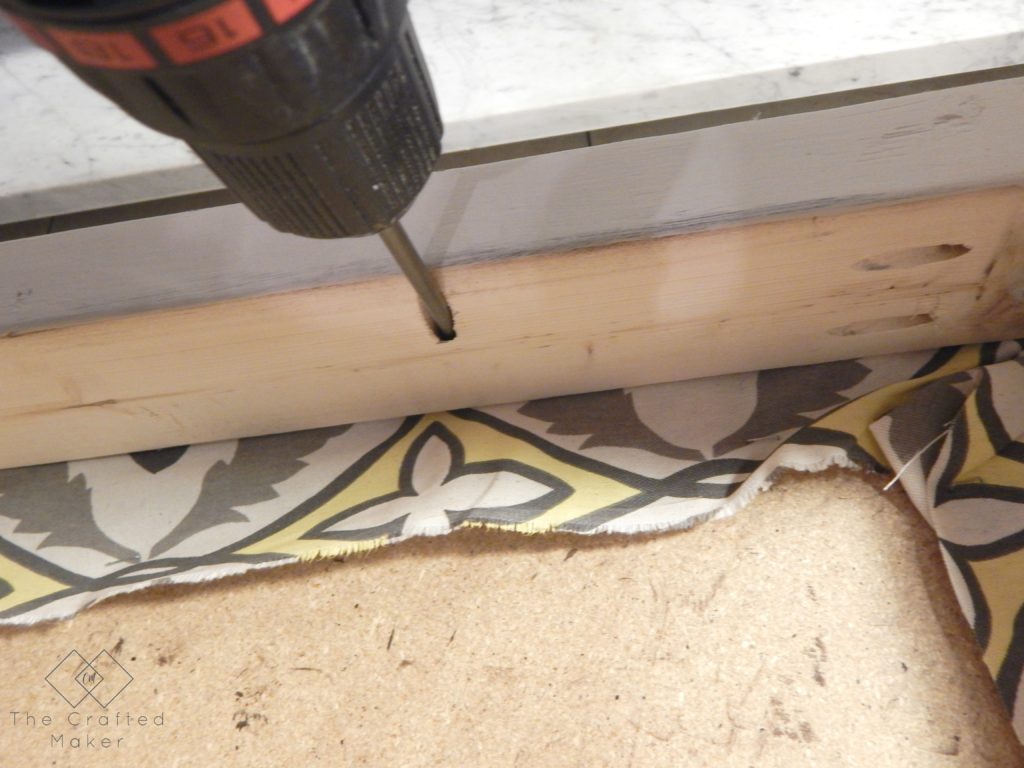
Time to attach the top to your bench. Just place the top on the base and attach with pocket hole screws.
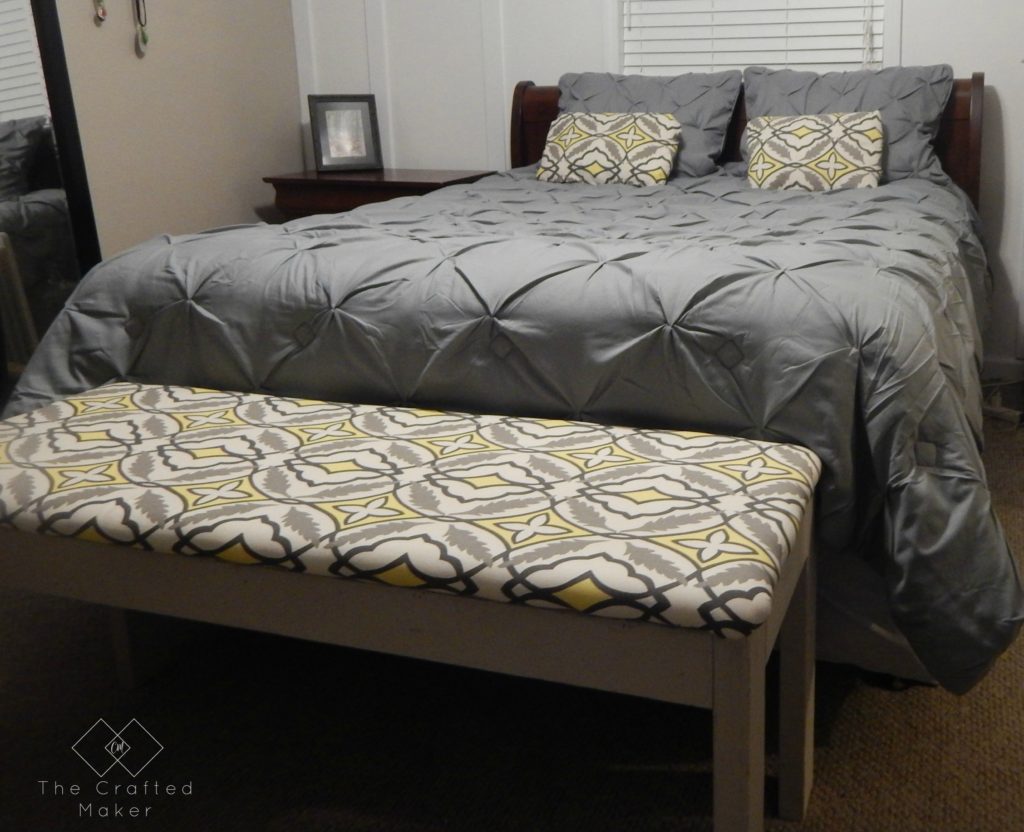
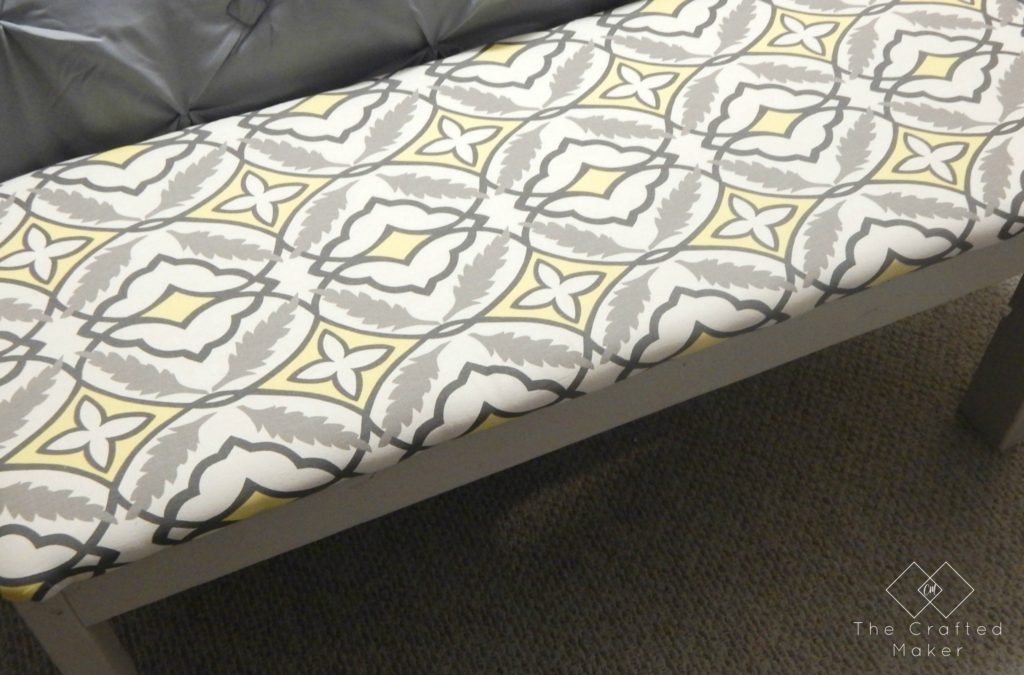
The bench is all done, now time to enjoy my new build in the bedroom. This bench is going to get a lot of use, especially in the morning when I am getting ready for work. I chose the bright cover design for it because I wanted it to bring a bit more color to the bedroom. Here are some pics of my bench in its new home.
That’s it for this project. I hope you all enjoyed it!!
Thanks for spending some time with me today. Until next time…
