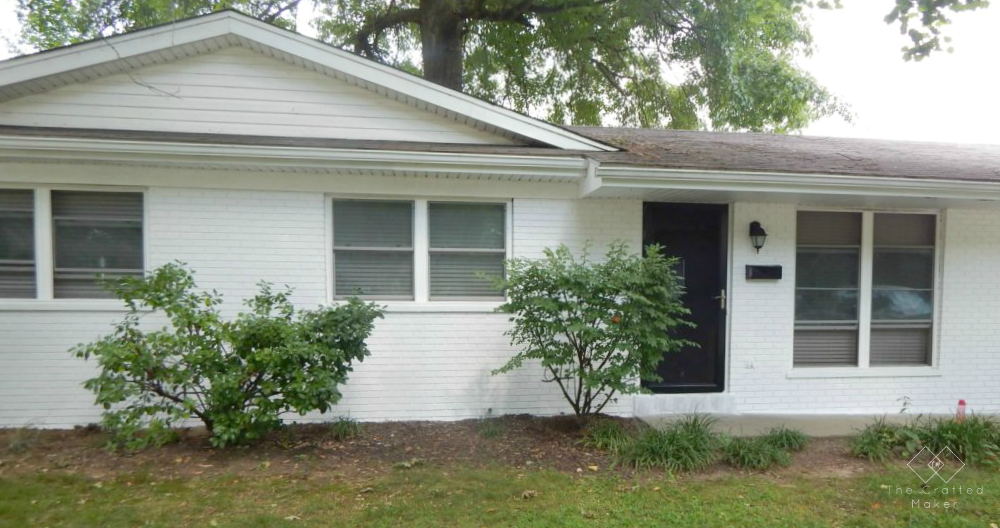
If you have been following along with me on this house revamp journey, you already know that I had to fix some landscape issues. I had some very large and unruly bushes that were blocking my front windows. They were not bad or ugly bushes, just way too big for the front of the house. Another issue, the laropia had run wild and multiplied severely. I came up with a plan and here it is, another part of my revamp journey. First, here is a picture of the landscaping before I changed anything.
As you can see from the picture above, something definitely needed to be done!!
Cutting out the Bushes
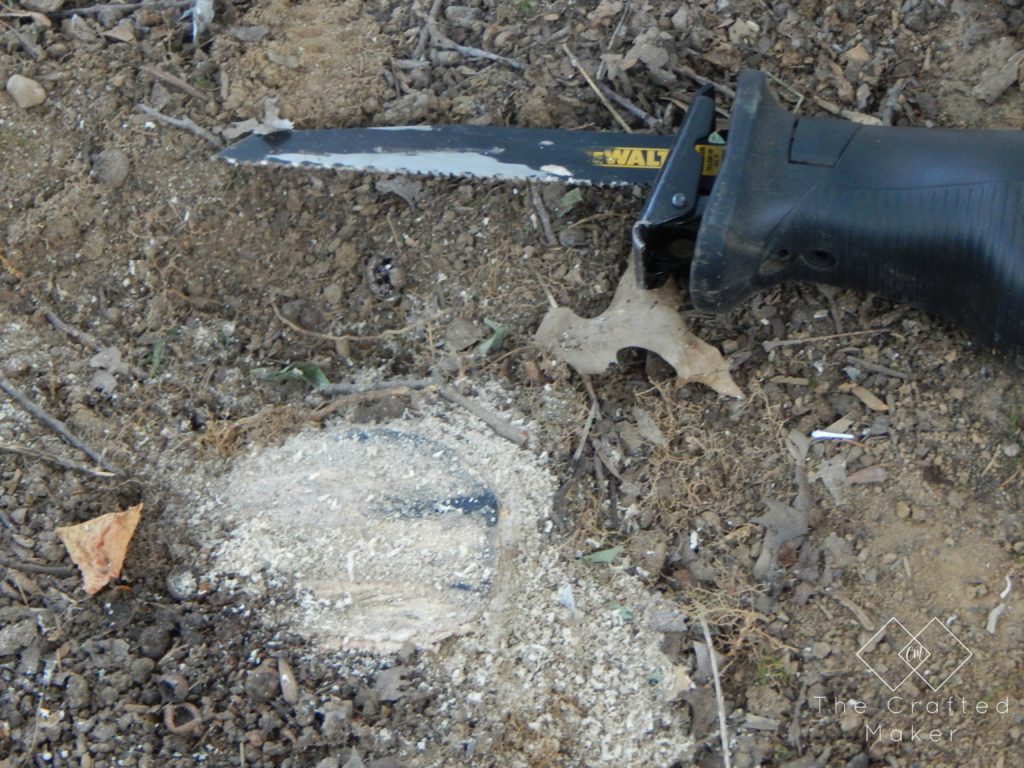
I started out by cutting the bushes in front of the windows down. I originally wanted to just dig them up so they could be given to a friend or family member, but they had a different idea. So, a shovel broken in half later, I got out my trusty old reciprocating saw.
I used a shovel (thankfully I had two) to dig out around the base of the bushes to expose some of the roots. Since these were getting cut out, I wanted to cut them off as low to the ground as I could.
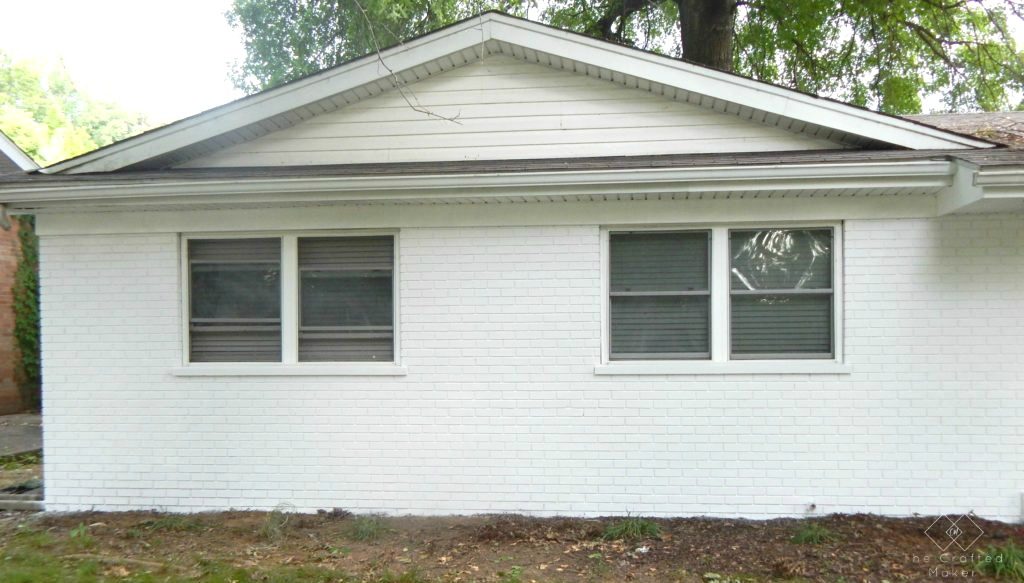
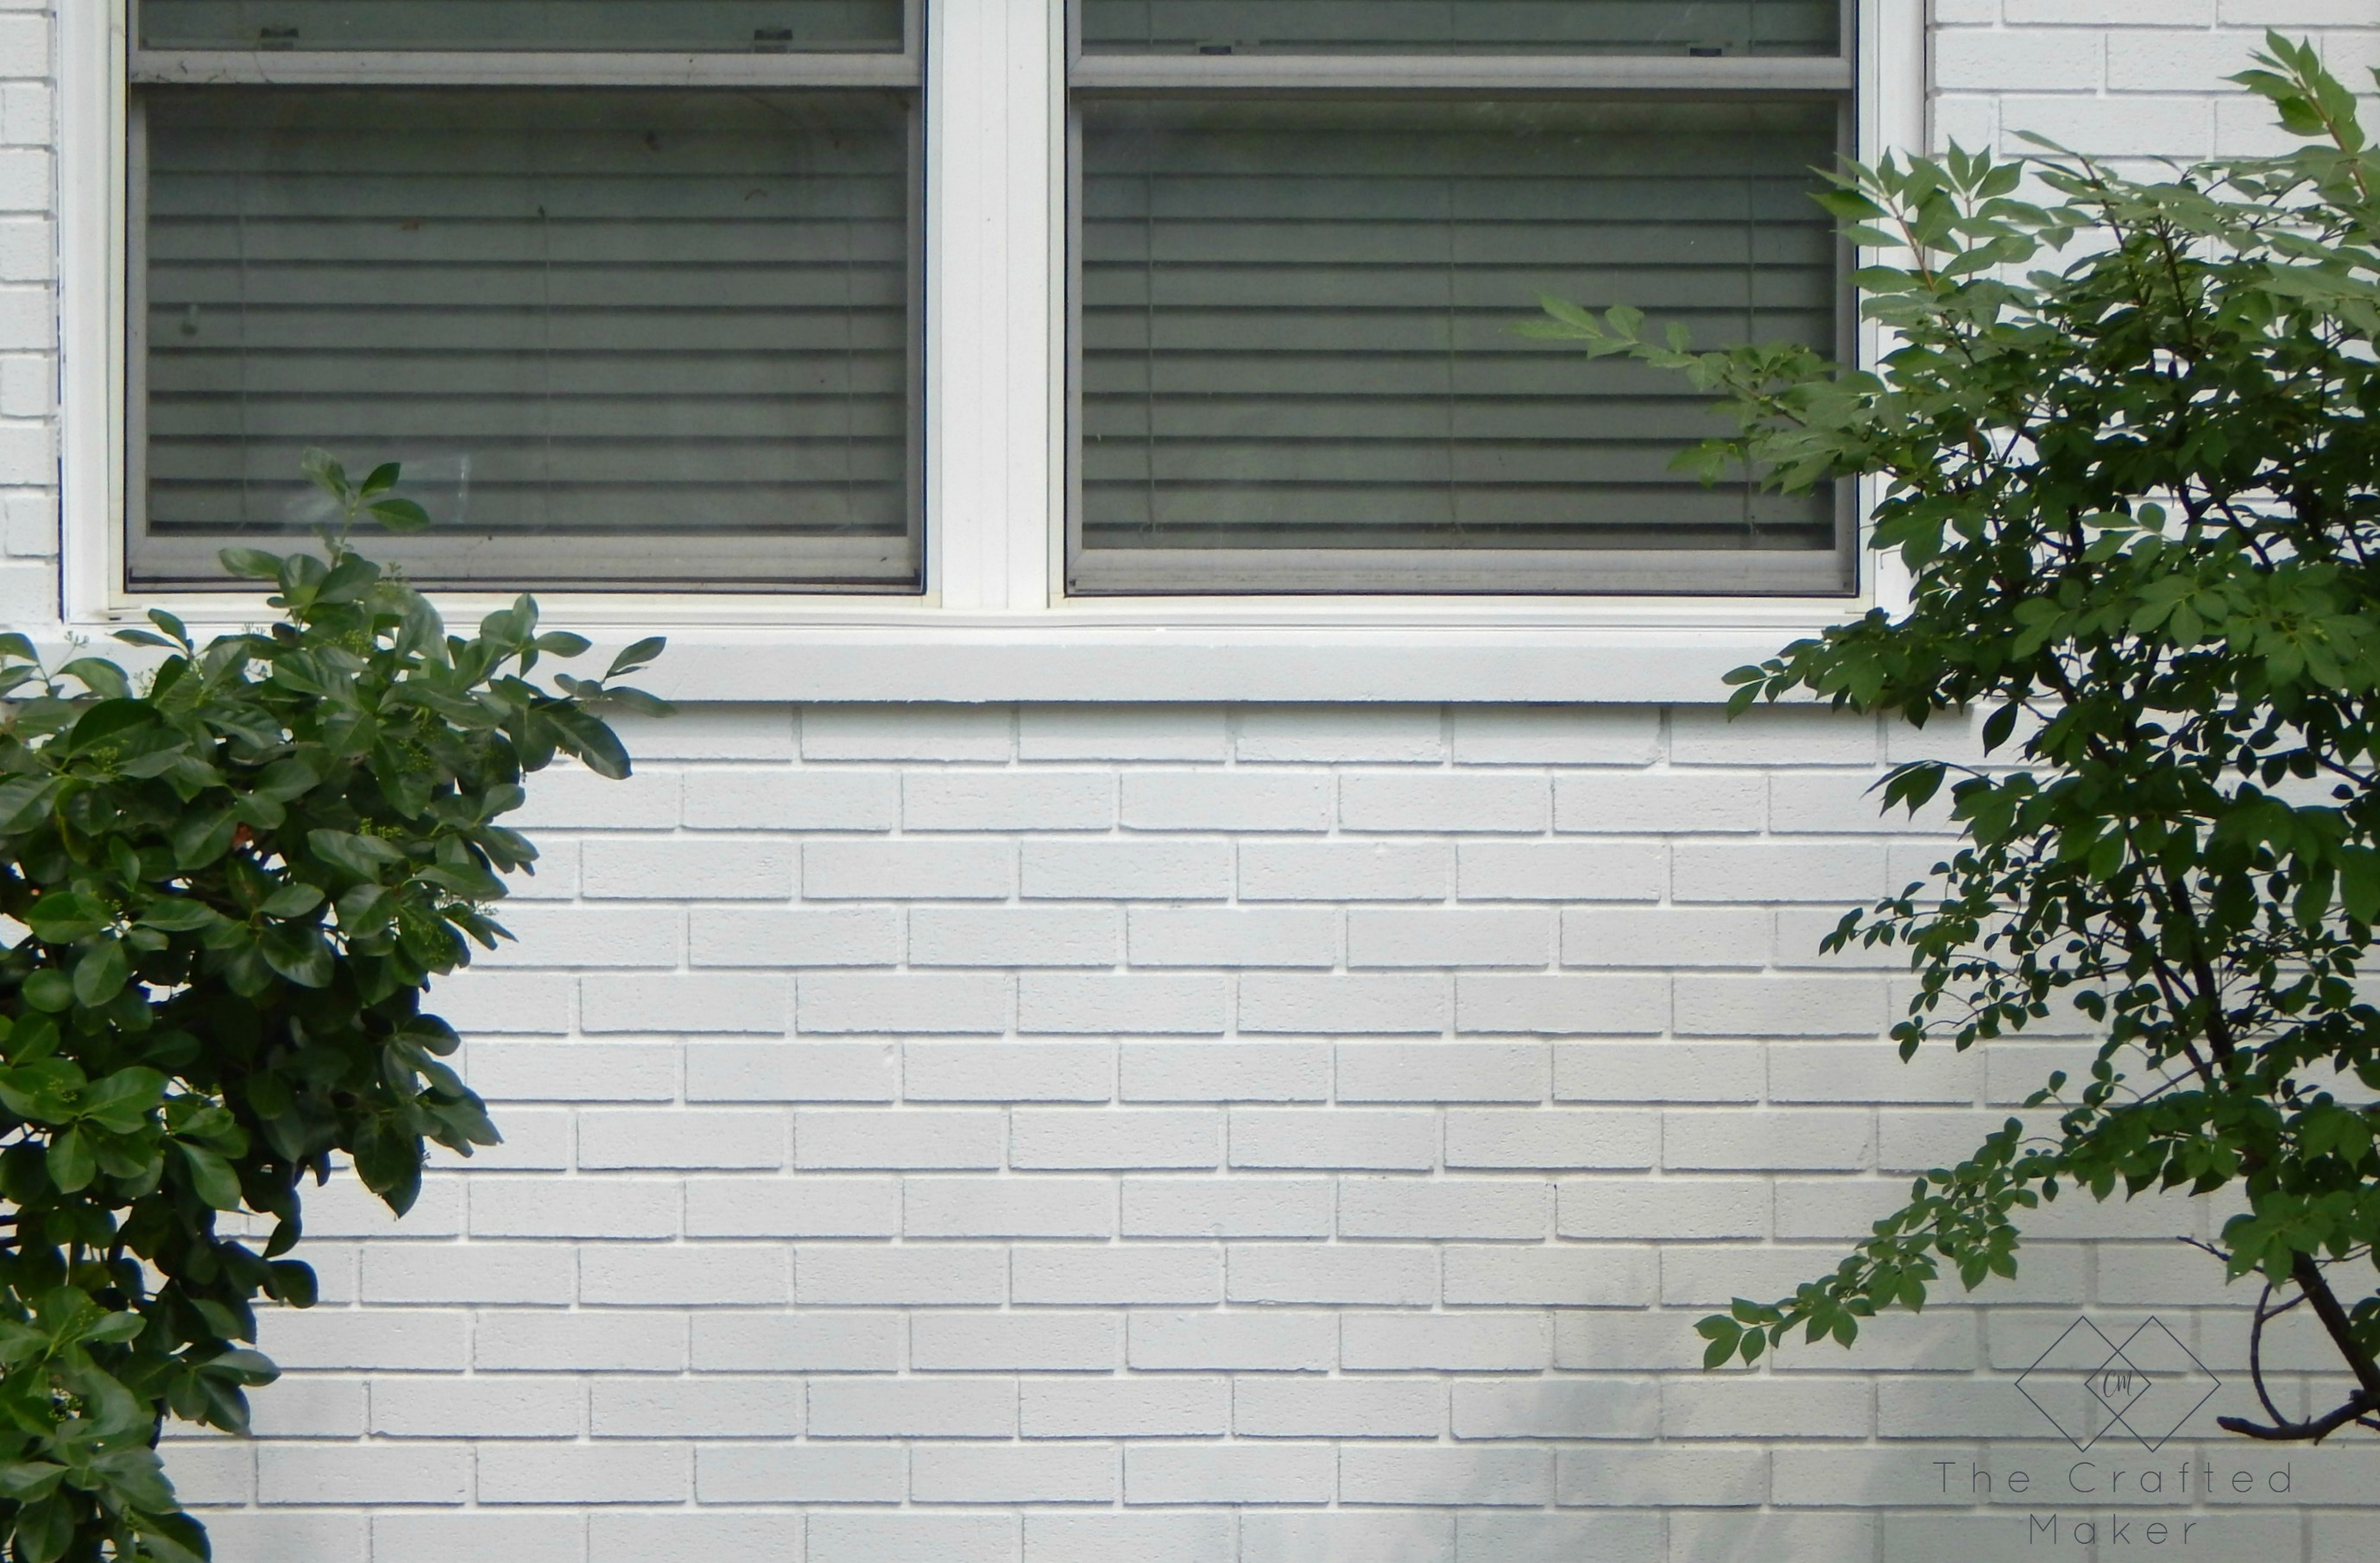
I knew that getting rid of the bushes would really open up the front of the house, but I was not expecting how much!! Between the white paint and no bushes, my house was definitely looking larger and brighter.
Transplanting the flowers
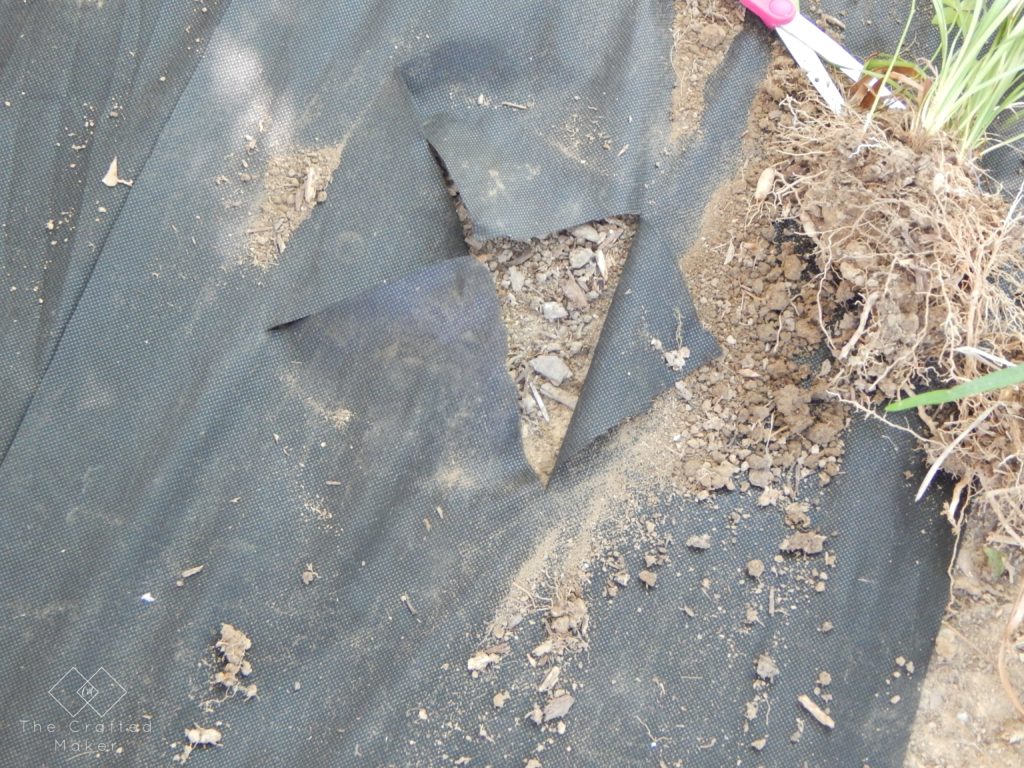
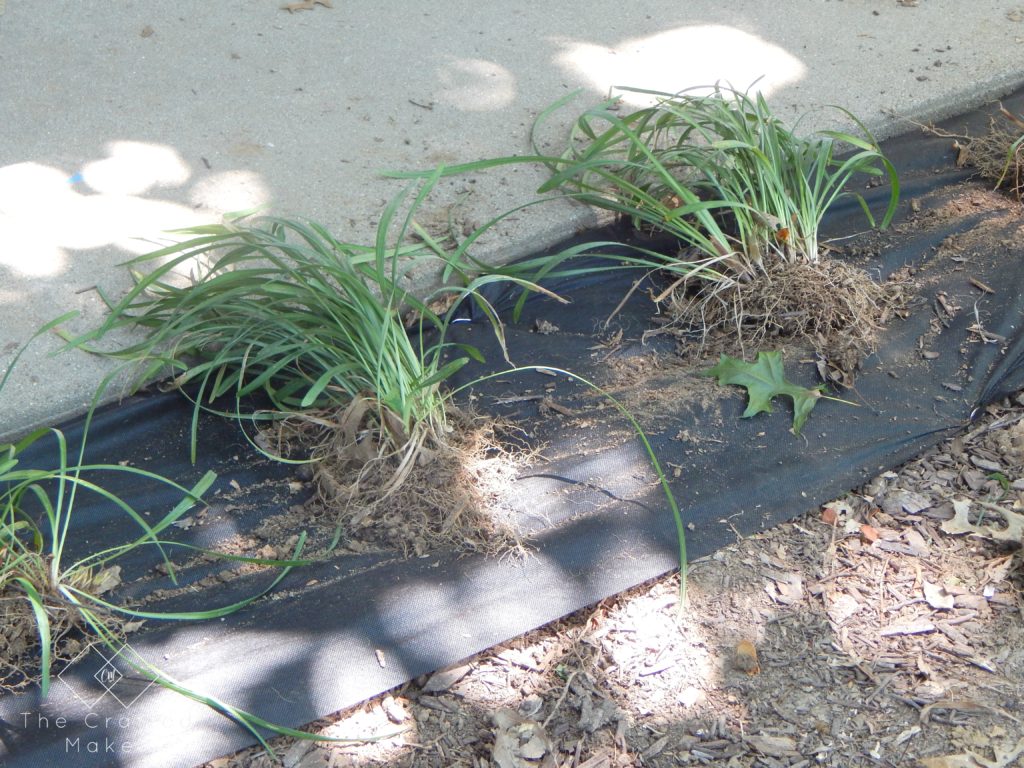
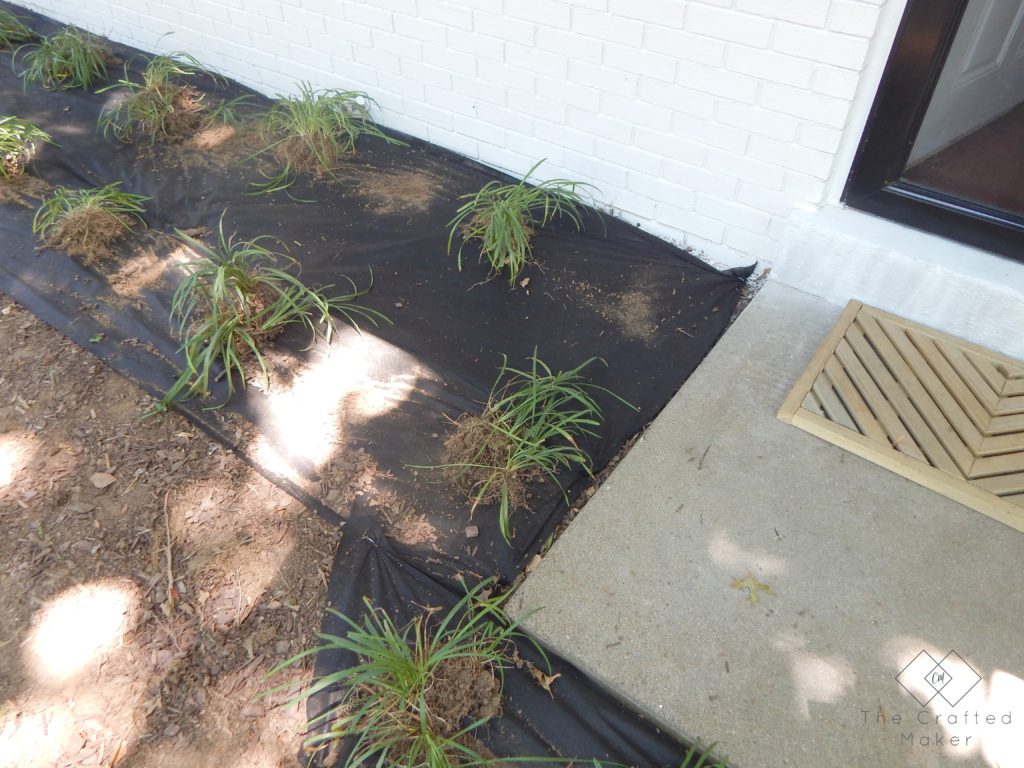
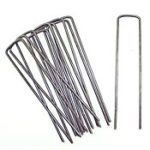
Since I was trying to achieve a new look with as little expense as possible, I reused the old plants I already had down. I dug up the laropia on the front and sides of the house. To make this landscaping easier to take care of in the future, I purchased landscape fabric and pins to place under the plants. This will do a very good job at keeping weeds at bay. Once the landscape fabric was down, I cut X marks to make room for the new plants. This also gave me a good visual of how I wanted my plants arranged.
I dug out the dirt in the middle of the X marks on the landscape fabric and planted my laropia . I transplanted them on the front and sides of the house.
Adding the Landscape Timbers
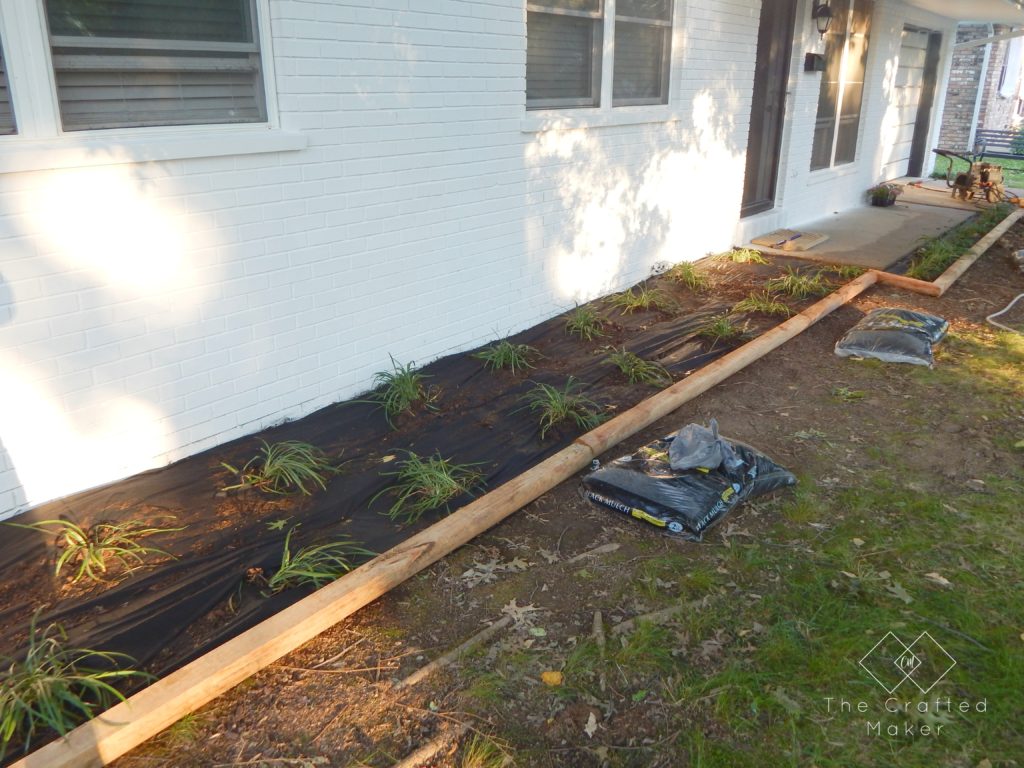
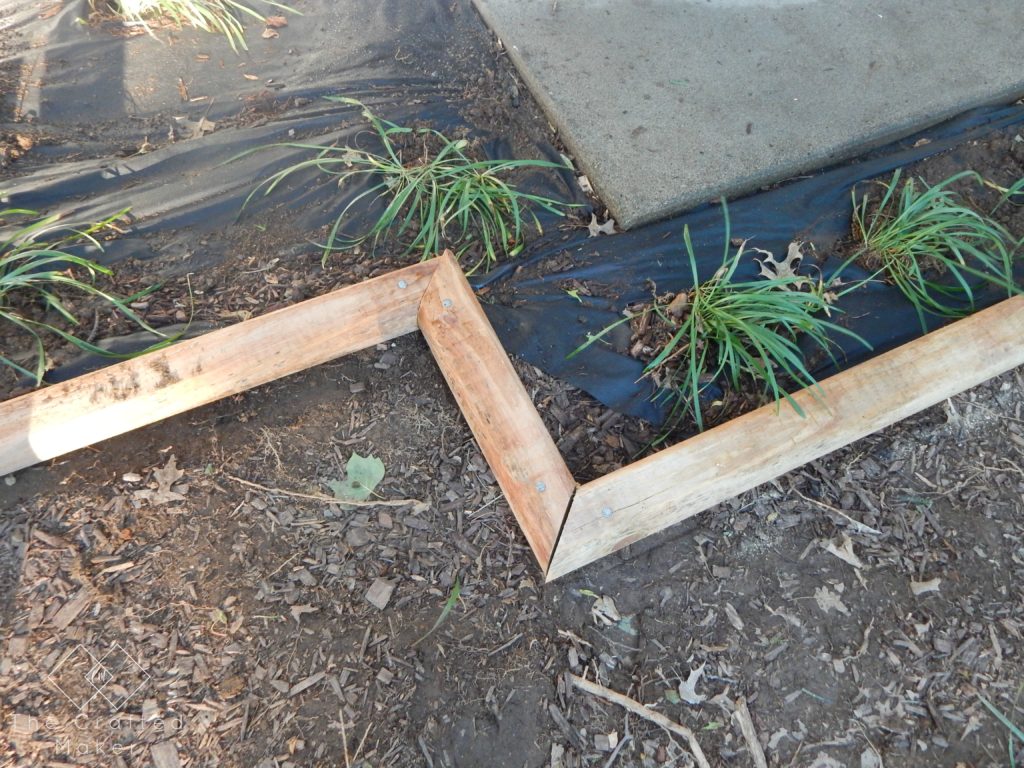
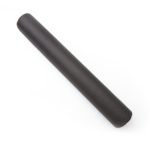
I wanted a border around my new plants, but I didn’t want the added expense of stone. Landscape timbers are super easy to work with and install. I measured for the amount I needed and purchased the coordinating stakes to go with them. For the most part, I just placed the timber on the ground and drove a stake into each end. I did, however, get a little fancy (not that fancy) with them around my front door walkway. I mitered the timbers to fit the layout of the plants.
Finishing Up
With all of the plants in the ground, there were only a few things left to do. I decided to go with black mulch. The new white paint really makes it pop. After the plants were mulched on the front and sides of the house, I watered the plants. I gave them quite a bit of water because they were transplants. Sometimes transplants need all the help they can get!
This project only took a long afternoon and very little money. The only thing I had to purchase was the landscape fabric and pins, landscape timbers and spikes, and the mulch. Even if you don’t have plants running wild like I did, you might have a friend or family member who wants to get rid of some.
Pinning is always appreciated!!
Here are some of the materials I used for this project
*affiliate links used. See disclosure here

