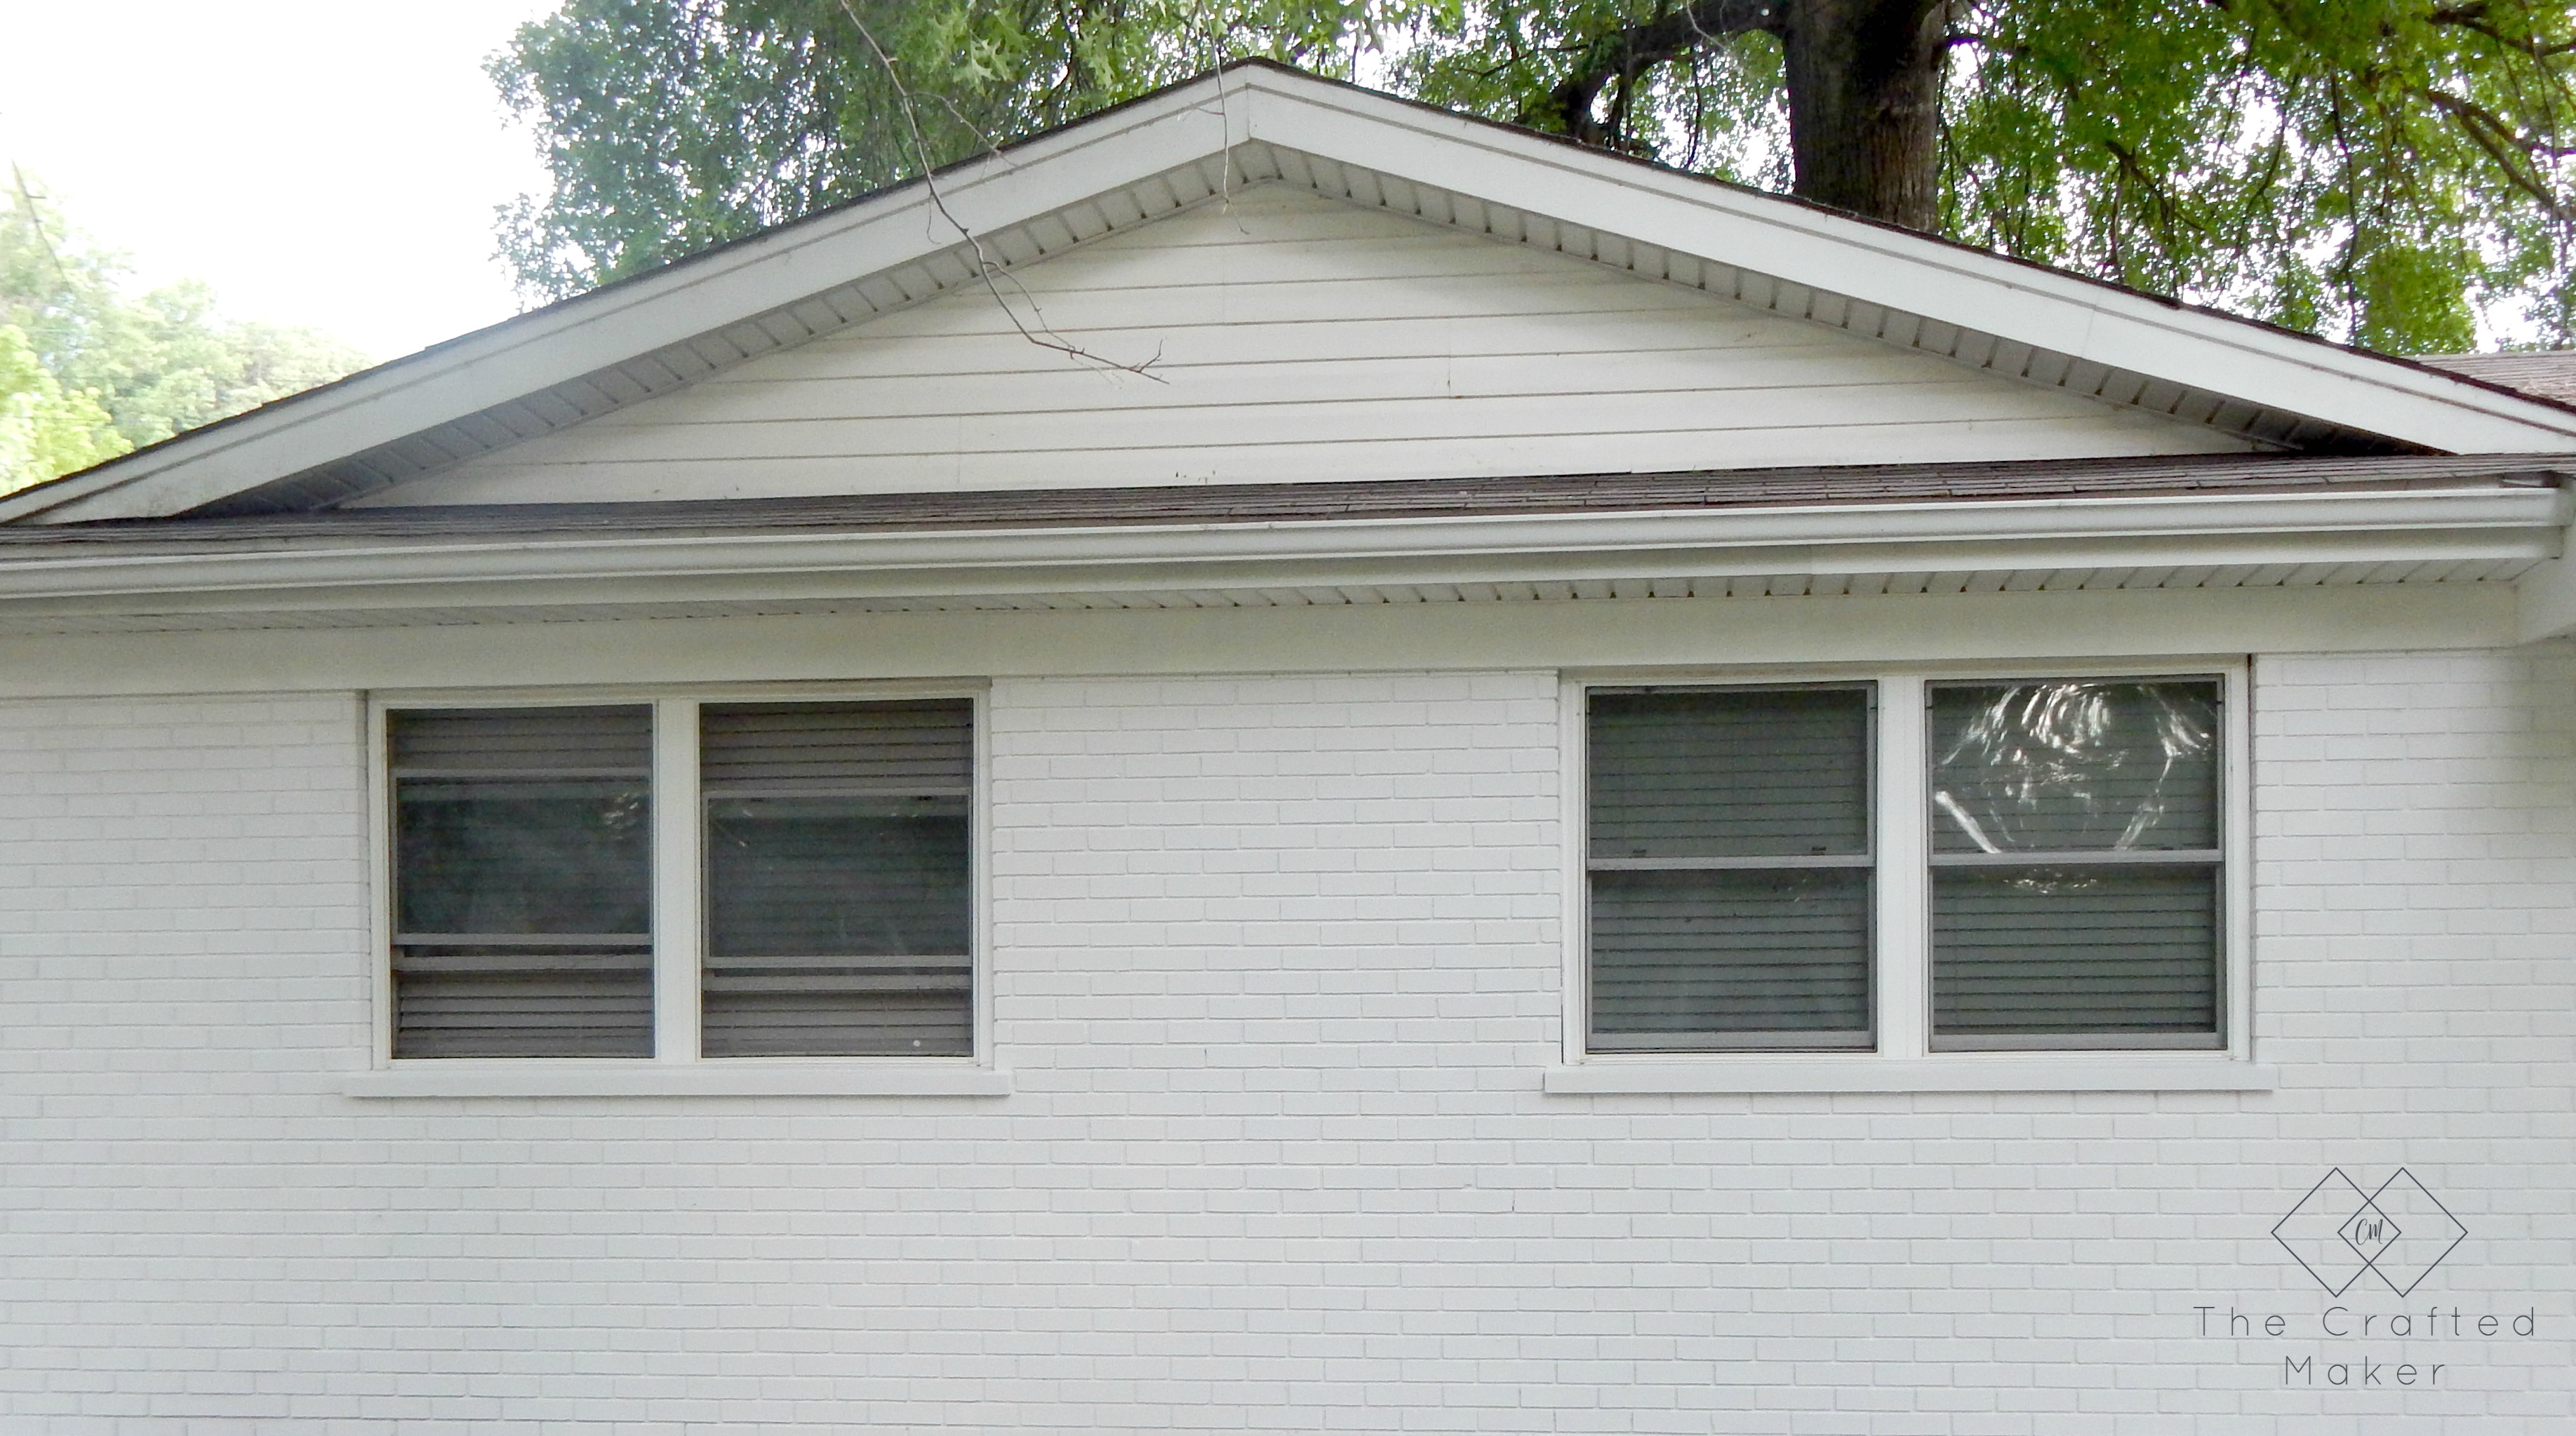
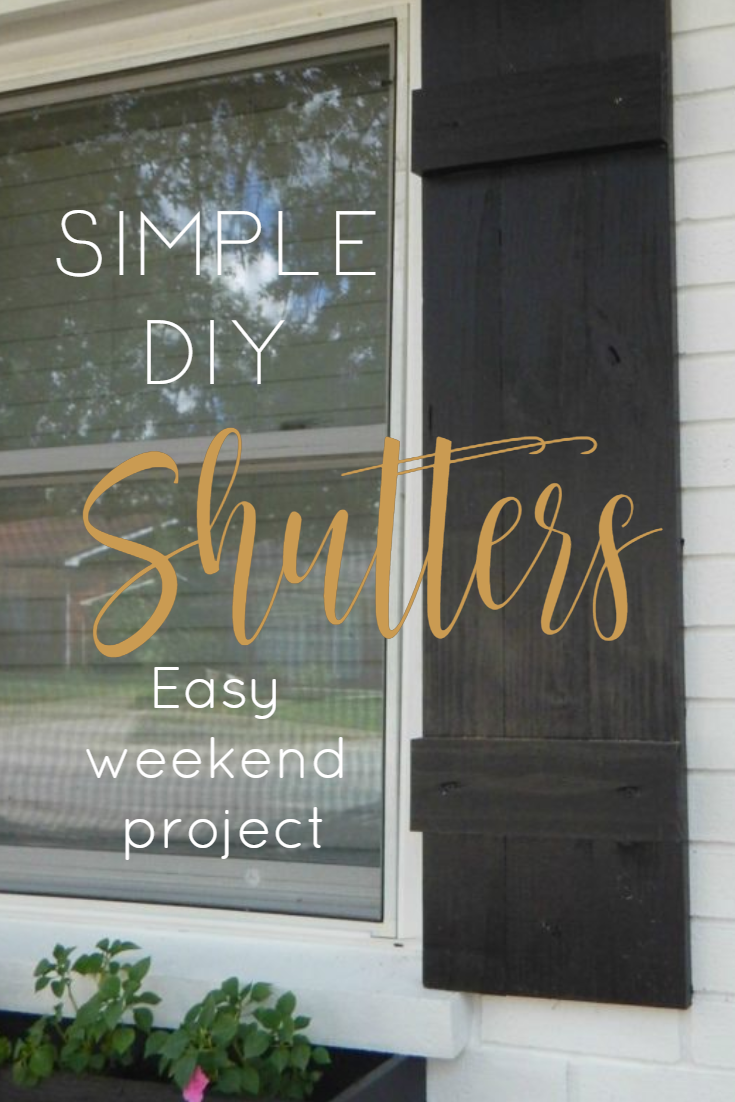
Since the house had been painted white, I wanted to add some details to really make the color pop. I love the way black looks against white on a home, so I decided the windows needed shutters. Most of the big box retailers only carry plastic shutters. Sure, I could special order wood shutters, but that gets pretty pricey, so in true DIY fashion, I chose to build my own simple DIY shutters.
I wanted to place them on the two smaller double windows on the front of my house, so I needed to build two sets of shutters.
The design I chose to build was pretty simple and here are the tools and supplies used to make this project.
Tools
- Saw
- Drill
- Pocket Hole Jig
- Sander
- Hammer Drill (only if you are drilling into the brick) A regular drill will work for other sidings.
Supplies
- 24 – 1 1/4″ pocket hole screws
- 16 – 1 1/2″ Exterior Wood Screws
- 8 – 2″ masonry screws (if drilling into the brick) Use stainless screws for other surfaces.
- Paint or stain
- Safety Gear (glasses, ear protection)
- Masonry Bit (if drilling into the brick)
Board and Cut List (four shutters)
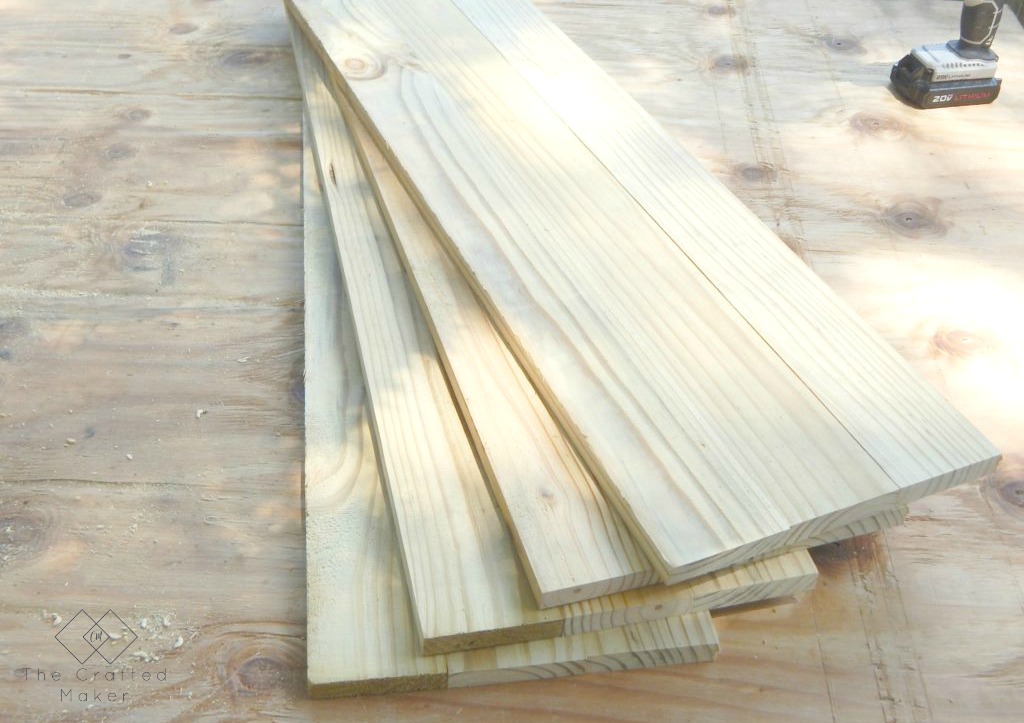
- 7 – Pressure Treated 1x4x96 Boards
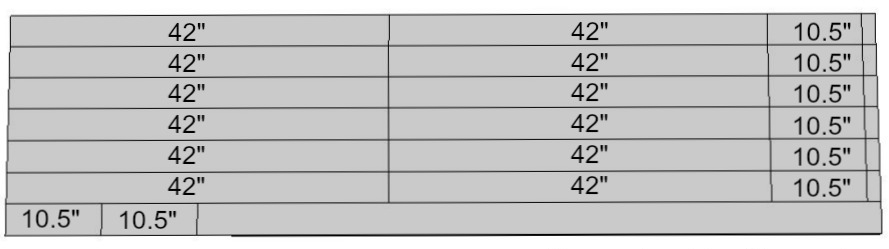
Pocket Hole Placement
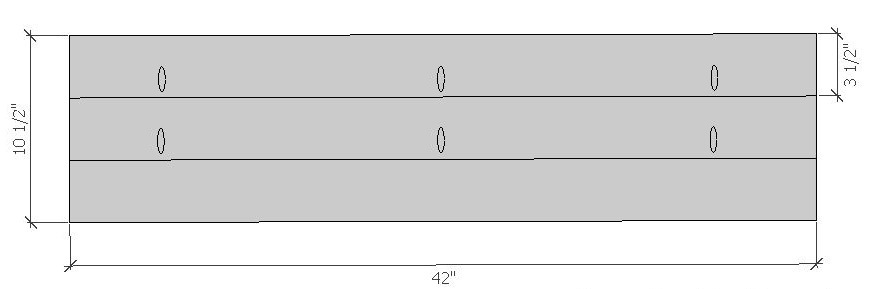
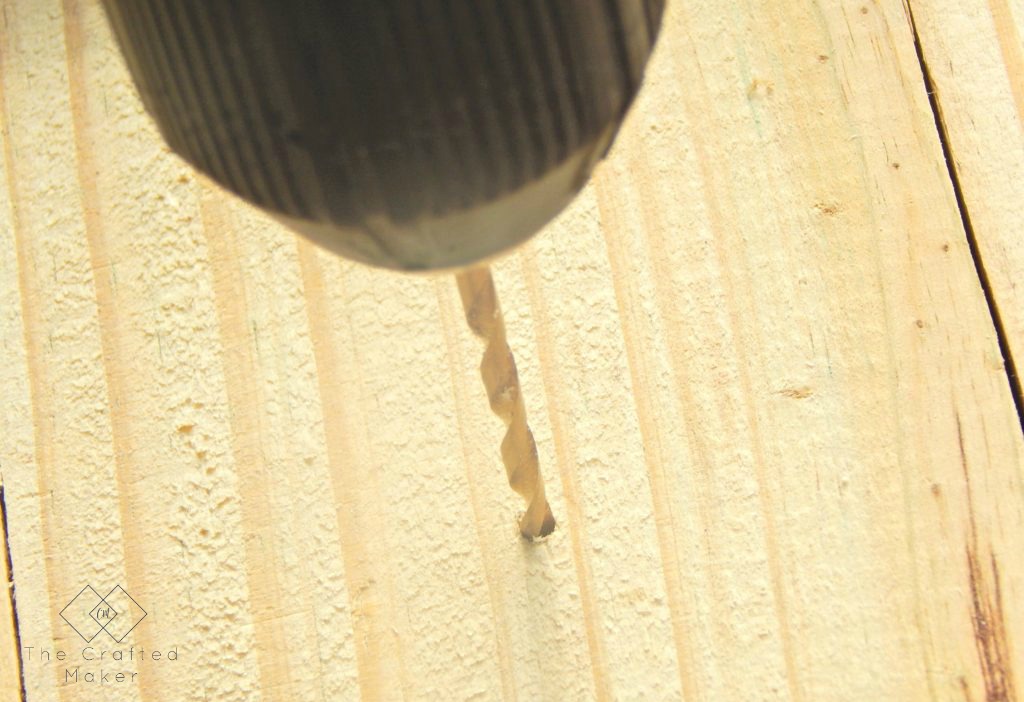
First things first, cut all of your boards and drill the pocket holes according to the diagram above.
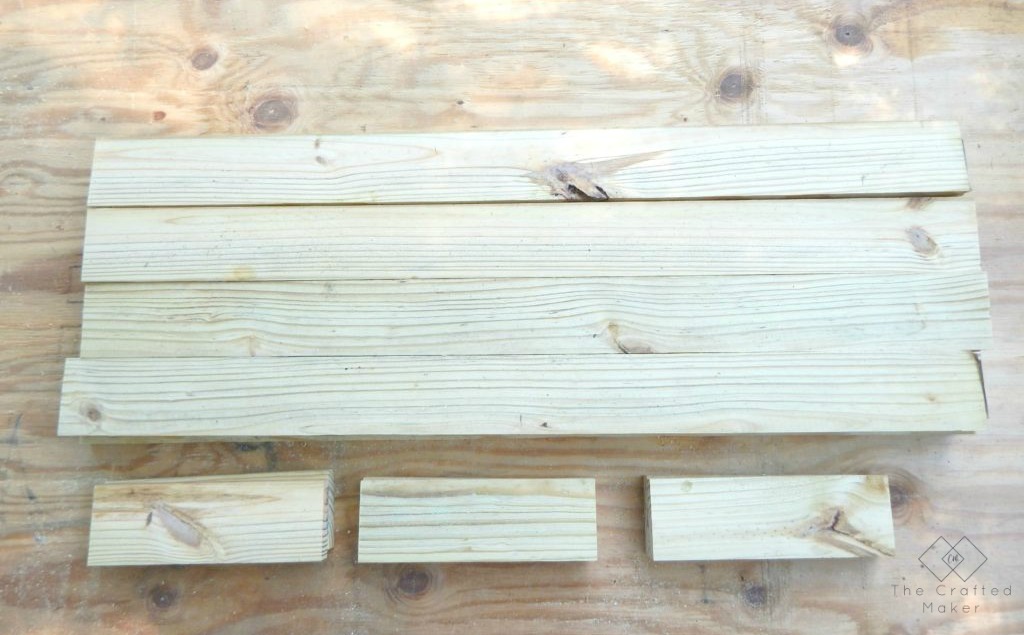
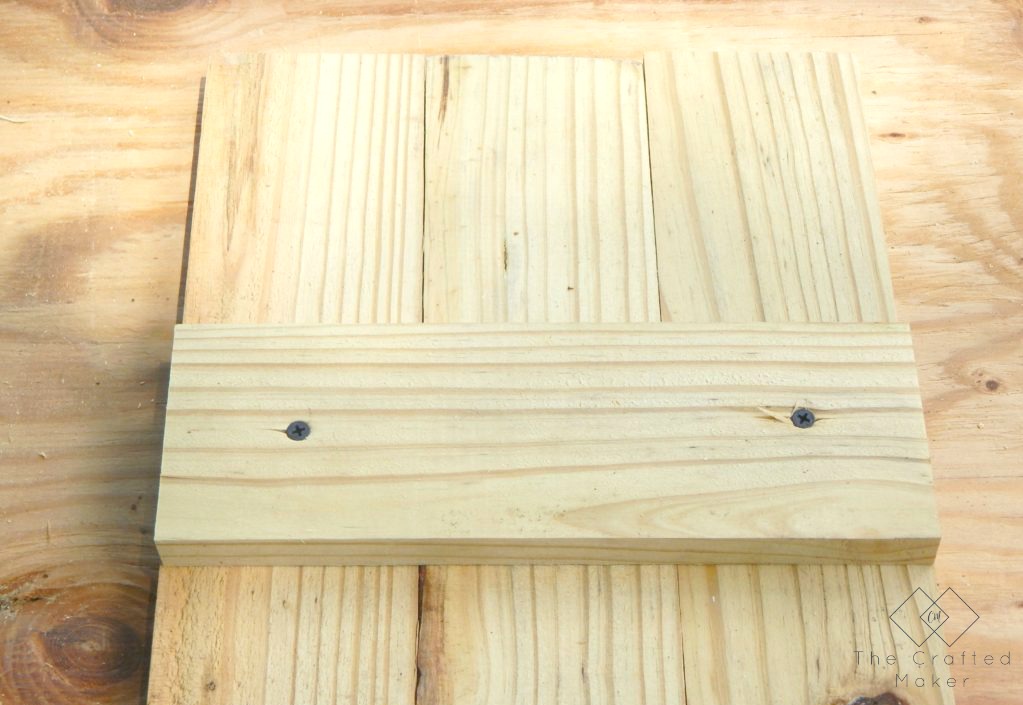
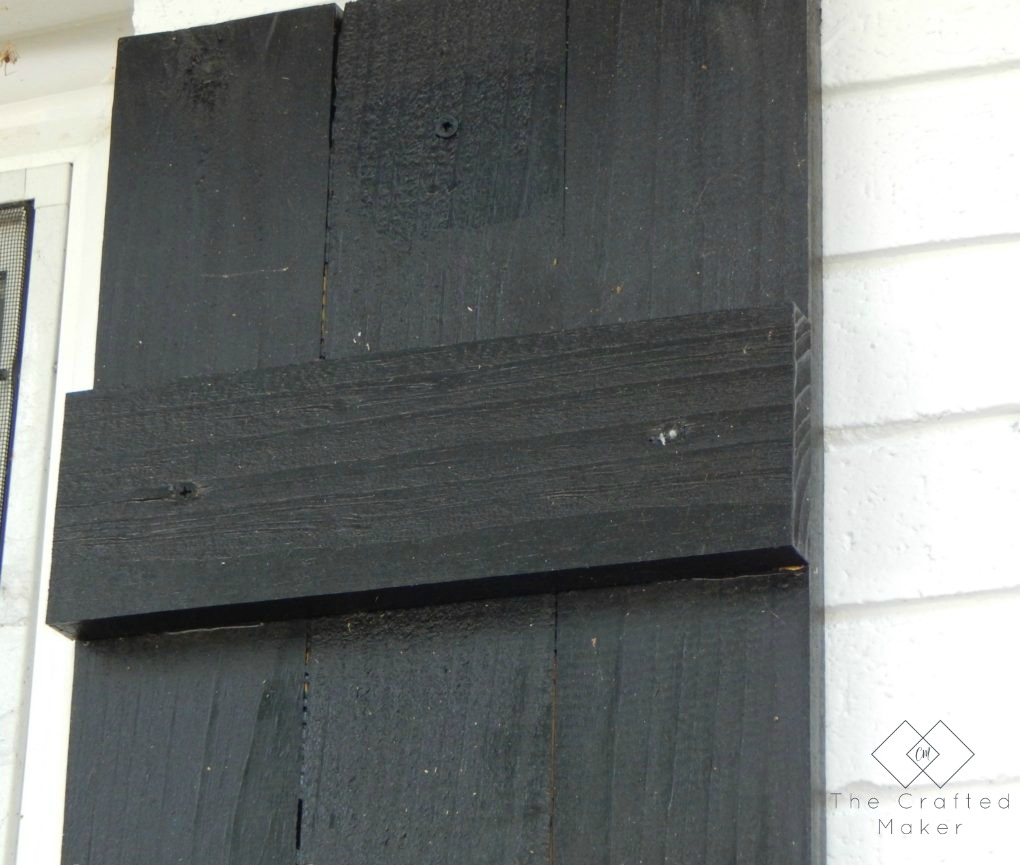
Place three of the 1×4 boards side by side, and secure with pocket hole screws.

I made four of these in total. Two for each double window on my house.
To add some detail to the shutters, I added boards across the body. I cut 10.5″ sections of the 1×4’s and attached one, 6″ from the top and bottom of the shutter. I used 1 1/4″wood screws for this.
To get the shutters lined up right when I went to hang them, I drilled pilot holes in the top and bottom. I used these holes to mark the brick before drilling.
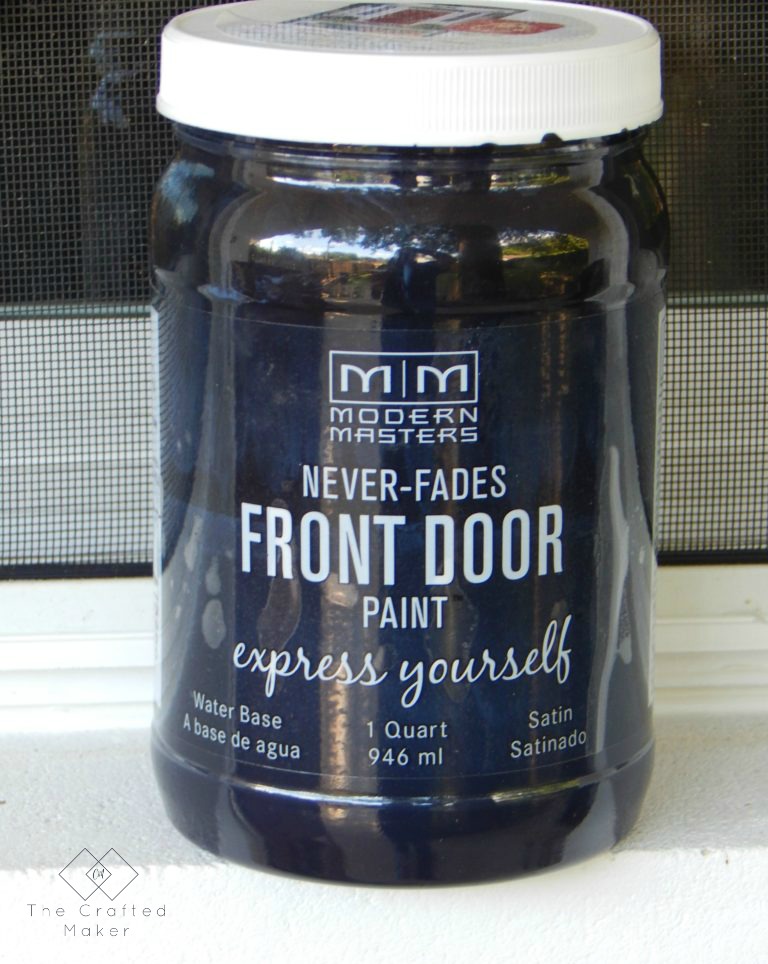
 Now for the fun part, time to make them beautiful. I once had grand plans of painting my front door black but decided not to. I already had some Modern Masters front door paint on hand that would work great for this project. I’m not sure how good this paint is in a fully exposed exterior project, but I have a rather large overhang on the front of my house, so I figured it would be okay.
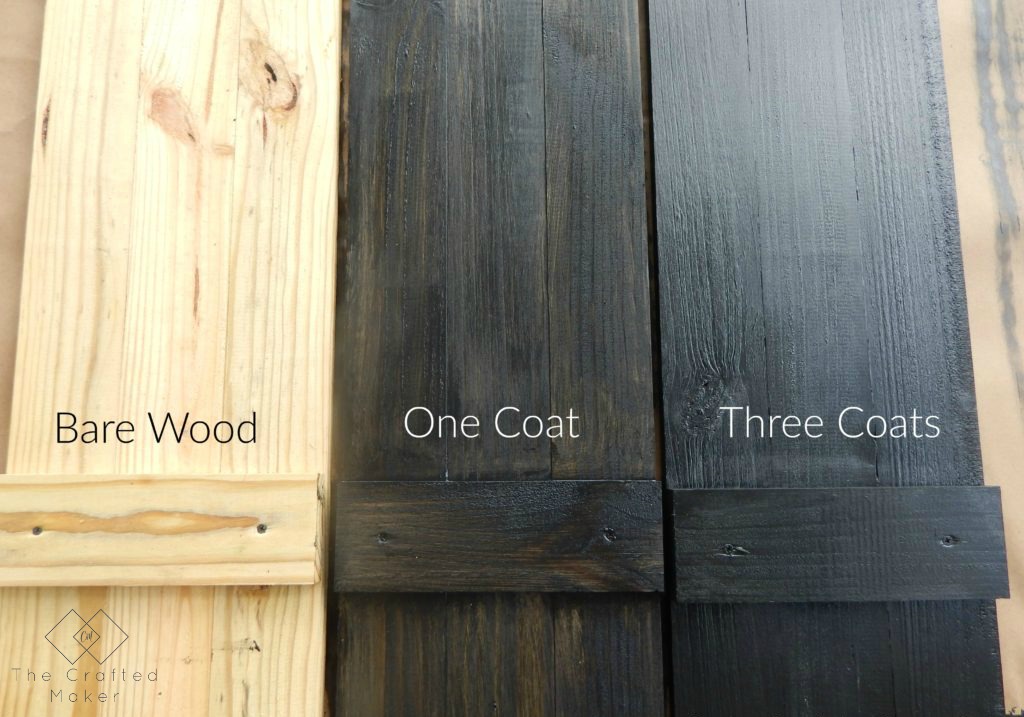
I gave each shutter three coats of paint in total. Below is a picture of how the progression looked.
I held the shutters up in the position I wanted next to the windows and used a drill bit through the pilot holes to mark the brick. Since I was drilling into brick, I couldn’t use my regular cordless drill. I needed something with a little more power behind it. I purchased a hammer drill for this project. If you are drilling into vinyl or wood siding, you don’t need a hammer drill. Your regular power drill should work just fine.
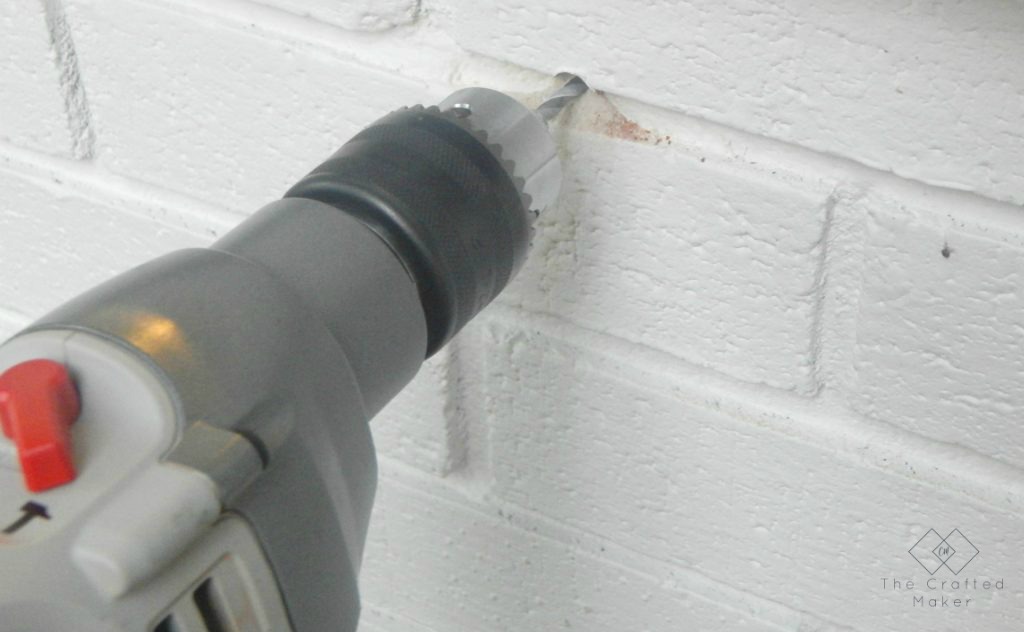
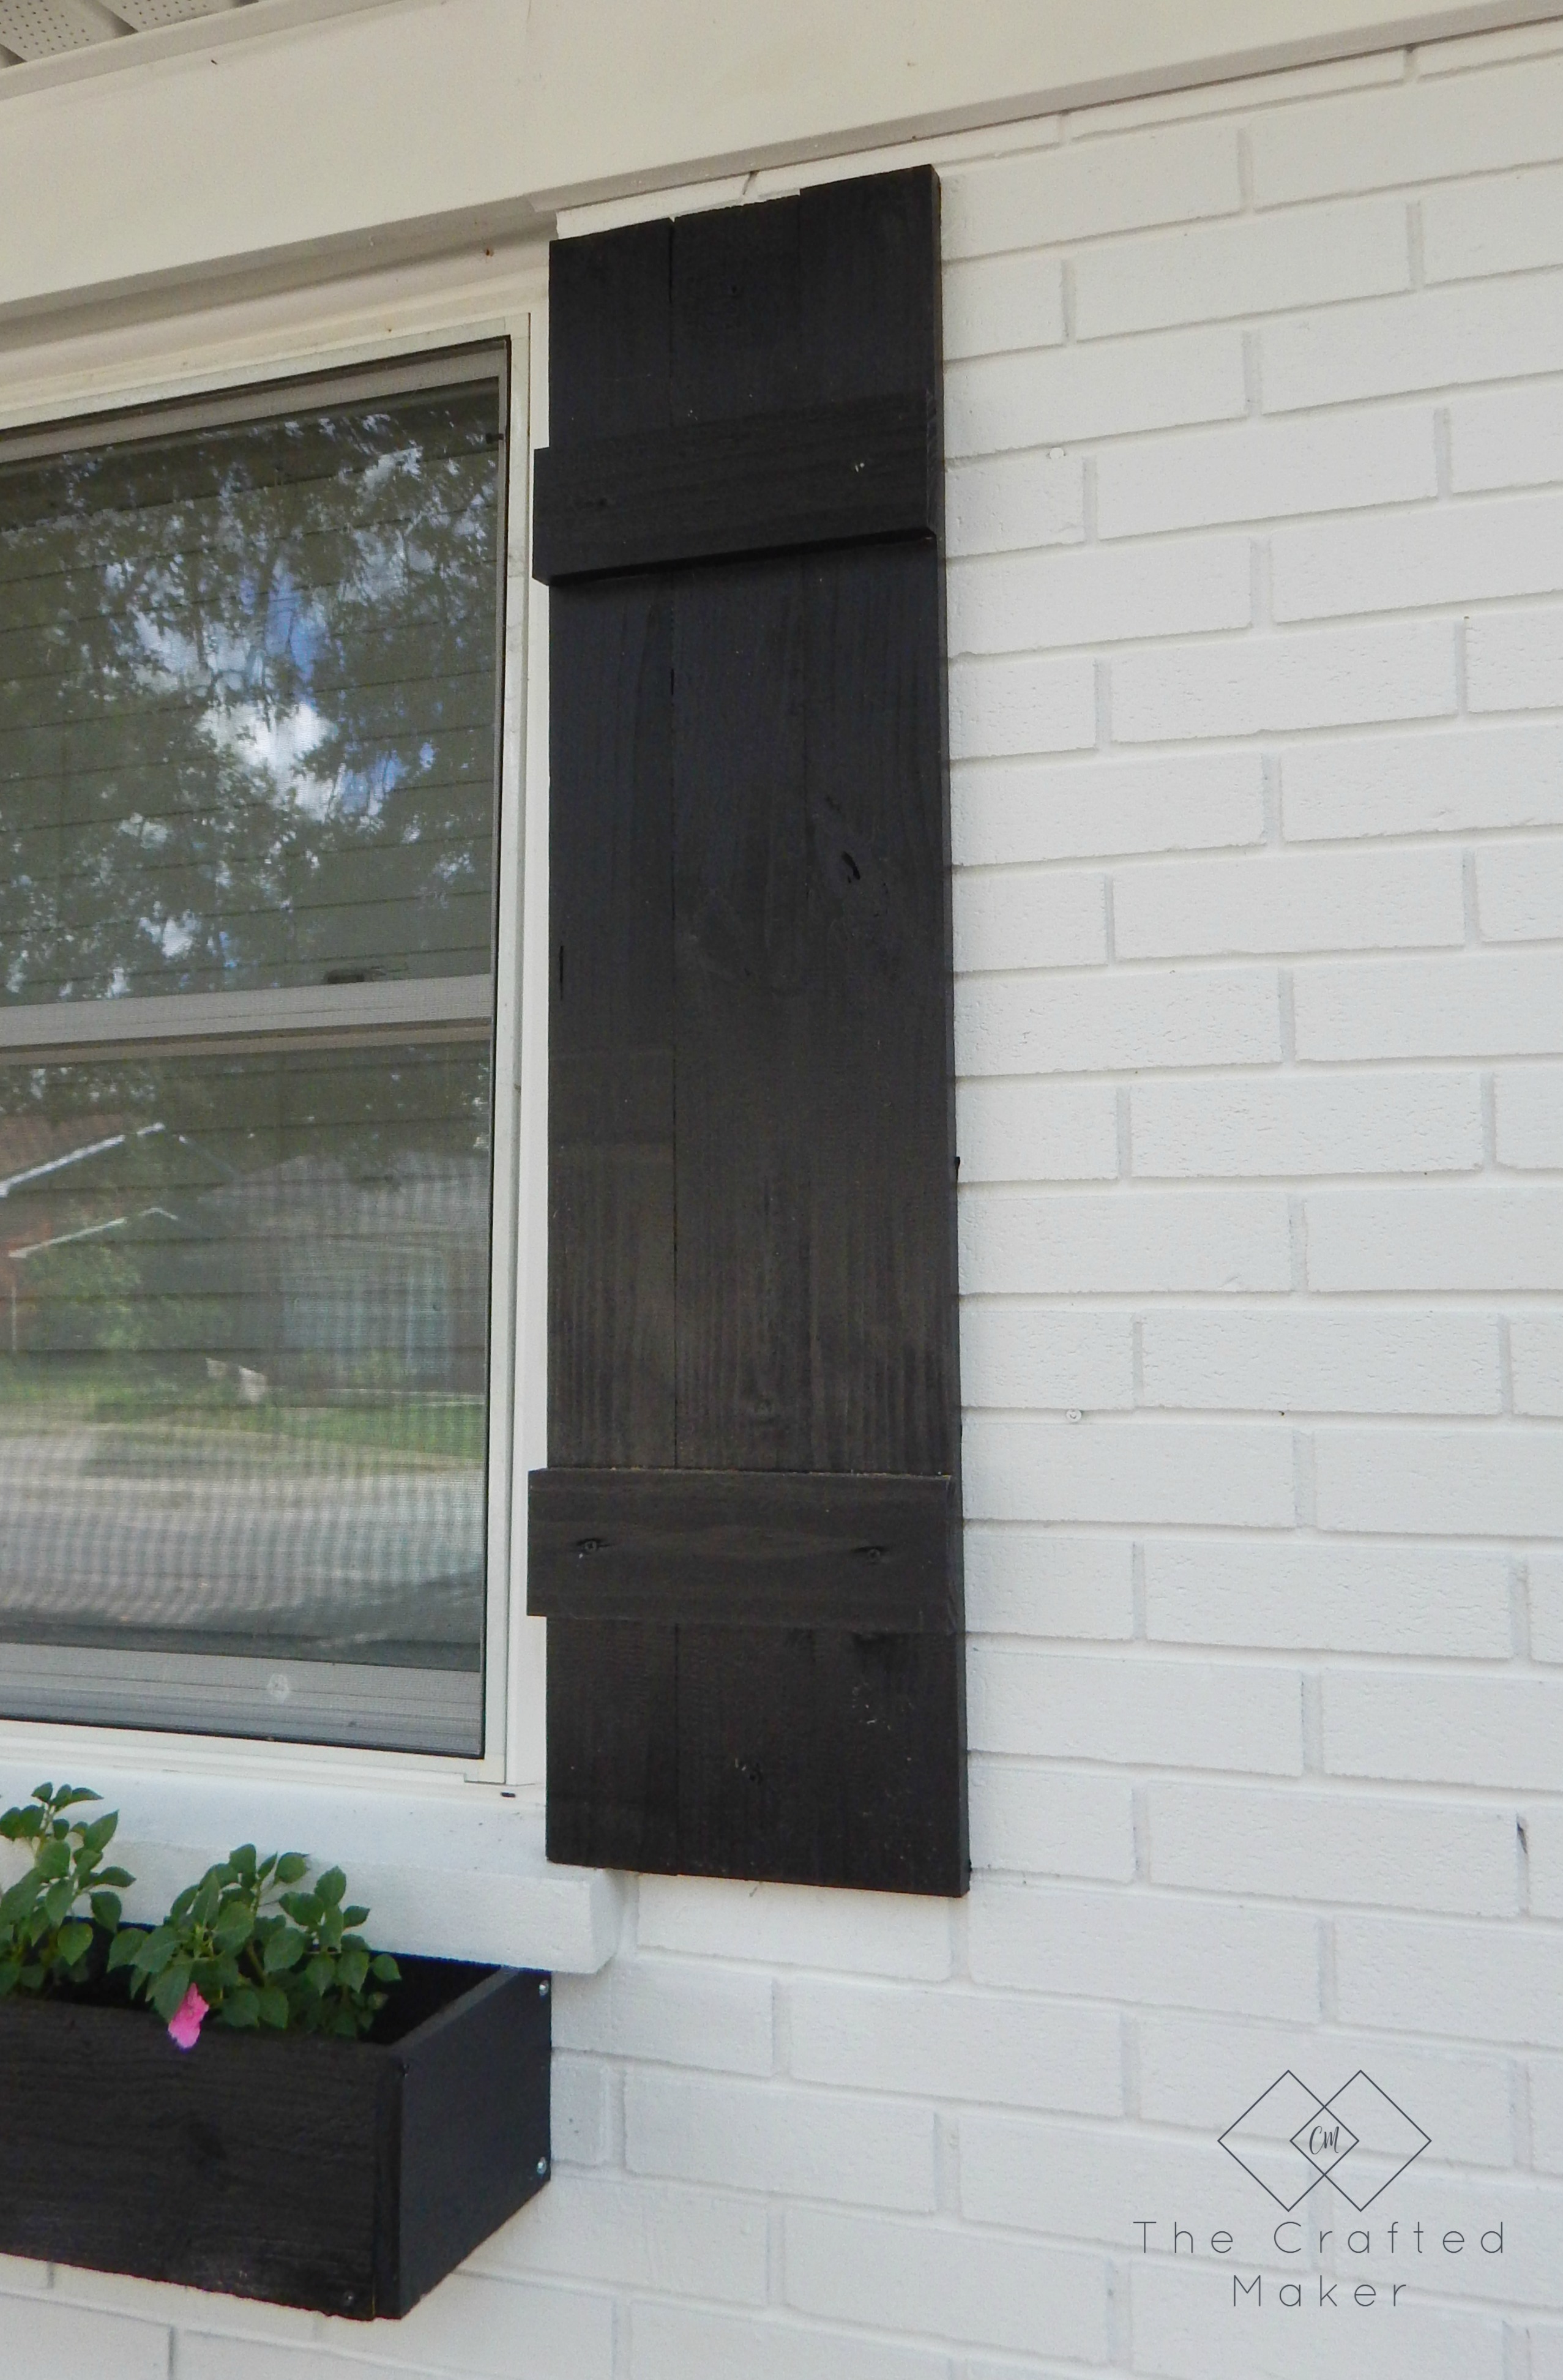
When all the holes were drilled, I lined up the shutters using the pilot holes and screwed them in with 2″ Masonry Screws. These are specially designed to hold better when attaching things to any kind of brick or stone. I used a paintbrush to add some black paint to the screw heads. The screws I used were blue, so they really stood out.
These shutters are so easy to build and can be customized to whatever size your windows are. You could also use this same design to make interior shutters for your home with non-pressure treated lumber, of course. Here are some after shots for you guys.
Did you check out those window boxes in the corner!?! That’s the next project I will be posting very soon! I hope you enjoyed this tutorial on making these simple DIY shutters.
Talk to you all real soon!!
Pinning is always appreciated!!
Here are a few more projects I did on the outside of the house.
DIY Landscaping – Reusing Old Plants for a New Look