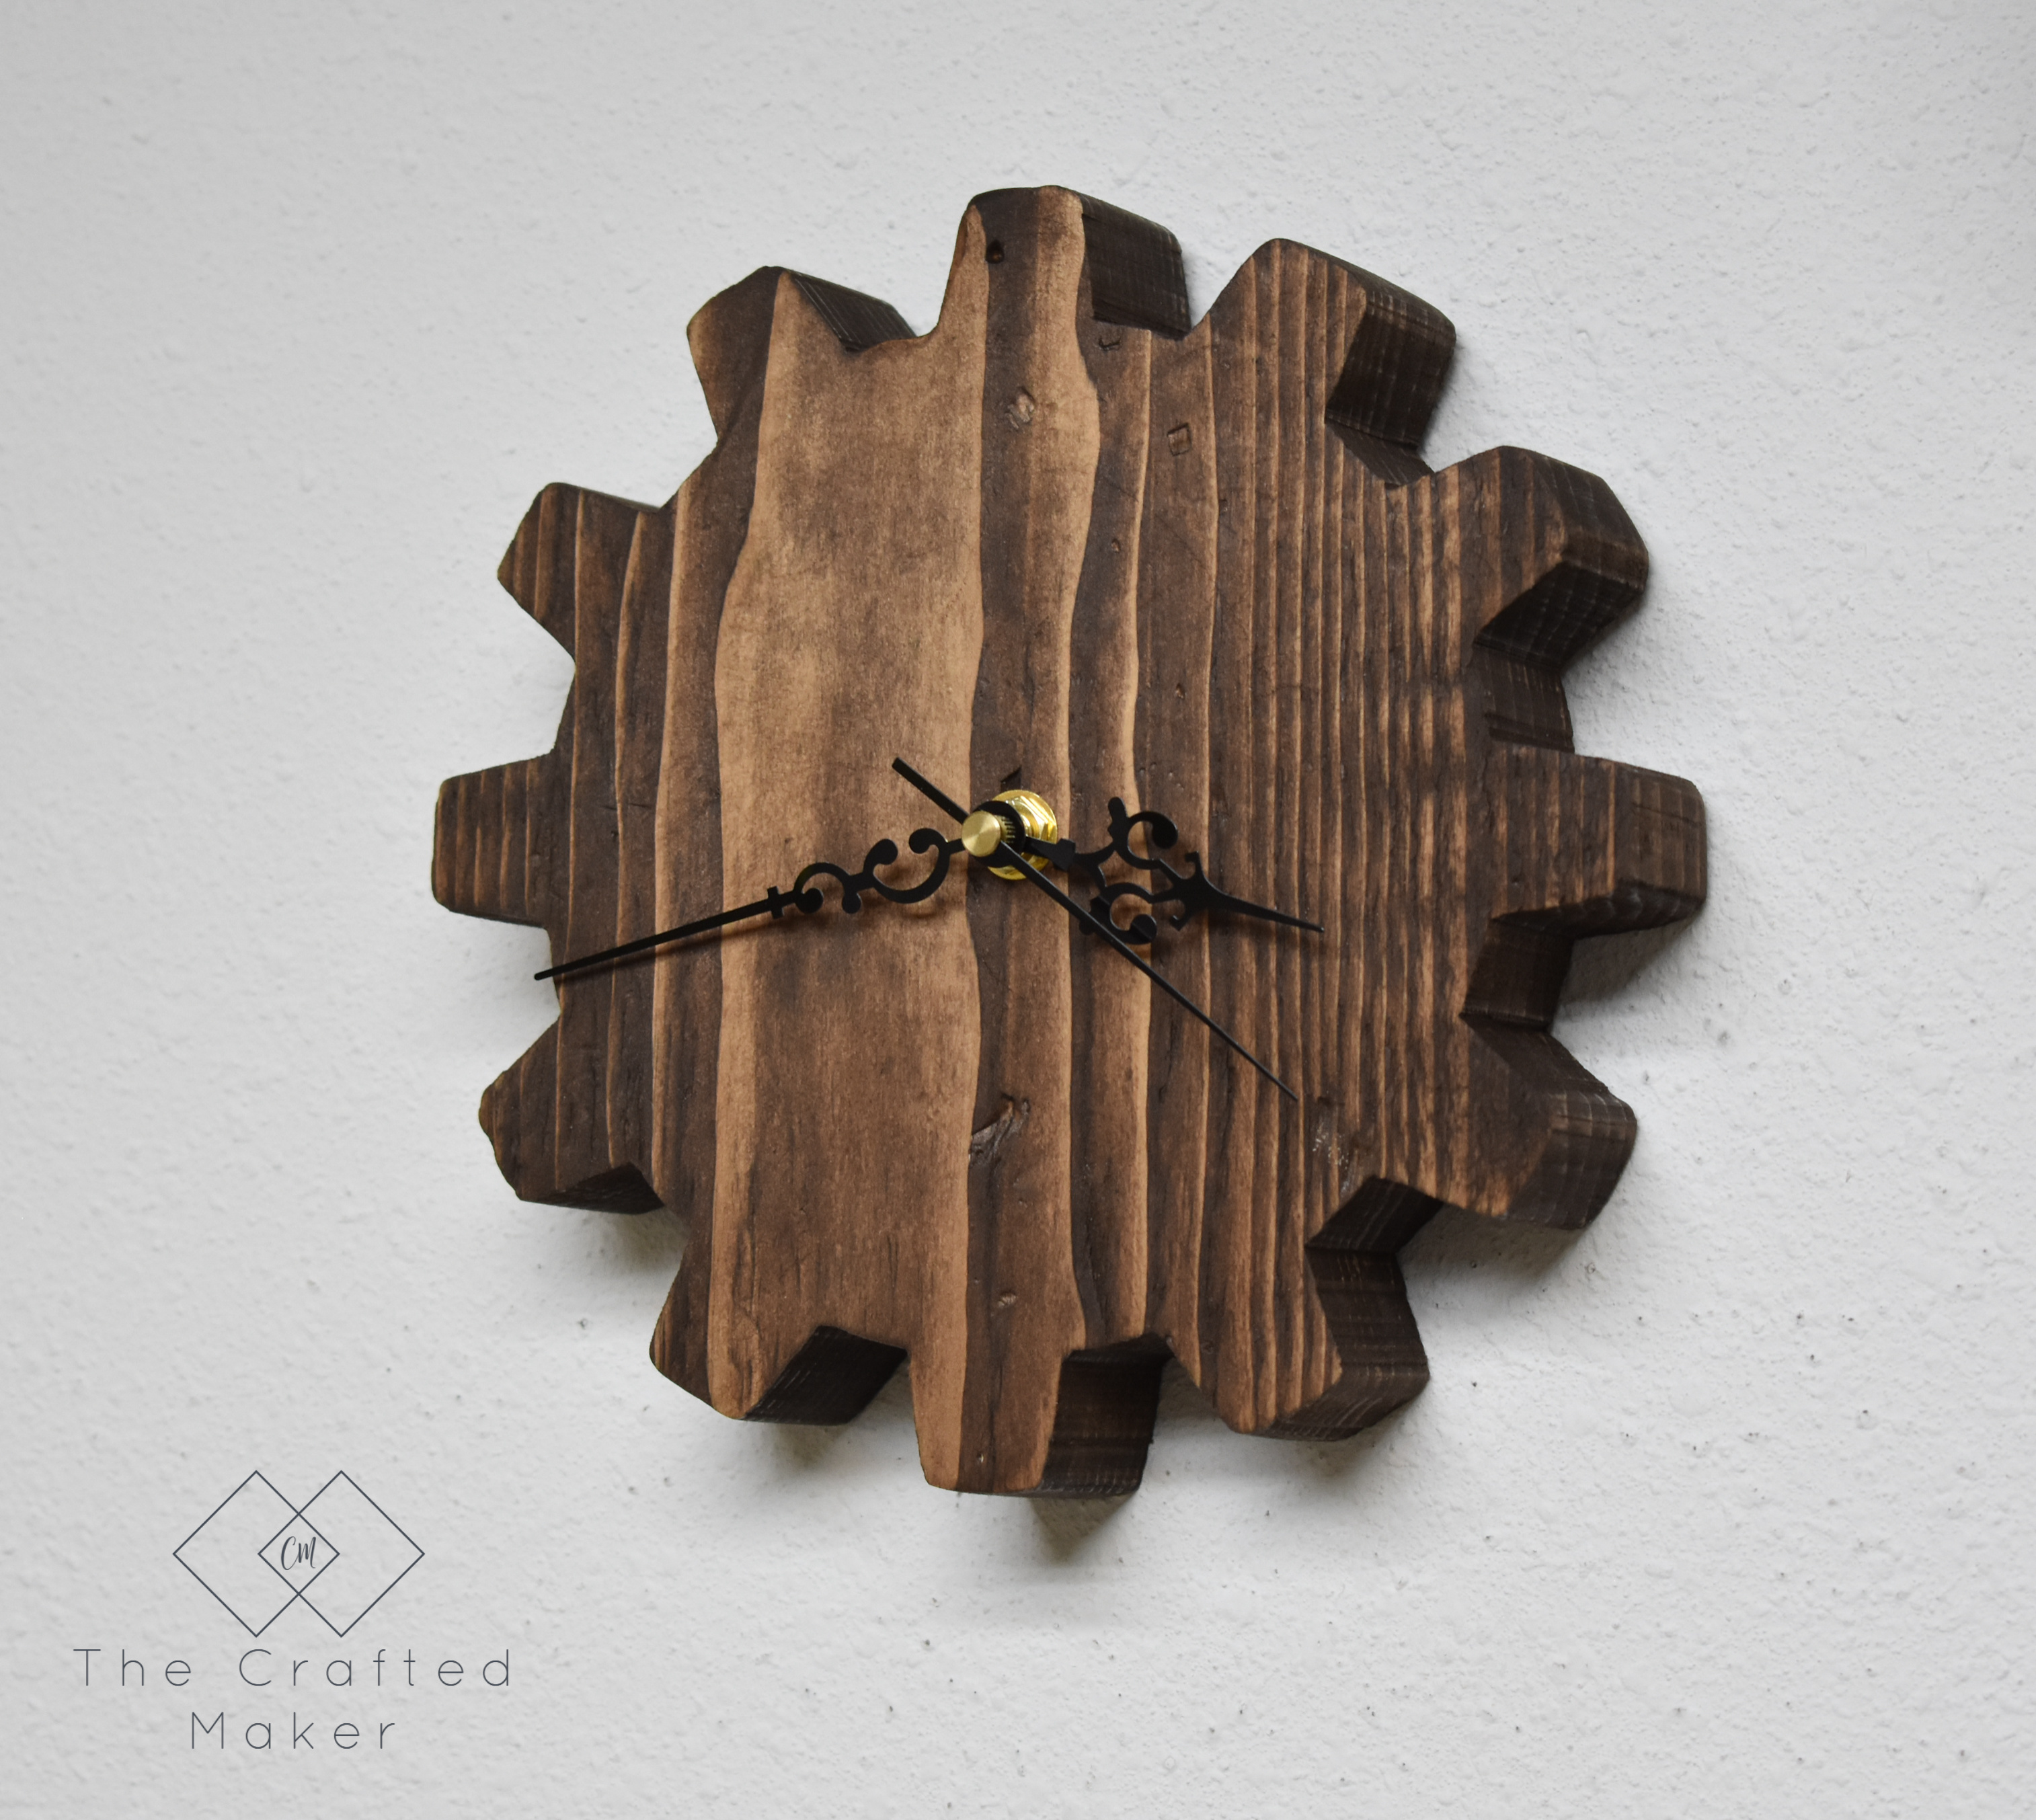
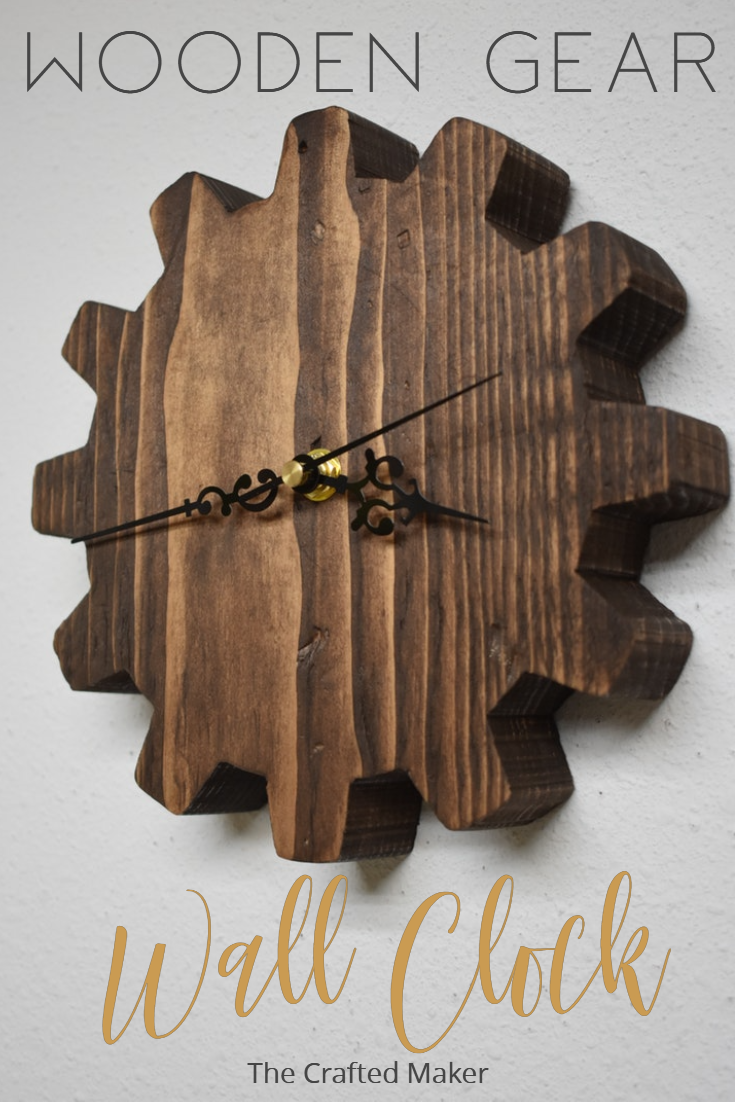
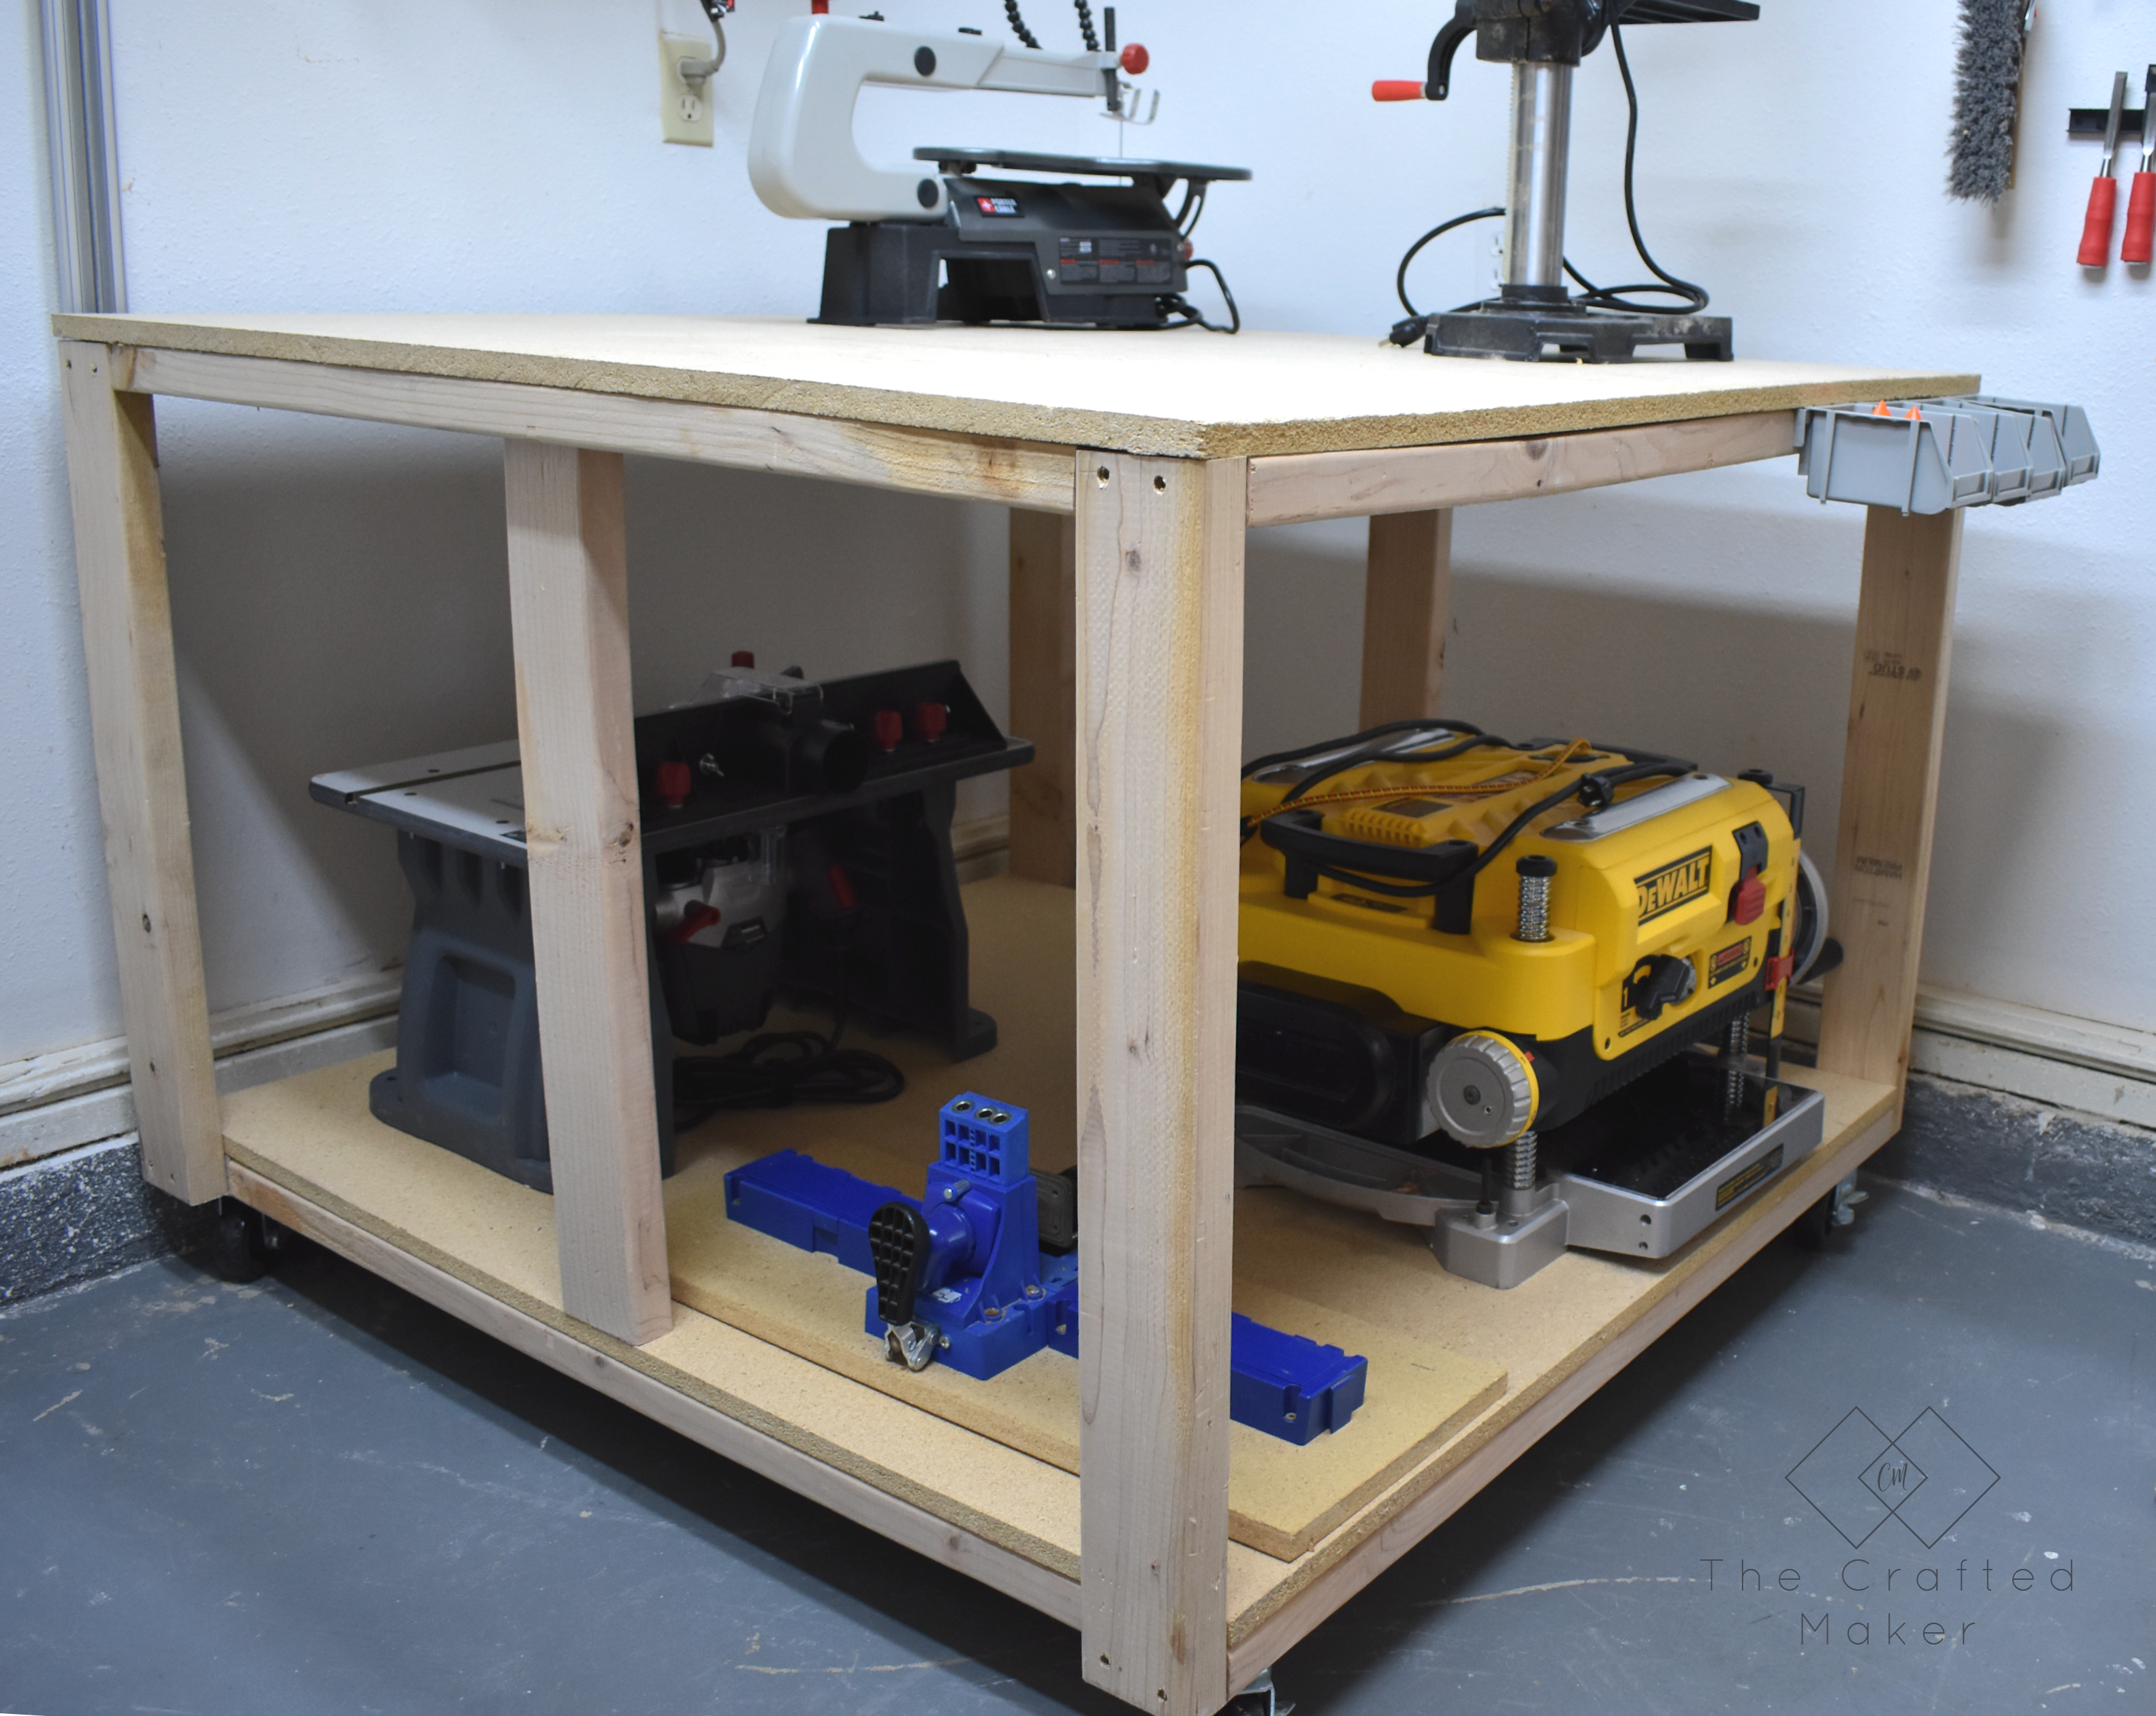
Happy Monday everyone! I have been working on getting a workspace in the back of my garage set up to make my life a little more organized when working on projects. I have painted the walls, built a rolling workbench (plans coming soon!), and organized the space in general. One of the things missing from the space is a clock. I always have my phone on me while I’m out there working to show me what time it is, but thought it would be neat to have a clock on the wall. Since this is a workshop, I decided to make one with a workshop theme attached to it. After looking through picture after picture of hardware items, I landed on a clipart picture of a gear. Just so happens that the gear had all of the right positions to be used as a clock.
If you want to make a wooden gear wall clock of your own, the template I used is below. Just print it out by clicking on the picture.
Now on to the build…
*affiliate links used. See disclosure here
Supplies
Wood – I used a 2 x 12 board cut to 12″. The thickness of the wood is up to you. It needed to be at least 1/4″ thick for the clock mechanism.
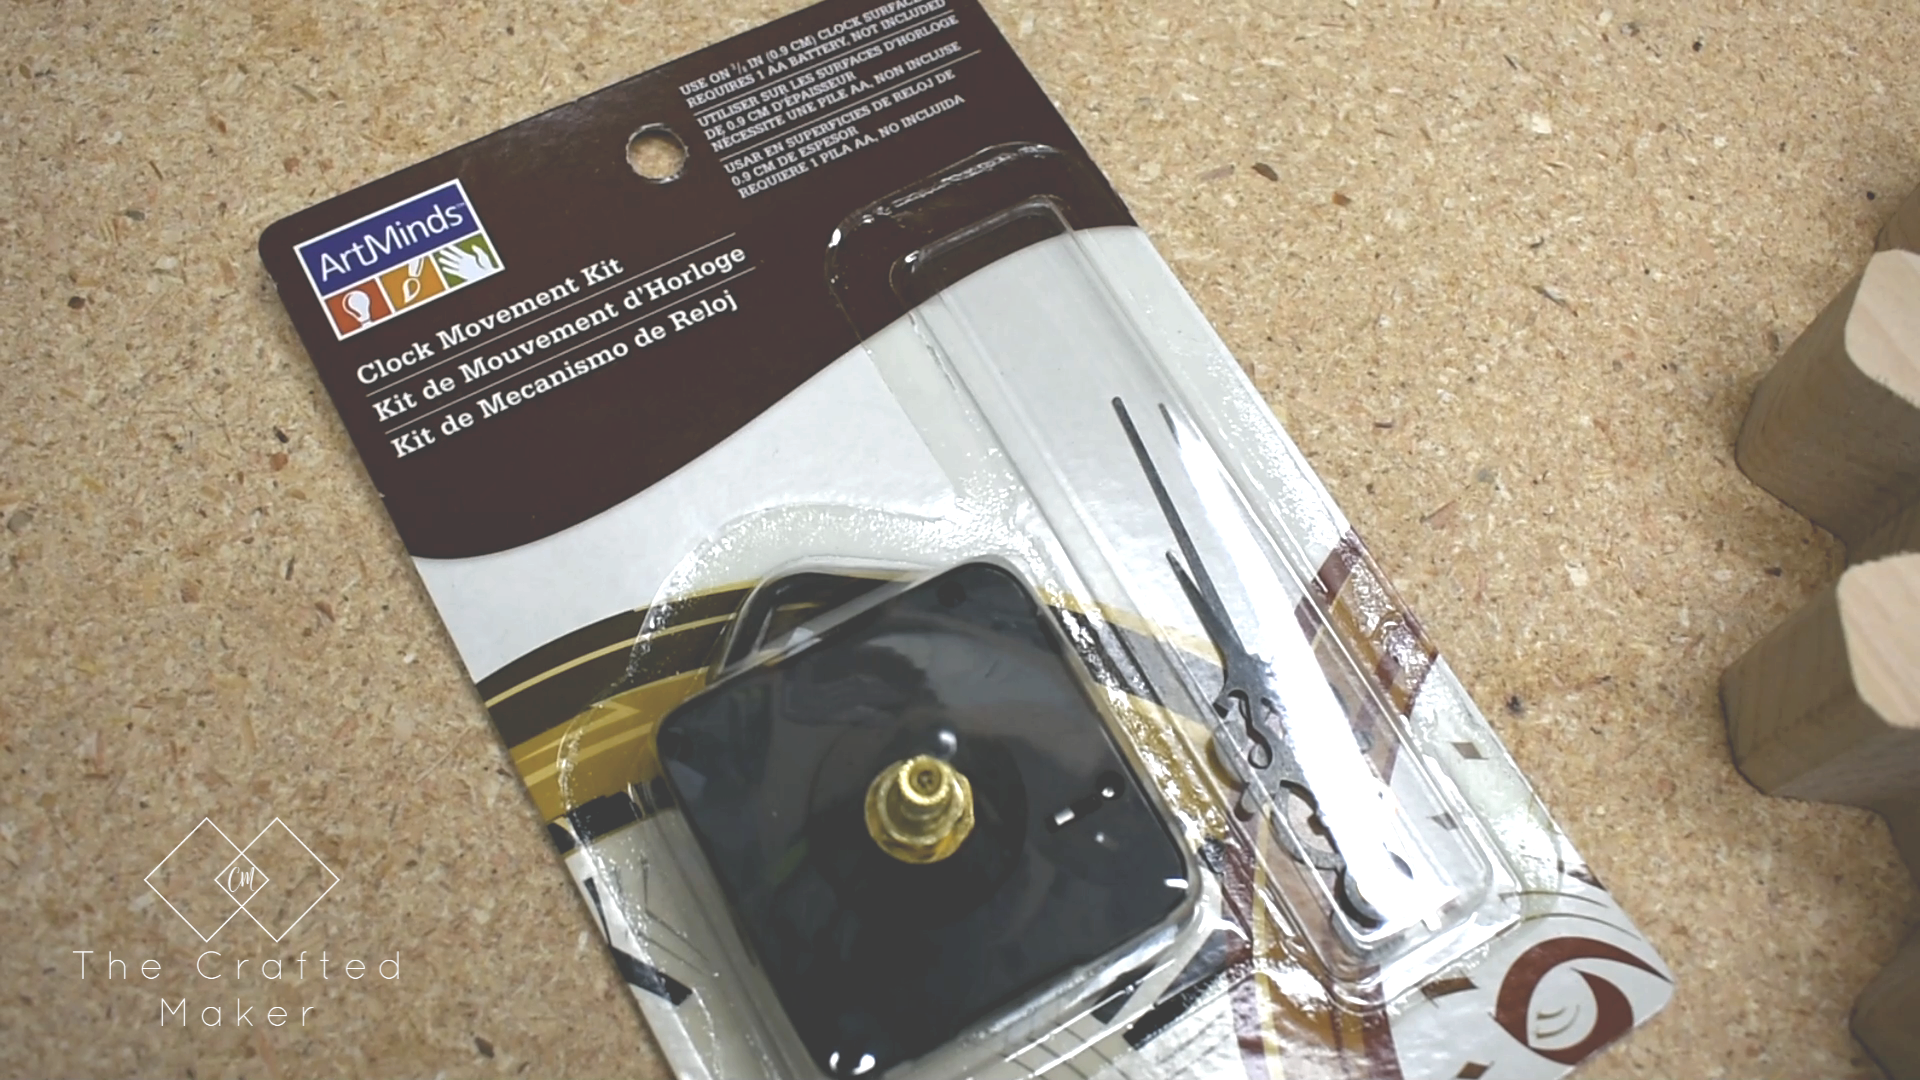
Clock Mechanism (here is the one I used)
Forstner bit and drill bit – Used for drilling out the wood to hold the clock mechanism
Paint or stain
Paint or stain applicator
Gloves for the finishing step
Rag or tack cloth to remove dust
Tape or spray adhesive to secure template
Eye and Hearing Protection
Tools
Scroll Saw
Drill press or drill
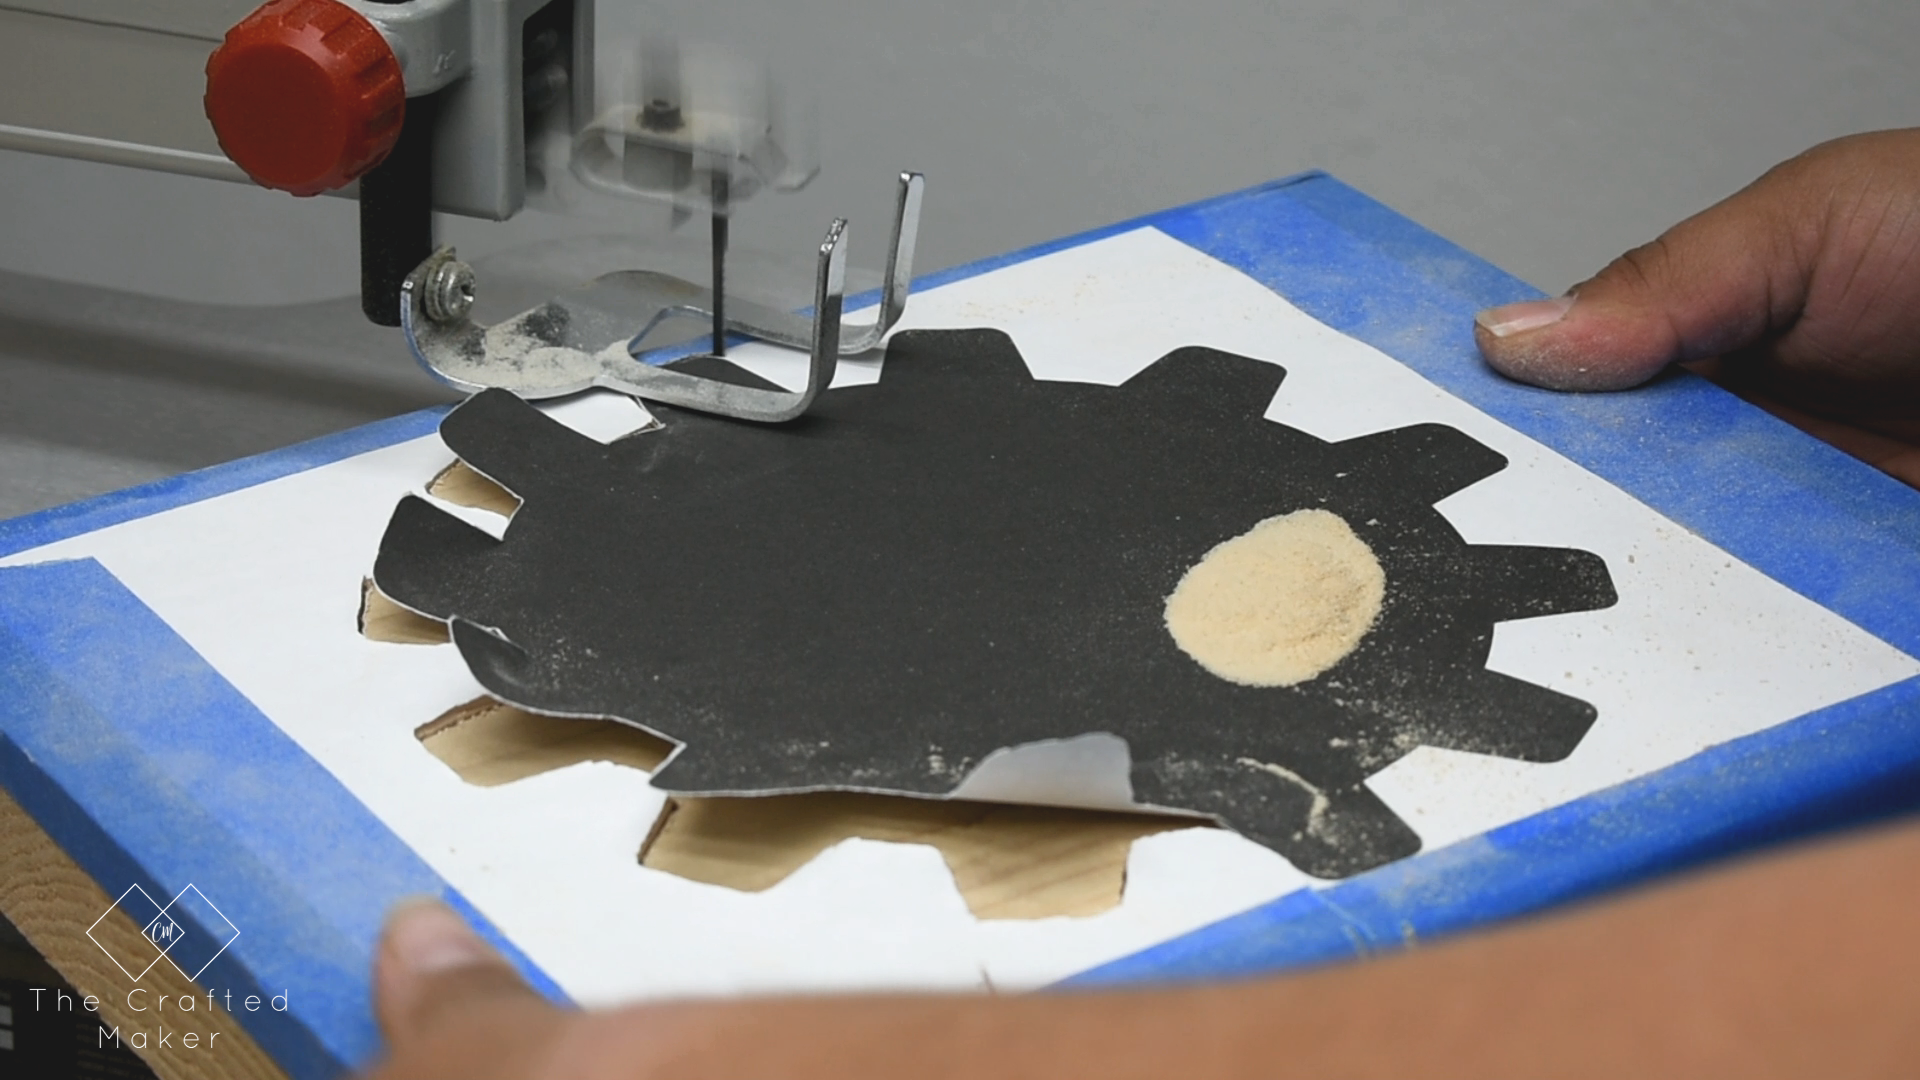
After printing out the template, I attached it to the front surface of the wood with painters tape. If I would have had spray adhesive on hand, this is what I would have used, but painters tape worked just fine too.
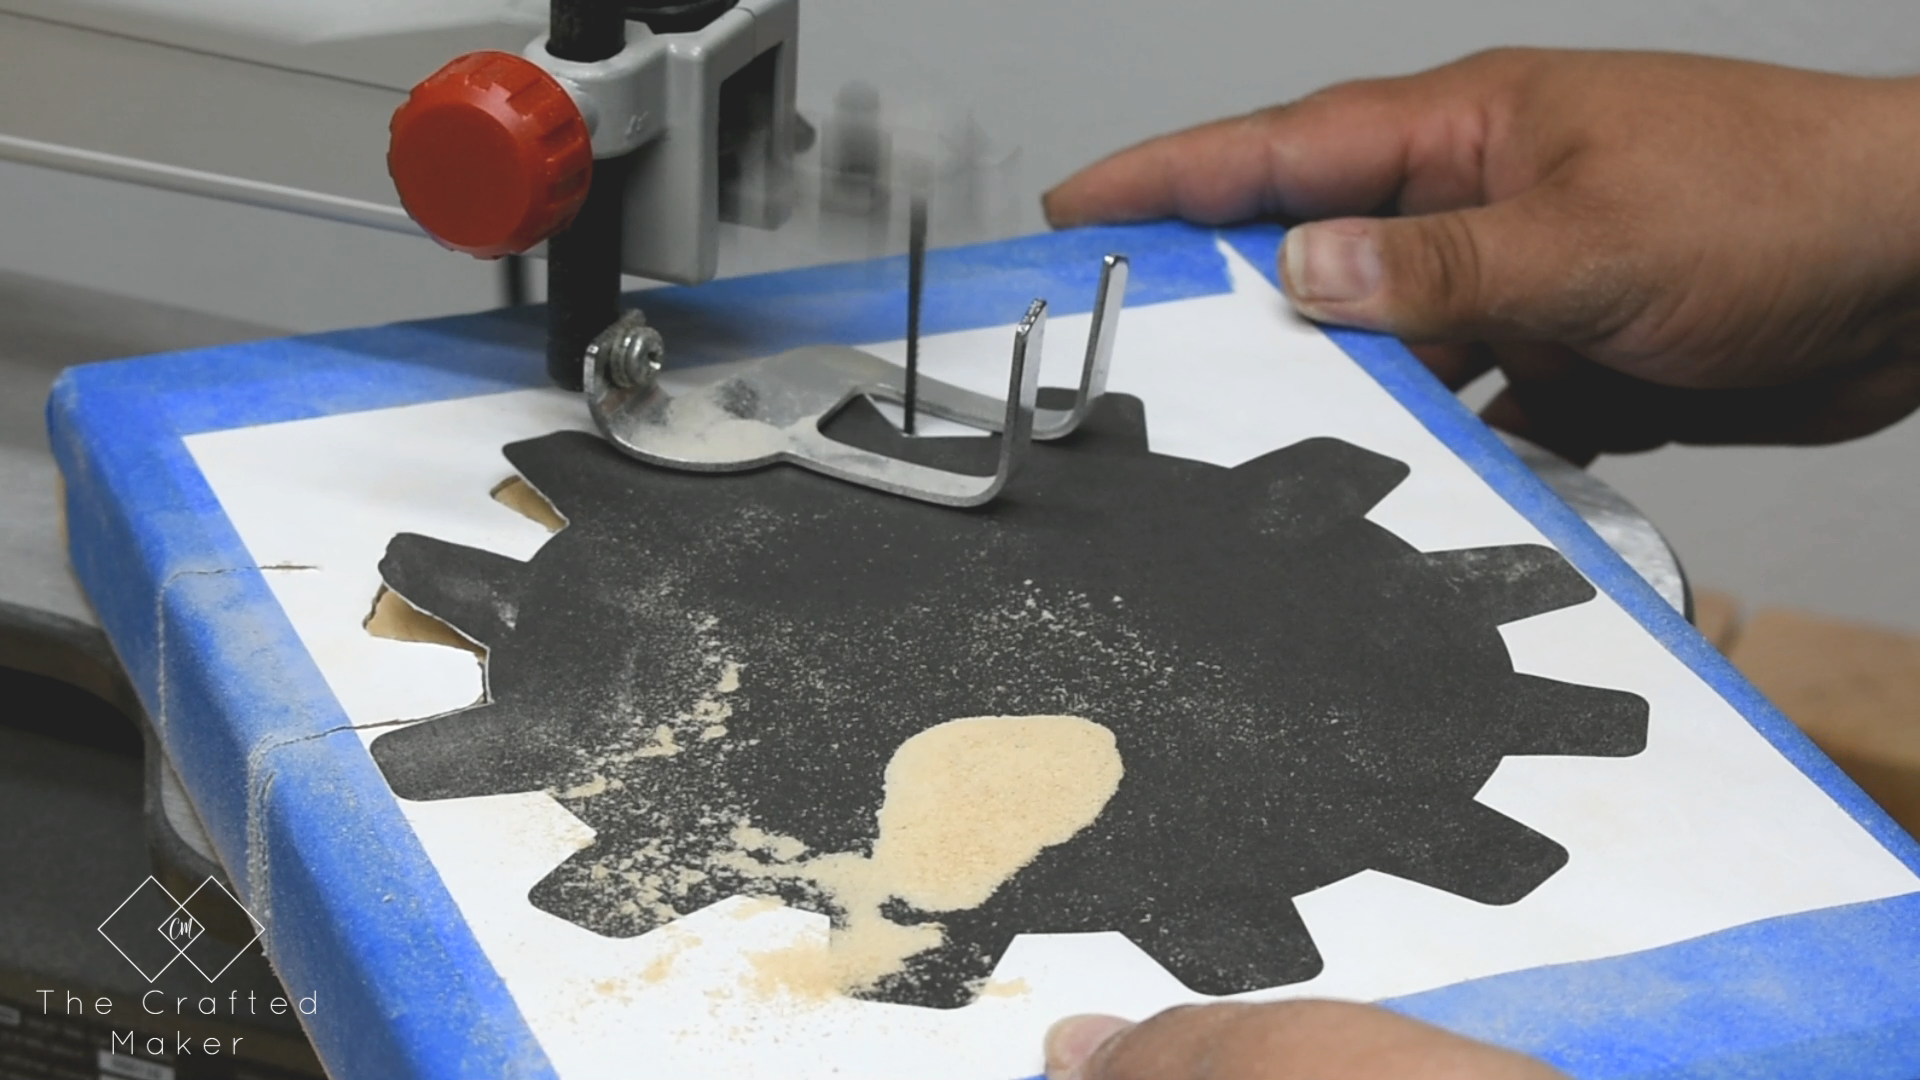
Now it was time to cut out the template with the scroll saw. If you do not have a scroll saw, you could also use a jigsaw for this. Whatever you use, just take your time. There are several turns with this project and you really can’t rush the blade and still get a nice even cut.
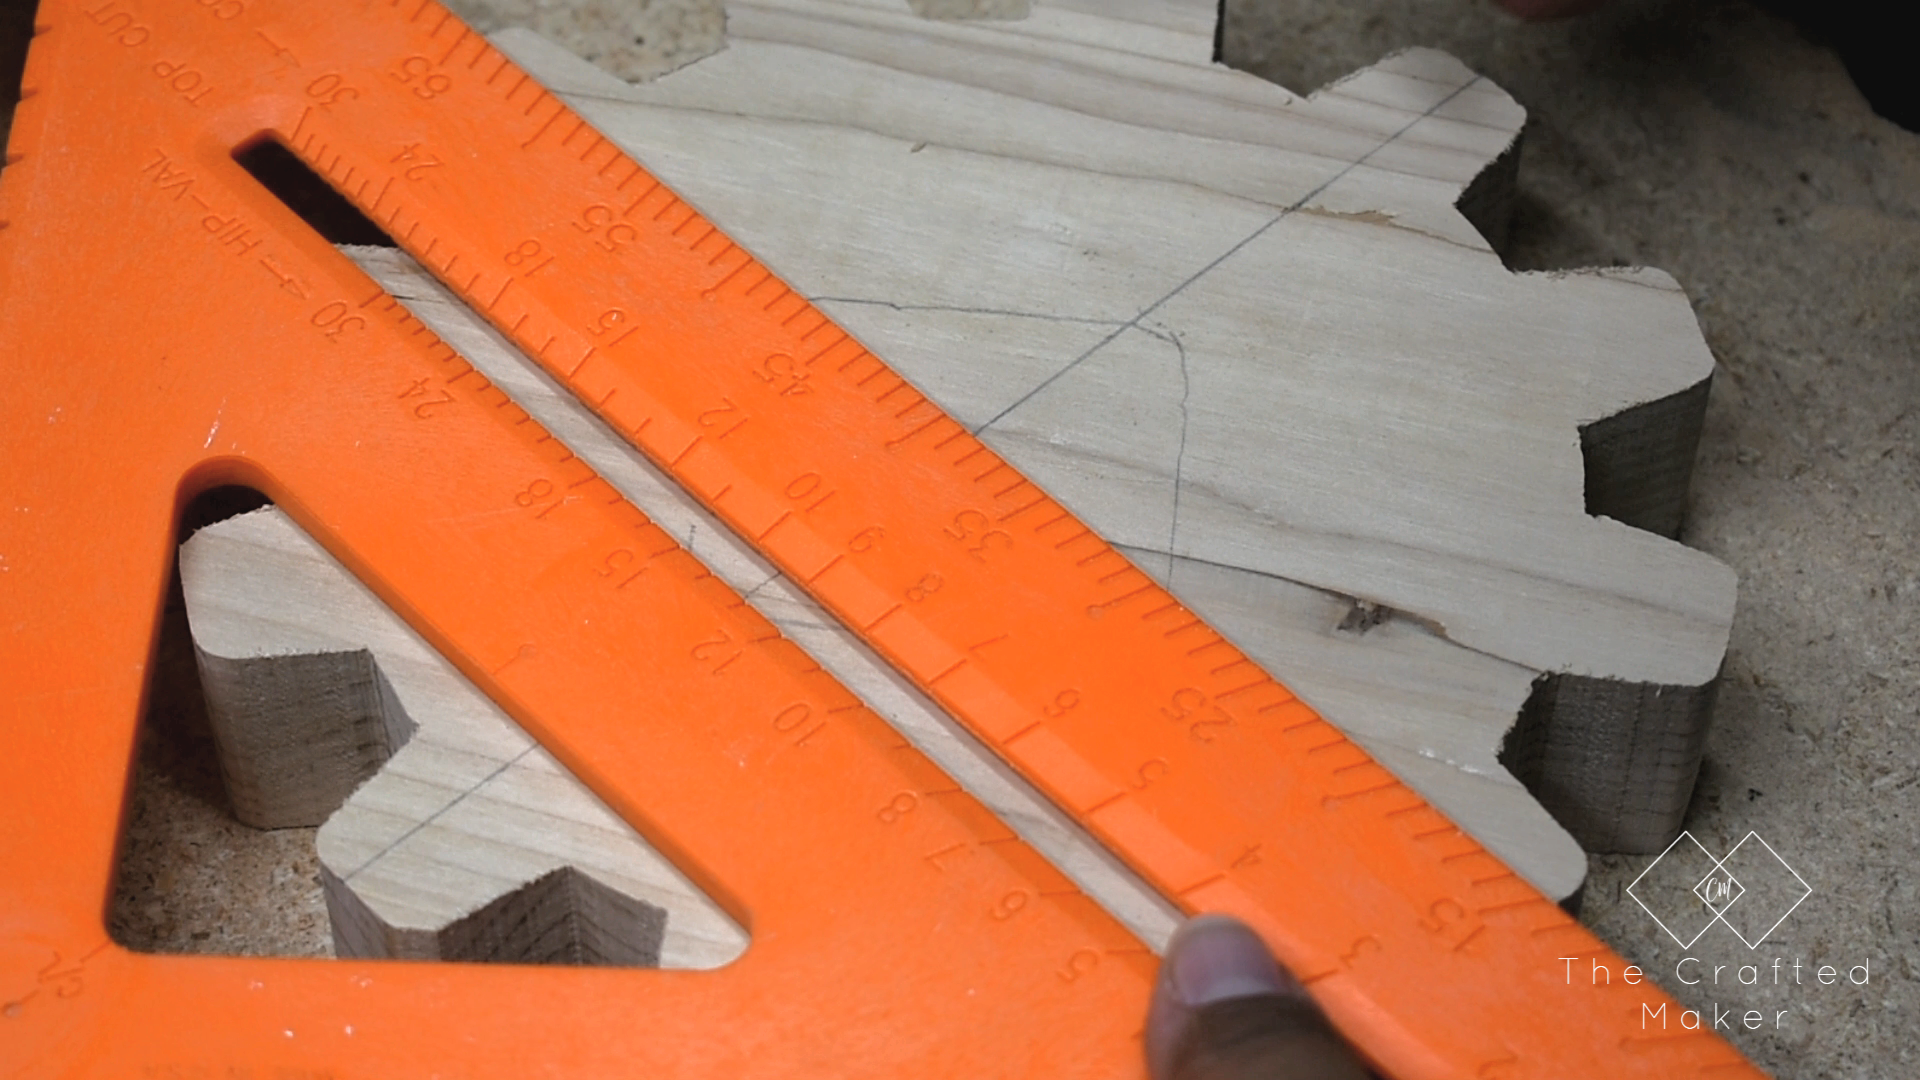
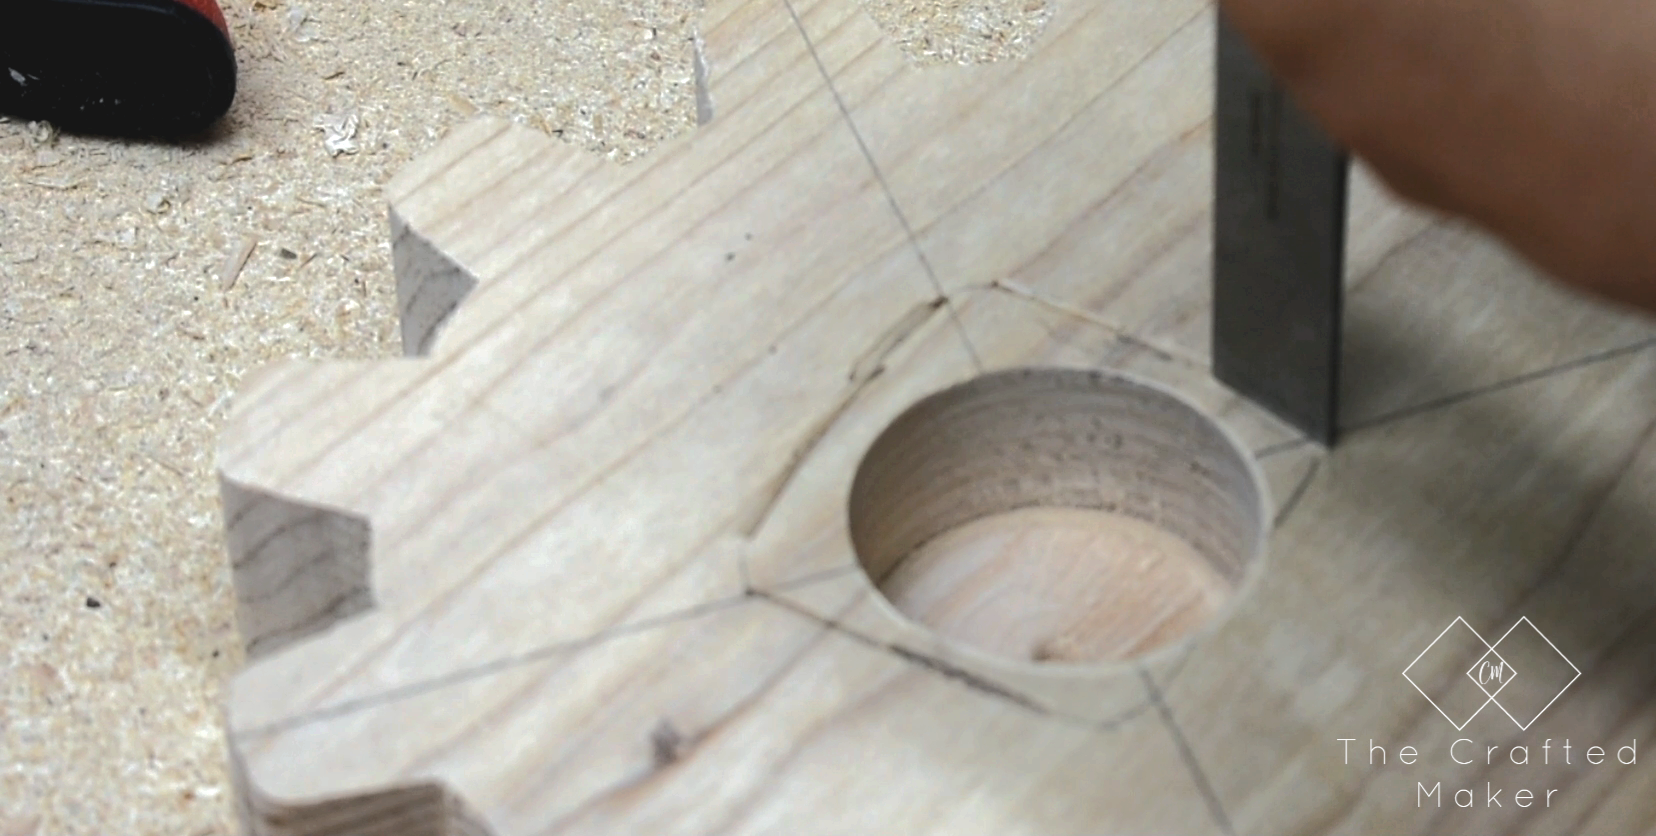
Once the gear is cut out, its time to find the center. This needs to be precise so the clock mechanism works right. I found the center by using my speed square to draw two lines across the gear. Where the lines intersect are the middle. I also placed the body of the clock mechanism in the center and traced around the outline. The wall hanging plastic on the top is unnecessary is you are placing the mechanism into the wood, so I just took a pair of snips and cut it off later in the process.
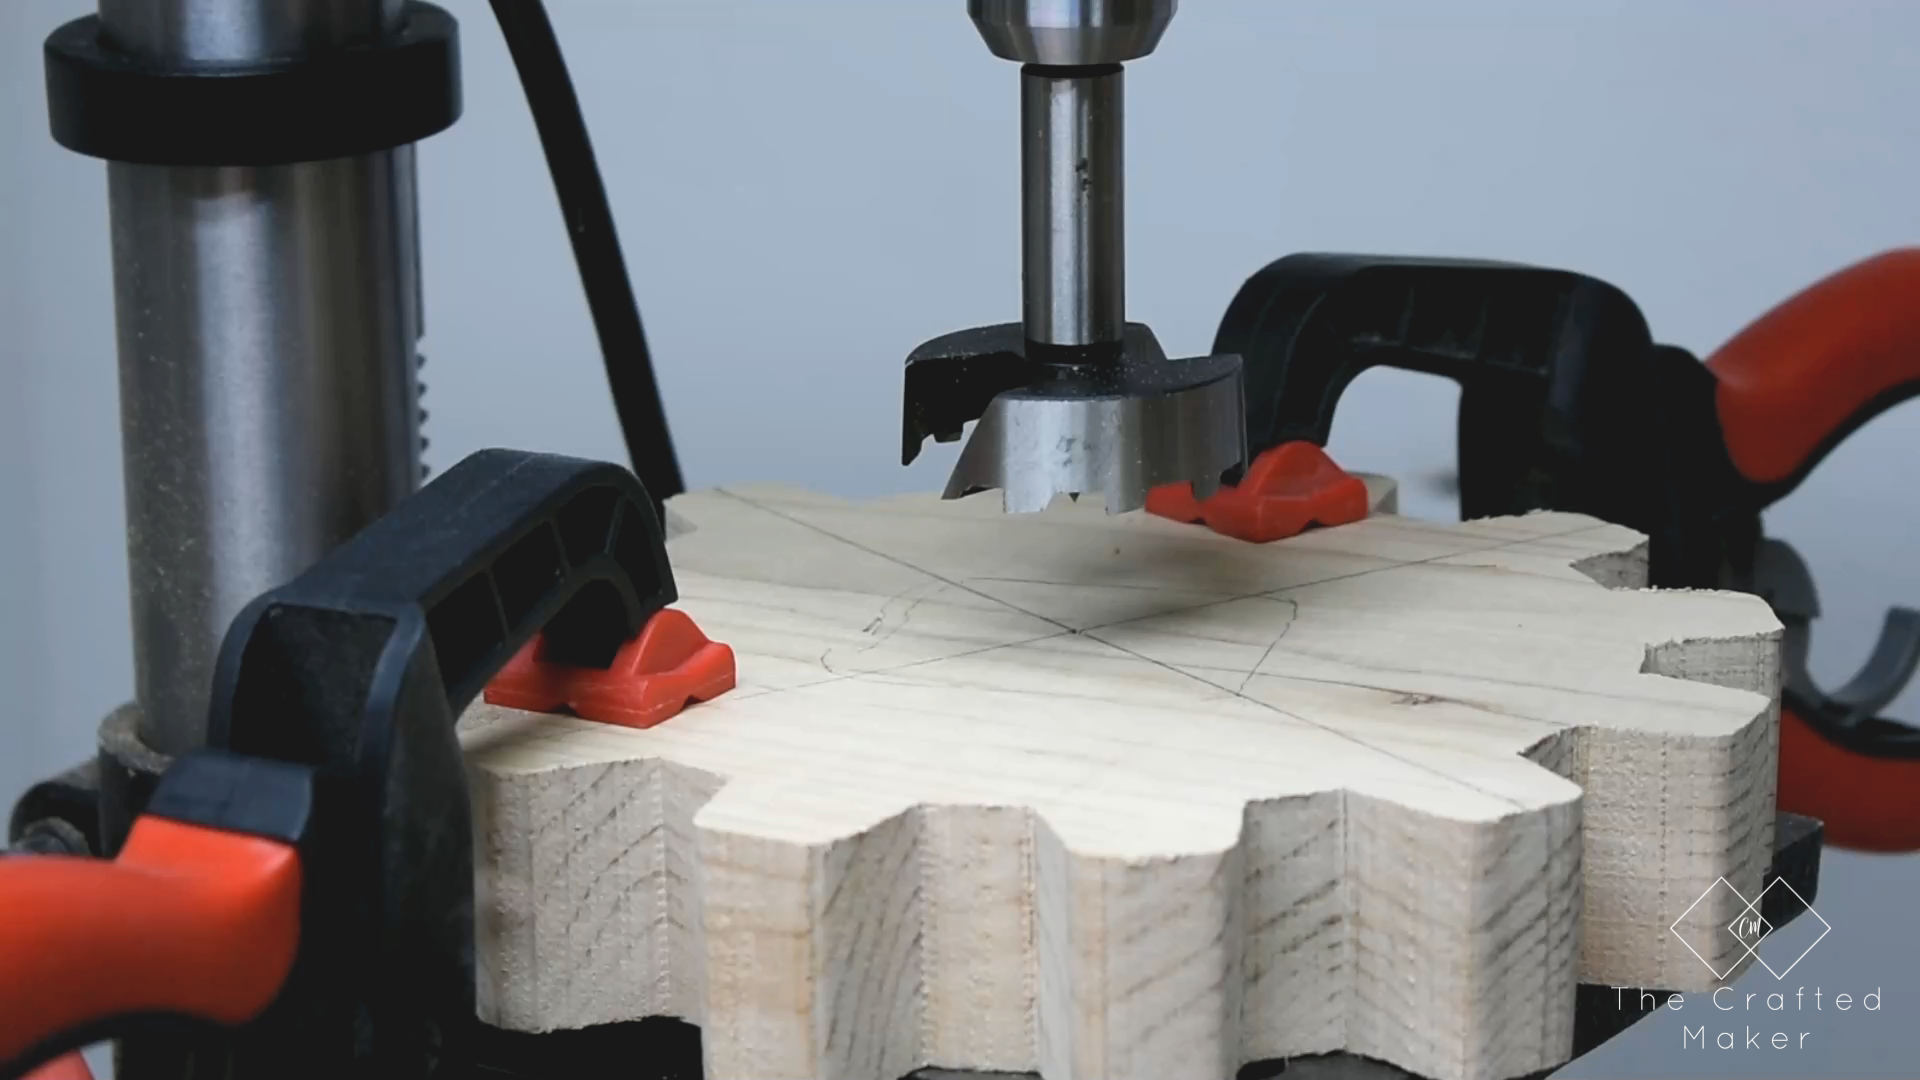
Now its time to drill out for the clock mechanism. I used the largest Forstner bit I had that still fit within the lines of the box. Since this is such a large bit, I decided to clamp the gear to the platform of the drill press. I didn’t want it to jump around and cut wood outside of the lines.
Since this is round bit and I need a square opening, I had to use a chisel to get the rest of the wood out of the space. This is not a hard process, but be careful to not chisel out more than needs to come out.
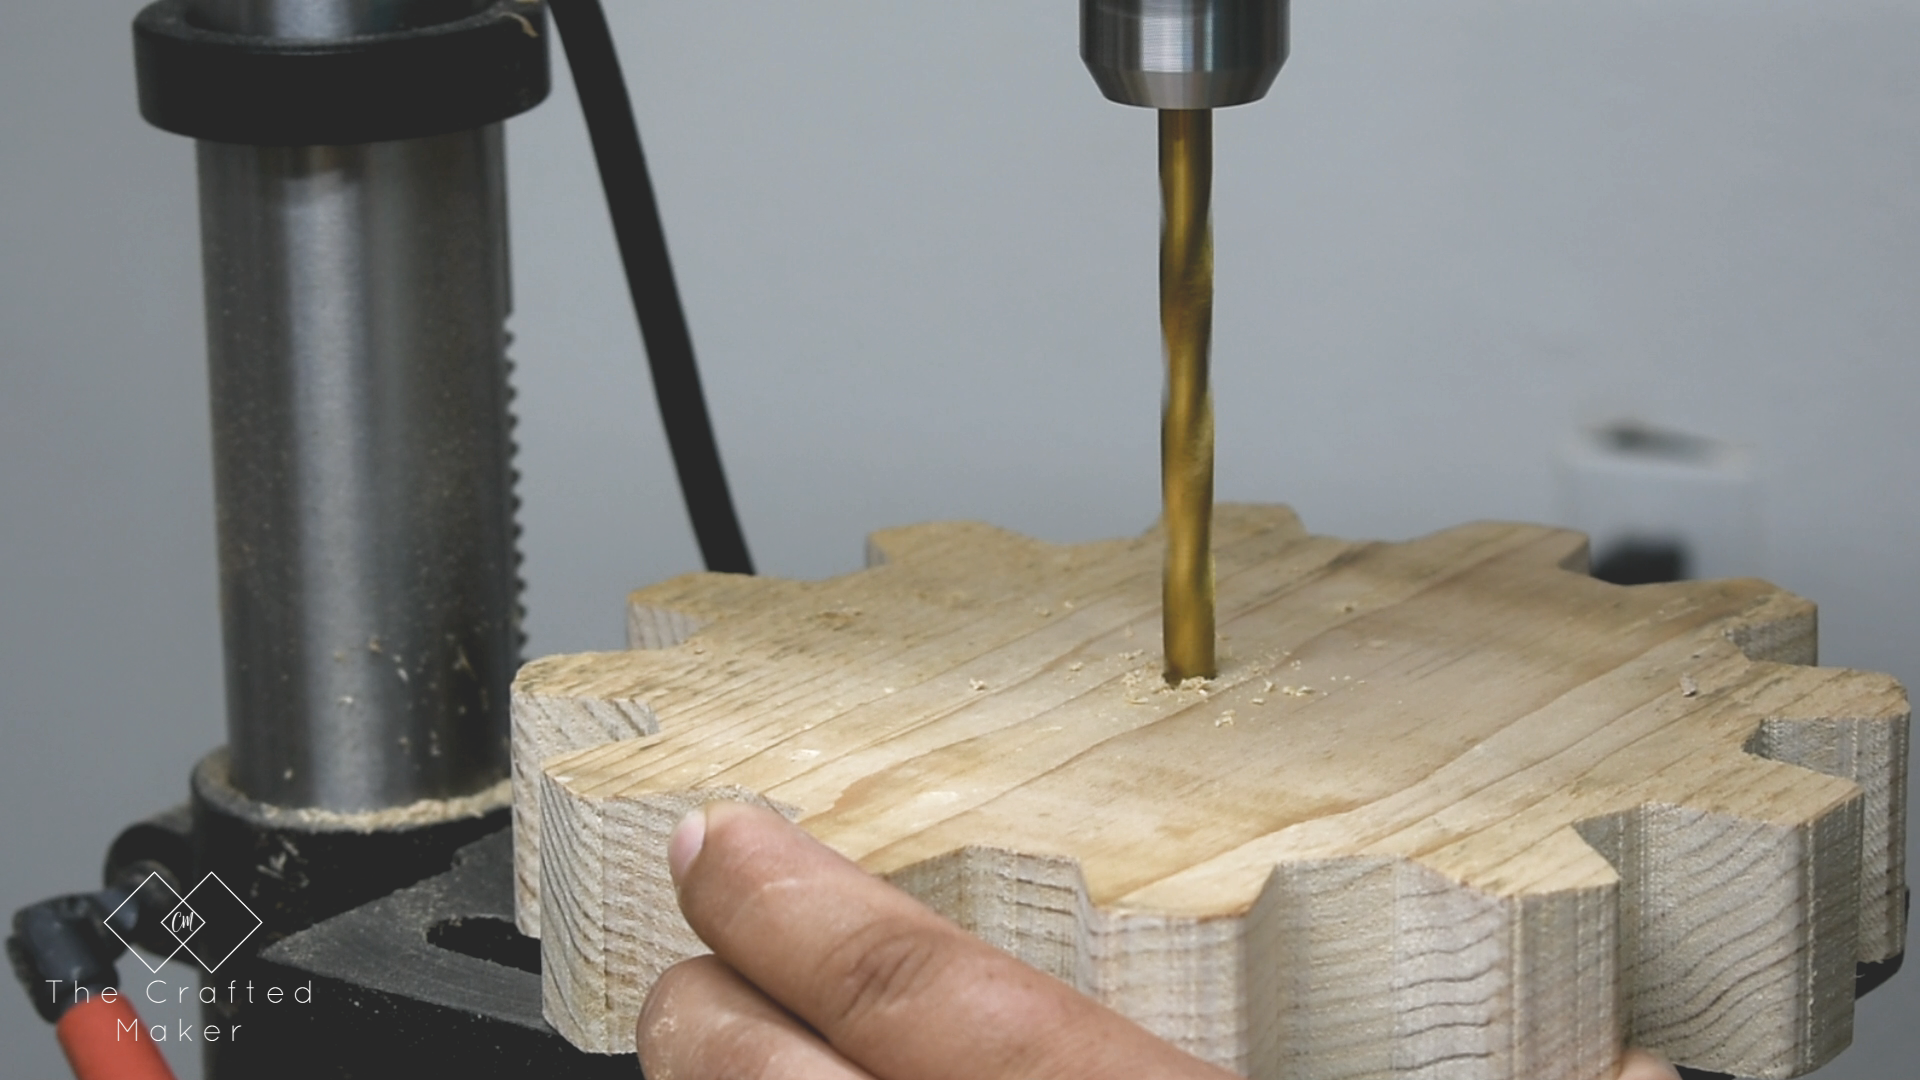
Once the extra wood was cleared out of the square, it was time to drill the hole for the clock mechanism to come out of the front of the clock.
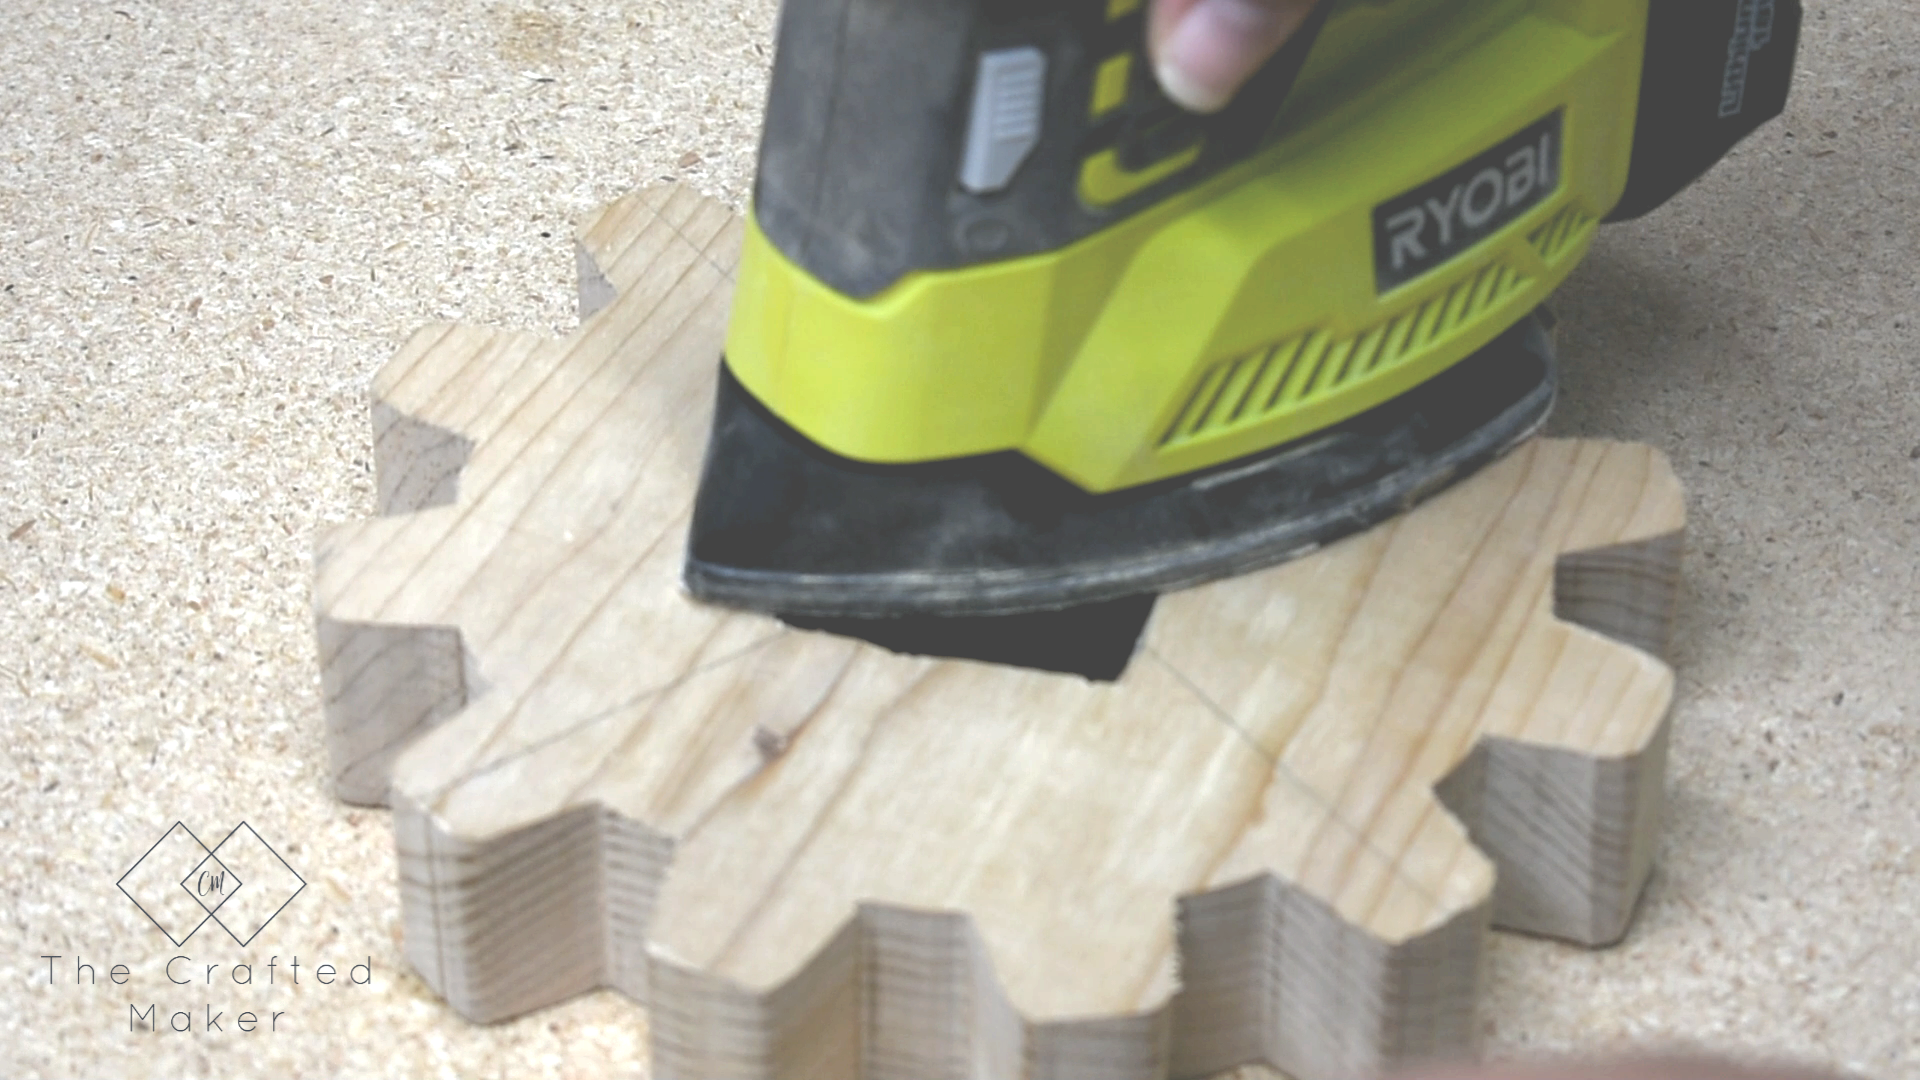
Now that the clock mechanism spaces are taken care of, it’s time to sand. I started out with a coarse sandpaper and worked my way up to a more fine sandpaper. Once the sanding was done, I wiped down the gear with a clean cloth to remove all of the sawdust. This allows for a much smoother finish on the end product.
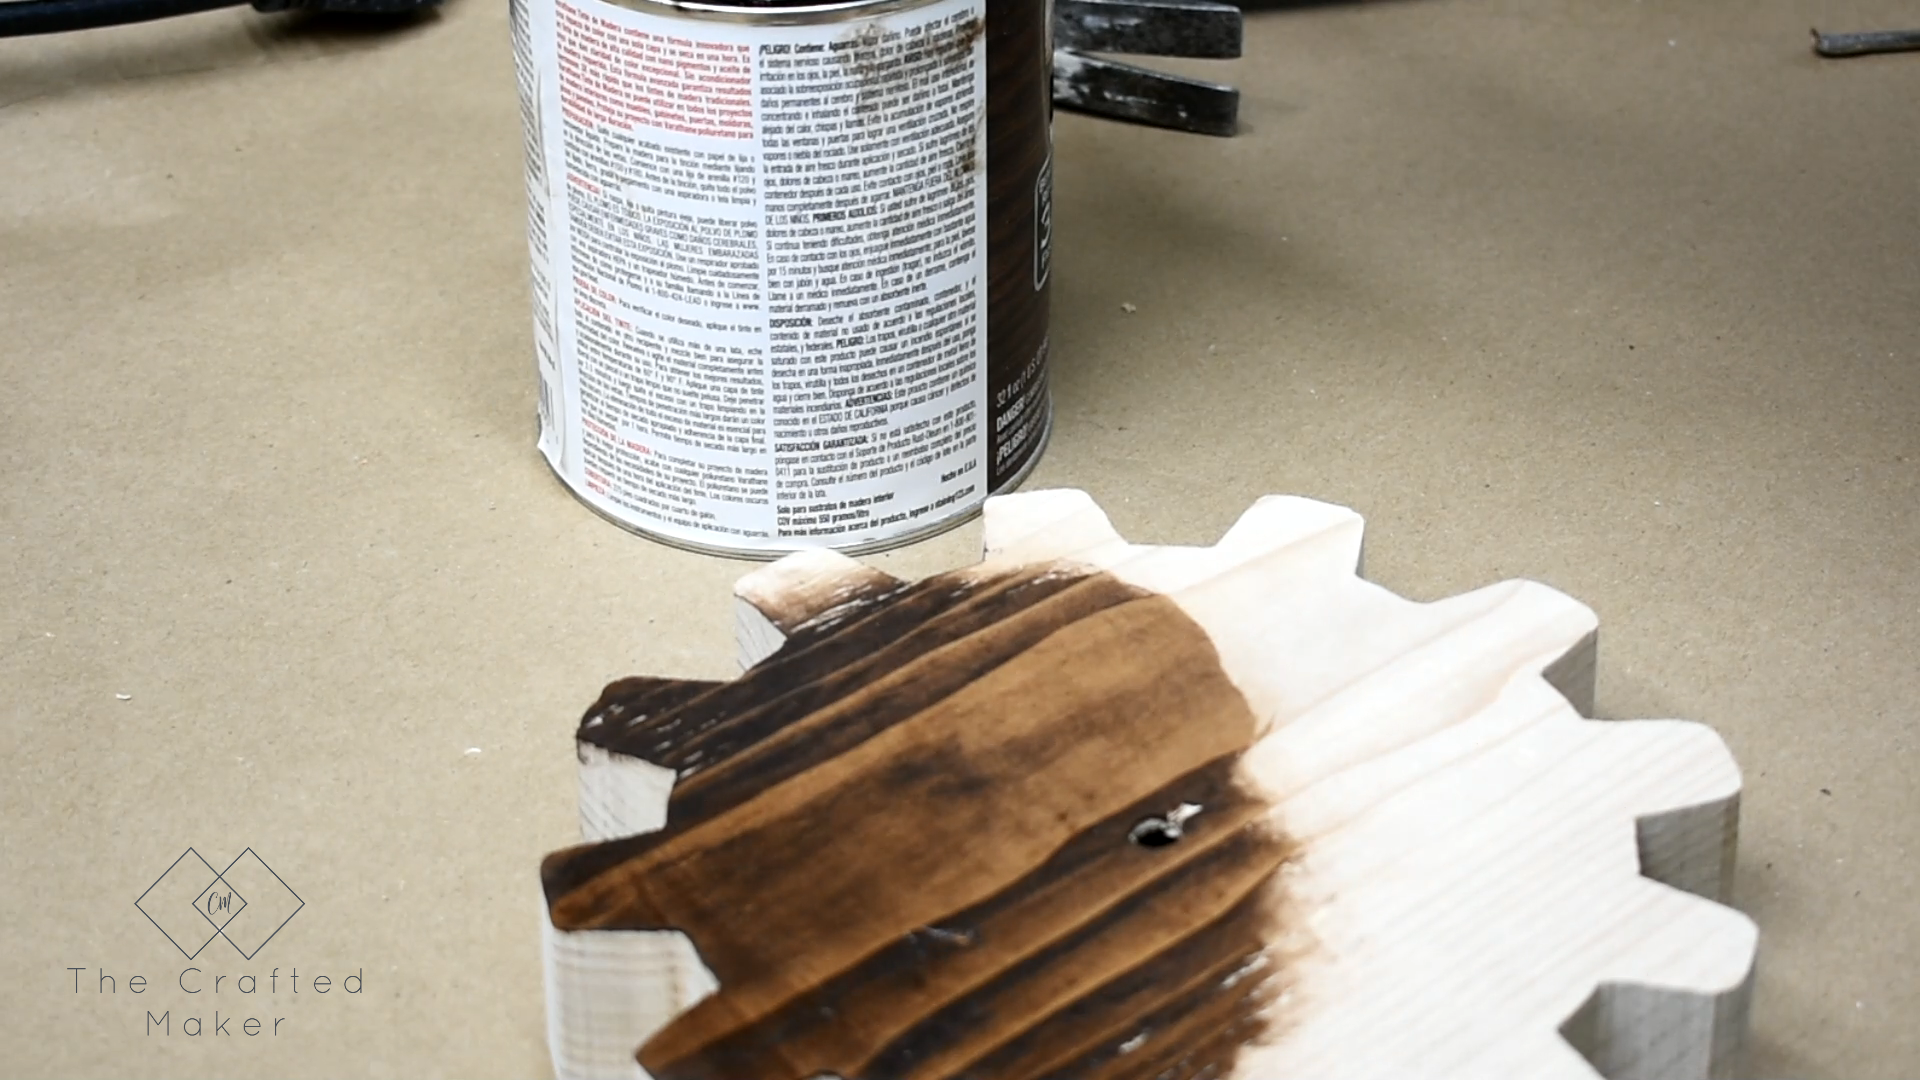
Once the sanding is done, it’s time for a finish. You could choose to paint or stain this any color you choose. I went with my favorite, Kona, for some reason I just love this color and it’s hard for me to choose anything else. Plus, my workshop walls are white, so it will add a lot of contrast to the space. I used a shop rag to apply the stain on the front. I wipe it on and then immediately wipe it off. This gives me just the right amount of color, but if you would like a darker color simply let the stain sit longer before wiping it off. The spaces between the gear were a little tricky to get with a rag so I applied stain with a paint brush, but still immediately wiped it off.
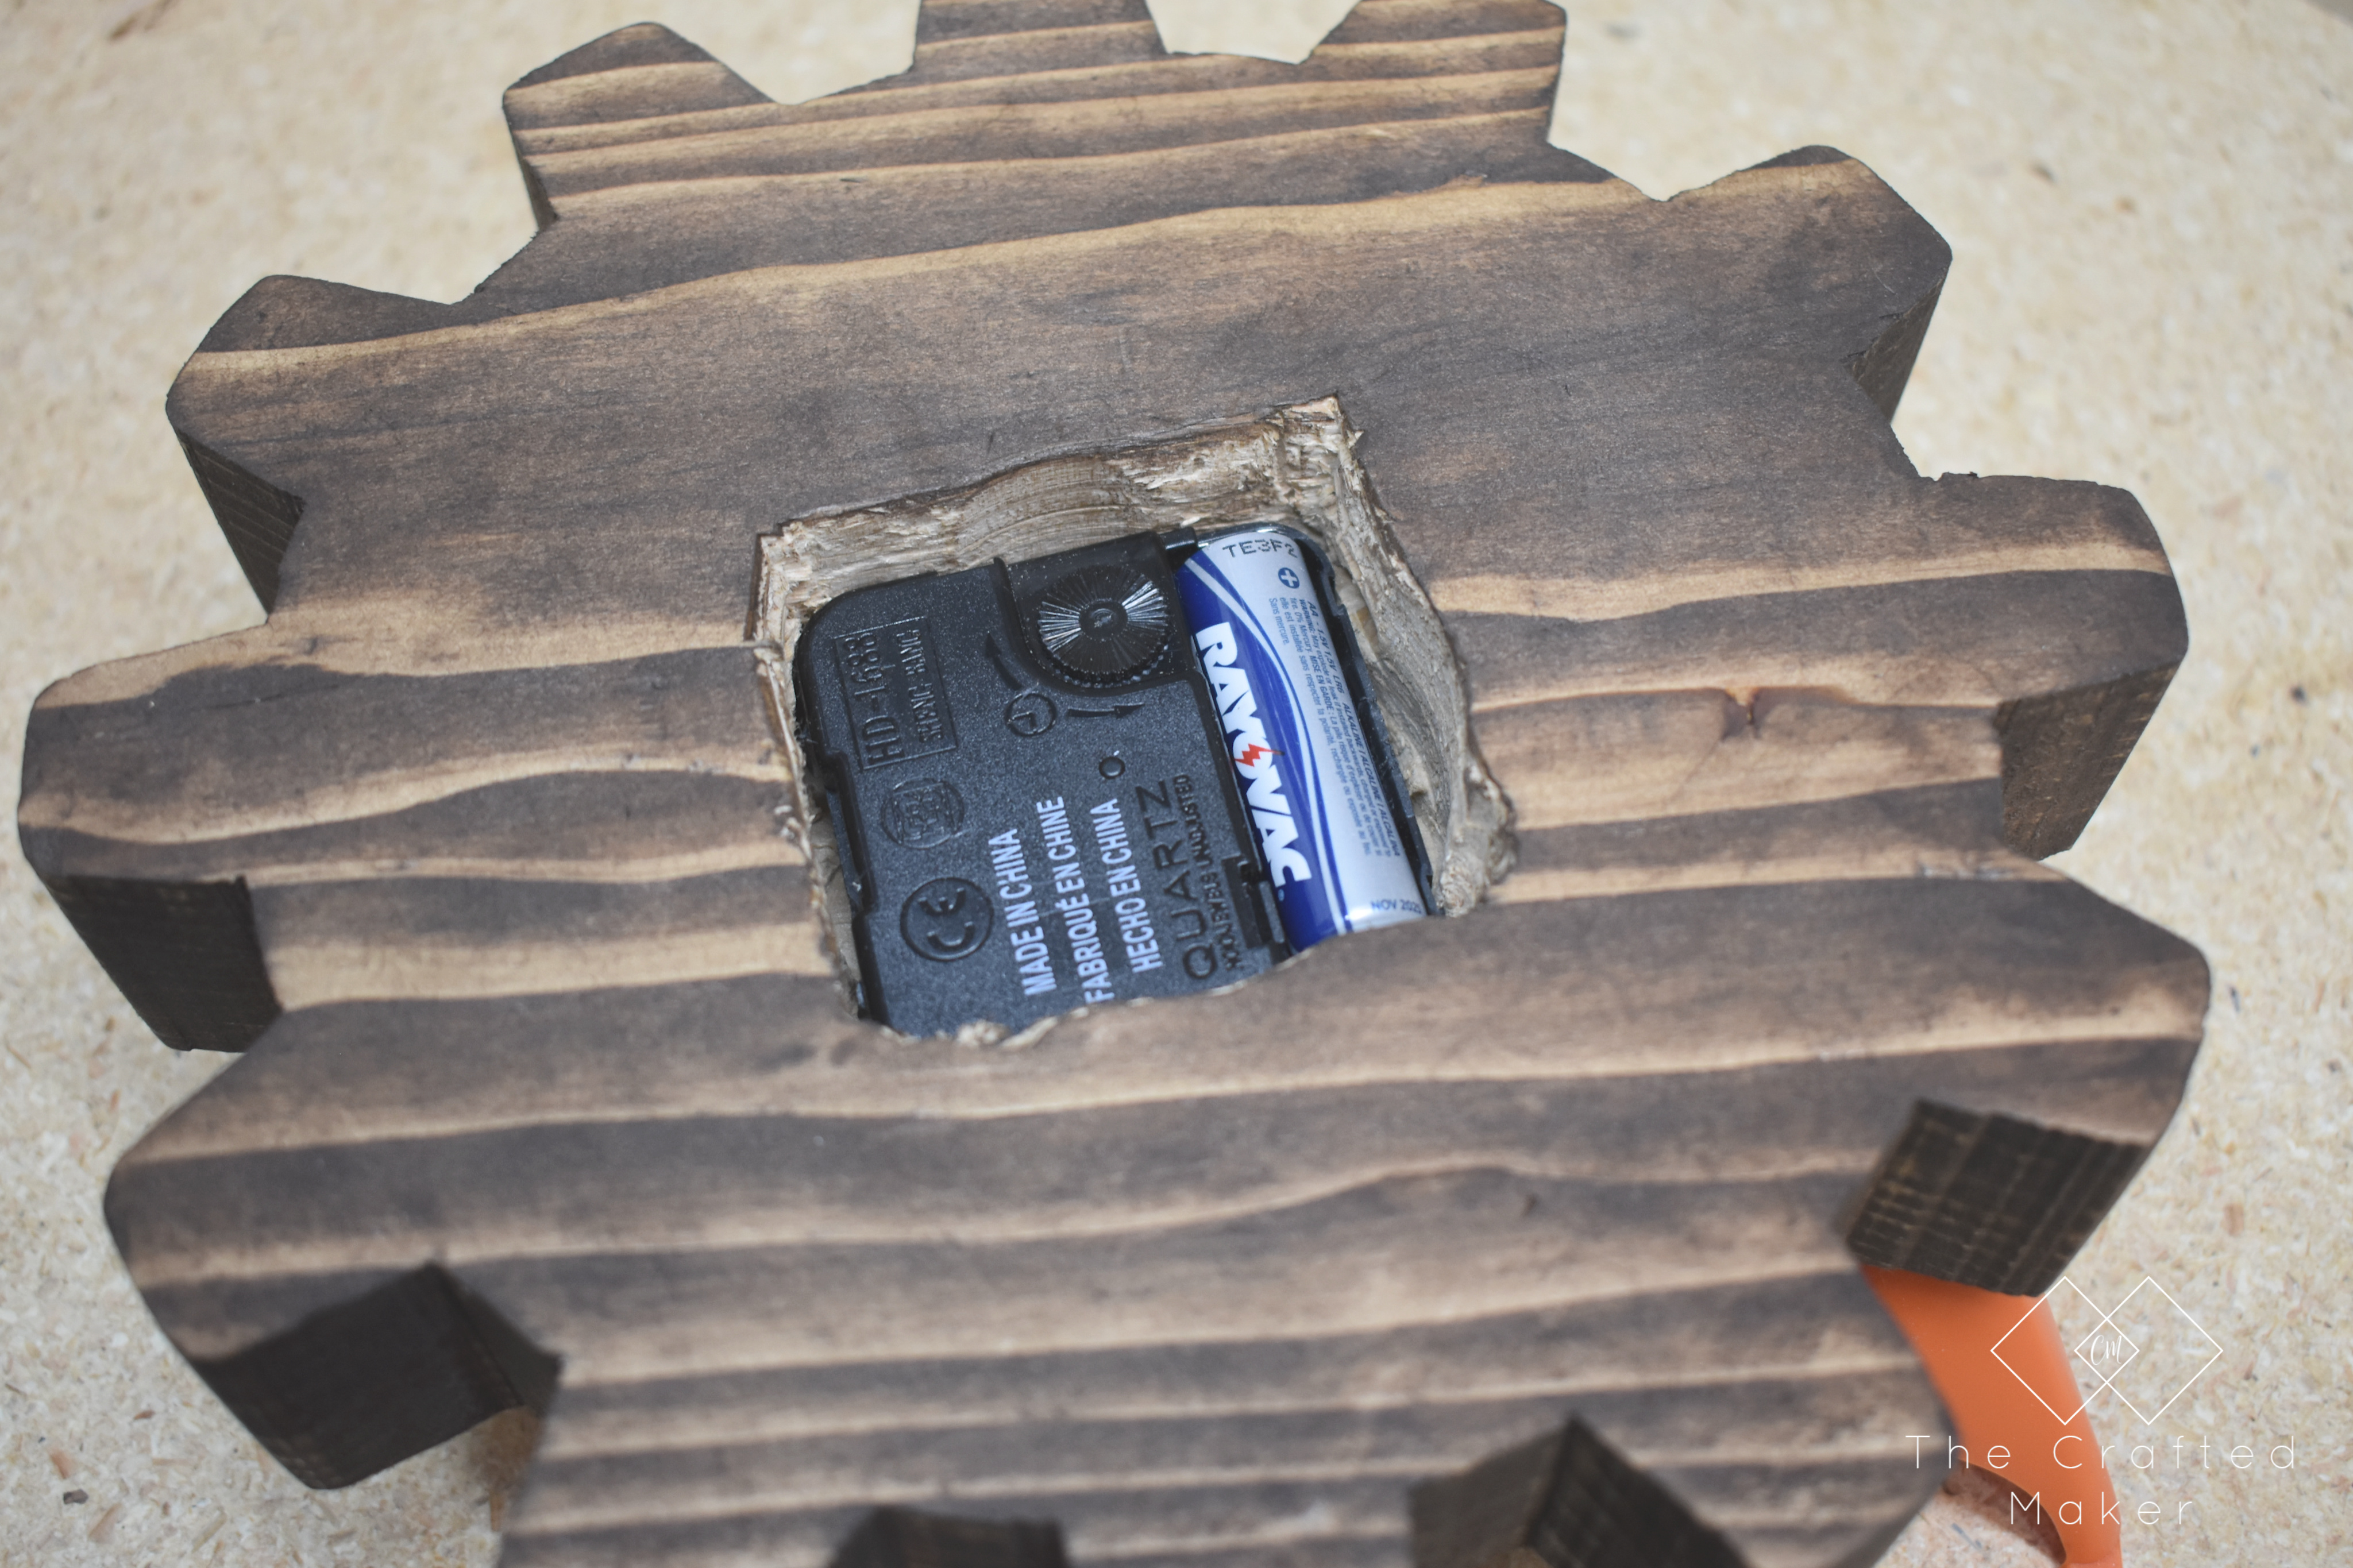
After the stain was dry, I assembled the clock mechanism. Most of the kits you can purchase are very easy to put together. I placed the main mechanism, what holds the battery, in the back of the gear with the center poking through the front of the clock.
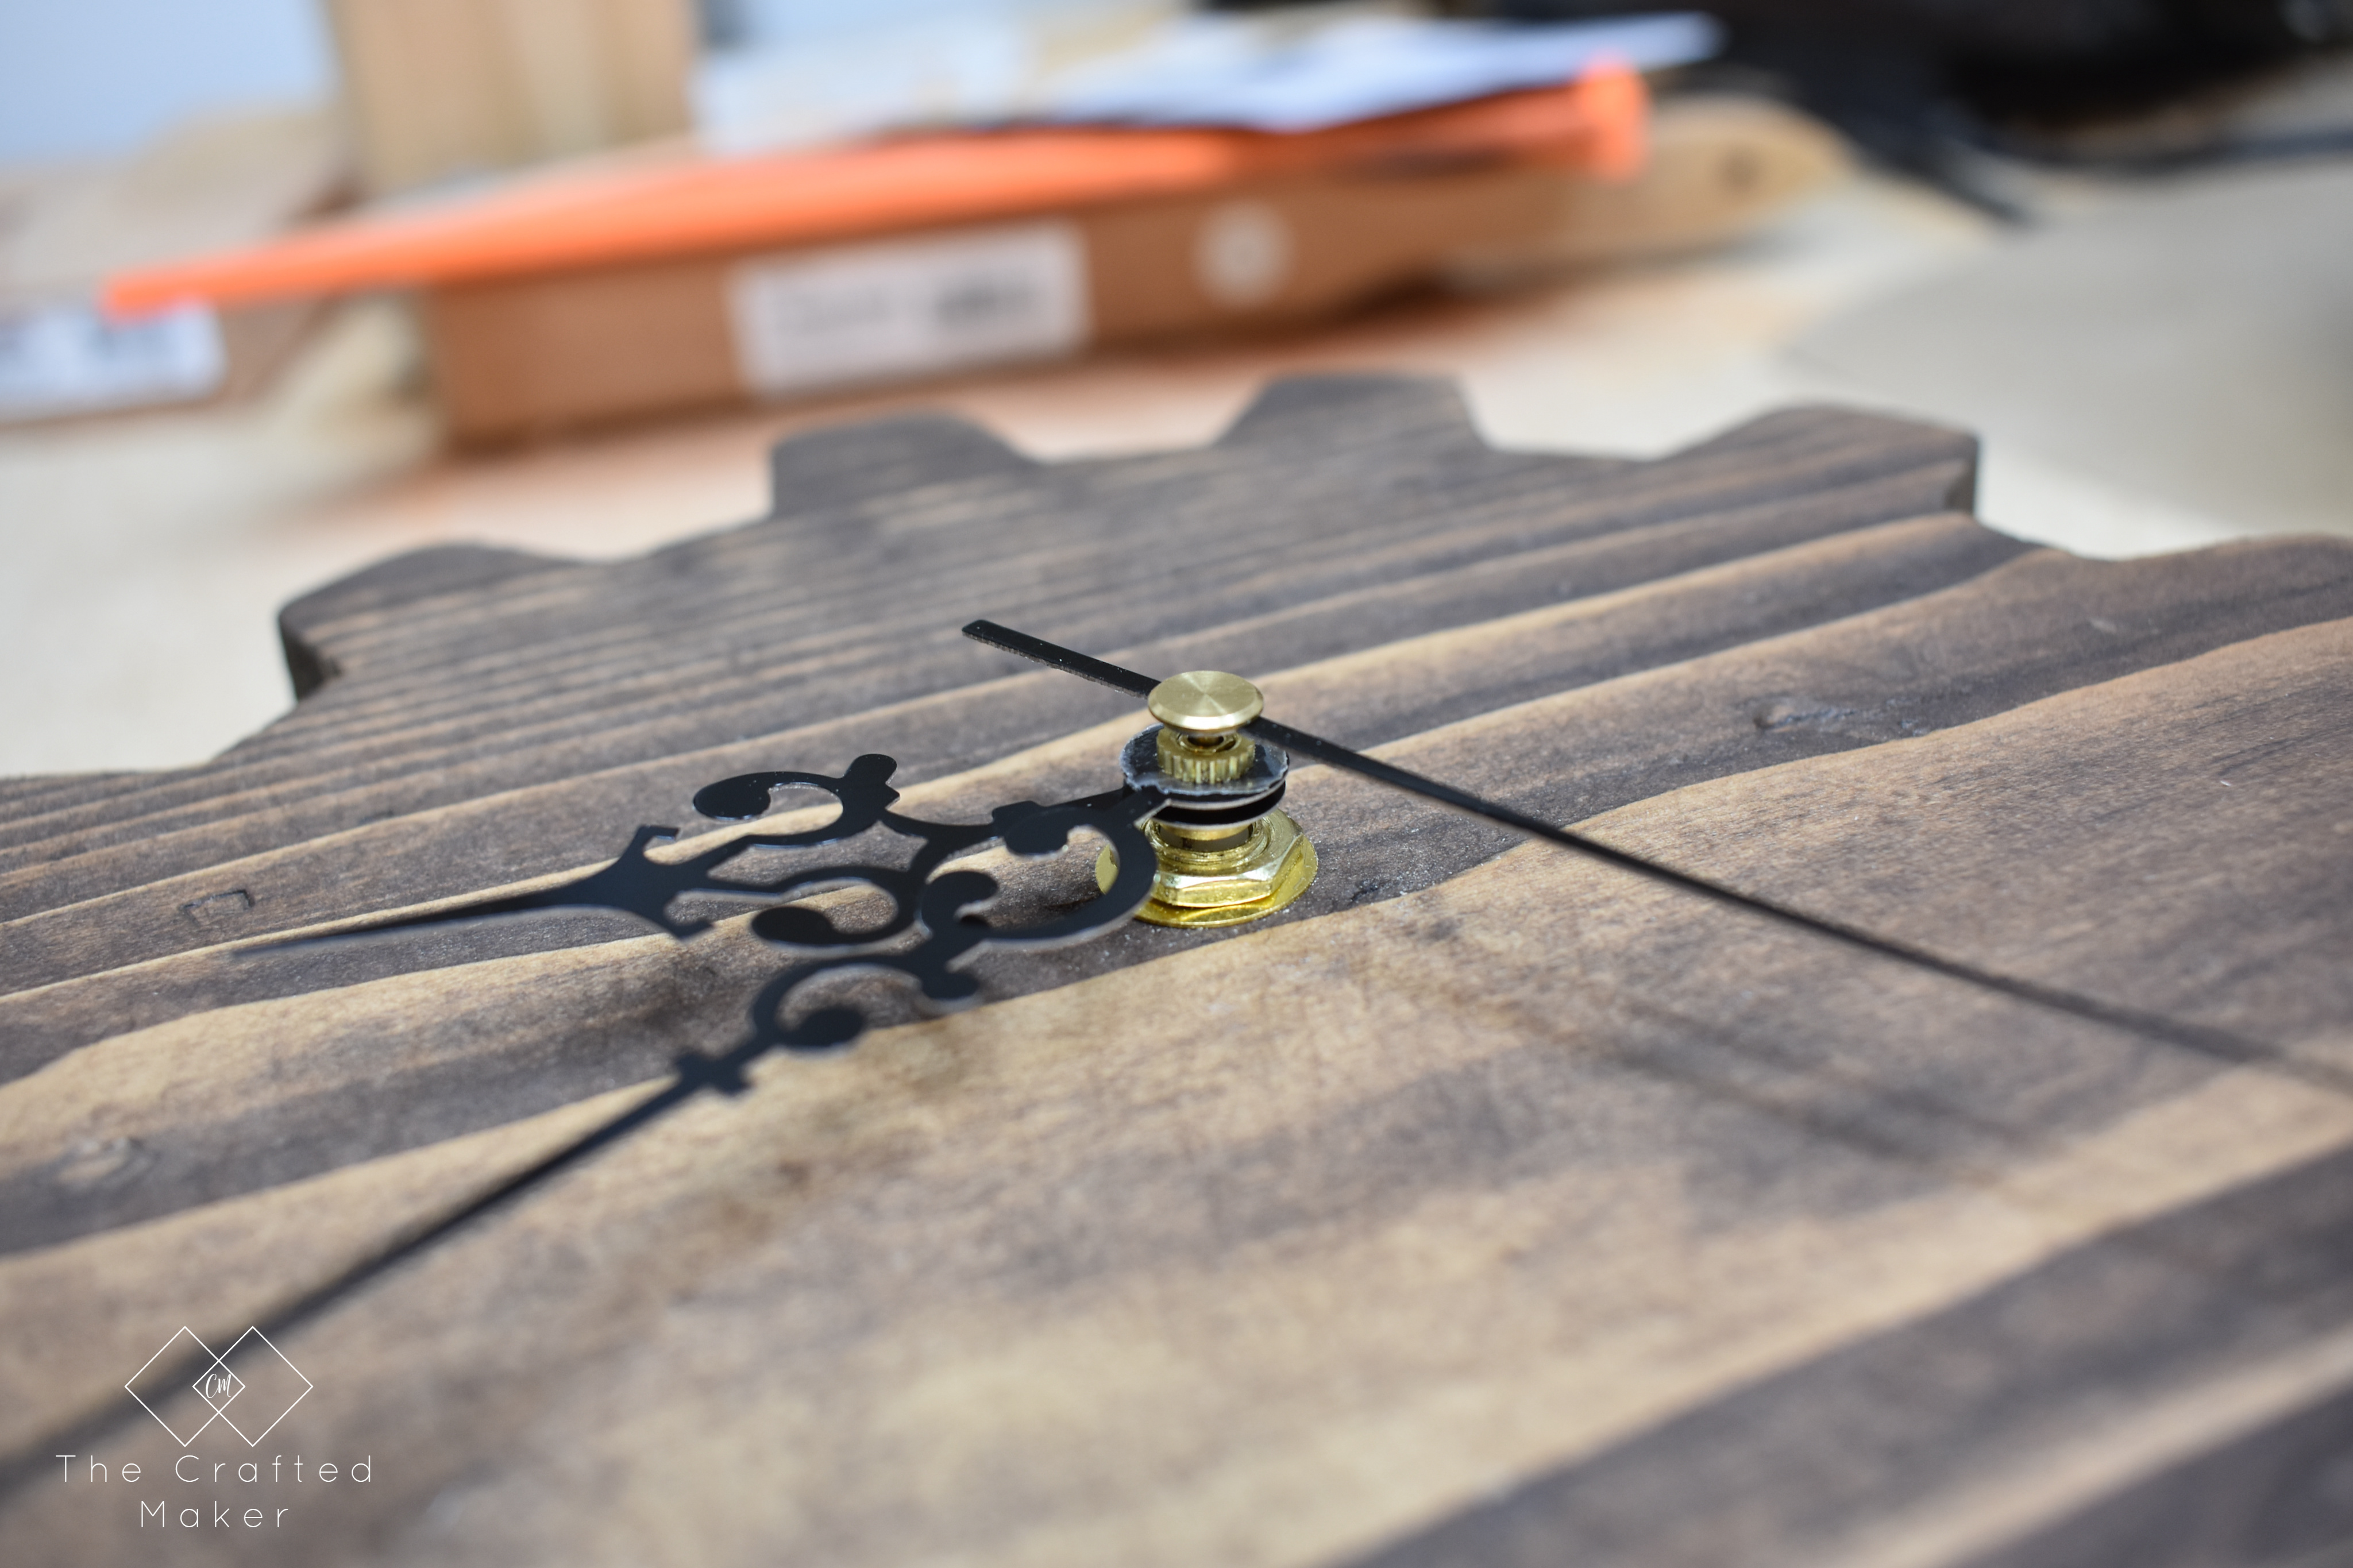
Next, add the hands of the clock according to your kit instructions.
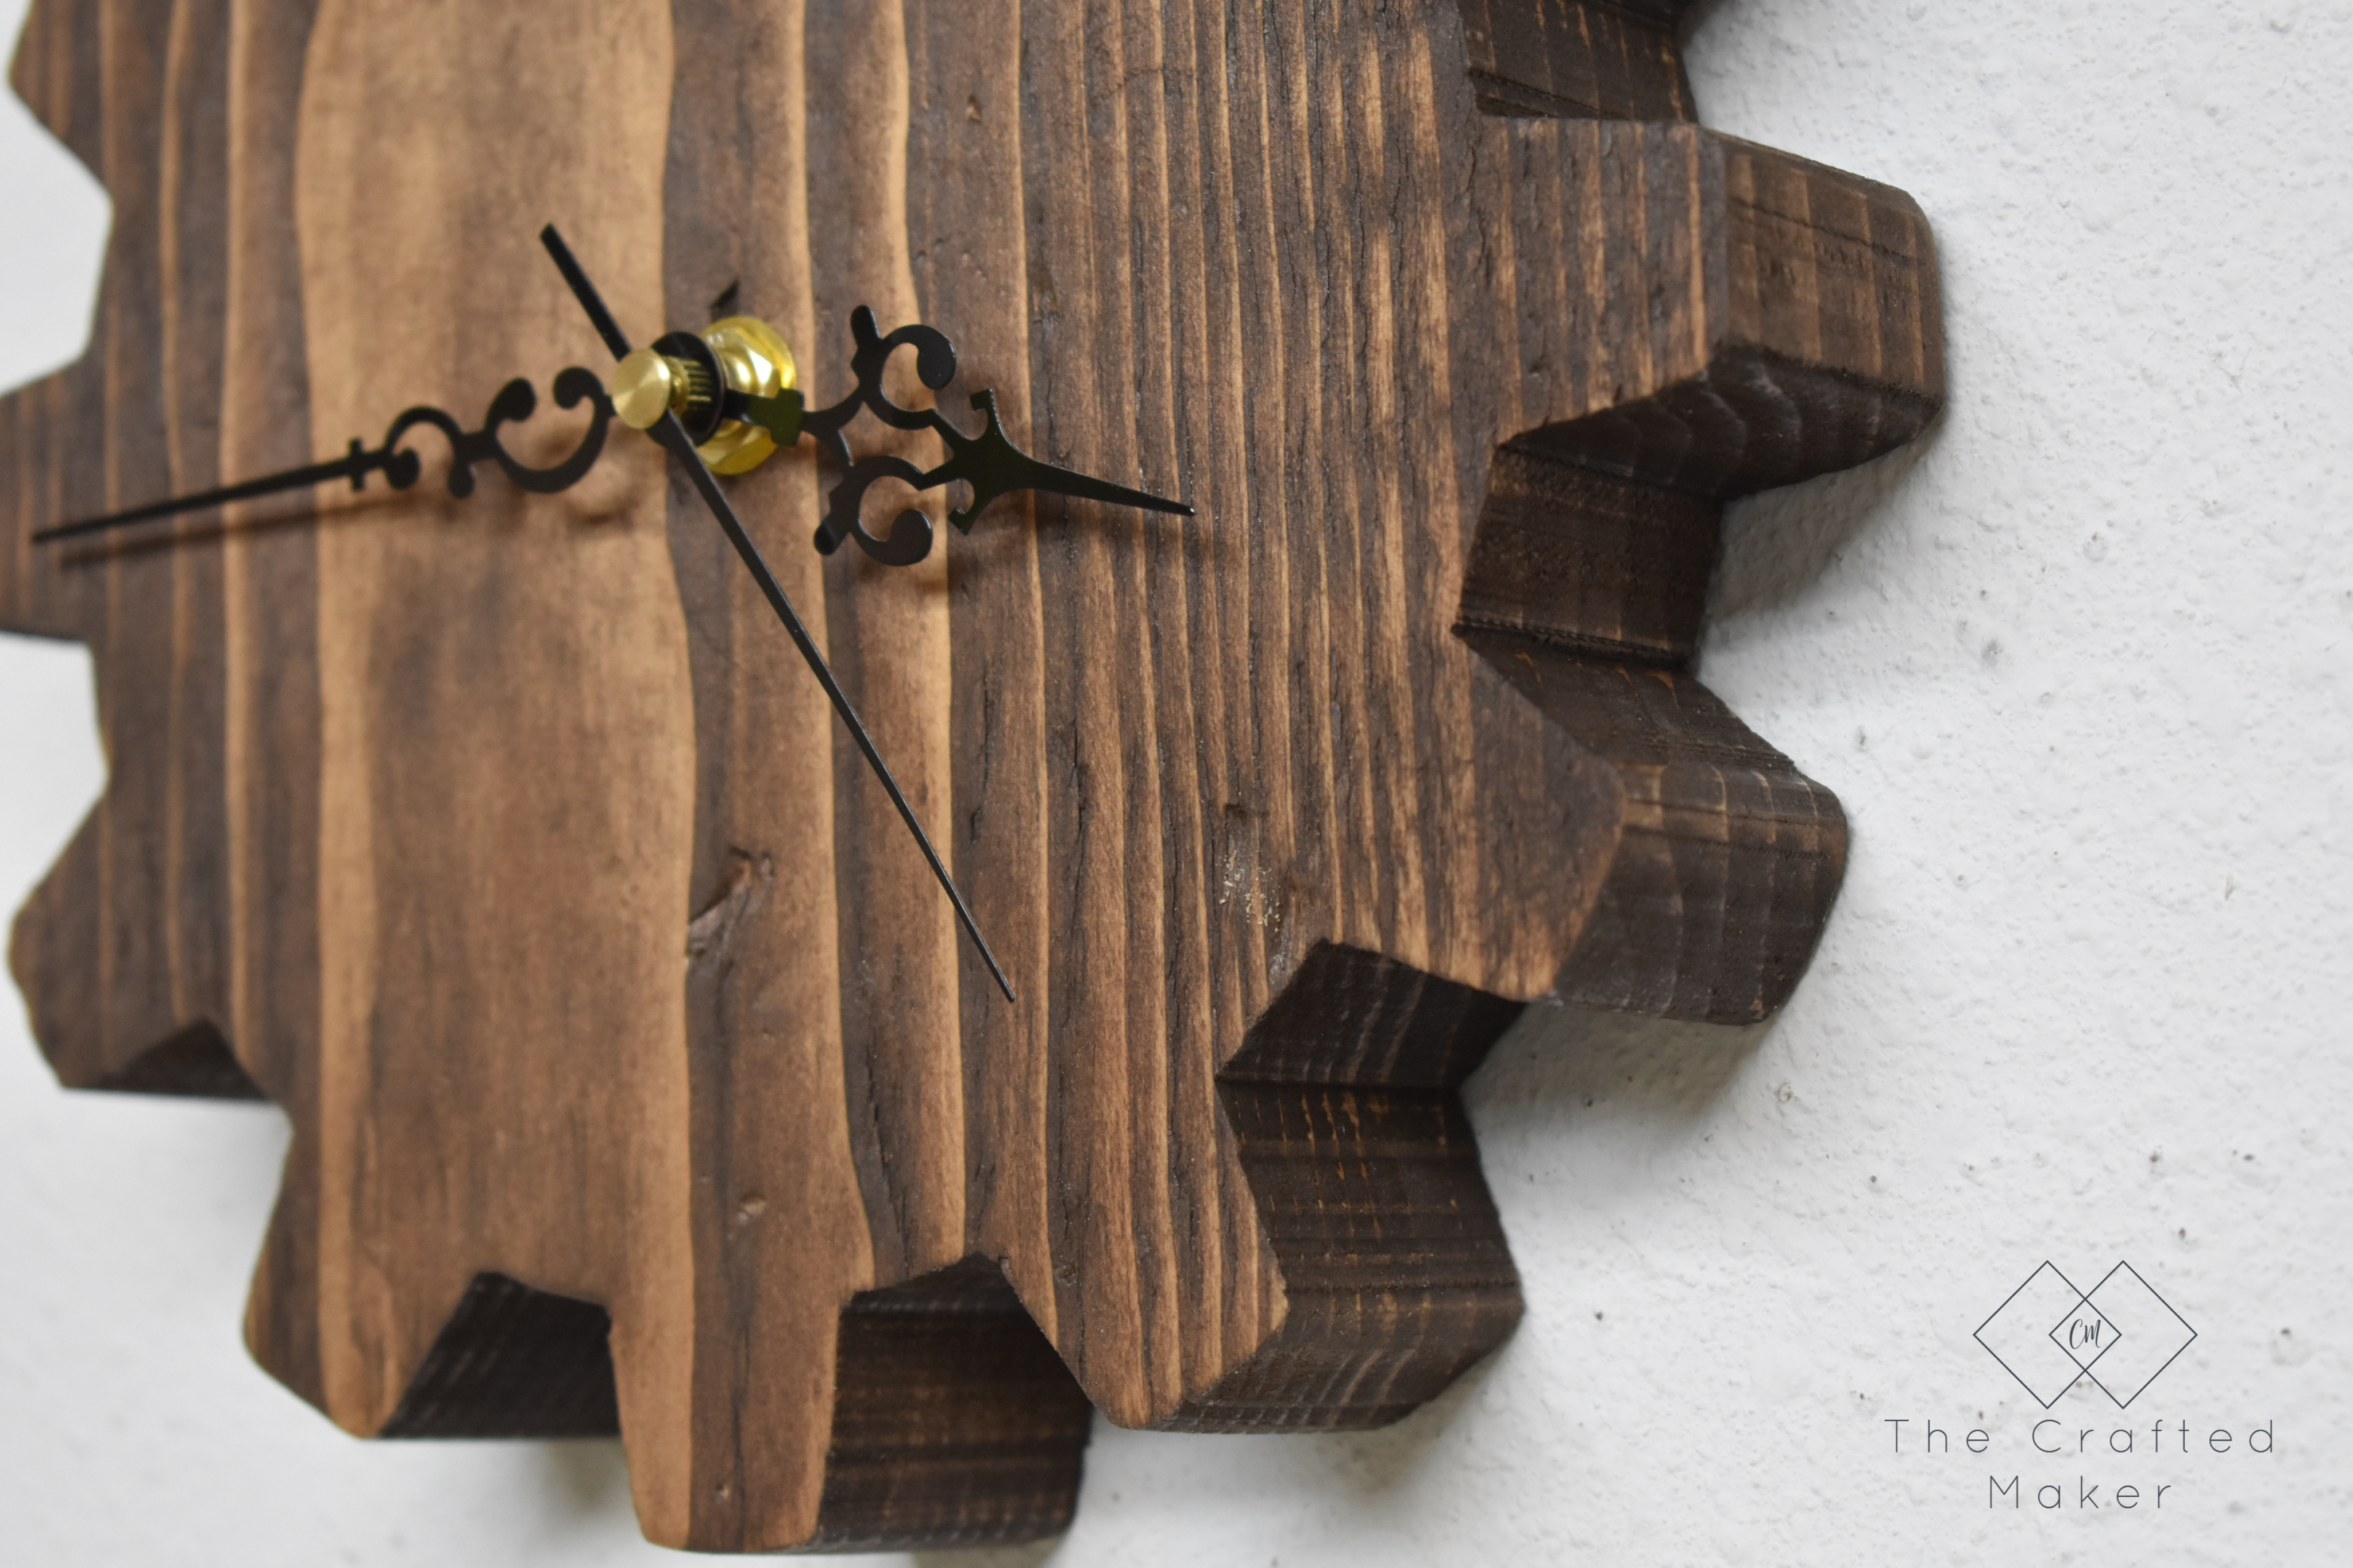
I chose not to add any numbers to this clock because the gears line up perfectly with the hours on a traditional clock face. If you want to add numbers there are several options. You could draw them on, paint them on, or even wood burn them into the wood. The possibilities are endless. Have fun with the numbers if you choose to add them! The only things left are adding hanging hardware to the back of the clock and adding a battery. Once those are done, you have yourself a new workshop clock!
Thanks for stopping by today. I hope you enjoyed this post and have fun making your own wooden gear wall clock!
Pinning is always appreciated!
