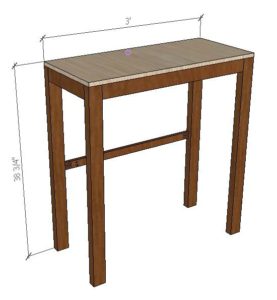
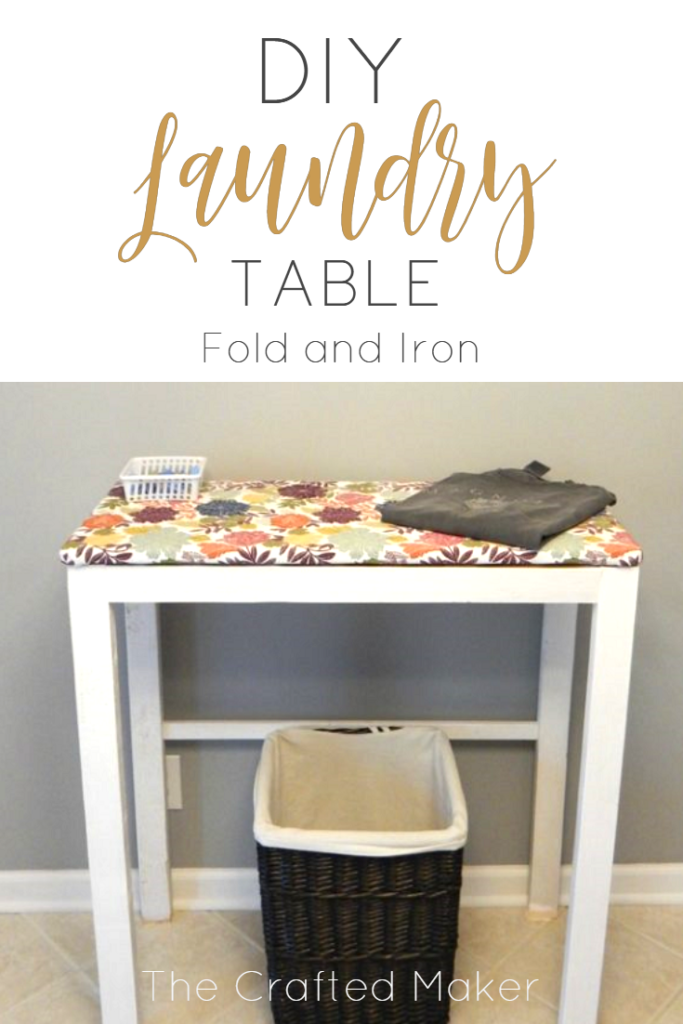
Laundry is a chore not many people enjoy doing so I wanted to make it as fun and convenient as possible. I needed a place to fold my laundry and a place for my ironing board. I know they make hangers for ironing boards, but frankly, I was tired of looking at it. To take care of that problem, I designed a laundry table with enough space to fold laundry with a top you can iron directly on. Win, Win!
There are printable PDF plans for you to make your own. Just click on the picture below to download your copy!
*affiliate links used. See disclosure here
Tools
- Saw to cut boards to length
- Drill
- Pocket Hole Jig
- Sander
- Stapler
Supplies
- Pocket Hole Screws
- Safety Gear (glasses and hearing)
- Fabric and Backing
- Tape Measure
- Pen or Pencil
- Staples
- Scissors
There is a detailed cut list and supply list included in the plans.
Building the Base
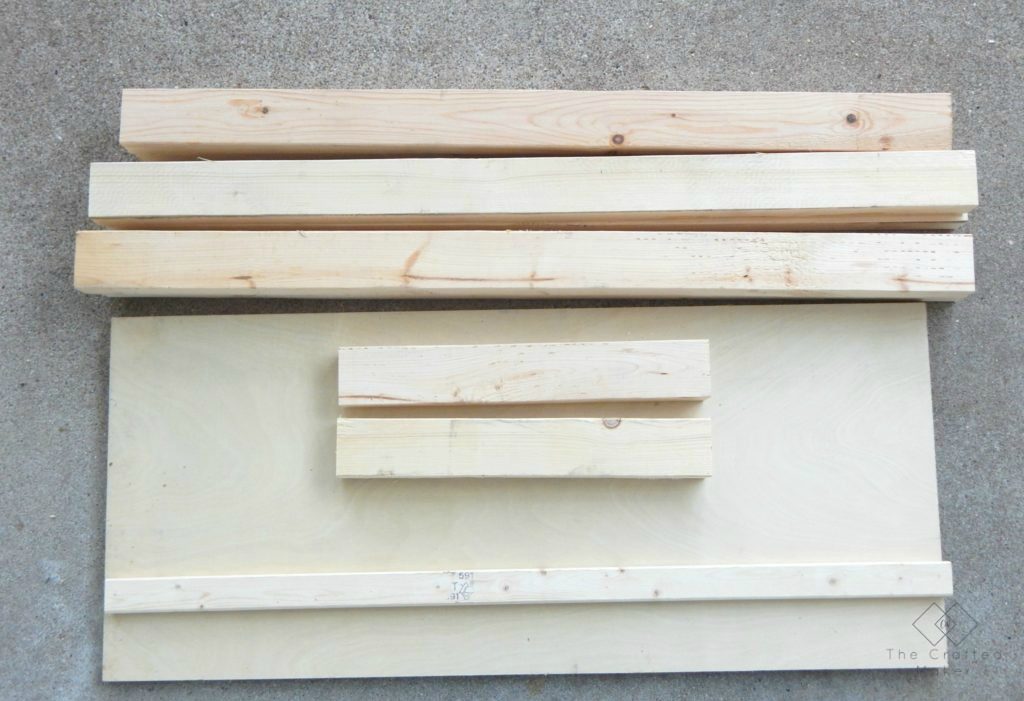
Cut all of your boards according to the cut list.
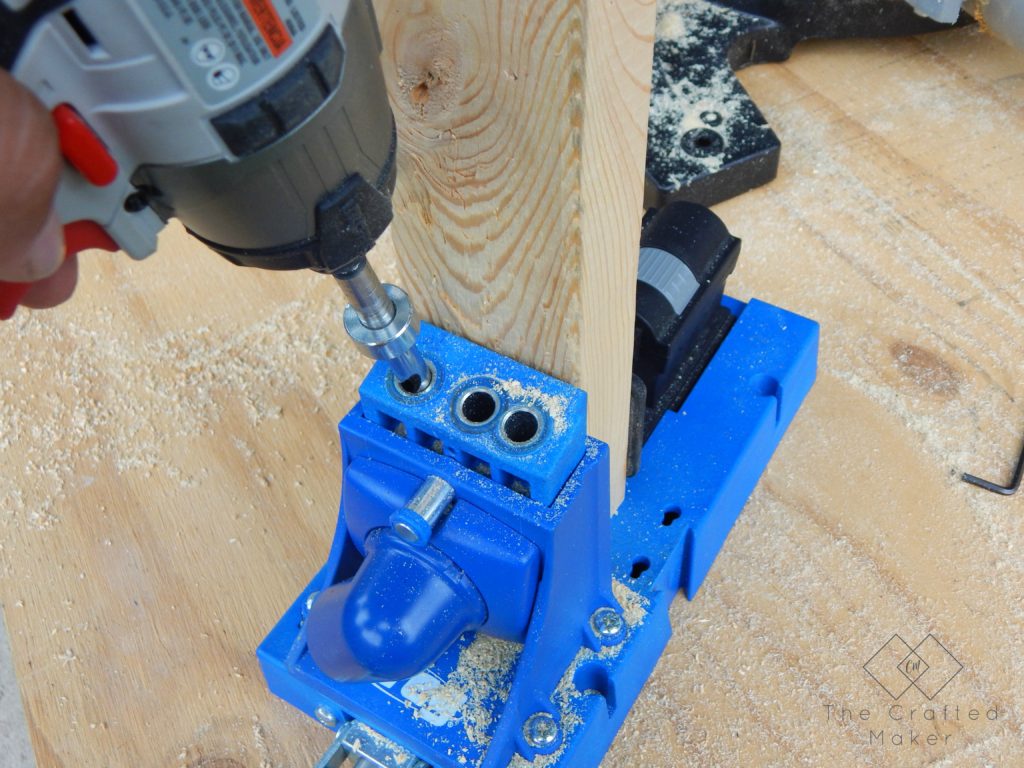
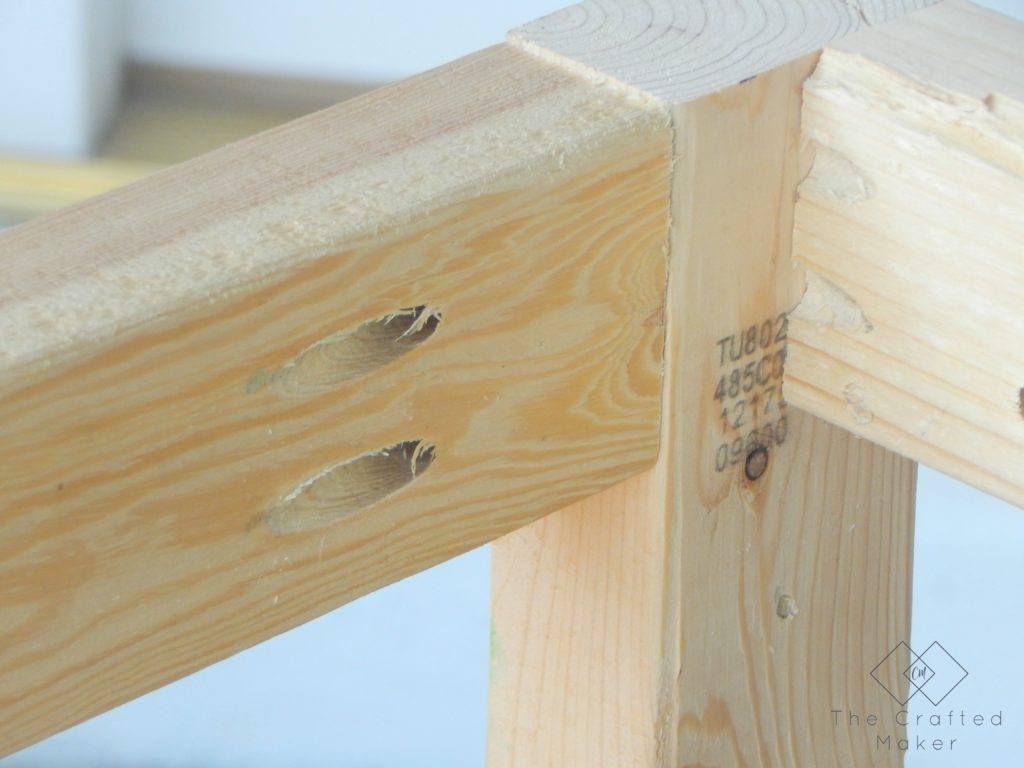
Drill pocket holes according to the pocket hole placement guide in the plans.
It’s now time to start assembly.
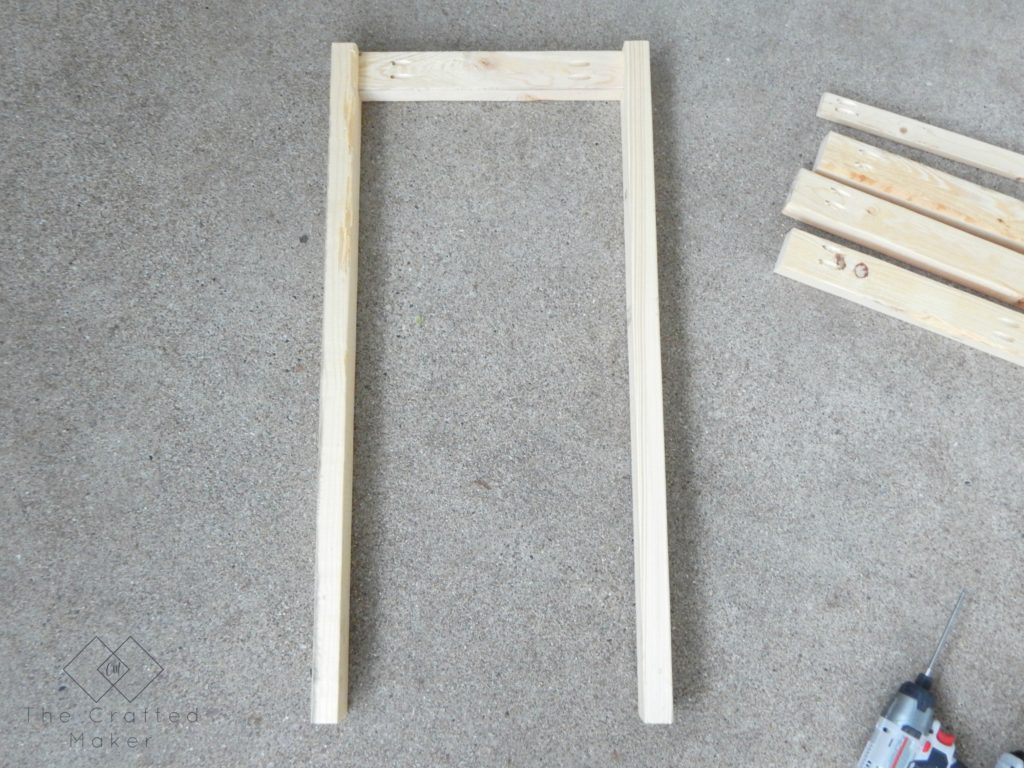
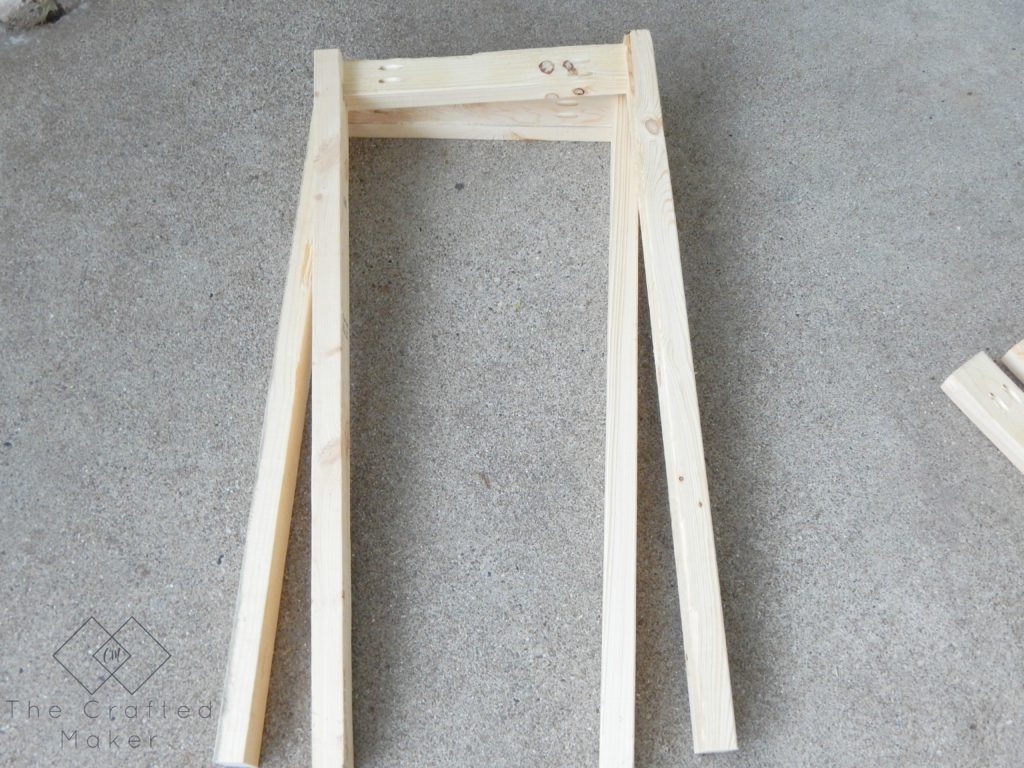
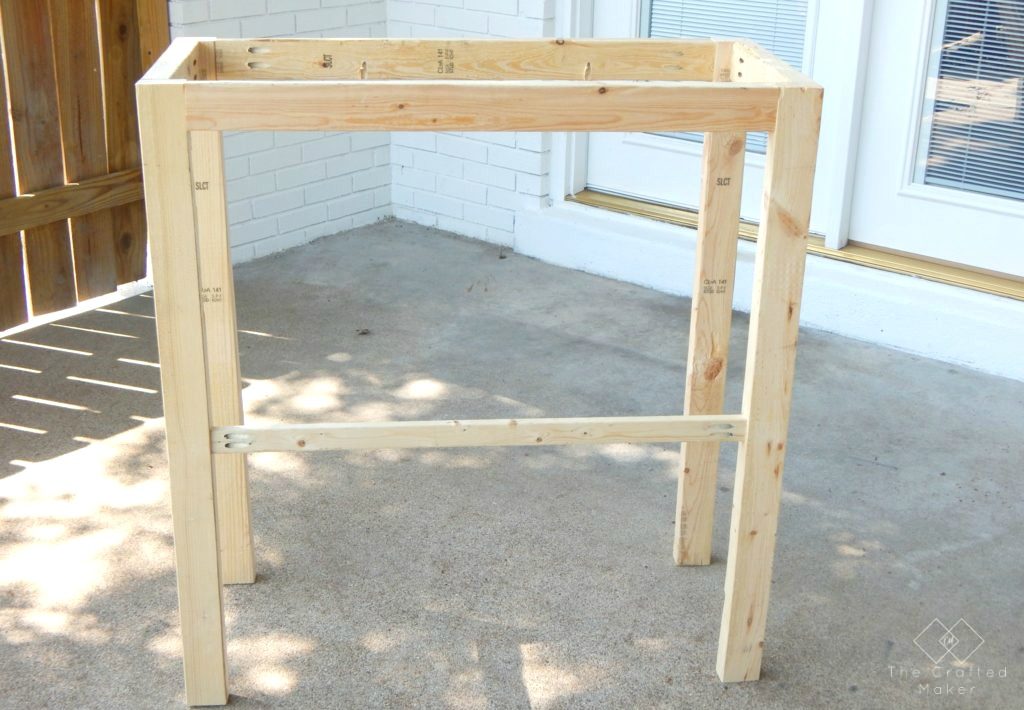
Two of the 32″ legs will be connected, using pocket hole screws, by one of the 13″ boards in the middle. I made two of the leg units.
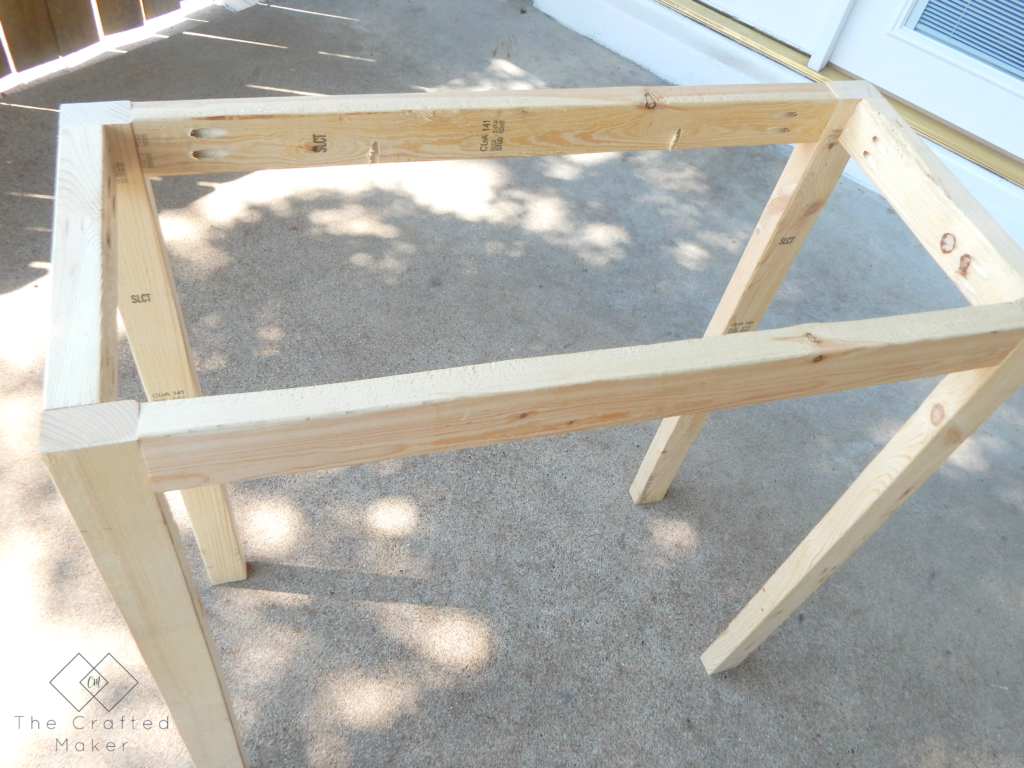
Now it’s time to make these a standing unit! I attached these together by placing 31″ boards between the leg units at the very top.
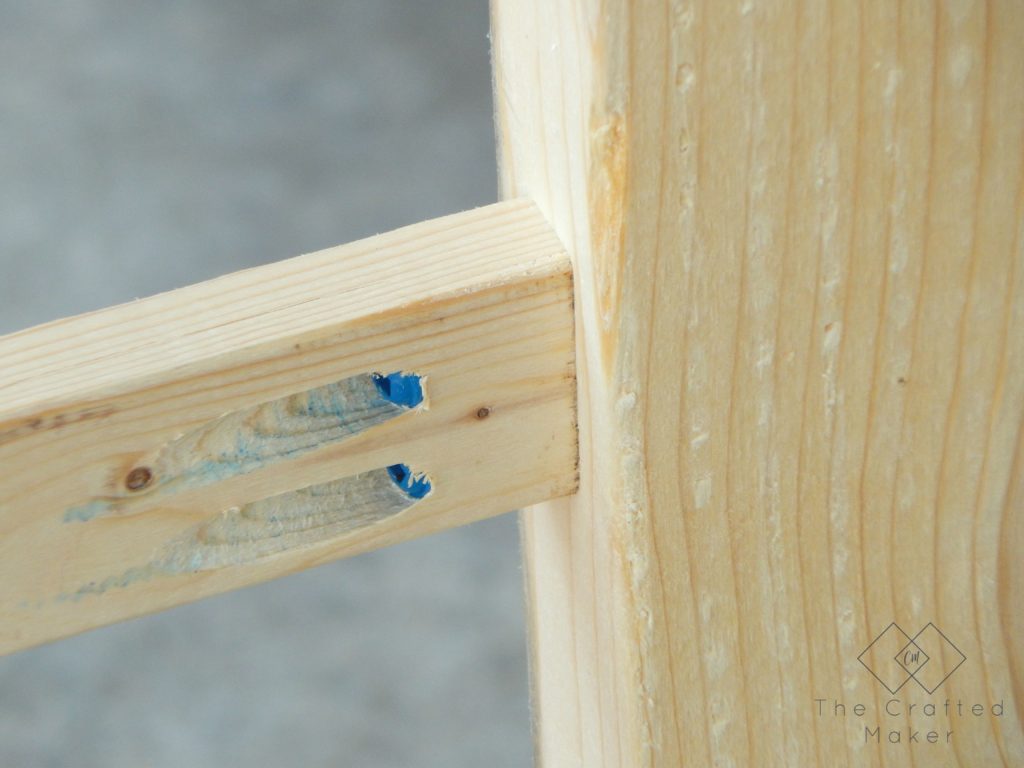
I designed this table to accommodate for clothes hampers to fit underneath and out of the way. This is a handy feature, but it made the height of the table rather tall. To make up for that, I added a middle support to the table so it was extra sturdy. I placed a 1″ x 2″ board between the back legs and attached it with pocket hole screws. Because this will be sitting against a wall, I placed the pocket holes in the back which saves a step when painting or staining the project.
I sanded my project completely before applying a finish. I usually stain my projects, but I decided to give this one a couple of coats of white paint. While the paint was drying, I started on the top of the laundry table.
Assembling the Top
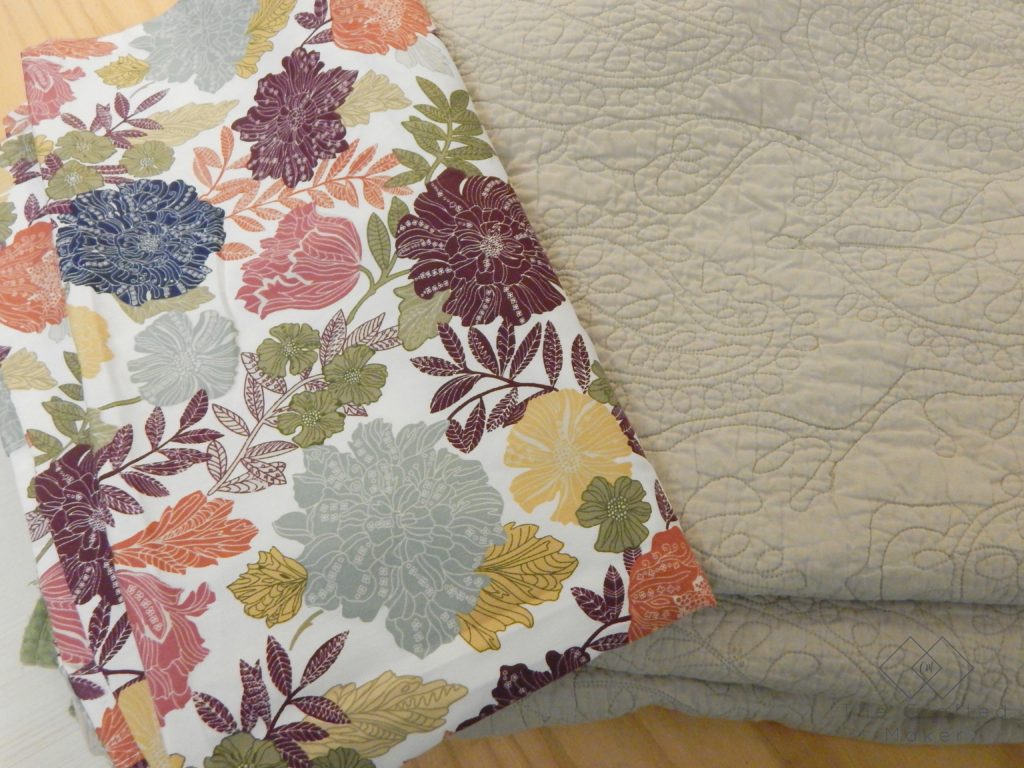
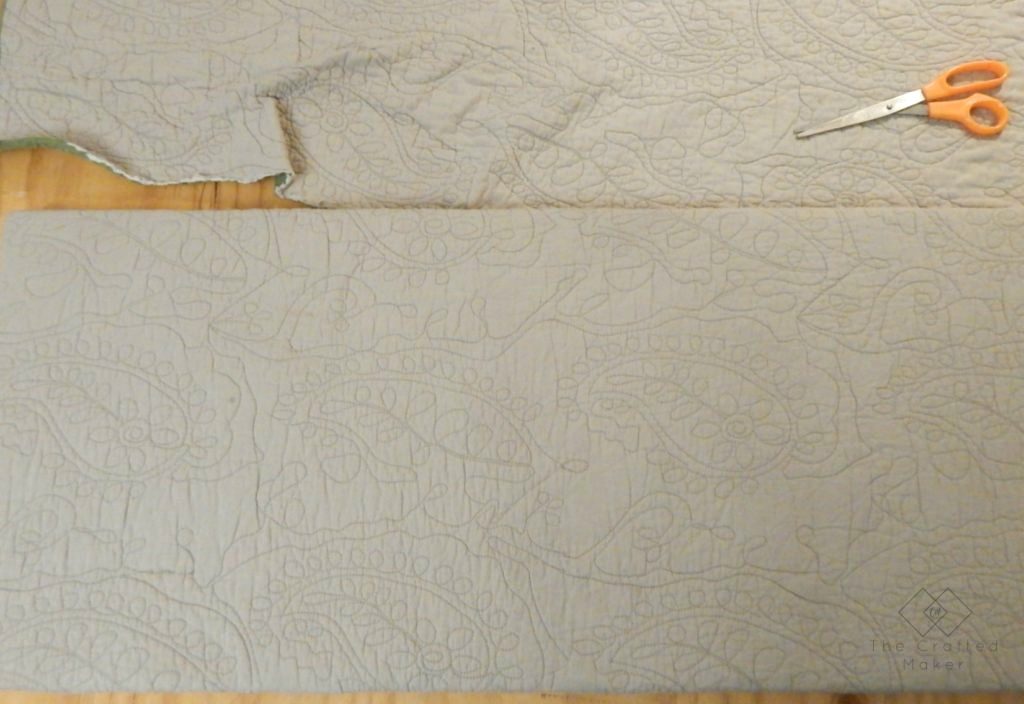
I had an old blanket to use for backing and a curtain I recently changed out for the top fabric.
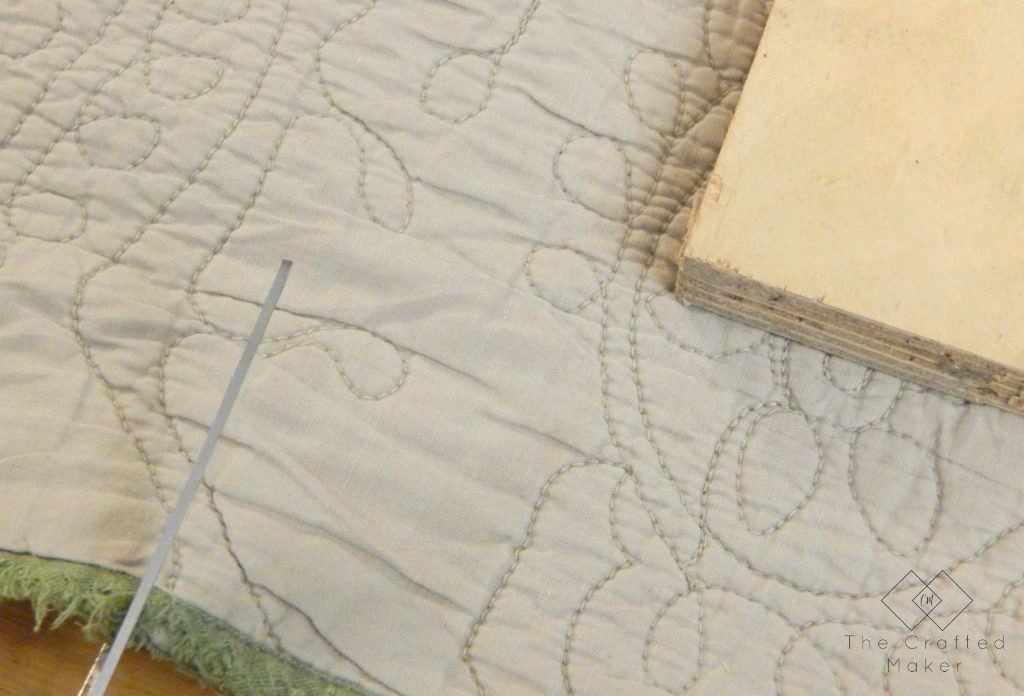
I placed the backing on my work surface and placed the 3/4″ plywood on top of that. I cut out the backing leaving 2″ extra around the whole board.
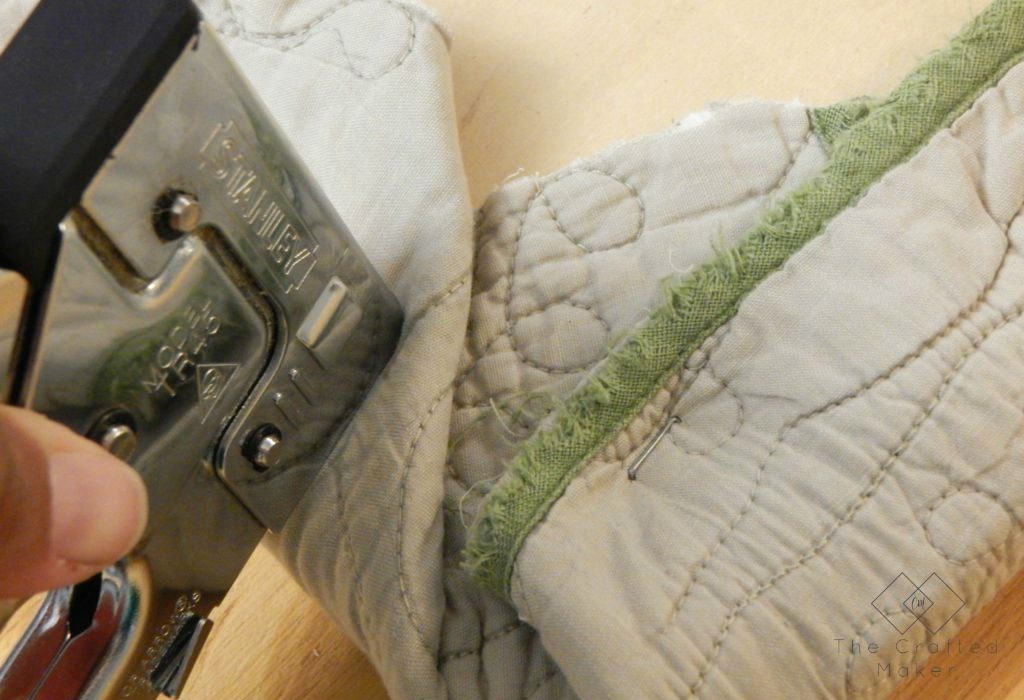
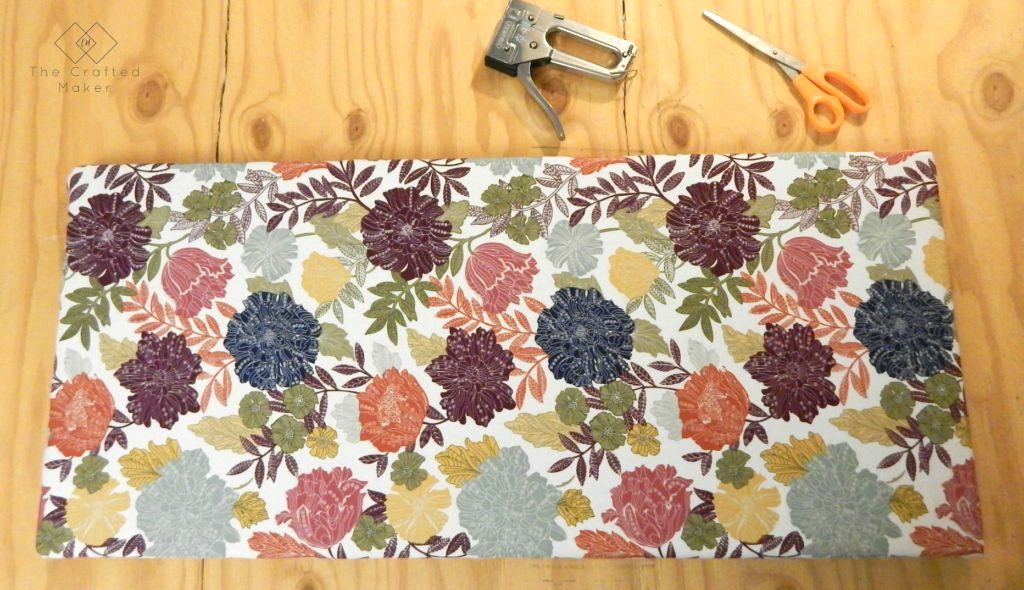
Wrap your backing over the plywood, pulling slightly to get out any wrinkles, and staple around the board.
The picture below is what it will look like when all of the staples are in place. Not too tight and not too many wrinkles.
Repeat these steps for the fabric on top.
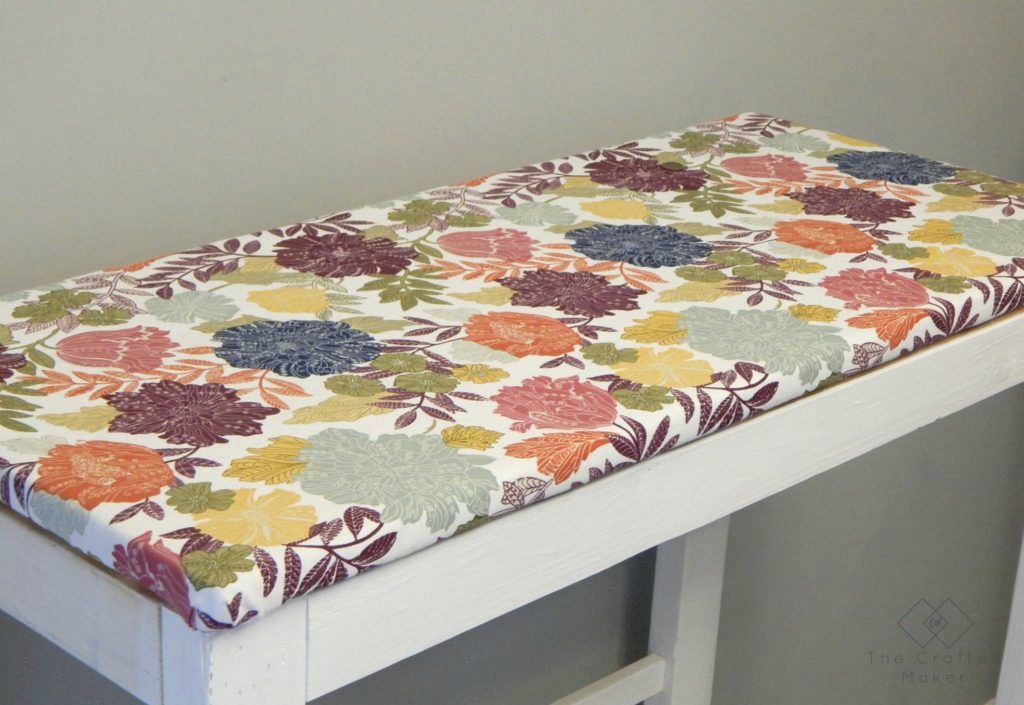
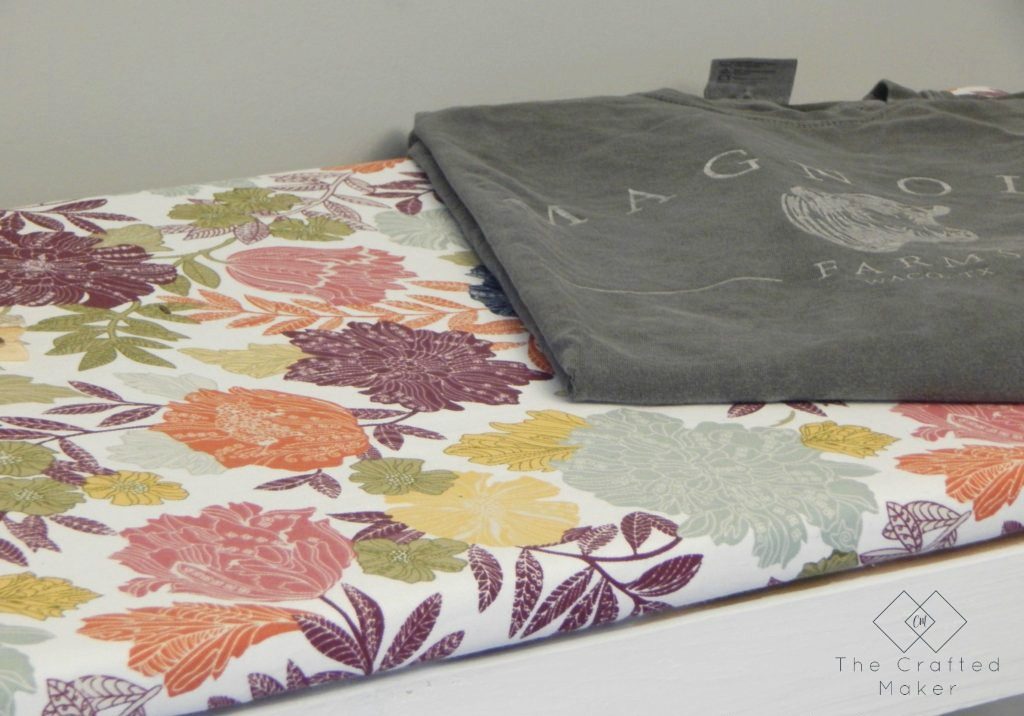
I attached the top to the body of the table by using pocket hole screws. The table is now ready for use. No ugly ironing board getting in the way and a bonus space to fold laundry!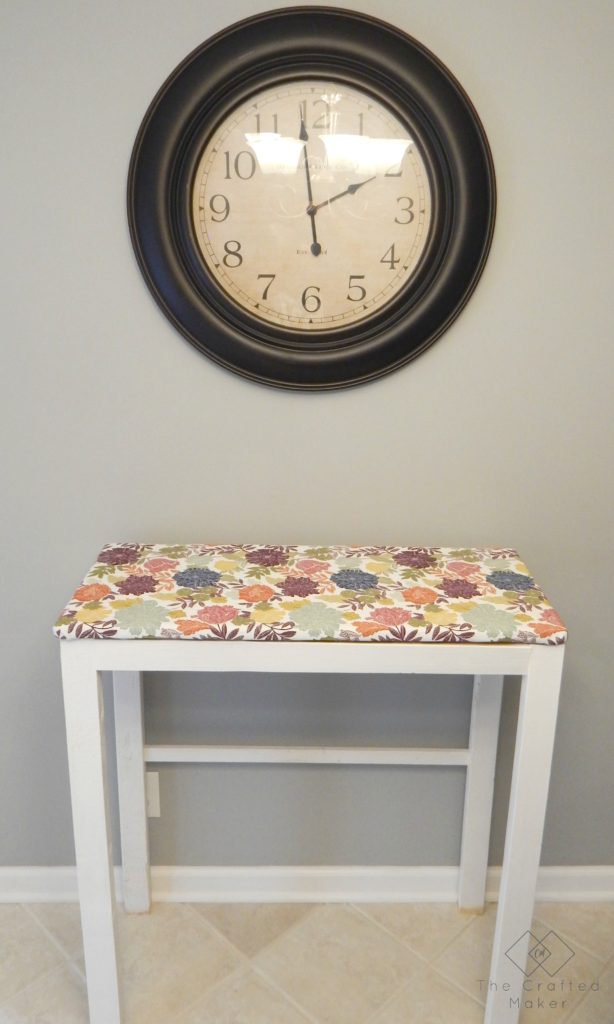
Pinning is always appreciated!
I hoped you enjoyed this project. I’ll be back soon for more house revamp projects. Until next time…
