• Home
  • About
  • PROJECTS
    • BUILD
      • FURNITURE
      • SCRAPPY SATURDAY
    • HOW TO
    • ORGANIZATION
    • HOME DECOR
    • TIPS AND TRICKS TUESDAY
    • HOME IMPROVEMENT
      • RENOVATION
    • SEASONAL
  • Resources
    • FAQ
  • Shop
    • Plans
  • Work With Us
  • DIY 101:Make Your House a Home One Project at a Time

The Crafted Maker

Crafting a Maker one project at a time

BUILD, FURNITURE · August 19, 2016

DIY ENTERTAINMENT STAND

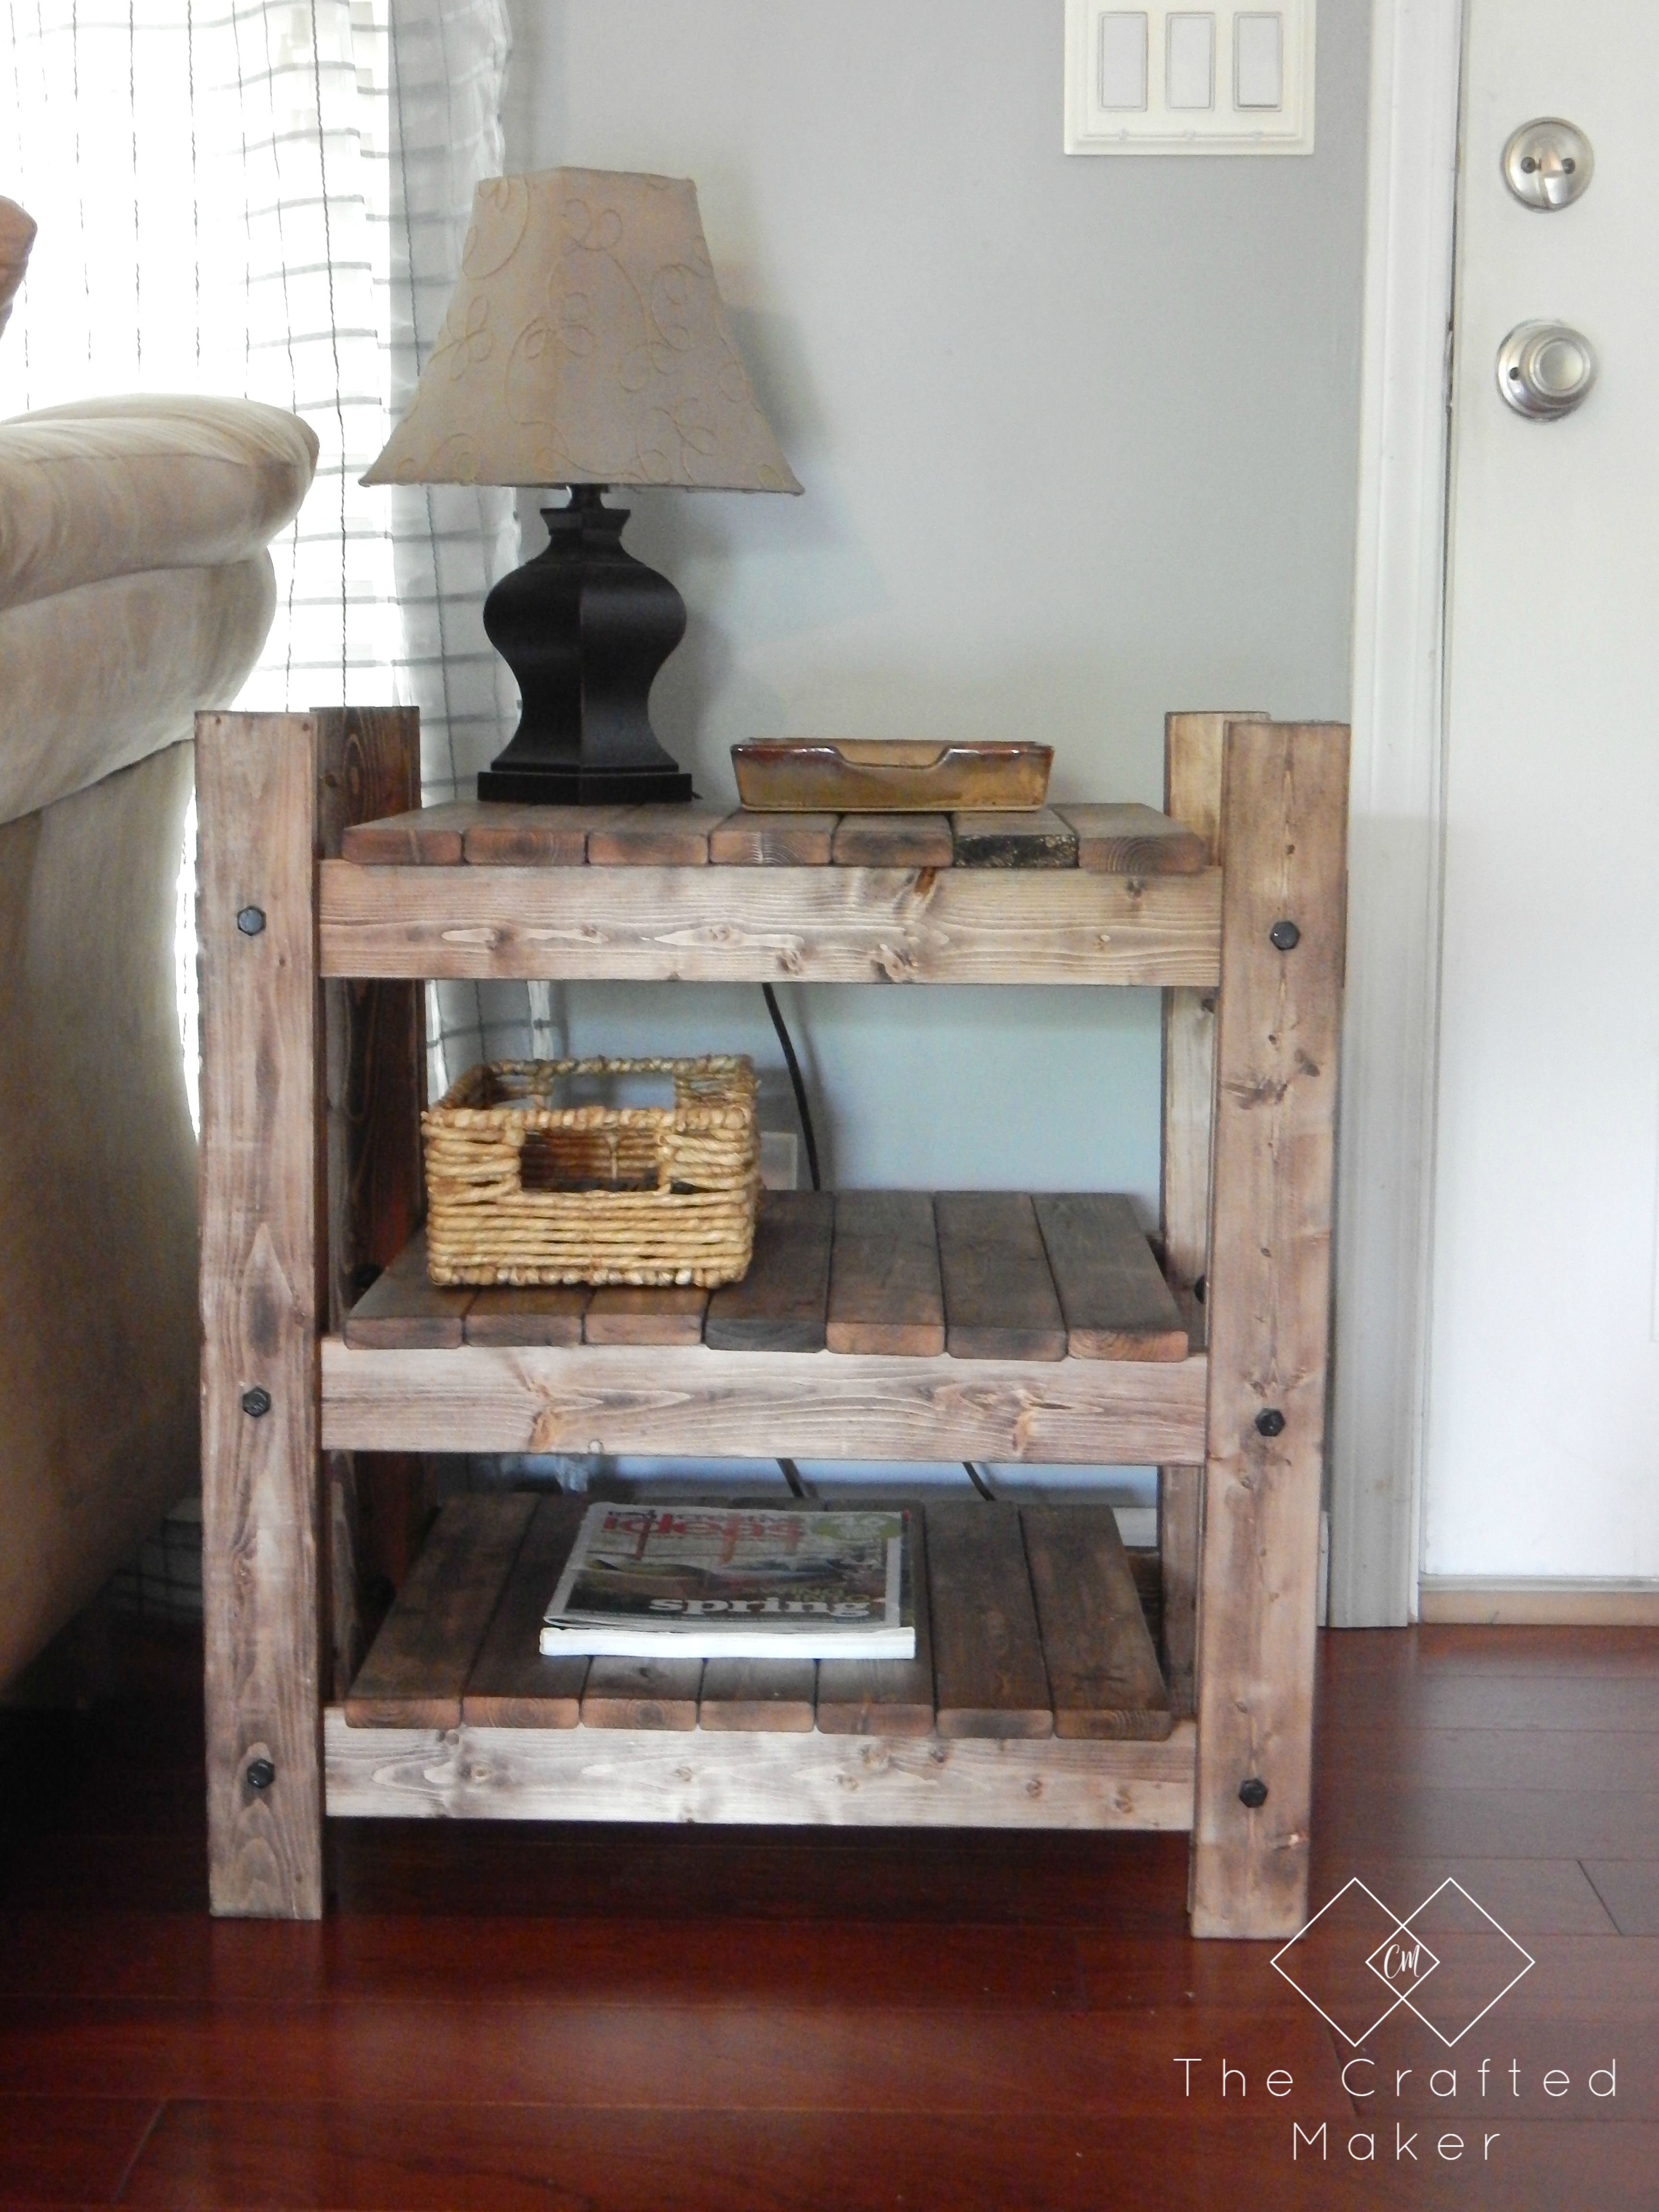
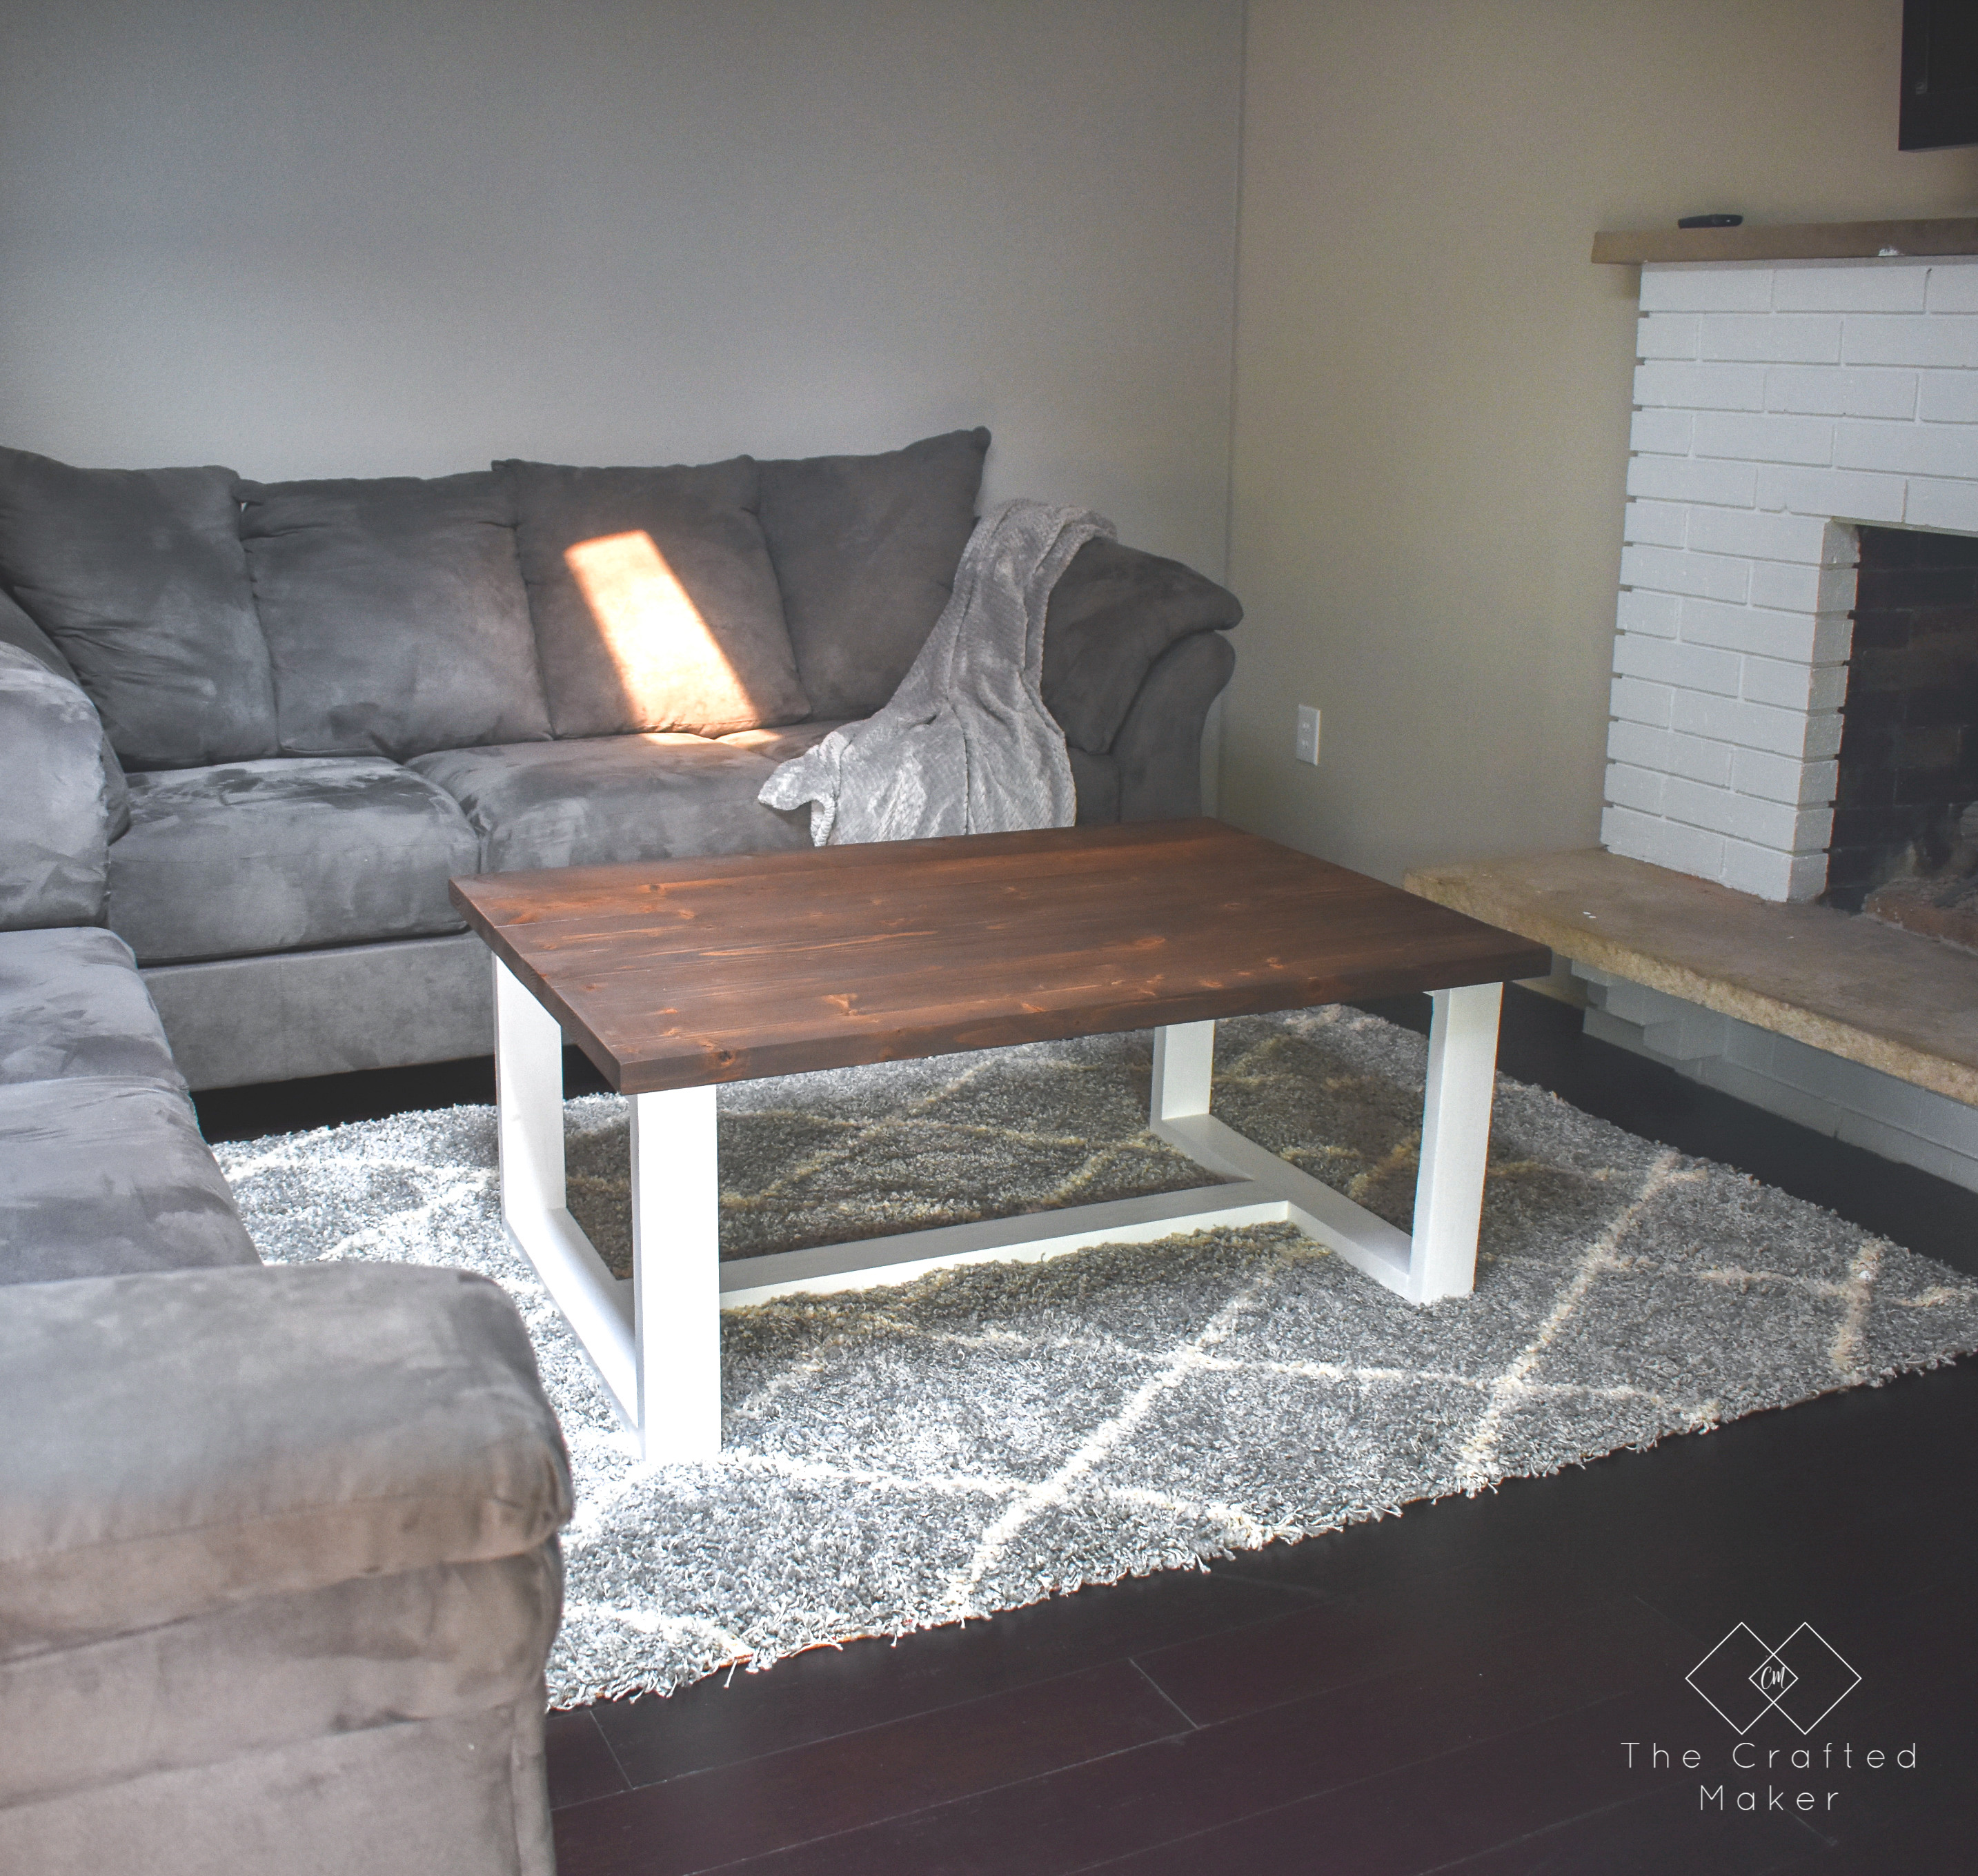
If you have visited my blog before, you know how much I love to use nuts and bolts in my DIY furniture. Many of you have embraced (with open arms) my Arhaus inspired coffee table and end table, and for that, I thank and love each and every one of you.

Arhaus Inspired End Table - Free Plans

Arhaus Inspired Coffee Table - Free Plans!As it turns out, I am not the only one who loves to build this style of furniture. My friend Corey over at Sawdust 2 Stitches also built her own version of the Arhaus coffee table. You can check out the awesomeness here.

With so many of you absolutely loving this coffee table, I want to encourage you to have a go at making your own. With today’s technology, DIY is easier than ever (how has technology helped DIY?) but it remains incredibly rewarding.

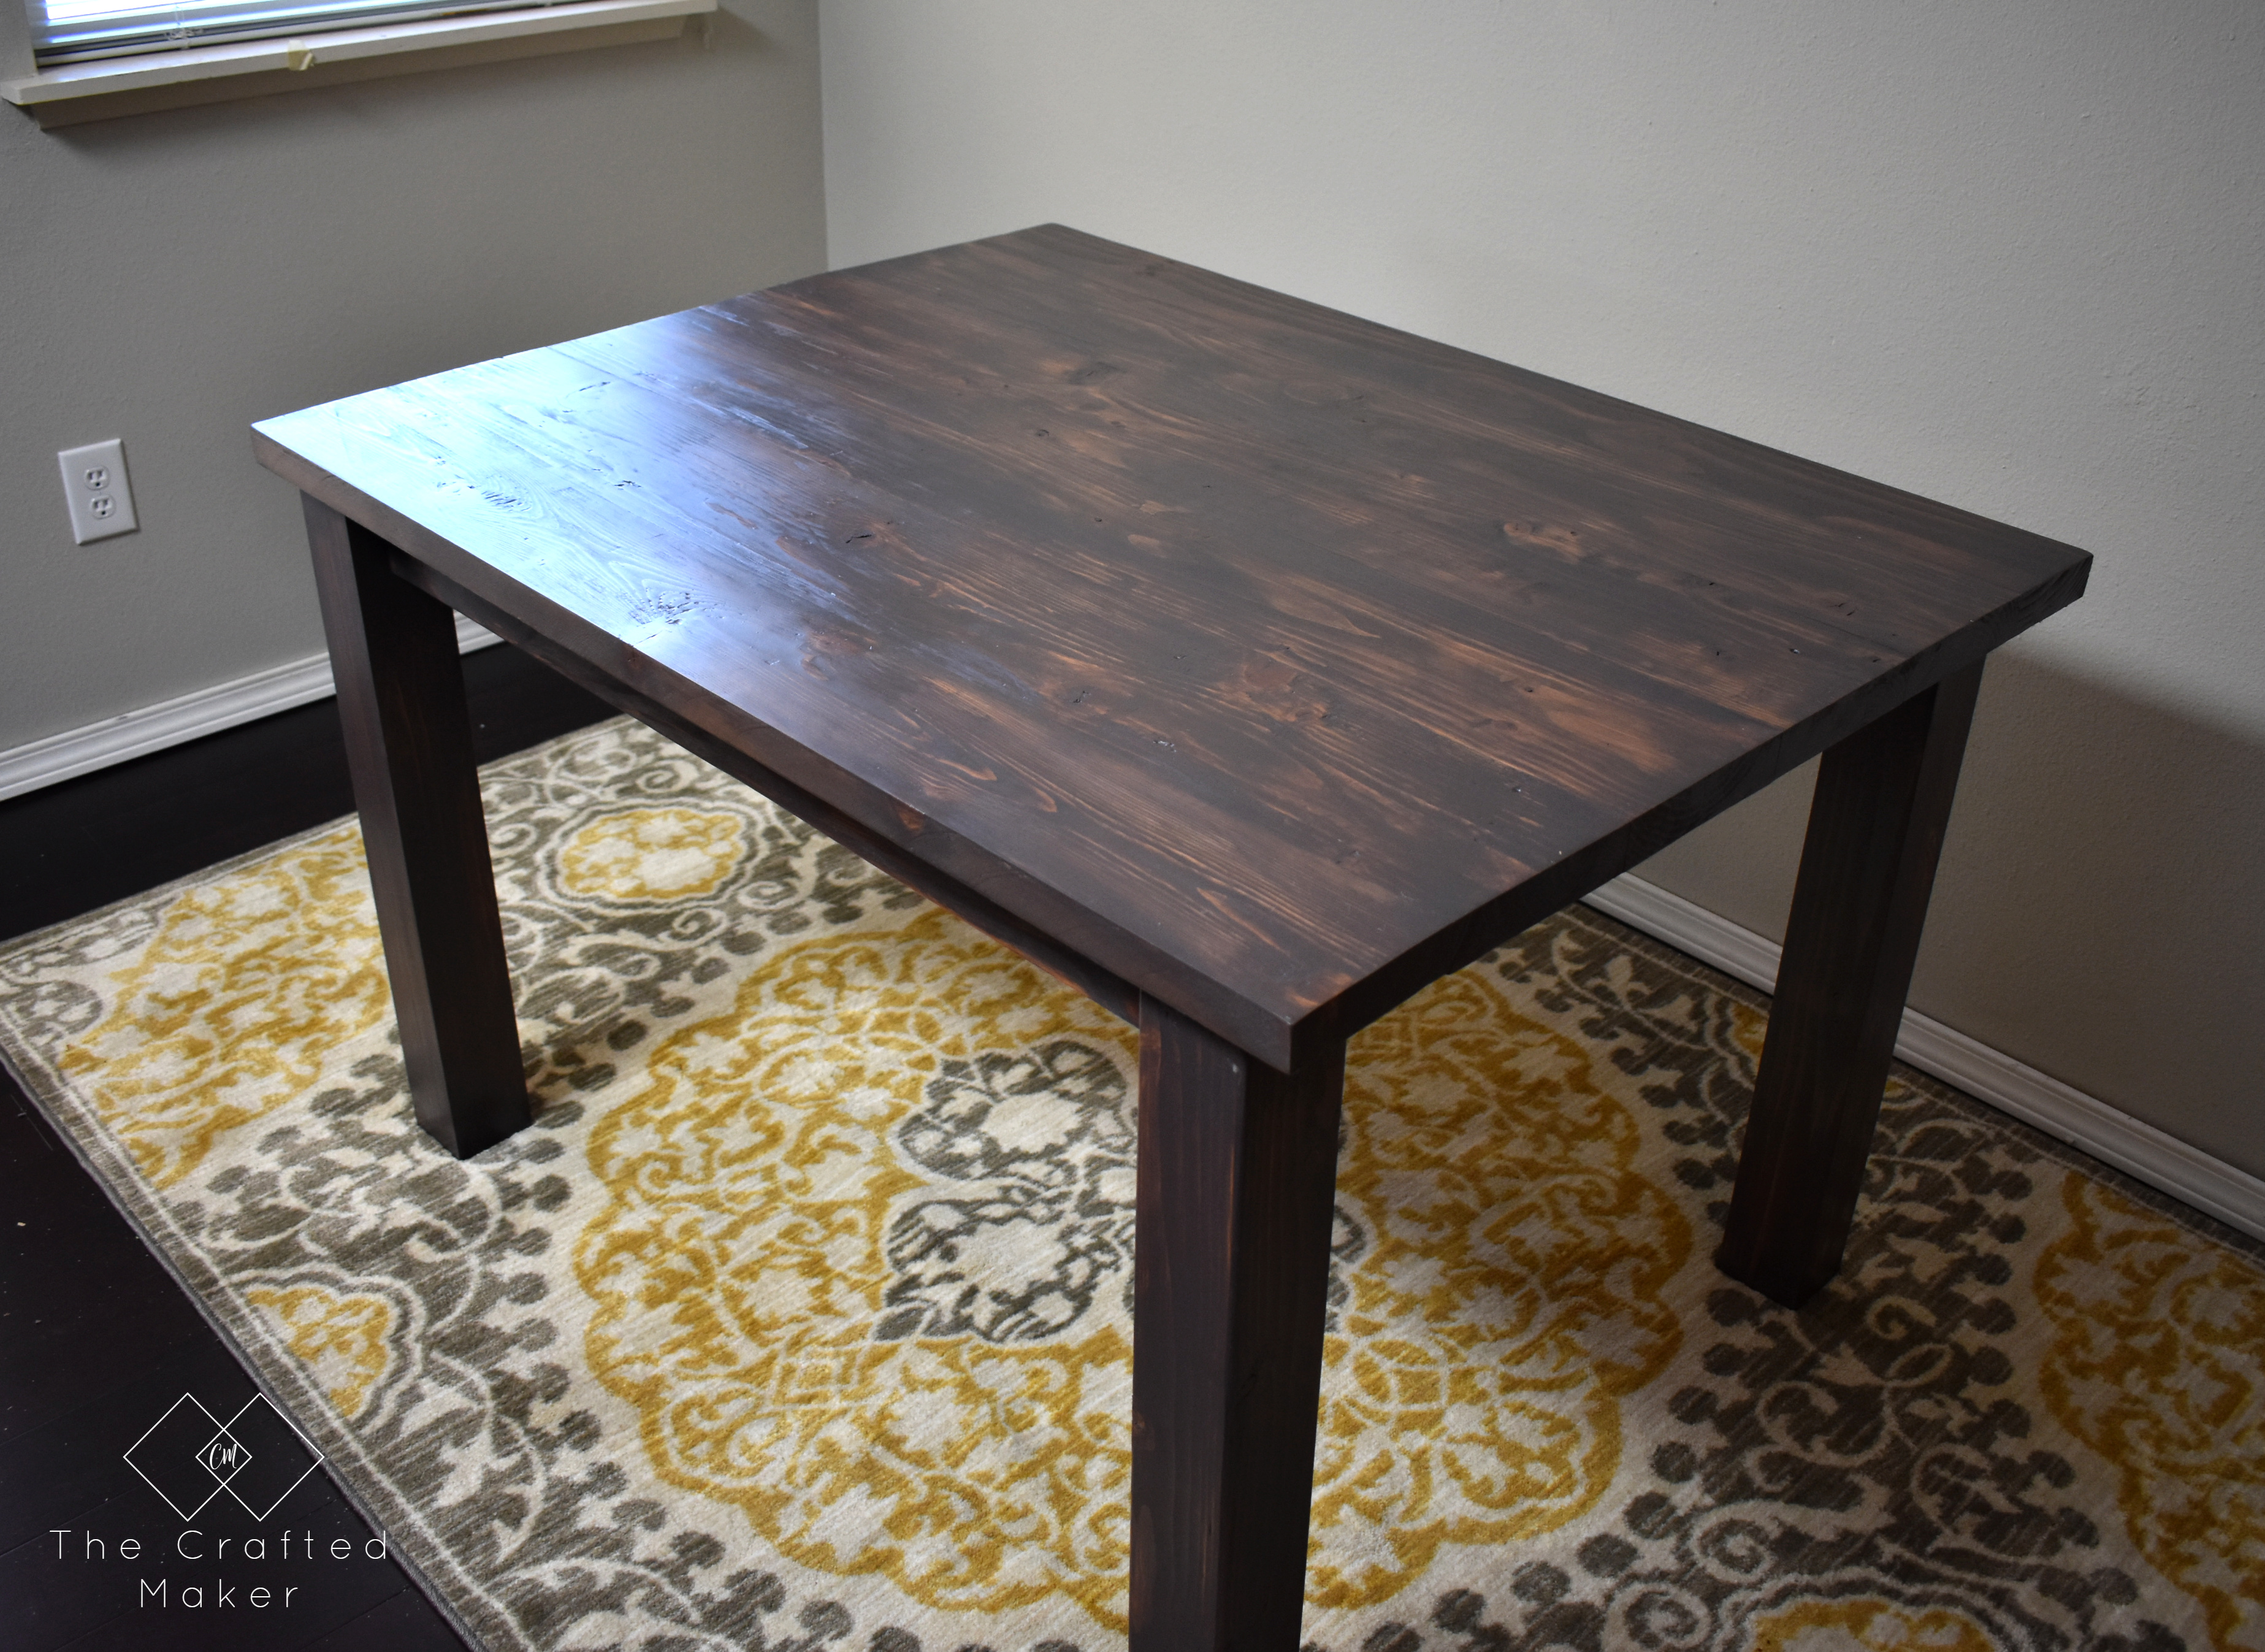
Corey and I put our heads together and decided to make some additional pieces to complete this set of living room furniture. This is going to be soooooo great! By choosing to make an entertainment stand, I’ve made a piece of furniture that is very adaptable! You could use it to place your TV on, or if your TV is the wall perhaps it can be used for your entertainment systems such as your Xbox or DVD player. In this case, having the appropriate electrical connections nearby is crucial to making your entertainment stand fill out its purpose! Learn more about electrician services near you if you need to, to make sure you can enjoy your gadgets and so the entertainment stand can meet its full potential!

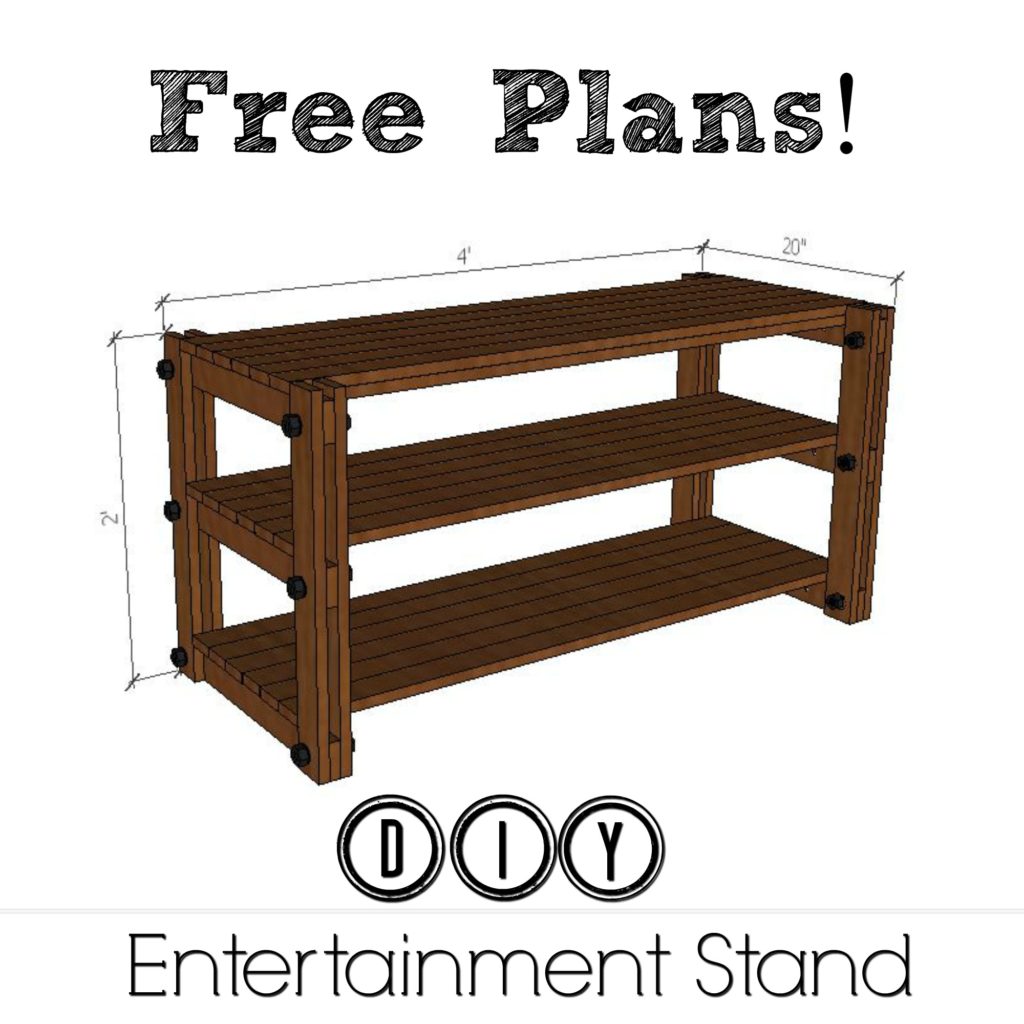
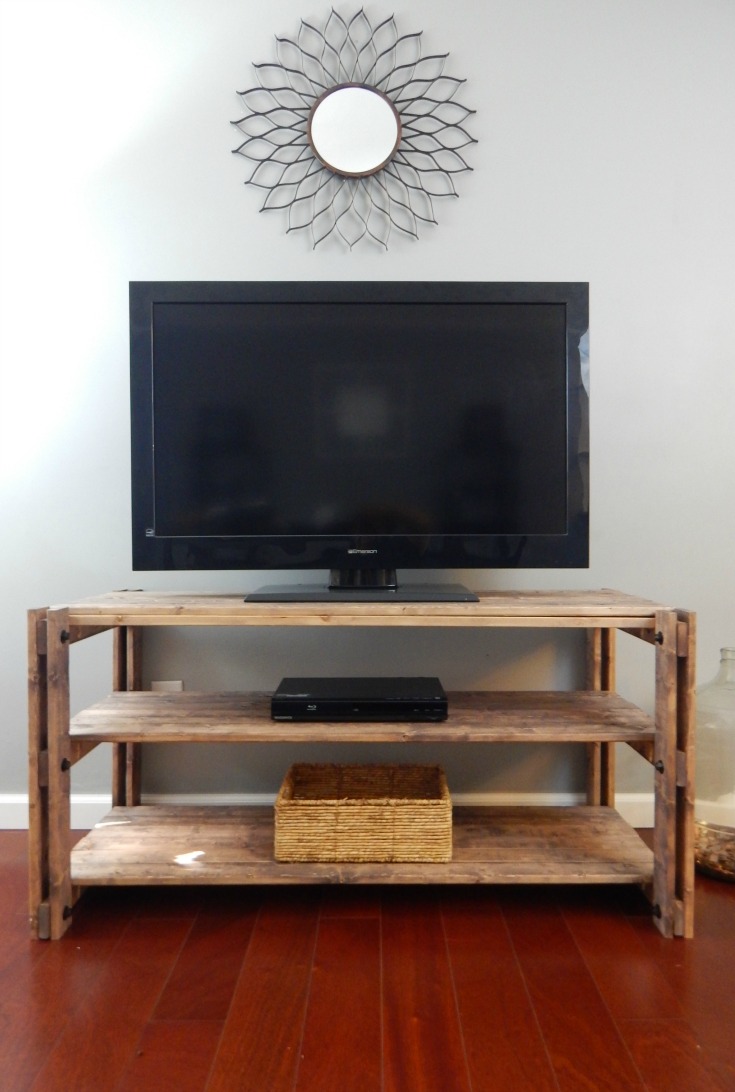
I have included the free plans for my DIY Entertainment Stand here, or click the picture below.

Free Plans DIY Entertainment Stand

On to the build…….

*affiliate links used. See disclosure here

Tools

  • Saw to cut boards to length
  • Drill
  • Pocket Hole Jig
  • Sander

Supplies

  • 79 – 1 1/4″ pocket hole screws
  • 3/8″ spade bit
  • 12-3/8-in-16 hex nuts
  • 12-3/8-in-16 x 3-in bolts
  • 12-3/8-in x 7/8-in flat washers
  • Sandpaper
  • Safety Gear (safety glasses, ear protection)
  • Paint or Stain

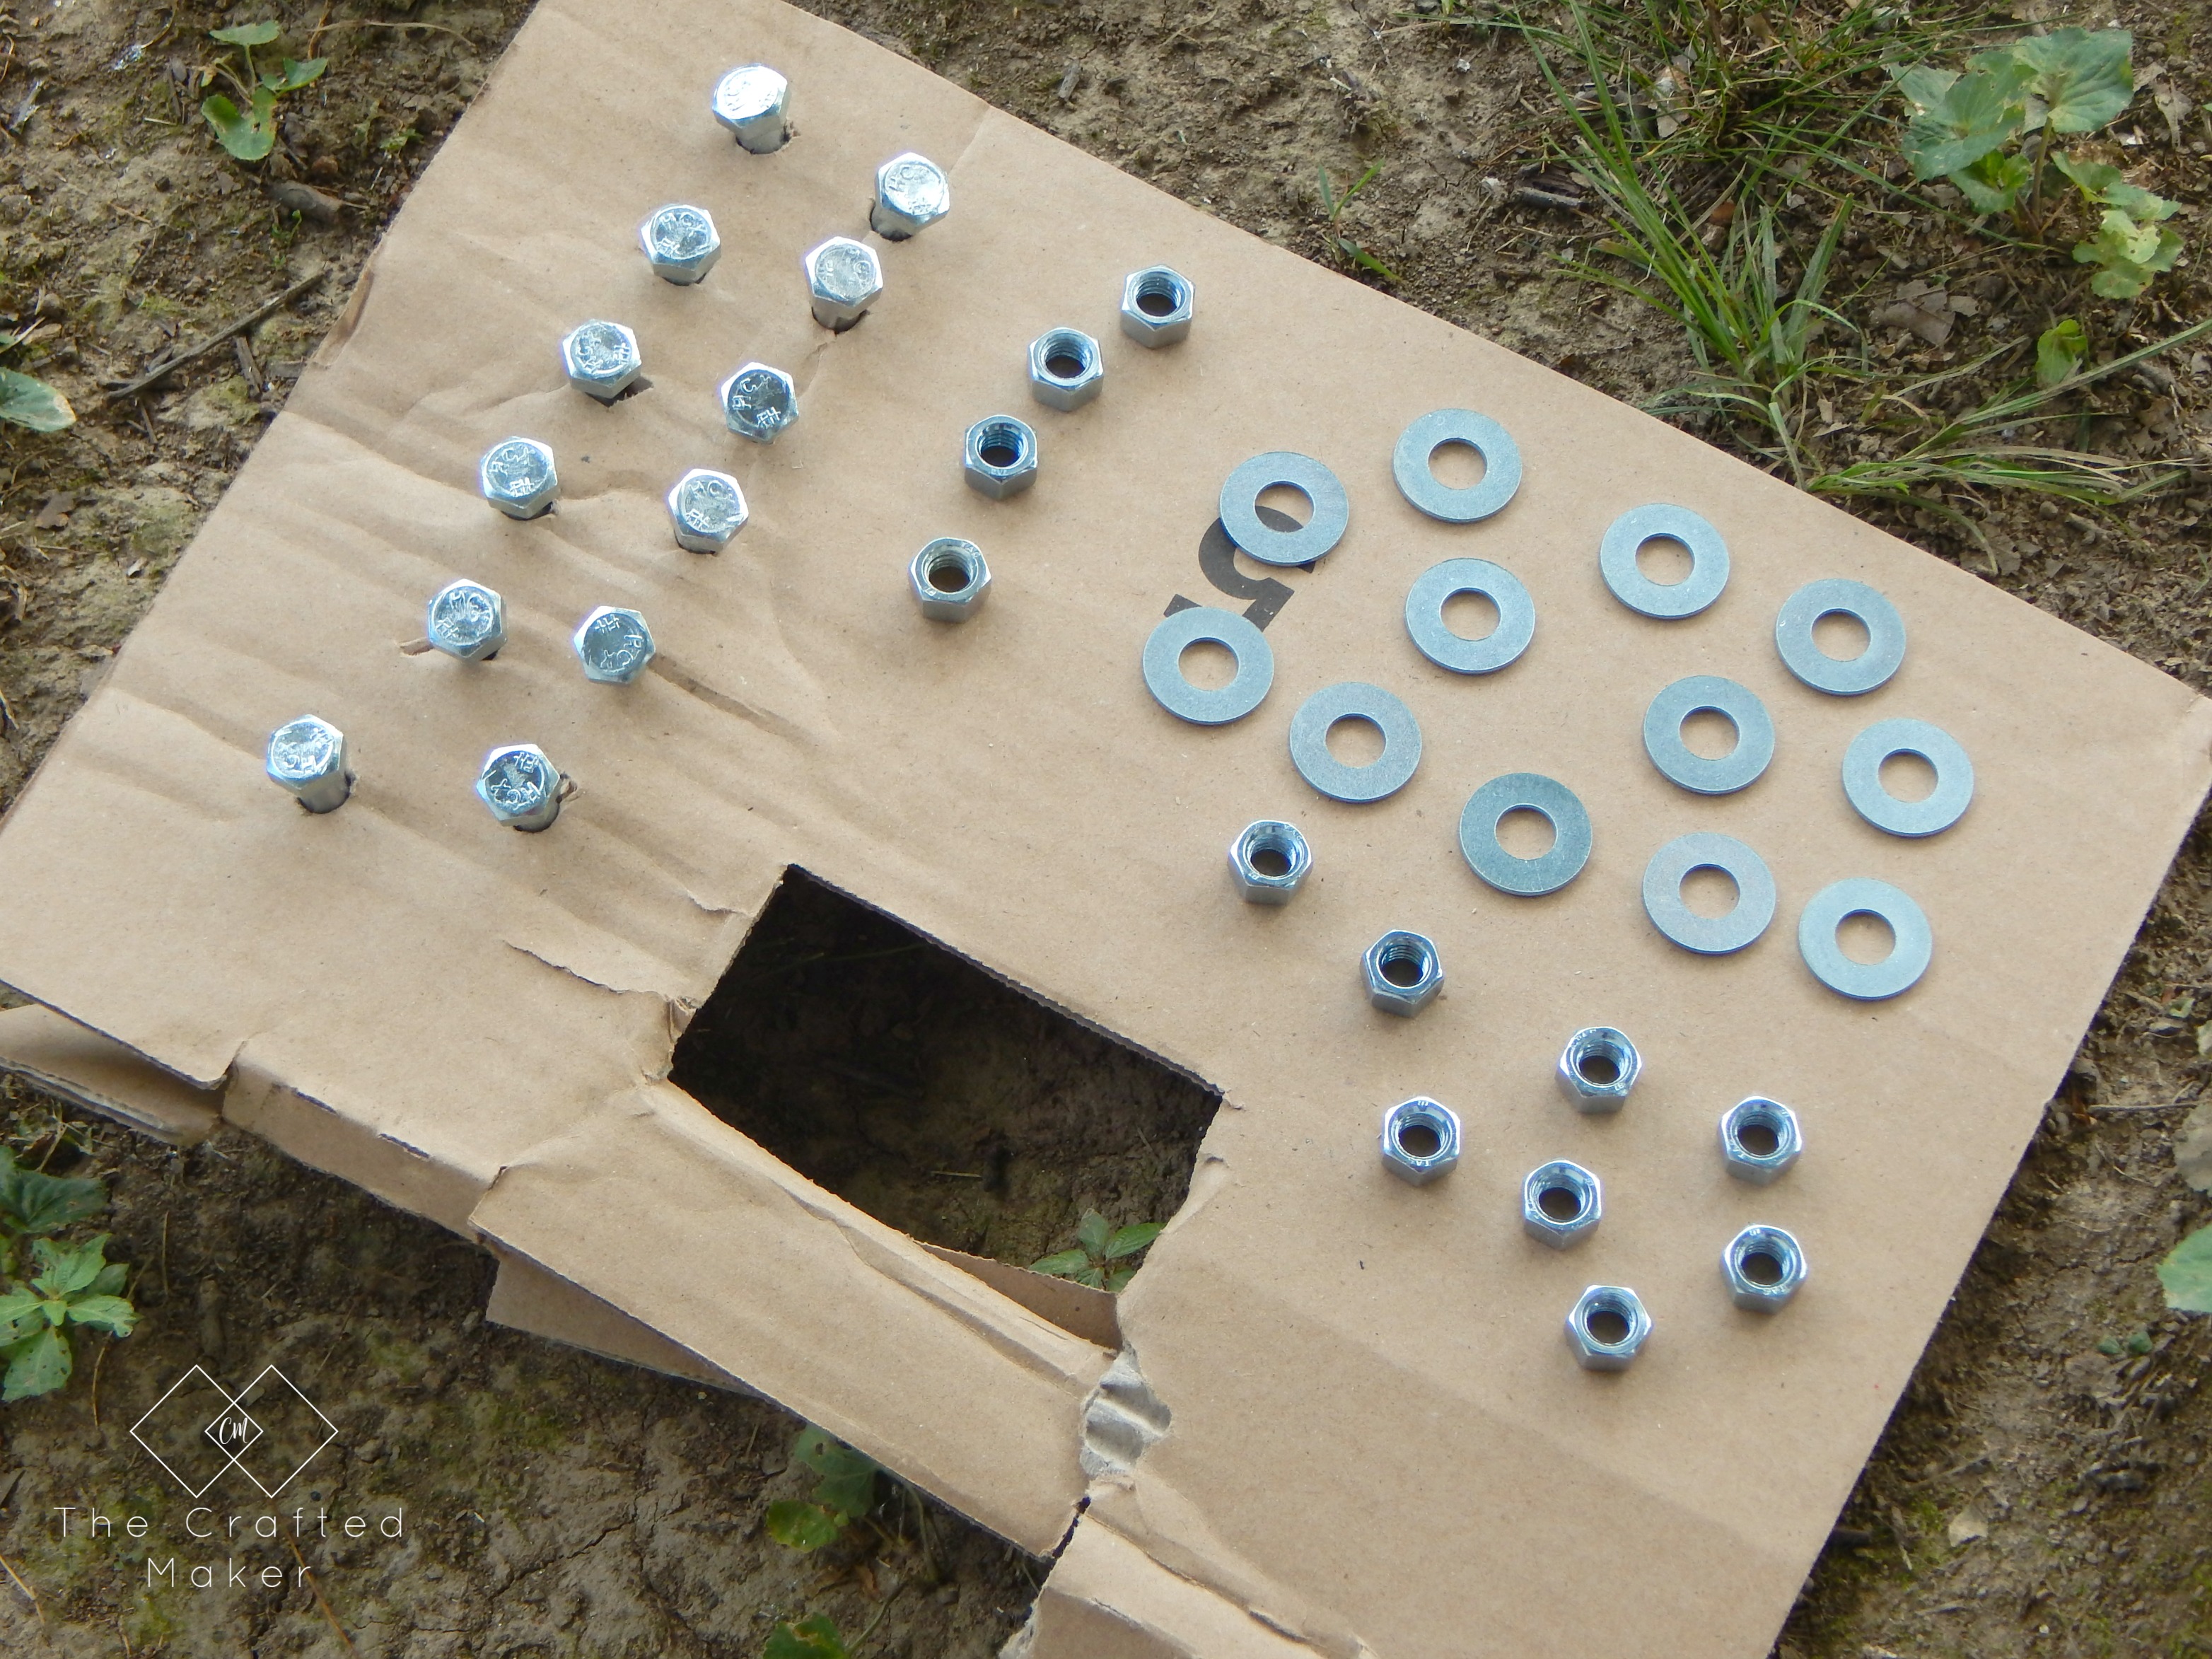
**Optional: Spray paint for bolts, washers, and hex nuts if they are not available in the color of your choice. If spraying, do this before assembling the table. Give the paint plenty of time to dry.

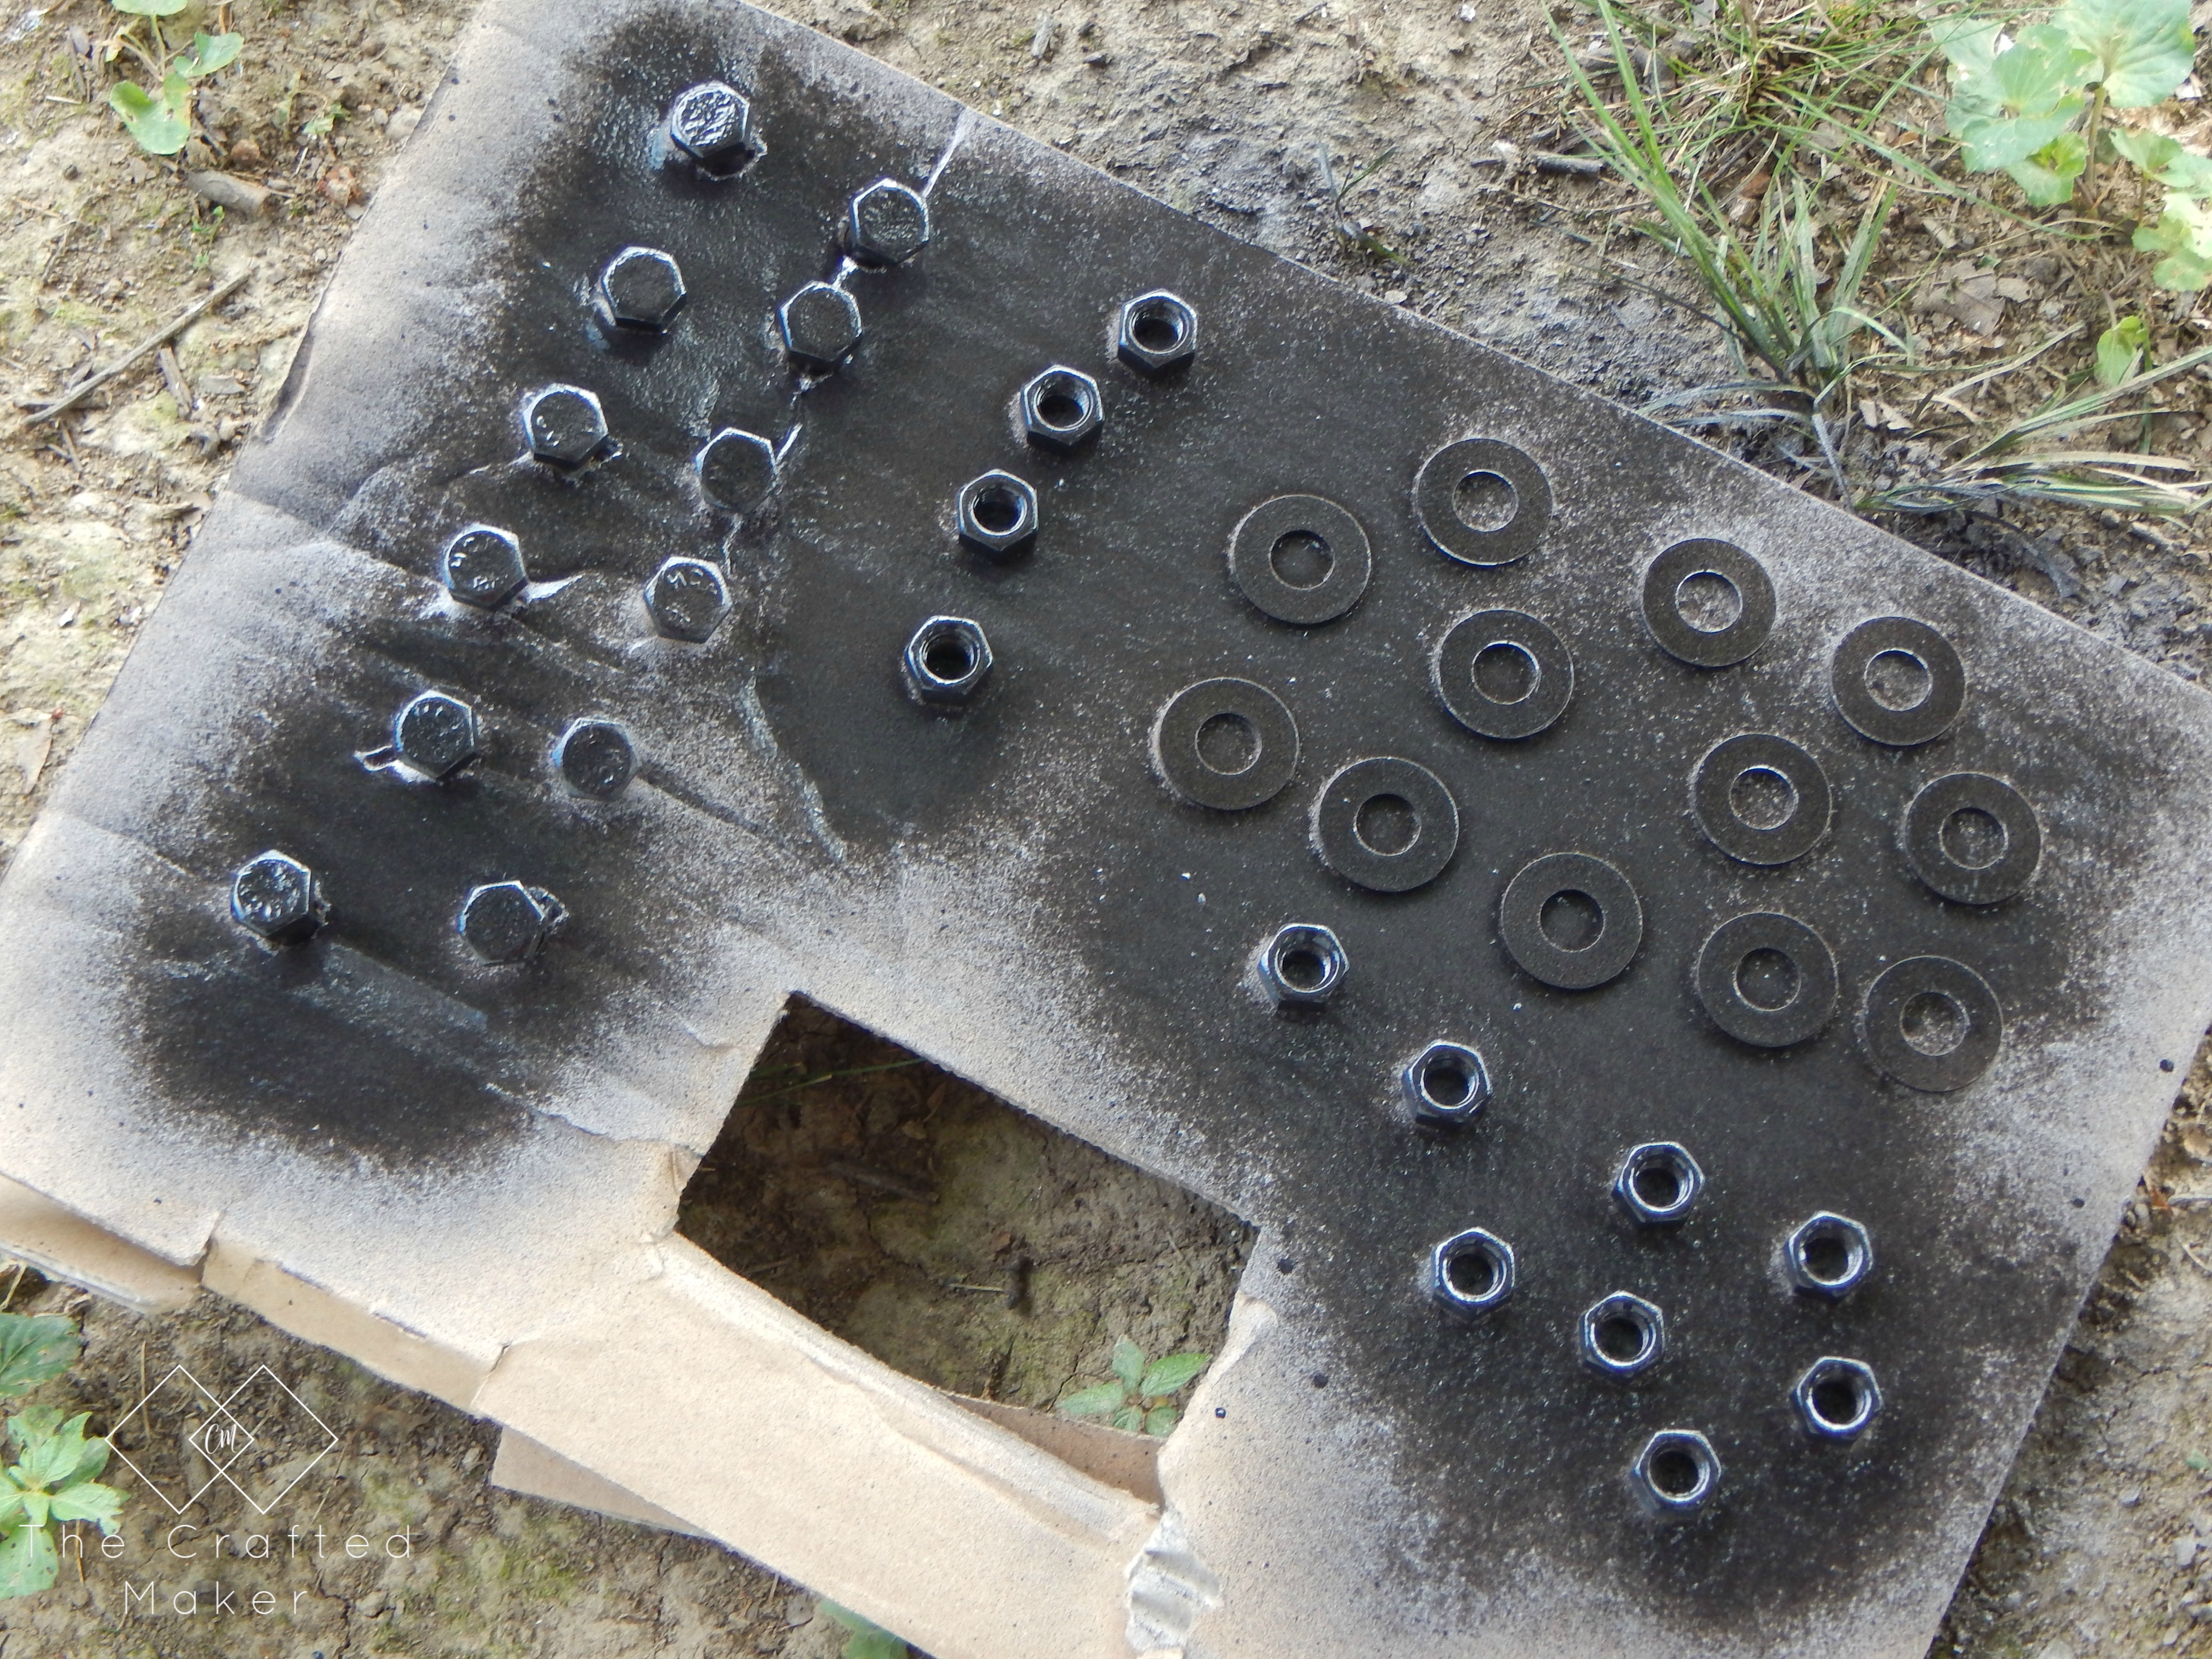
If you are going to paint your hardware, do this first… Drying takes time!

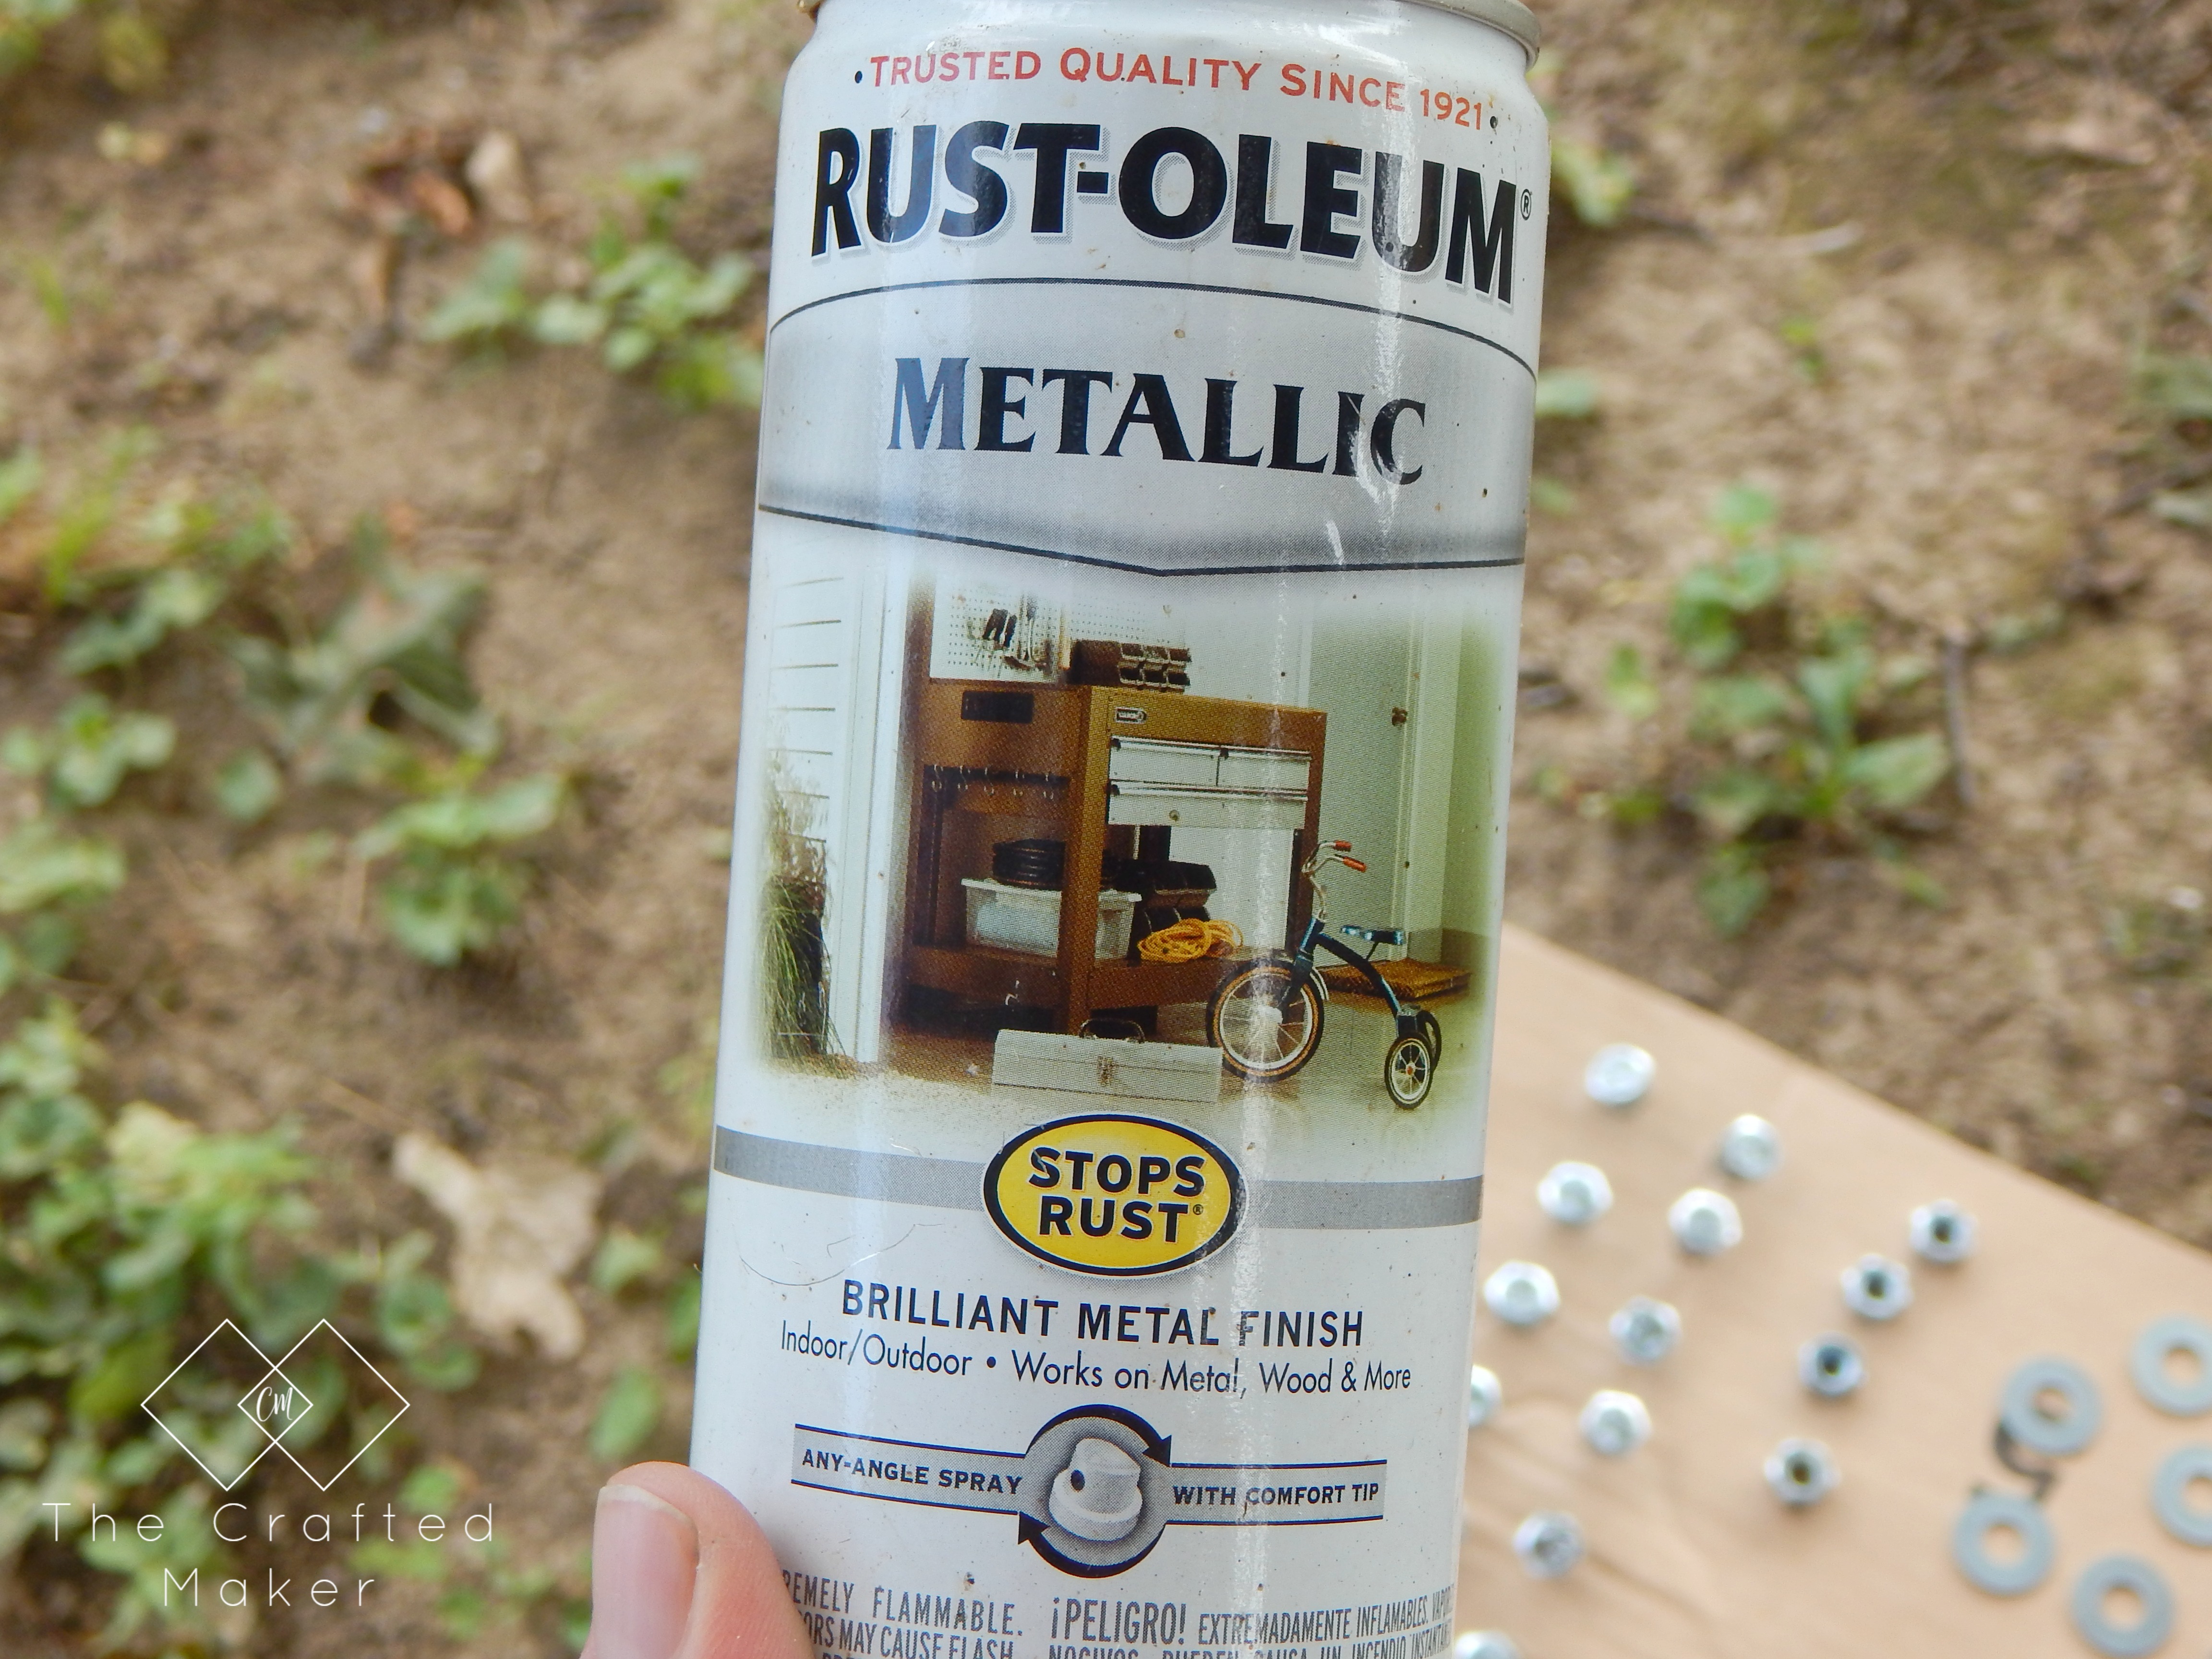
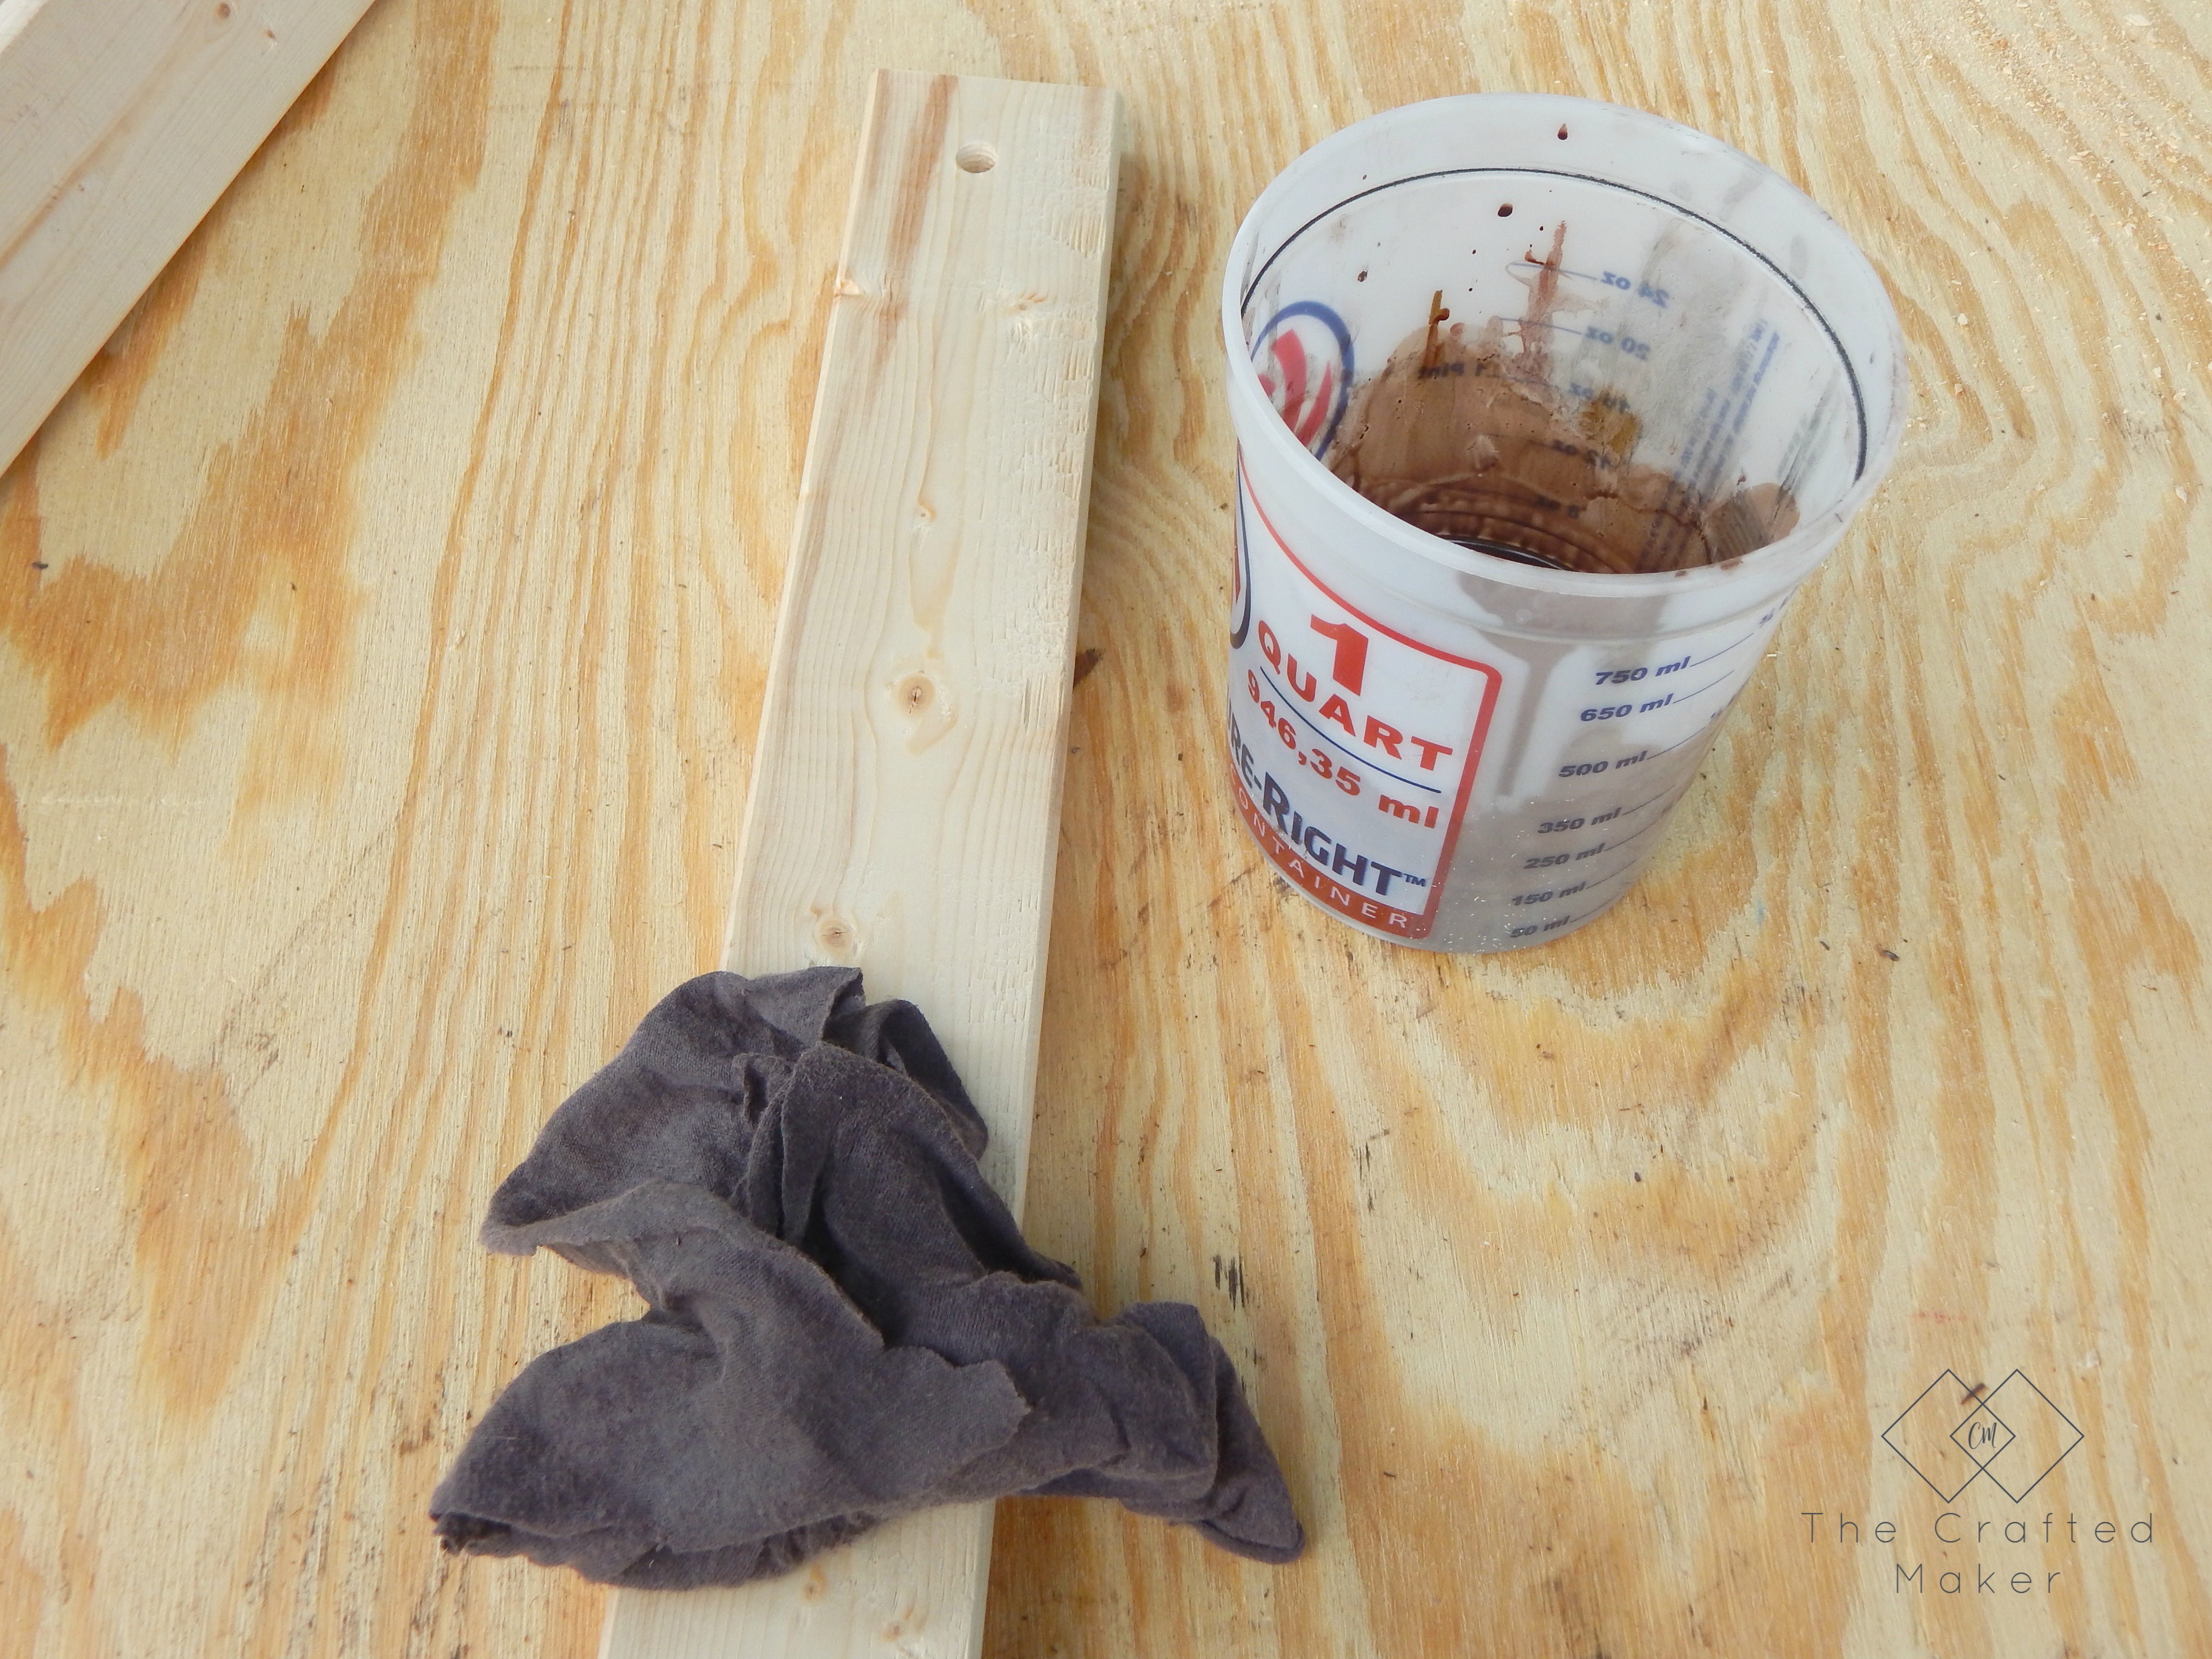
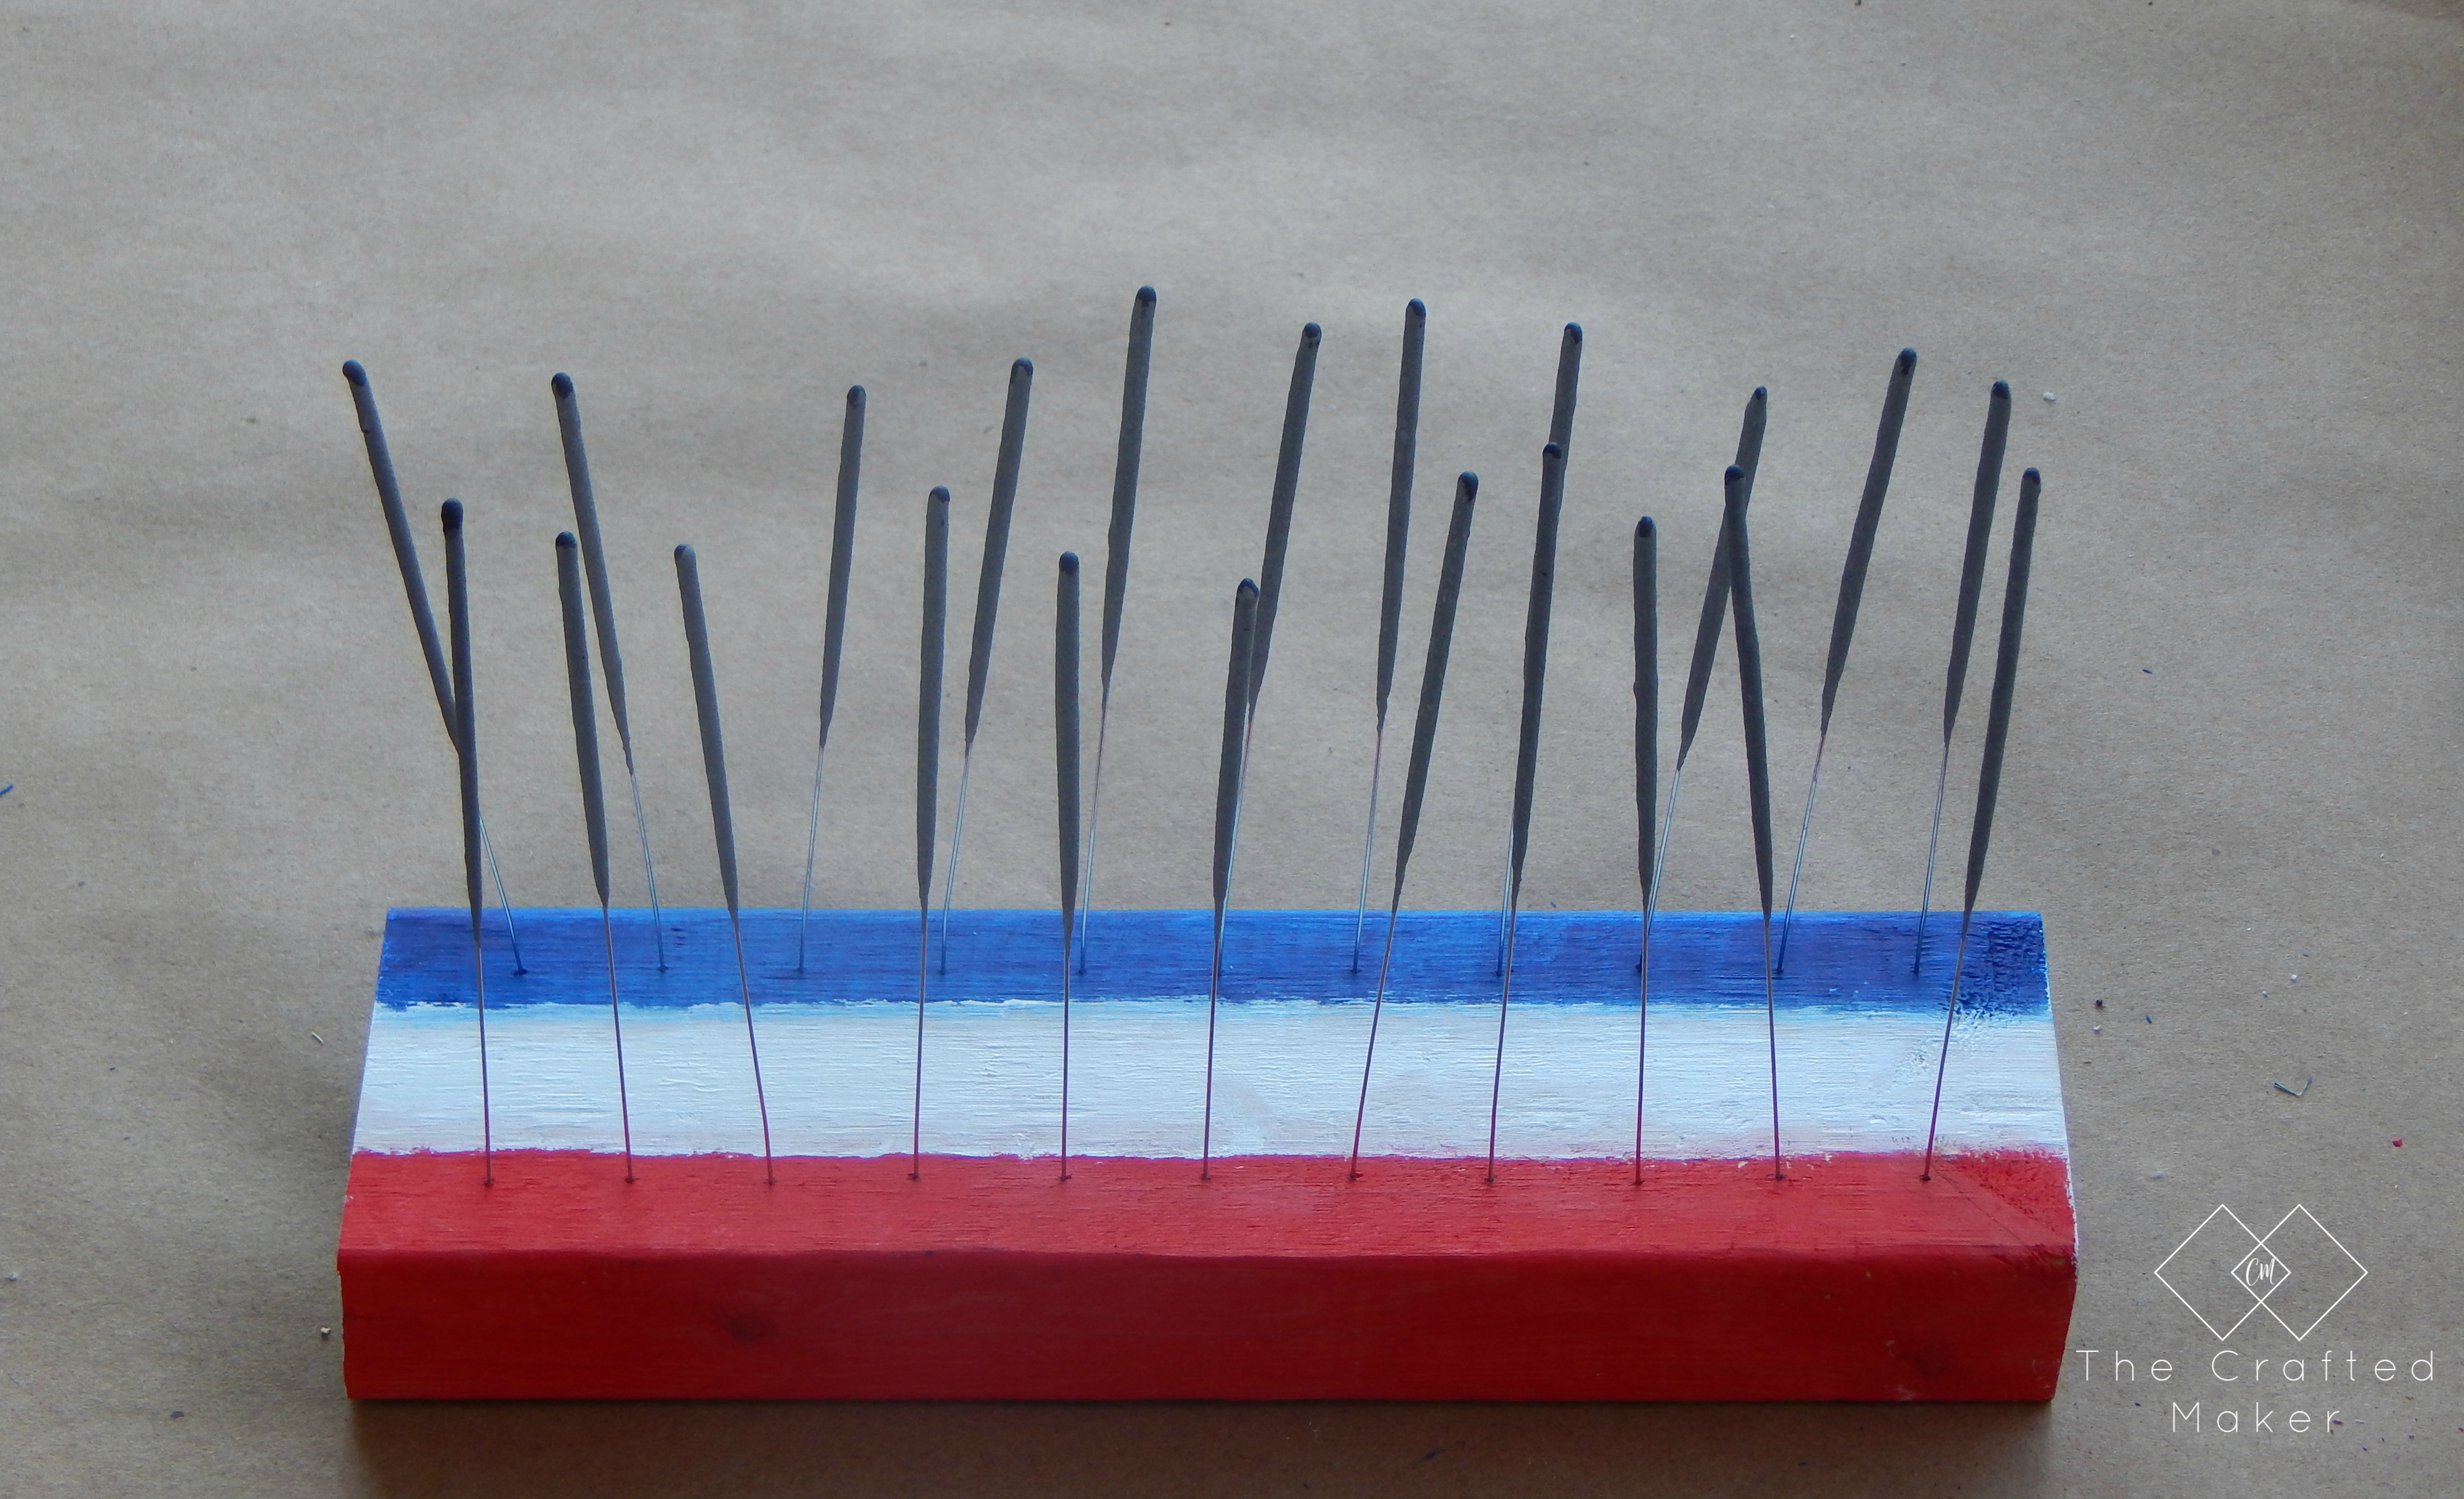
Up to this point, I still have not found a place to buy the hardware I need for these projects in different finishes, so I must resort once again to the ever so fabulous spray paint. I found an old piece of cardboard, cut holes in it, and slid the bolts through so only the tops were exposed. The nuts and washers can be placed flat next to the bolts. I used Rust-Oleum metallic oil rubbed bronze.

If you love using hardware to really give furniture character, check out this DIY Entertainment Stand. Free Plans on my site!!

If you love using hardware to really give furniture character, check out this DIY Entertainment Stand. Free Plans on my site!!

If you love using hardware to really give furniture character, check out this DIY Entertainment Stand. Free Plans on my site!!

Back to the Building….

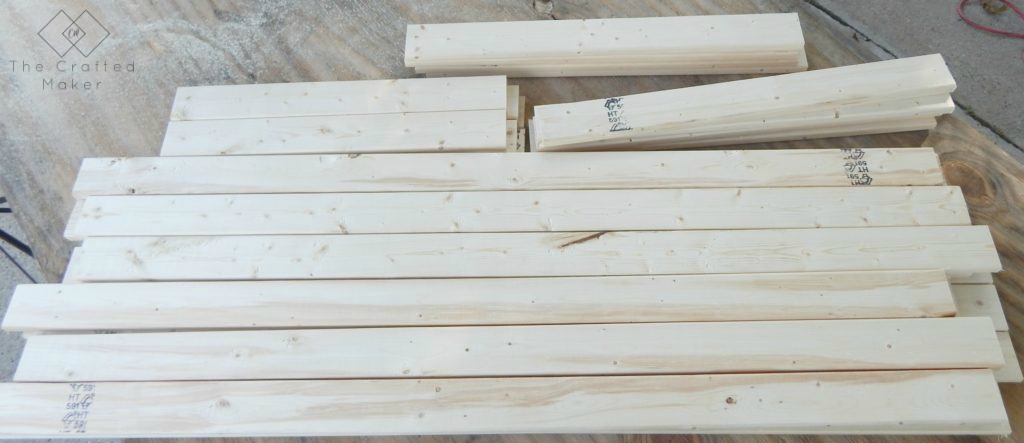
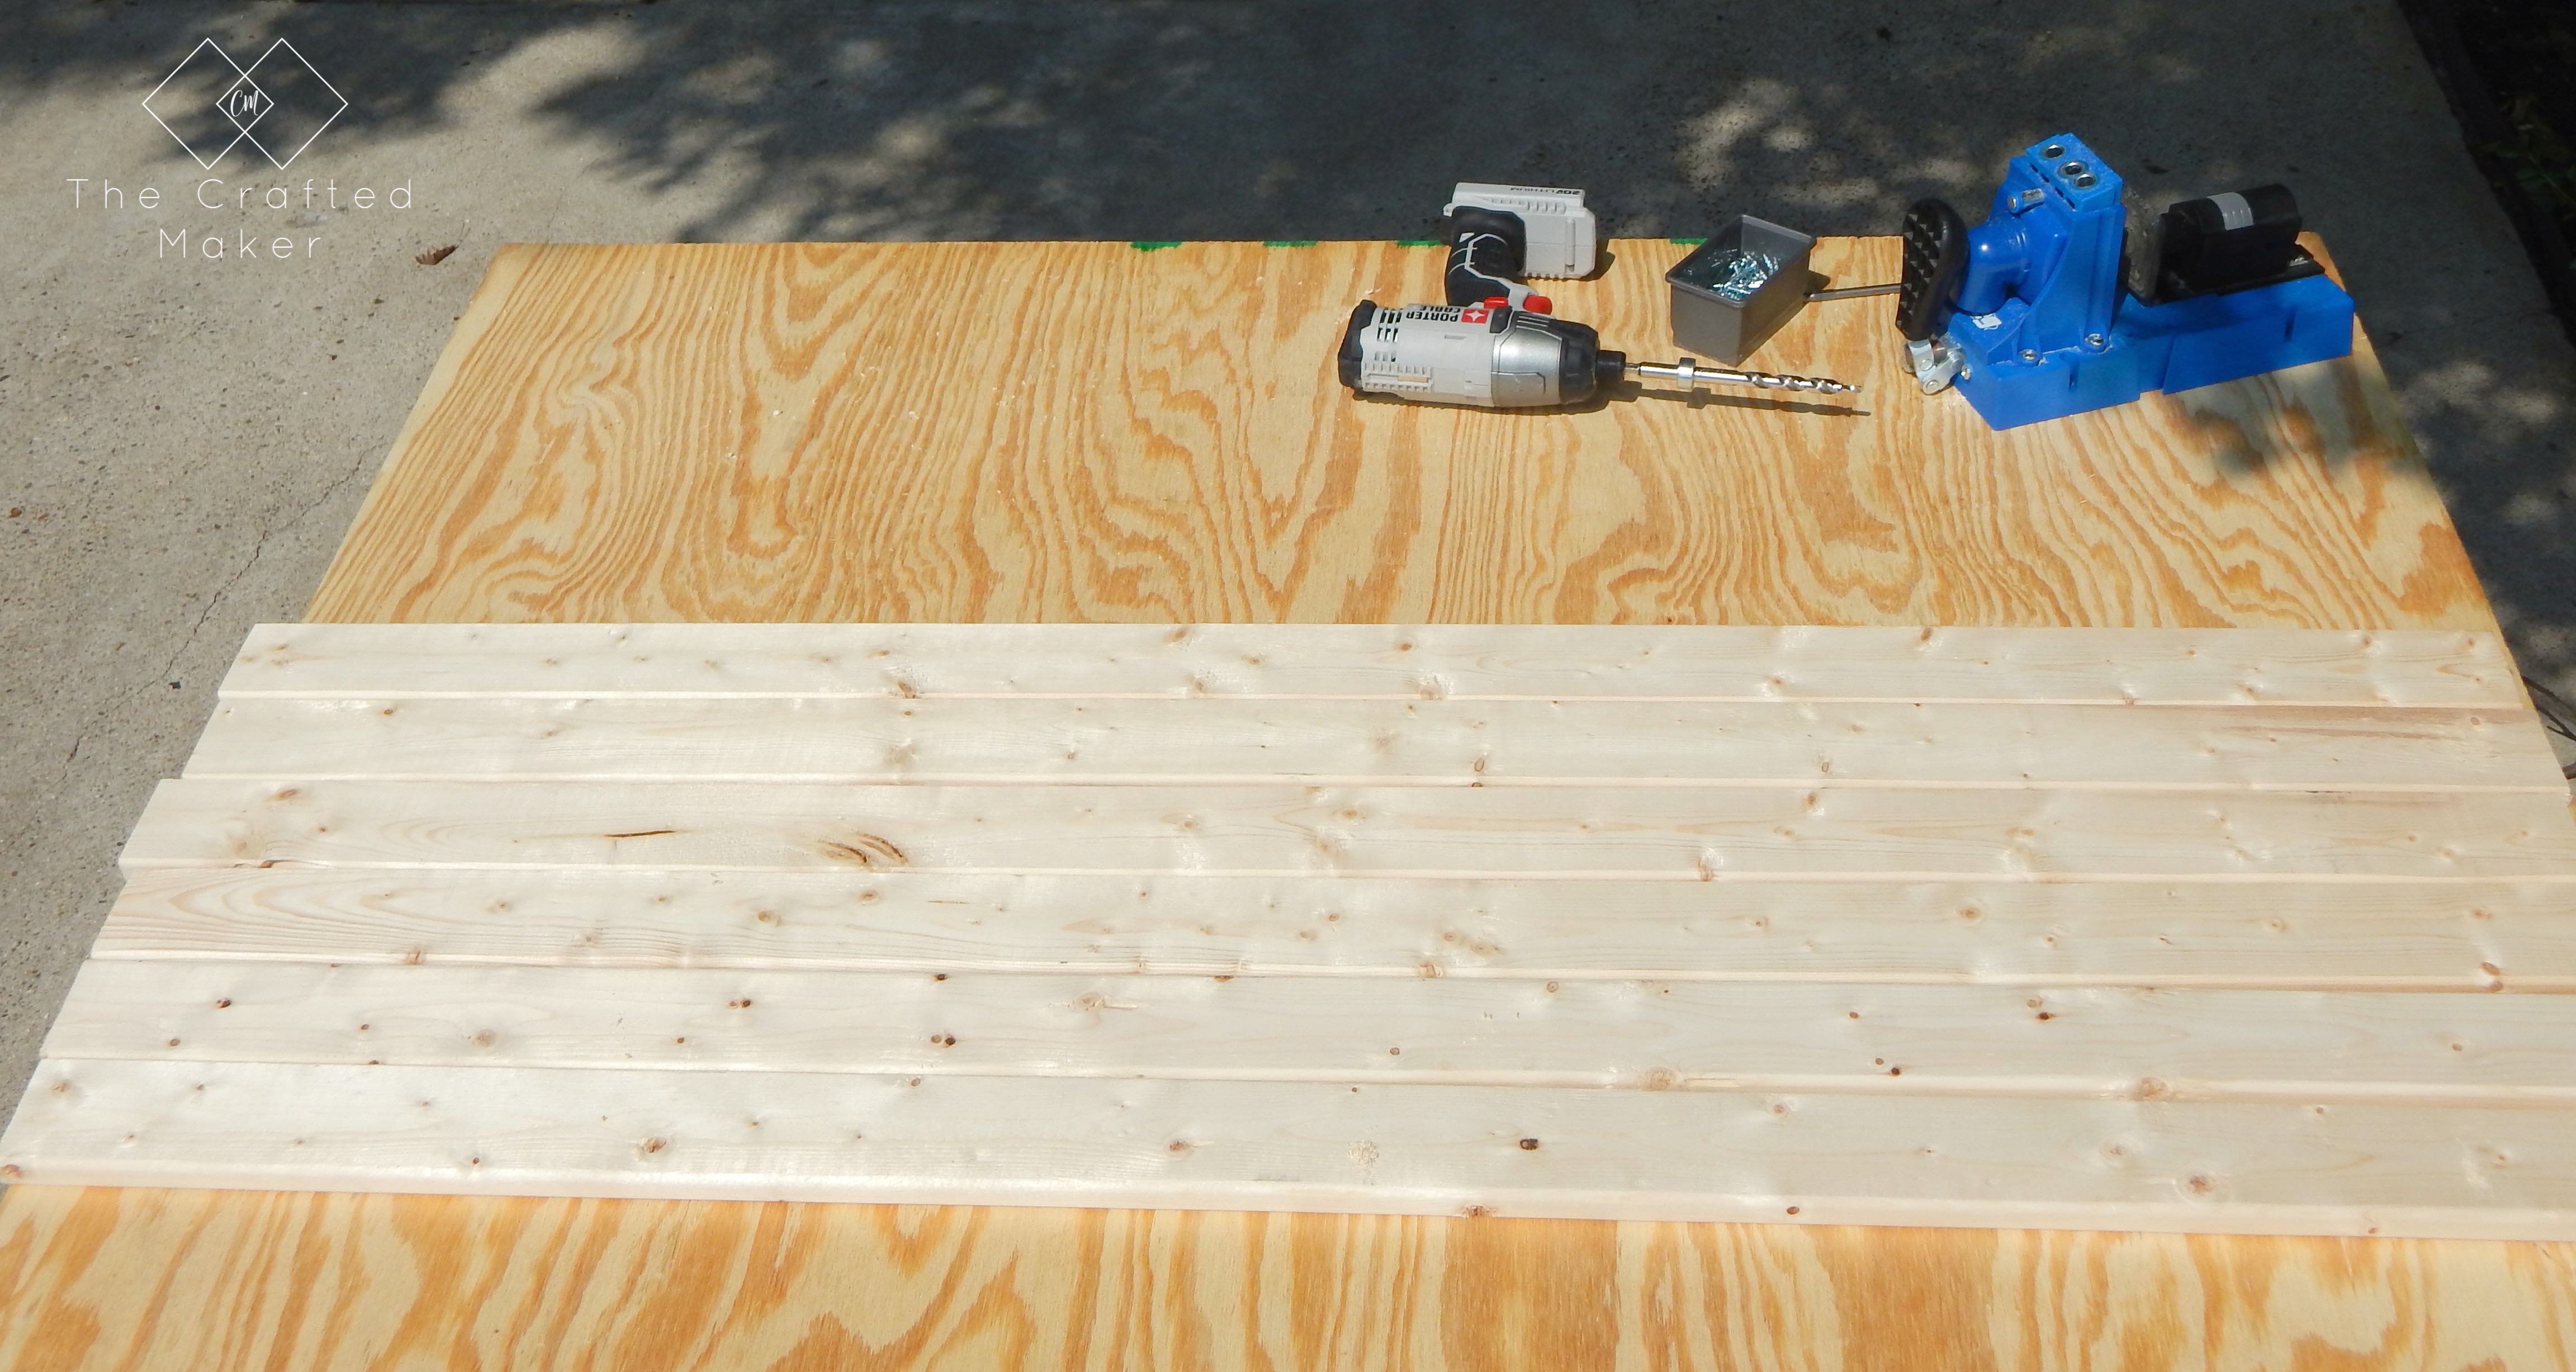
I started by making all of my cuts according to the cut list in the plan.

If you love using hardware to really give furniture character, check out this DIY Entertainment Stand. Free Plans on my site!!

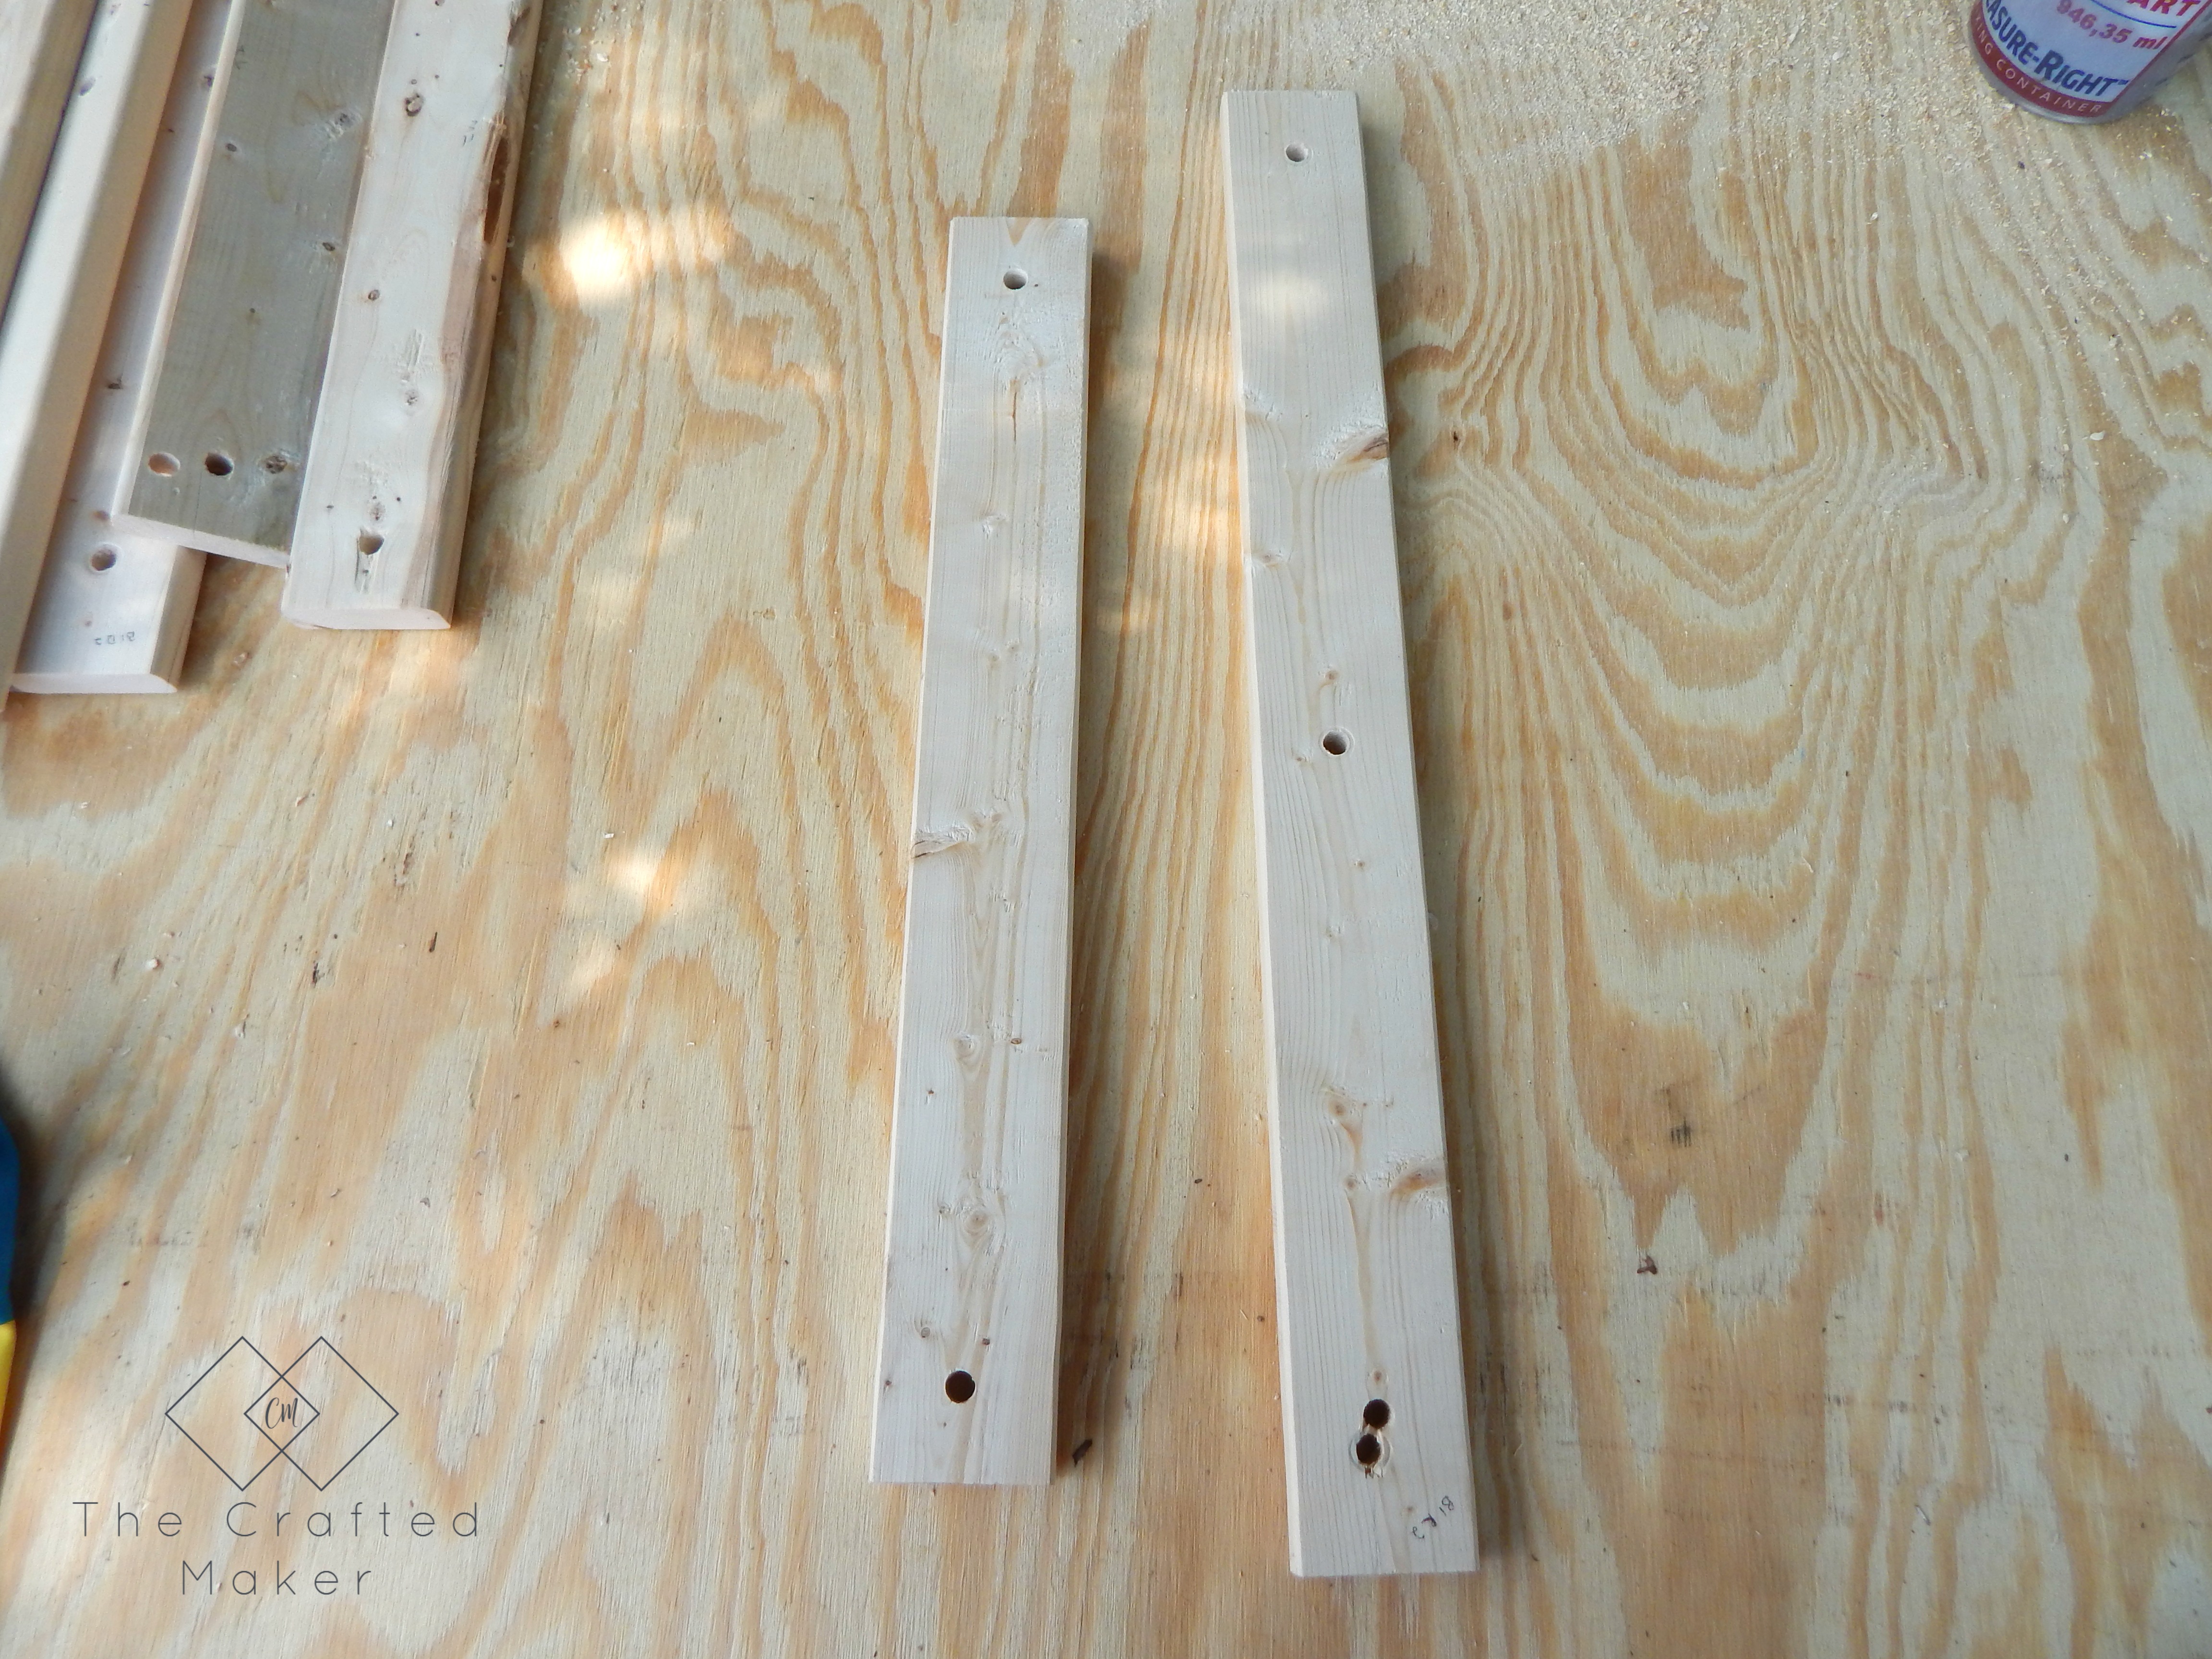
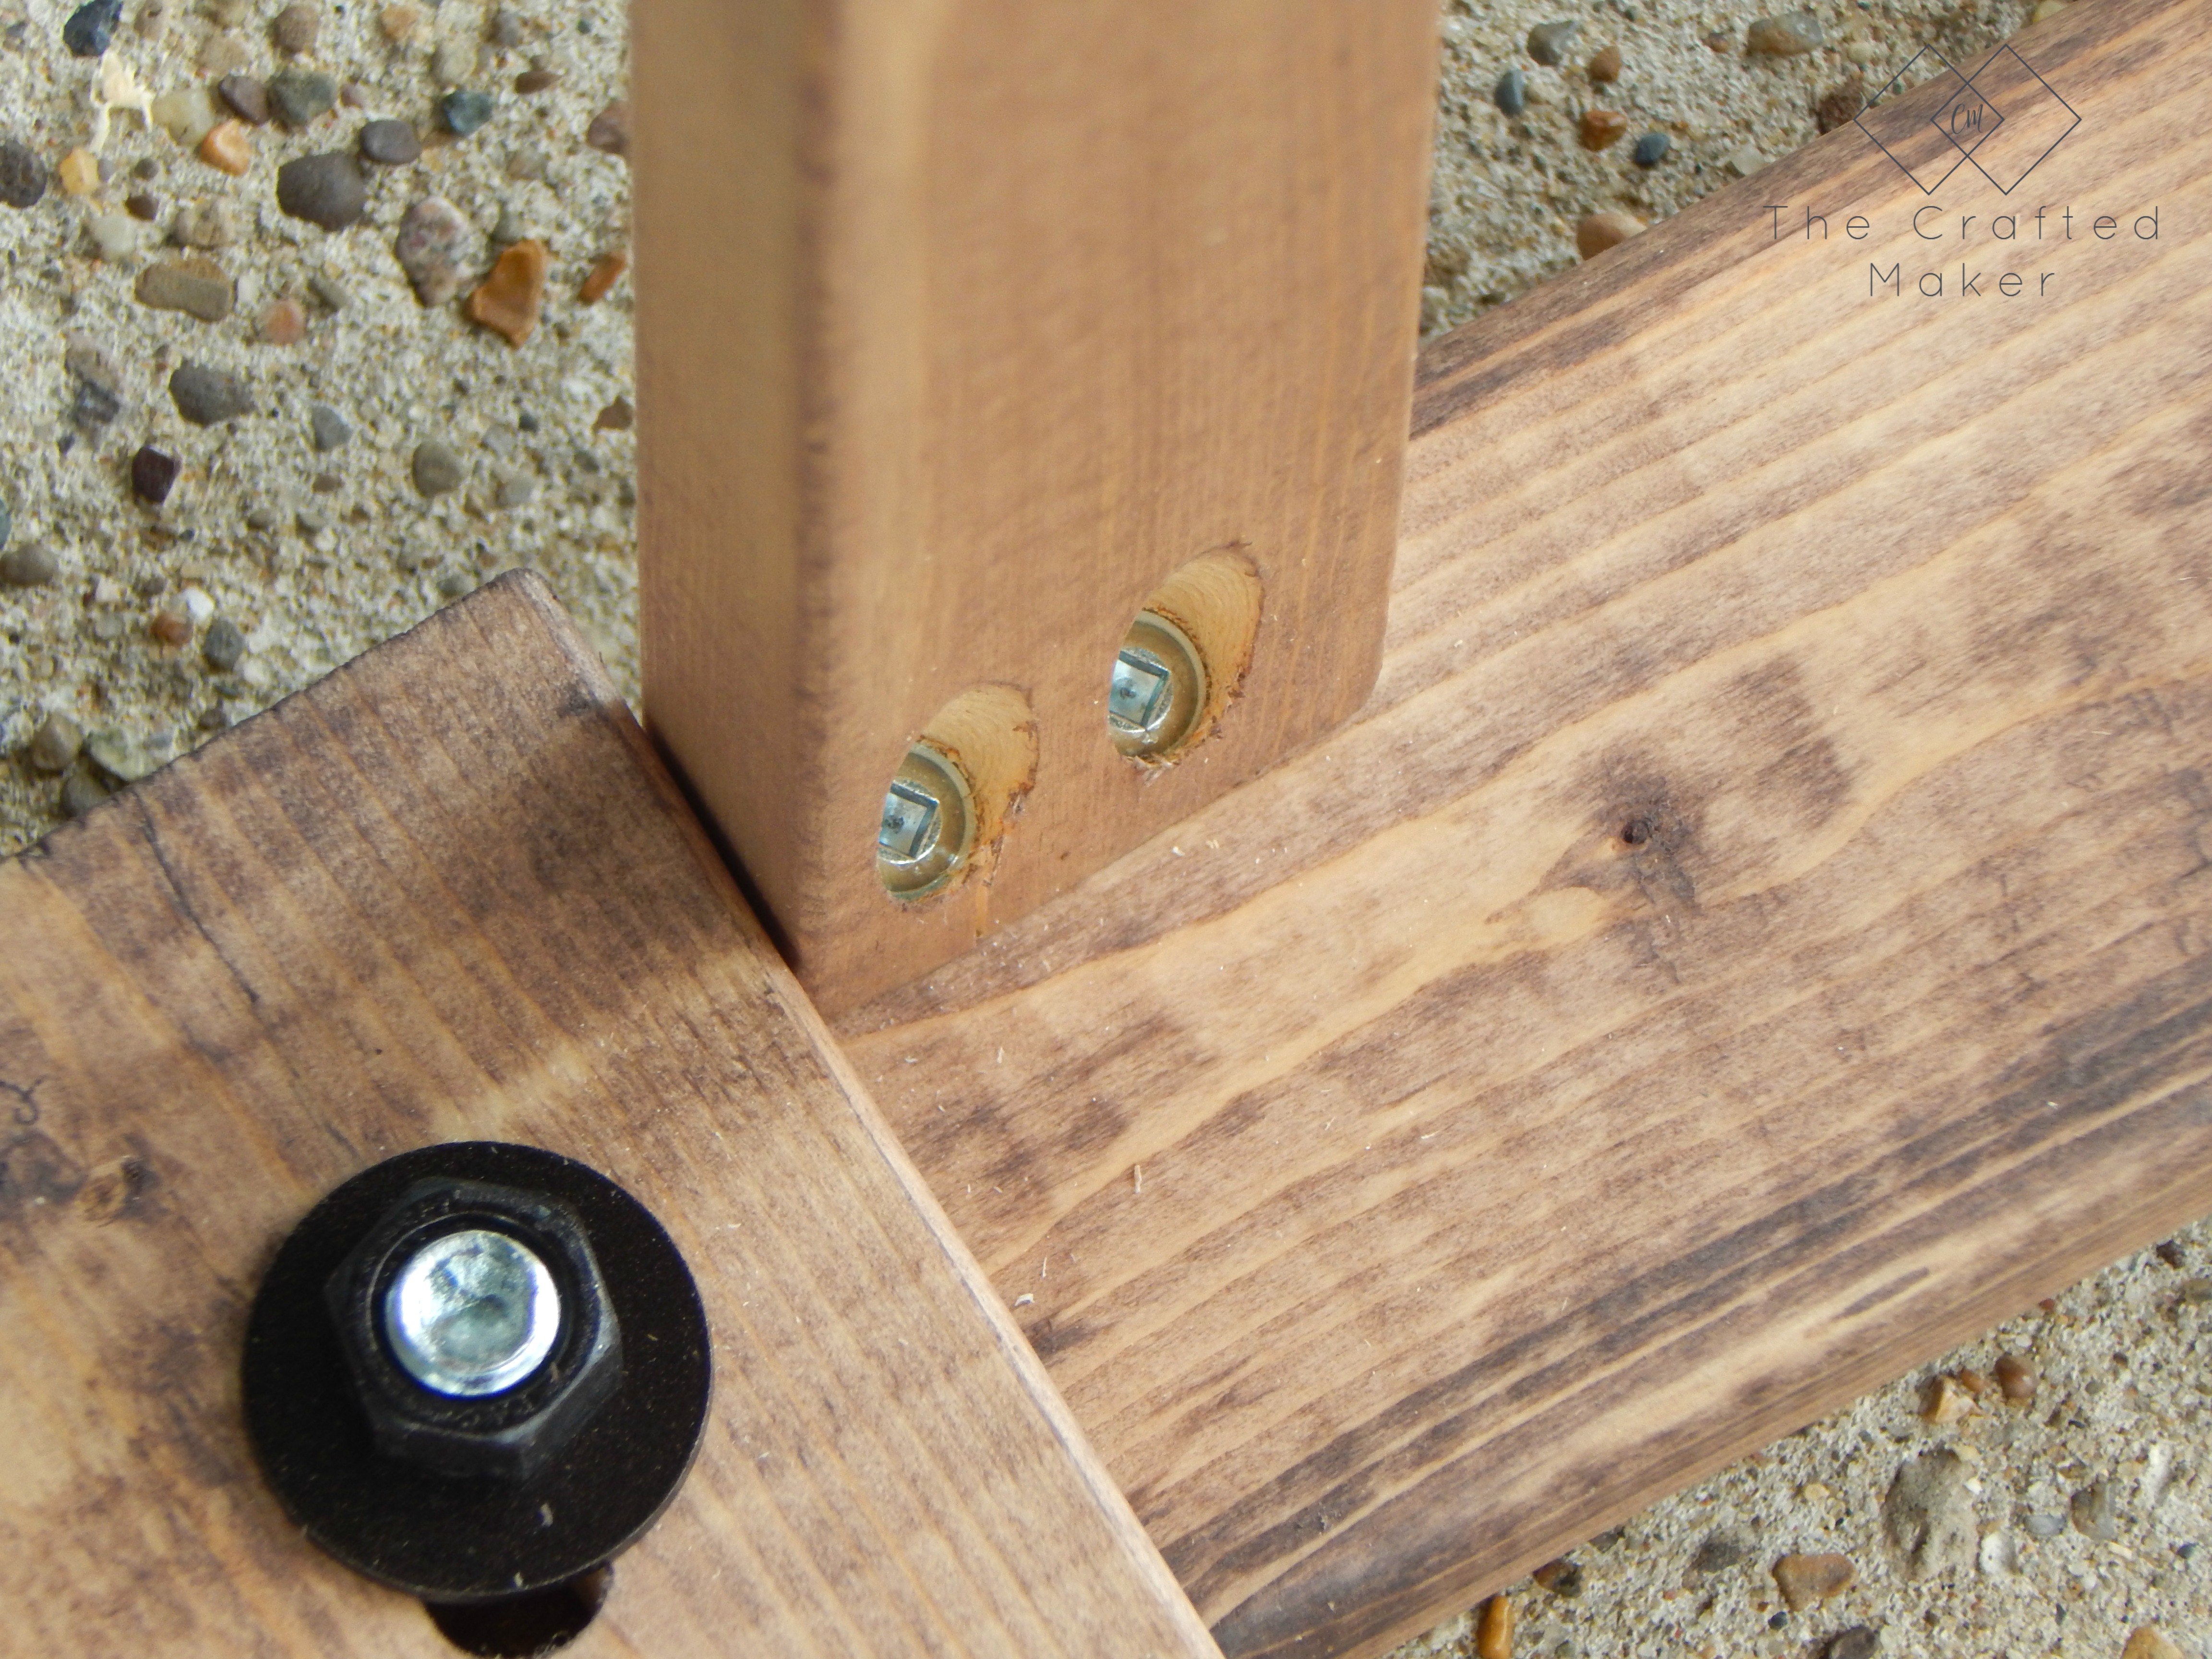
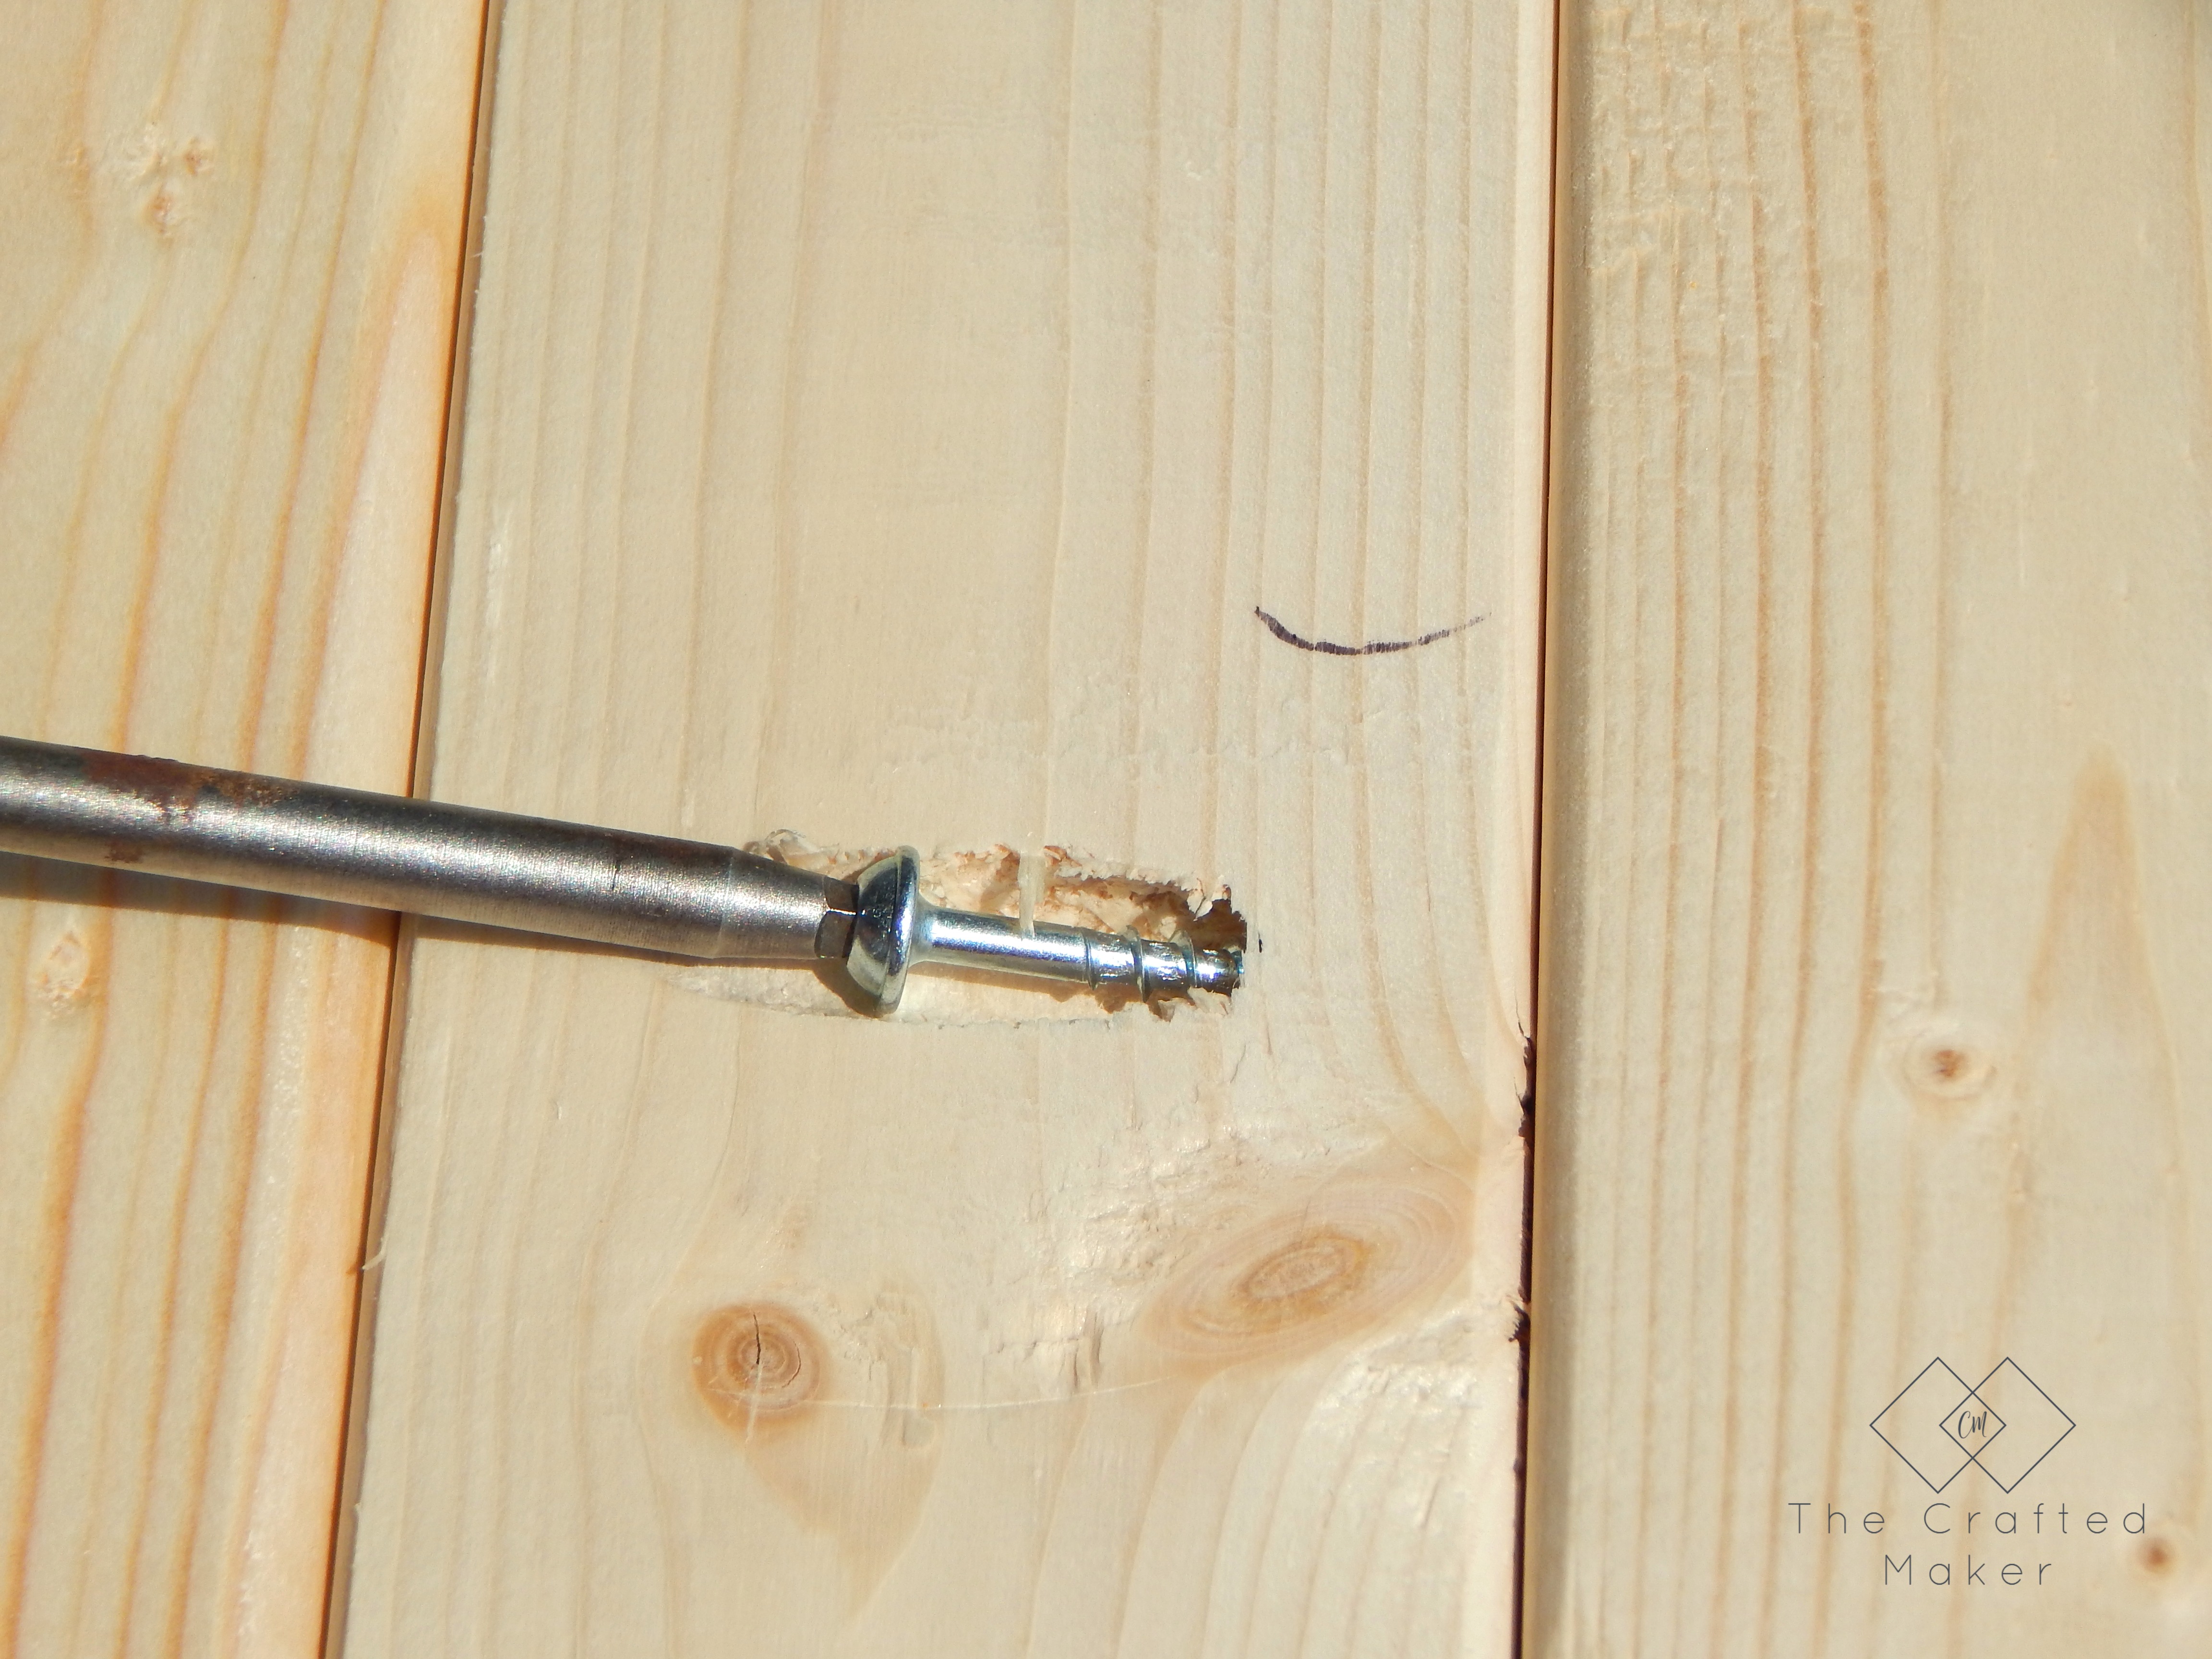
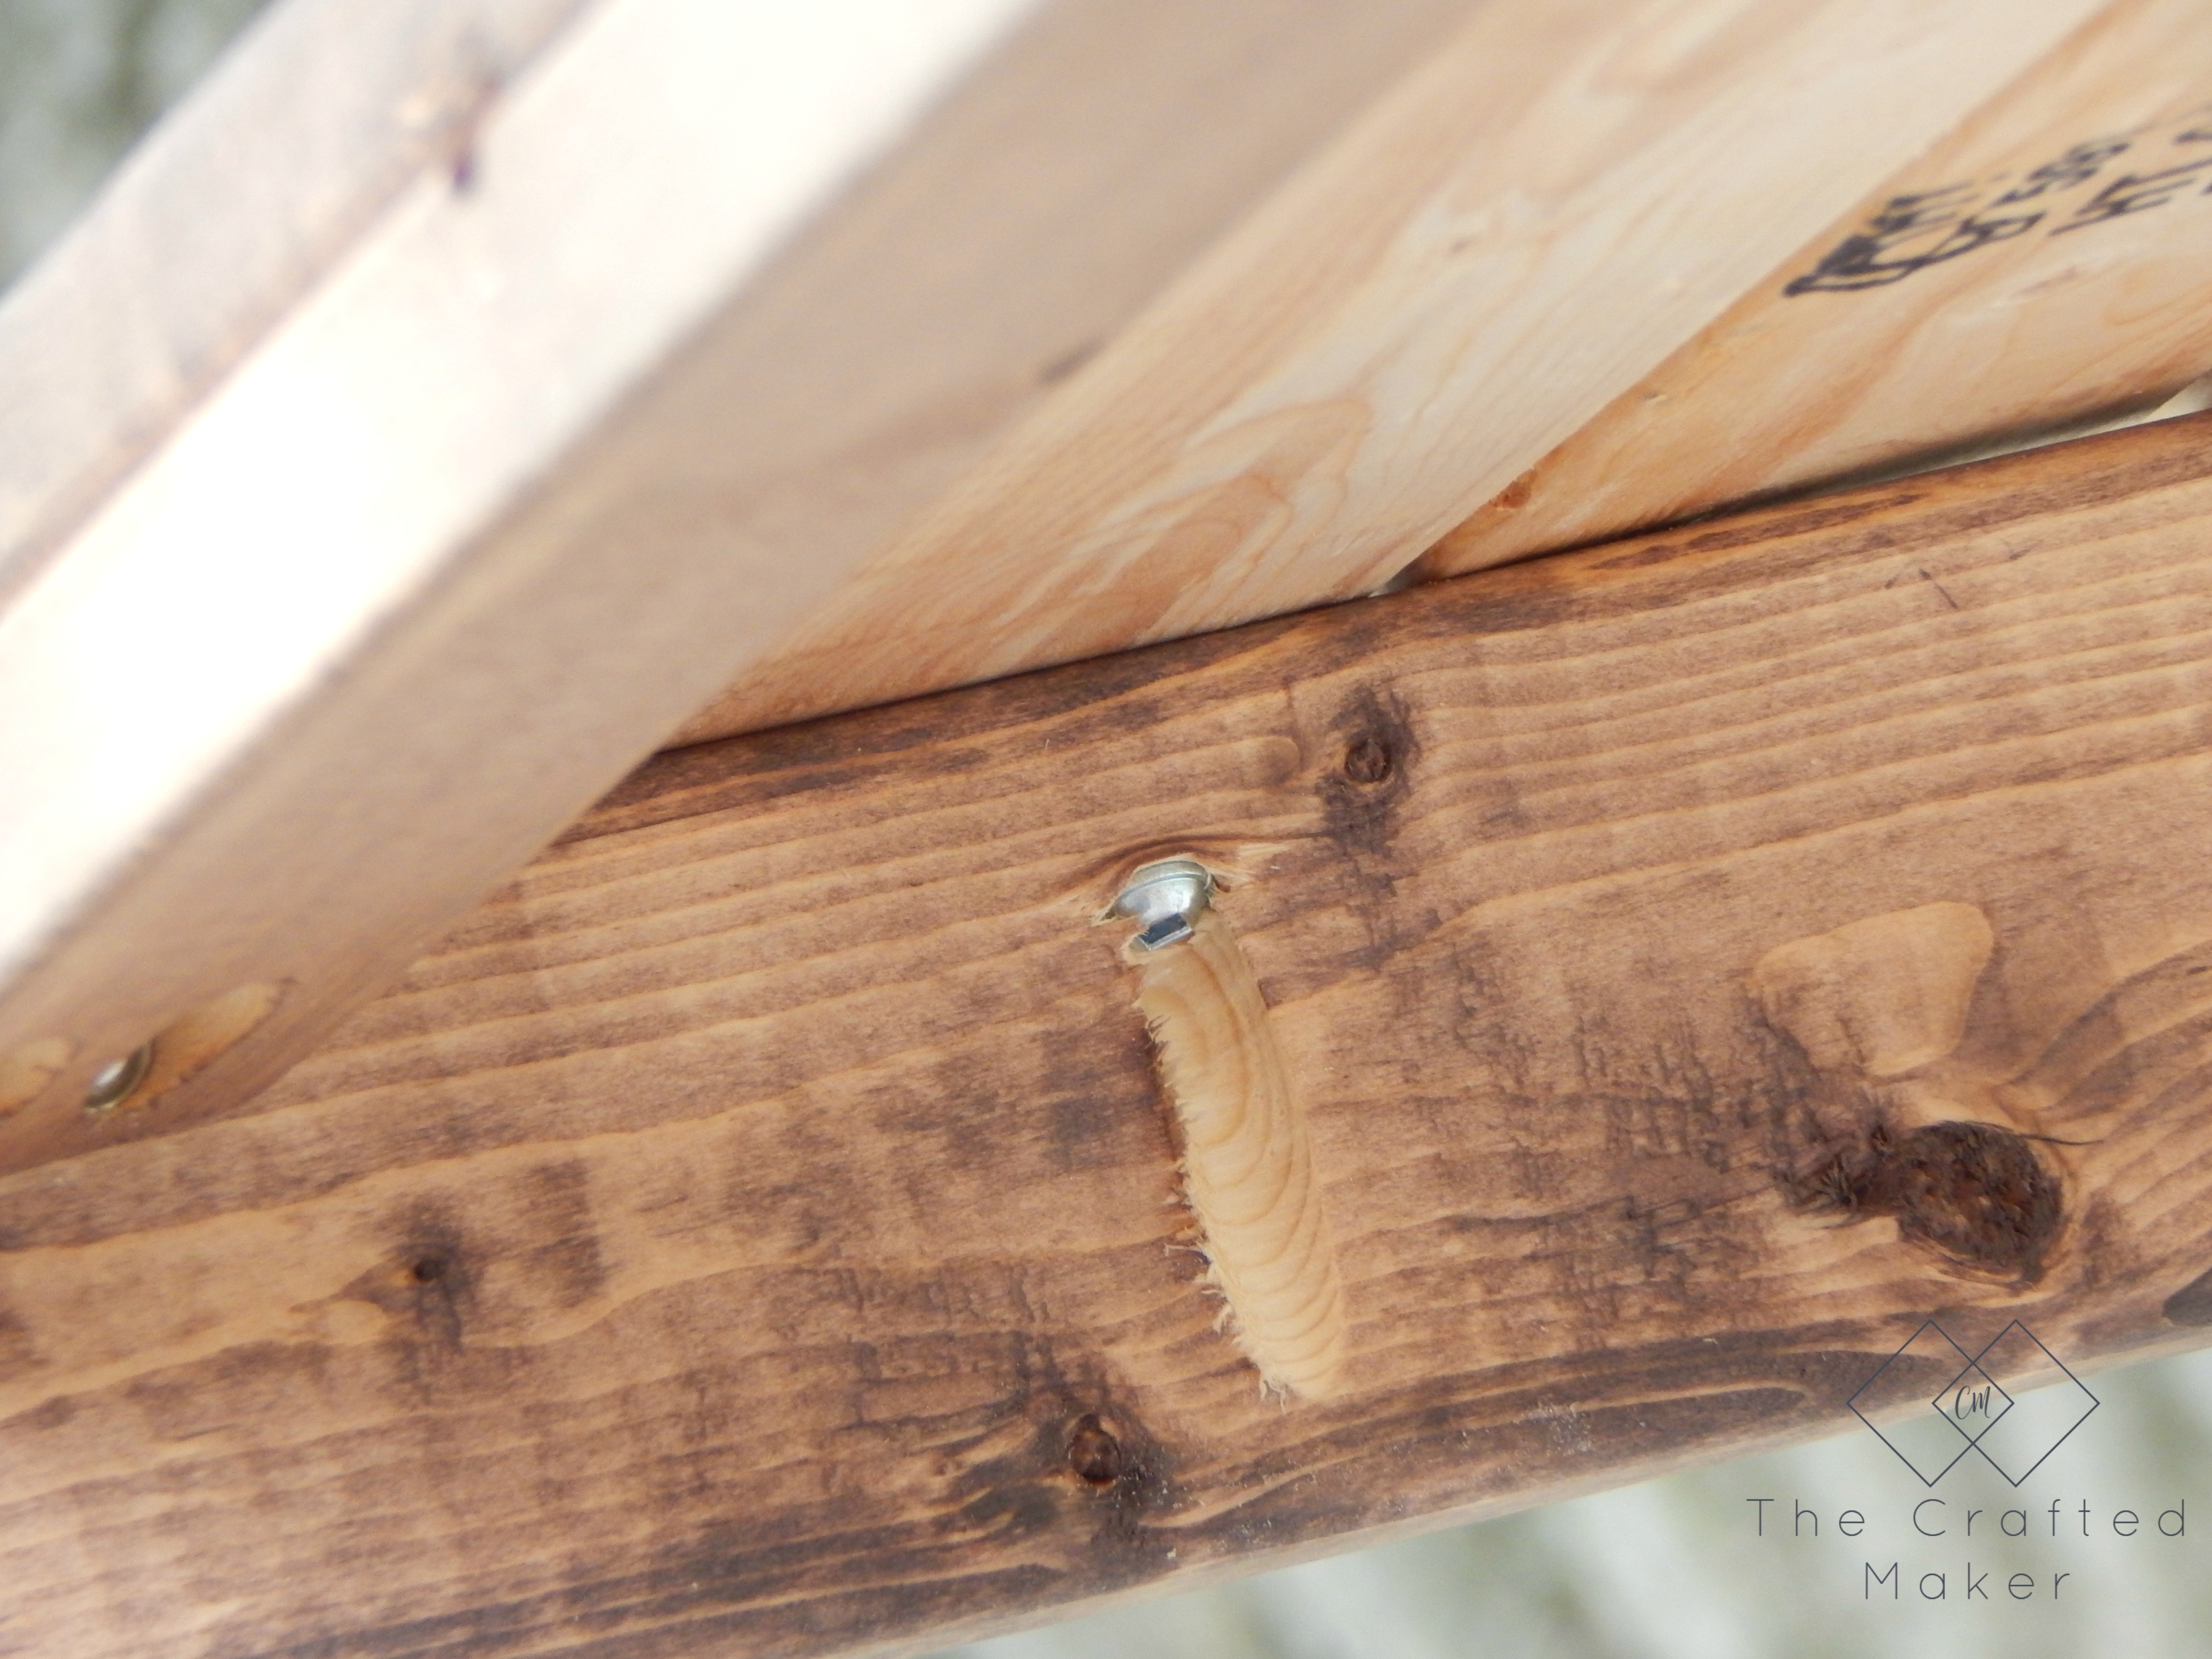
Next, I drilled the pocket holes I needed and made the holes with the spade bit. All of the placements and measurements for these are in the plan provided.

If you love using hardware to really give furniture character, check out this DIY Entertainment Stand. Free Plans on my site!!

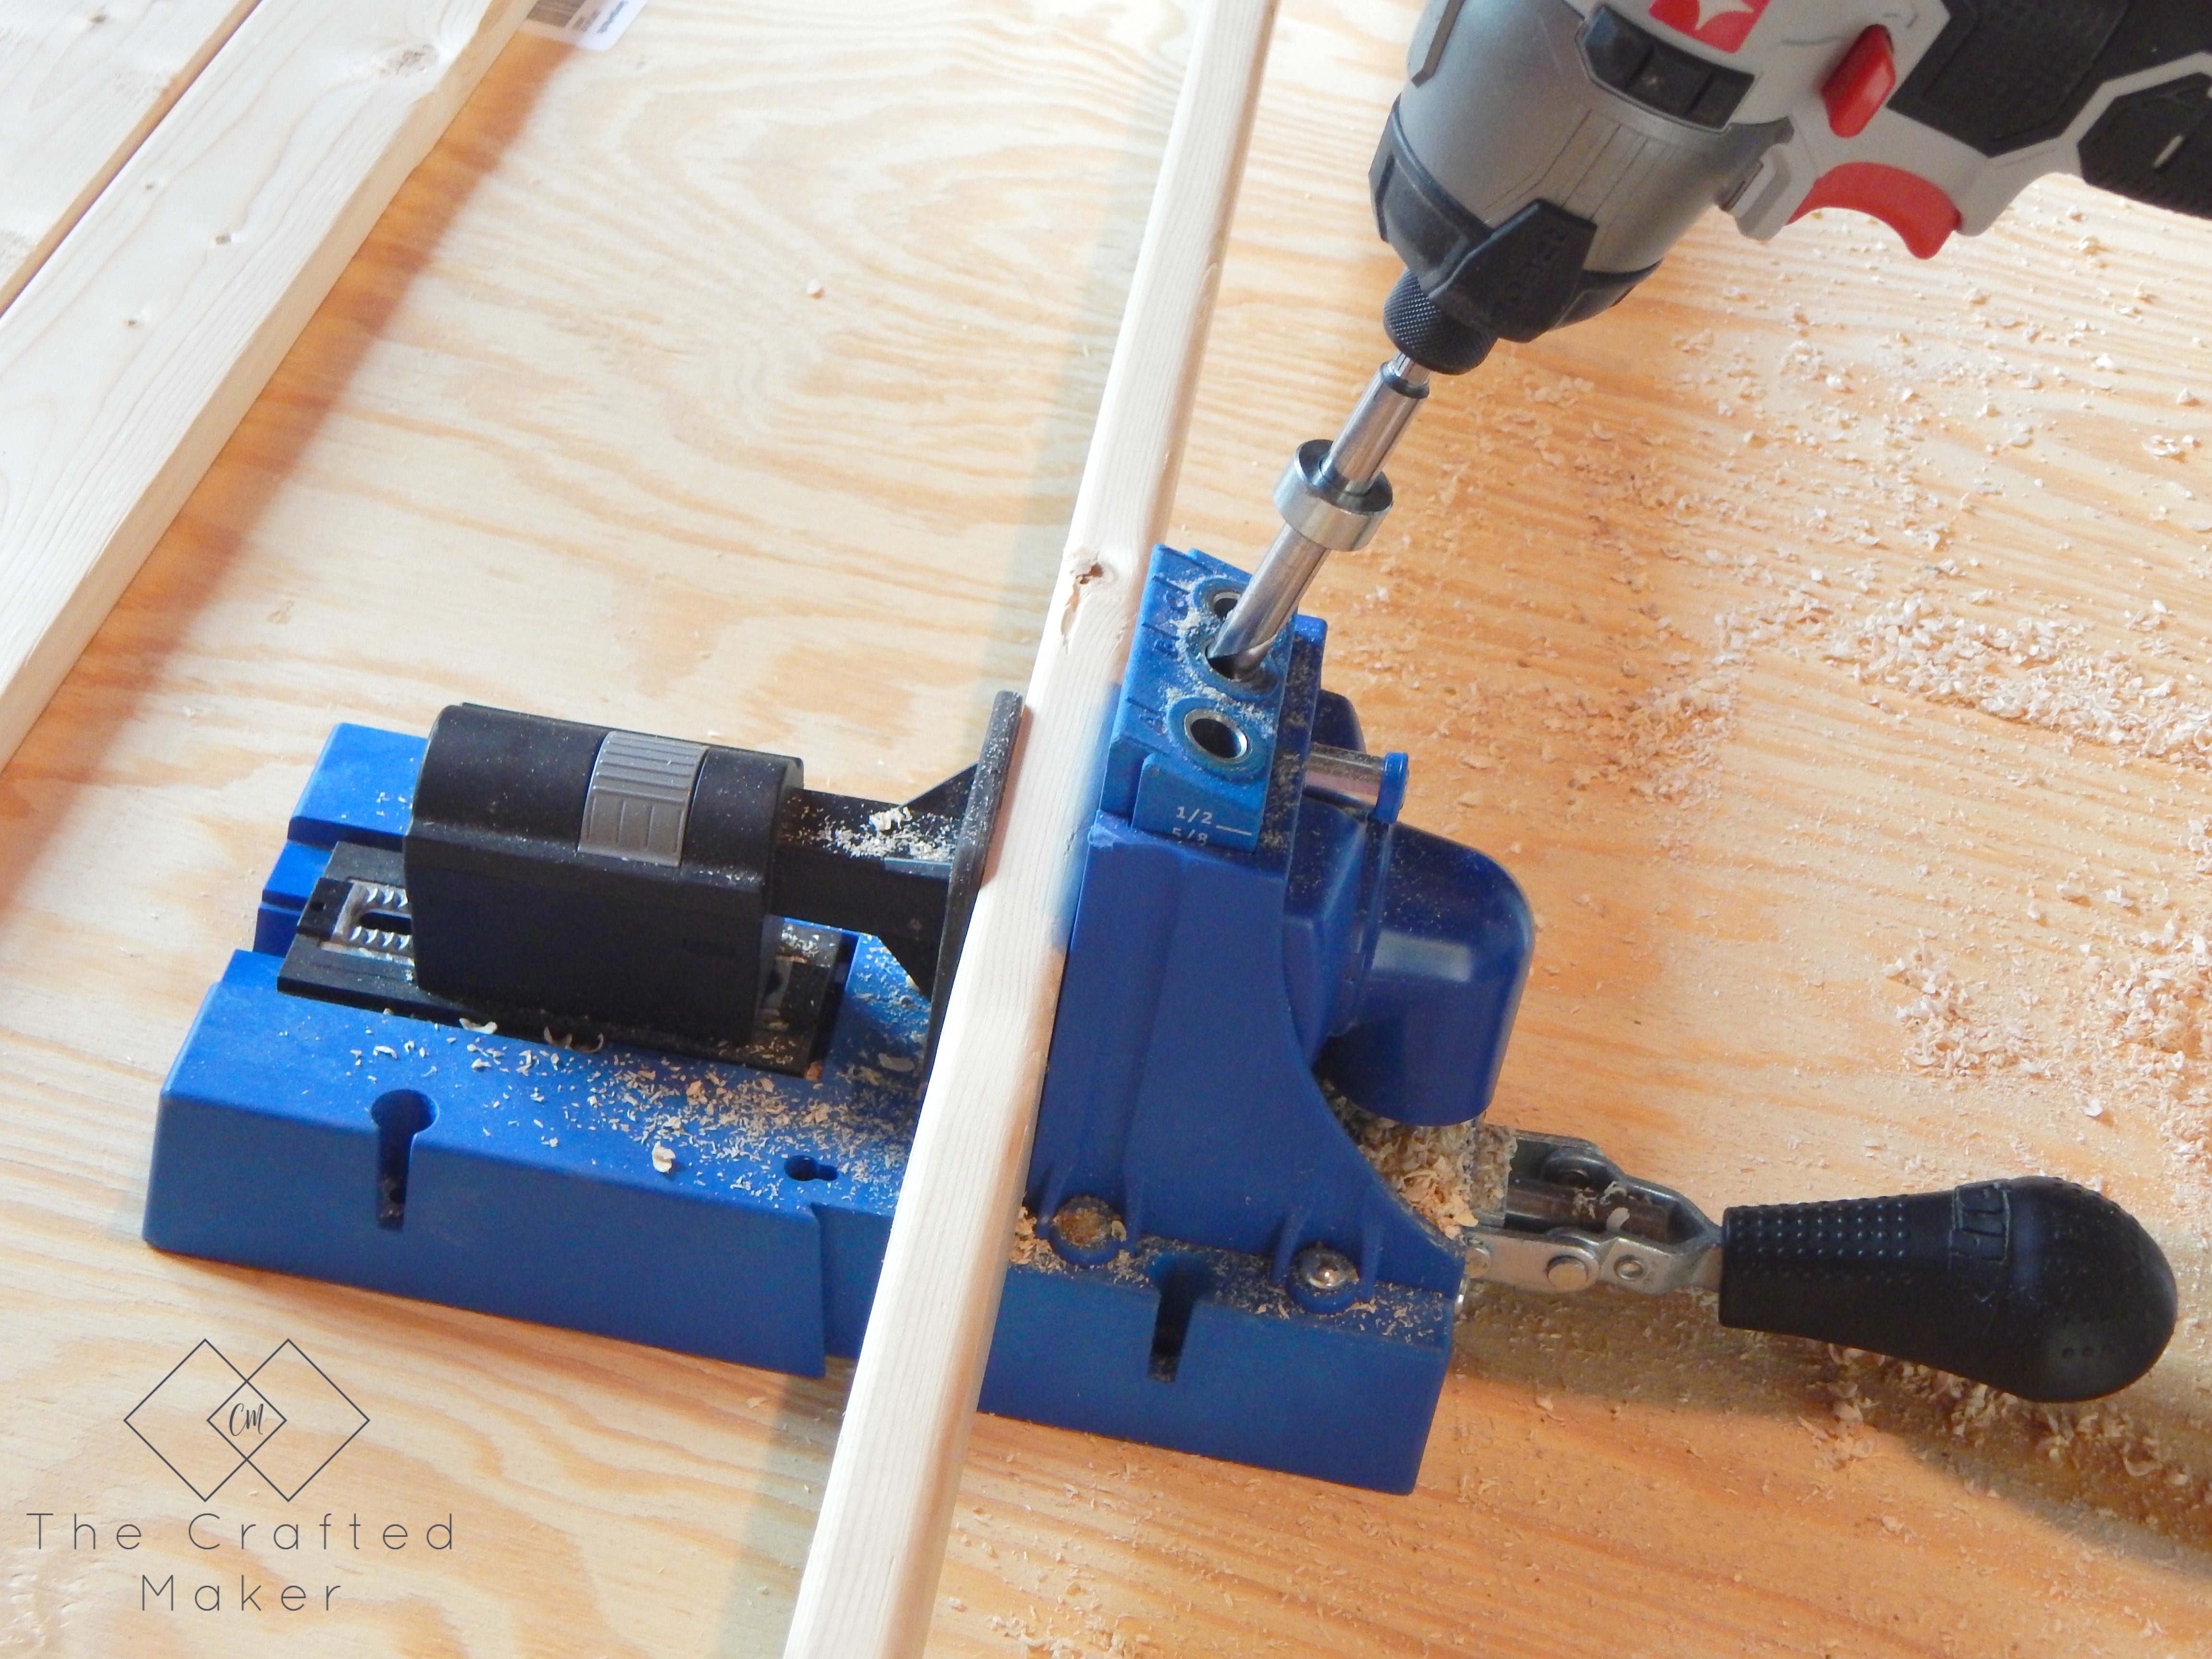
I used a 3/8″ spade bit to drill my holes. This looks like it would be really time-consuming, but once you get in the groove of things, it goes by quick. Sometimes I do wish I had a drill press though (I have a huge ongoing tool wish list).

If you love using hardware to really give furniture character, check out this DIY Entertainment Stand. Free Plans on my site!!

If you love using hardware to really give furniture character, check out this DIY Entertainment Stand. Free Plans on my site!!

When this type of assembly starts to happen, there is not really a lot of room to work between the boards, so go ahead and sand your boards and paint or stain your desired color. This project was the first time I tried my hand at mixing my own stain colors. I really enjoyed coming up with my own color combination. There will possibly be a post about stain mixing at a later date!!

If you love using hardware to really give furniture character, check out this DIY Entertainment Stand. Free Plans on my site!!

Time to Assemble….

The stain is dry, the hardware is ready, it’s time to start assembling this entertainment stand!

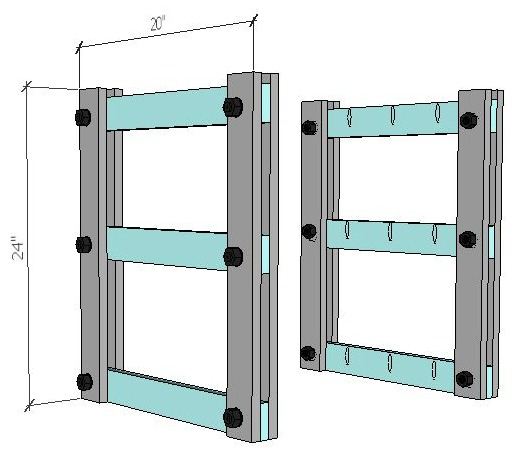
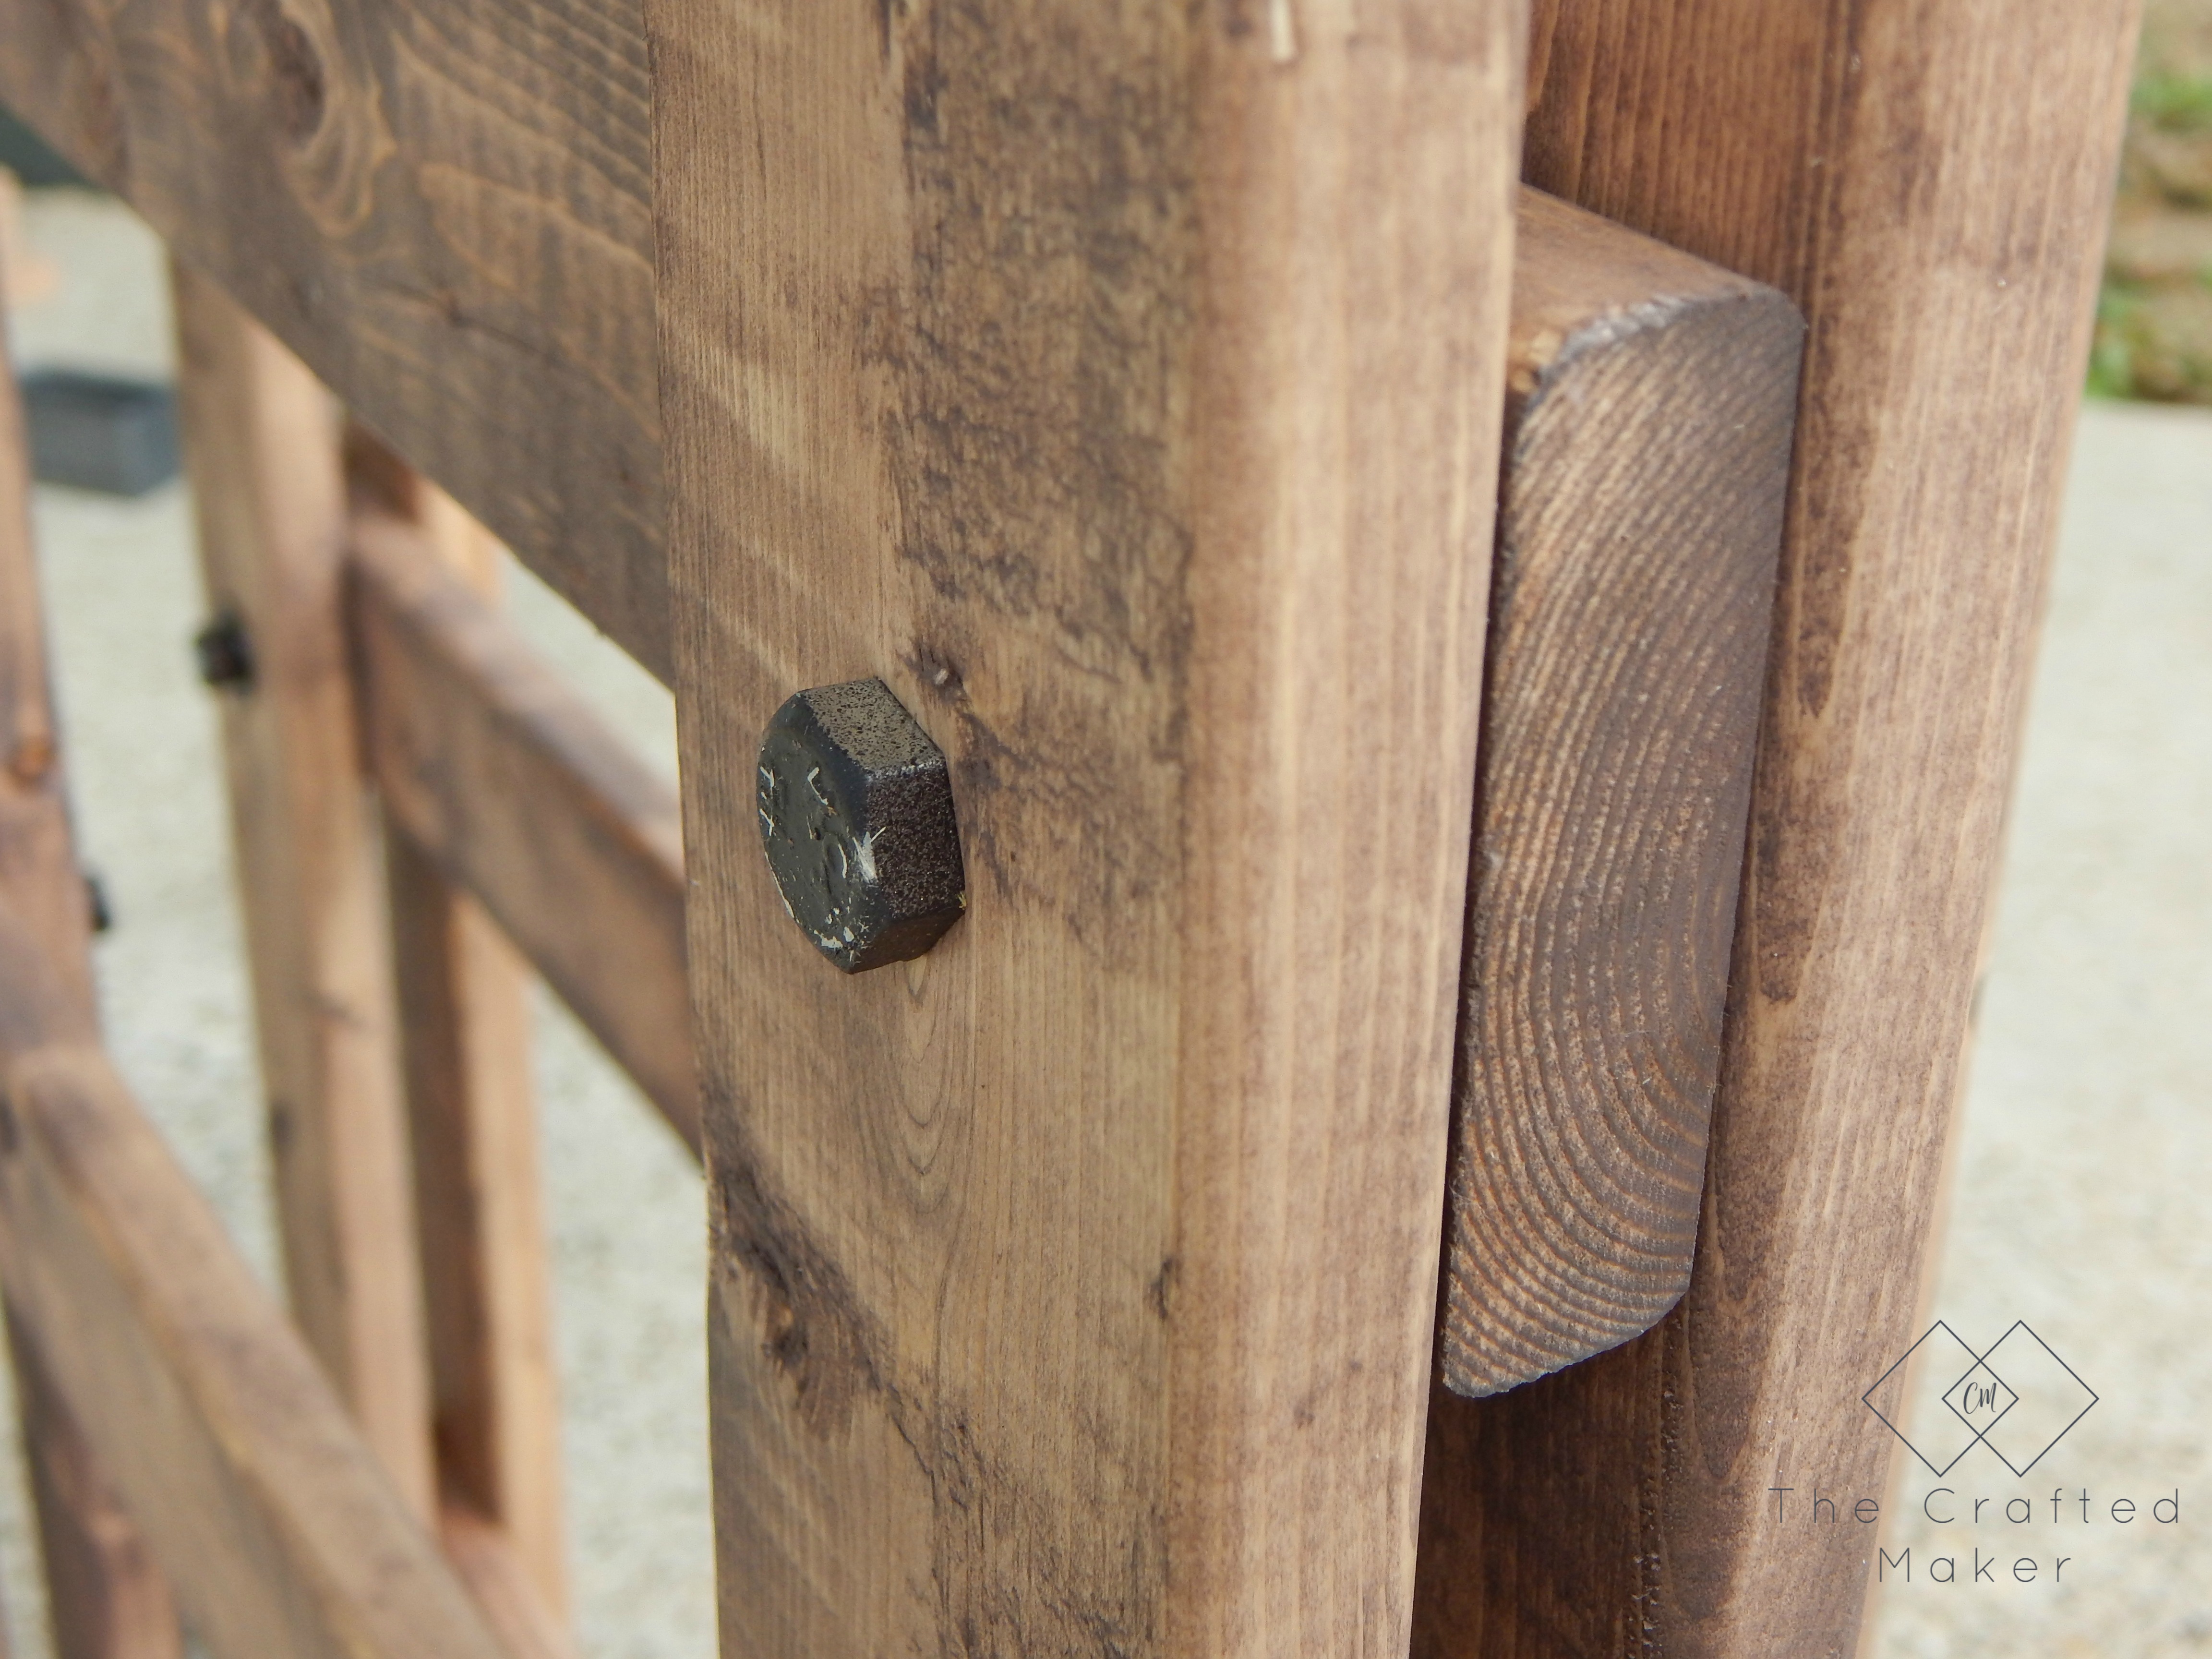
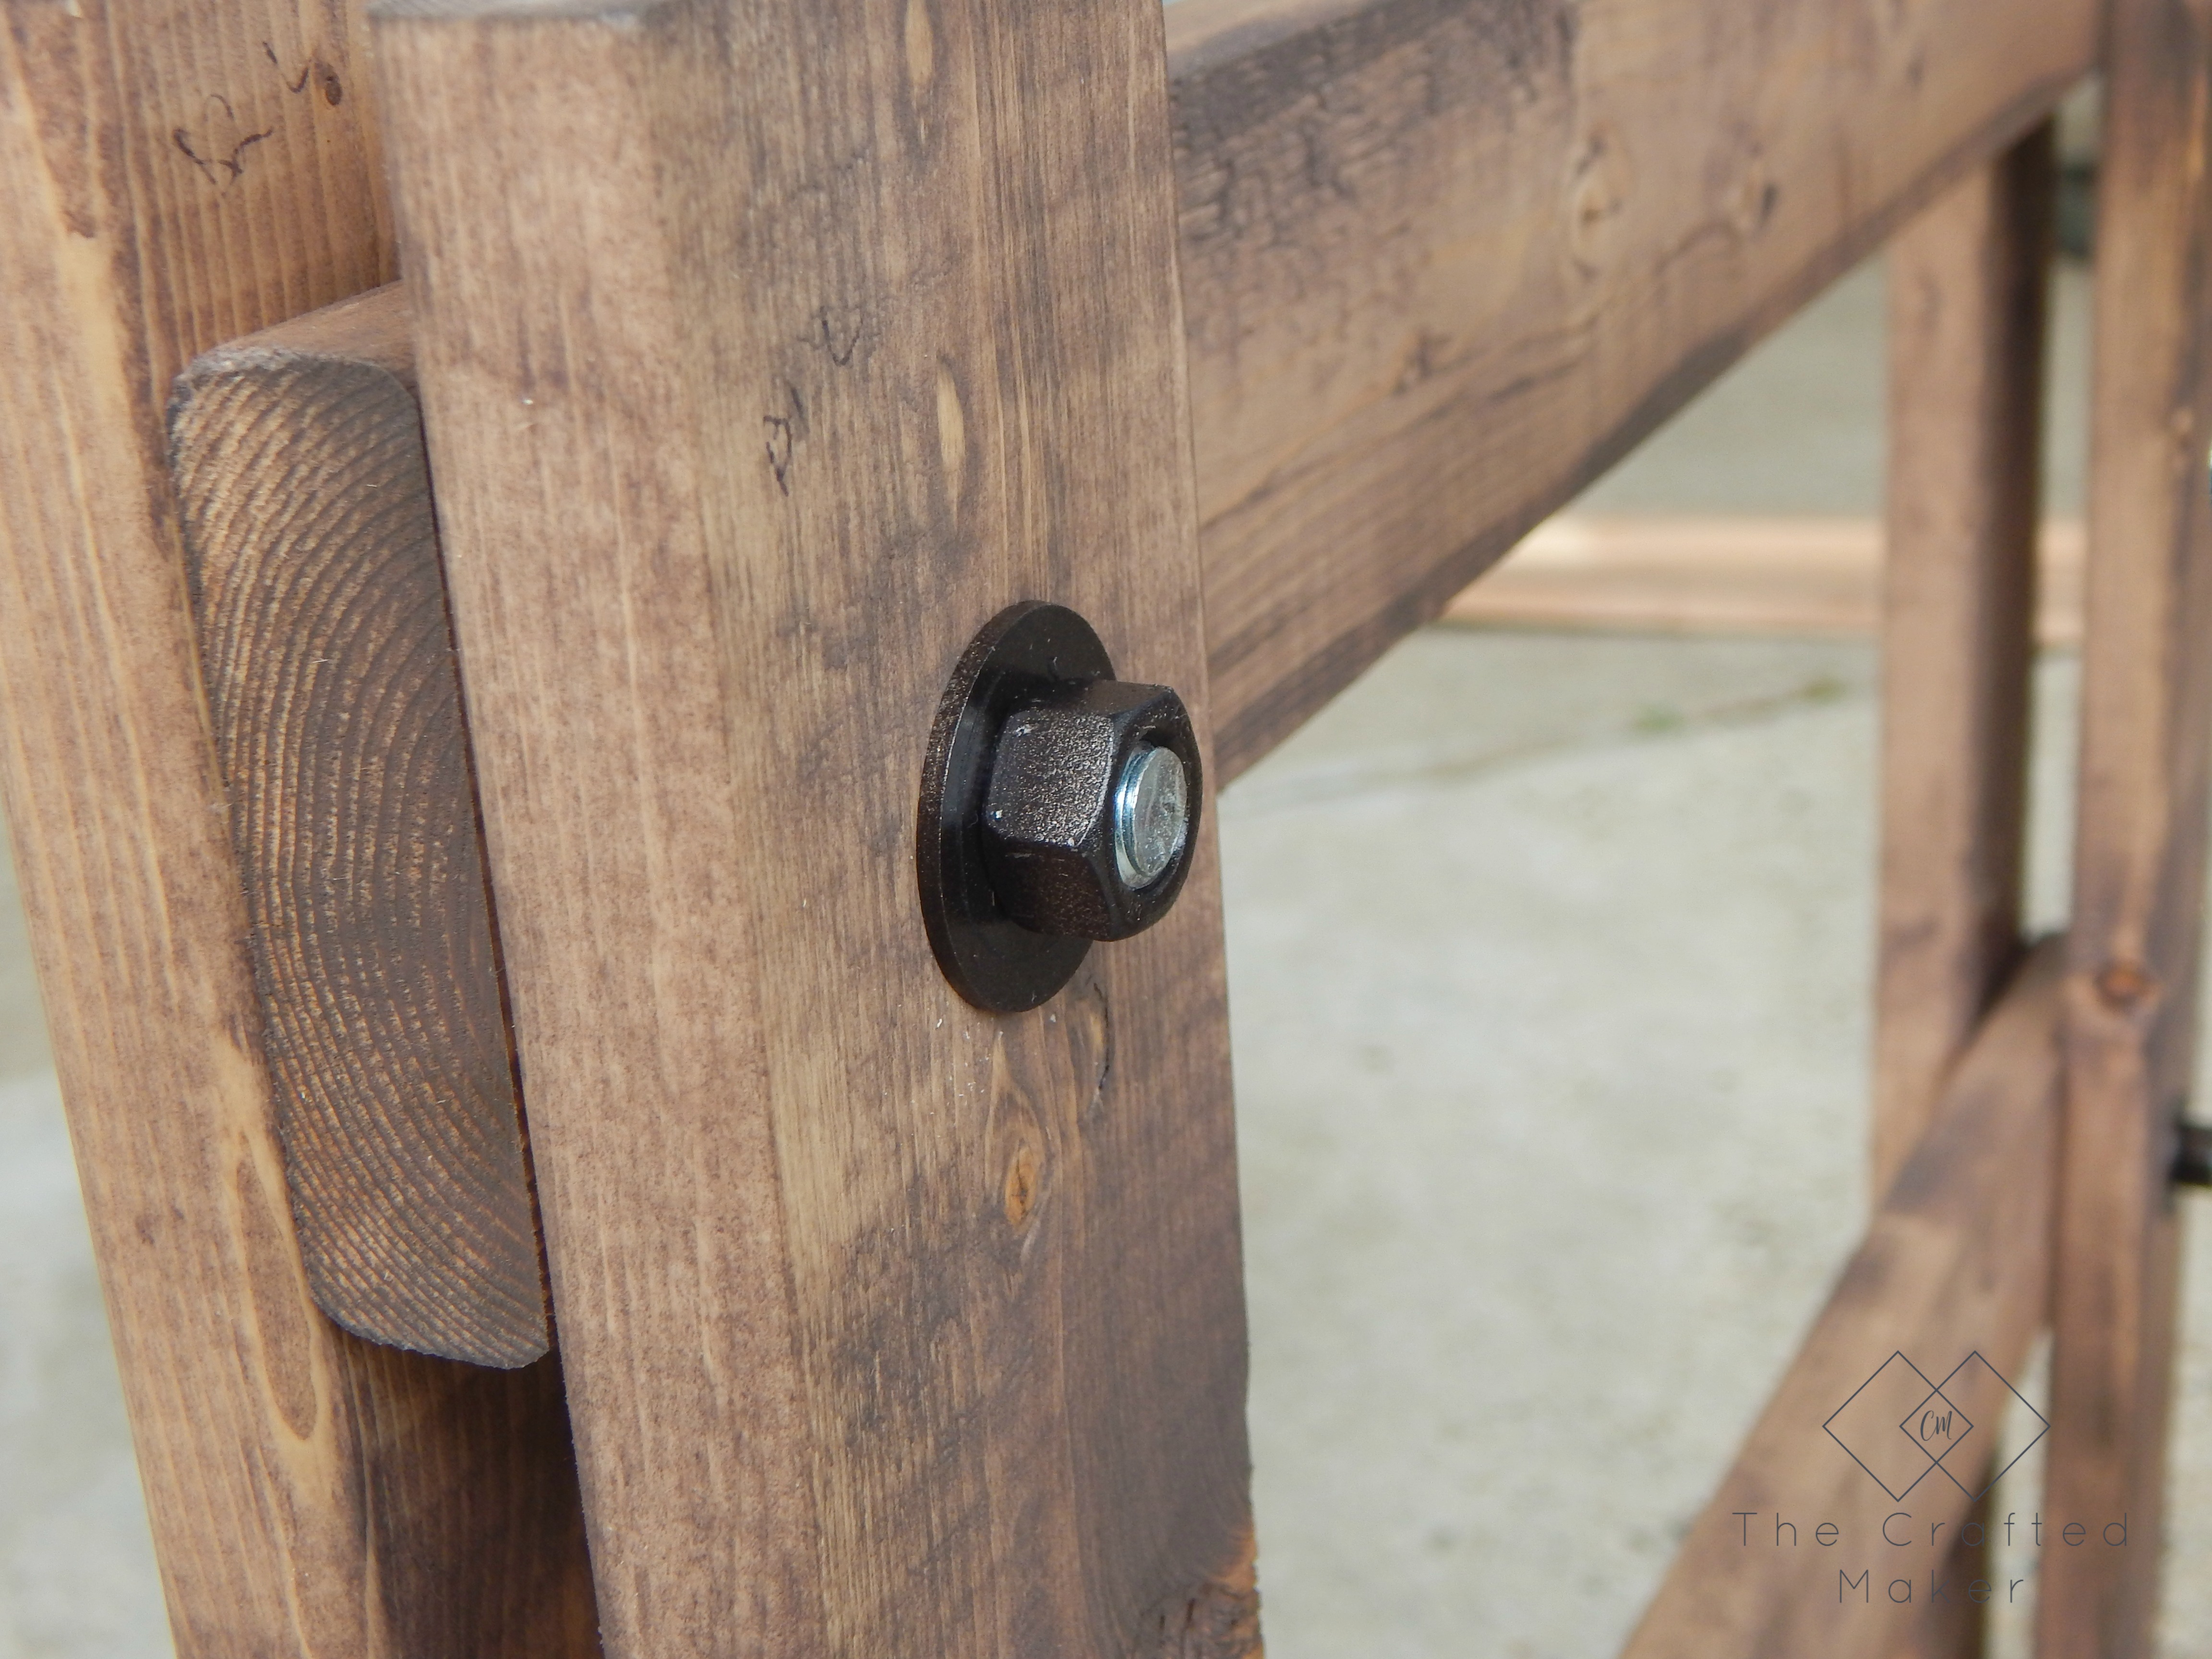
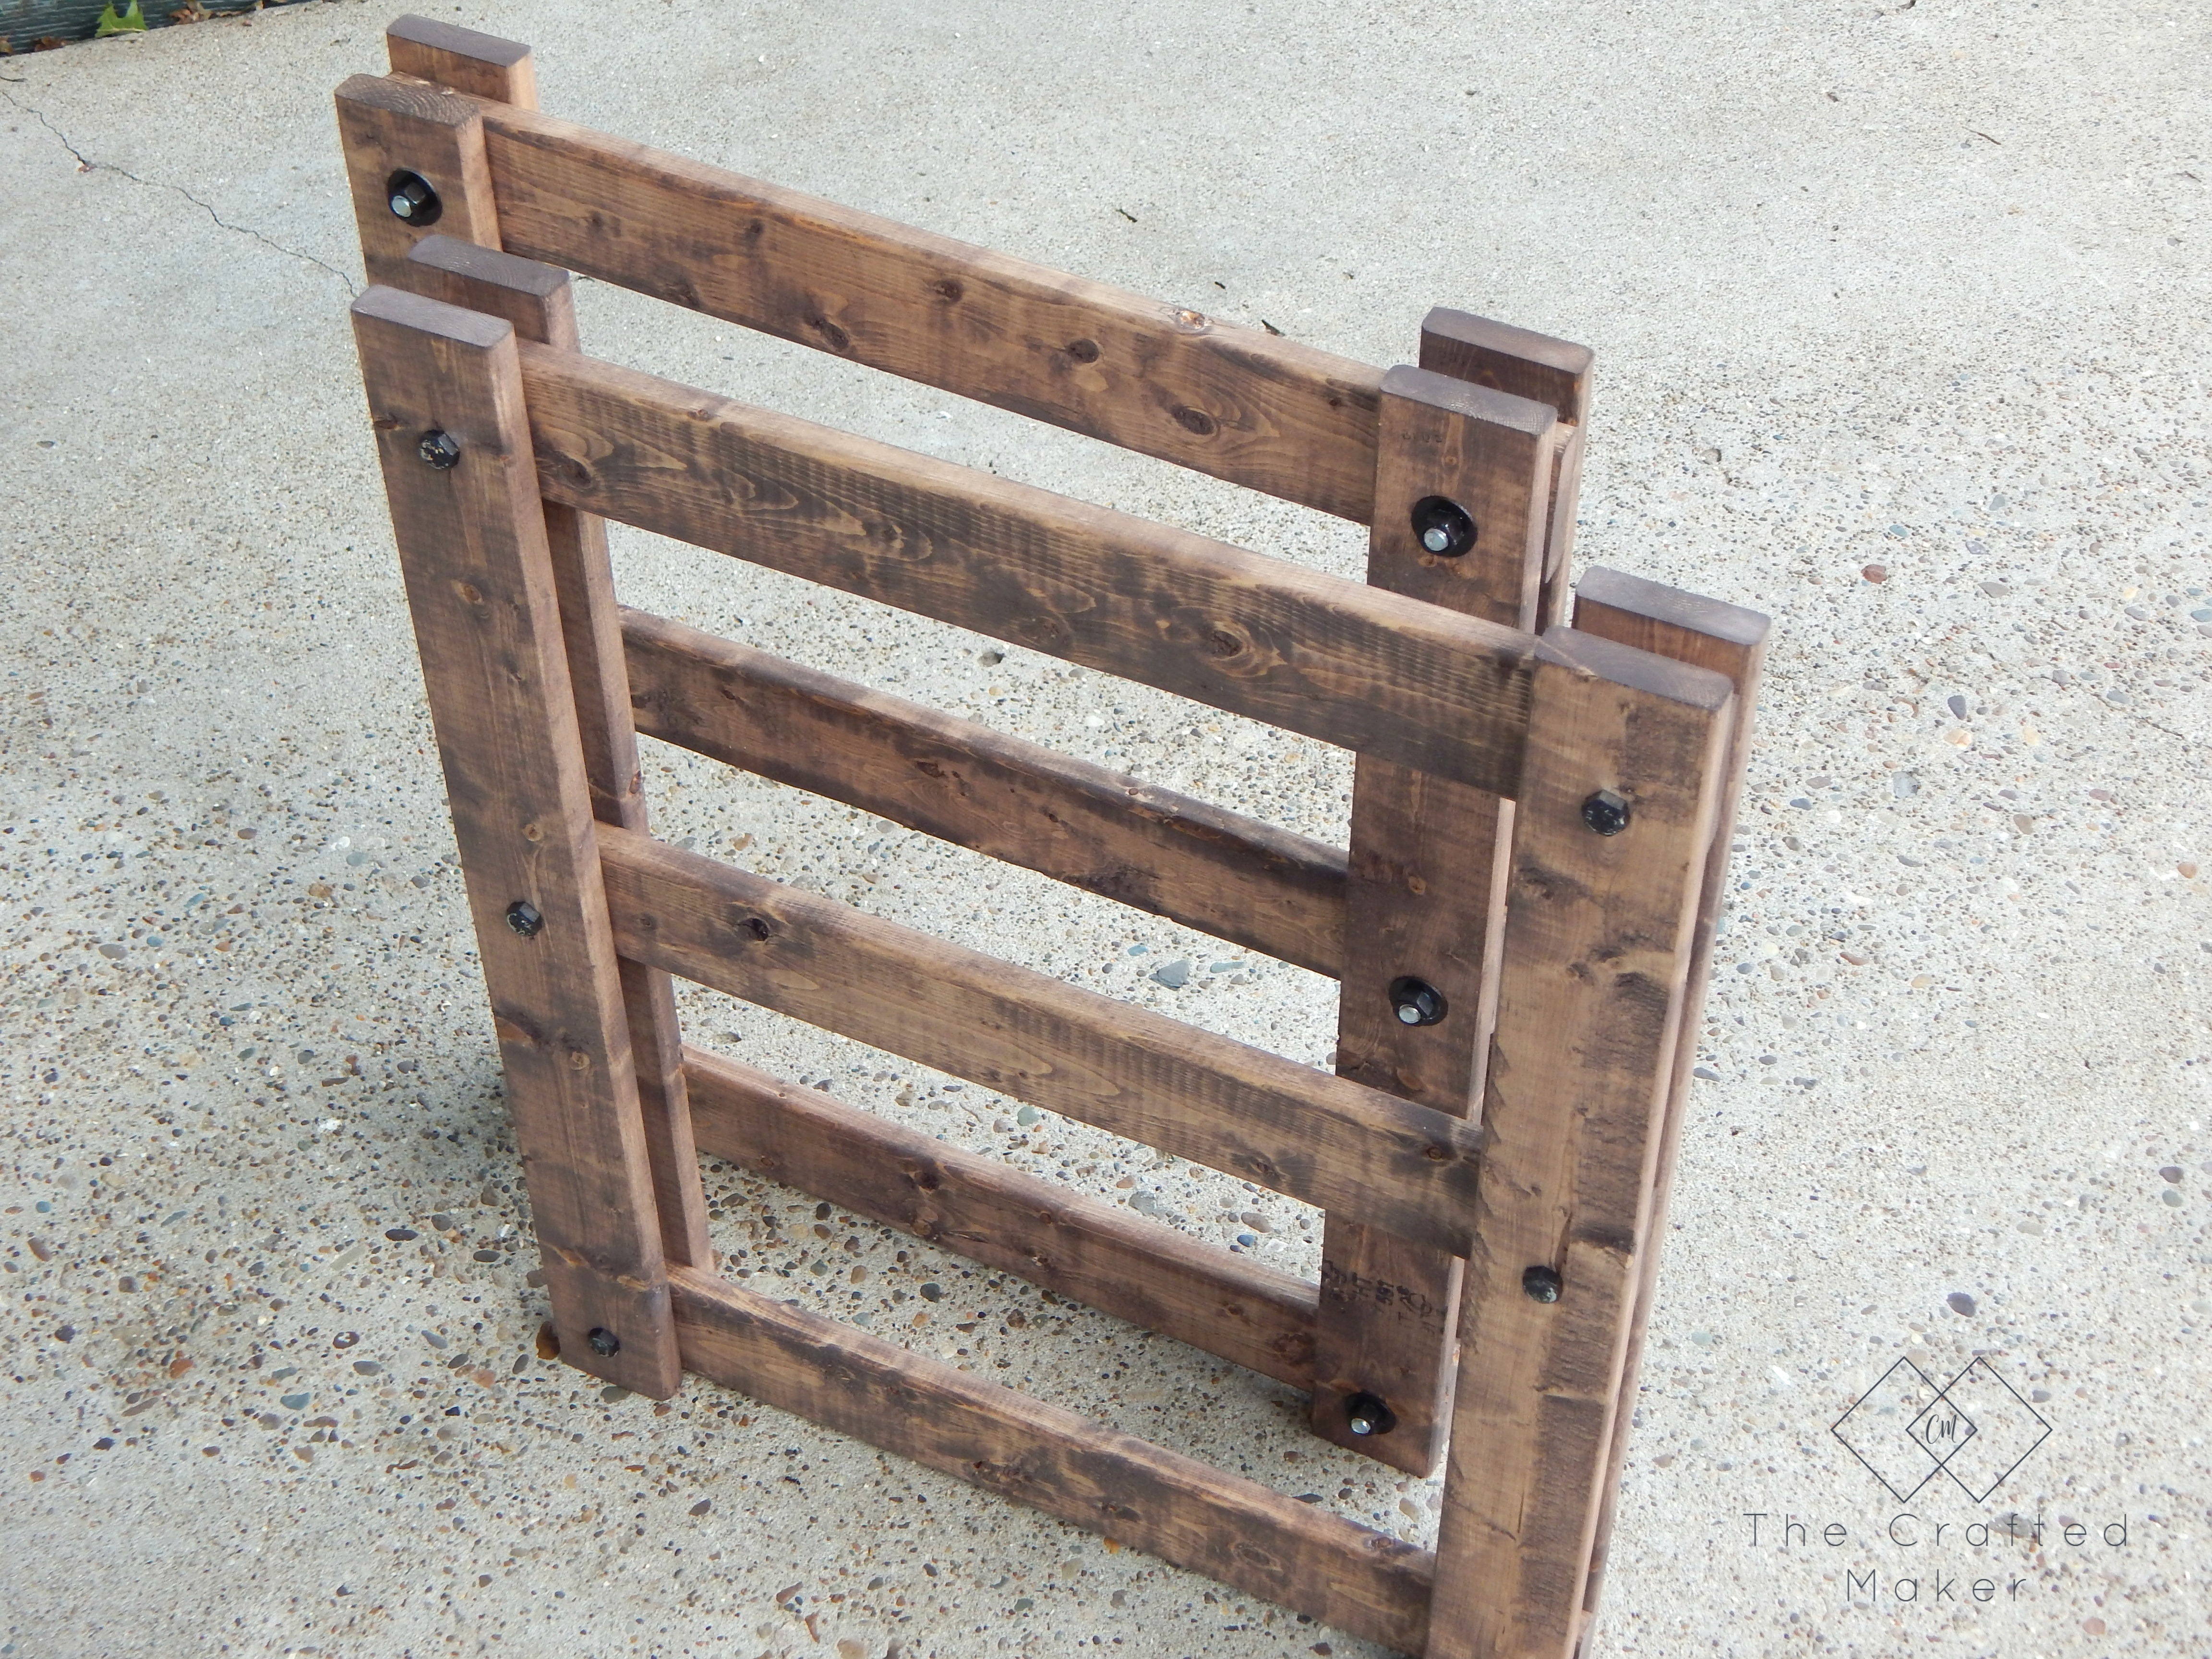
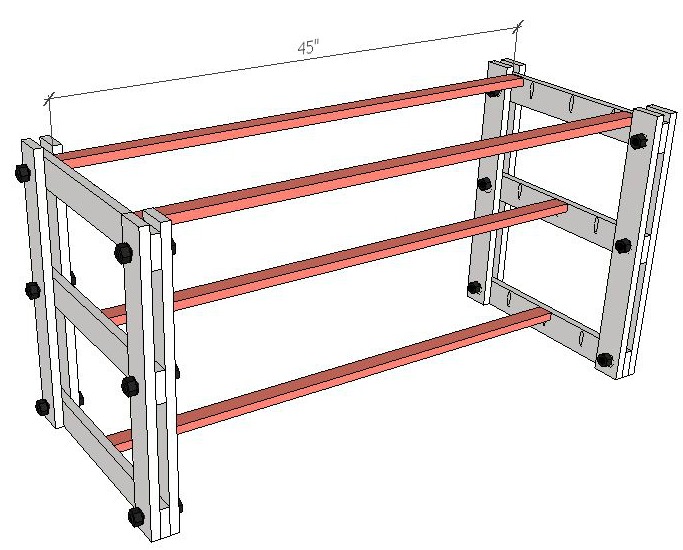
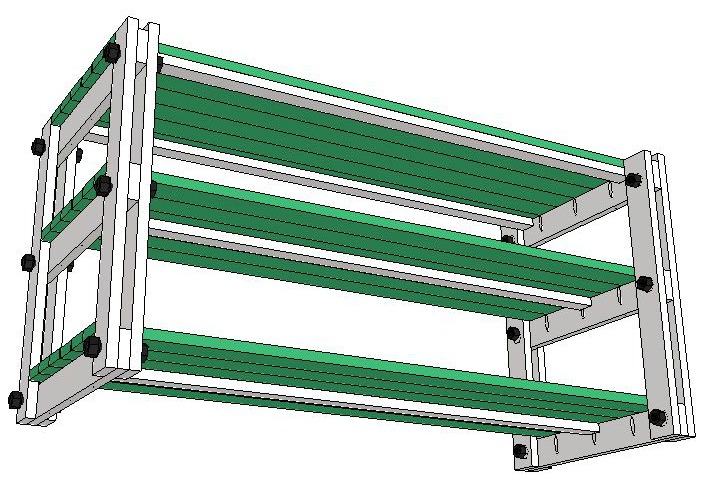
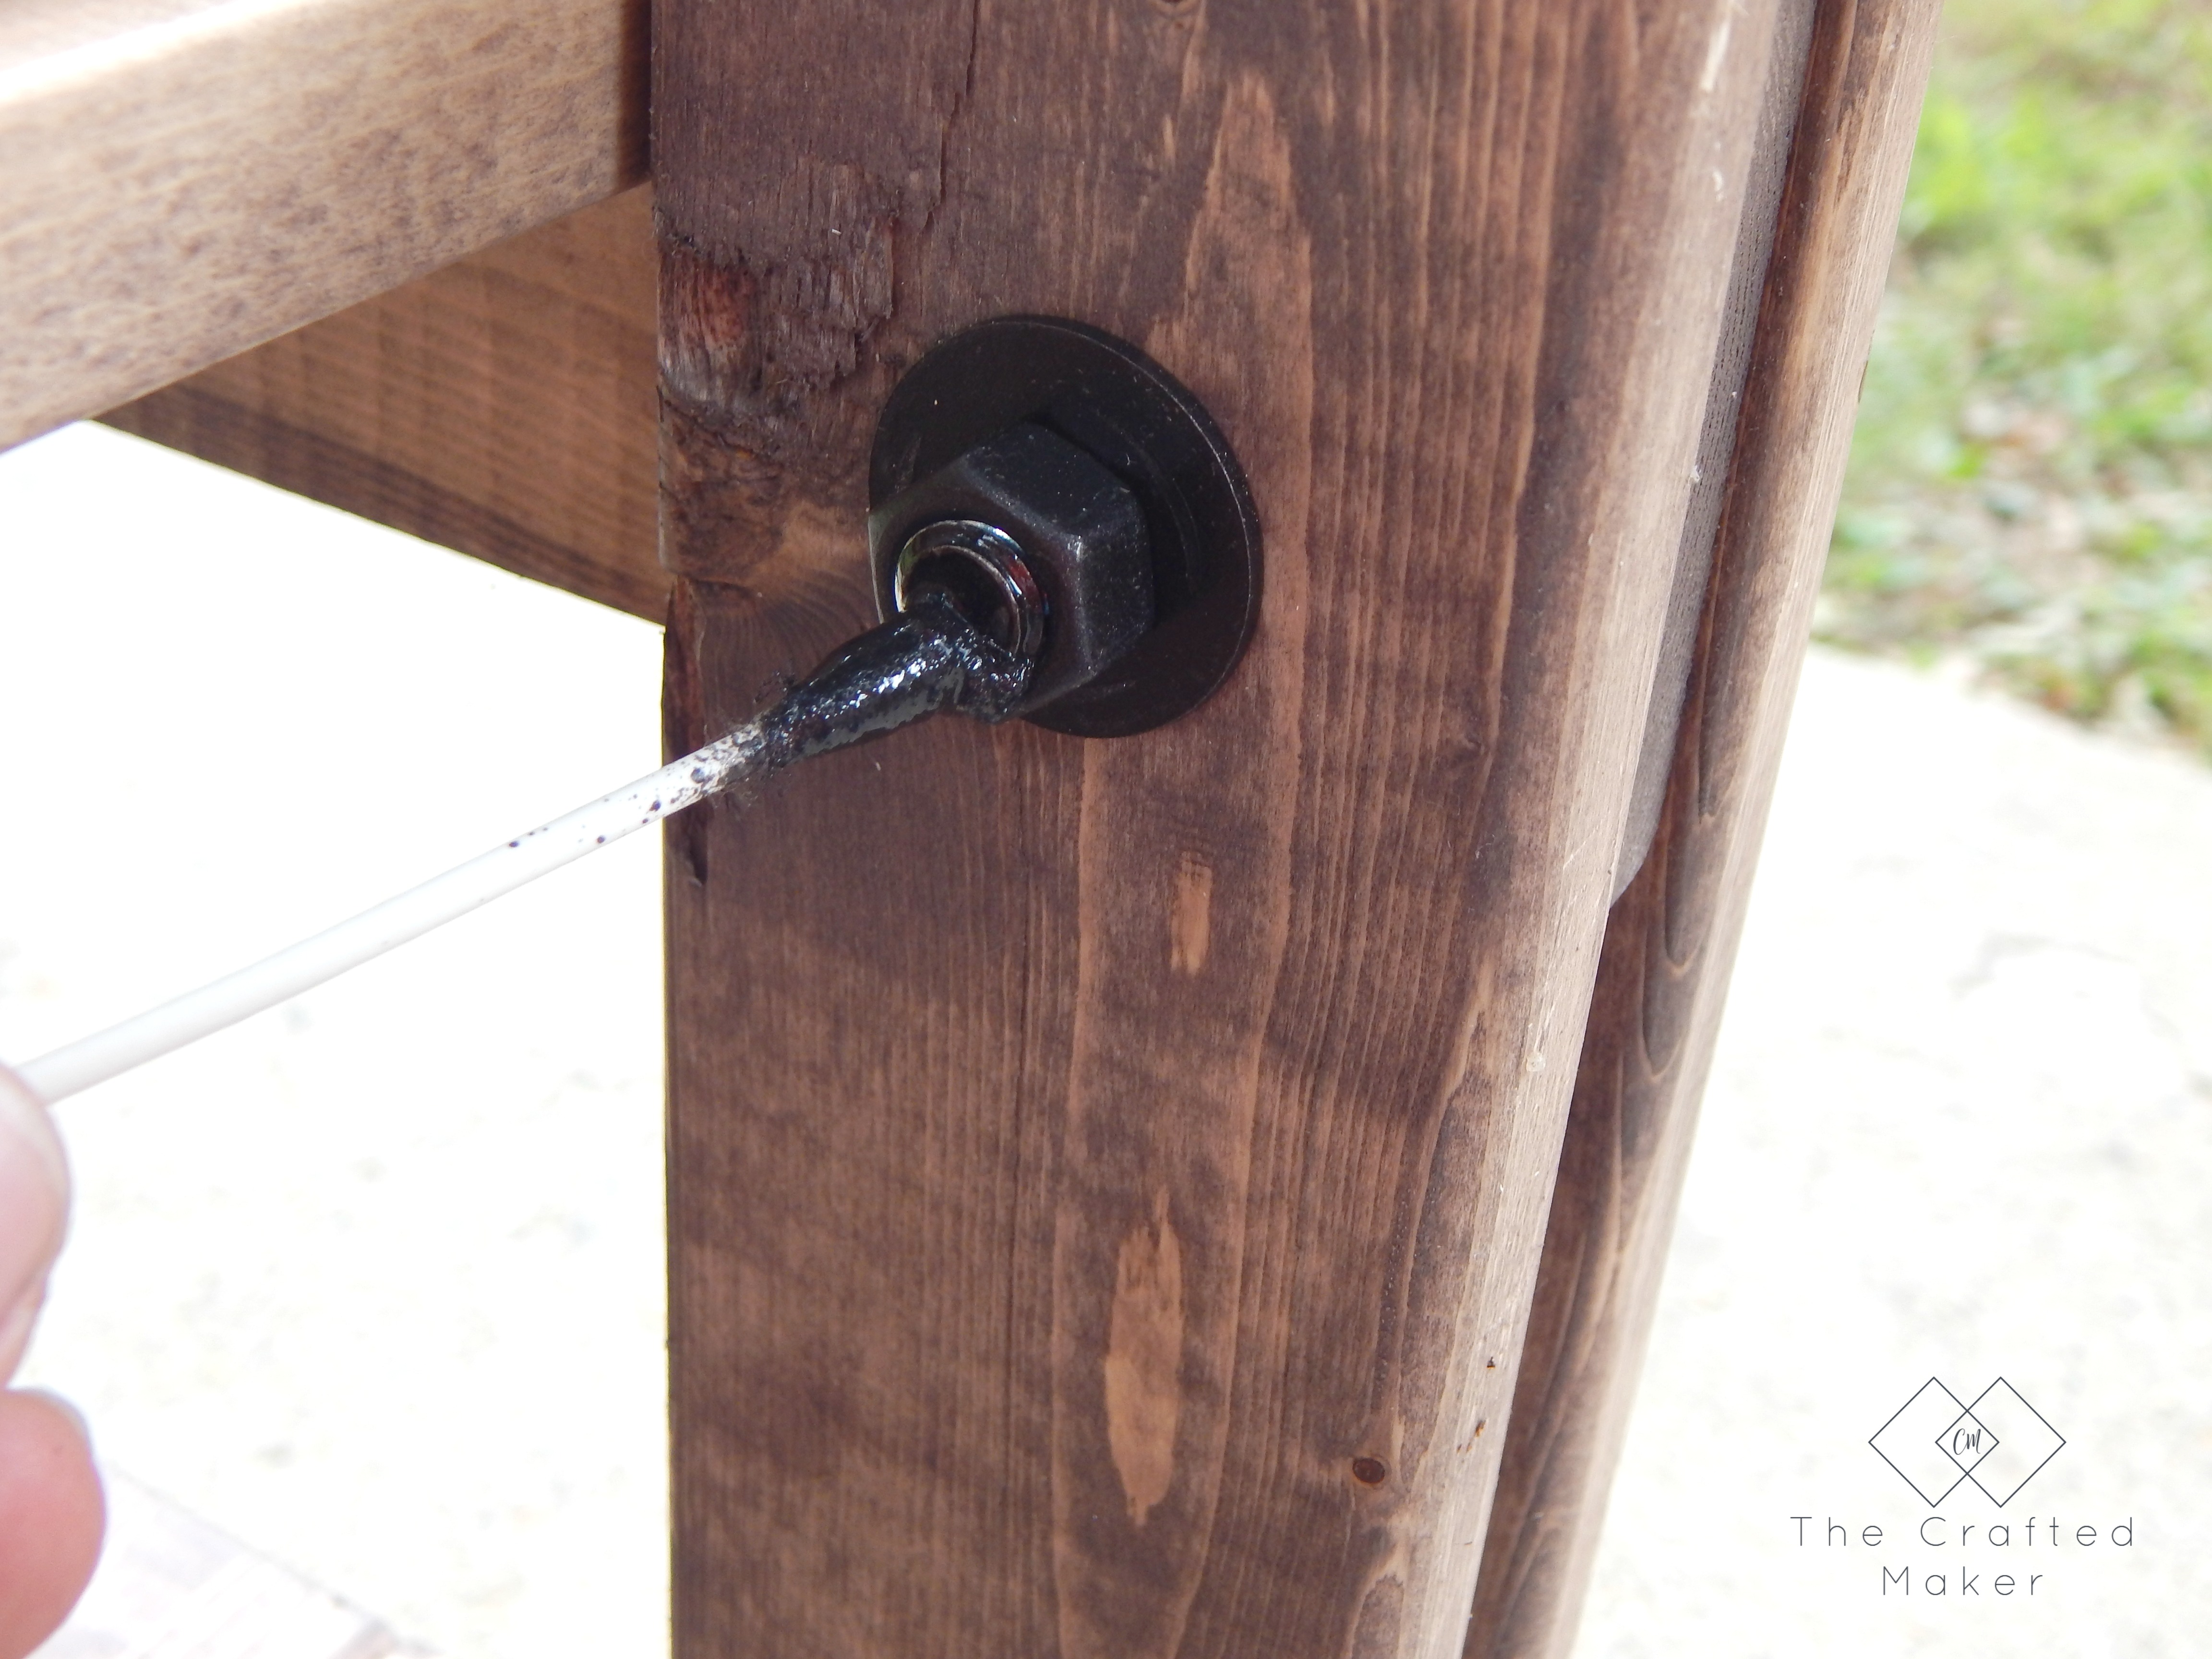
The first part of the build is assembling the legs. This is done by placing three 20″ 1×3 boards between two sets of 24″ 1×3 boards and fastening with the nuts, bolts, and washers. The bolts will fit through all three boards. If you are a visual person, like me, look below at the building plan illustration.

legsentcenter2

If you love using hardware to really give furniture character, check out this DIY Entertainment Stand. Free Plans on my site!!

If you love using hardware to really give furniture character, check out this DIY Entertainment Stand. Free Plans on my site!!

I made two of the support legs.

If you love using hardware to really give furniture character, check out this DIY Entertainment Stand. Free Plans on my site!!

Now let’s attach these together and make this an entertainment stand!

I attached the legs together using the 1×2 boards cut at 45″ secured with pocket hole screws. Since the television is going to be the heaviest thing on this stand, I used two under the top shelf and one under the other two bottom shelves.

Shelf Support Boards

If you love using hardware to really give furniture character, check out this DIY Entertainment Stand. Free Plans on my site!!

If you love using hardware to really give furniture character, check out this DIY Entertainment Stand. Free Plans on my site!!

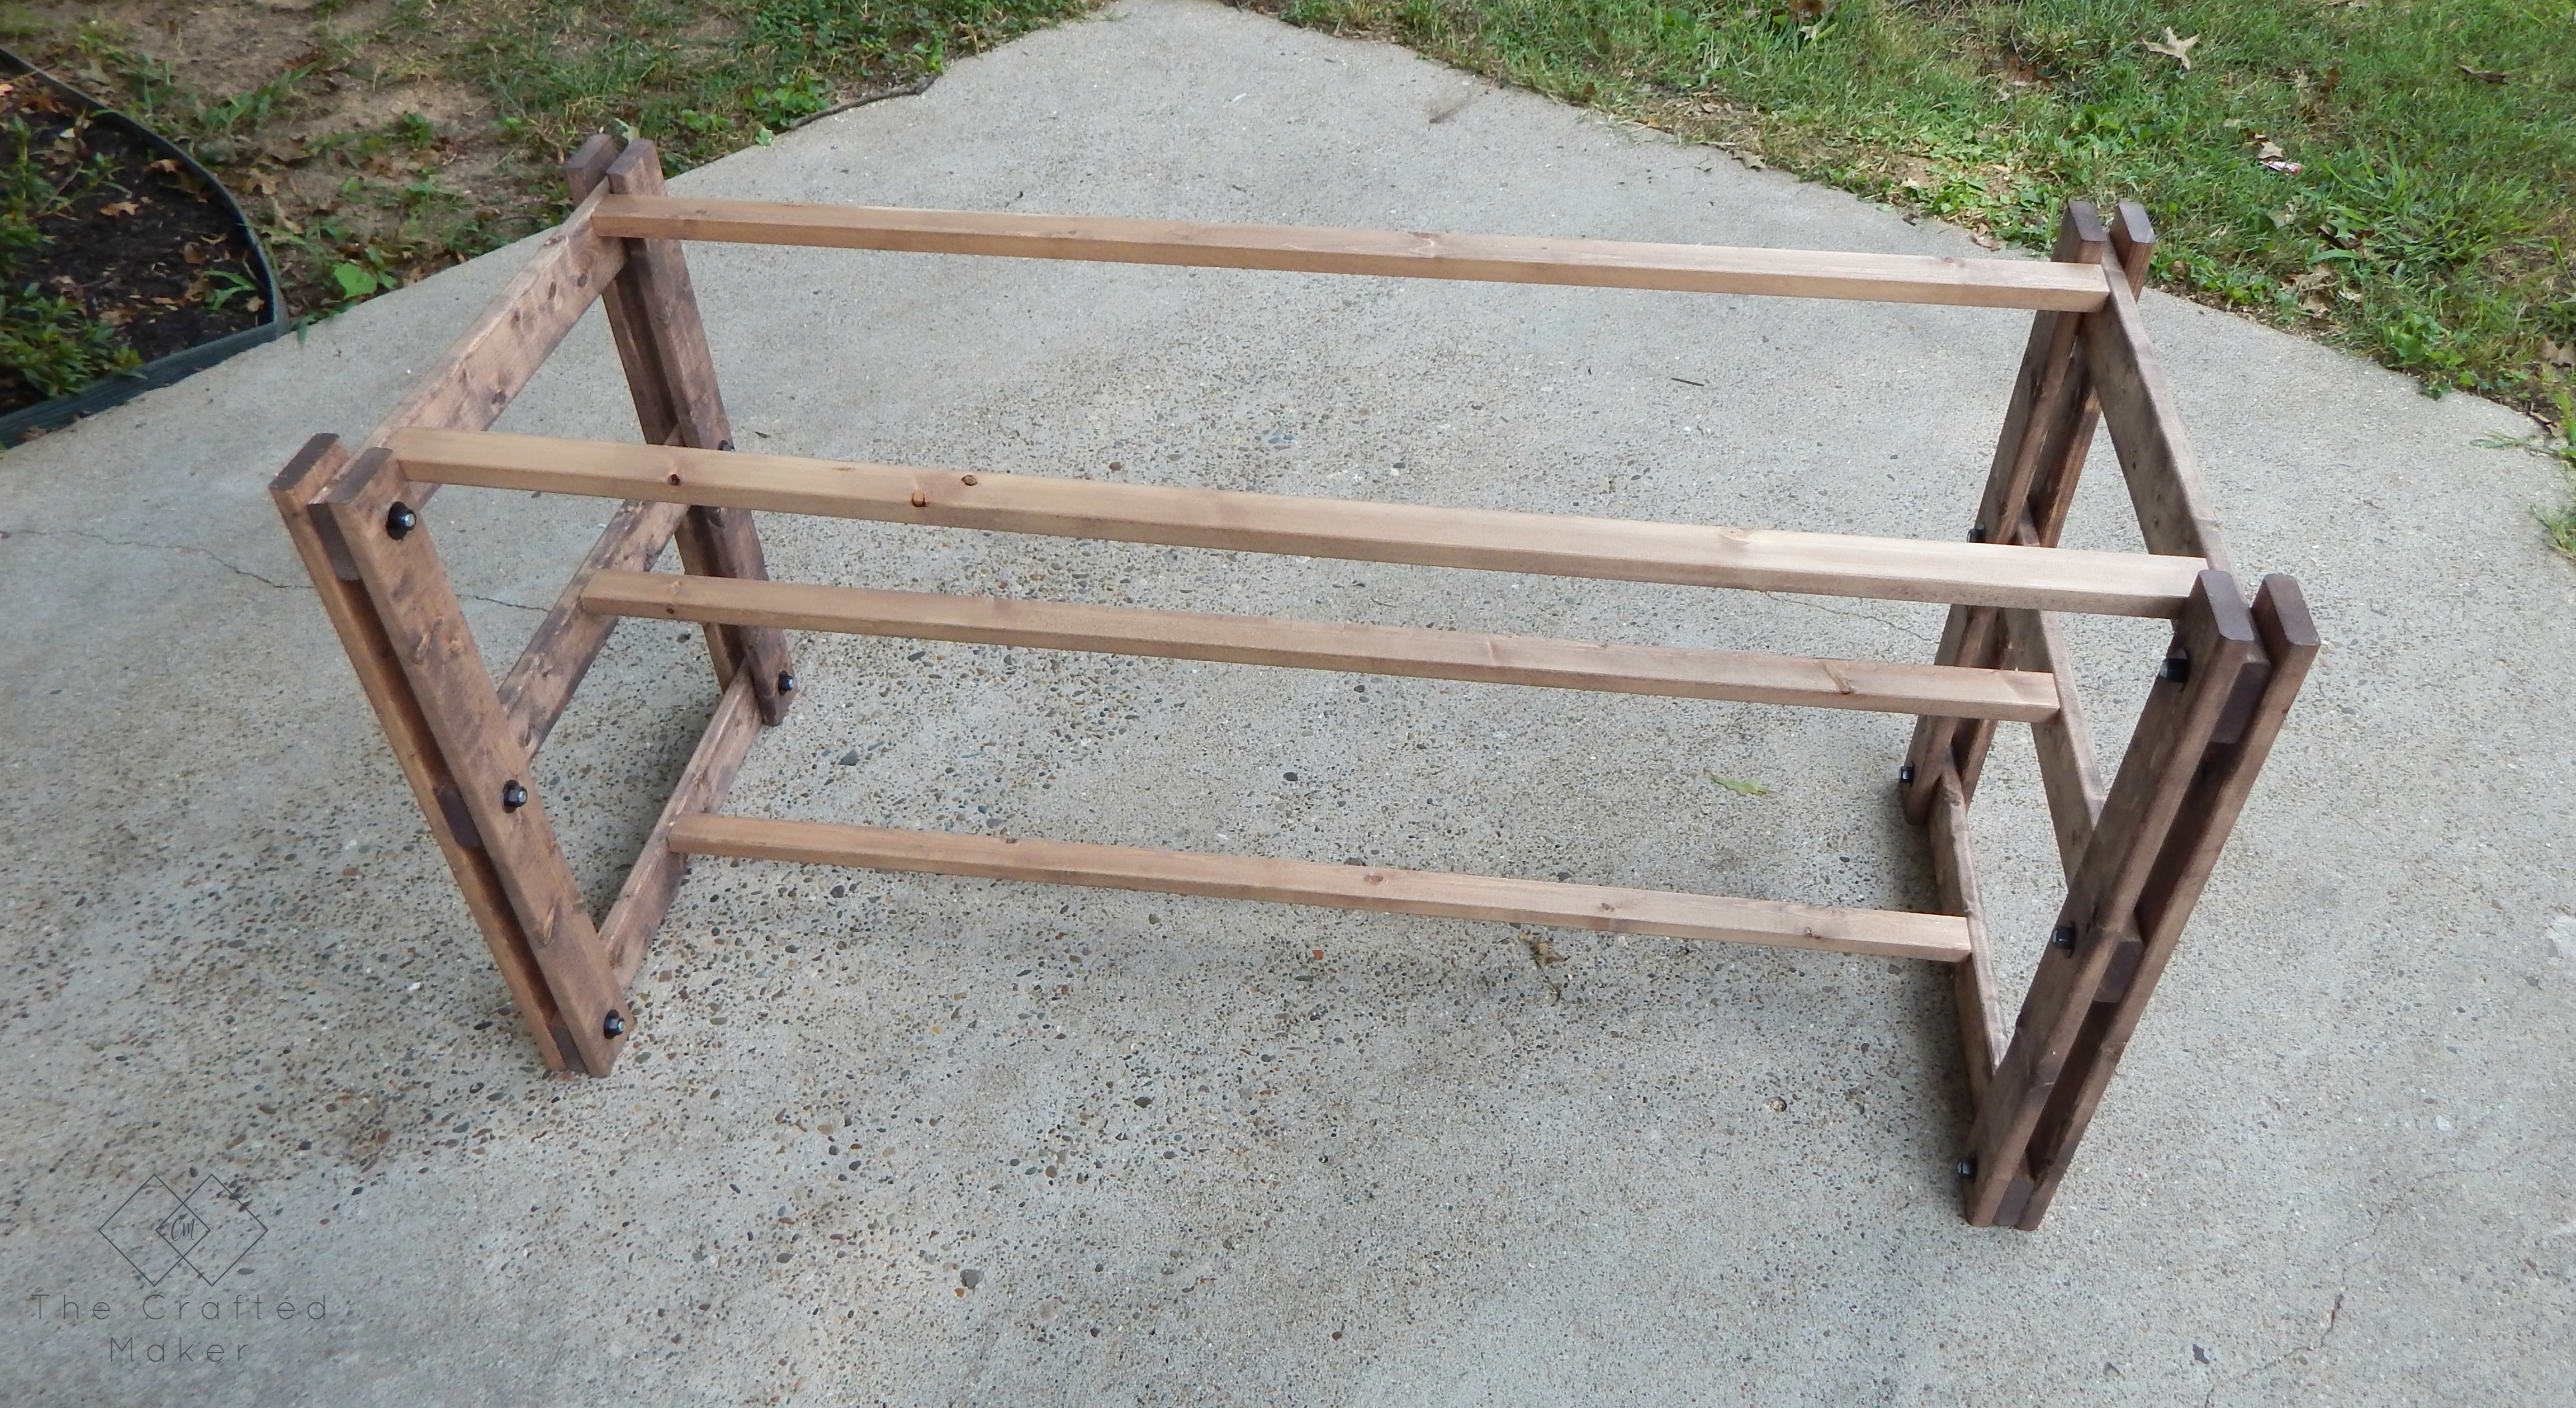
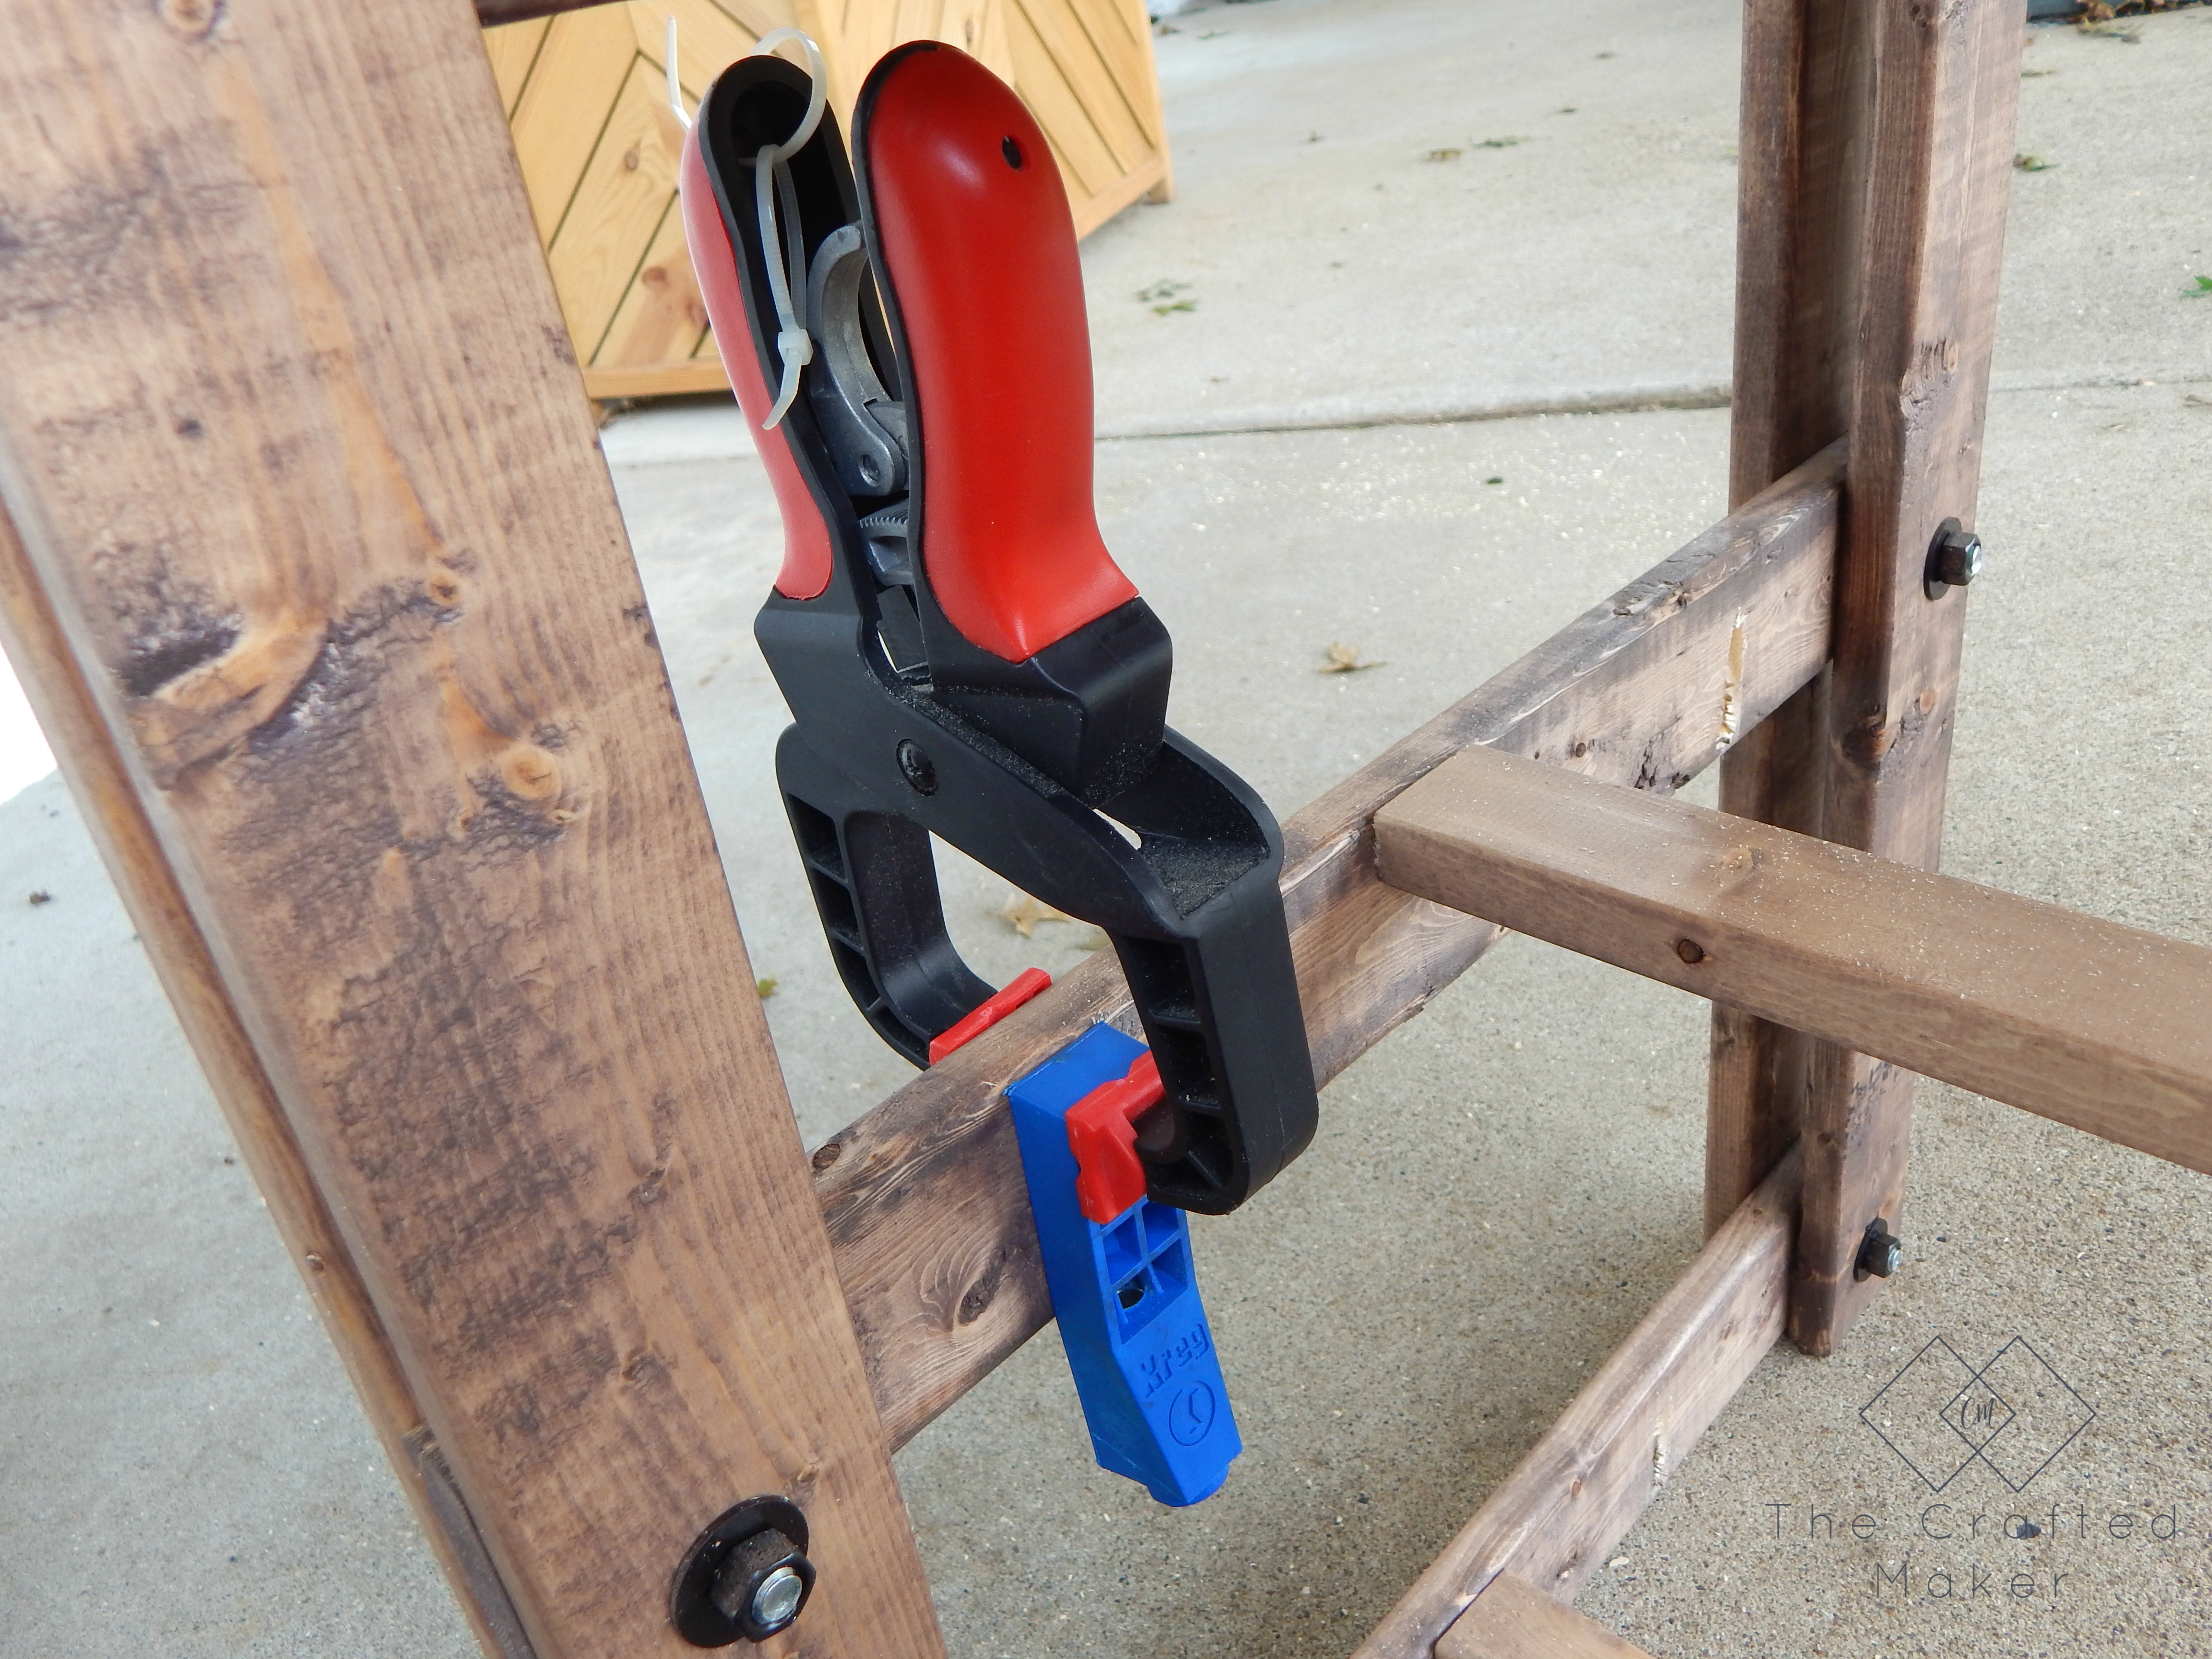
On to the shelves…. Attach seven of the 1×3 boards cut at 48″ with pocket hole screws to create a shelf. Assemble three in total.

If you love using hardware to really give furniture character, check out this DIY Entertainment Stand. Free Plans on my site!!

If you love using hardware to really give furniture character, check out this DIY Entertainment Stand. Free Plans on my site!!

Because of the shelf spacing, it is recommended to start from the top shelf and assemble working down to the bottom. I say recommended, but there simply isn’t enough room to do this any other way. The drill just won’t fit!

When I started this process, I realized I had forgotten to drill a pocket hole. I wanted to add this in to show you that even the person creating the plan can forget a step. Just keeping it real! I used my R3 to make a quick pocket hole and went back to assembling.

If you love using hardware to really give furniture character, check out this DIY Entertainment Stand. Free Plans on my site!!

Shelves

If you love using hardware to really give furniture character, check out this DIY Entertainment Stand. Free Plans on my site!!

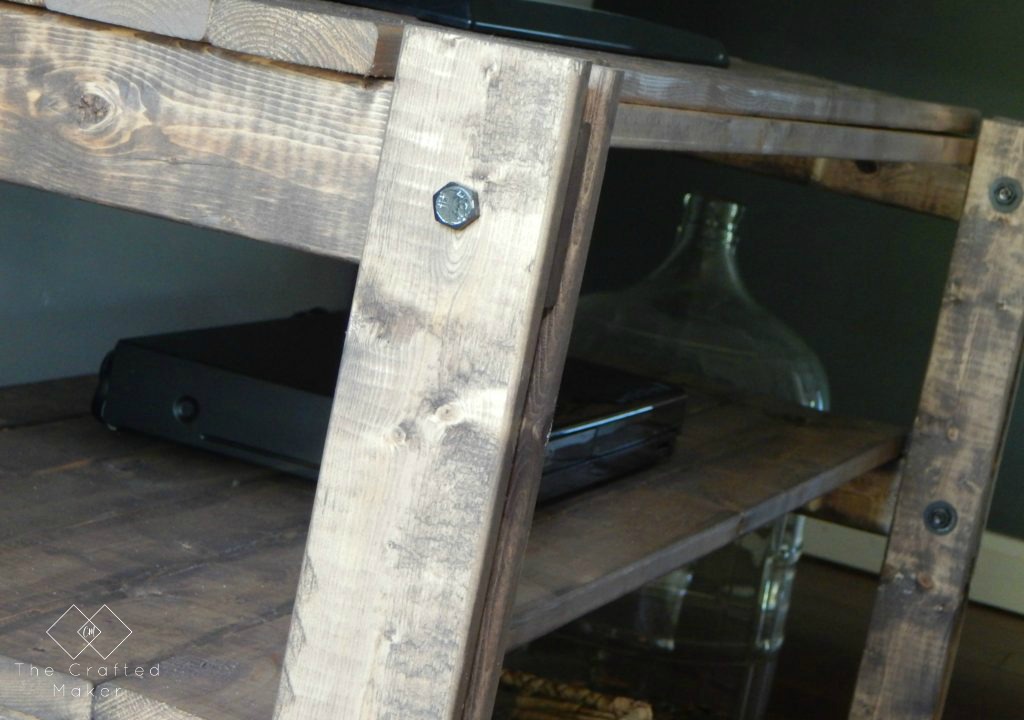
At this point, the entertainment stand is fully built, but there is one last finishing touch to add. If you decided to spray paint your hardware, there is a chance some of the paint may have scraped off during the building process. There is an easy fix for this. Spray some of your spray paint on the end of a Q-tip and dab the paint on. Works every time.

If you love using hardware to really give furniture character, check out this DIY Entertainment Stand. Free Plans on my site!!

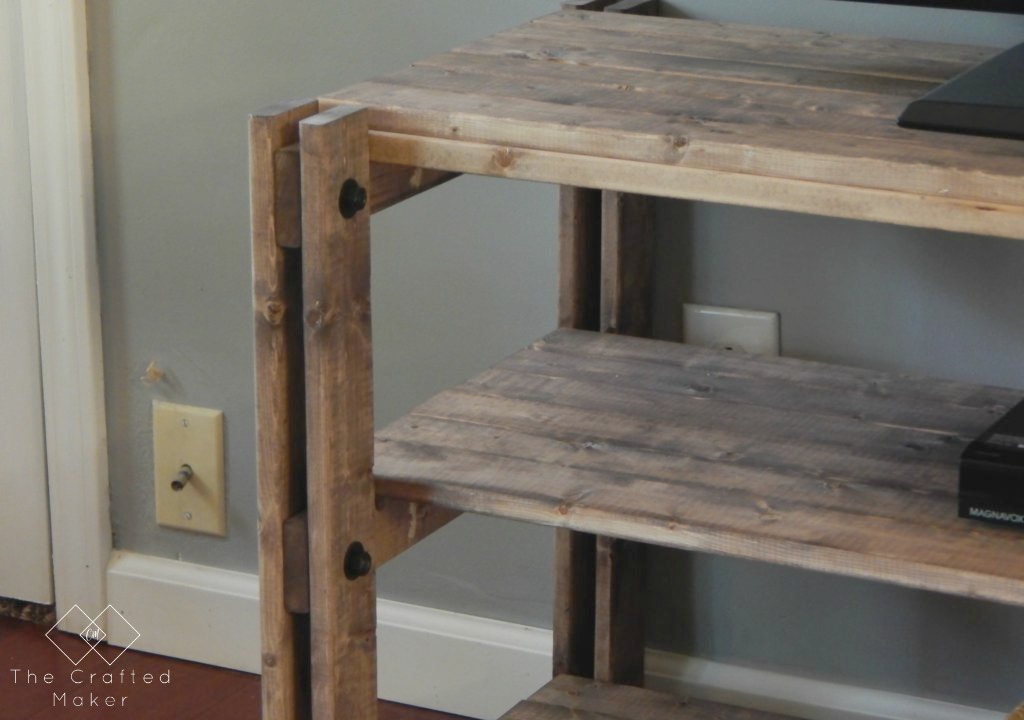
All finished up! Now on to the finished pictures of the DIY Entertainment Stand…

If you love using hardware to really give furniture character, check out this DIY Entertainment Stand. Free Plans on my site!!

If you love using hardware to really give furniture character, check out this DIY Entertainment Stand. Free Plans on my site!!

If you love using hardware to really give furniture character, check out this DIY Entertainment Stand. Free Plans on my site!!

Pinning is always appreciated!!

If you love using hardware to really give furniture character, check out this DIY Entertainment Stand. Free Plans on my site!!

I hope you enjoyed following along on this build as much as I enjoyed building it!

Now it’s time to reveal the creation that Corey built. Isn’t it just perfection!!

Here it is, Corey’s Rustic Farmhouse Book Shelf!!

Rustic Farmhouse Book Shelf www.sawdust2stitches.com

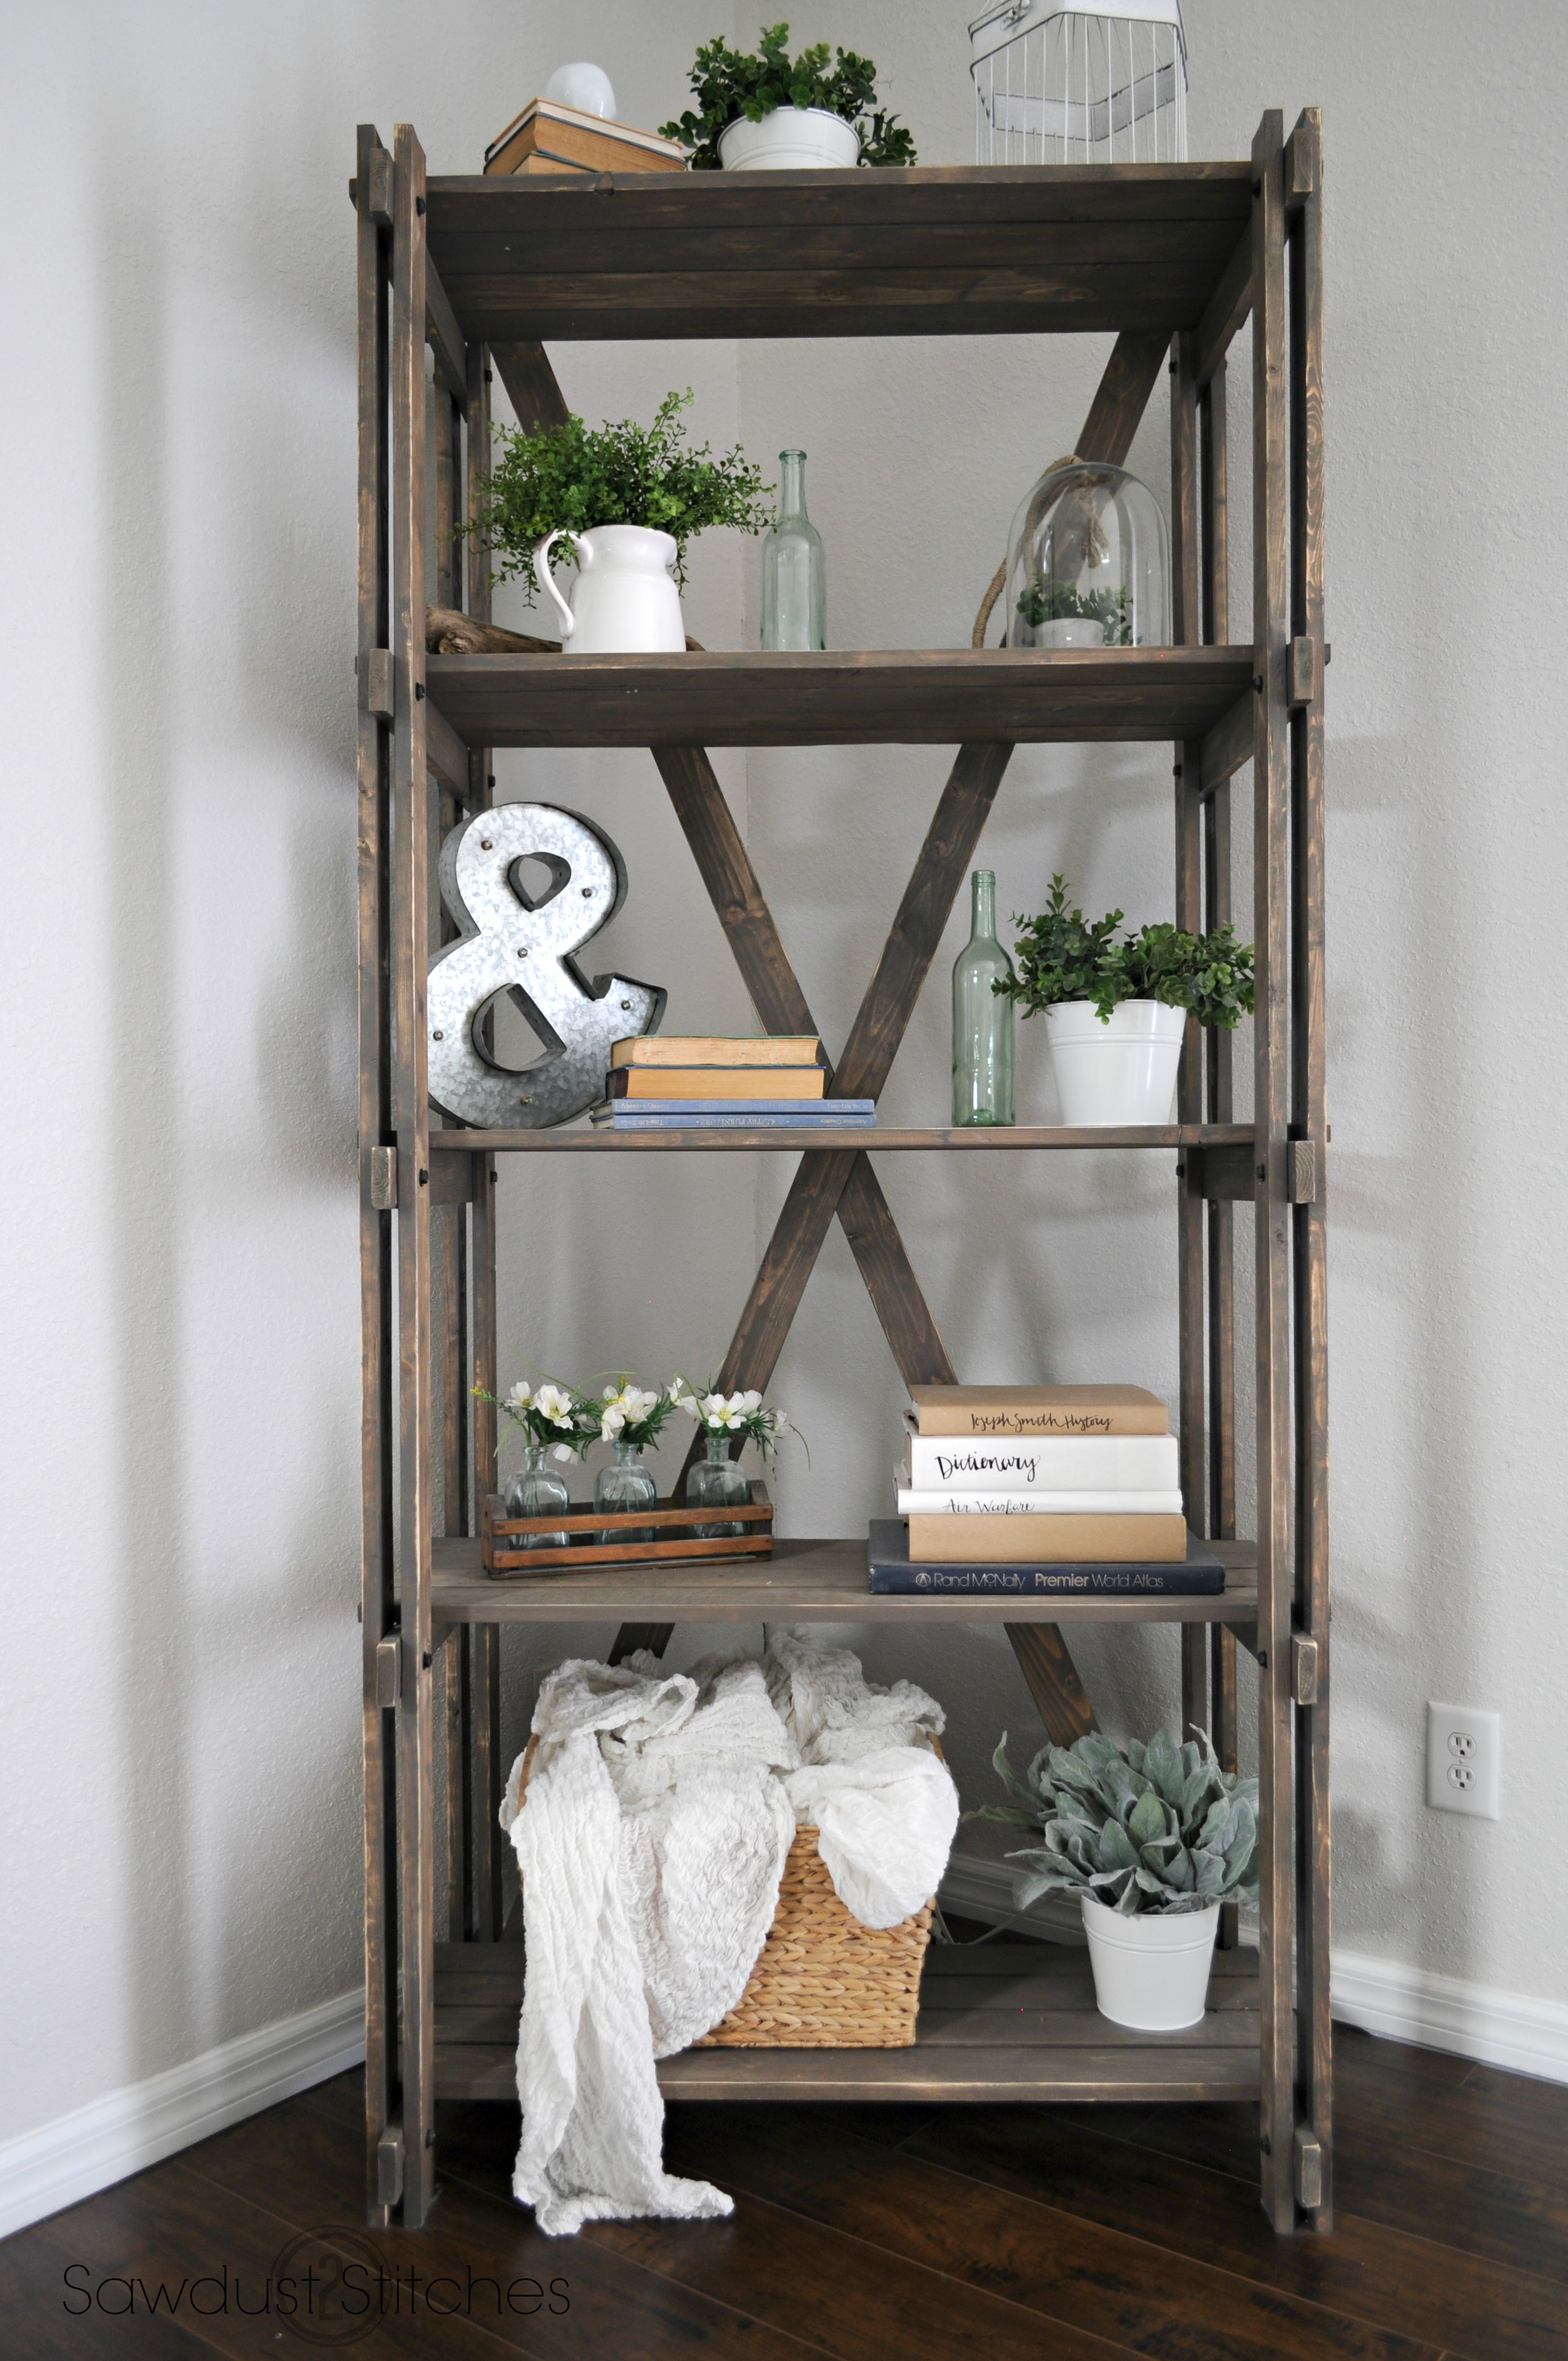
Be sure to go visit Corey over at Sawdust 2 Stitches to see how she built this beauty. Be prepared to be mind blown!

Visit Sawdust 2 Stitches here!!

Thank you all so much for taking the time to hang out with me for a bit. Have fun building and I will talk to you all real soon!

Until next time…

To see behind the scenes pics of the projects I am working on, or just to say hi, come follow along with me on Instagram and Pinterest.

Posted In: BUILD, FURNITURE · Tagged: free plans, furniture, living room

You’ll Also Love

Give your living room some new life with this DIY Modern Farmhouse Coffee Table. Free PDF plans included along with step by step instructions and pictures!DIY Modern Farmhouse Coffee Table
Build this modern farmhouse dining table for your next gathering. This table is perfect for smaller dining rooms or breakfast nooks.Modern Farmhouse Dining Table
Laundry is a chore many people don't enjoy doing, so why not make it as fun and convenient as possible. How about a colorful place to fold and iron!LAUNDRY TABLE (FOLD AND IRON)

Comments

  1. Ed Connors says

    October 12, 2016 at 4:16 pm

    Hey Chrissie… Just found your site… some awesome stuff here!

    I really like this project. I never of thought of spraying nuts and bolts…. my wife and I really like the look of them, thanks for sharing that tip!

    I also love the design of this TV stand. I gonna try to modify it a bit by using some reclaimed pallets that I had been saving. Appreciated the details and the pictures on how it all goes together!

    • sawdusttosequins says

      December 16, 2016 at 8:02 pm

      Thanks Ed! This would be amazing with reclaimed pallets. I would love to see it when you are finished.

Next Post >

DIY SPARKLER HOLDER

Hi, I’m Crissie!

Hello and welcome! I’m Crissie, the girl behind The Crafted Maker. This is my journey of DIY living where new skills are being learned, developed, and crafted one project at a time.

Join me as I tackle the renovation of my Washington house and build some stuff along the way.

Follow Along!

  • Facebook
  • Instagram
  • Pinterest
  • Twitter

SEARCH THE BLOG

Join TCM Tribe!

If you want to keep in touch with us, this is the best way to do it! Just sign up below and receive all our posts in your inbox!


Free Project Planner!

  • About
  • Contact
  • Privacy Policy


Trending Now

  • 25 Dollar Console Table - The Crafted Maker $25 Console Table with Free Plans!
  • FIVE DOLLAR WINDOW BOX
  • Give the exterior of your home an upgrade with these simple DIY shutters. They take very little time to make and will add curb appeal to your home. SIMPLE DIY SHUTTERS
  • Make this DIY Napkin Holder with scrap wood and a few tools. Add some convenience to your dining table setting in about an hour. DIY Napkin Holder
Next project in the works!! πŸ‘πŸ™ŒπŸ›  #diy #cof Next project in the works!! πŸ‘πŸ™ŒπŸ›  #diy #coffeetable #makercommunity #hairpinlegs
If you are in the need of a bigger work space but If you are in the need of a bigger work space but don’t have the room for a 4’ x 4’ workbench, I have you covered!! Introducing the convertible 4’x4’ workbench. You can leave it attached together for larger projects, or pull it apart for storage against a wall. πŸ™ŒπŸ’ͺπŸ› πŸ˜€
Plans available on @sprucd today!!
Need a little office organization in your life? Yo Need a little office organization in your life? You can whip up this little project in about an hour with scrap wood you have laying around! πŸ™Œ
Happy Tuesday! Today I'm talking all about privacy Happy Tuesday! Today I'm talking all about privacy fence repair on the blog. Fixing a fence is easier than it looks and if you do it yourself, you can save thousands of dollars! πŸ‘πŸ’ͺπŸ› πŸ™Œ
Swipe to see what the fence looked like before!
Nothing like a little (or a lot) of yard work on a Nothing like a little (or a lot) of yard work on a Sunday. If you have seen my stories over the past couple of days, you know how much mulch we had to use up. It is a lot!! We are nowhere near done yet, but we got a pretty good dent put into the landscaping projects for the front yard. 
I know it may seem like I move from one project to another on here randomly. One minute I’m fixing a bathroom, then a fence, then landscaping, all while my bathroom is still not done. This is for a reason I promise. πŸ˜›

When you live in an area in Washington like I do, you do outdoor projects when the sky tells you that you can. The weather changes around here on the daily and this time of the year, rain is always there just waiting! LOL Trust me, I wish I could get one done before moving on, easier to plan that way! 
What did you guys and gals work on this weekend. Someone give me some good build stories. I always want to be in the shop when working on other projects. Let me live woodworking projects through you all. πŸ˜‚
Fall is here and now is the time for crisp air and Fall is here and now is the time for crisp air and squirrels scavenging for their winter treats. I wanted a way to let some of that air in the house, so I figured why not make a DIY squirrel doorstop. 🐿πŸšͺπŸ›‘
If you need a quick and easy Fall 🍁 project, go to the blog and check it out. It will be the latest Scrappy Saturday project! πŸ› 
If there is a certain project you want me to build for a Scrappy Saturday, just let me know in the comments below. I love to hear what you all want to build!! Isn't he just so darn cute!! 🐿

Copyright © 2021 The Crafted Maker · Theme by 17th Avenue