In the last article of this series, you learned how to prepare the subfloor and the hardwood flooring. Today, we are talking about the installation process!
How to Install Floating Hardwood Flooring
The first step in the process is gathering your materials. You will need:
- Hardwood Flooring
- Spacers
- Mallet
- Pry Bar
- Tapping Block
- Miter or Table Saw
- Jigsaw
Optional, but useful, knee pads. Being down on a hard surface like a subfloor can be really hard on your knees (and very uncomfortable).
Getting Started
Determine the size of your first board. Many people, myself included will “sacrifice” the first board. Meaning, cut a few feet off and start with a shorter piece of flooring. Plus, this really helps to start your random pattern for the floor. But don’t worry, that amount of board you cut off can still be used later.
Place the first row against the starter wall and attach spacers between the wall and boards. This will allow the flooring to have enough room for the normal expansion and contraction that comes with wood products. Anytime the flooring comes into contact with a wall spacers should be used.

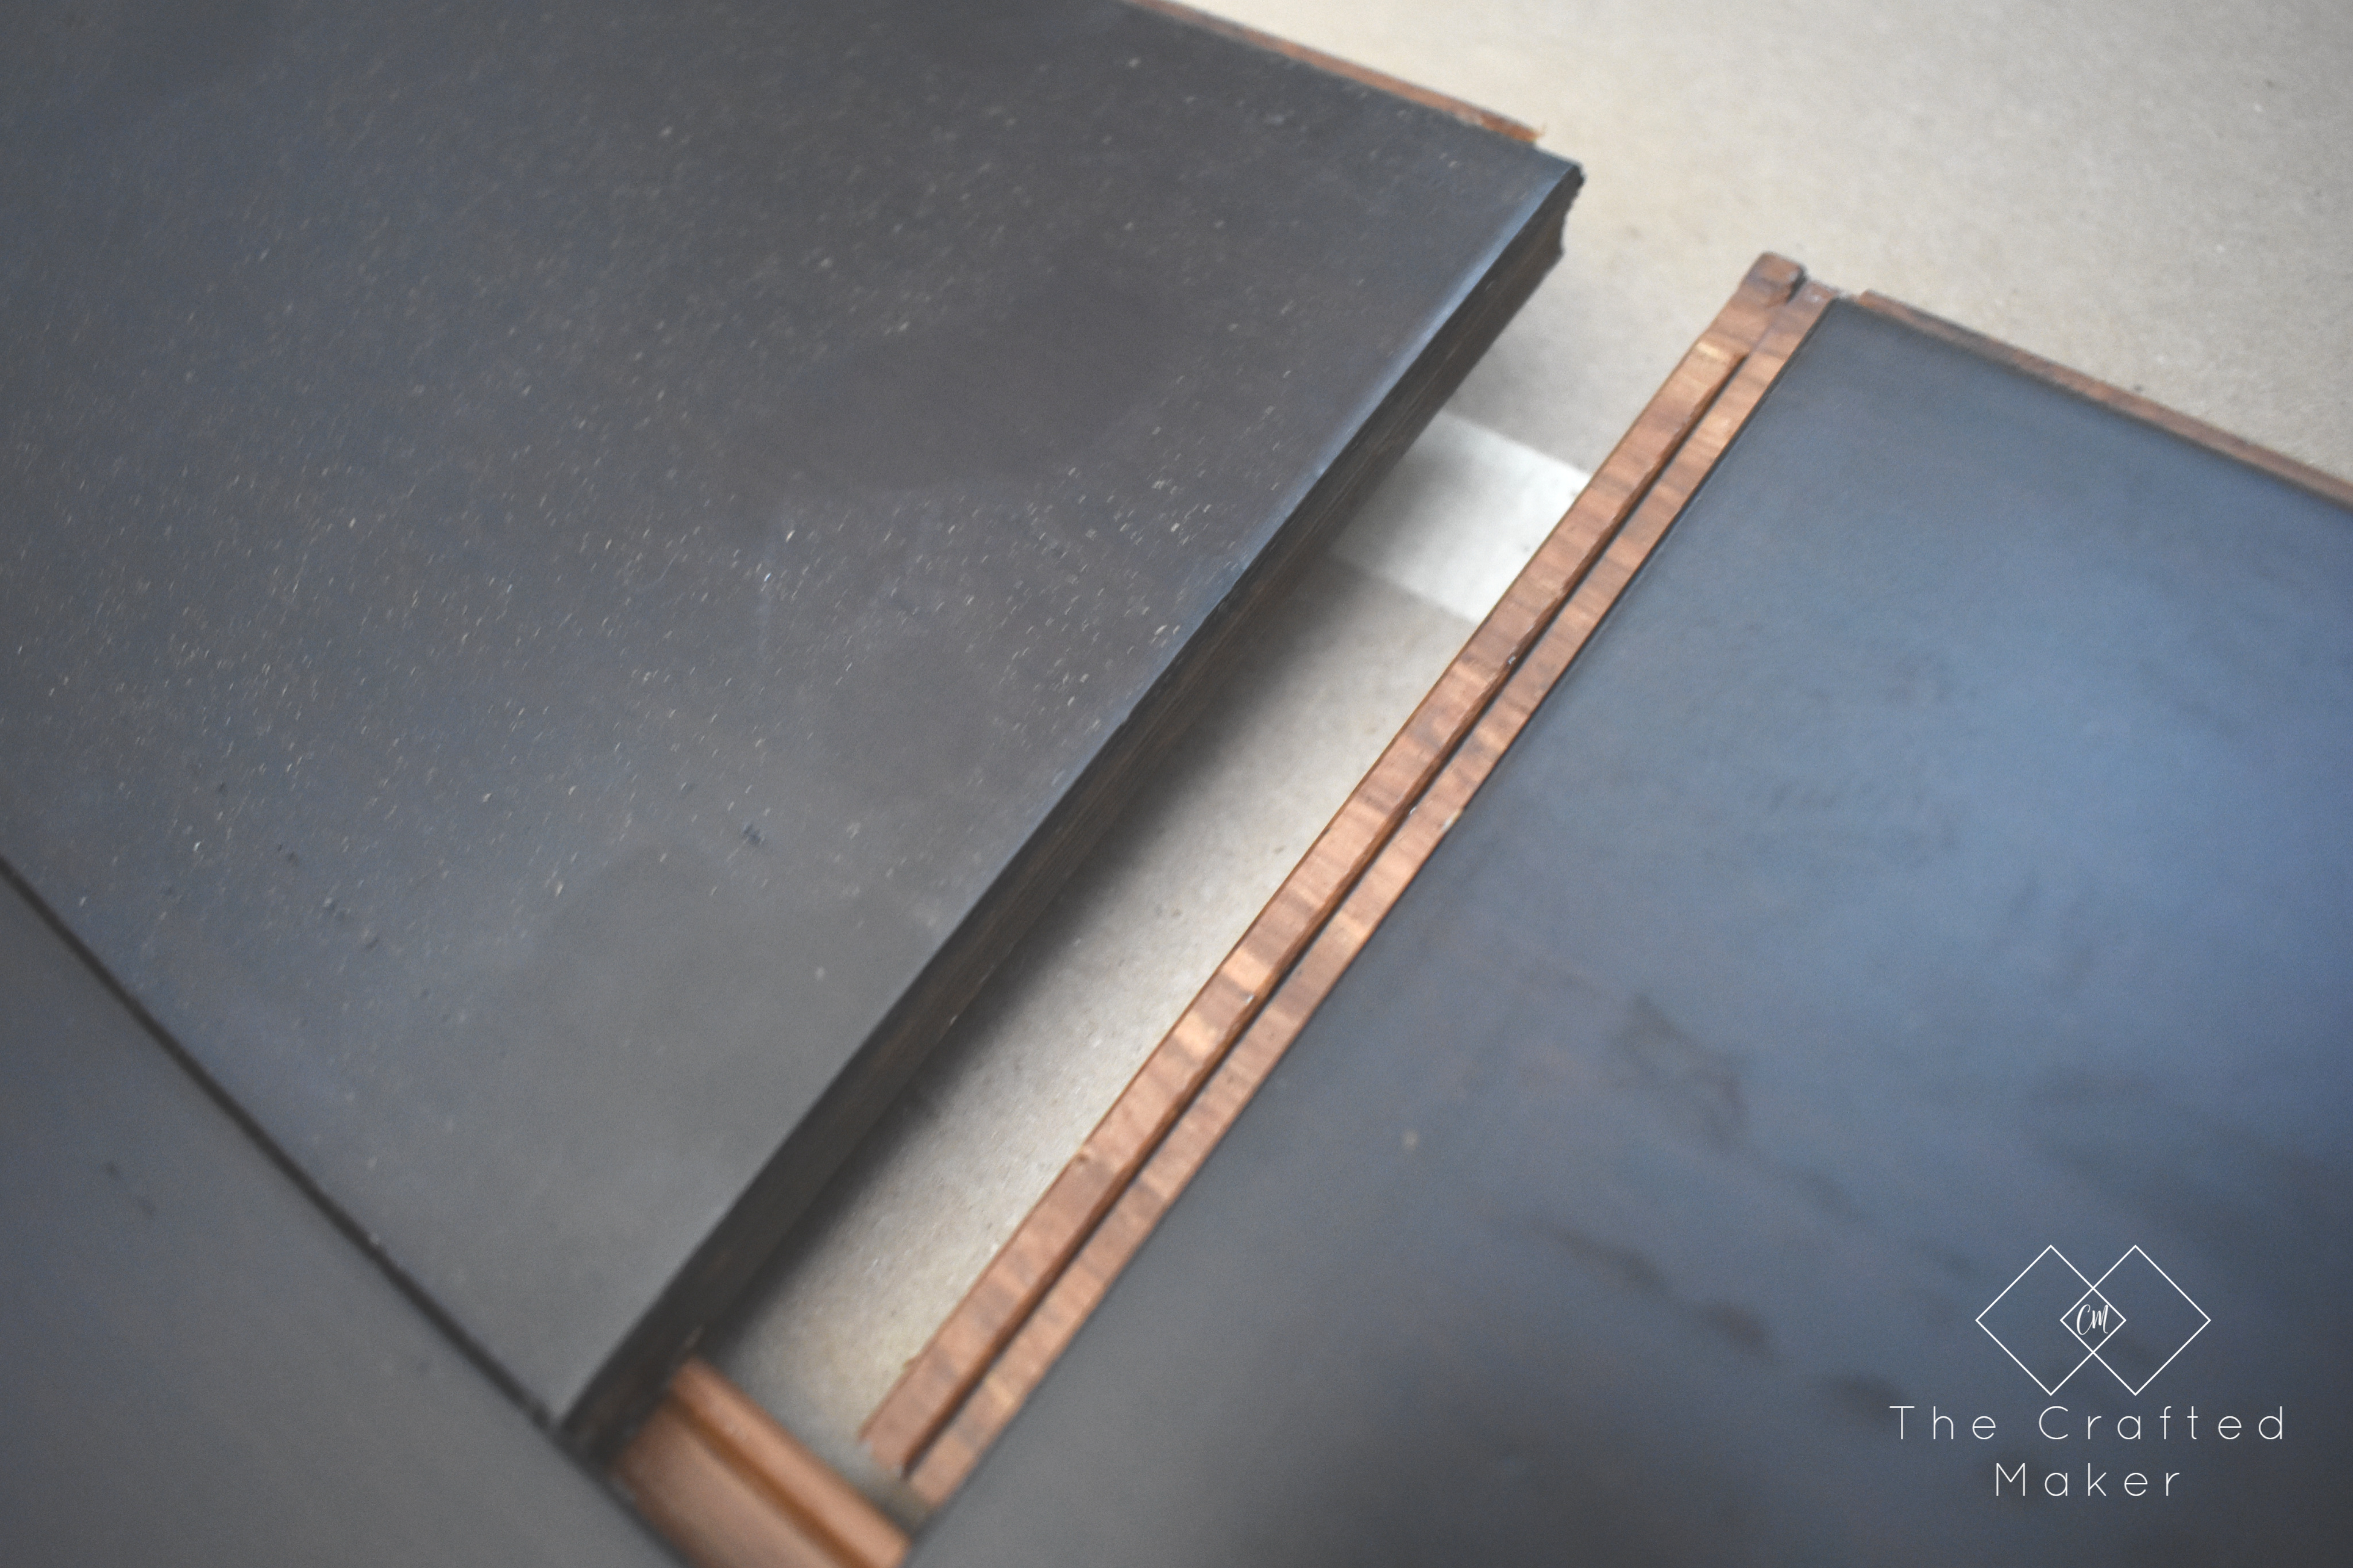
With most floating hardwood flooring, there is a “tongue” on one end of the board and a “groove” on the other. The tongue will fit into the groove channel and pop into place. Working from right to left and vice versa will change the way you will need to feed the boards into one another.
Once you get to the end of a row and a new board needs to be cut, the leftover board can start the next row.
When you have a few rows down, use the flooring tools (mallet, pry bar, tapping block) to make sure things are straight and tight.
The flooring will start to make a pattern on its own if you are not careful. Pay attention to the points where two boards meet up. The rule I like to stick to is not to have any repeating seams closer than three rows away. The pattern you are going for is complete randomness here.
Cutting around registers and doorways
Registers
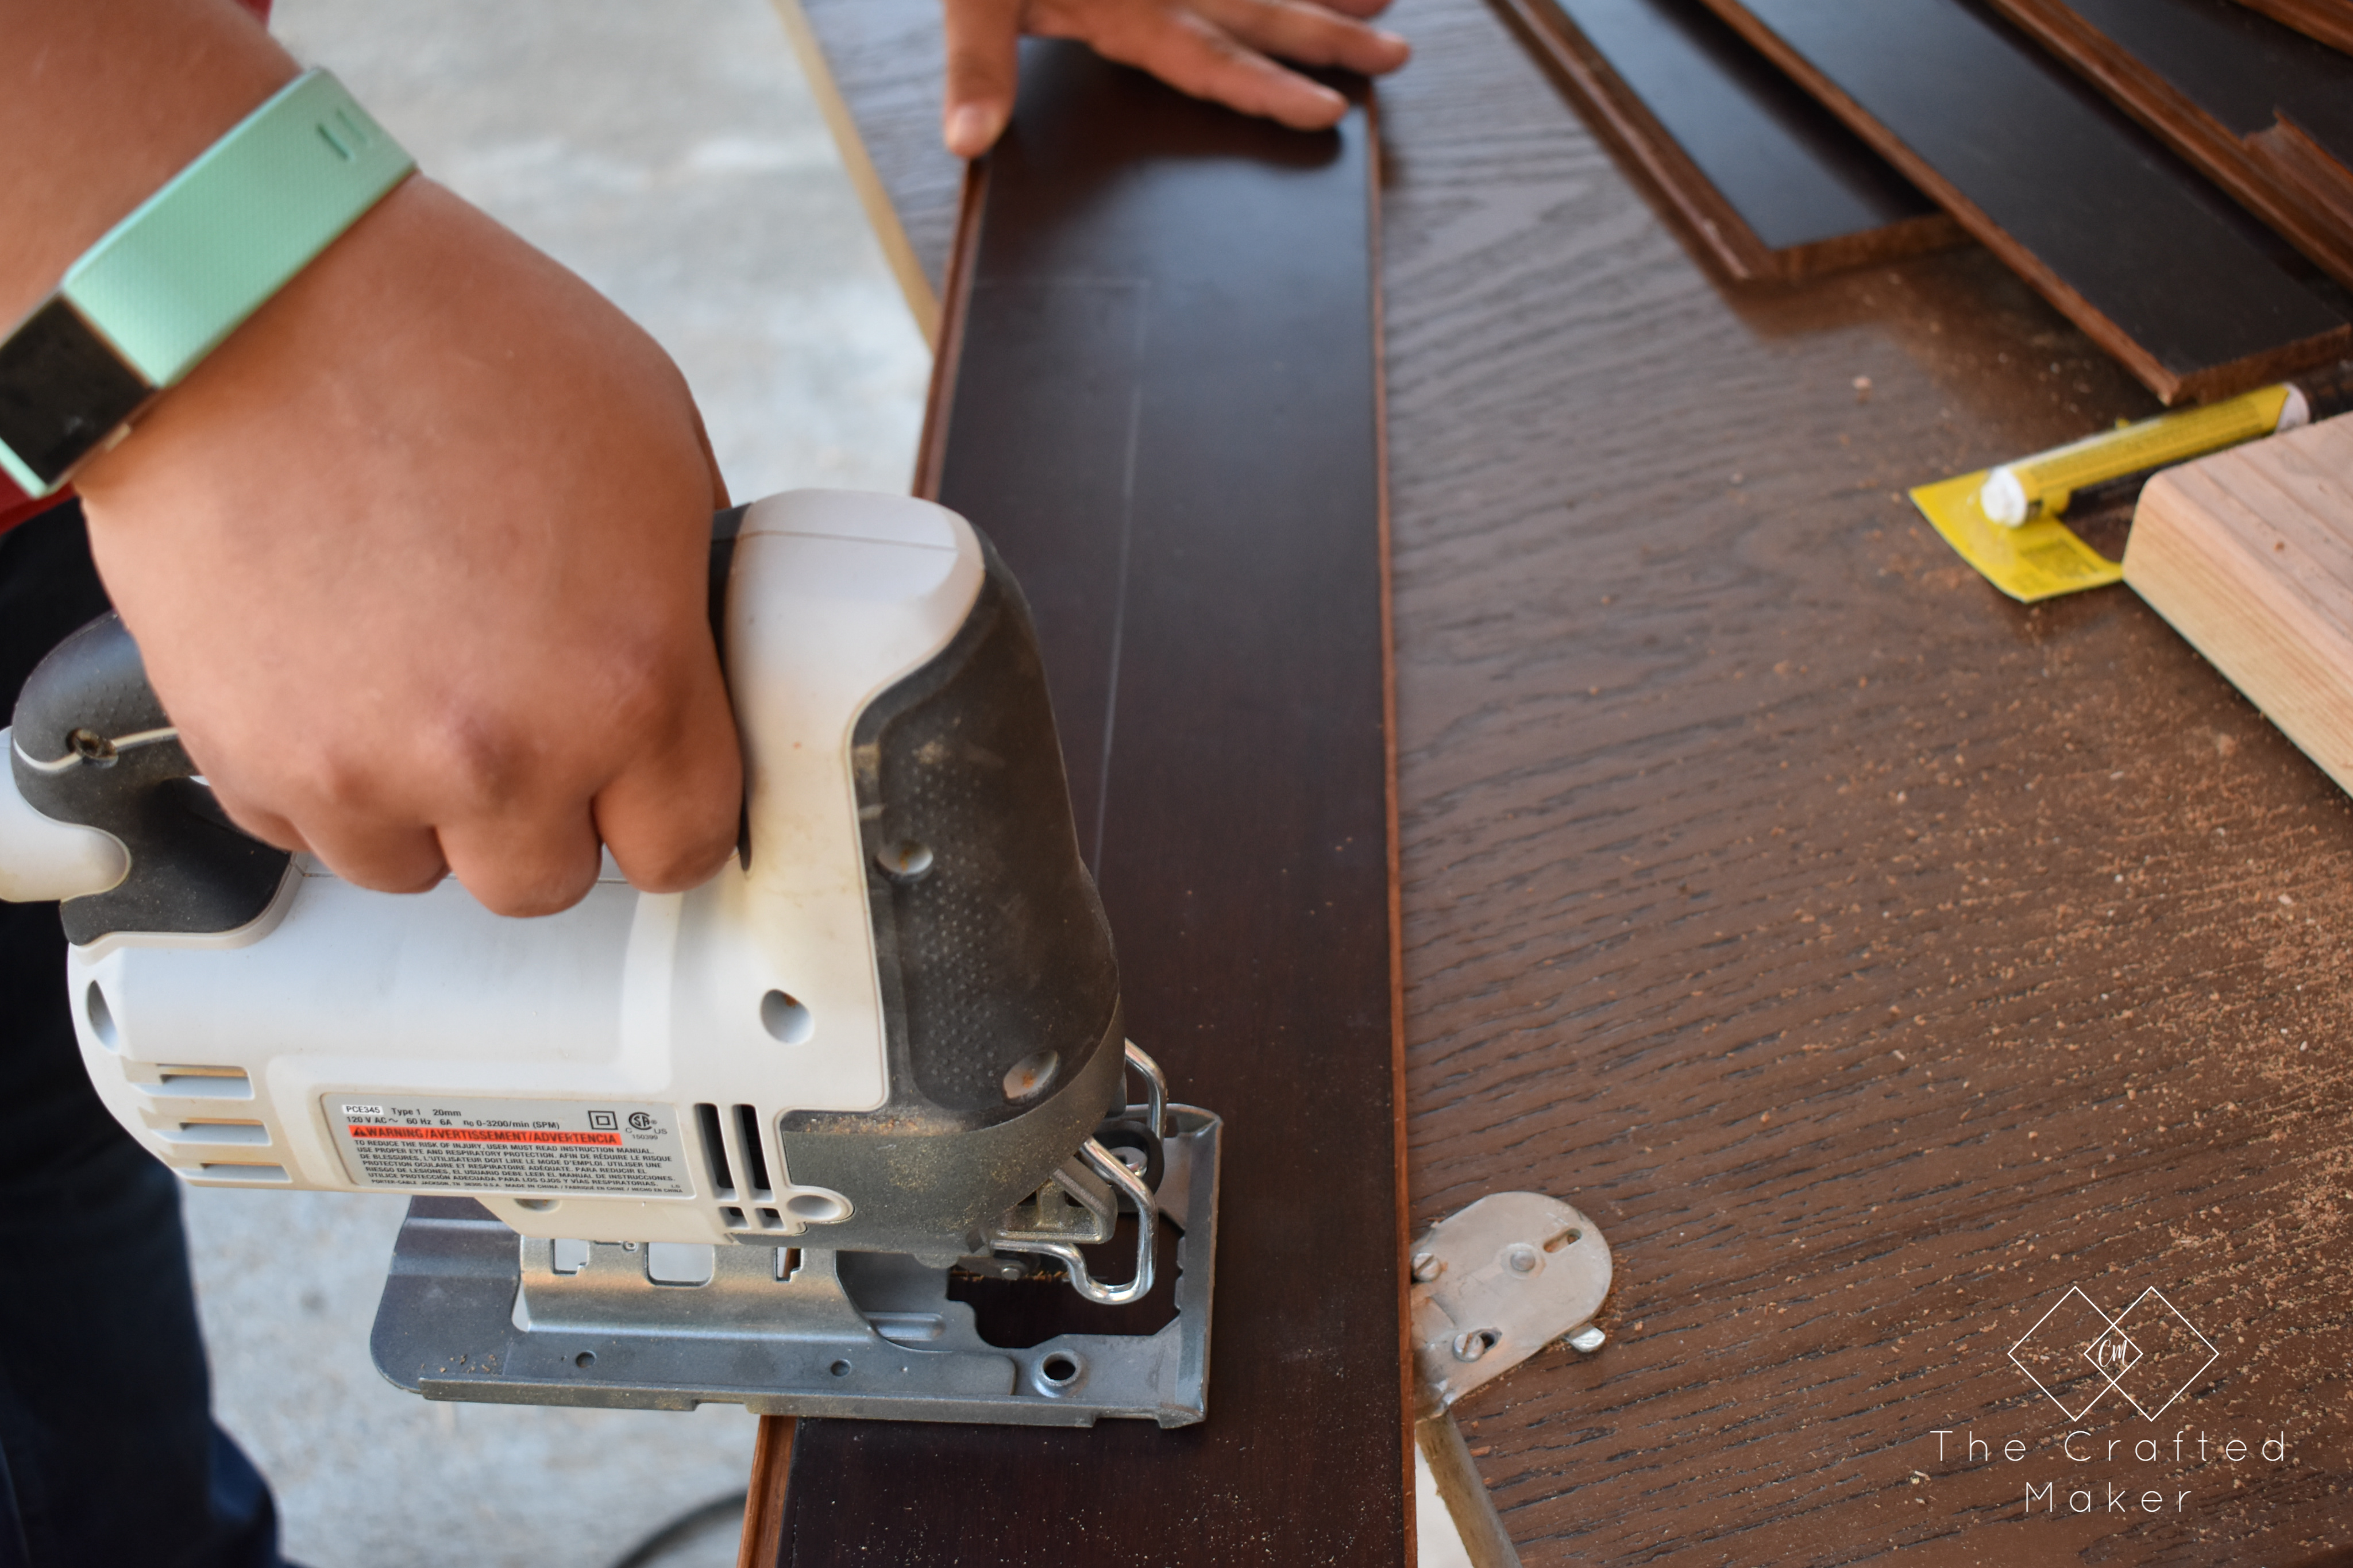
When you get to a spot that needs to be cut out, the key is to measure as accurately as possible. Many boards can be wasted when cutting out for things such as registers and around doorways if you are not careful (I tell you that from experience). Also, with floating flooring, there is a good chance the register hole will span across more than one board.
The best thing I have found for this job is a jigsaw. I like a corded jigsaw (they have more power in my opinion), but there are many cordless options on the market.
Doorways
Working around doorways can sometimes be tricky. If going from room to room with the flooring, you have several options.
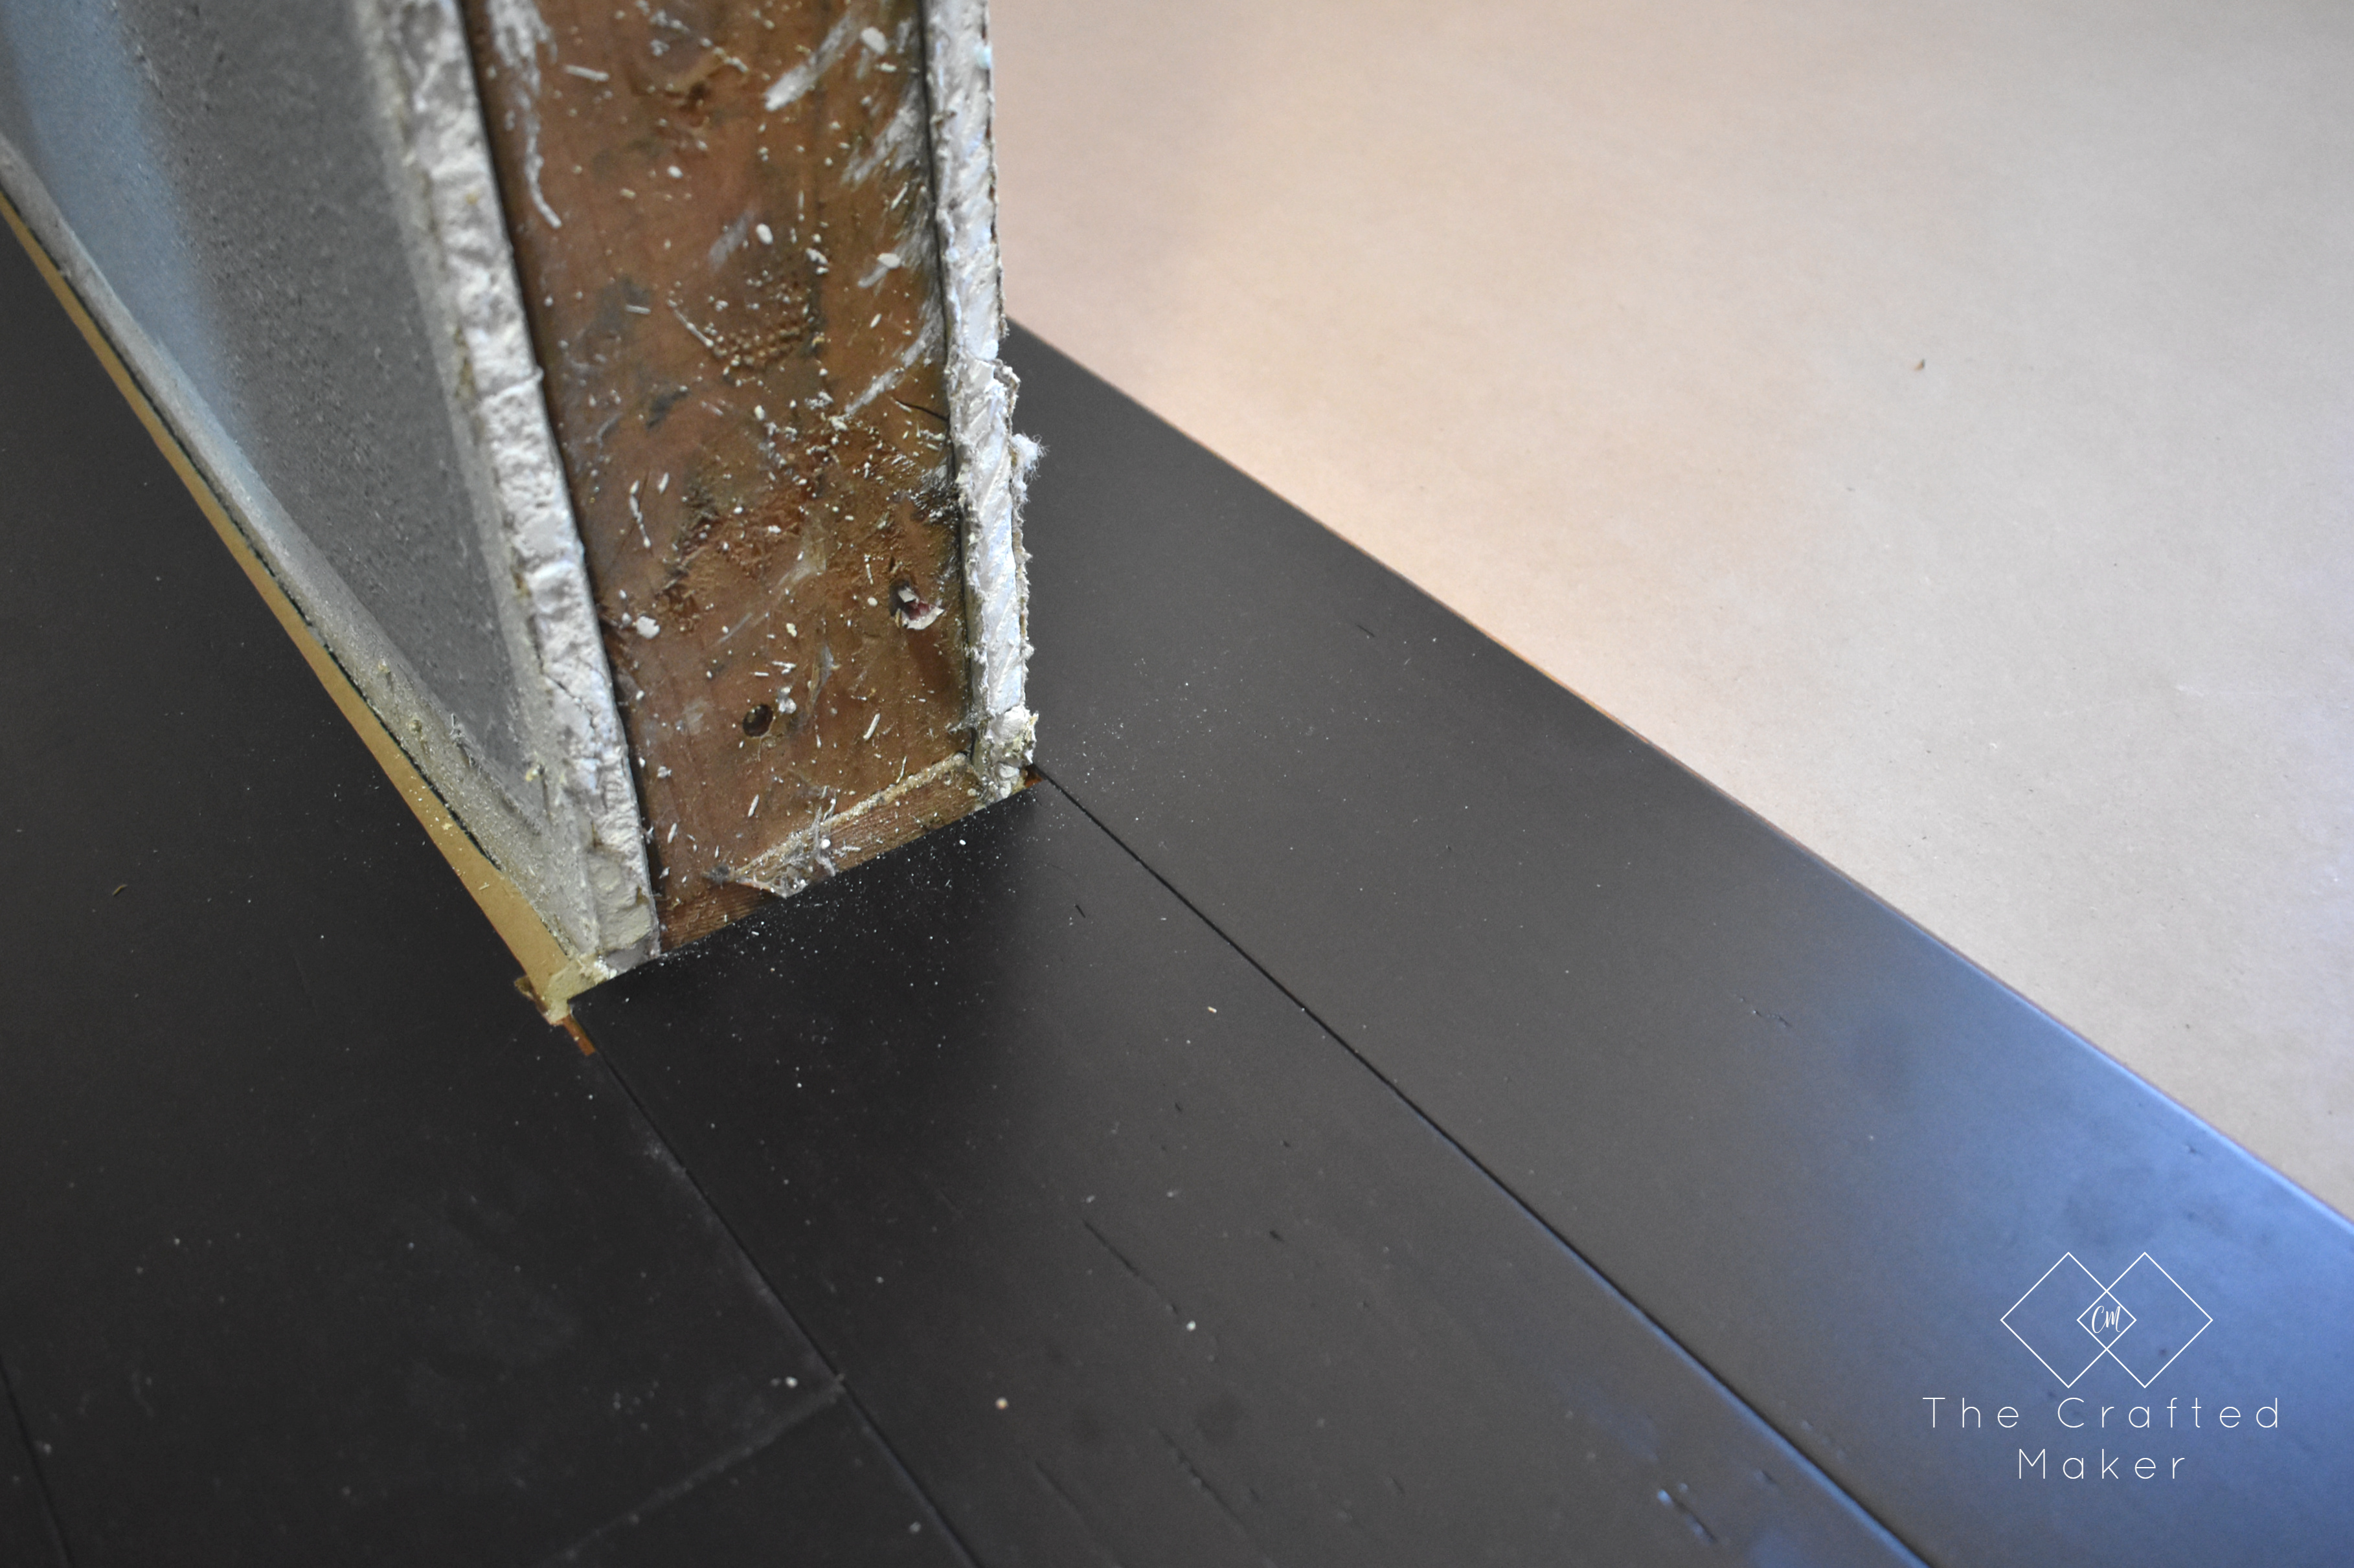
- Cut out space at the bottom of the door jamb so the flooring can slide under it.
- Take the door jamb out completely to get an uninterrupted flow.
- Use a transition strip going from room to room.
The easiest option which still looks good is to cut space out of the bottom of the door jamb and slide the flooring under it. With the latest floor I installed, the doors were already going to get replaced so I removed them completely. This looks so nice but unless you are replacing doors, it’s completely unnecessary.
Well, that pretty much it! You will have a new floor installed in no time at all. Here are a few things to remember:
- Keep an eye on the pattern of the floor so the pattern doesn’t get to consistent.
- Measure and cut around registers and doorways carefully to avoid waste.
- Tap the flooring every 2-4 rows to make sure it is straight and tight.
After the floor is completely installed, you can add your baseboards and stand back to look at what you have just accomplished! Yay, you!!
How to Install Floating Hardwood Flooring Articles
Preparation
Installation
Care
Pinning is always appreciated!