Hardwood flooring can add so much beauty and warmth to a house and despite what some might think, it’s actually pretty easy to install. To do this, all you need are a few items and some preparation. Let’s begin!
Floating Hardwood Flooring Preparation
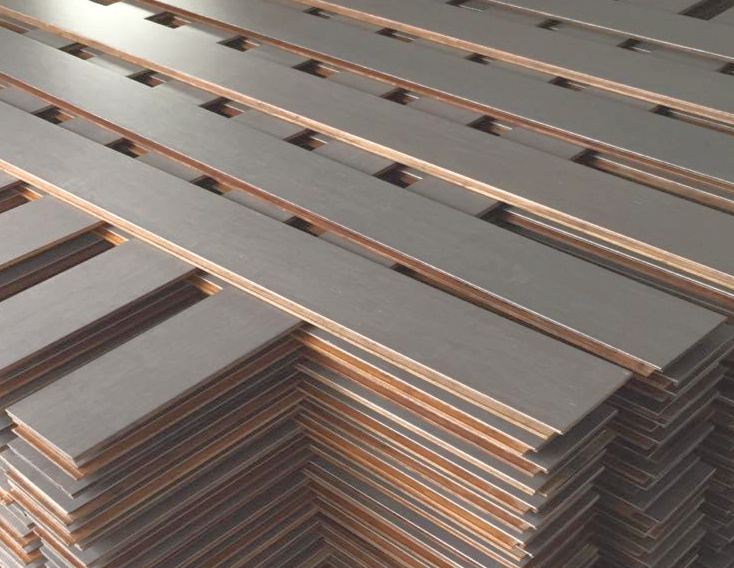
Hardwood Flooring of Choice
Underlayment (I use paper)
- Tape to secure underlayment to floor
- Knife to cut the underlayment
Saws
- Miter or table saw to make straight cuts
- Jigsaw to make cuts around heating vents and difficult angles
Flooring Kit
- Spacers
- Pry Bar
- Tapping Block
- Mallet for Tapping
Safety and Comfort Gear
- Knee Pads (trust me on this!)
- Safety Glasses
The first step in installing floating hardwood flooring is the preparation.
Preparing the subfloor
If the flooring is going into another room or around a doorway, you will need to either take the casing off completely or use a hand saw to cut the door jambs which will allow the flooring to be slid under them making a better and professional finished floor. Also, take this time to carefully take out any baseboards in the room. This makes installation easier and you will not take a chance on hurting the baseboards. If they are in good condition, reuse them once the floor is installed.
The subfloor needs to be clean, level, and free of excessive moisture.
Clean
- Clear of all debris
- Free of hardware (staples, nails, tacks, screws)
- Free of old flooring sticking up (old unlevel vinyl, mortar from tile)
Level
- No uneven surfaces of old flooring
- No dips or low spots
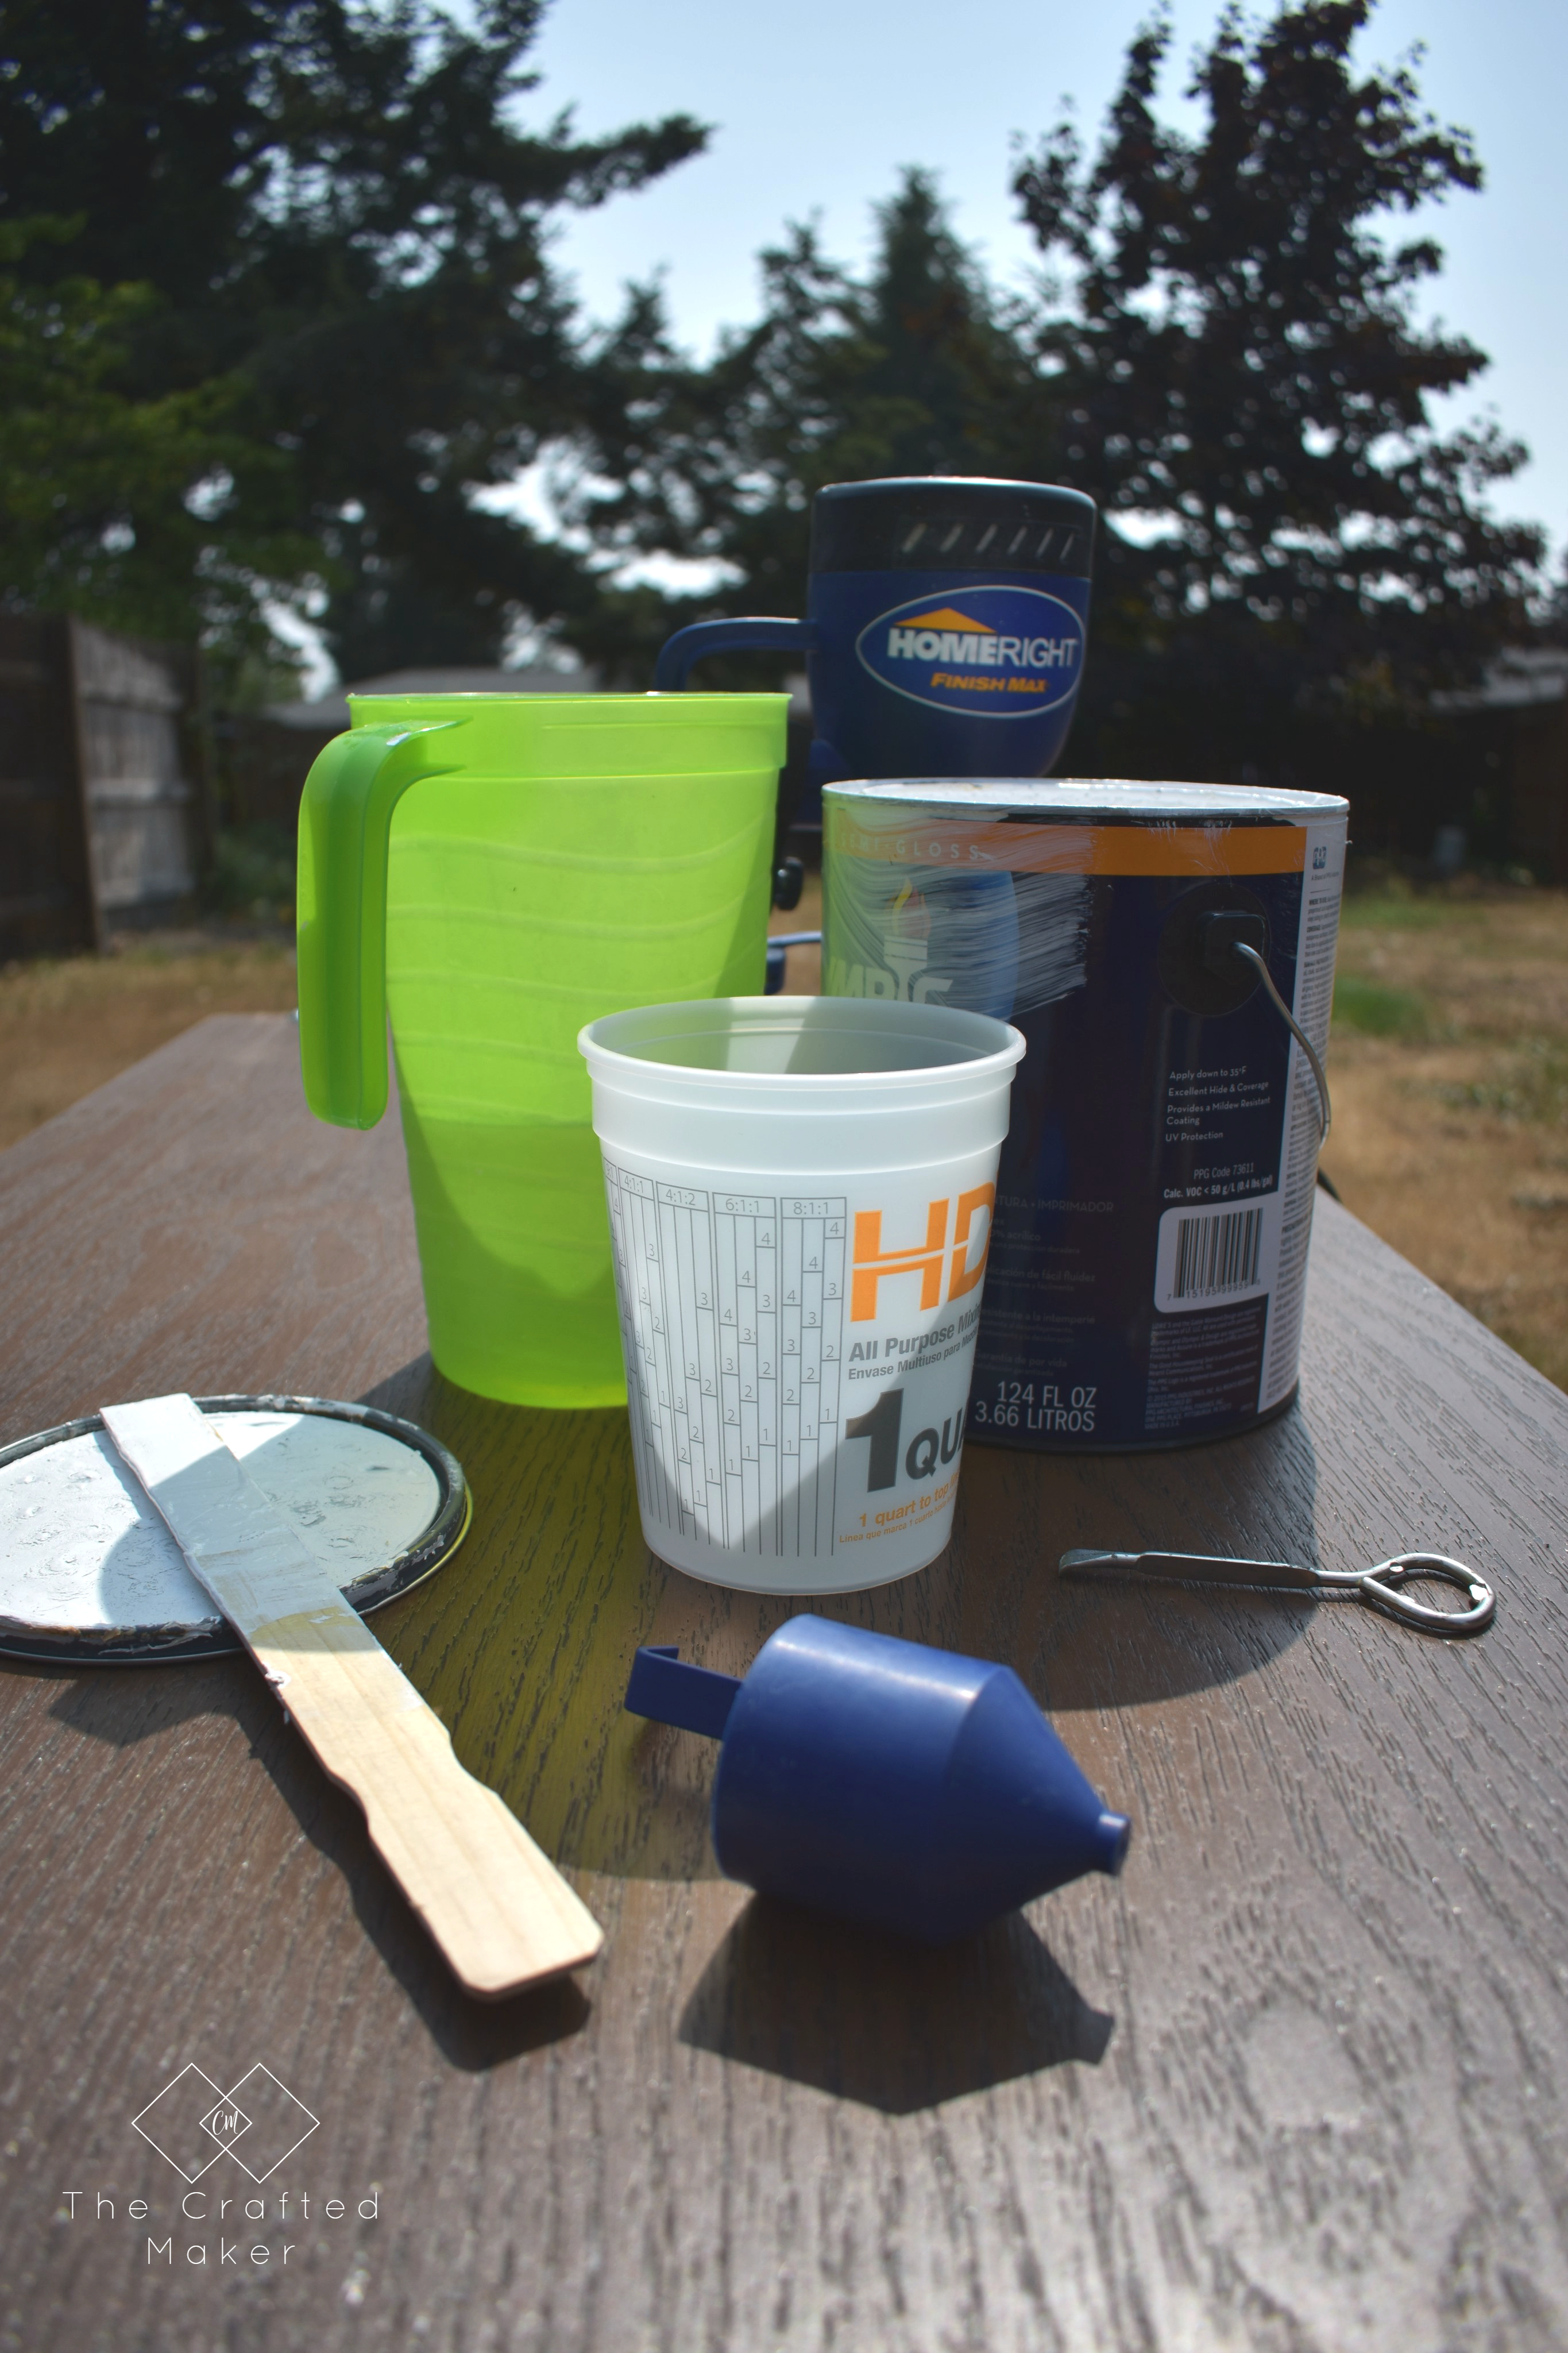
The best way to take care of unlevel surfaces is by applying floor leveler. This is a dry ingredient you mix with water. You can find floor leveler in many places online and in most hardware stores, big and small.
Free of Excessive Moisture
- This one is very important. A high moisture content can completely ruin many types of hardwood flooring. There are tools that will show you the moisture content of your flooring.
Once you have all of these areas taken care of, the subfloor needs an underlayment. I personally use paper, but there are many to choose from.
Types of Underlayment
- Paper
- Felt
- Cork
- Rubber
- Foam
The underlayment should be placed on the floor and attached according to the manufacturer’s instructions.
Preparing the wood flooring
Most floating hardwood flooring needs a period of time to sit in the final space to go through a process of acclimation. This process will help the wood adjust to the new environment.
Acclimation will help prevent situations like
- cupping
- gapping
- exaggerated expansion and contraction
Each company has their own guidelines for the length of time and the manner in which you need to allow your flooring to acclimate.
Here are a few guidelines (from my experience with wood flooring) to follow.
- Allow the flooring to acclimate where it will be installed
- They should not be placed in an uncontrolled environment (no heating or cooling)
- According to manufacturers instructions place on a raised surface, such as the pallet the flooring came on, and cross-stack the wood flooring. This will allow air flow and more room to acclimate. Some manufacturers will instruct you can lay the boxes on the ground with the ends open.
We are off to a good start. The subfloor and the wood flooring is prepped and ready to go! The next thing is the actual installation. I will be back shortly for that. You need time for your flooring to acclimate anyways : )
How to Install Floating Hardwood Flooring Articles
Preparation
Next Tuesday – Installation
Following Tuesday – Care
Pinning is always appreciated!