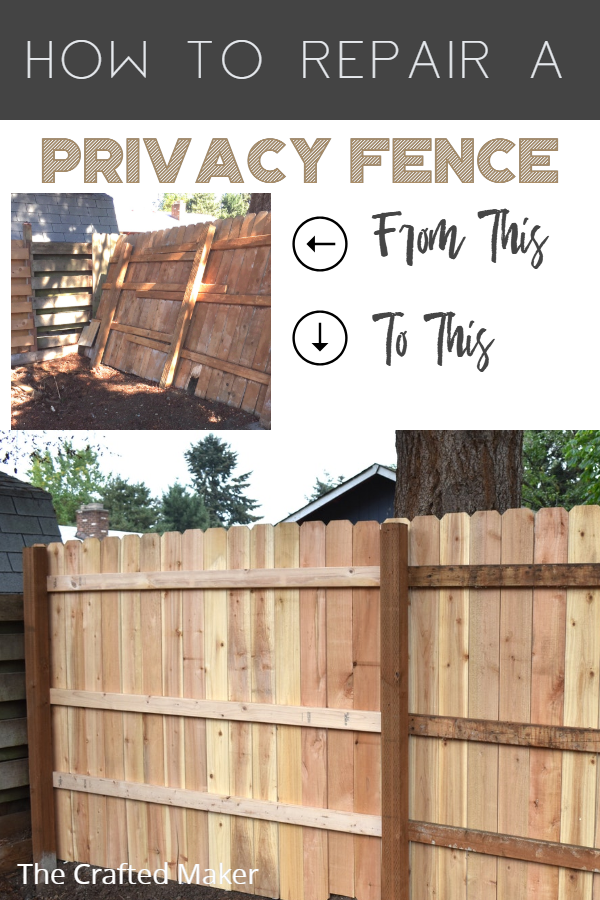
Today’s tips and tricks Tuesday is all about how to repair a privacy fence. This is a common project for many homeowners, and can be done in a weekend. Enjoy!
Privacy fences are a great thing to have, especially if you live in a subdivision. They can add to the property’s aesthetic feel and are great if you have large or small dogs. Just like anything left outside, they can get damaged over time from the elements, high winds, or from not being installed properly in the first place. I have this situation at my house now. The fence was older, but still in decent shape except for a couple of sections. The 4 x 4 posts had completely rotted off at the bottom because they were not placed into concrete when the fence was built. I’m not sure why the previous owner did this, I just knew it needed to be fixed.
Here is how to repair a privacy fence. Remember there are multiple ways of doing this with a variety of different materials!
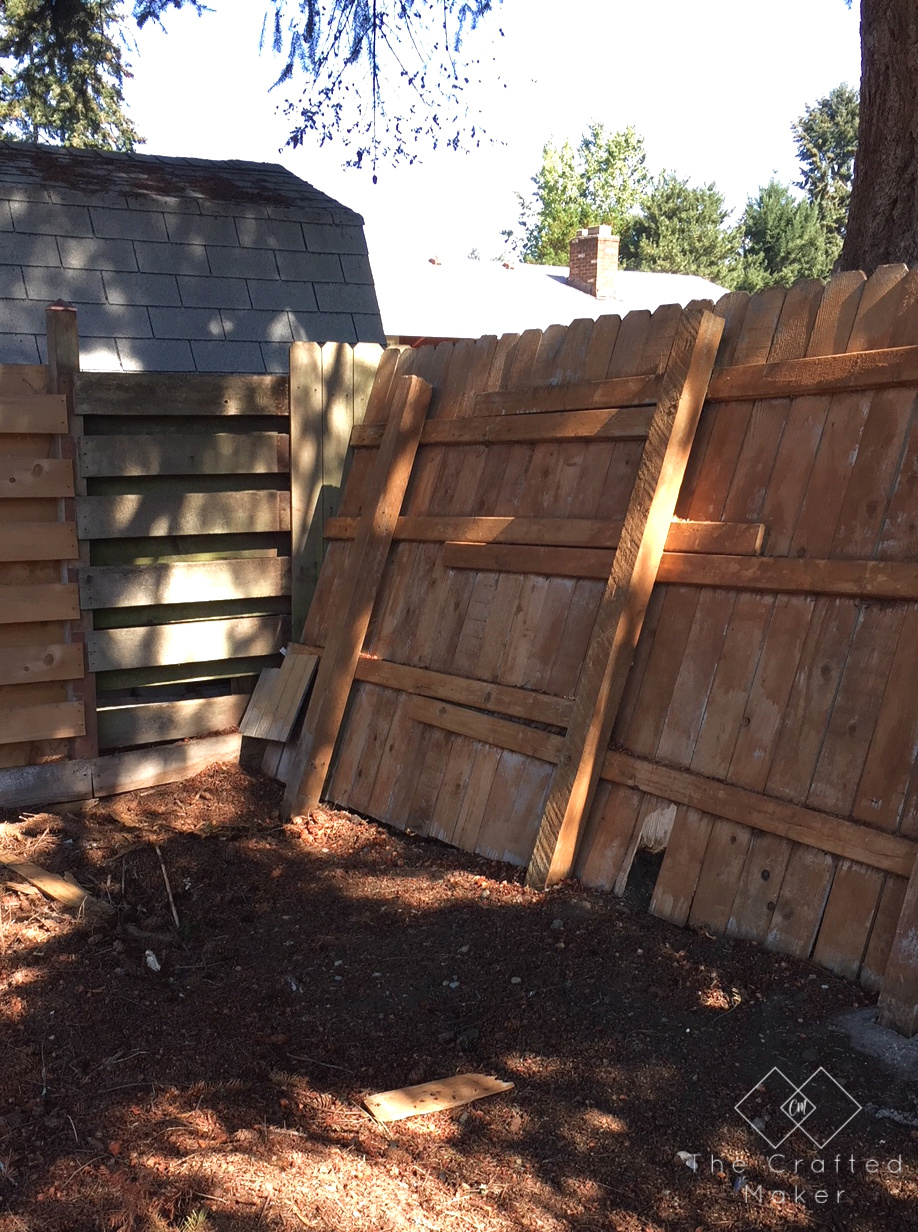
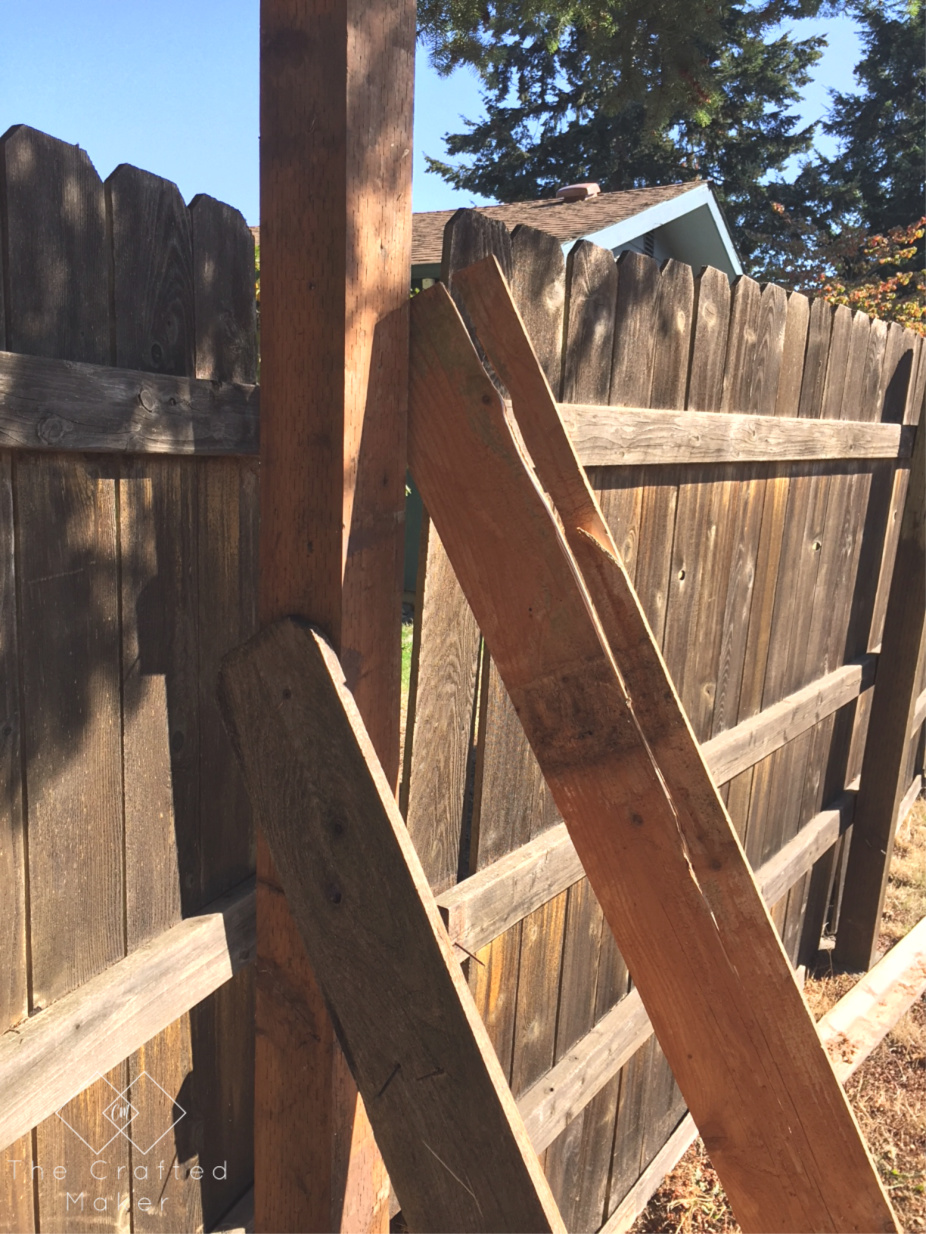
The picture below shows what the fence looked like before. Notice the board in the corner holding it in place! Nice huh? At least I didn’t have to replace the whole fence!
The first step in successfully repairing the fence was to disassemble the bad part. I was replacing three panels and a total of 4- 4 x 4 posts. The posts suffered from wood rot and were literally falling apart. A common sign of this is a slight lean of the posts starting at the bottom of the post.
I was in the zone when the fence sections were coming down and I didn’t get any pictures of the process. We just used a hammer to take off the old fence pickets and the 2 x 4 runners. The 4 x 4 posts were easy to get rid off, they were literally rotten where they came into contact with the ground.
Digging the Holes
Since the 4 x 4 posts were rotten at the ground level, we needed to move the position of the new holes. This was pretty easy because the fence is being repaired on the end. If this was a middle section, you would need to take into account the placing for the look of the fence.
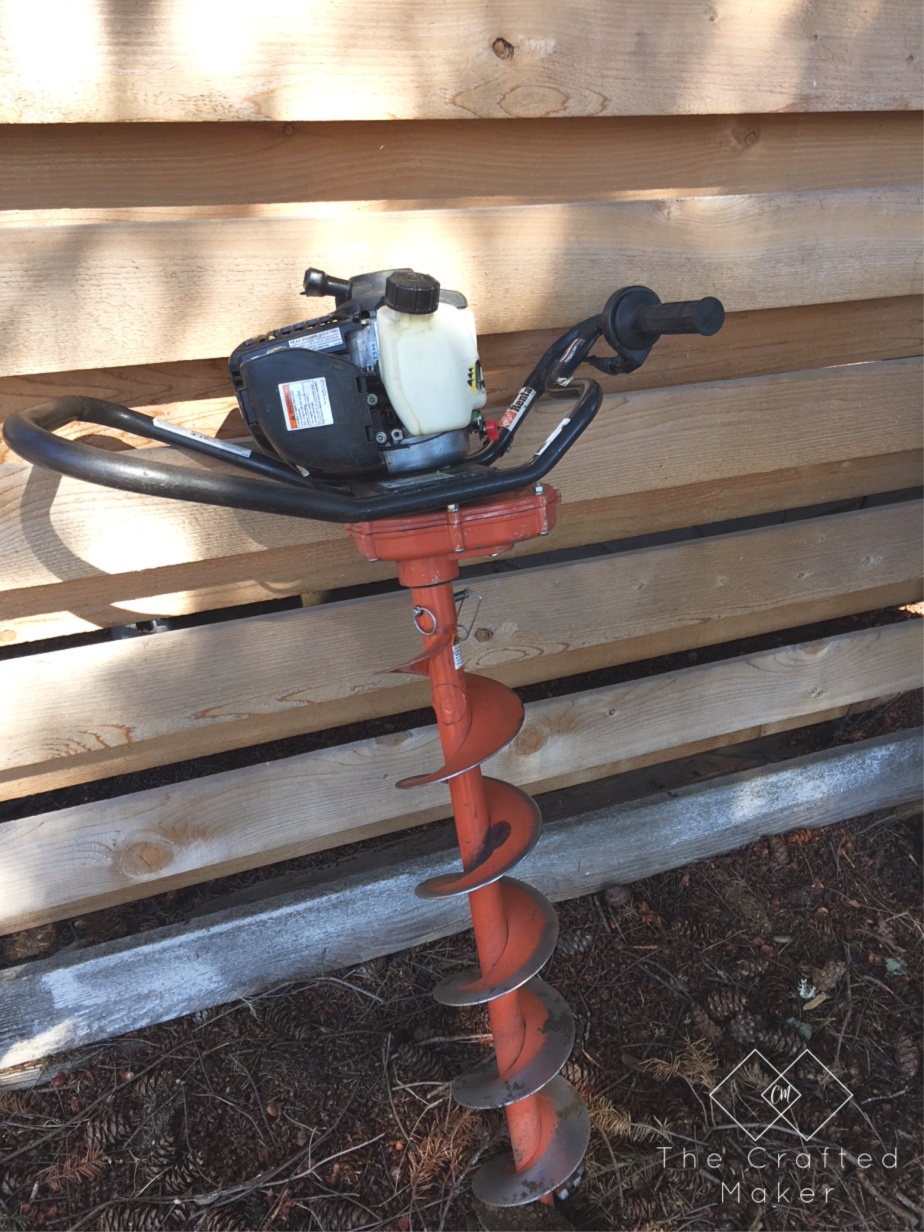
The land at my corner of the world is pretty rocky, so I decided to rent an auger. This is just a one person auger, but boy does it have some power. These tools are so fun to use, but be careful, this thing can get away from you pretty fast.
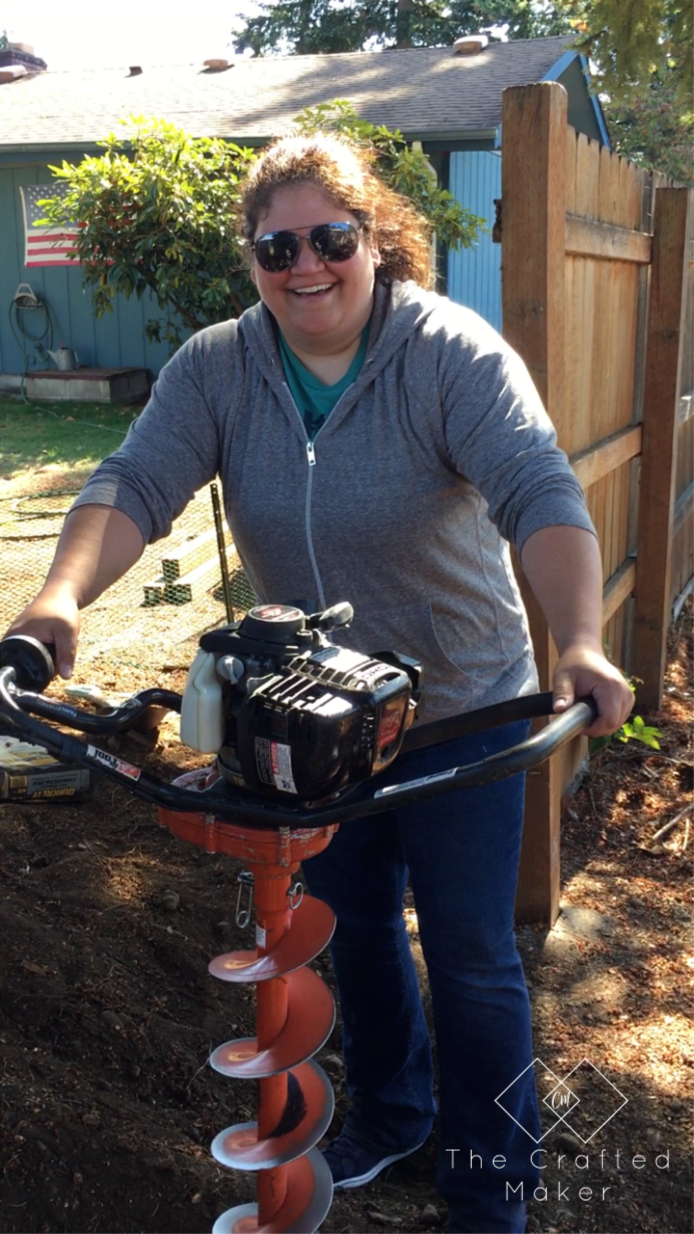
The actual process of cutting only took about 20 minutes for all four of the holes. If you don’t have rocky ground, it would probably take even less time. Can you tell from the look on my face that I loooove using the right tools like this!!
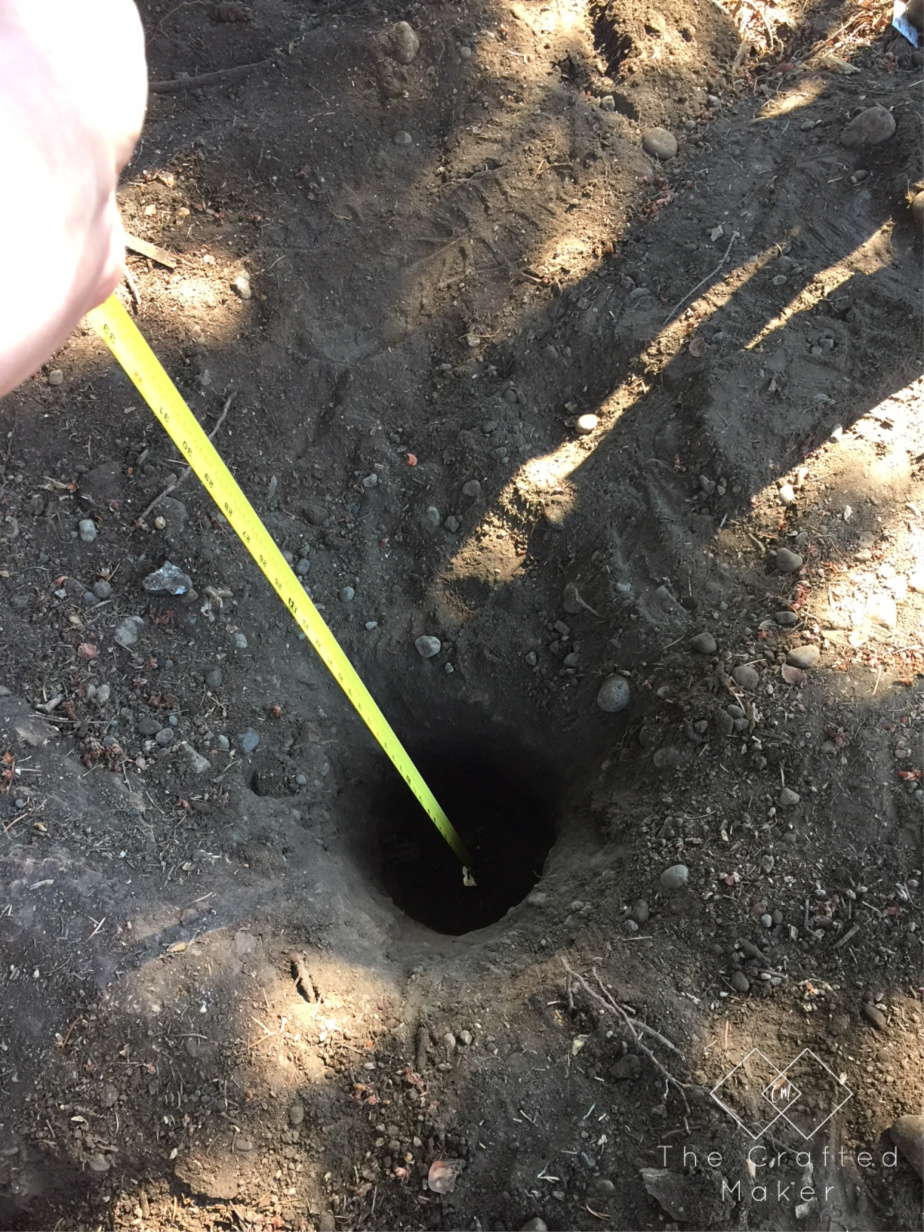
Using the auger, I dug out the four holes for the 4 x 4 posts. The recommended depth for privacy fence posts is around 18″ – 24″. I reached the 18″ depth and stopped digging.
Setting the Posts
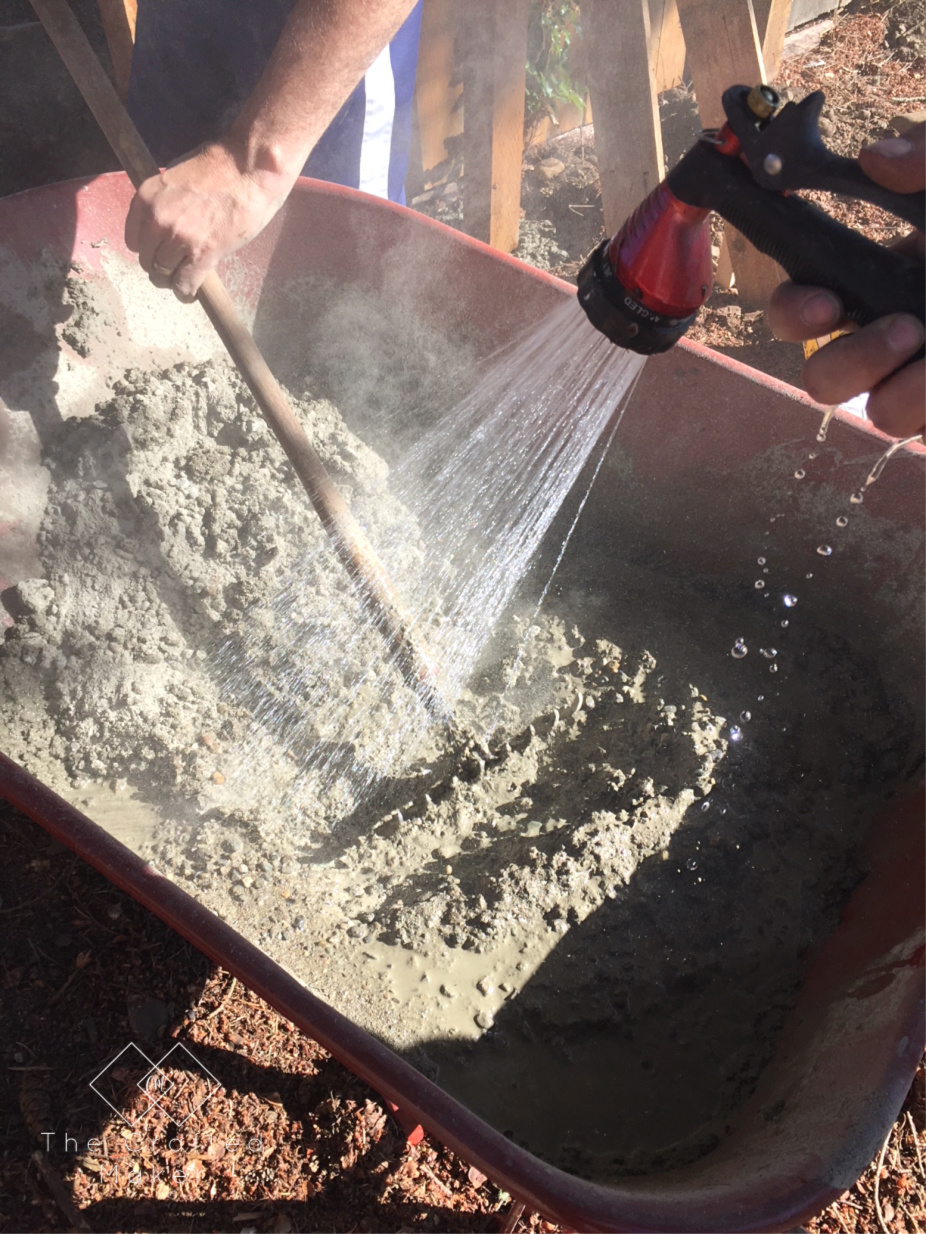
Setting the posts is the next step in this project. Using a wheelbarrow, add some water to concrete and mix until you get the right consistency. There are many different types of concrete, so make sure to read the manufacturer’s directions when mixing.
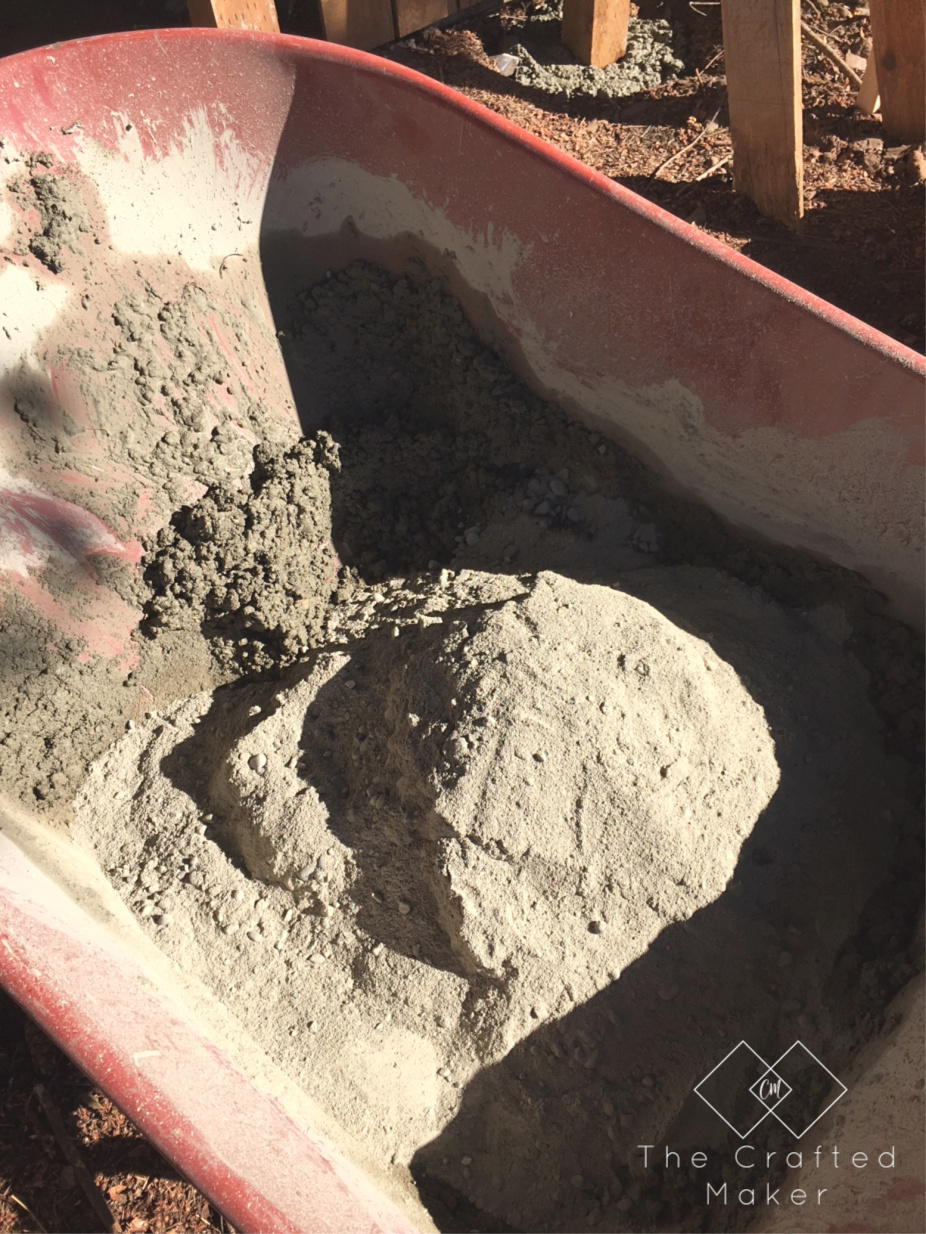
I added the water a little at a time. It is always easier to add more water, but you can’t take it away. ?
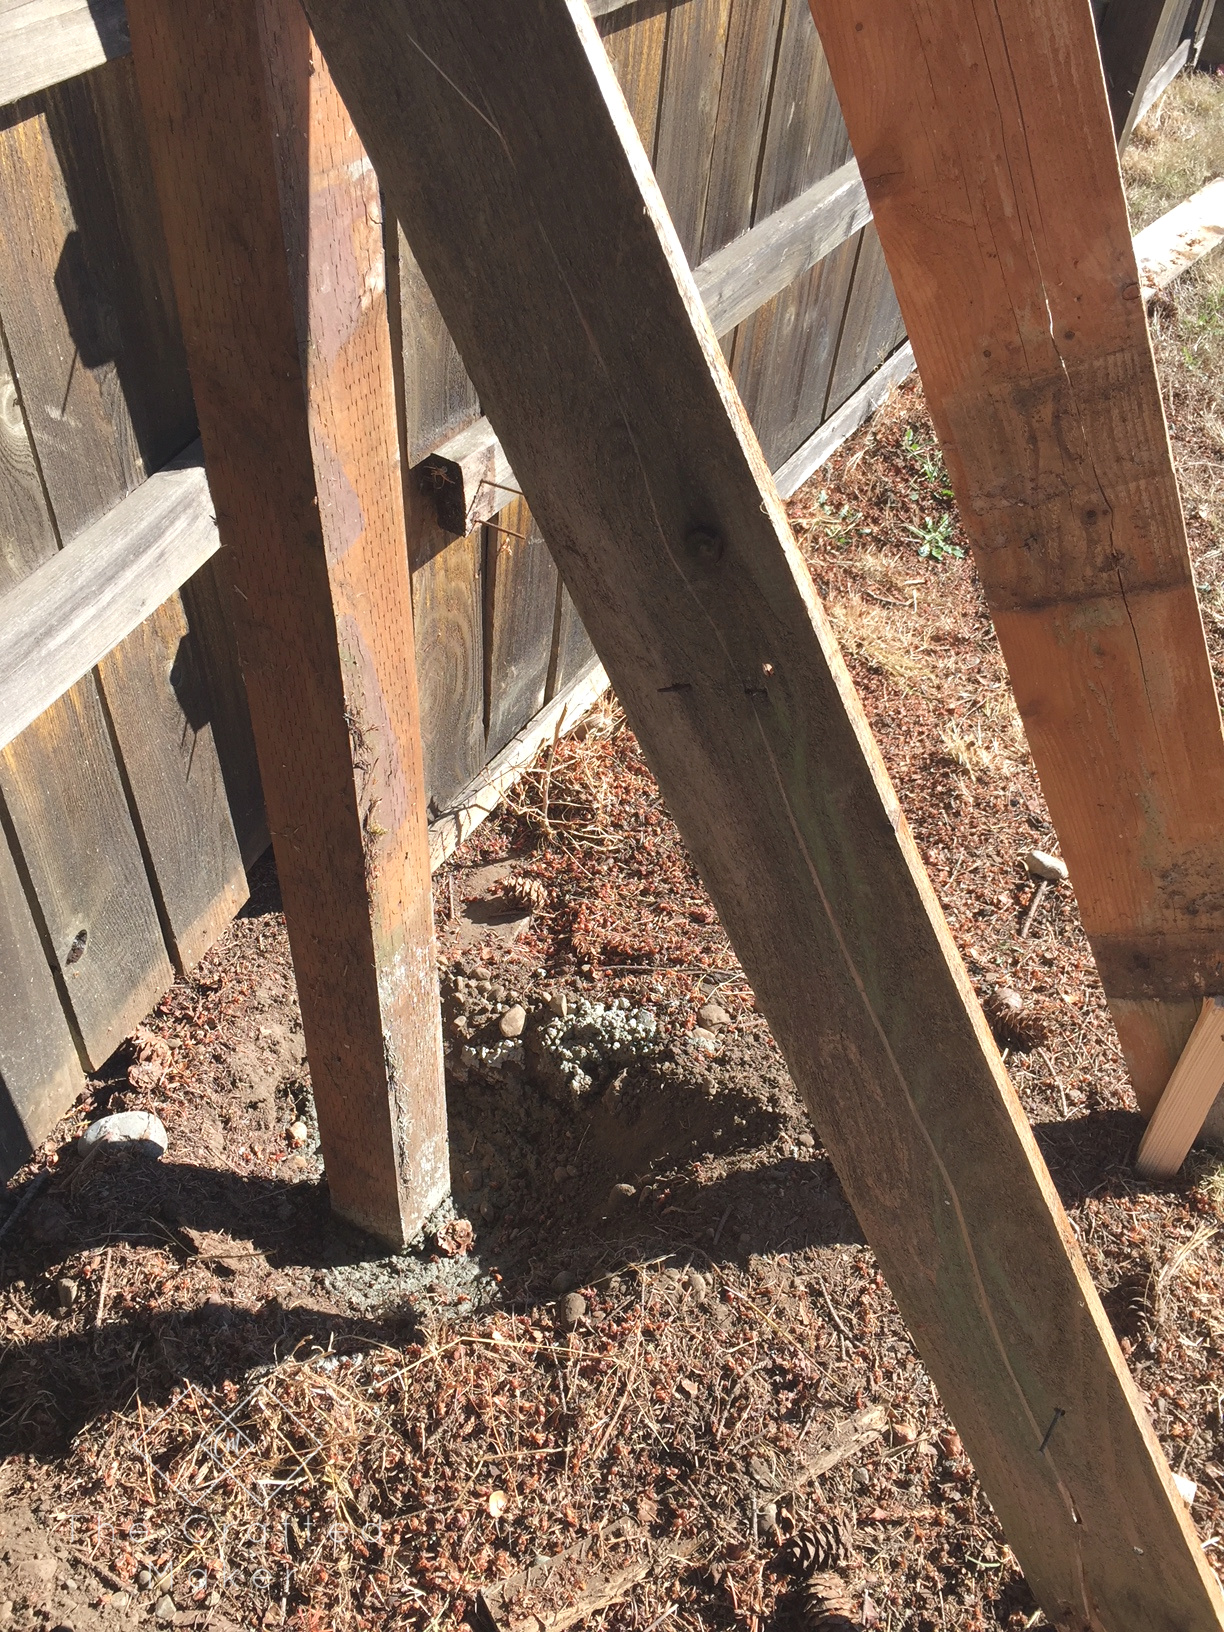
It’s time to set the posts! Place the post in the hole and pour the concrete around it, making sure to evenly fill up the hole. I used a scrap piece of wood to poke the concrete in the hole and fill any voids.

Now, grab your level, some stakes, and scrap wood. The best way to make sure these posts stay level is to brace them while they dry. I used some of the old fence pickets as braces. Drive a stake into the ground on each side of the new post and attach one end of the board with either a screw or nail. Once you have checked for level, attach the scrap board to the new 4 x 4. Do this on each side of the 4 x 4 for extra bracing.
Allow the concrete to fully set before removing the braces. The drying time depends on the concrete you are using. Instructions should be on the bag for recommended drying times. Once the concrete is dry, remove the braces carefully.
Building the new section of fence
This is the point where you will attach your new 2 x 4 braces between the posts and attach the new fence pickets. Basically, build a new section of fence. Since this fence was already built (and not measured out correctly) I am not showing this part. I plan on building a new fence in early spring where I will do a complete step by step walkthrough of the process from start to finish!
There will more than likely be a height difference between the new posts and the old ones. To make them uniform, use a saw (reciprocating is the easiest for this job) to cut the posts flush.

And that is how to repair a privacy fence. It is a great weekend project to tackle yourself instead of paying someone else to do it. You will probably save yourself some serious money in the process too! That is never a bad thing.


Pinning is always appreciated!