Hey guys and gals, to keep up with my latest projects come follow along with me on Pinterest and Instagram!
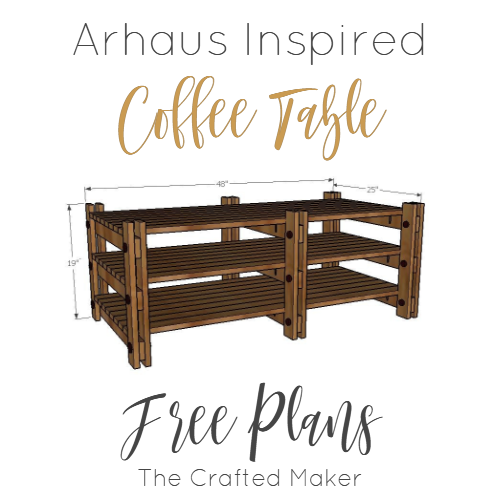
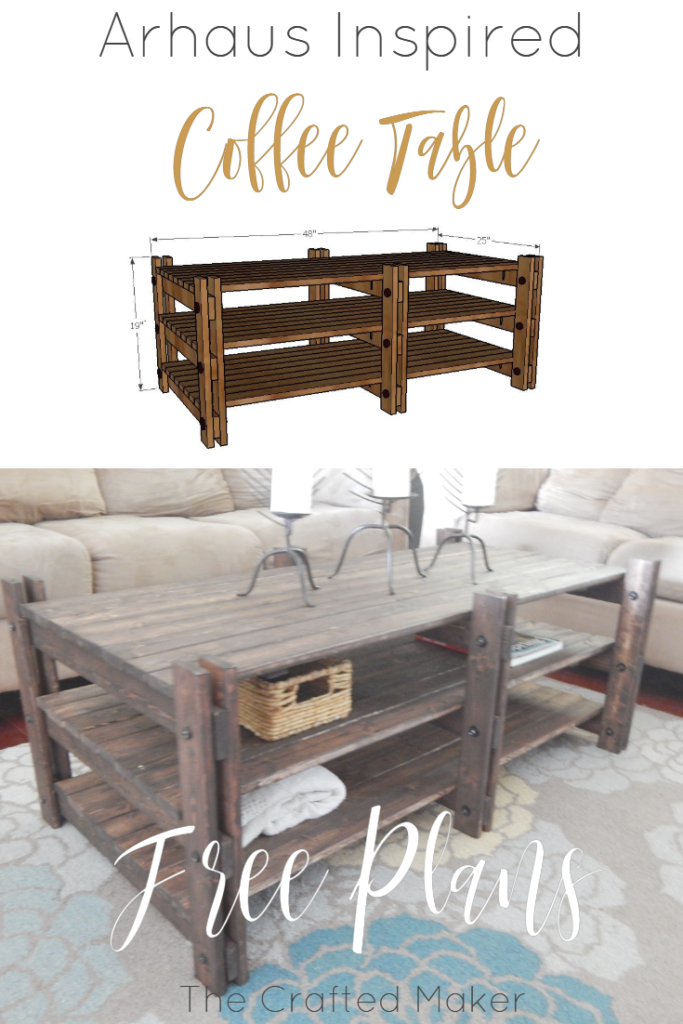
Hey everyone. I hope this Monday is treating you well. I’m pretty excited about today’s post. A little while back I made my Arhaus inspired end table. It has been my favorite build so far and I wanted a coffee table to go with it. So, after a quick trip to the furniture store with my tape measure (the sales people thought I was really weird) I started the plans. There is a downloadable PDF for you to make your own table, but I will walk you through my build step by step. Let’s get started!
This blog post contains affiliate links. I may receive compensation when an item is purchased. This allows me to bring you more free content with no added cost to you.
Tools
- Saw to cut boards to length
- Pocket Hole Jig
- Drill
- Sander
Supplies
- 18 – 1 ¼” Pocket Hole Screws
- Sandpaper
- 3/8” spade bit
- 18-3/8-in-16 x 3-in bolts
- 18-3/8-in-16 hex nuts
- 18-3/8-in x 7/8-in flat washers
- Paint or stain
- 48- 1 ¼” wood screws
Optional: Spray paint for bolts, washers, and hex nuts if they are not available in the color of your choice. If spraying, do this before assembling the table. Give the paint plenty of time to dry.
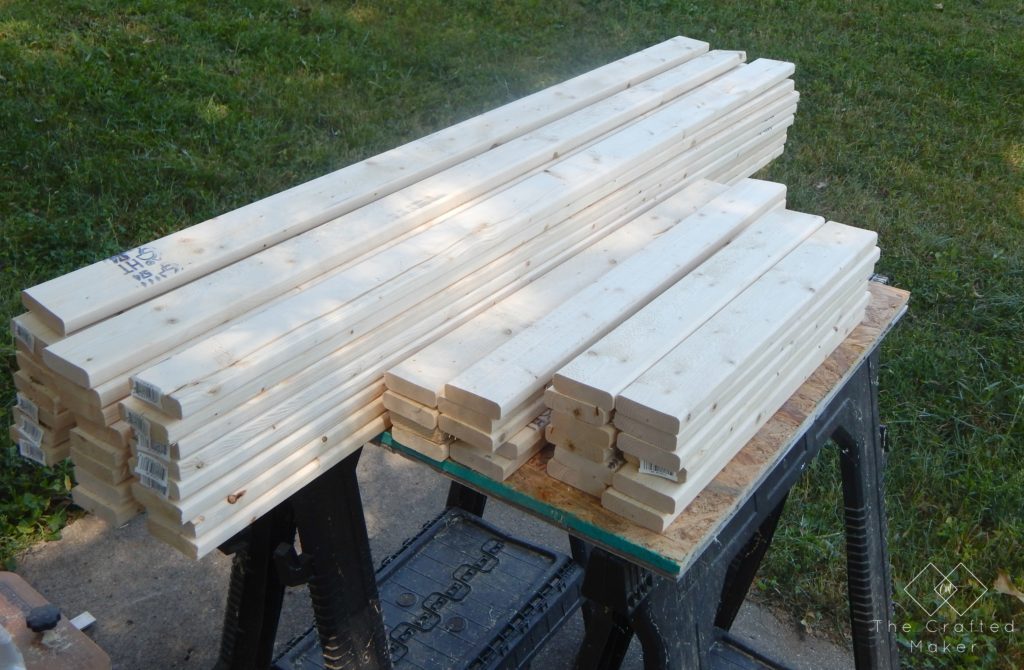
First things first, I cut all of my boards according to the cut list.
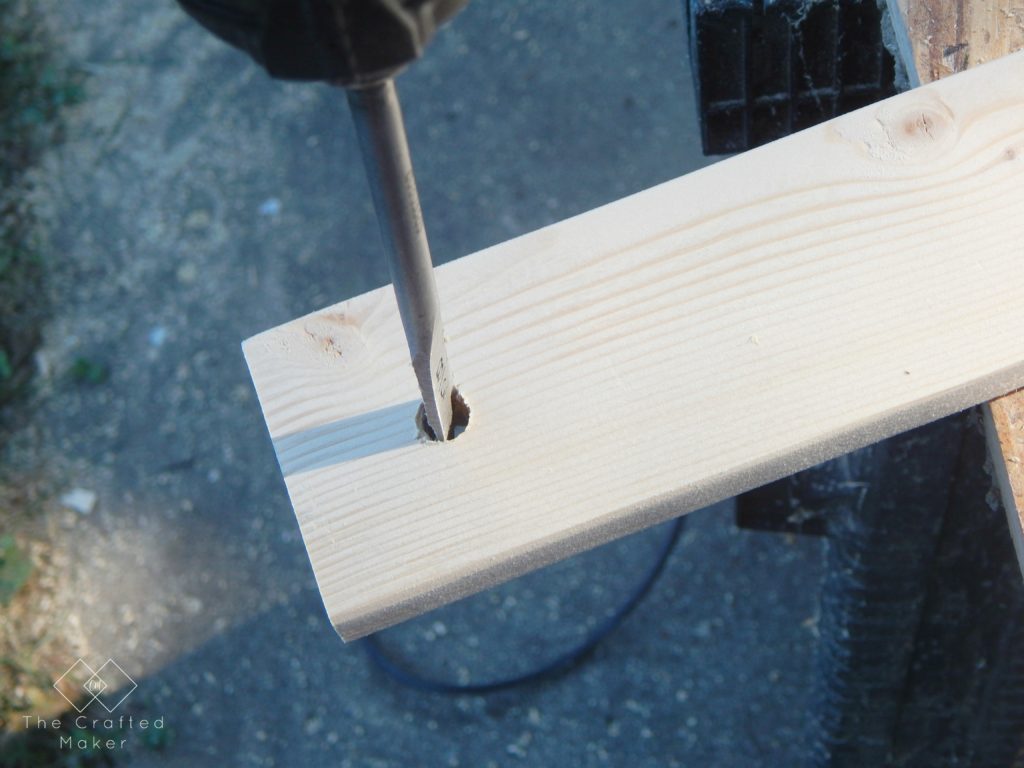
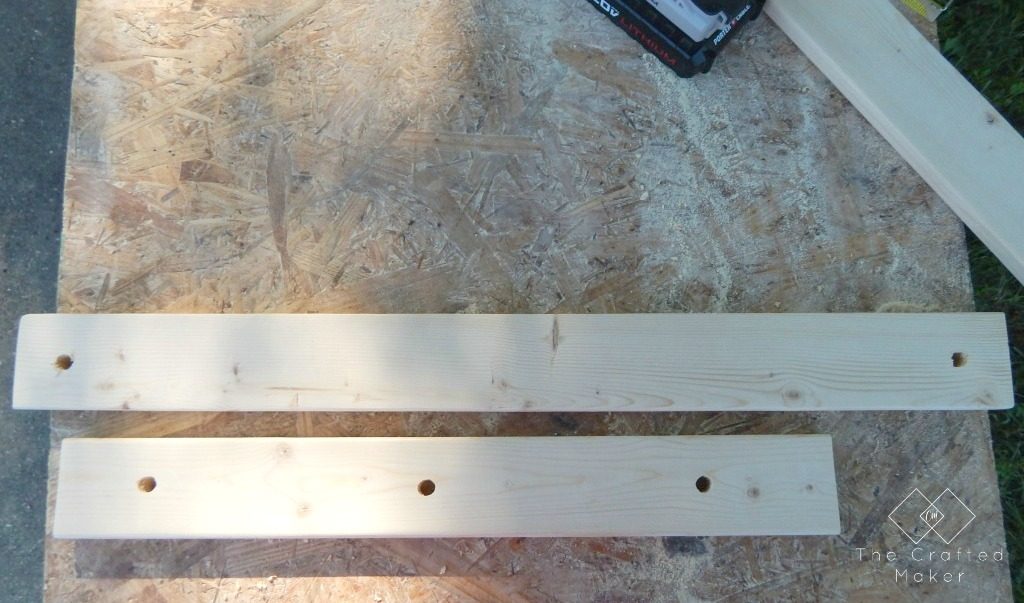
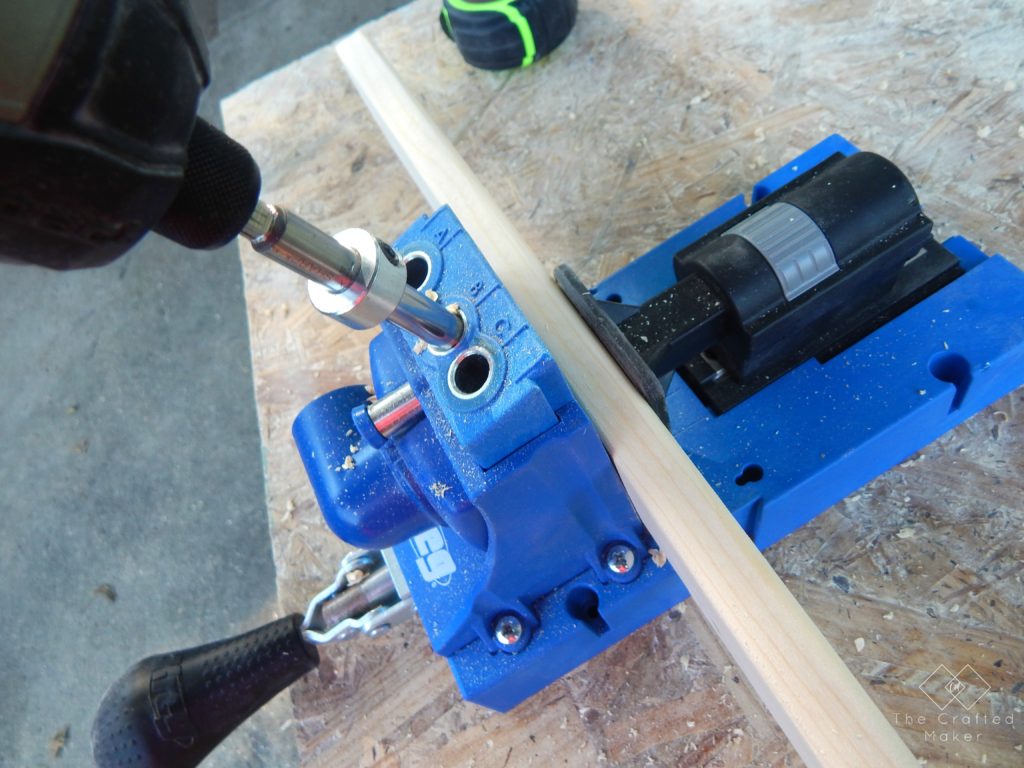
Then I used my 3/8″ spade bit to cut out the holes for my bolts to fit through. There are exact measurements in the plans.
Here is a picture of where the holes go in the different size boards. There is 21 boards total that will need to have holes cut out.
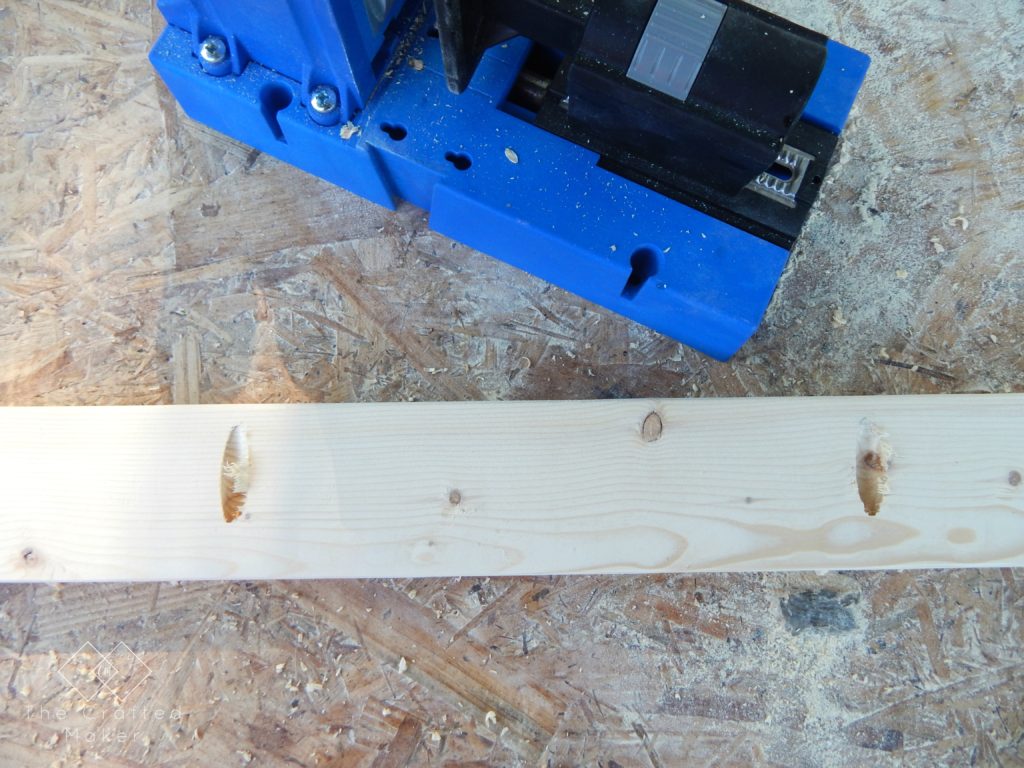
I went ahead and drilled my pocket holes in the 25″ boards. These are what will be used to attach the shelves to the leg units.
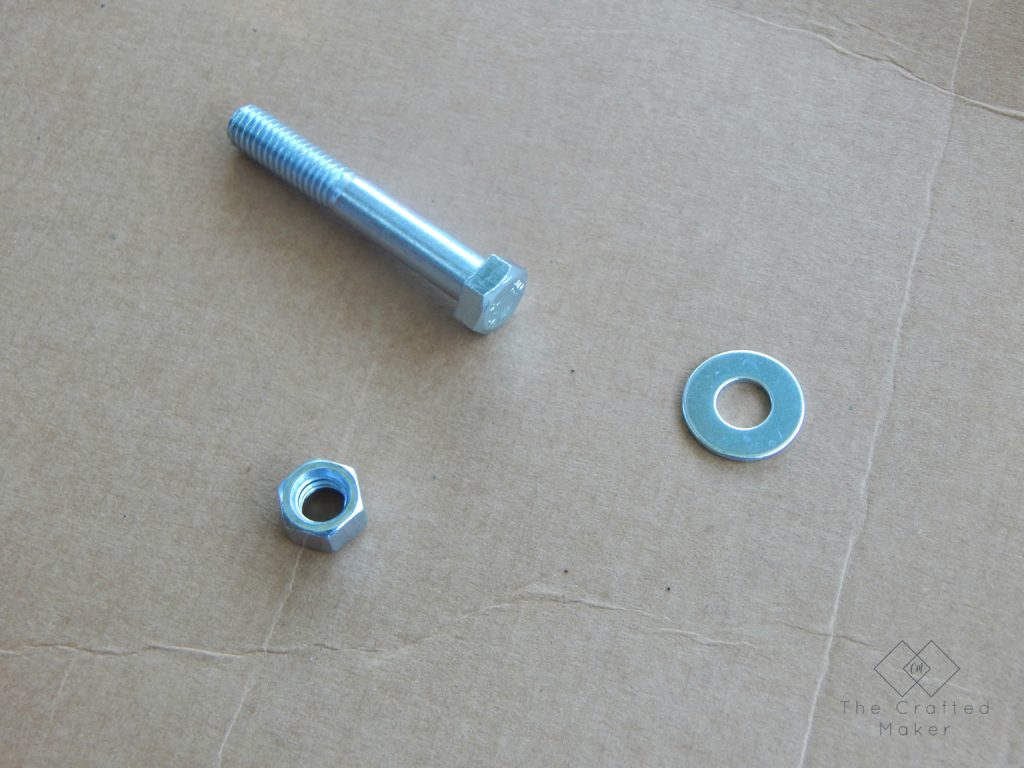
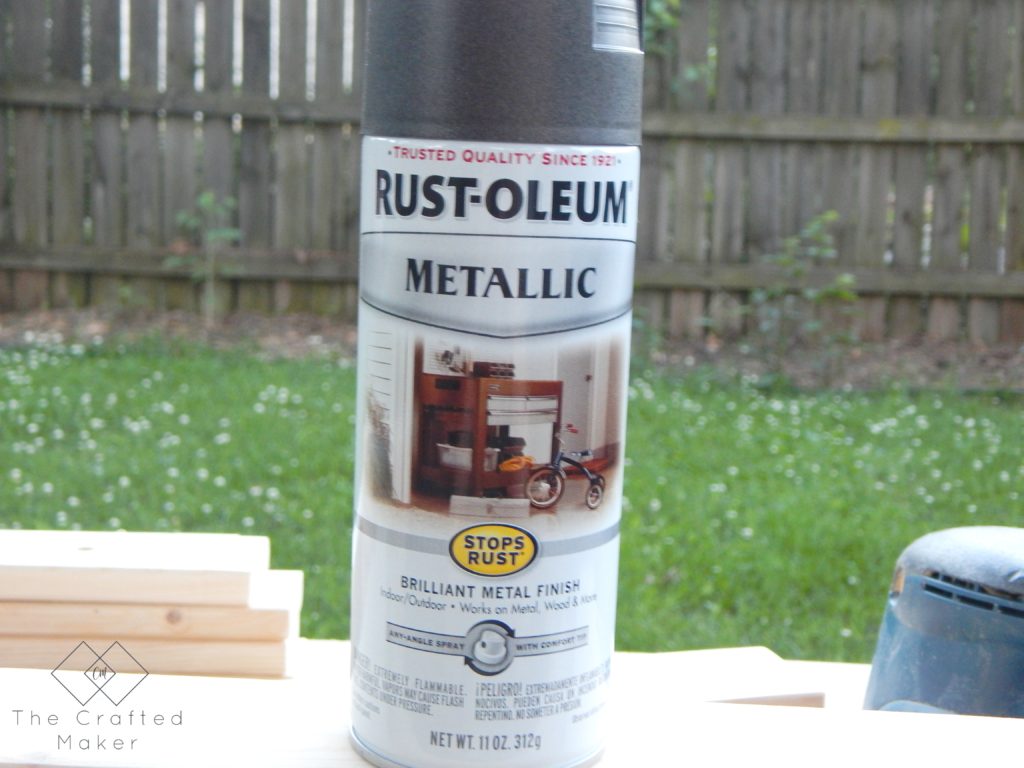
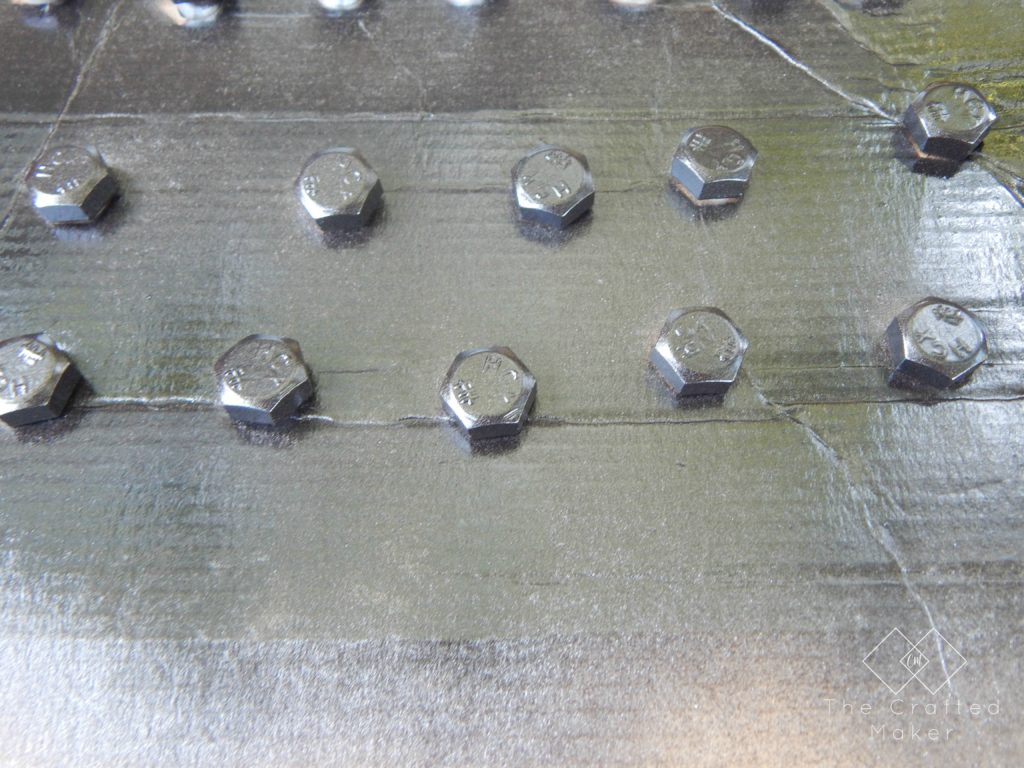
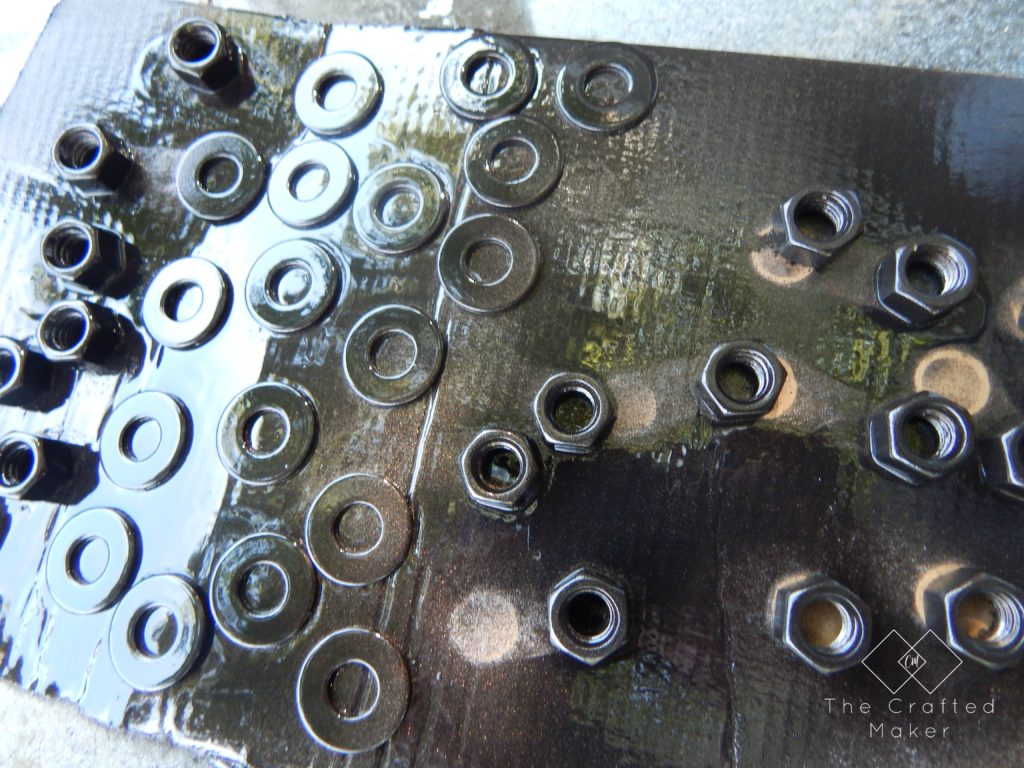
I could only find nuts, bolts, and washers in a galvanized finish, so I spray painted them with Rust-Oleum metallic oil rubbed bronze. Just stick them on some old cardboard and give them plenty of time to dry.
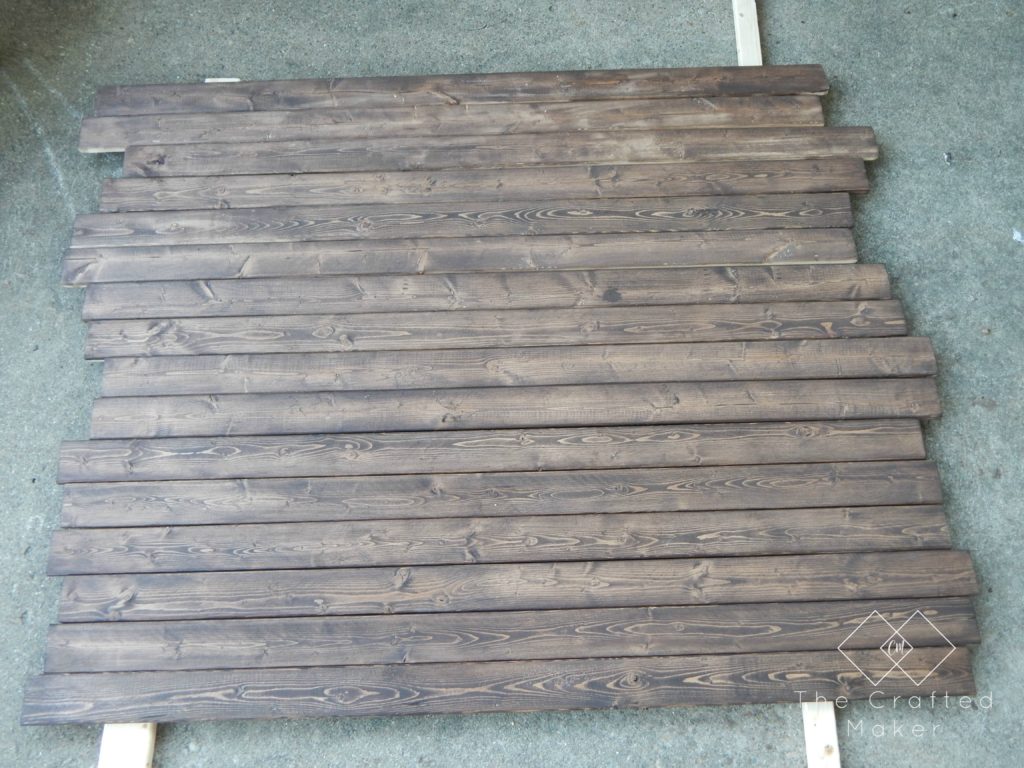
While the hardware dried, I sanded all of my boards and stained. The way this coffee table is assembled makes staining very difficult to do in the end. I chose, you guessed it, Kona (again)!
I gave the stain and hardware plenty of time to dry before starting the assembly.
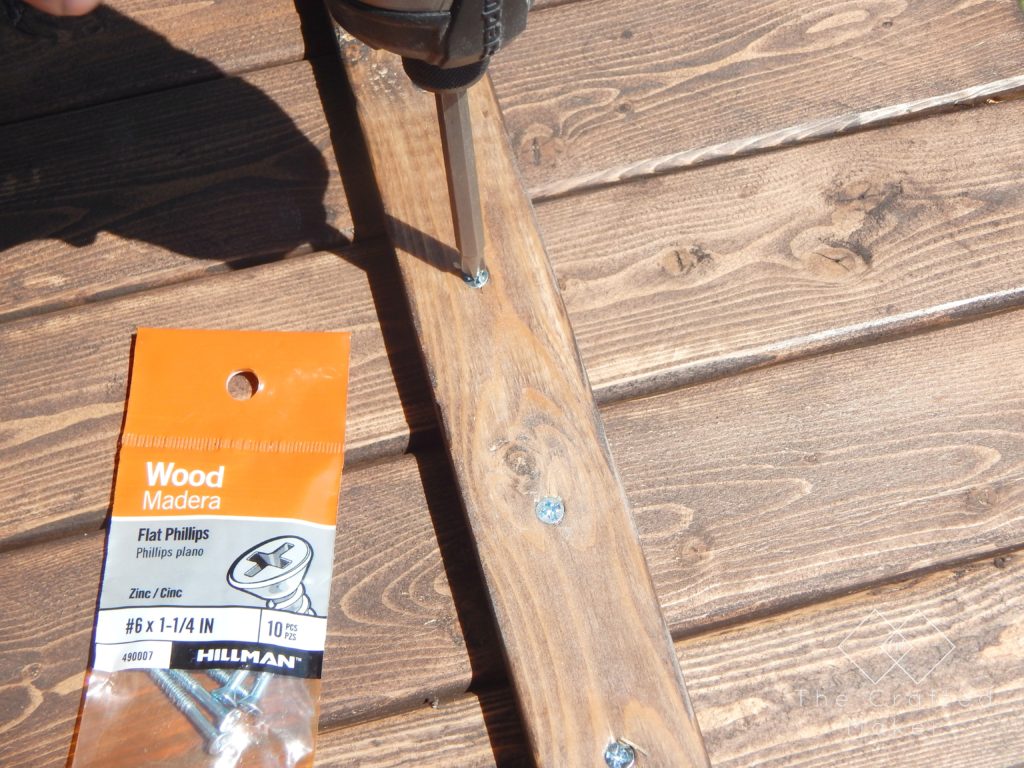
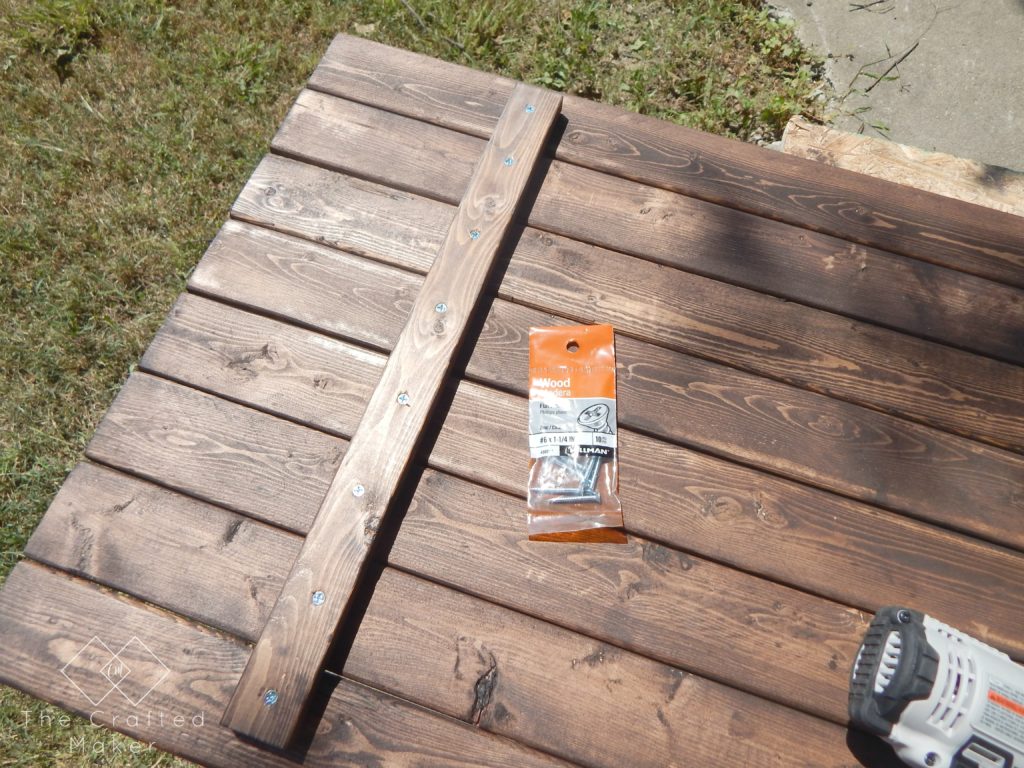
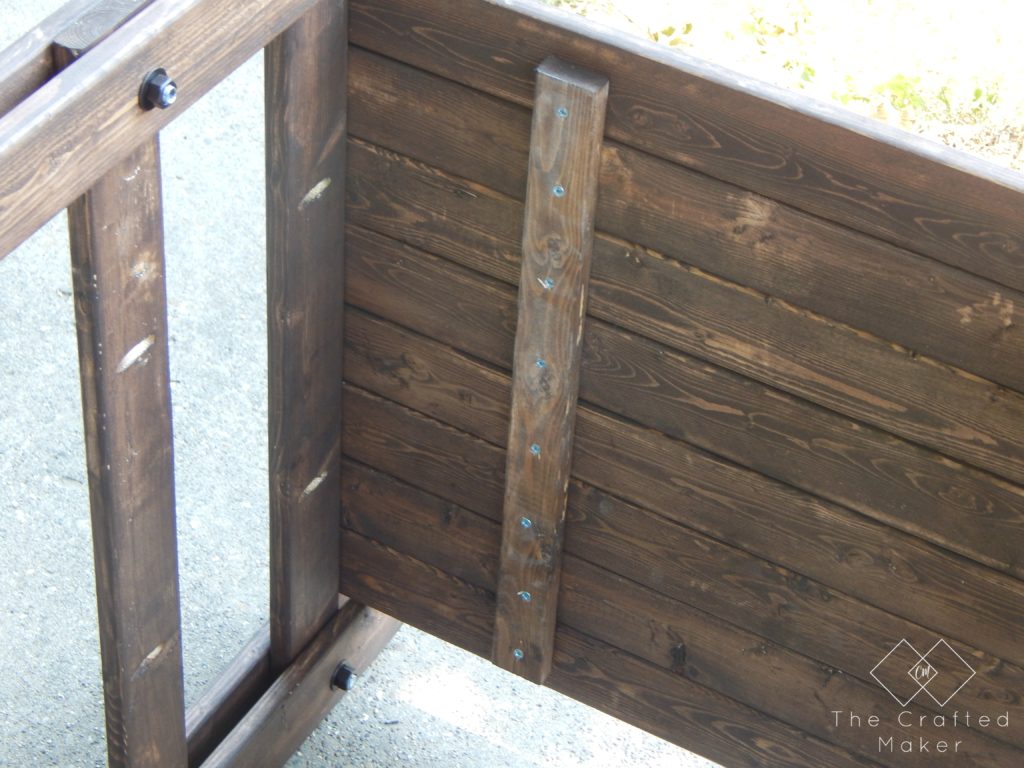
When the stain was fully dry, I attached 8 1×3 @ 48″ together with two pieces of 1×2 @ 18″. I screwed them in with 1 1/4″ wood screws. I placed the boards six inches from the ends.
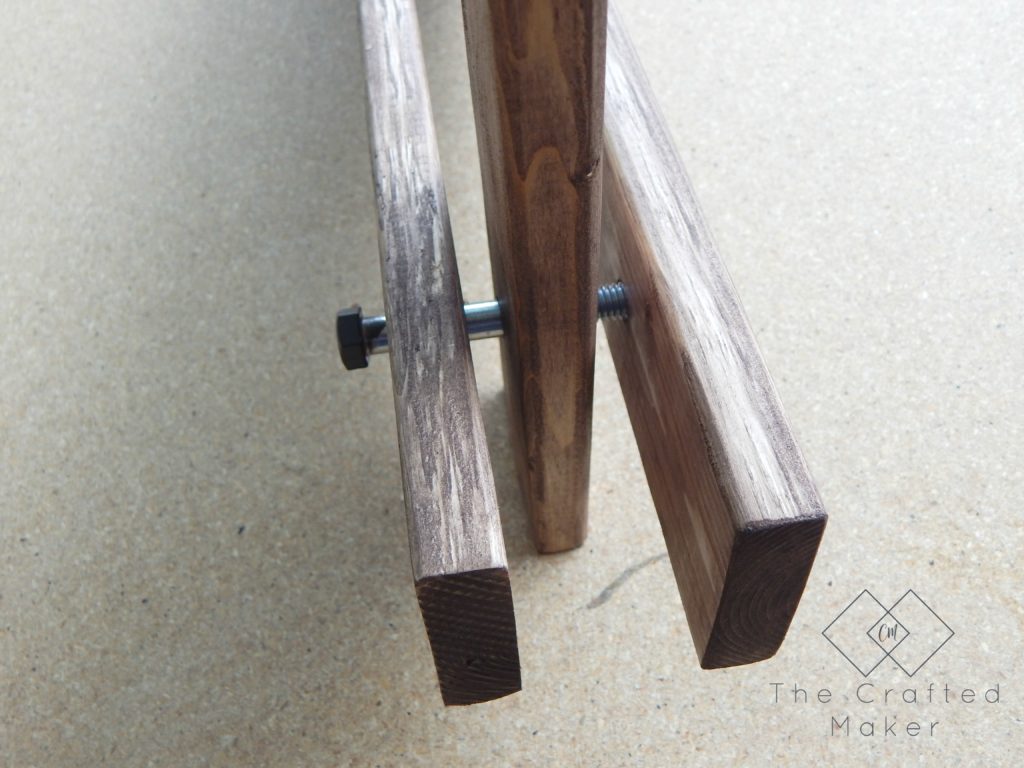
Now time to make the leg units for the shelves to sit on. I made three-leg support units total. The bolts are just threaded through the hole drilled out with the spade bit. Each bolt goes through three 1×3 boards like this…
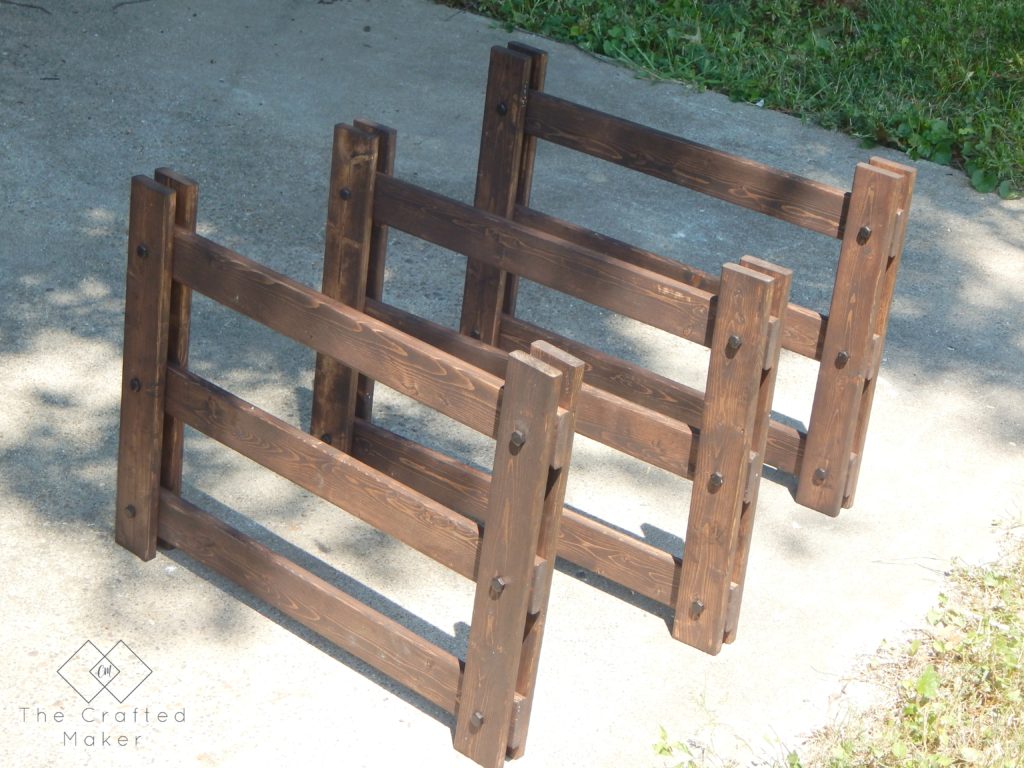
Once the bolt went through, I just added a washer and nut to the end and tightened. Here are the leg units fully assembled.
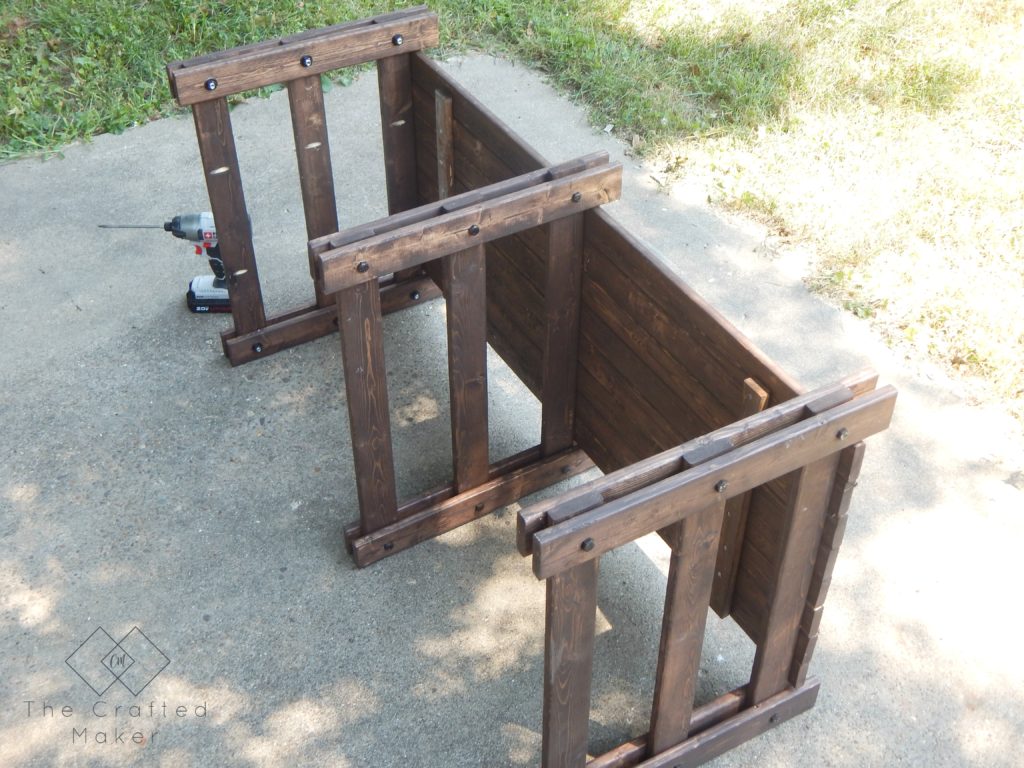
All that was left at this time was attaching the shelves to the leg units. Since there are pocket holes involved, I flipped the legs on their sides and worked my way from the top shelf down. That just gave me more room to work with the drill.
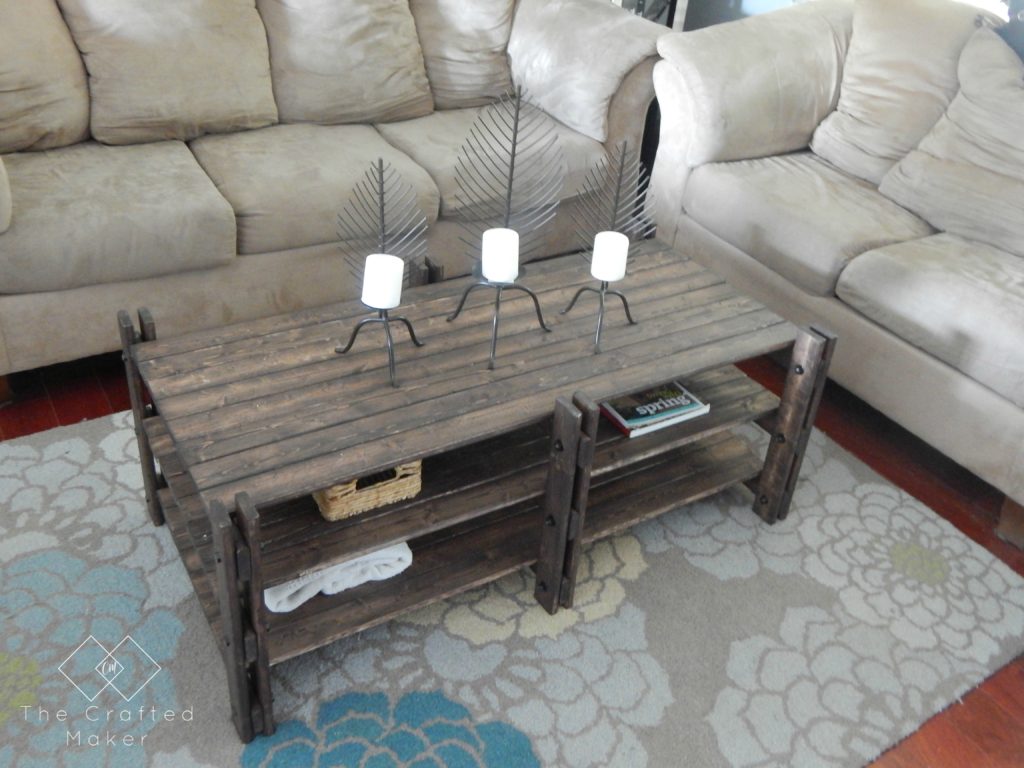
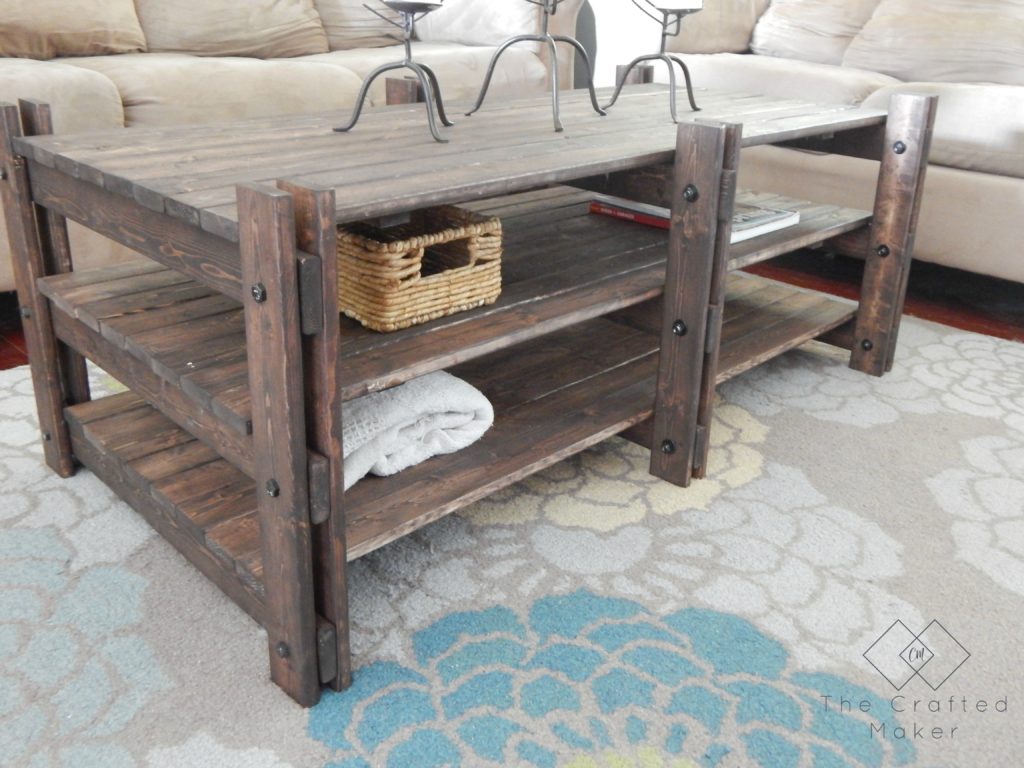
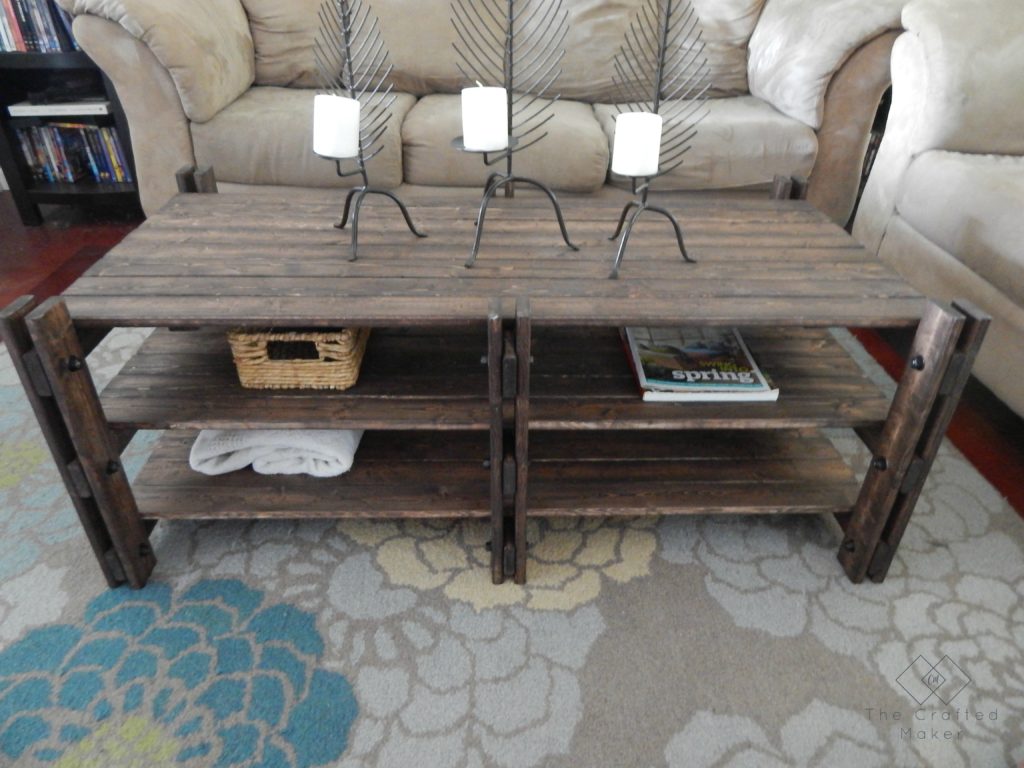
I attached all three shelves and this beauty was finished. Now time for some living room pics!!
I really love the way this piece turned out and all of the room it gives me. Before I only had one drawer in a coffee table, now I have three shelves!! The bottom one is perfect for blanket storage. Who doesn’t love to snuggle up on the couch, right?
Well, I hope you have enjoyed this build. If it inspires you to make one of your own, send me some pics, I would love to see them.
Thanks for stopping by my little corner of the internet today and I will see you all soon. Until next time…

Great coffee table. I couldn’t find where to download the plans.
Thanks so much Gina! Just click on the picture that says free plans and the PDF will open.
Such a beautiful coffee table. It’s looks so nice and very moderate. I would take this type of coffee table for my coffee cafe. Thank you so much, for sharing this post.
Thanks Emily!
Hi, I came across your blog by chance, and I’m so happy I did! Love it! Snooping around (LOL!) I came across this table, and it’s beautiful! Thanks for sharing, I have a project for this weekend! YAY ME! I also love the area rug, would you mind sharing where you bought it?
I’m glad you enjoyed the post and have decided to make one for yourself. Feel free to send me pics when done, I would love to see it!! I purchased this rug at Lowe’s a couple of years ago. I’m not sure they still carry it, but good luck hunting.