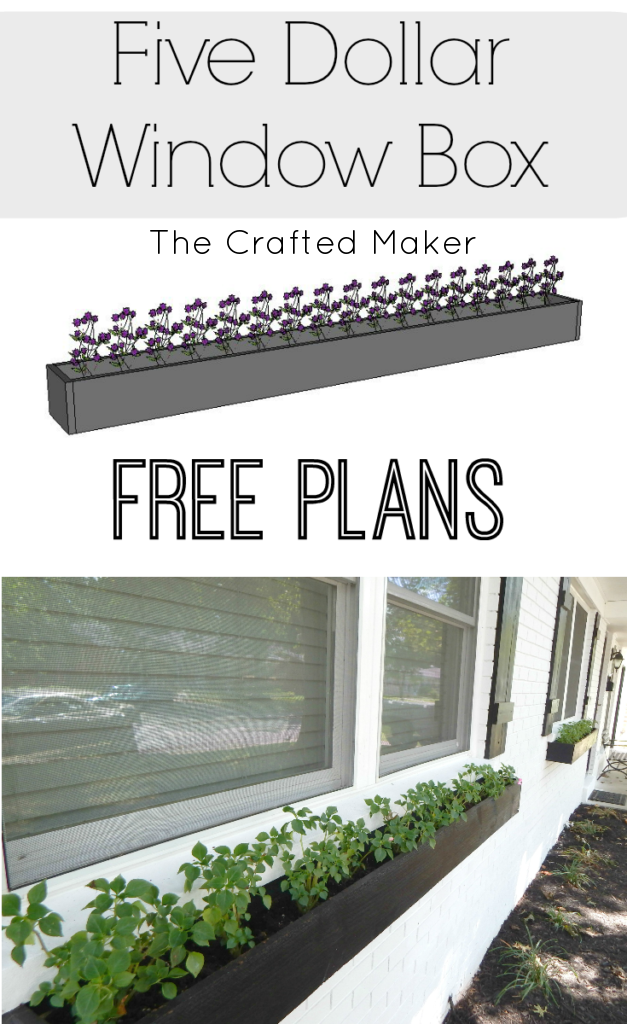
Hello friends! Today I’m sharing my five dollar window boxes (just the cost of lumber). This is a super easy, fast, and obviously inexpensive project. I love the way these window boxes added so much to the front of my house. Just like in my DIY shutters post, here is a before shot of my house with just paint.
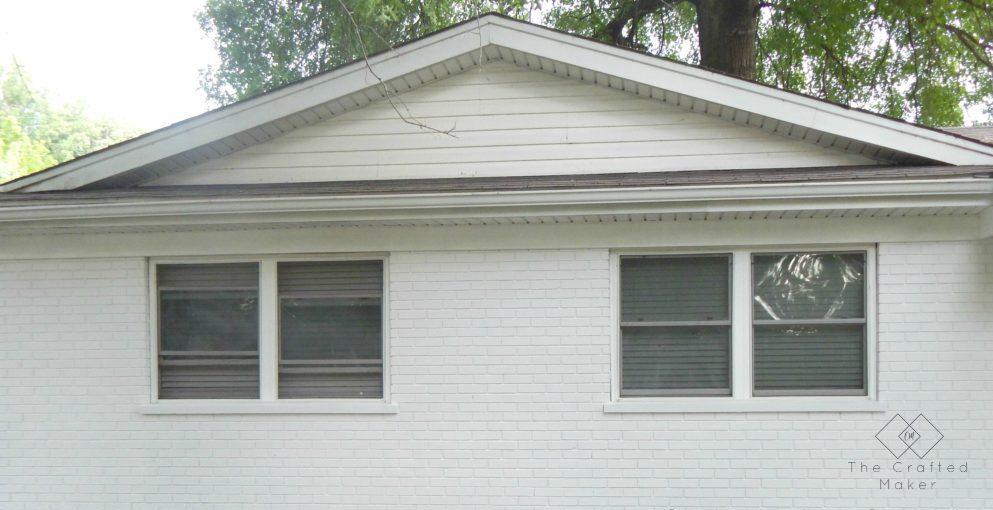 The reason this project even came about is that I had to fix a couple of boards on my fence. Since I had purchased too many fence pickets, I wanted to find something to do with the leftover boards. I already had the shutters planned out and thought window boxes would make a good addition to the front of the house, plus I could add some color with flowers. Here is how I did it…
Tools
- Saw to cut boards to length
- Drill
- Pocket Hole Jig
- Hammer Drill (if drilling into the brick)
Supplies
- 20 – 1 1/4″ pocket hole screws
- 8 – 2″ masonry screws
- masonry drill bit
- Paint or stain of choice
- Sealer (especially if using Pine)
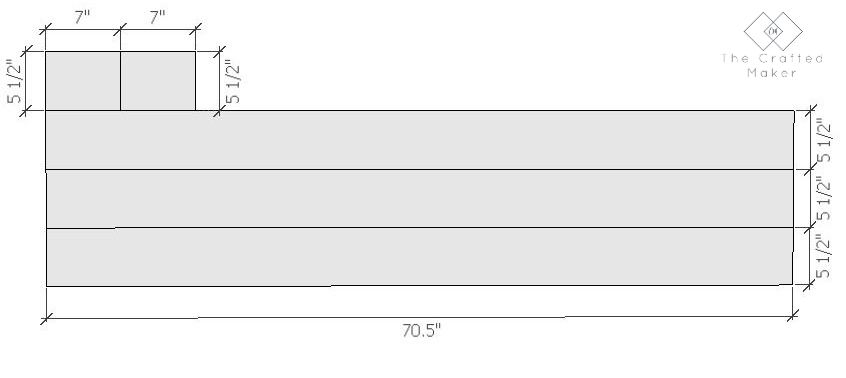
Lumber and Cut List (this is for one window box)
- 3 Fence Pickets (pine or cedar will work)
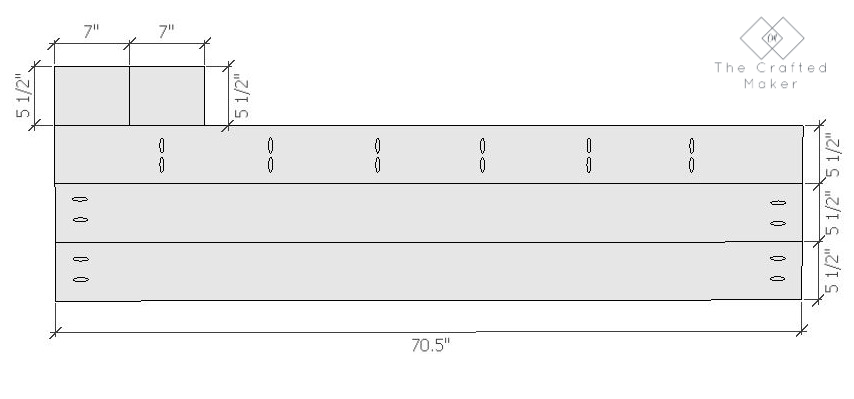
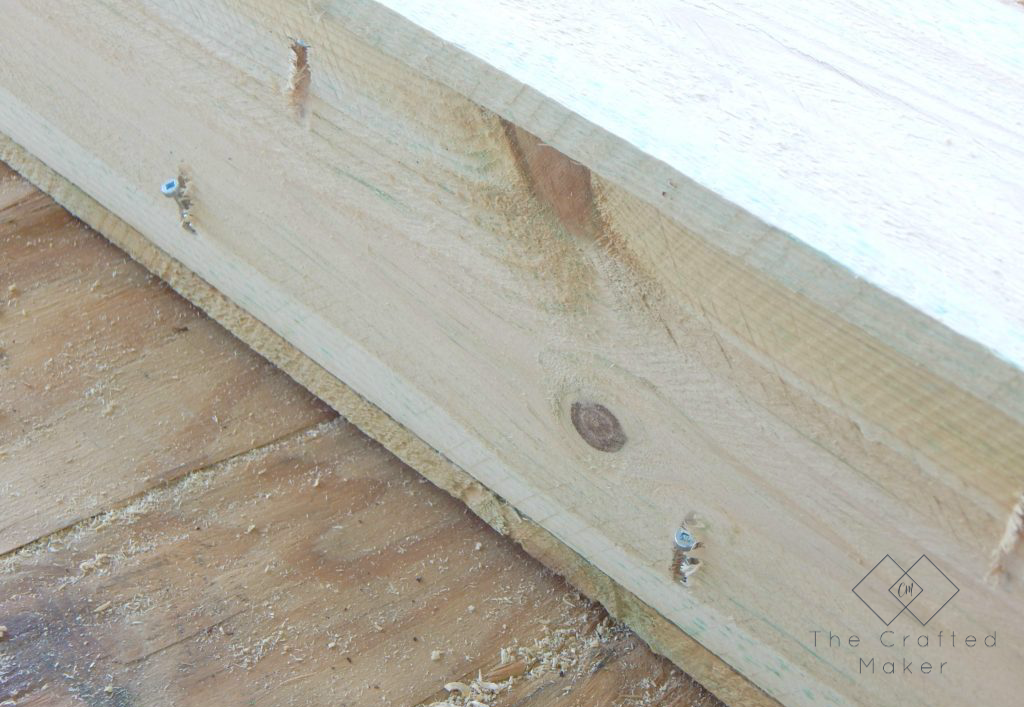
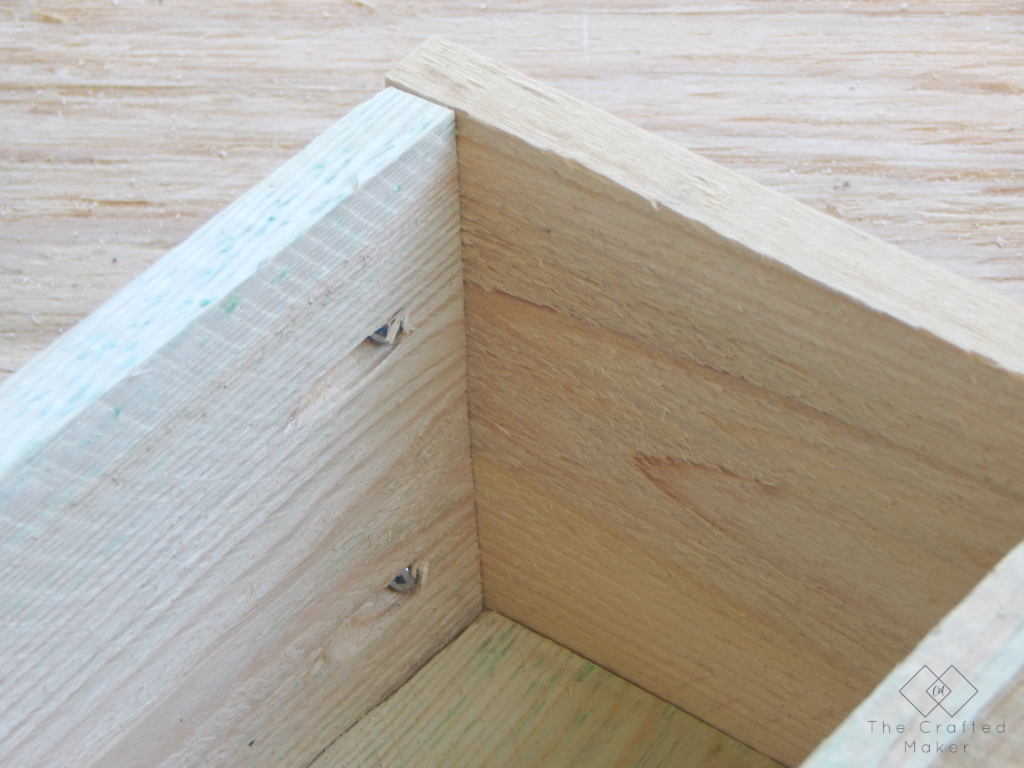
Pocket Hole Placement
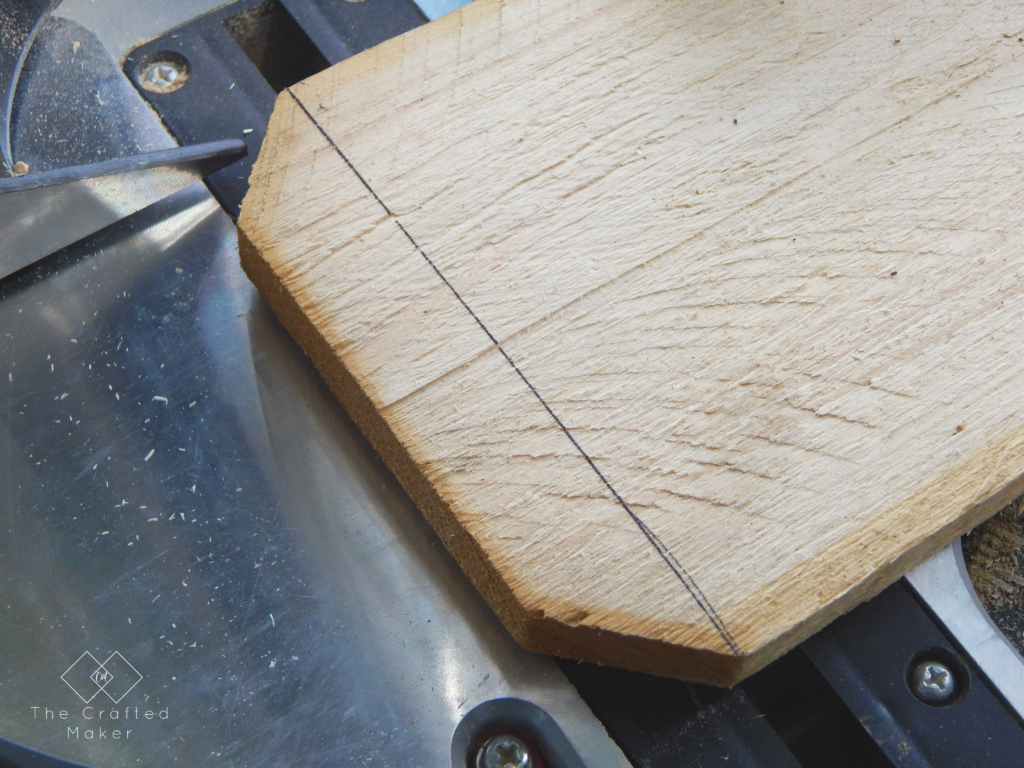
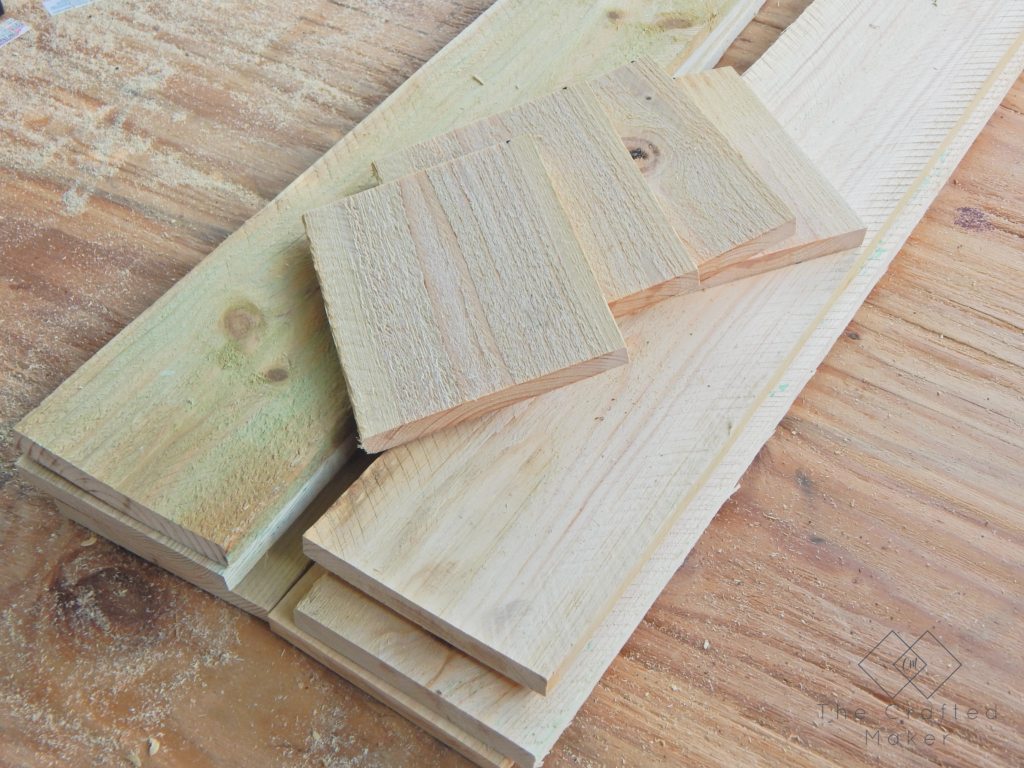
I started out by cutting off the dog-eared part of my fence panels. Then, I cut all of my boards according to the cut list. Once the boards were cut, I drilled all of the pocket holes I needed.
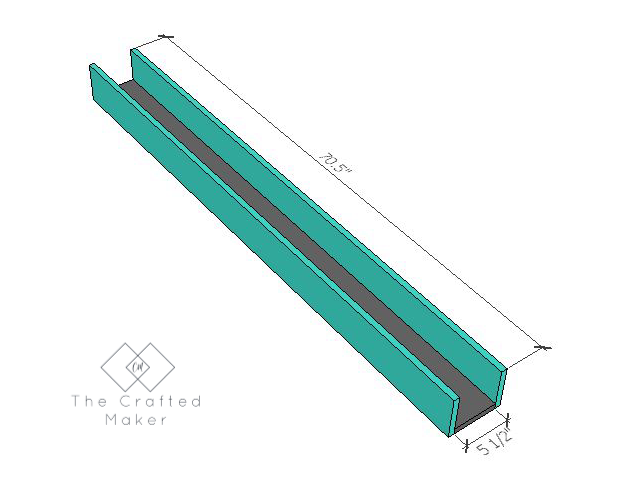
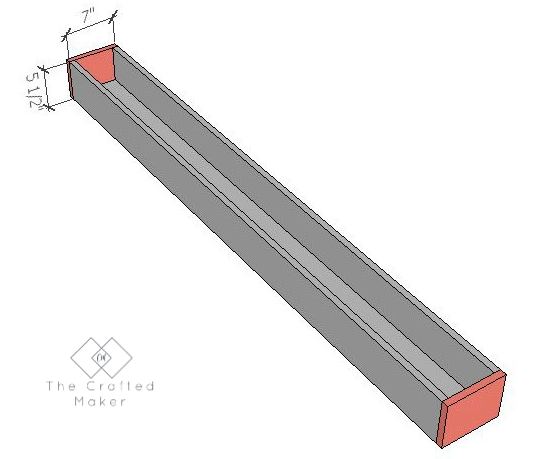
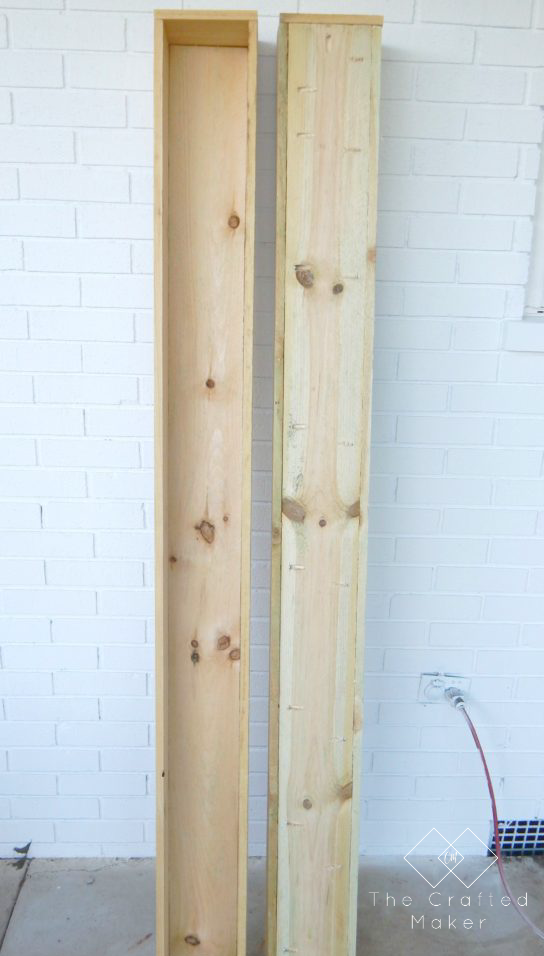
I attached the three 70.5″ boards together with 1 1/4″ pocket hole screws to form an open top box with no sides. The pocket holes should be located on the bottom side of the bottom board.
To make this a true window box, I added sides to each end of my open box.
The window box is fully assembled at this point. These things are huge!!
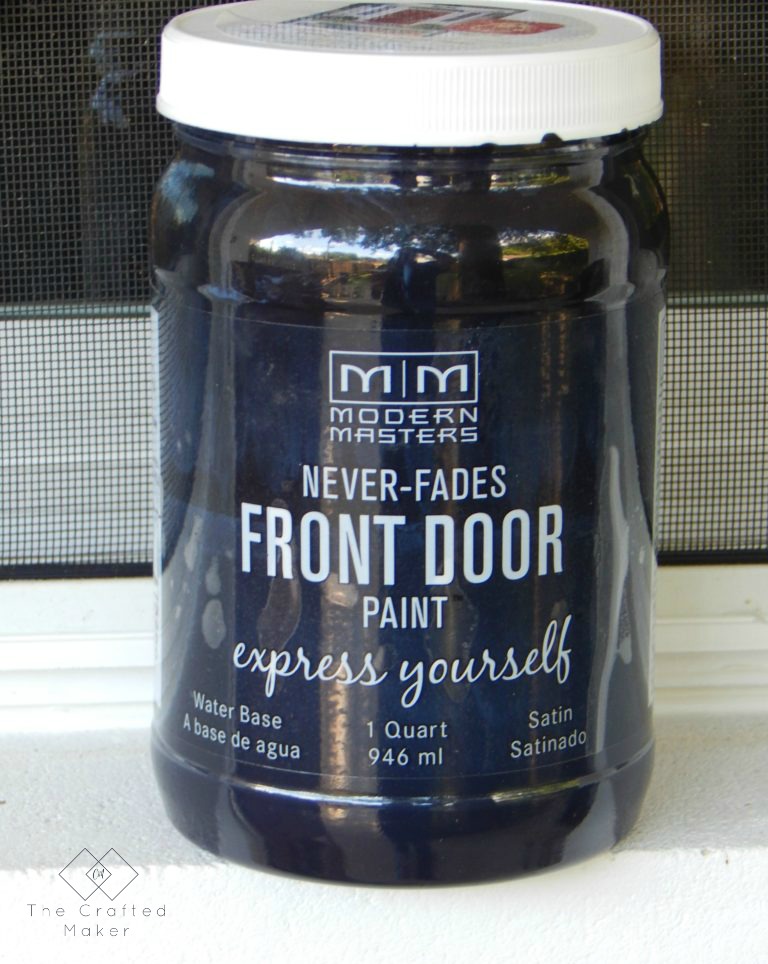
I decided to paint mine, to match the simple DIY shutters I made previously. I used the same black paint, Modern Masters front door paint. I gave the window boxes three coats of paint and allowed to dry.
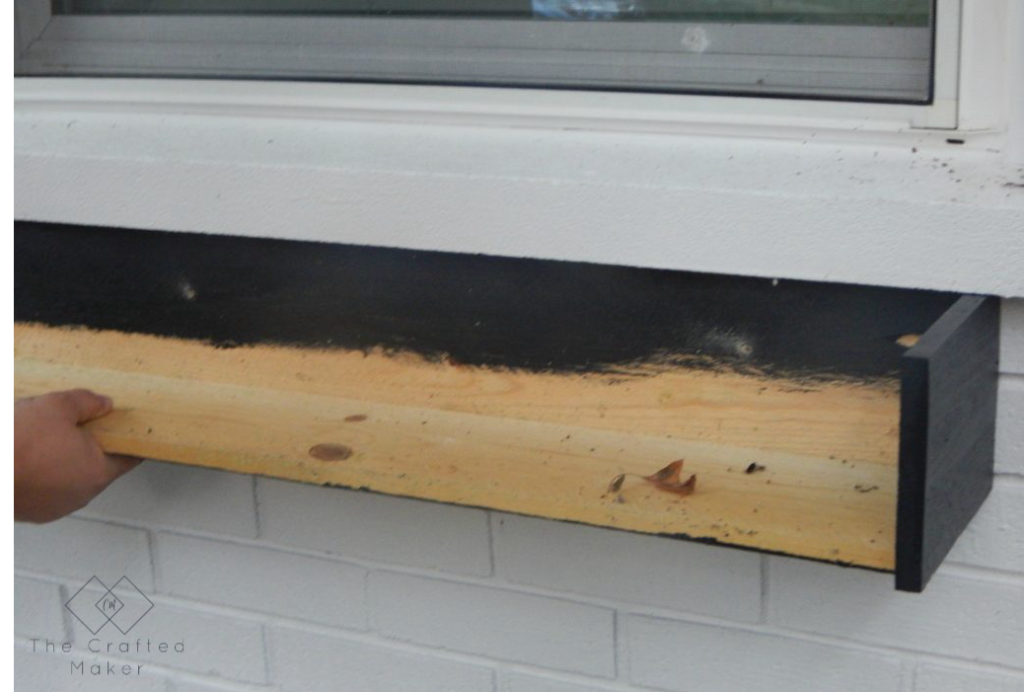
Once the paint was dry, it was time to hang them. I was drilling into brick, so I needed to use a hammer drill to drill into my concrete. If you are drilling into vinyl or wood siding, a regular power drill would work just fine. I drilled four holes into the backboard of the window box and used those to mark the brick for drilling.
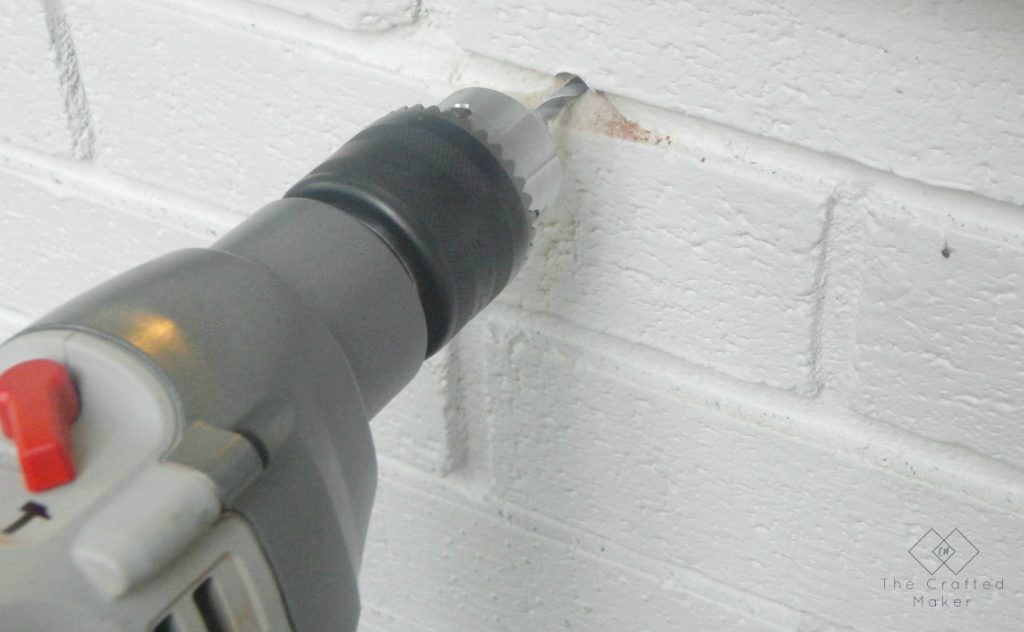 When I went to hang the window boxes, I realized I didn’t have enough room to drill in the screws. This wasn’t really a big deal though. I just unscrewed the pocket hole screw holding on the front board and attached the box to the wall. Once I was done, just re-attach the front board.
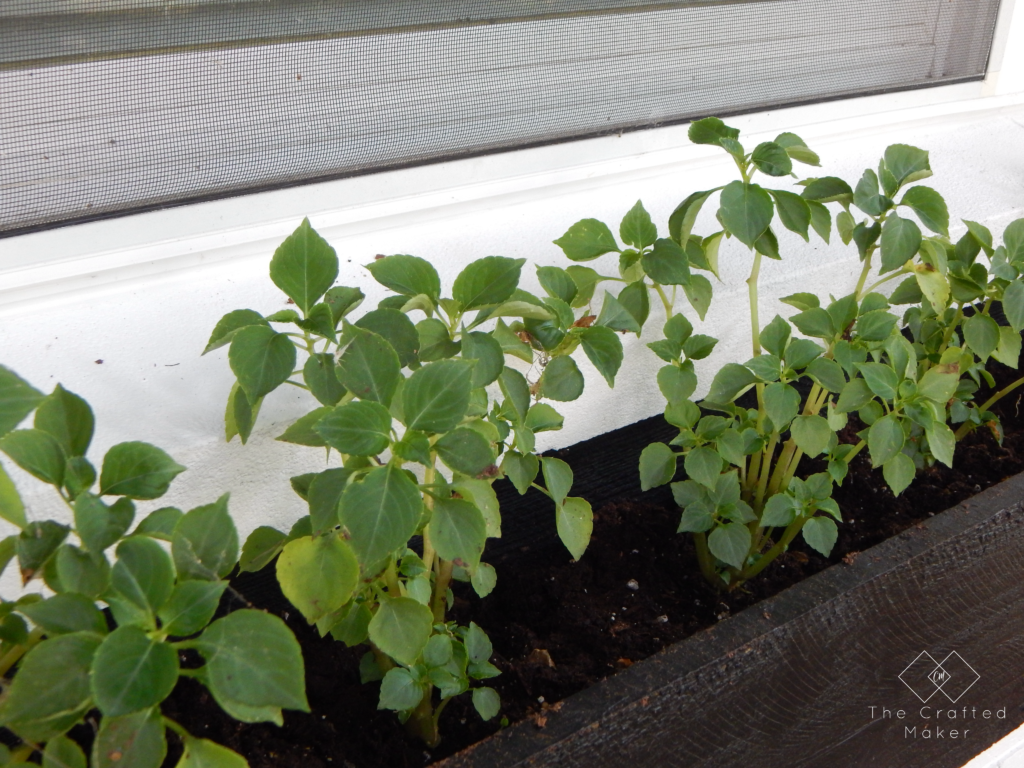
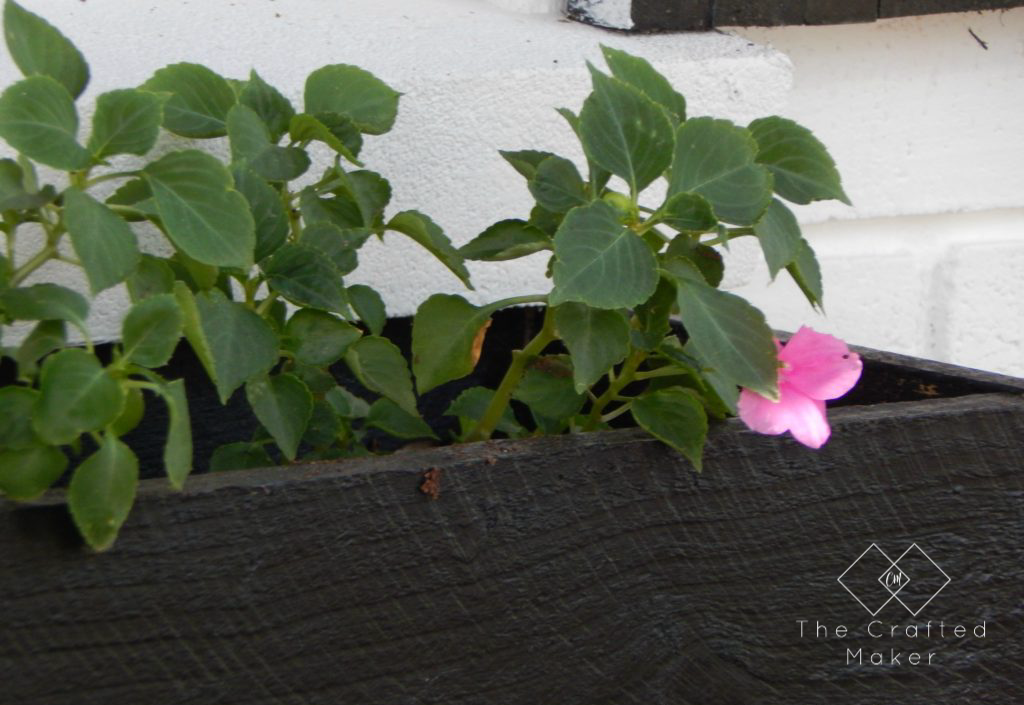
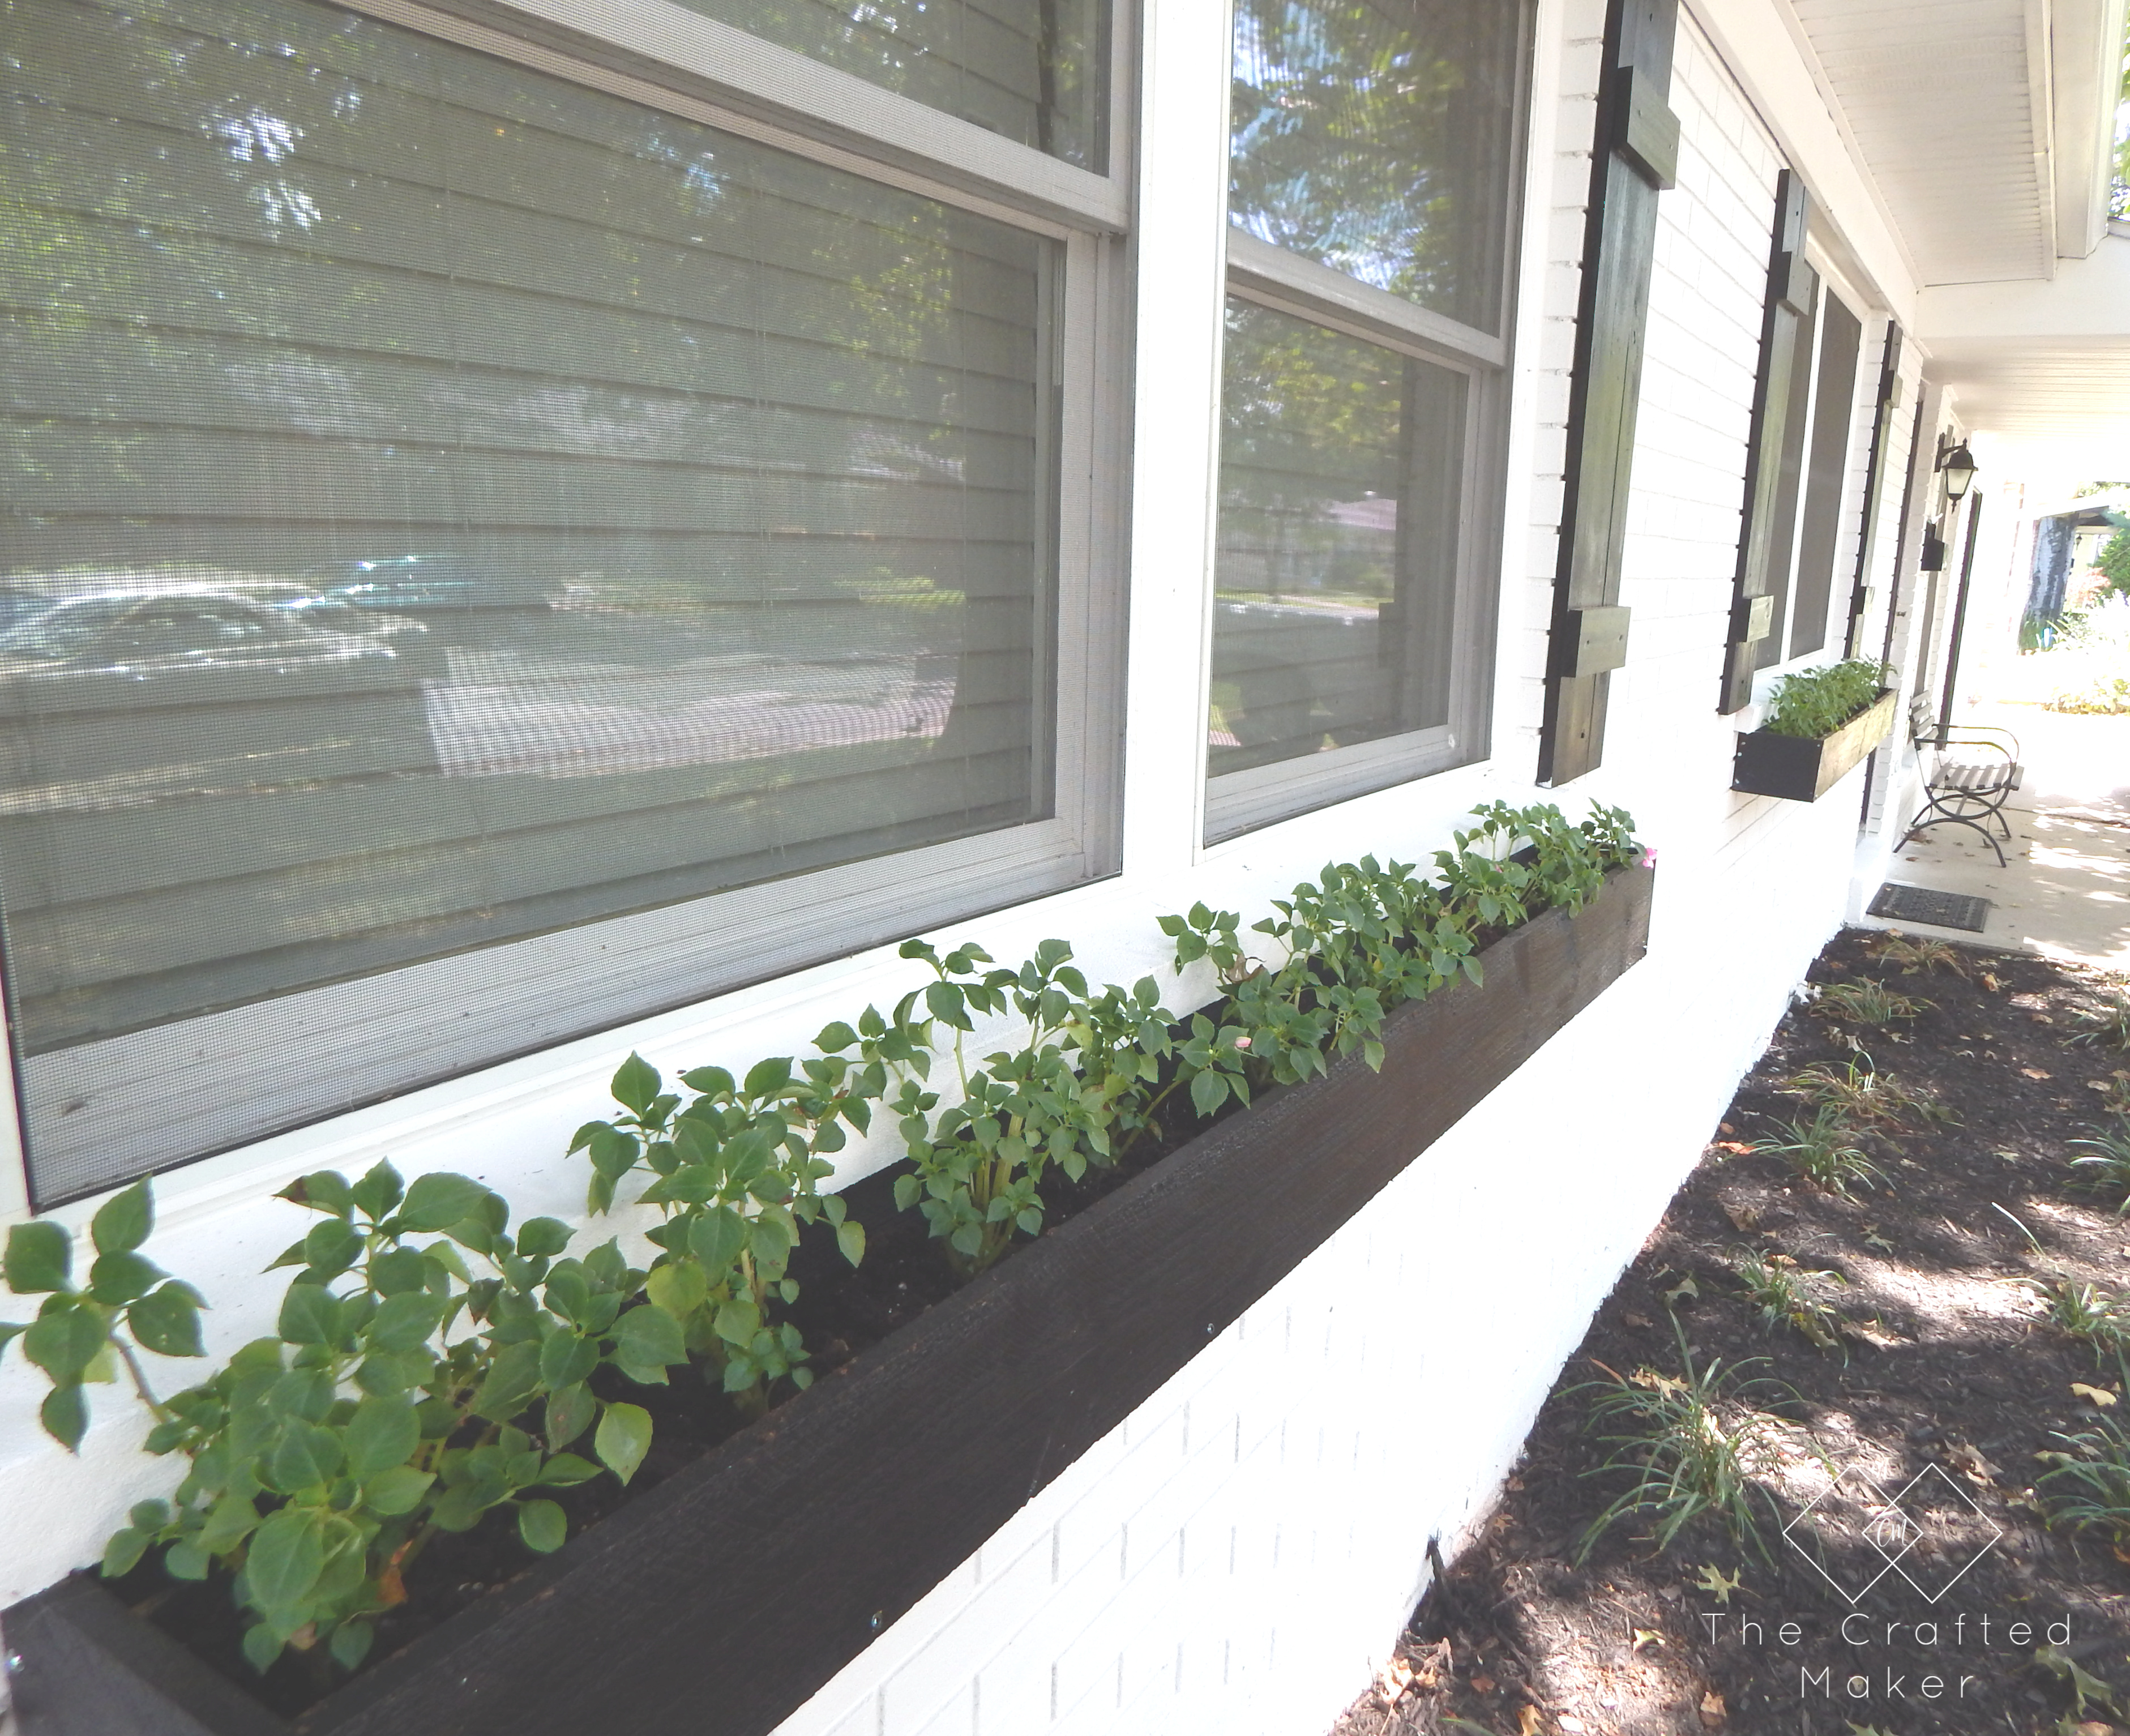
The last thing to do is add dirt and flowers. I love the way this project turned out. It gives my white house the perfect amount of color with the black boxes and some pretty flowers.
Pinning is always appreciated!!
If you want to see more of my exterior home project from my House Revamp, click the links below.
Paint a Brick Home – How To
DIY Landscaping on the Cheap
Simple DIY Shutters
Thanks for stopping by. I hoped you liked this post and have fun building your own five dollar window boxes!!
Until next time…

I am extremely impressed with your’get-up-and-go!’ I am green with envy! What an Awesome job you’ve done, My Dear!
Thank you Tonya!