Happy Thursday! We all love the weekends, it is just such a good time to gather with friends and family. If you are anything like my family and friends, when there is a get-together, food is always involved. What a better way to socialize than sit down around a table and have a meal. Unfortunately, not everyone has a very large dining room to fit a standard size table. That is where today’s project comes in handy.
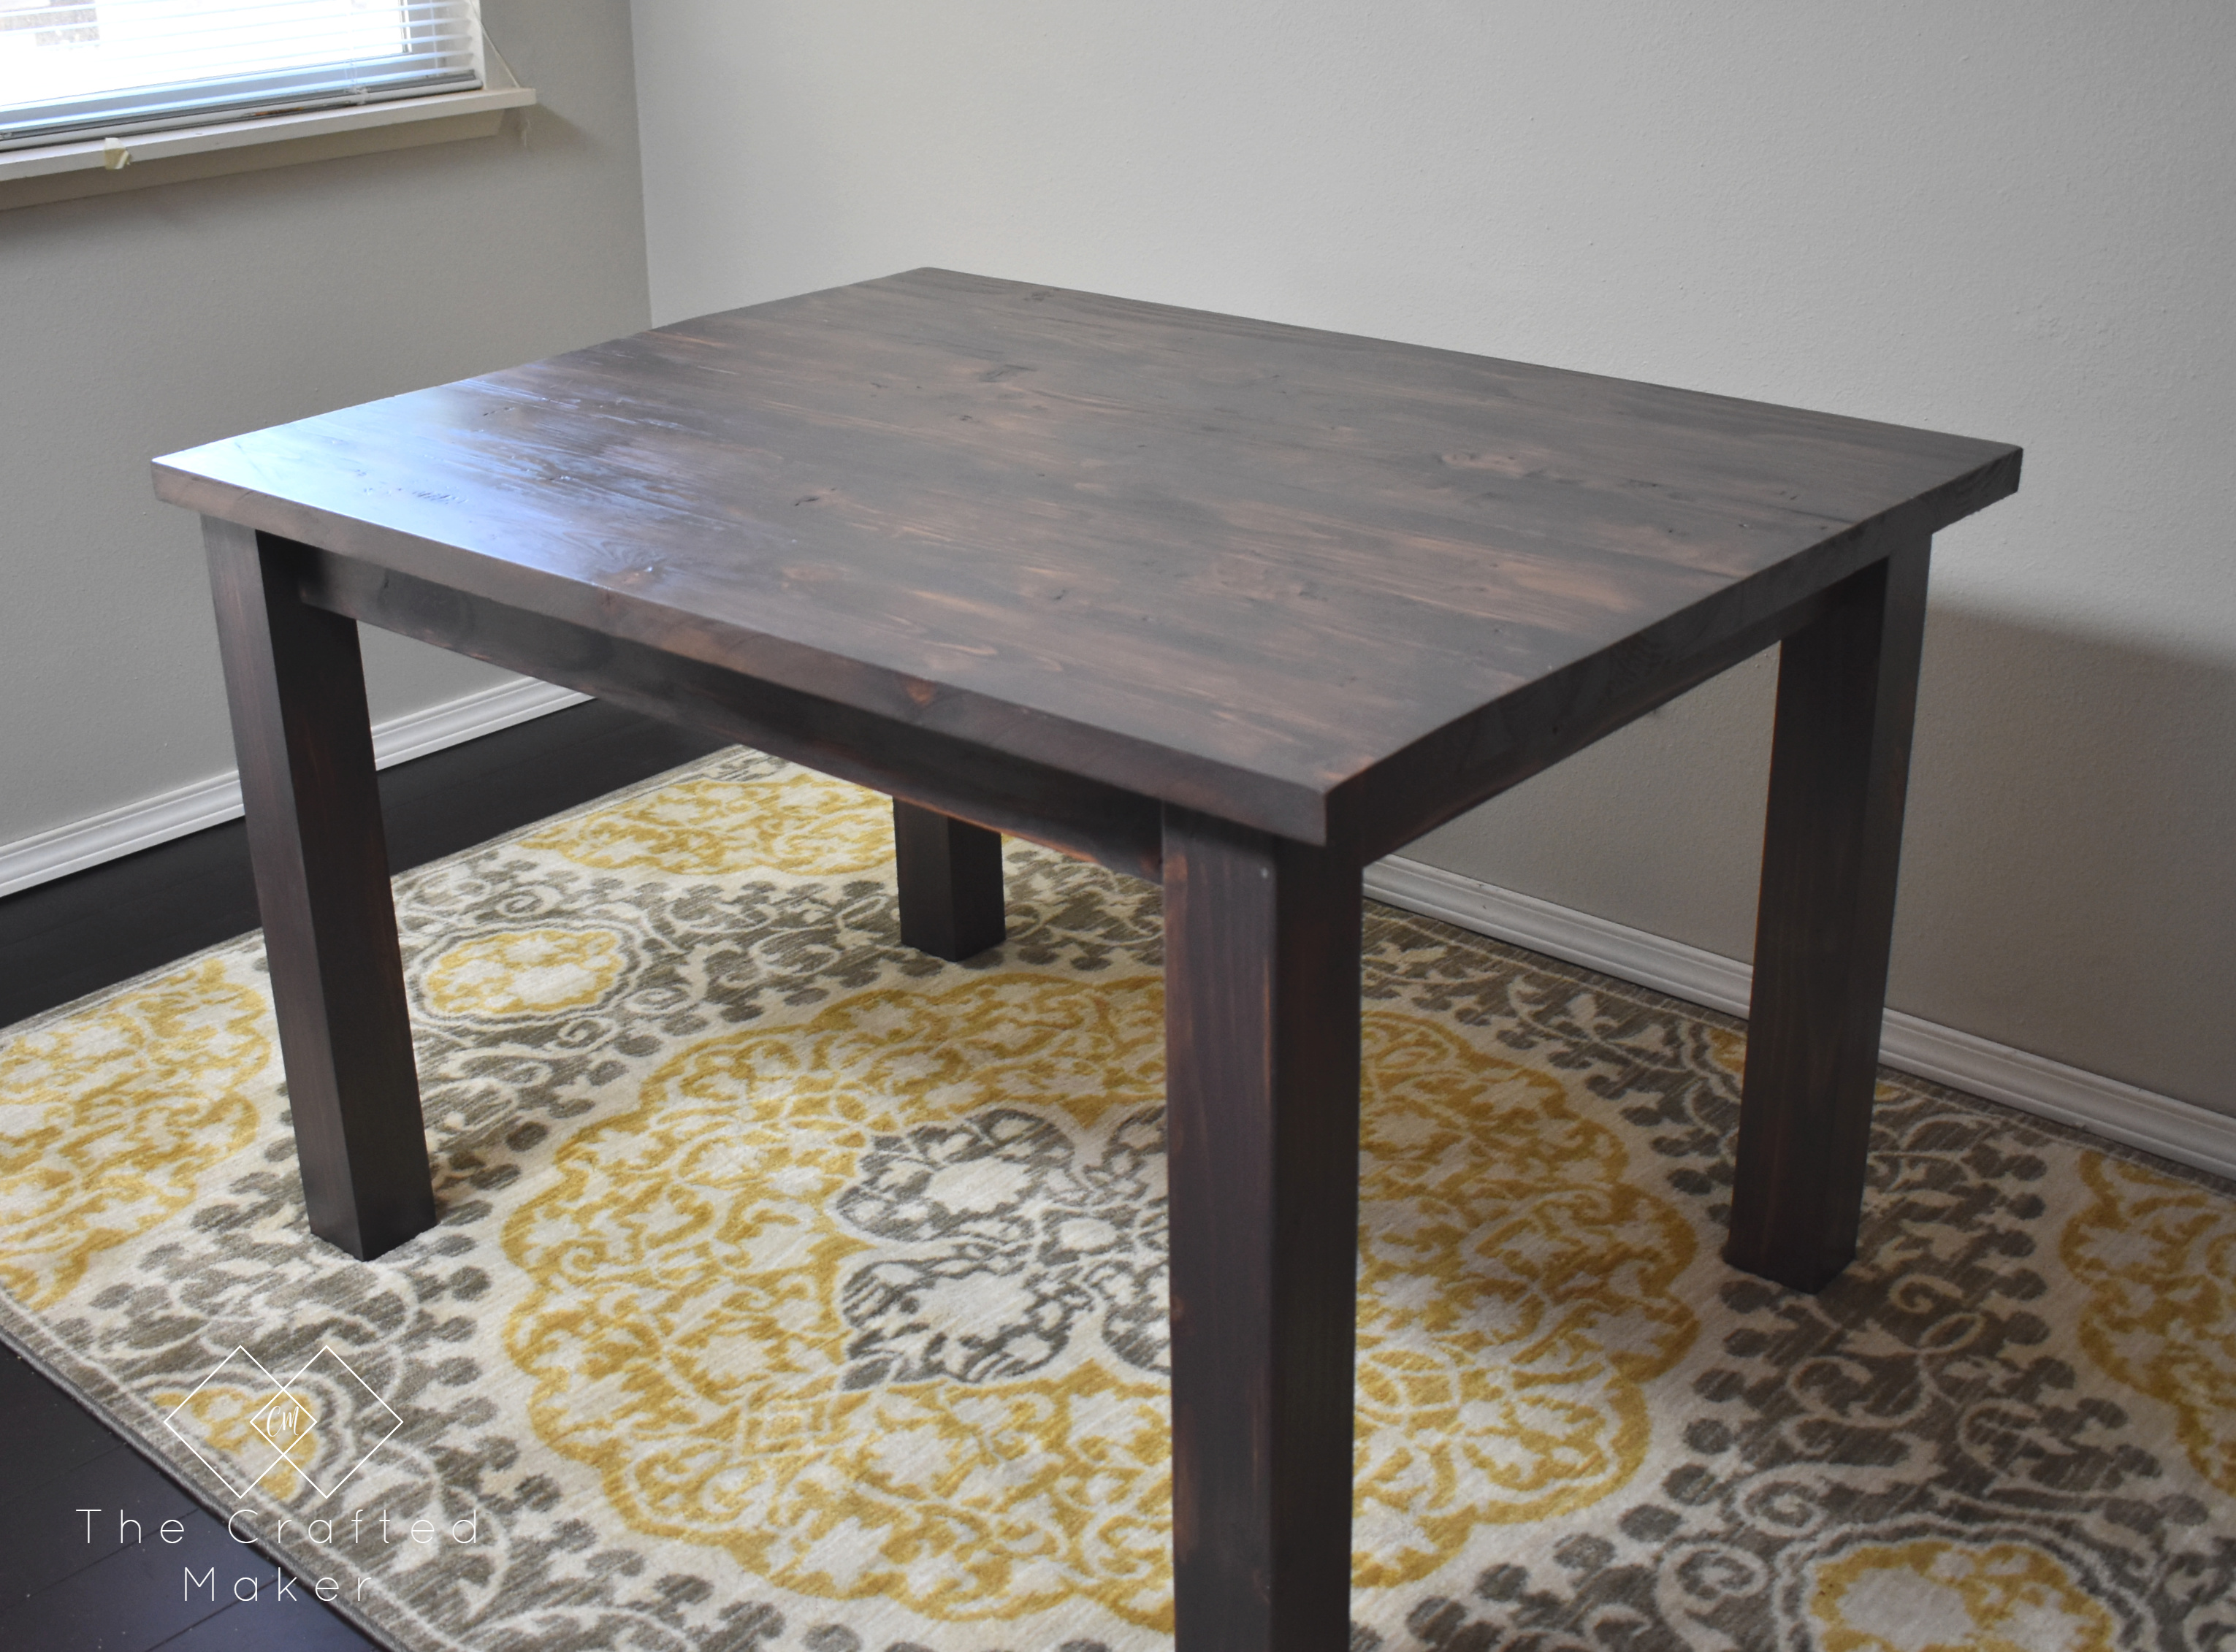
Modern farmhouse dining tables are all the rage right now, but most of the tables are massive and only fit in a very large “formal” dining room. The dining table I’m sharing today is slightly smaller and would be perfect for people with eat-in kitchens or smaller dining rooms.
Affiliate links used. To read disclosure policy, click here.
Tools I used for this project
Supplies and Materials
- Pine Lumber
- 2 1/2″ Pocket Hole Screws
- 2 1/2″ Wood Screws
- #20 Wood Biscuits
- Wood Glue
- Stain
- Safety Gear
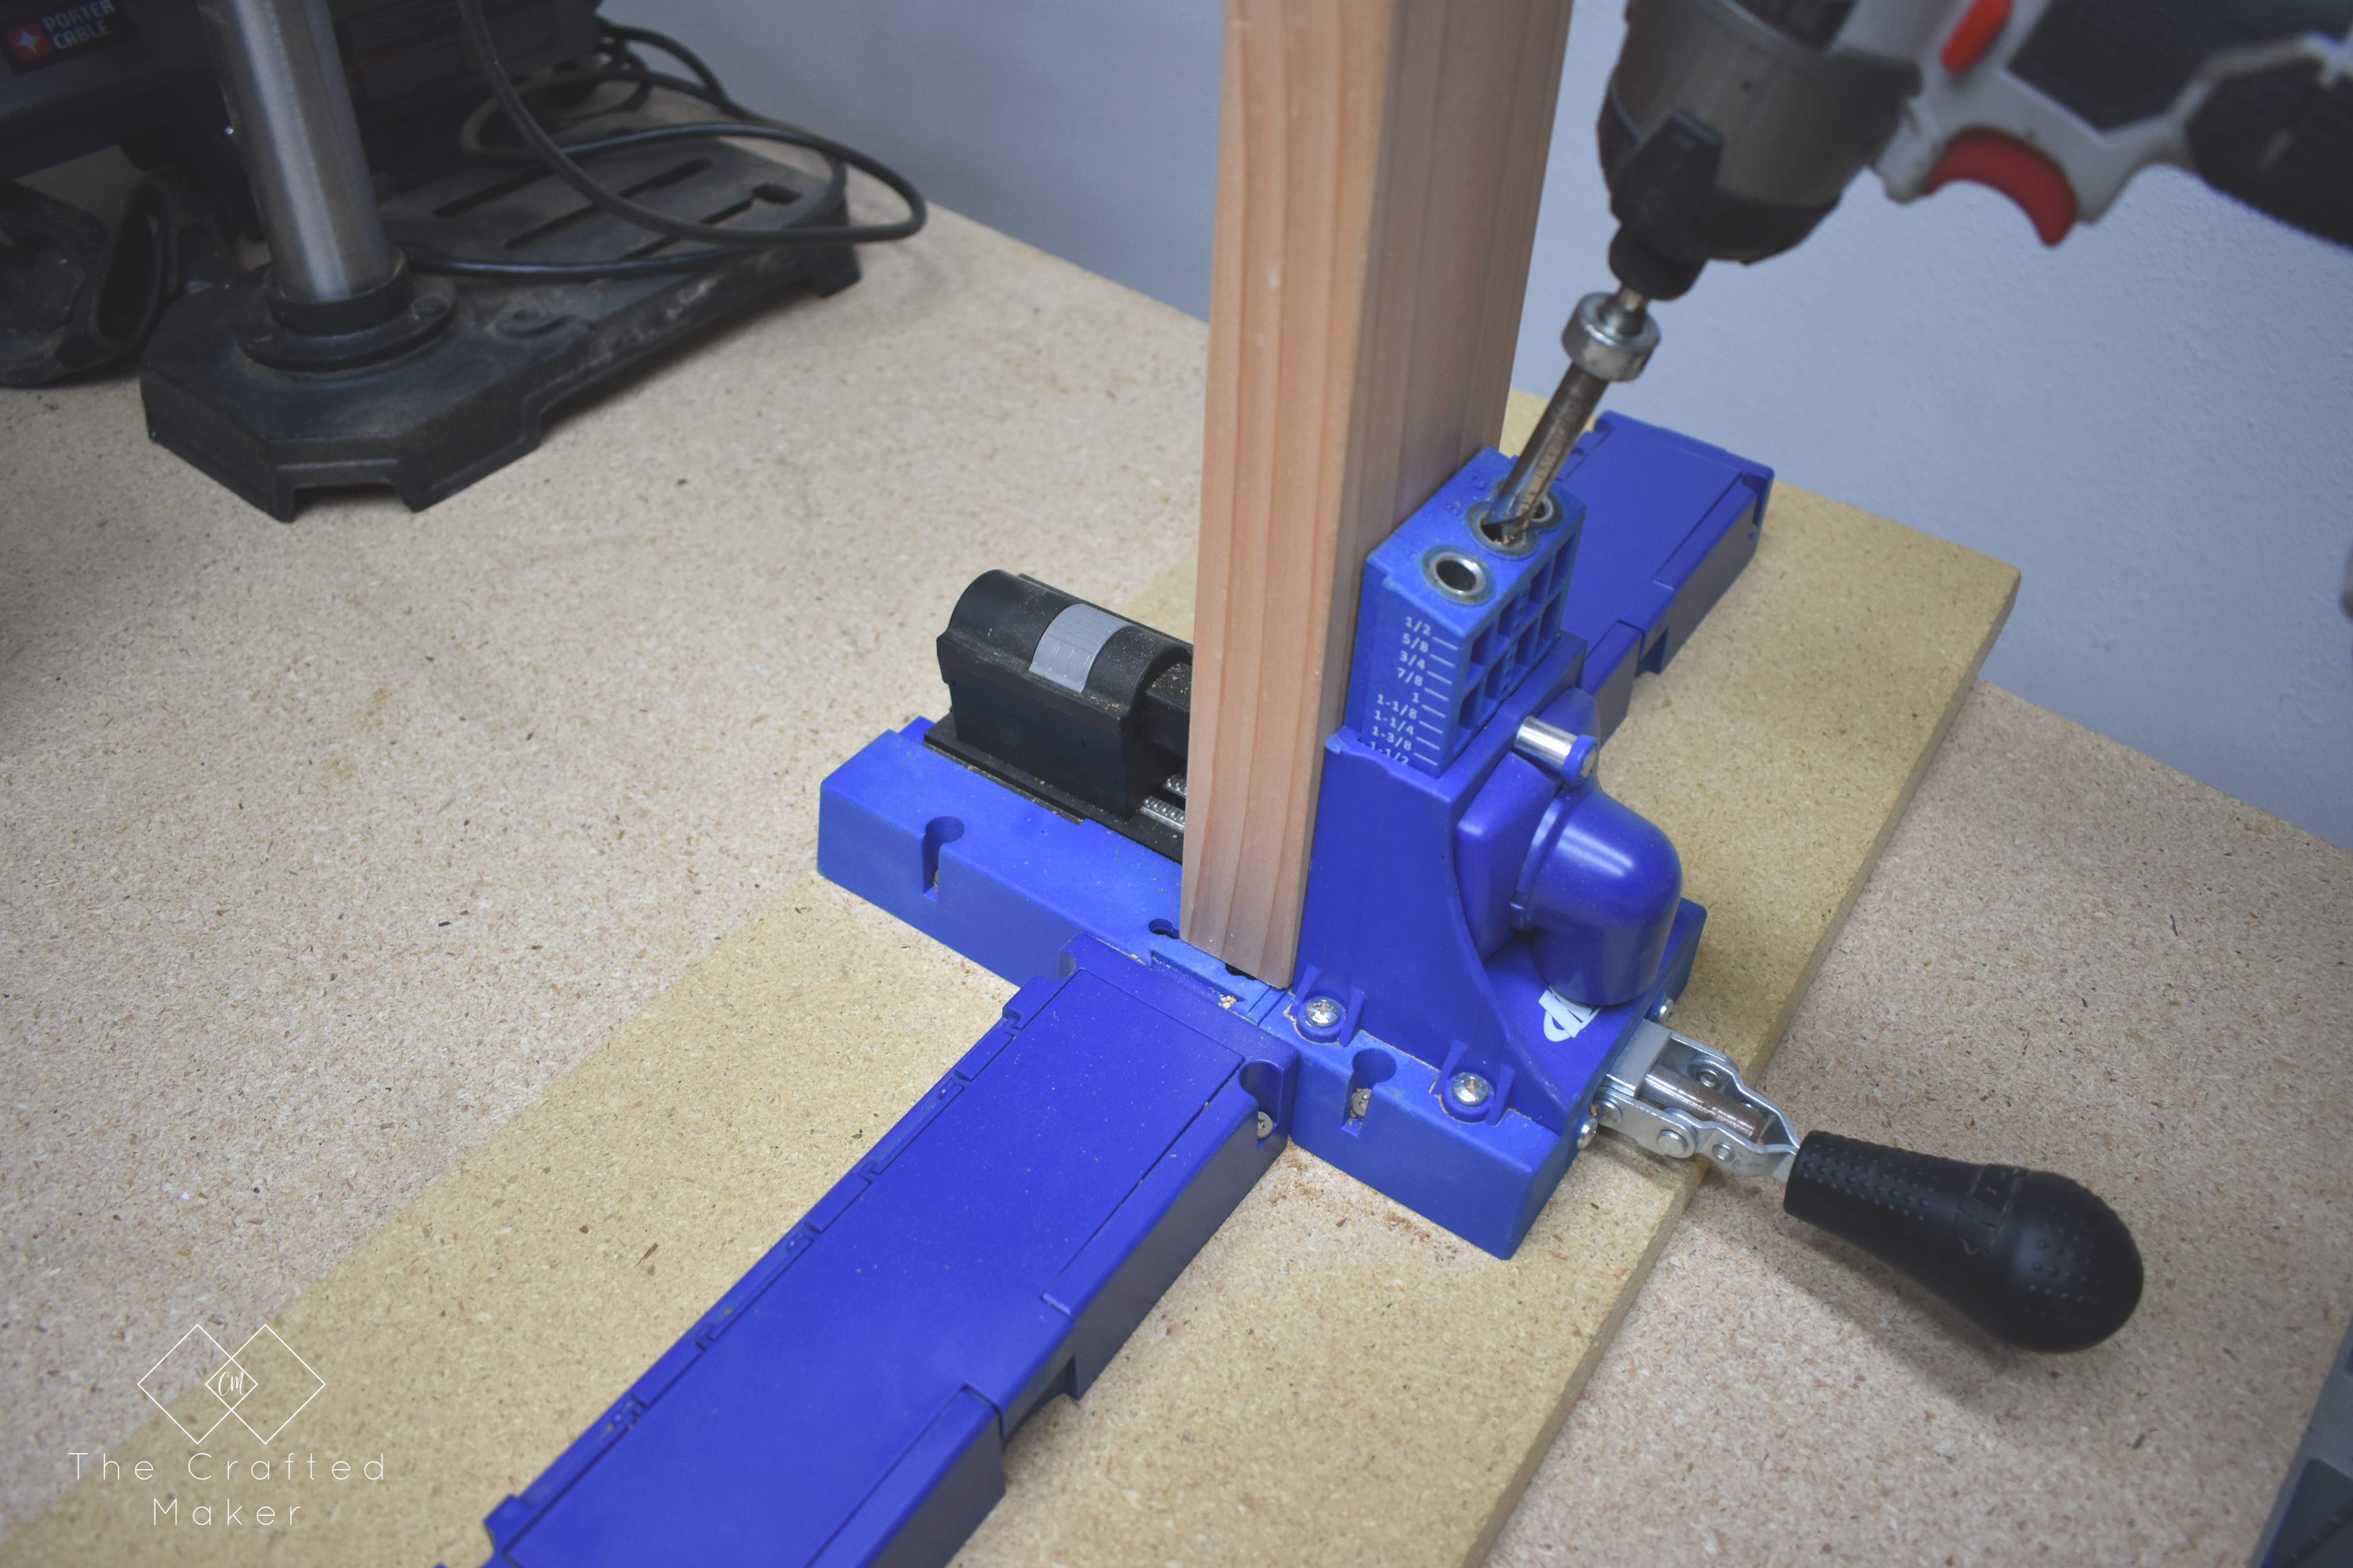
The first thing I did was cut the boards according to the cut list in the plans. Then, I drilled all of the pocket holes (placement in plans).
Assembling the Tabletop
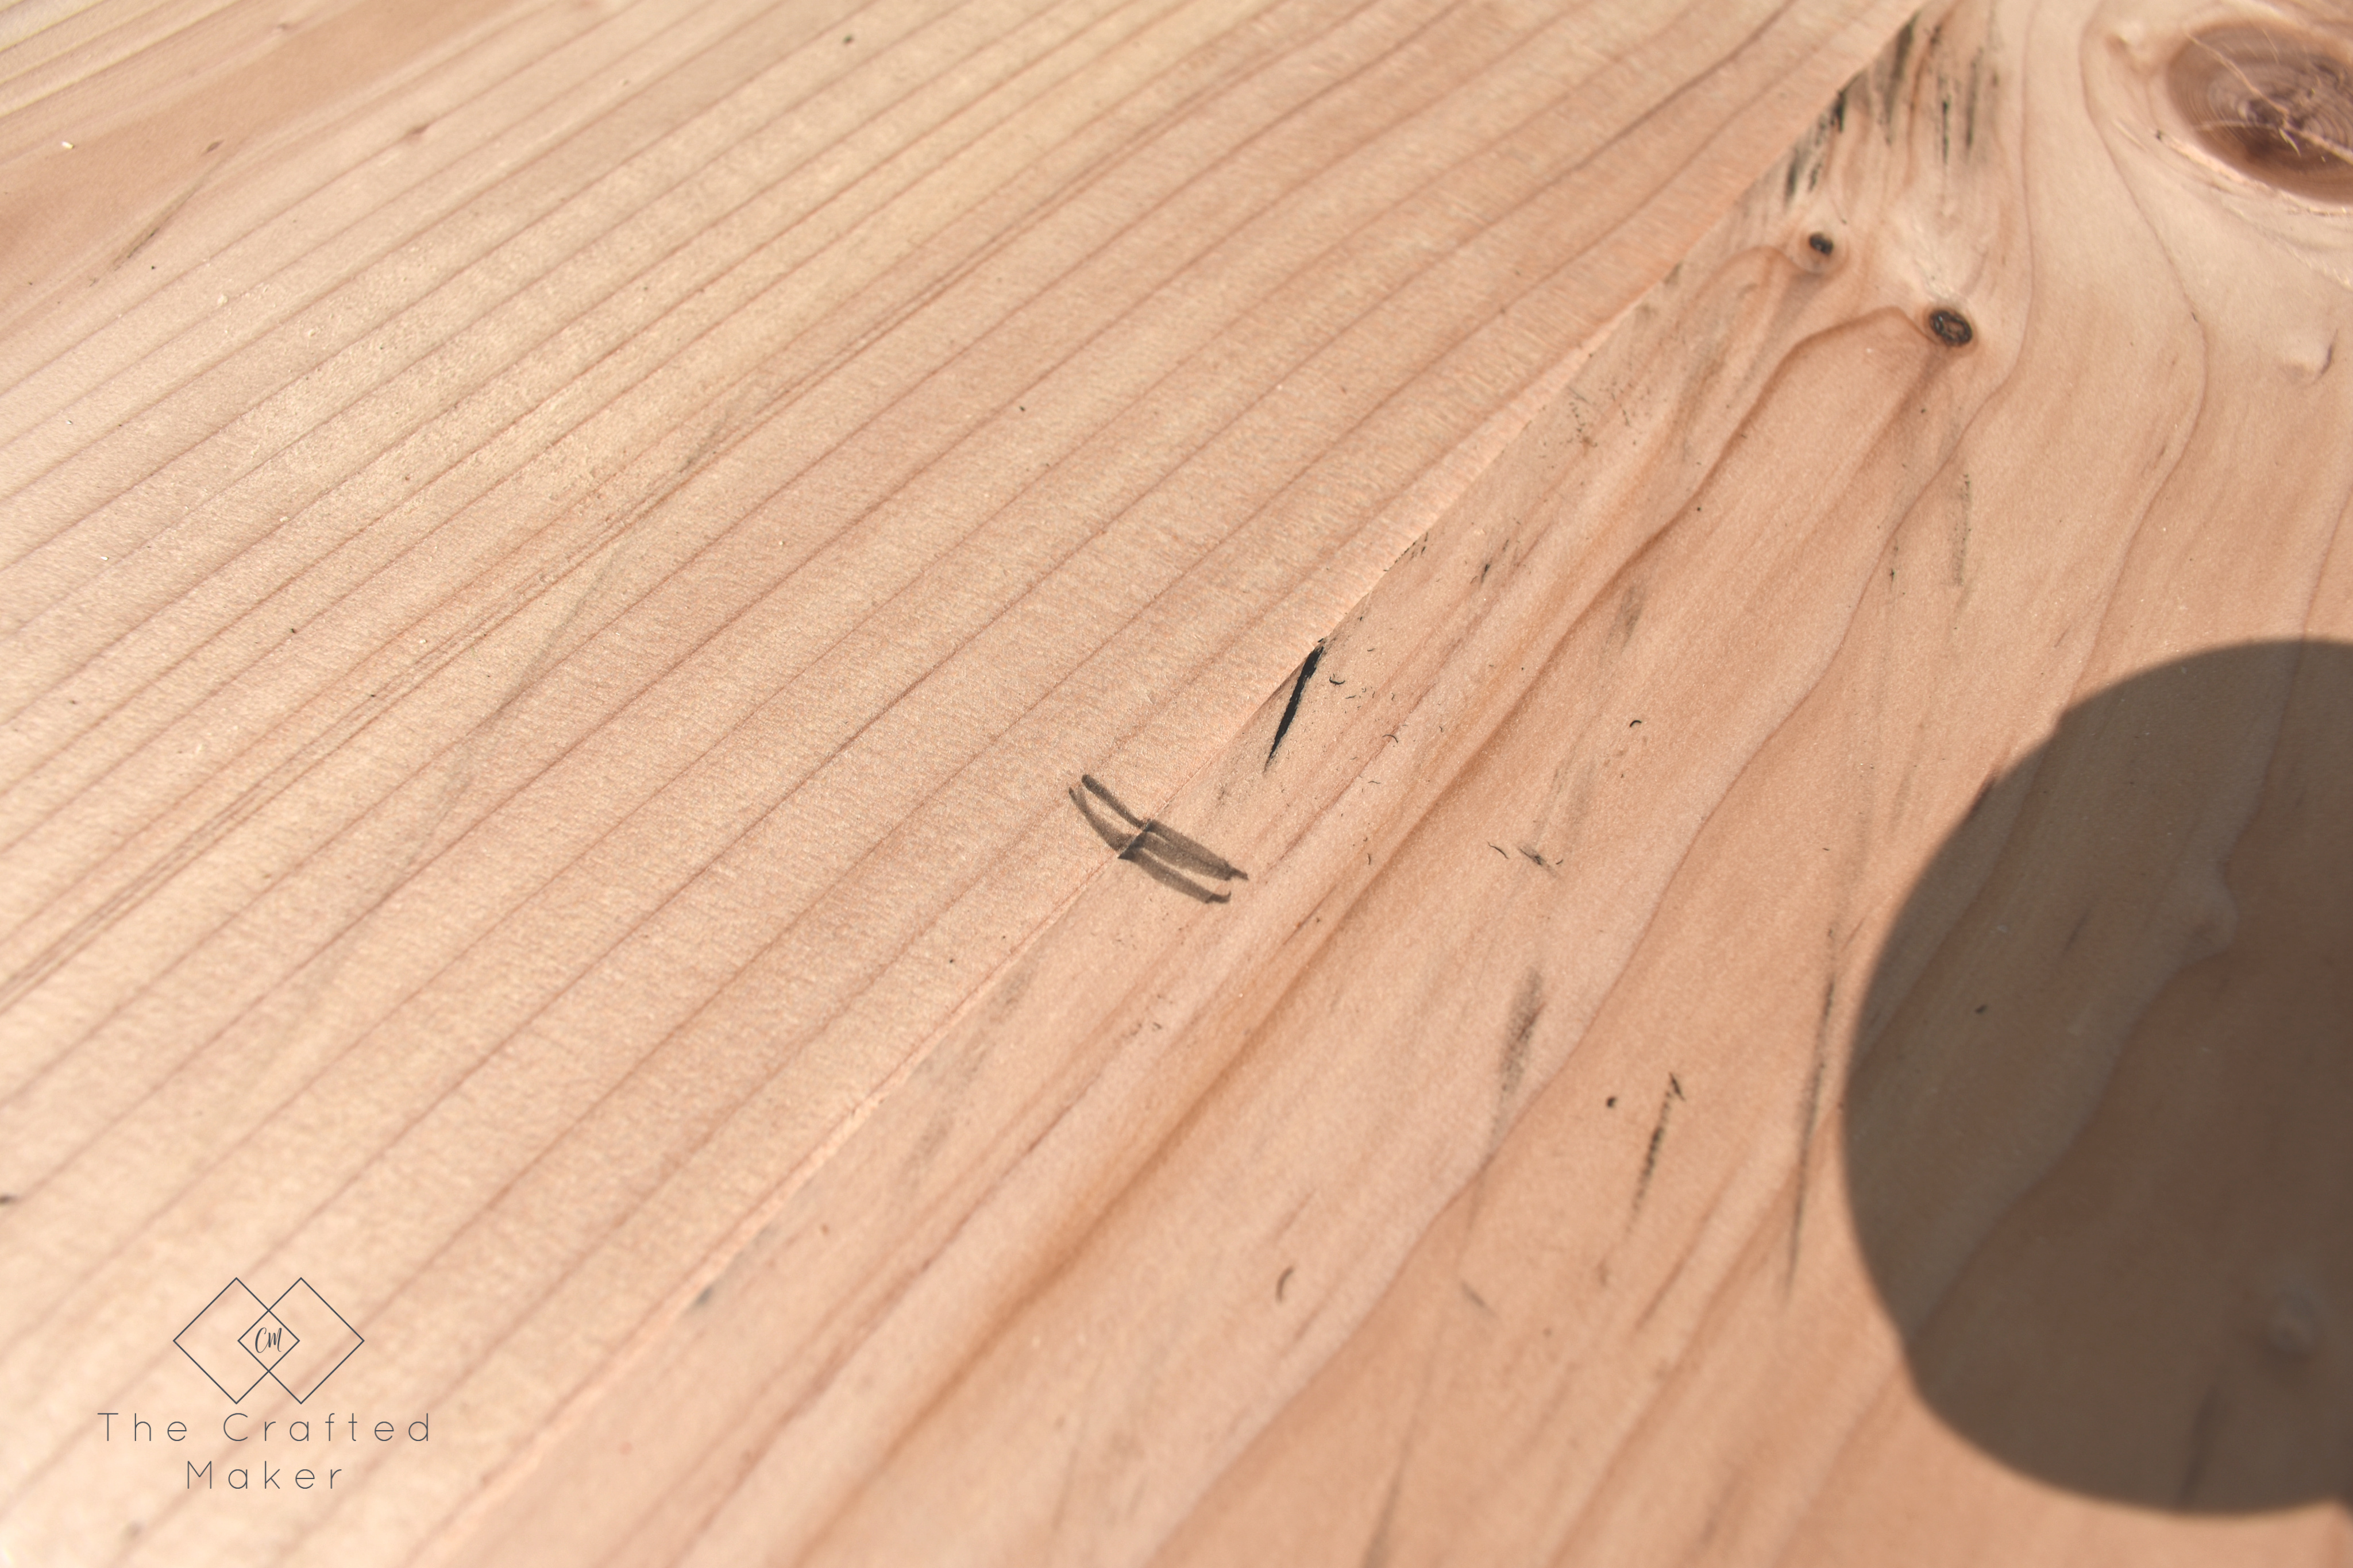
Since the tabletop was going to need time to dry, I started on assembling that first. This was actually my first time using biscuits. I believe over time I will be in love with them, but it may take a while to get used to. Place the boards on the table in the order they were going to be joined together then draw a line across the seams. This gave me a reference point when cutting the holes.
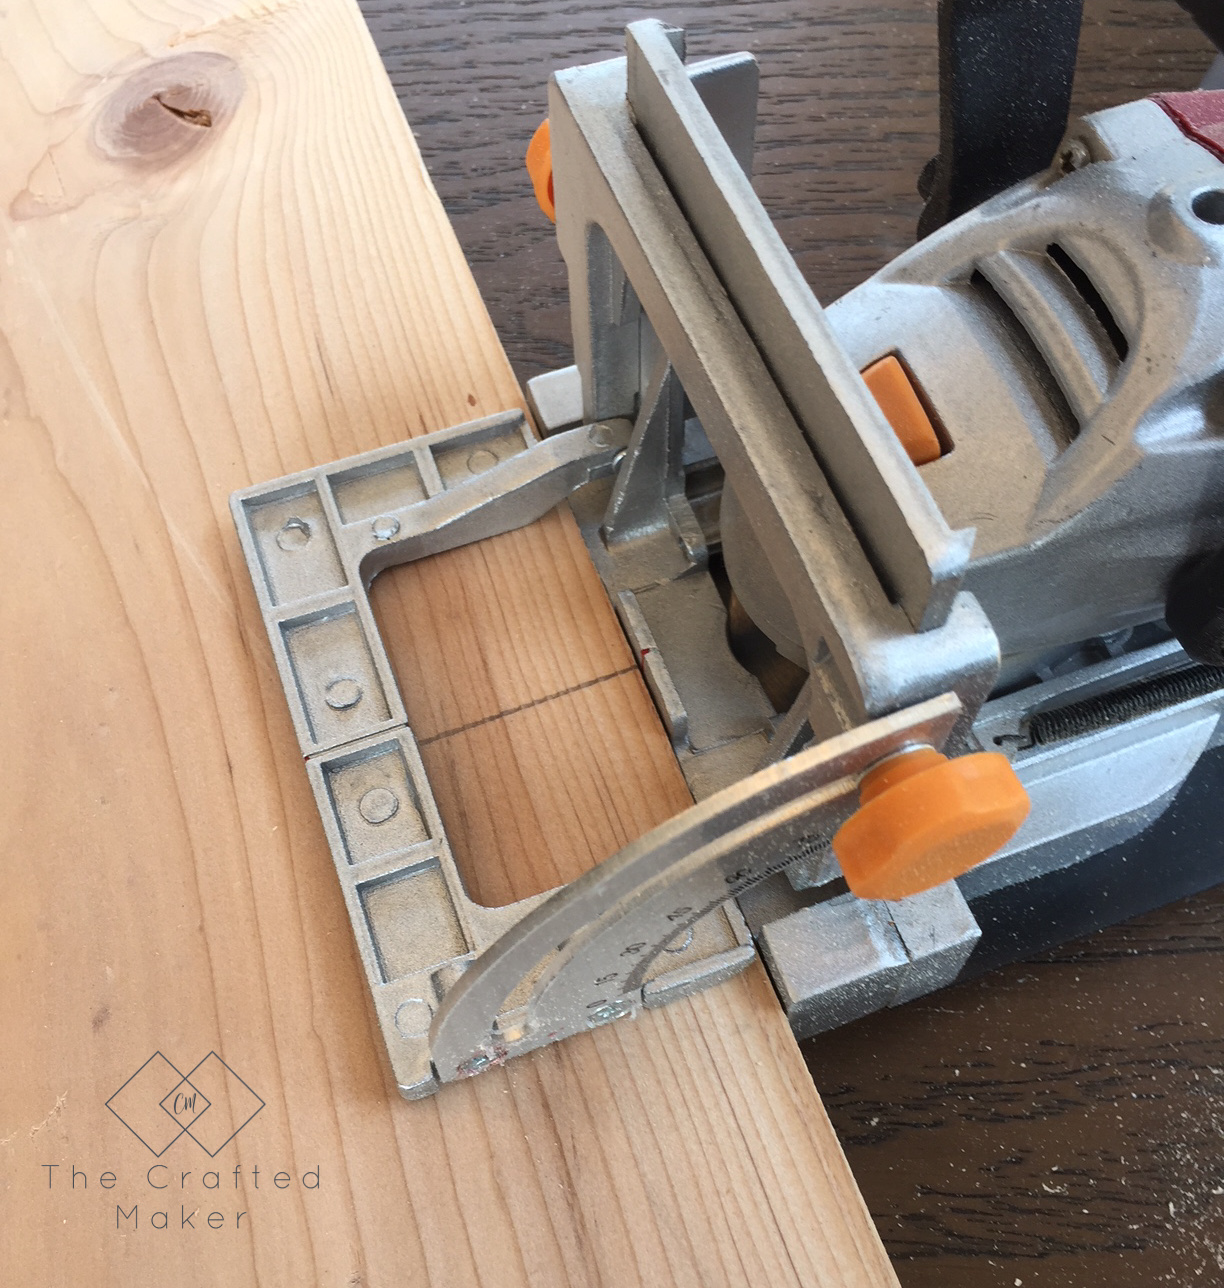
Line the mark on the biscuit joiner up with the lines you drew on the boards and plunge the cutter into the wood. This is a fairly simple process once you get used to applying pressure on the machine. My first couple of attempts were off because I didn’t hold the machine steady, it jumped around on me a bit.
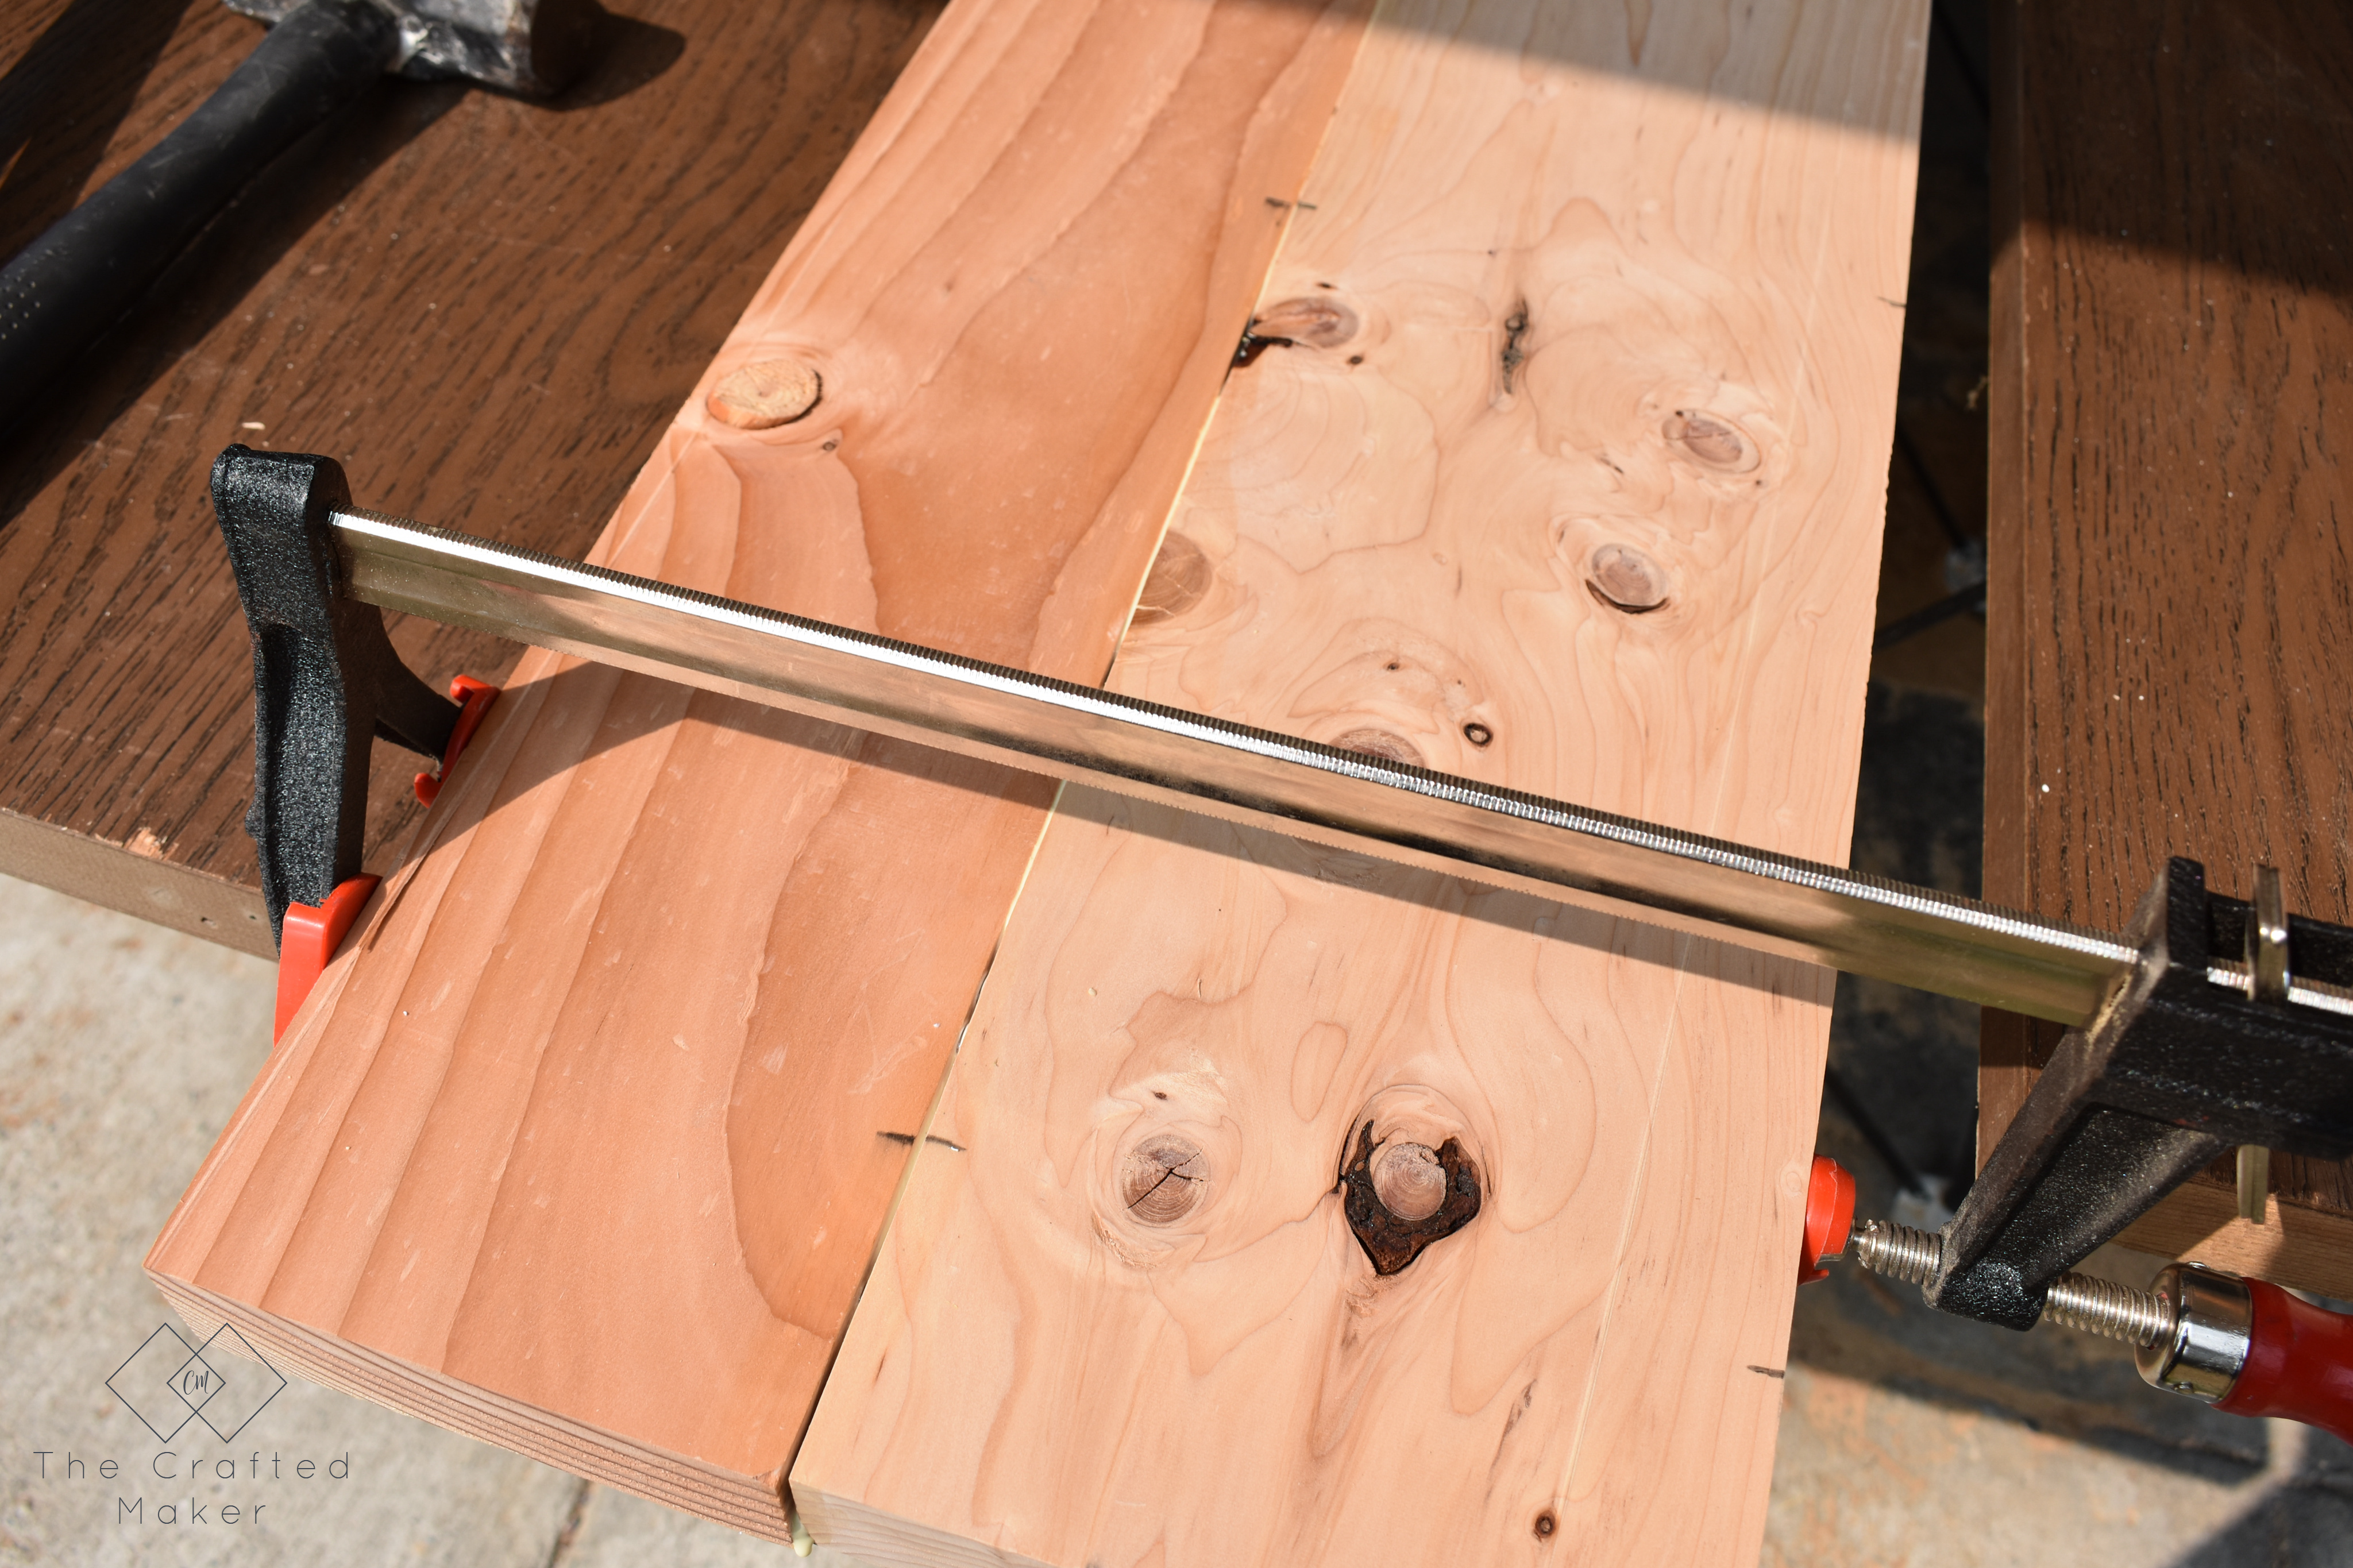
Once my holes were cut, I used wood glue and joined the boards together with the biscuits. Apply clamps to the tabletop while the glue is drying.
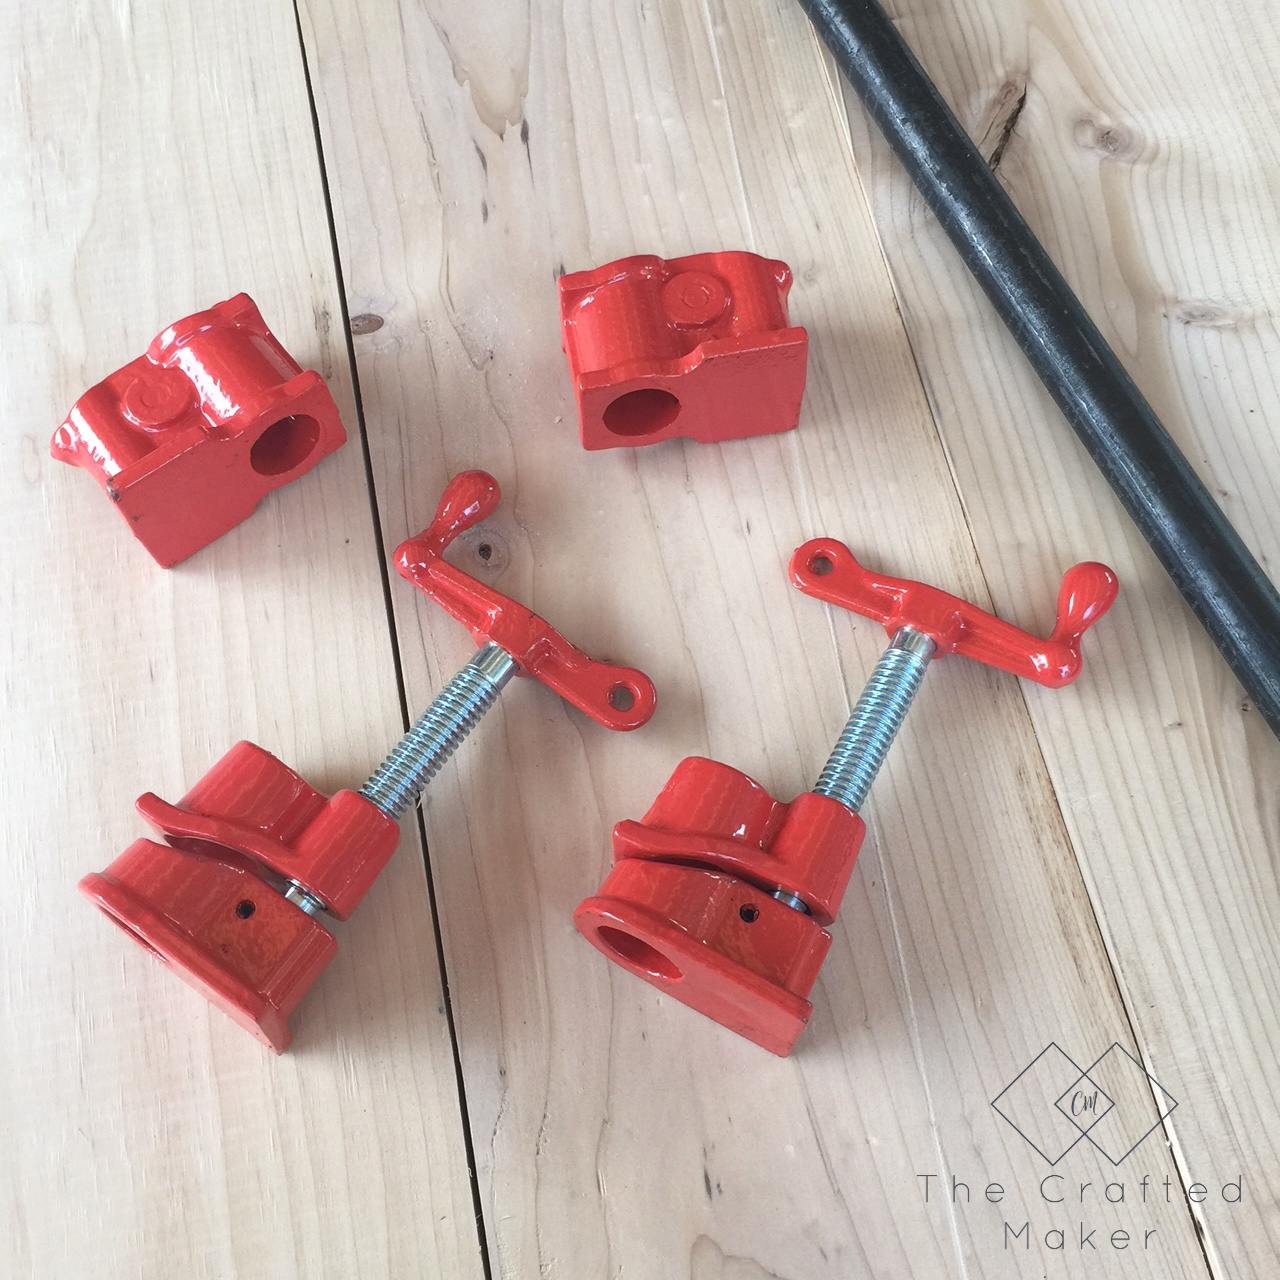
Another thing I tried on this project for the first time is a set of pipe clamps. The end pieces come in a kit and you buy pipe separately to form a clamp. It’s really inexpensive compared to pre-assembled clamps and allows you to have a longer clamp in no time at all. I purchased two kits, a 10ft. piece of black pipe and had two 5ft. clamps in less than five minutes. If you want to check them out here is the link to the kits I purchased.
Assembling the Base
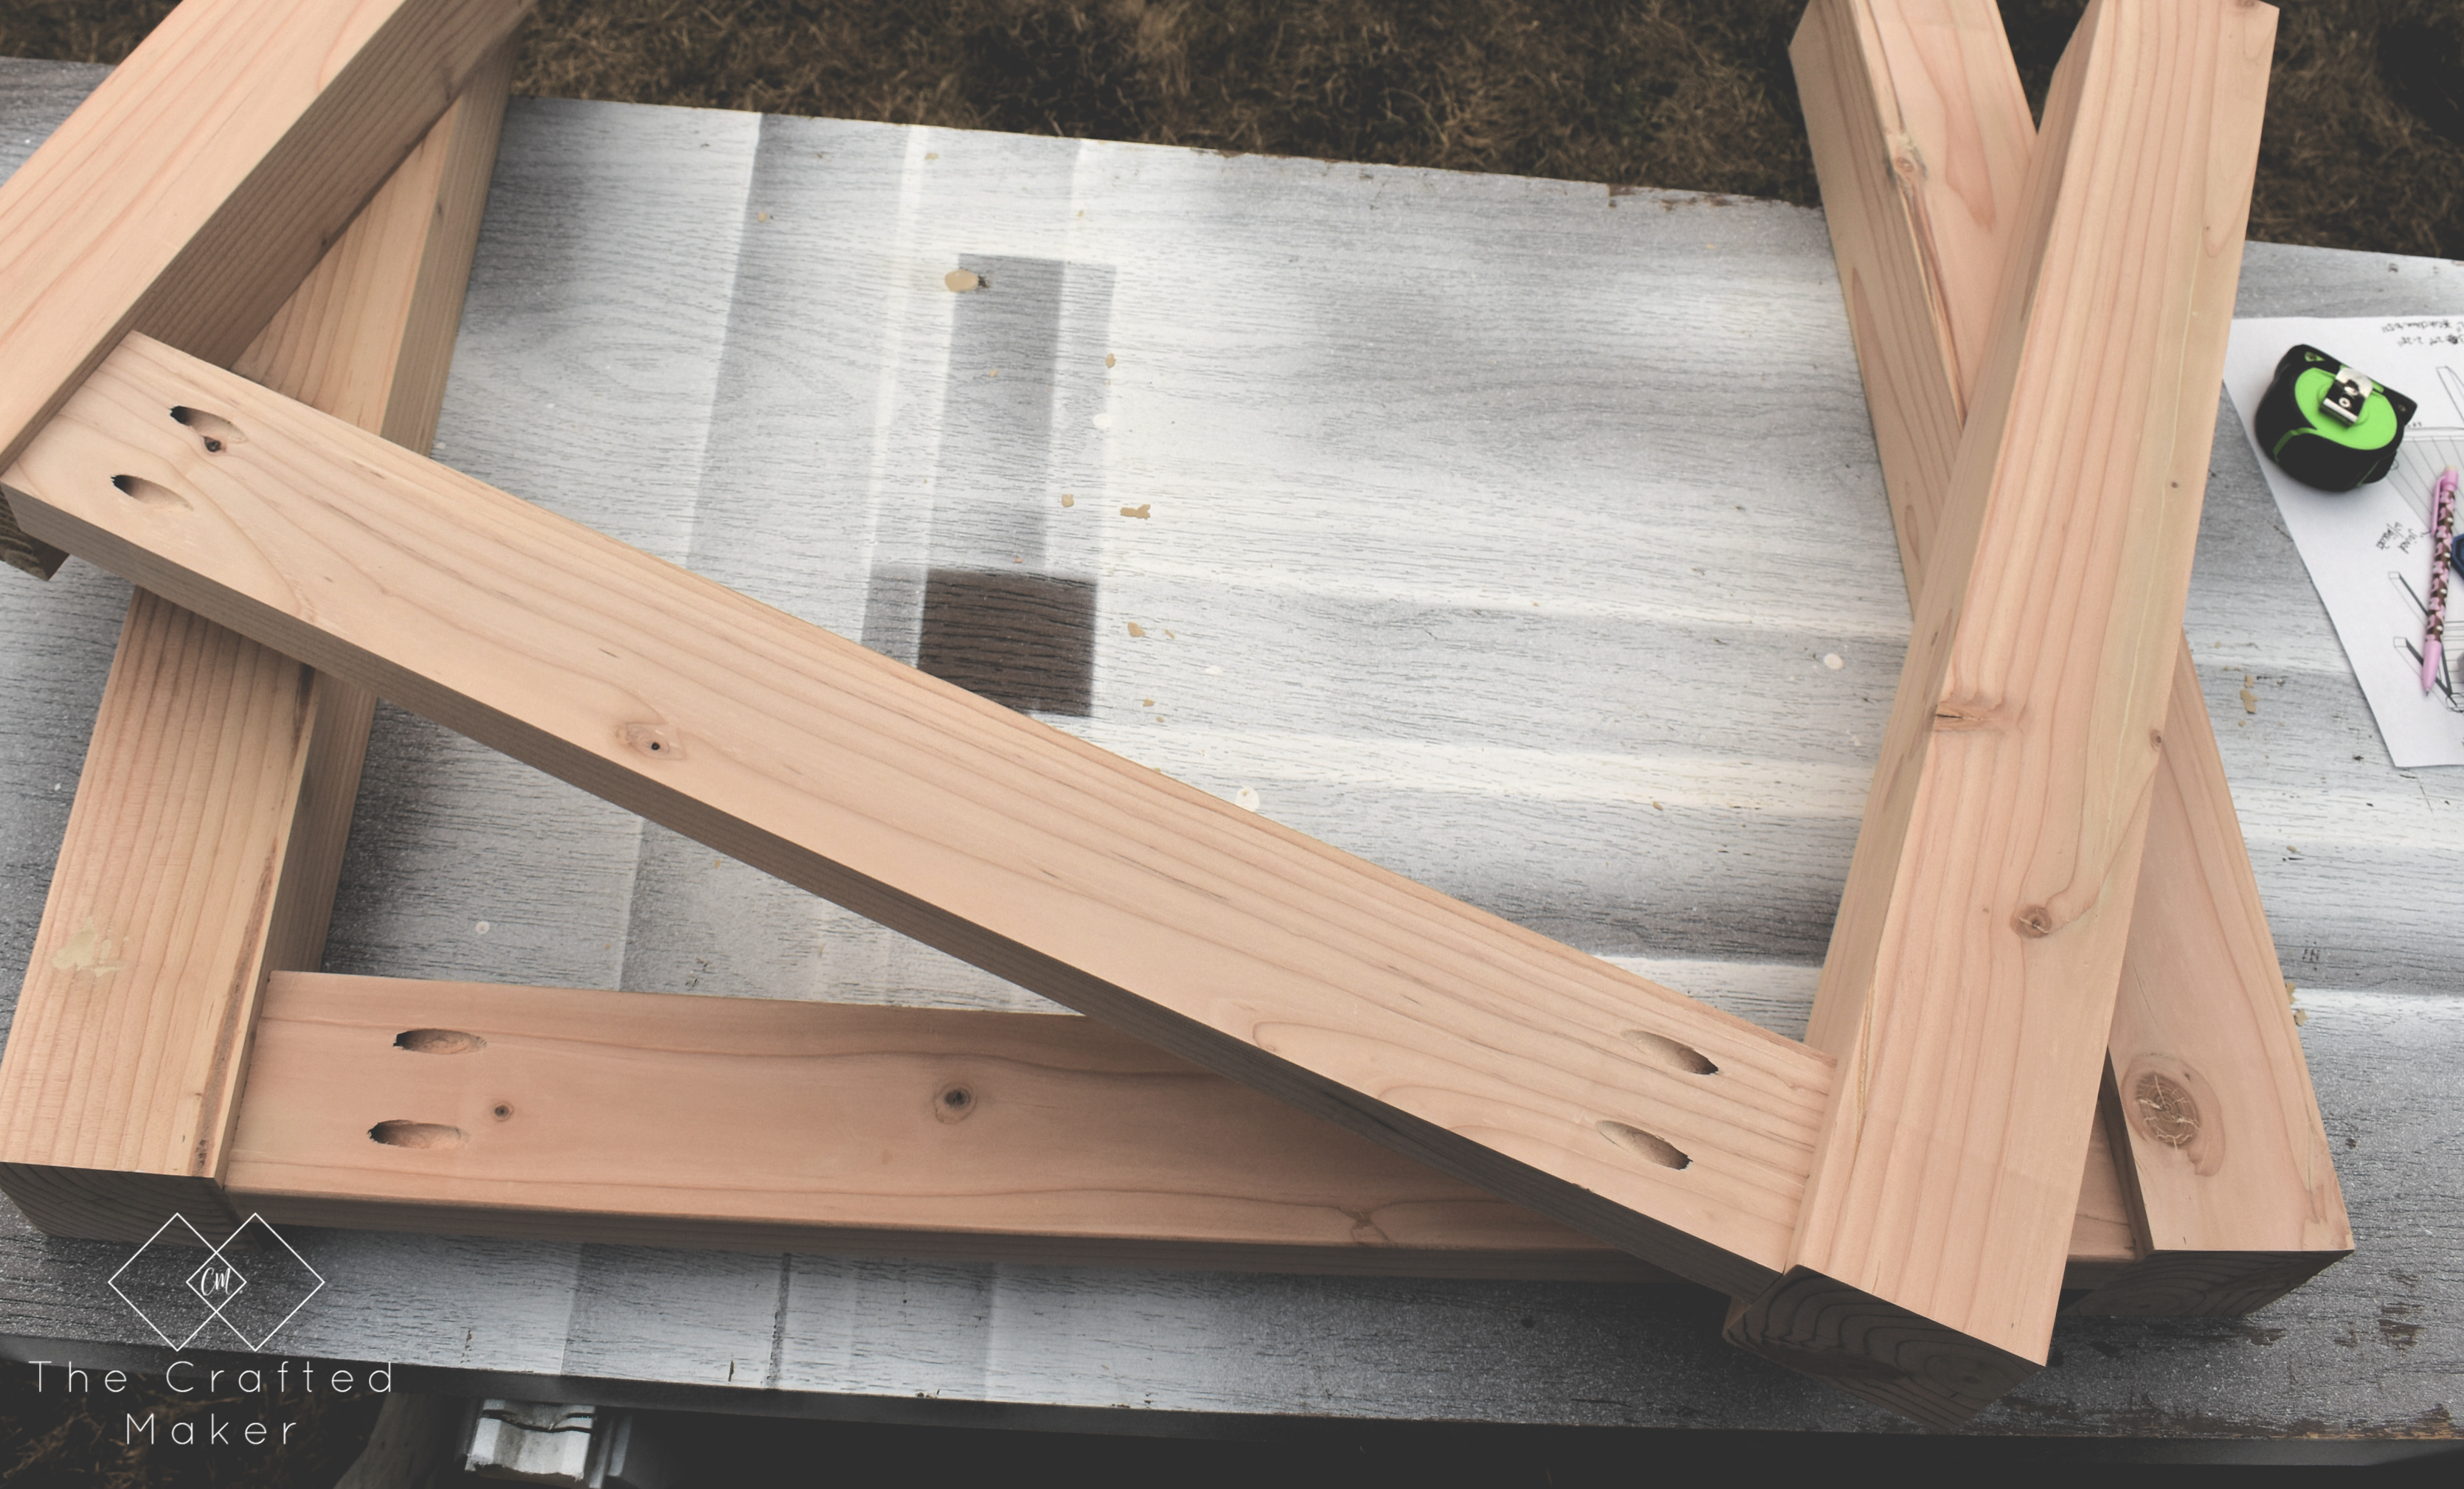
While the glue was drying, I started building the base of the table. I started by making the two side leg assemblies.
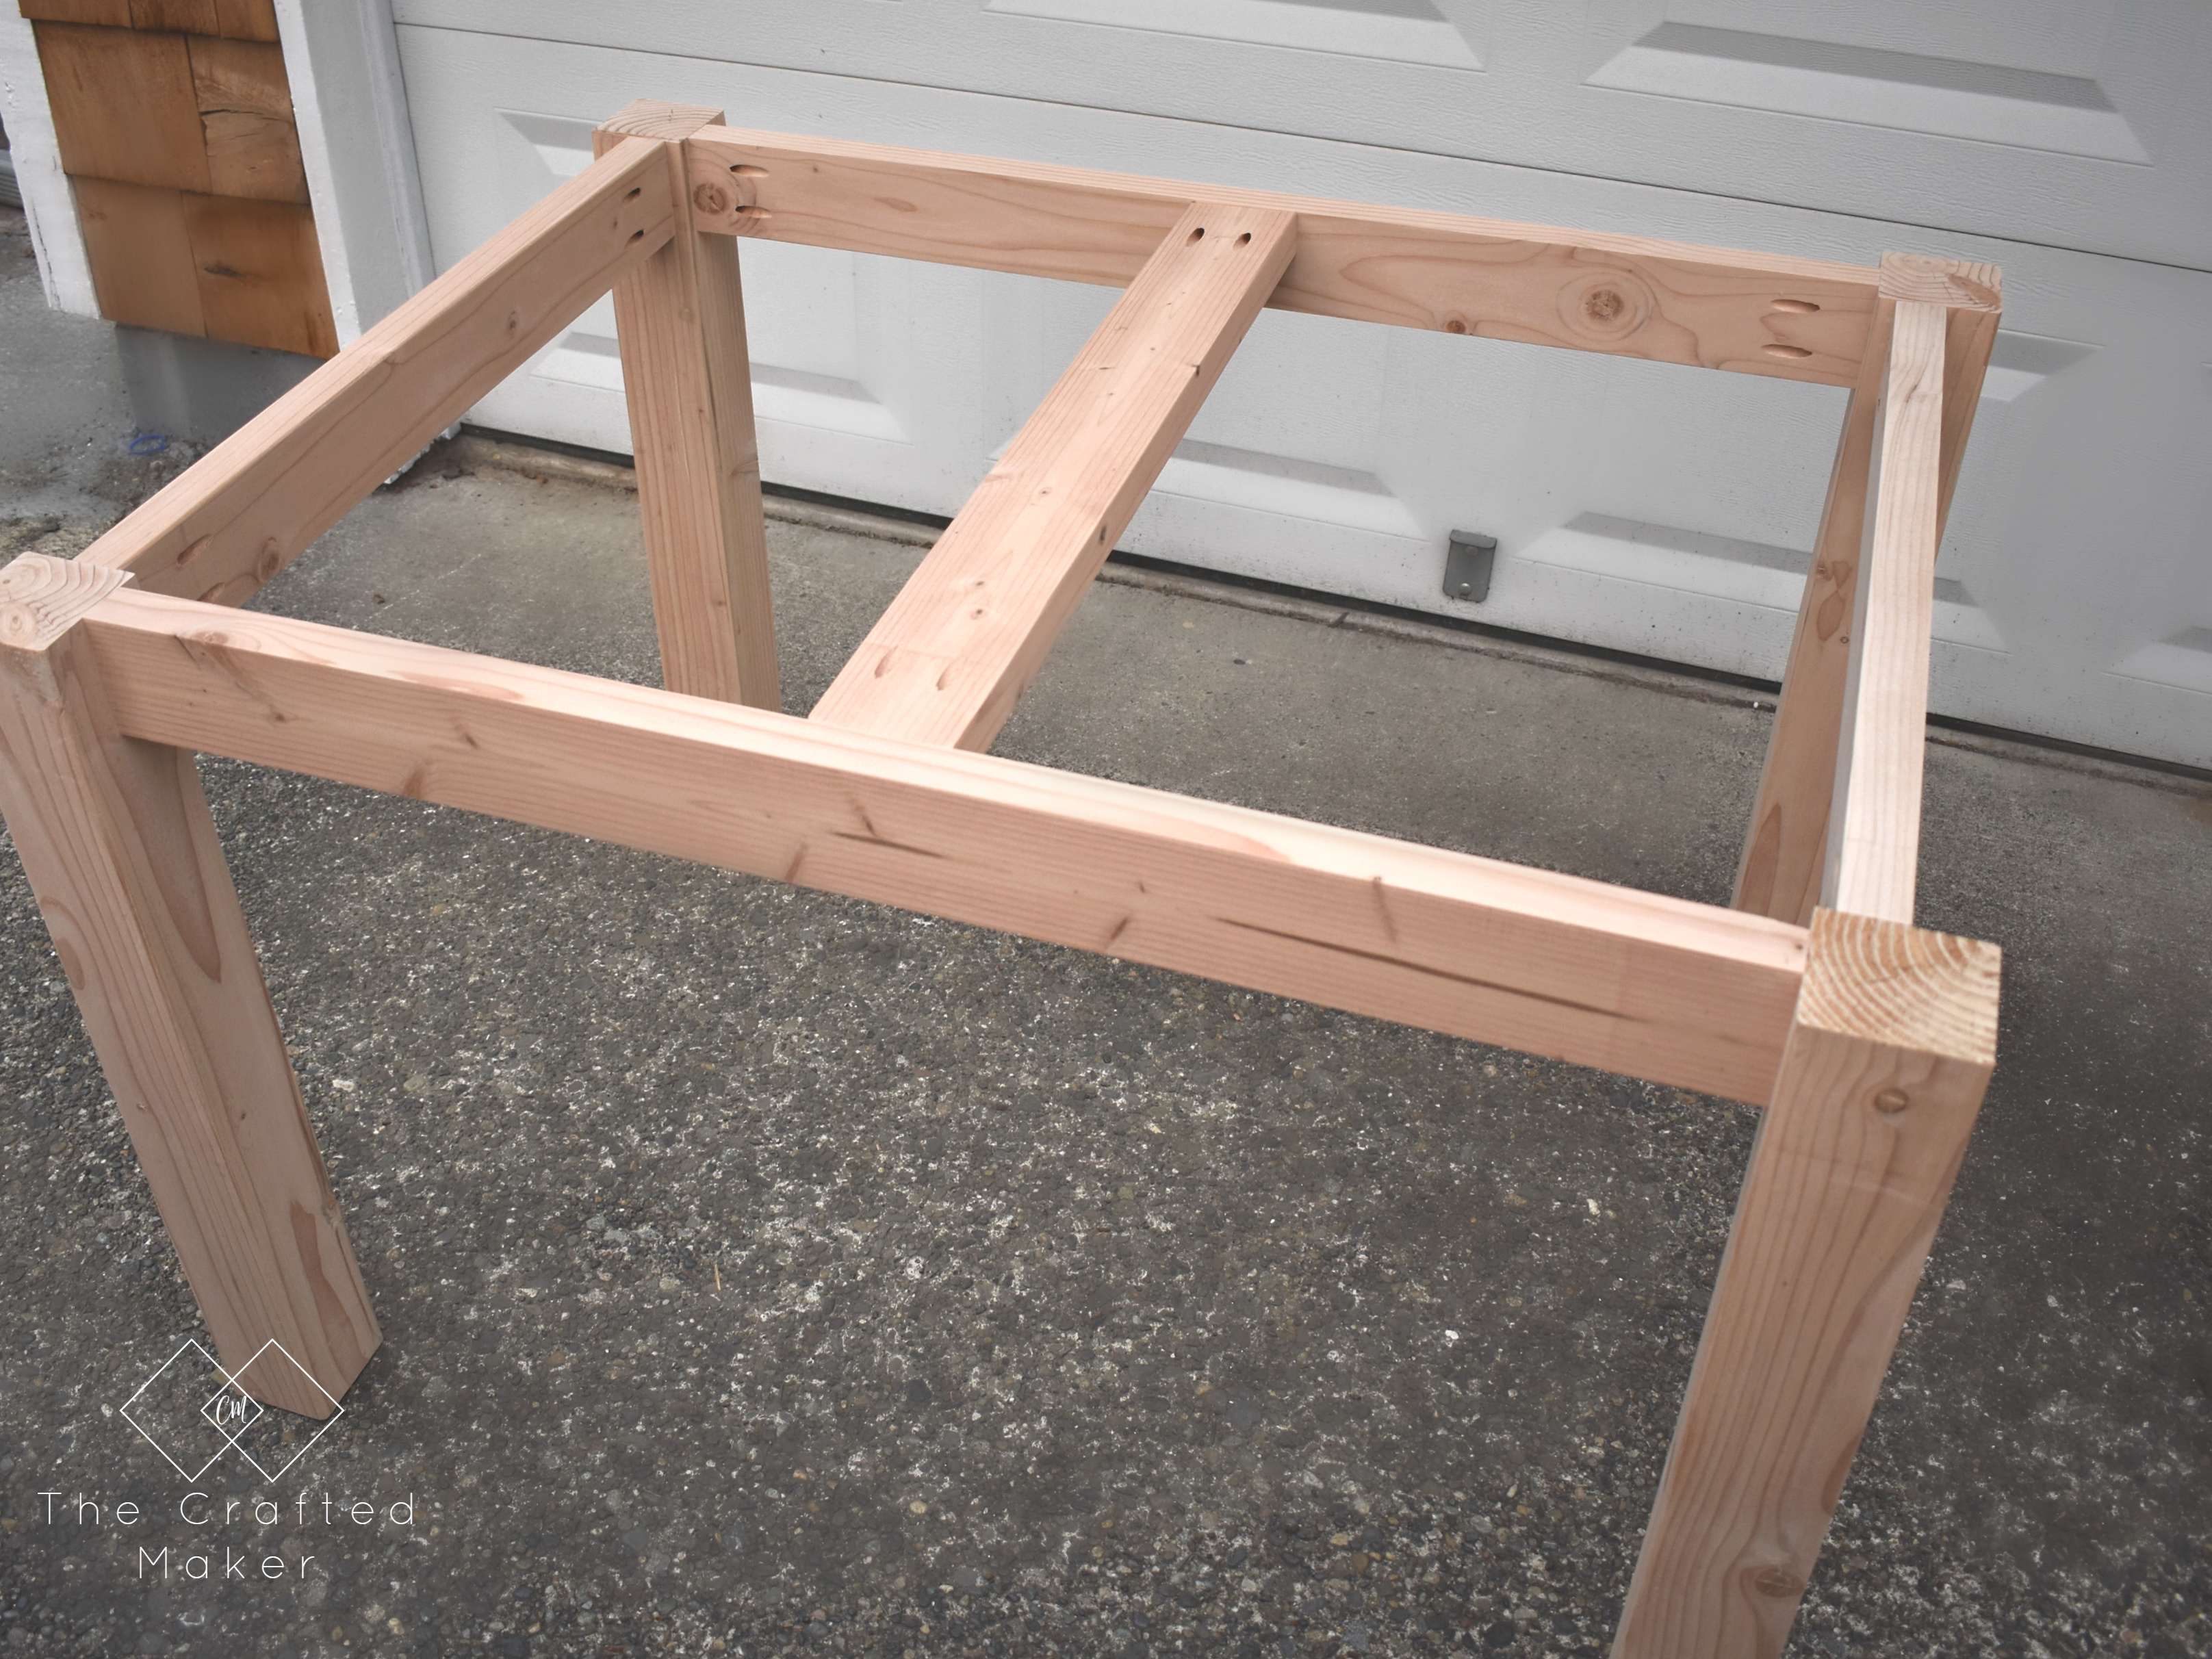
Then, I joined the two leg assemblies with aprons running between, and to finish off the build of the base, I attached a middle support board, this will also give the top something to attach to.
Before attaching the tabletop to the base, I sanded the entire project starting with 120 grit and ending in 220 grit.
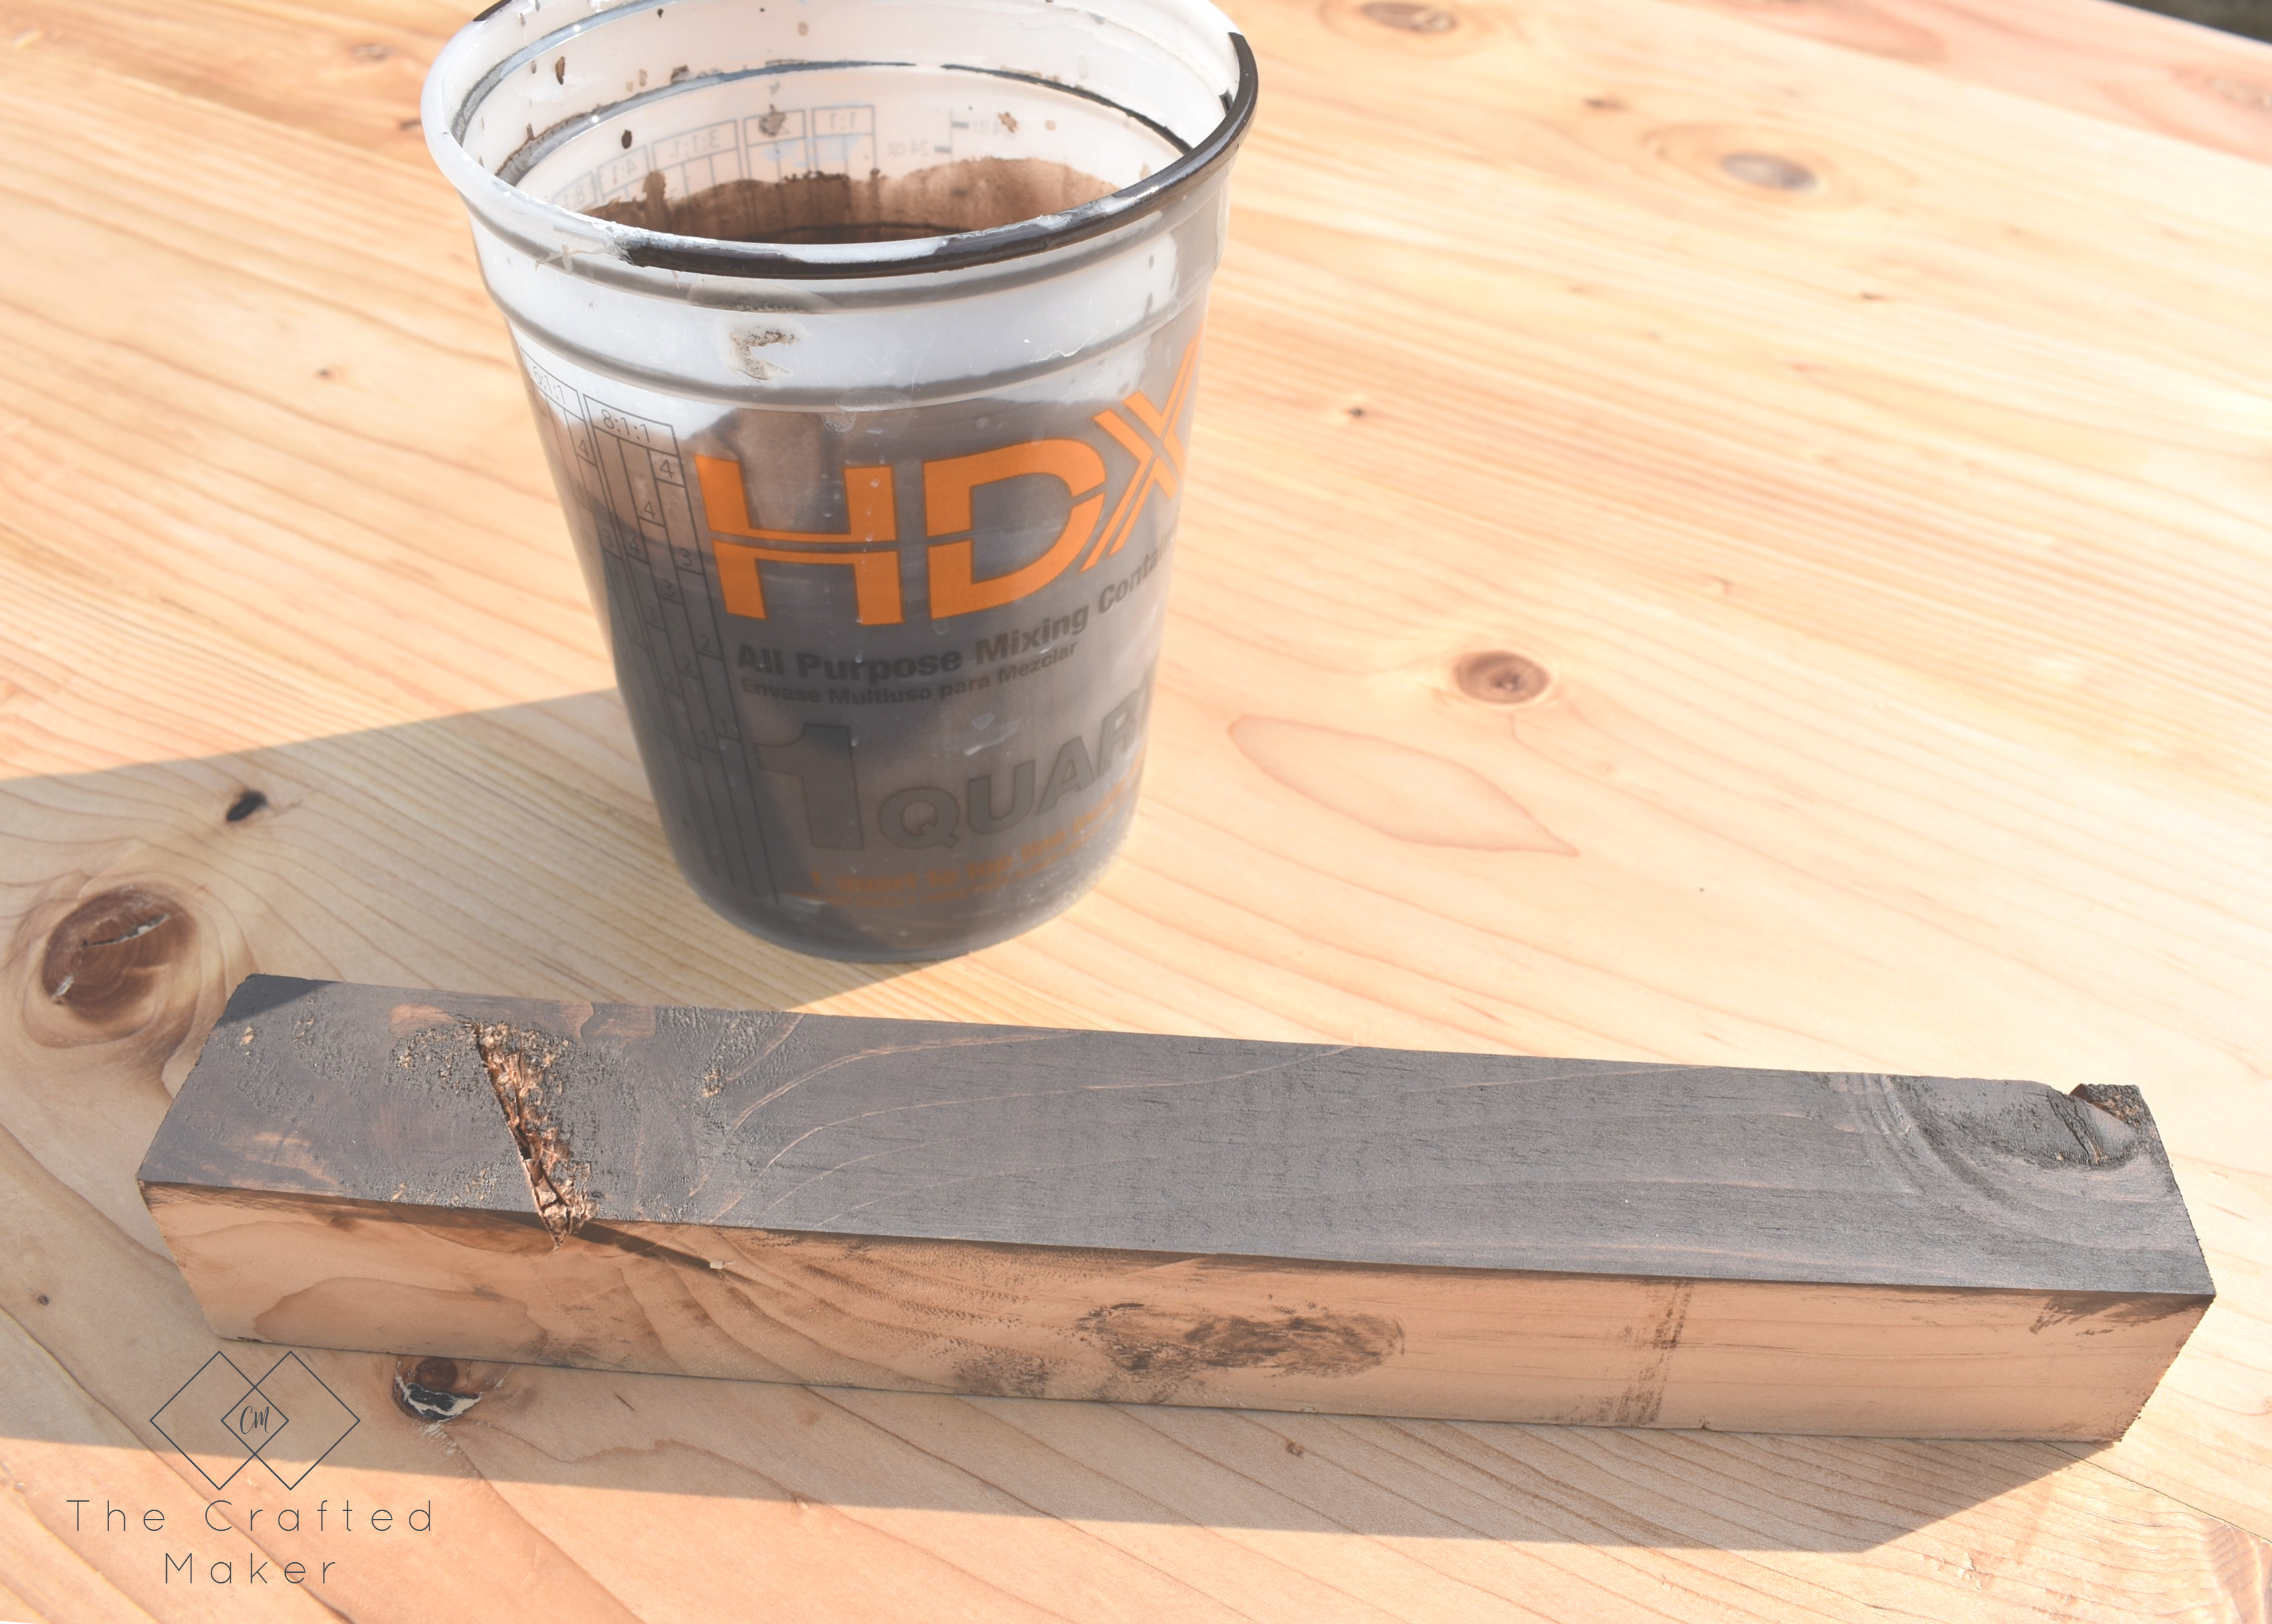
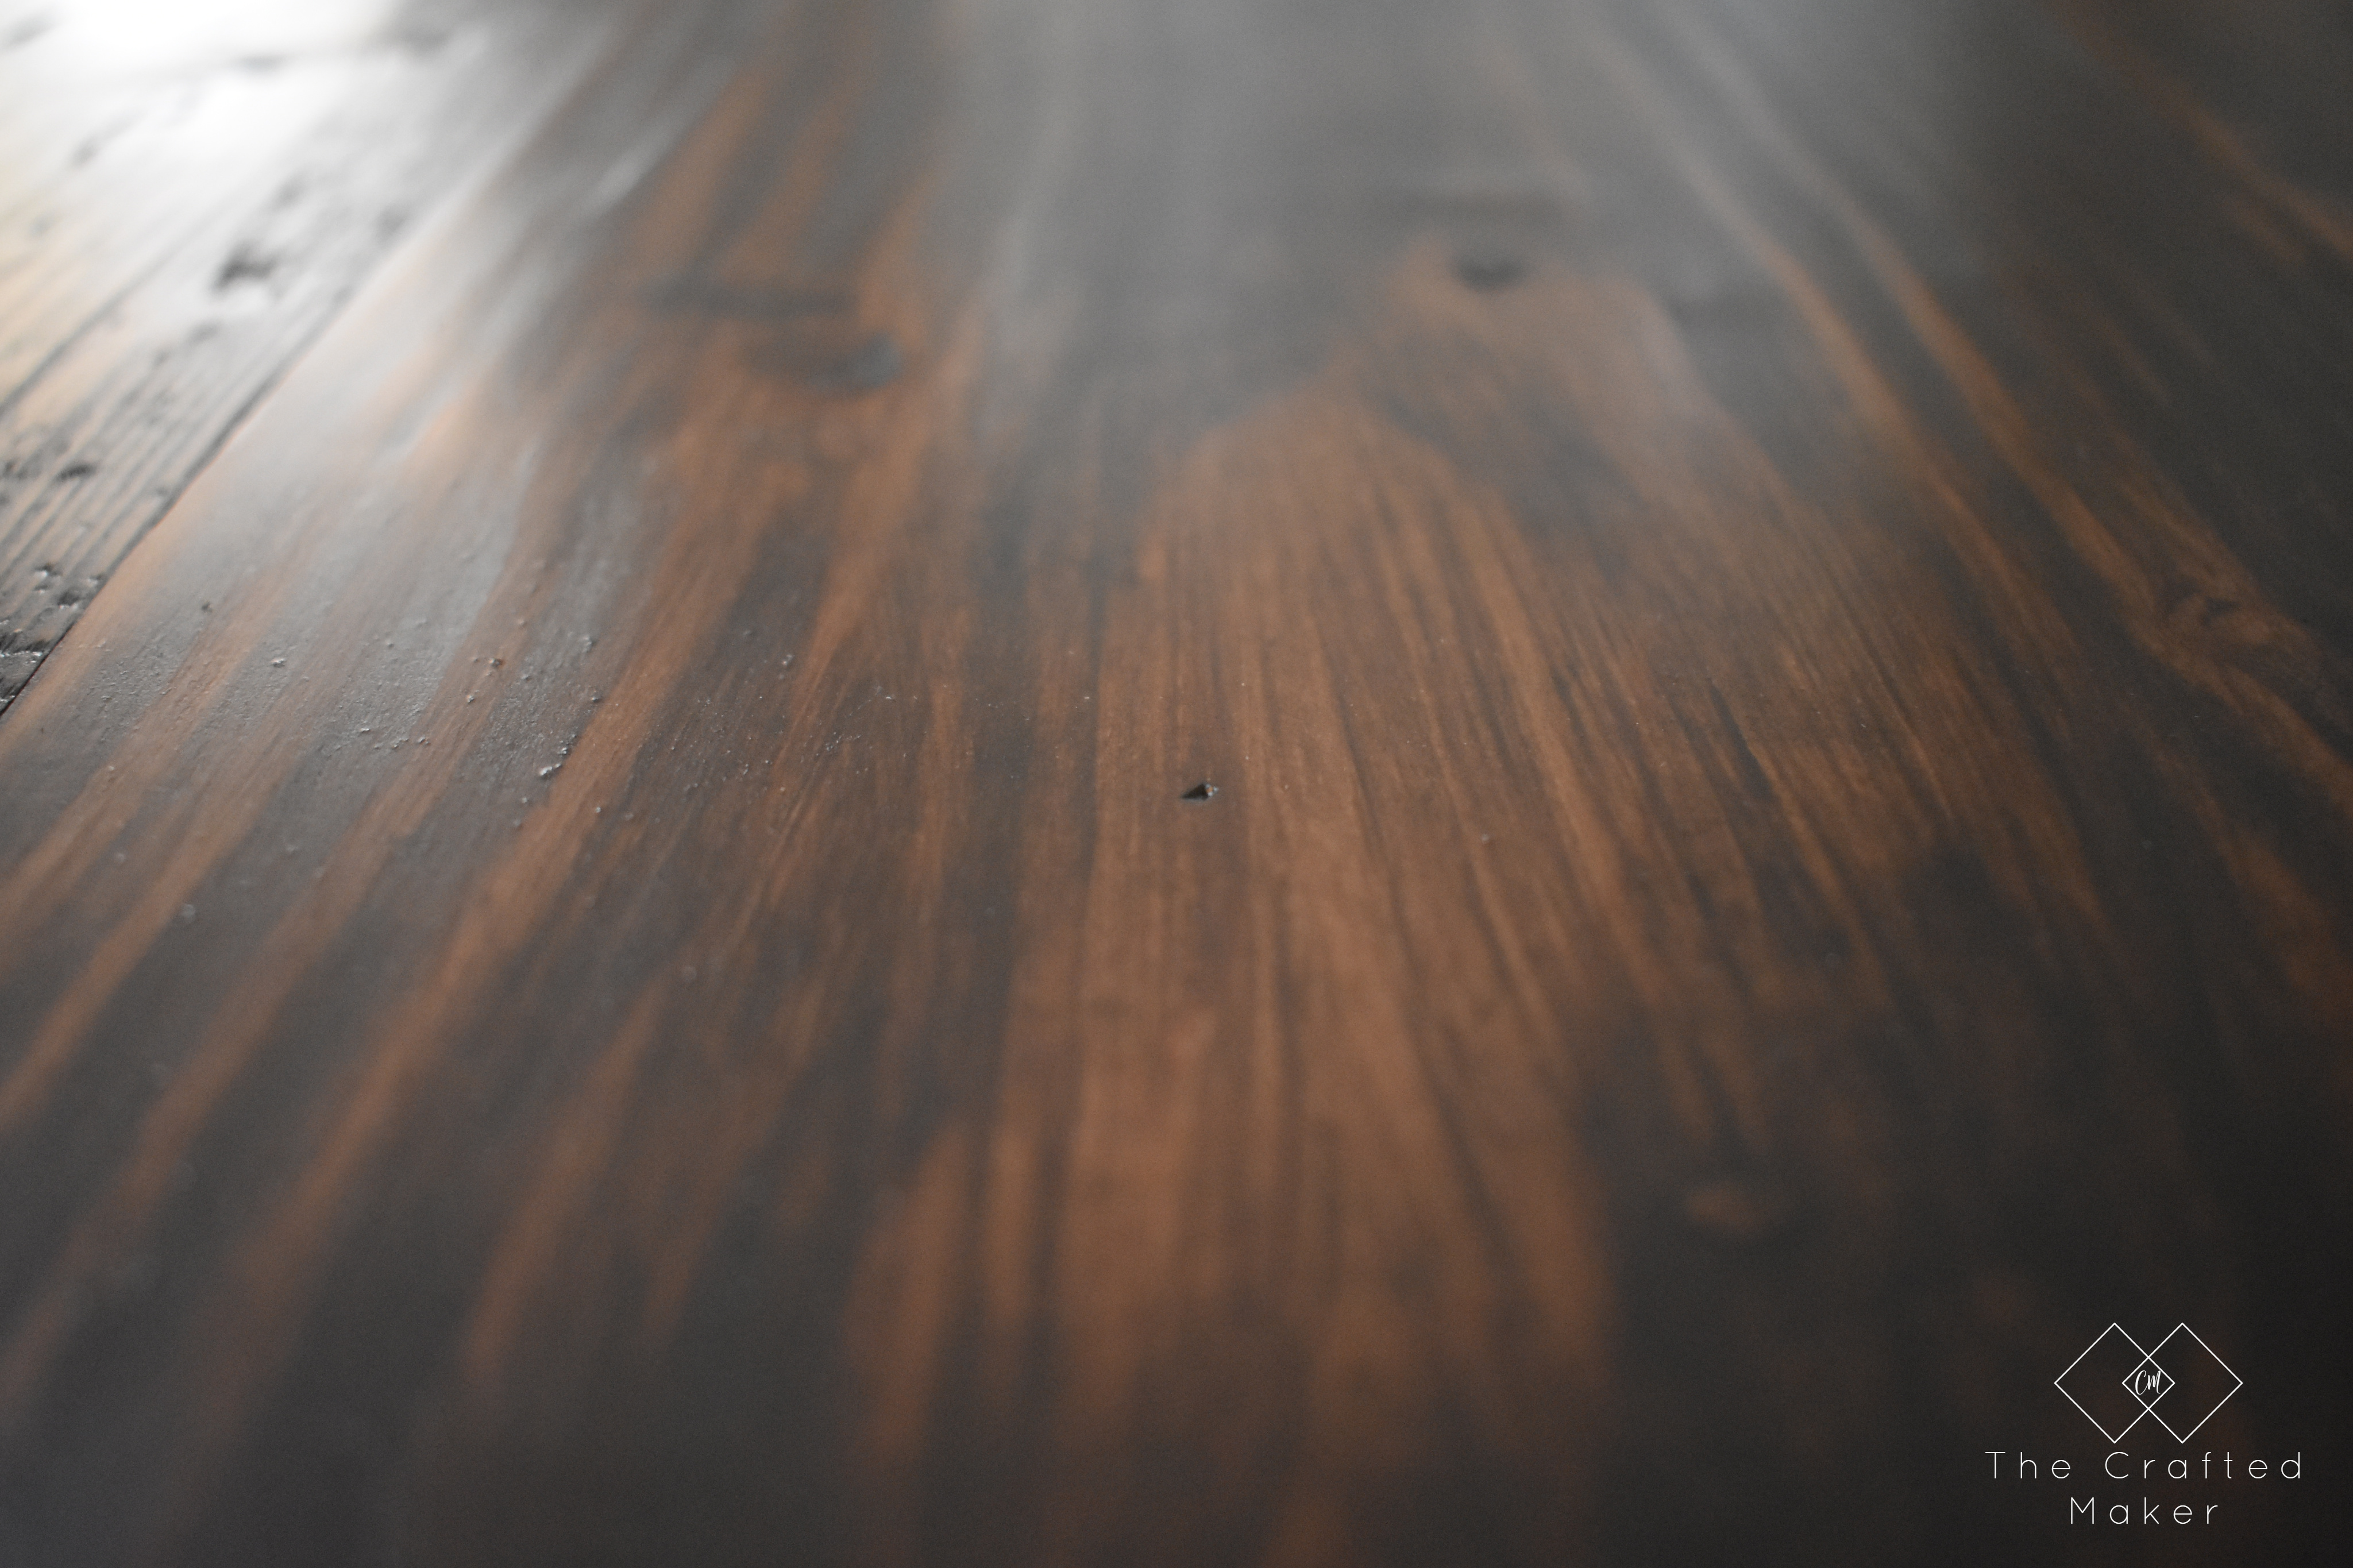
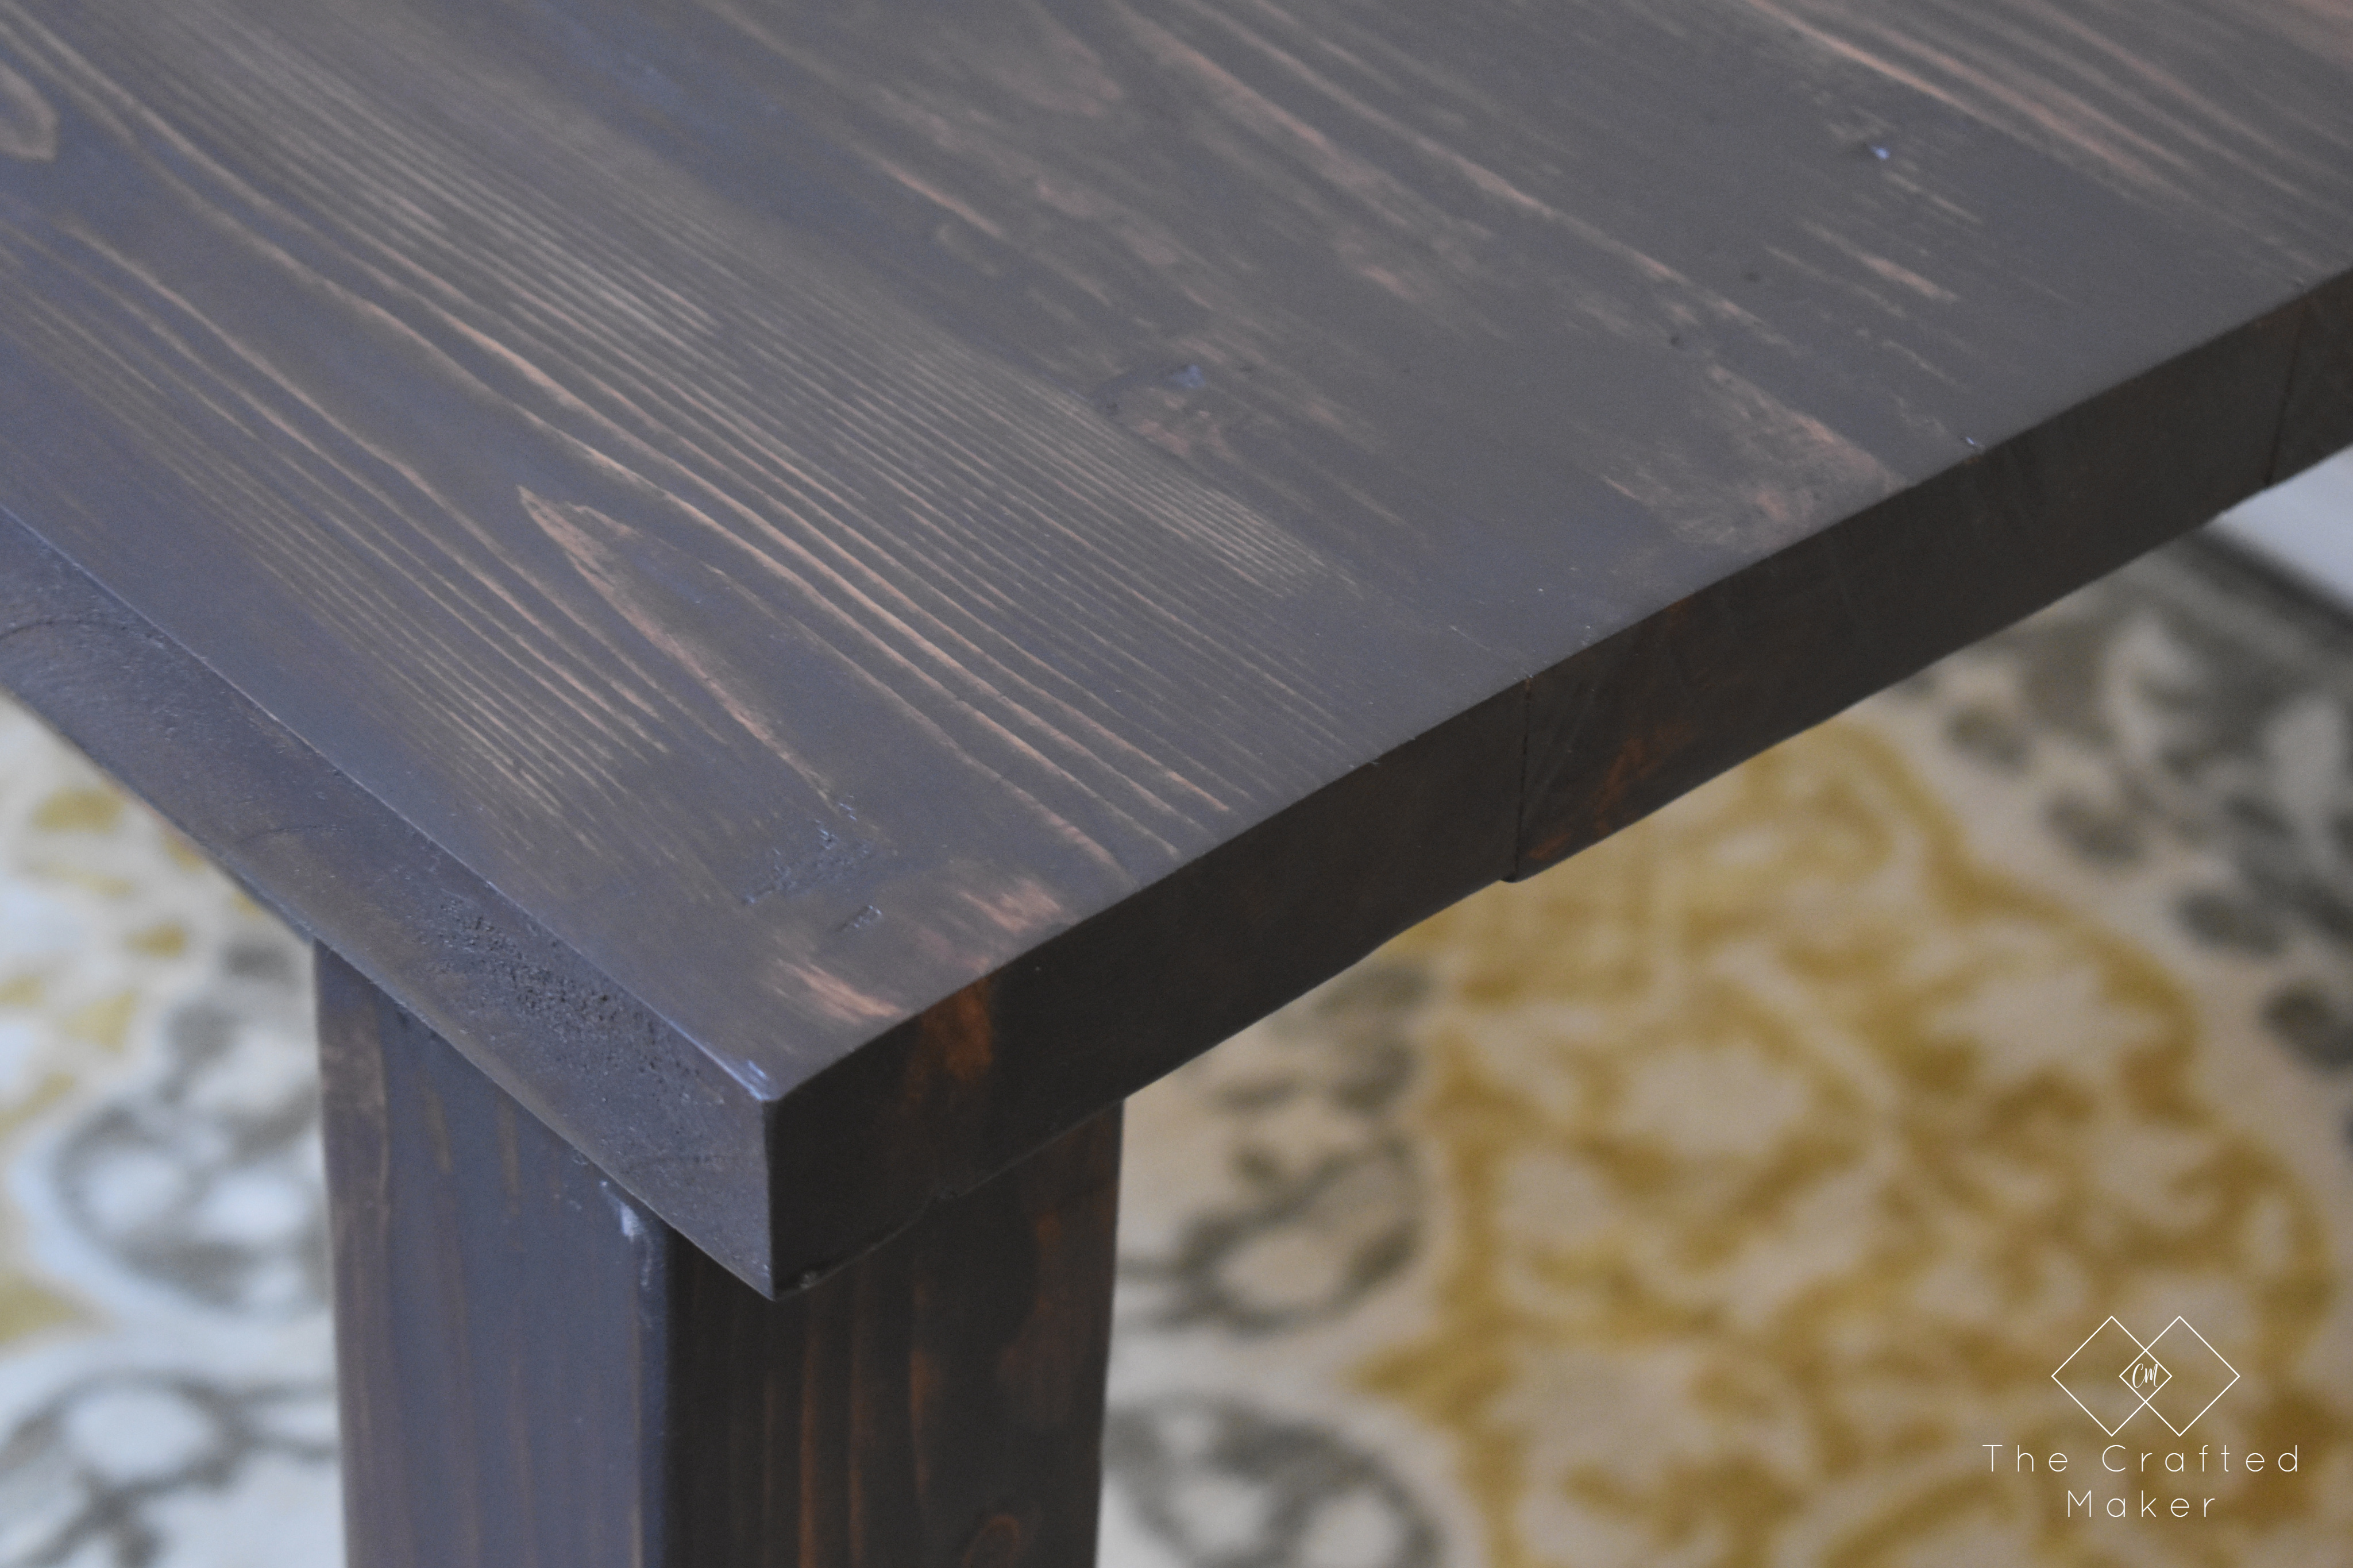
I fully wiped the wood down with a tack cloth and applied my stain. Some custom stain is what I decided to use, 1 part Kona, 2 parts Classic Gray. I tested it out on a scrap piece of wood before staining the actual table. It is the perfect mix of brown and gray. I think I’m in love!
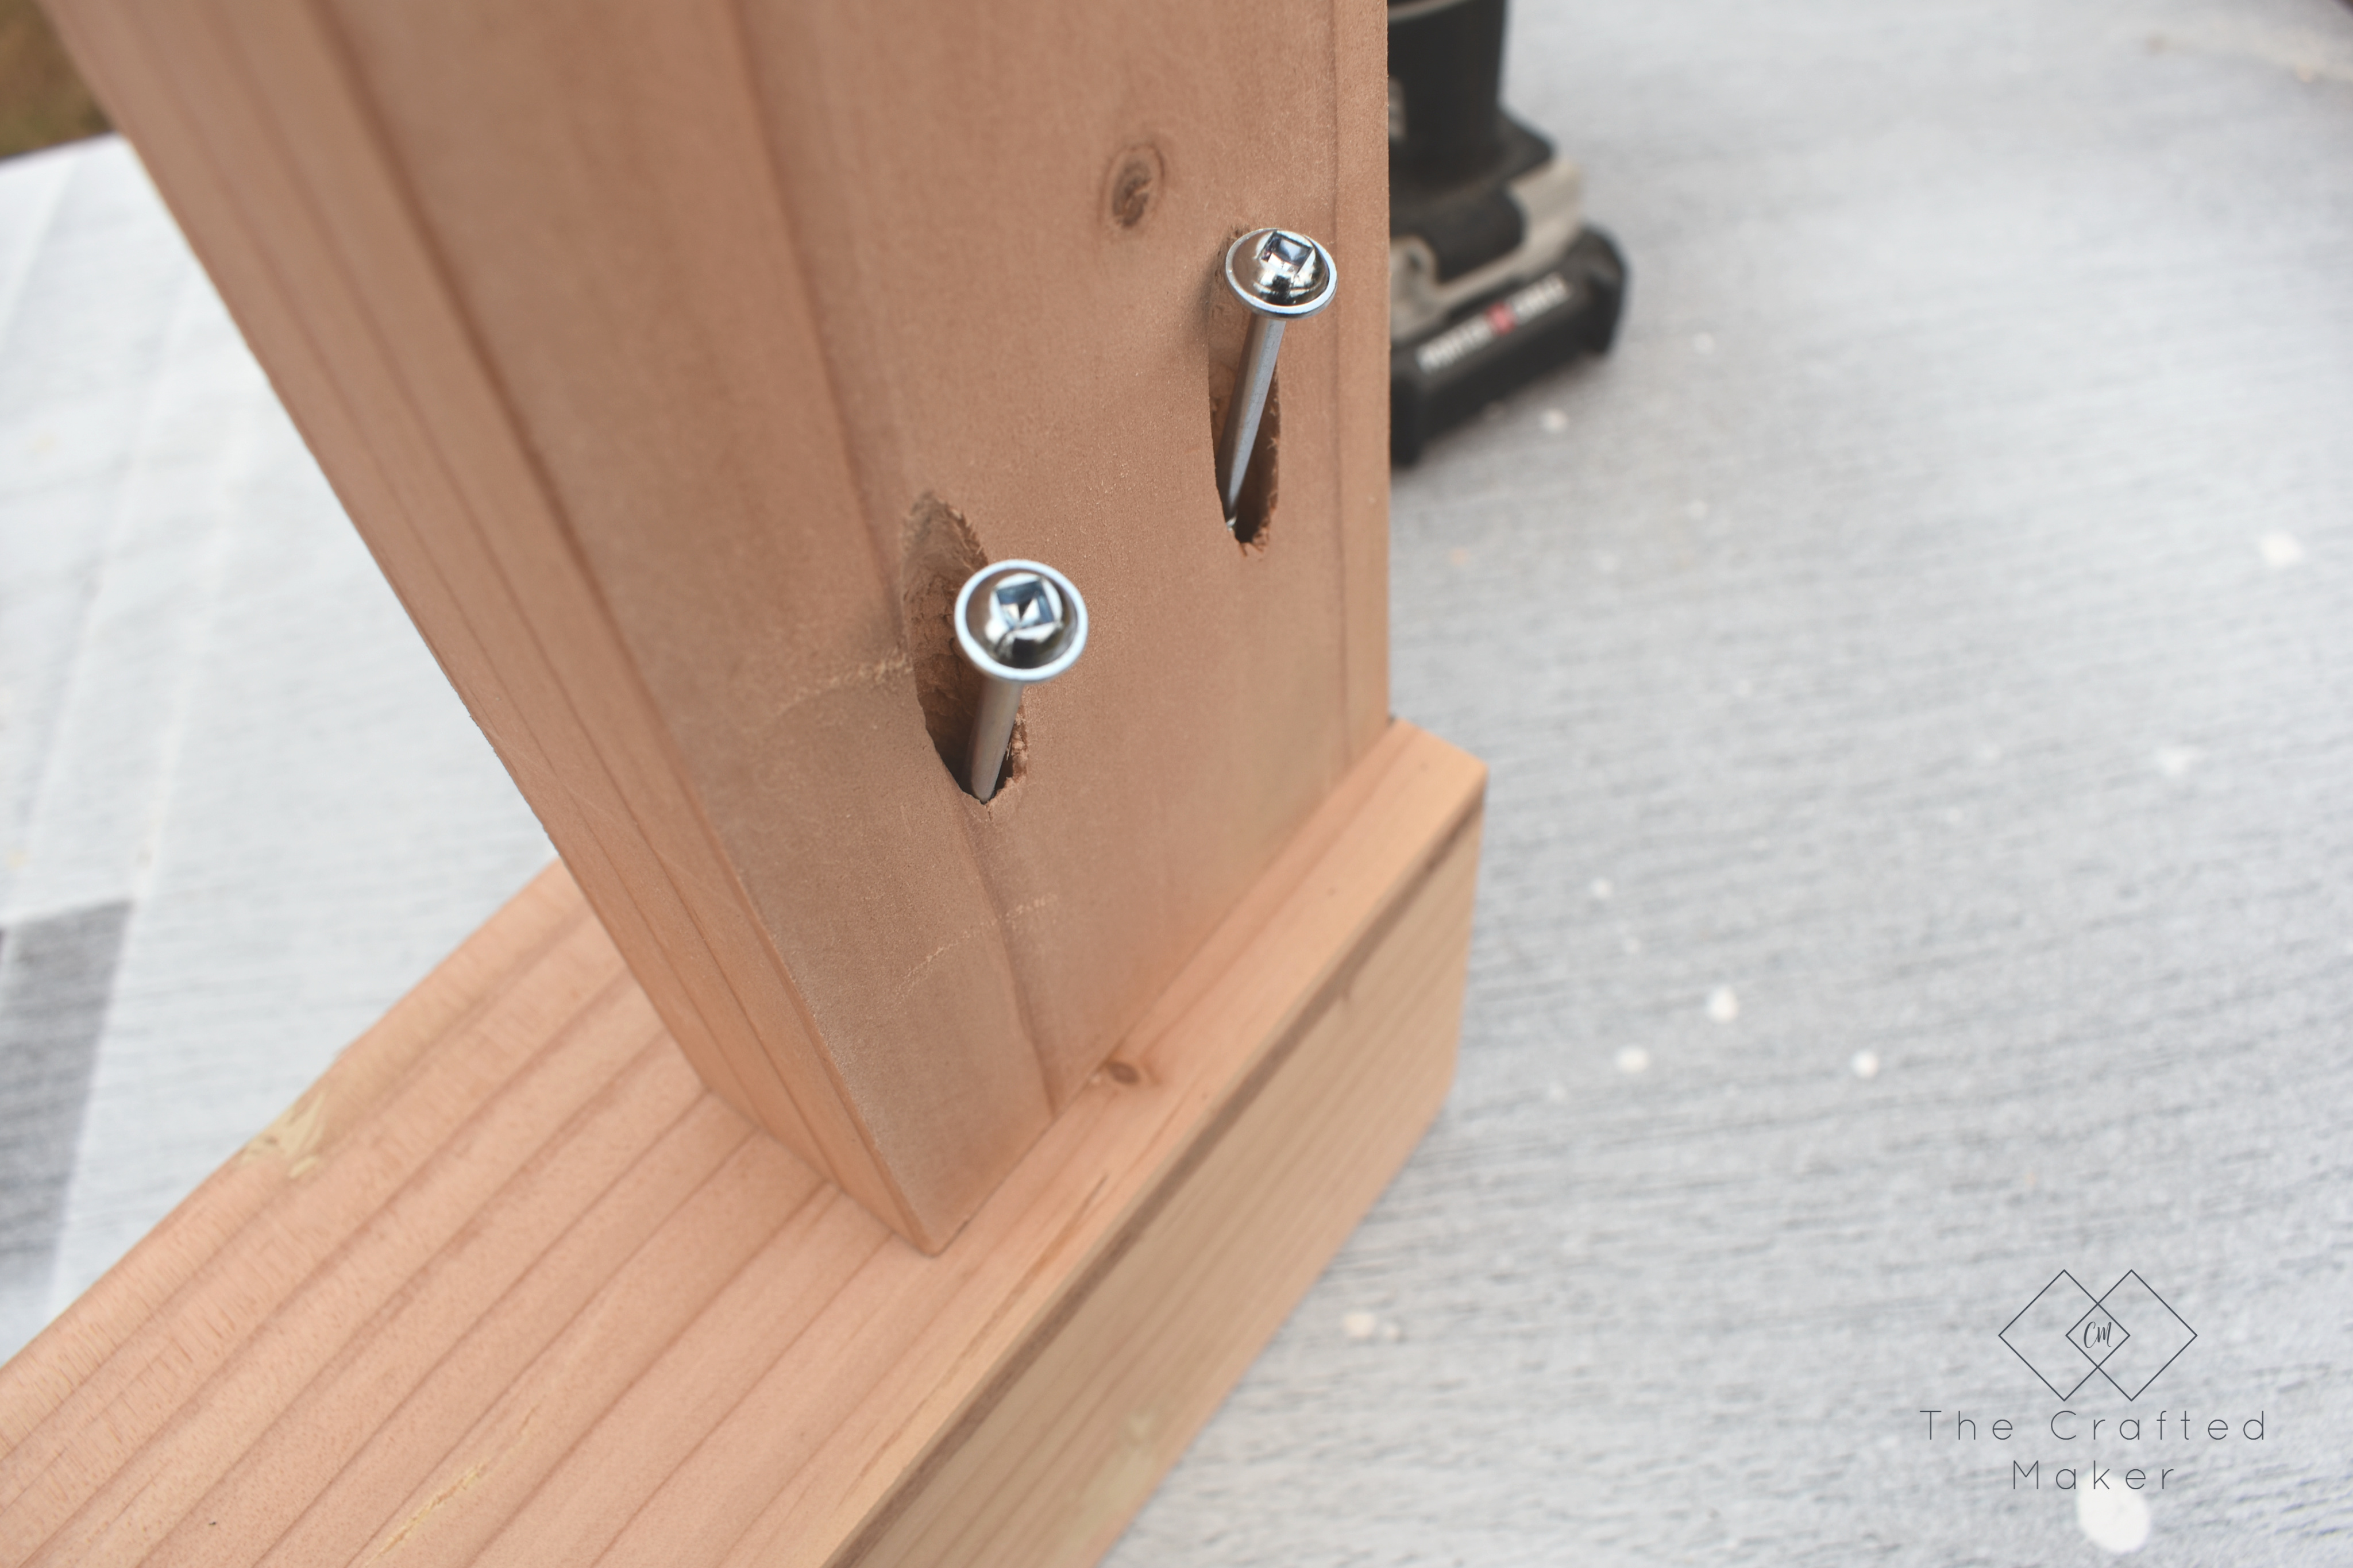
Once the stain was dry, I attached the tabletop to the base with 2 1/2″ wood screws through the middle support piece and at an angle along the aprons.
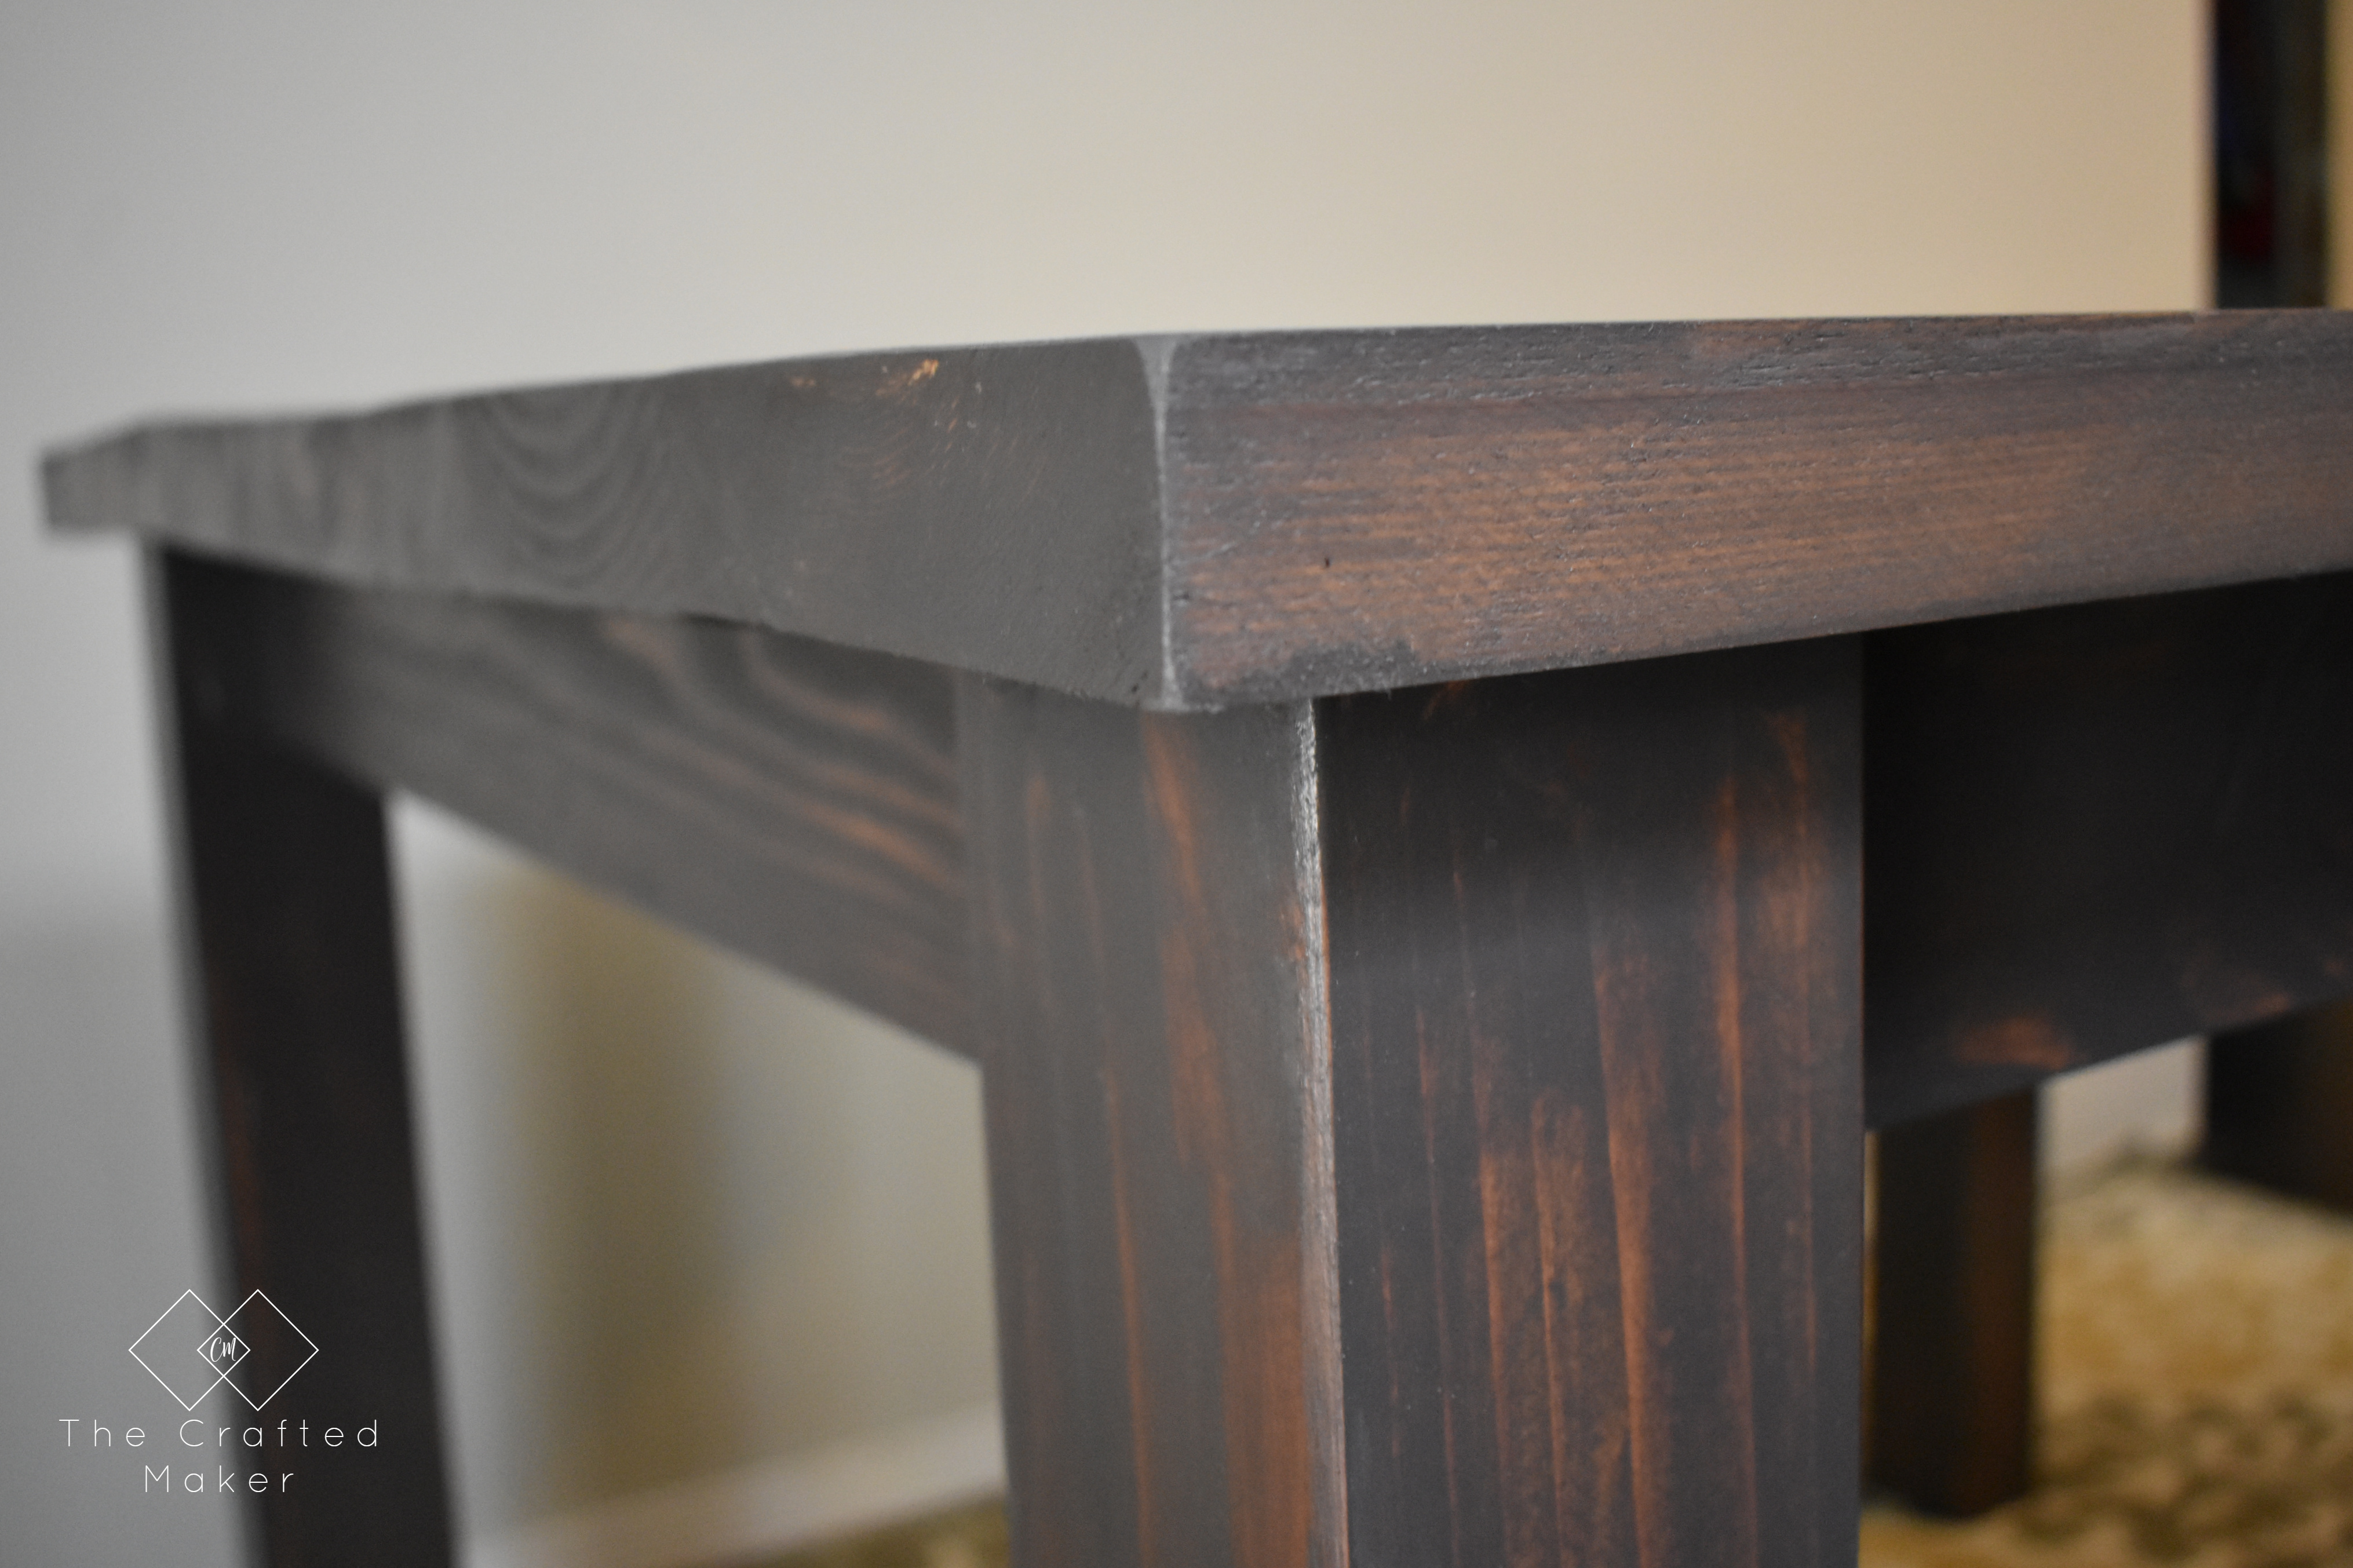
The last thing to do at this point was to apply polyurethane. I wiped the table down to get rid of any particles and applied one coat. When that was dry, I lightly sanded, removed the dust, and applied another coat. Look how this custom stain looks after it dried!! I will definitely be experimenting with other colors in the future.
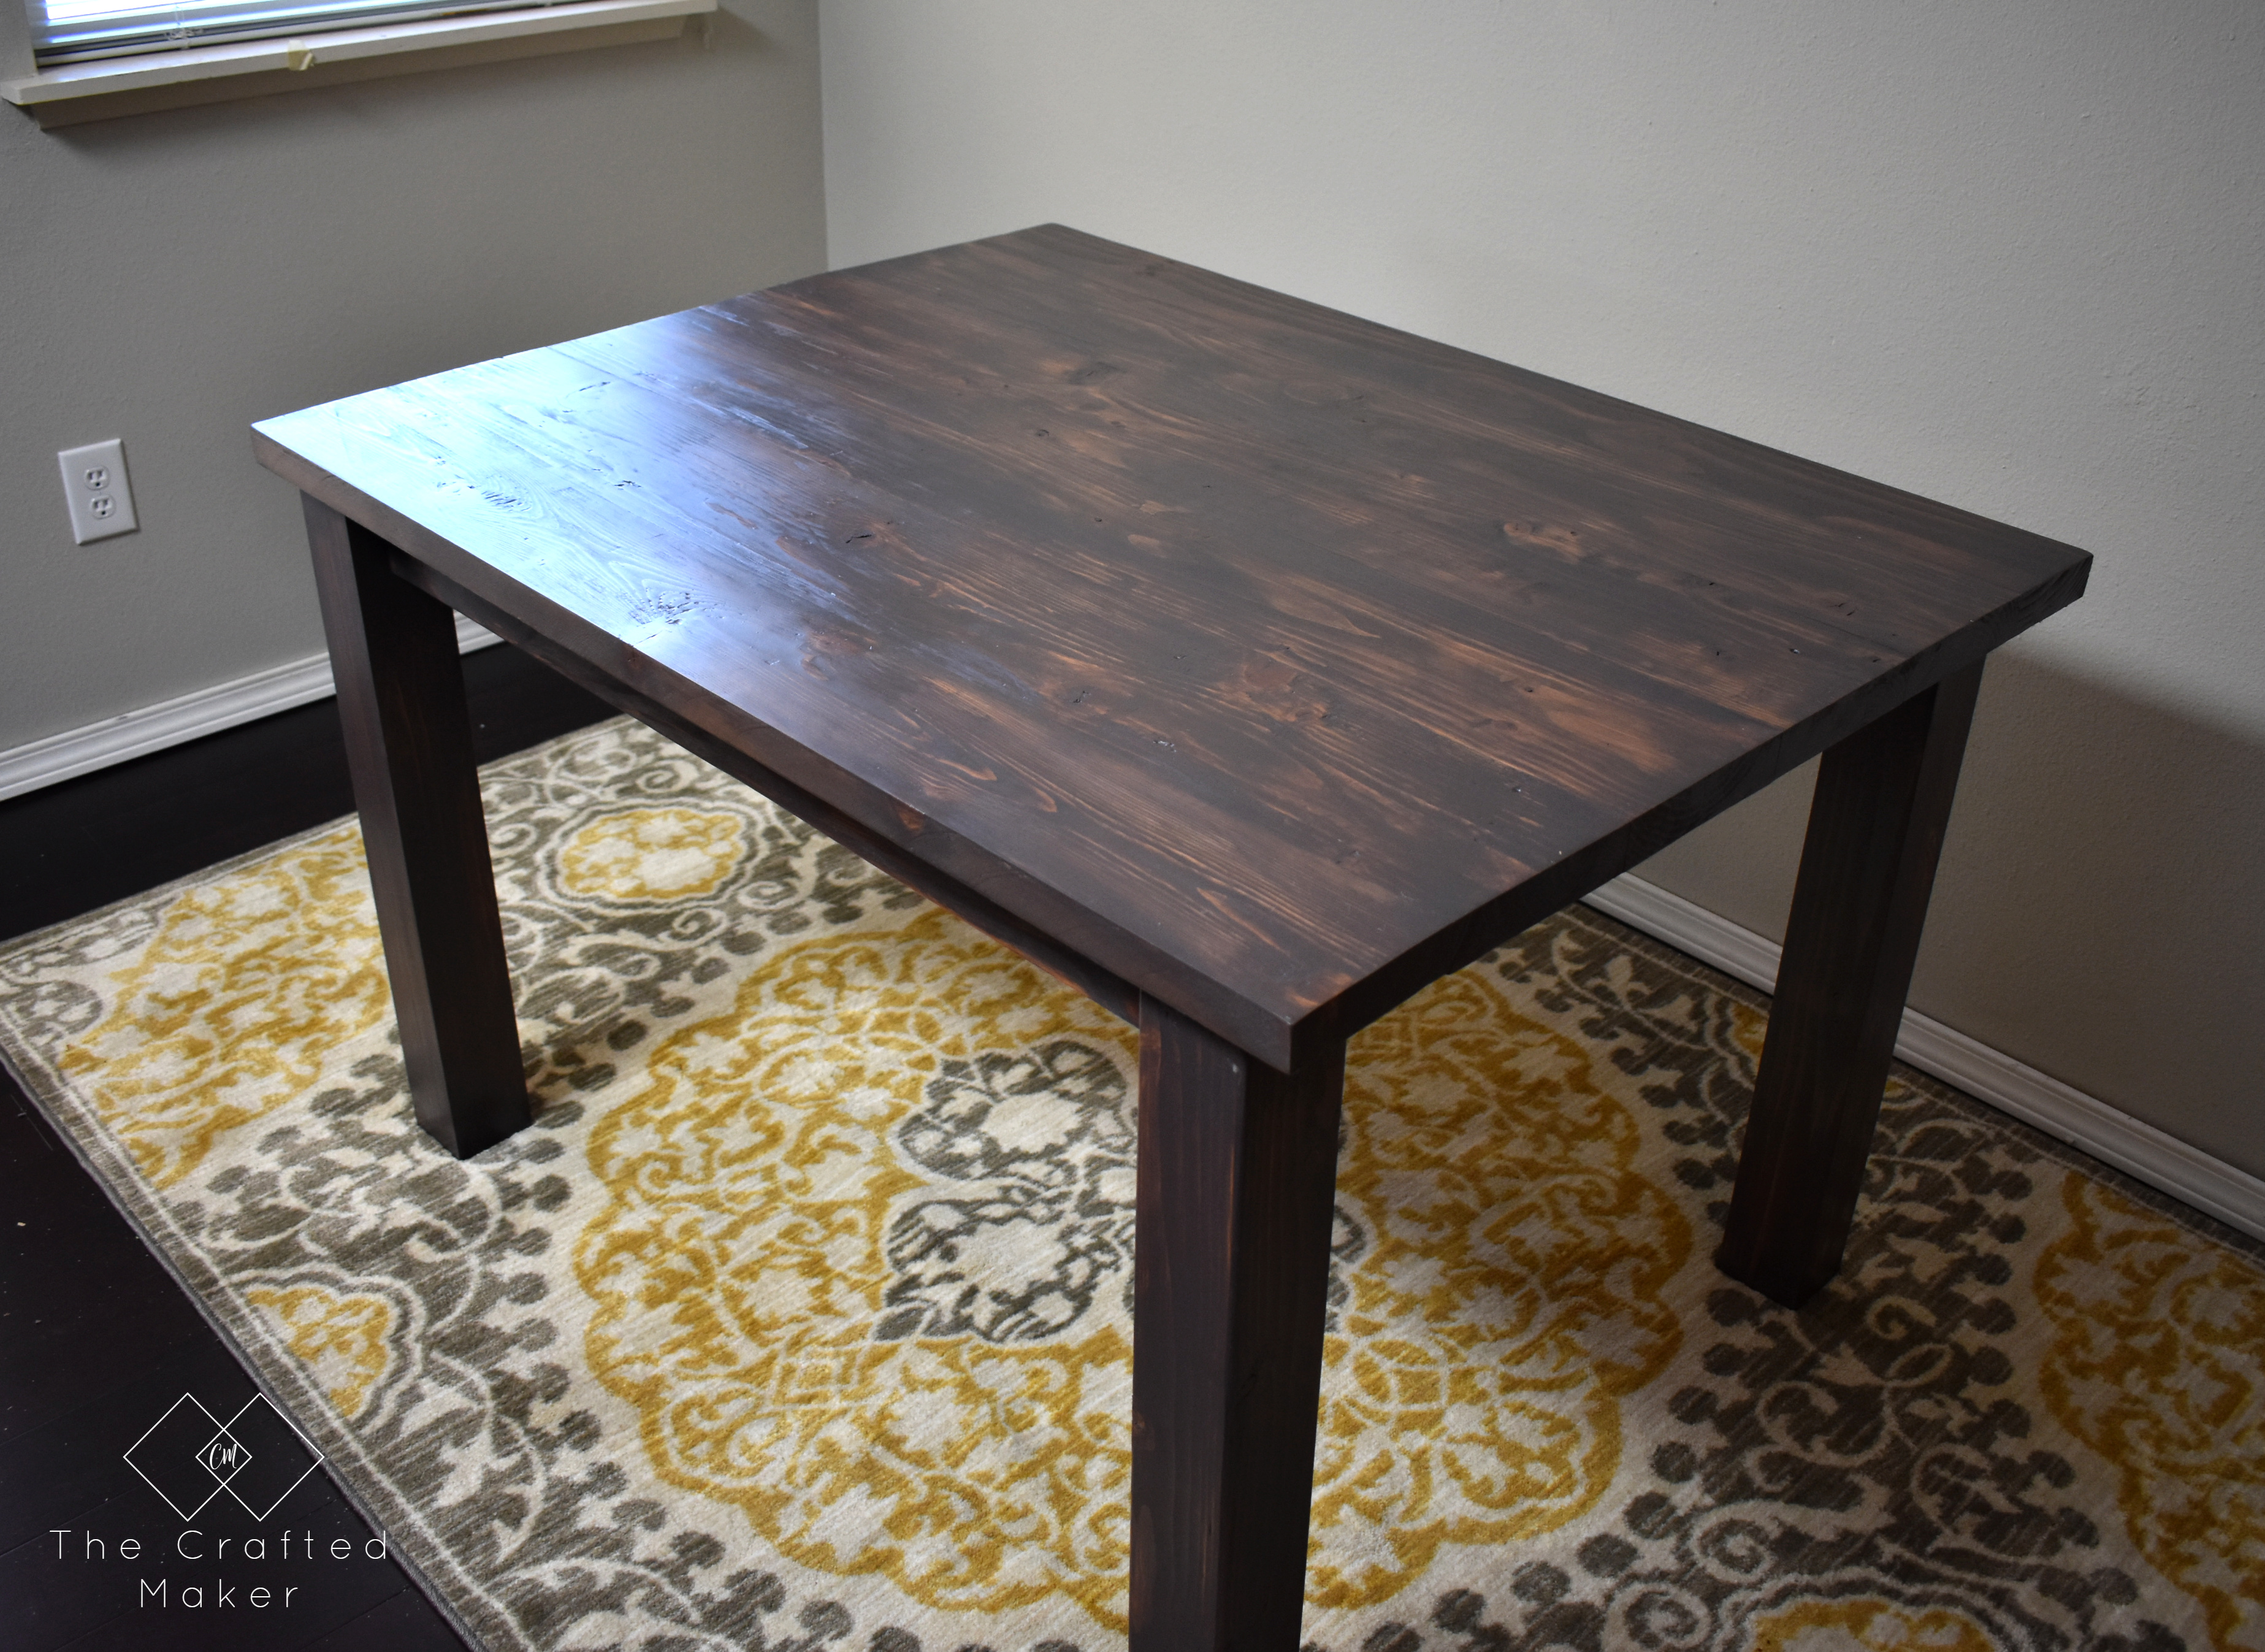
Here is the finished modern farmhouse dining table. I really love the way this turned out and it is a perfect size for a smaller dining room or even a breakfast nook!
I hope you enjoyed this build. Talk to you soon!

