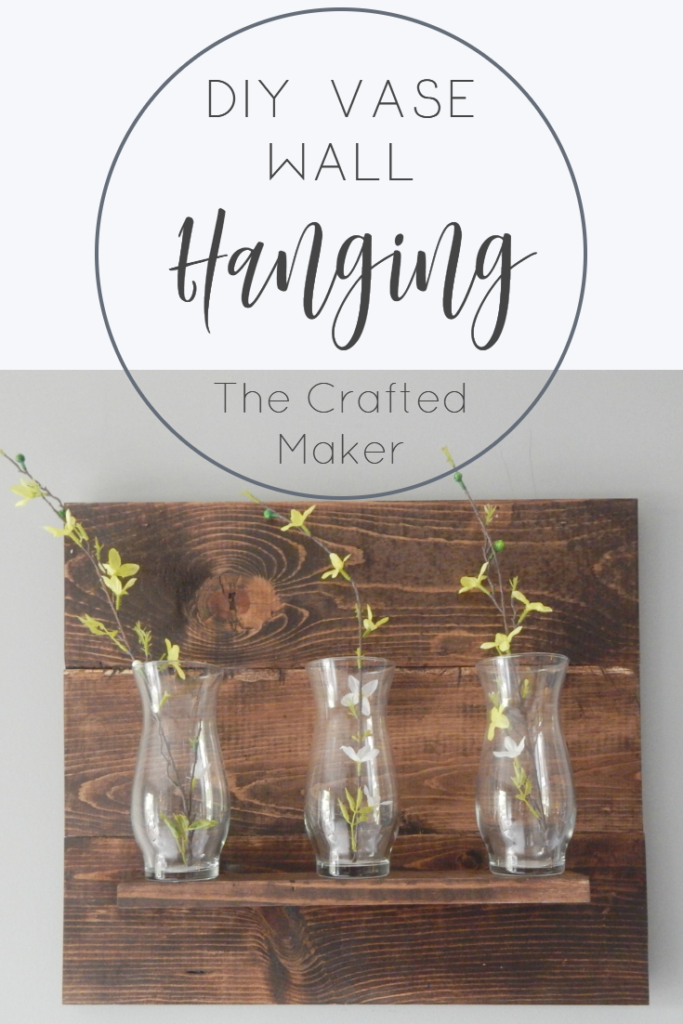
Hey, there guys and gals. Hope this Tuesday is treating you well! Today I am going to share with you a very simple and inexpensive project with very little materials. DIY Vase Wall Hanging. Since Mother’s Day is coming up in a few weeks, this could be just what you need! Let’s get to building.
Materials
- 3- 1X6 boards @19″
- 1- 1X3 board @14″
- paint or stain
- pocket hole screws
- 3 flower vases
- flowers
- drill bits
Tools
- Saw to cut boards to length
- tape measure
- drill
- Kreg Jig
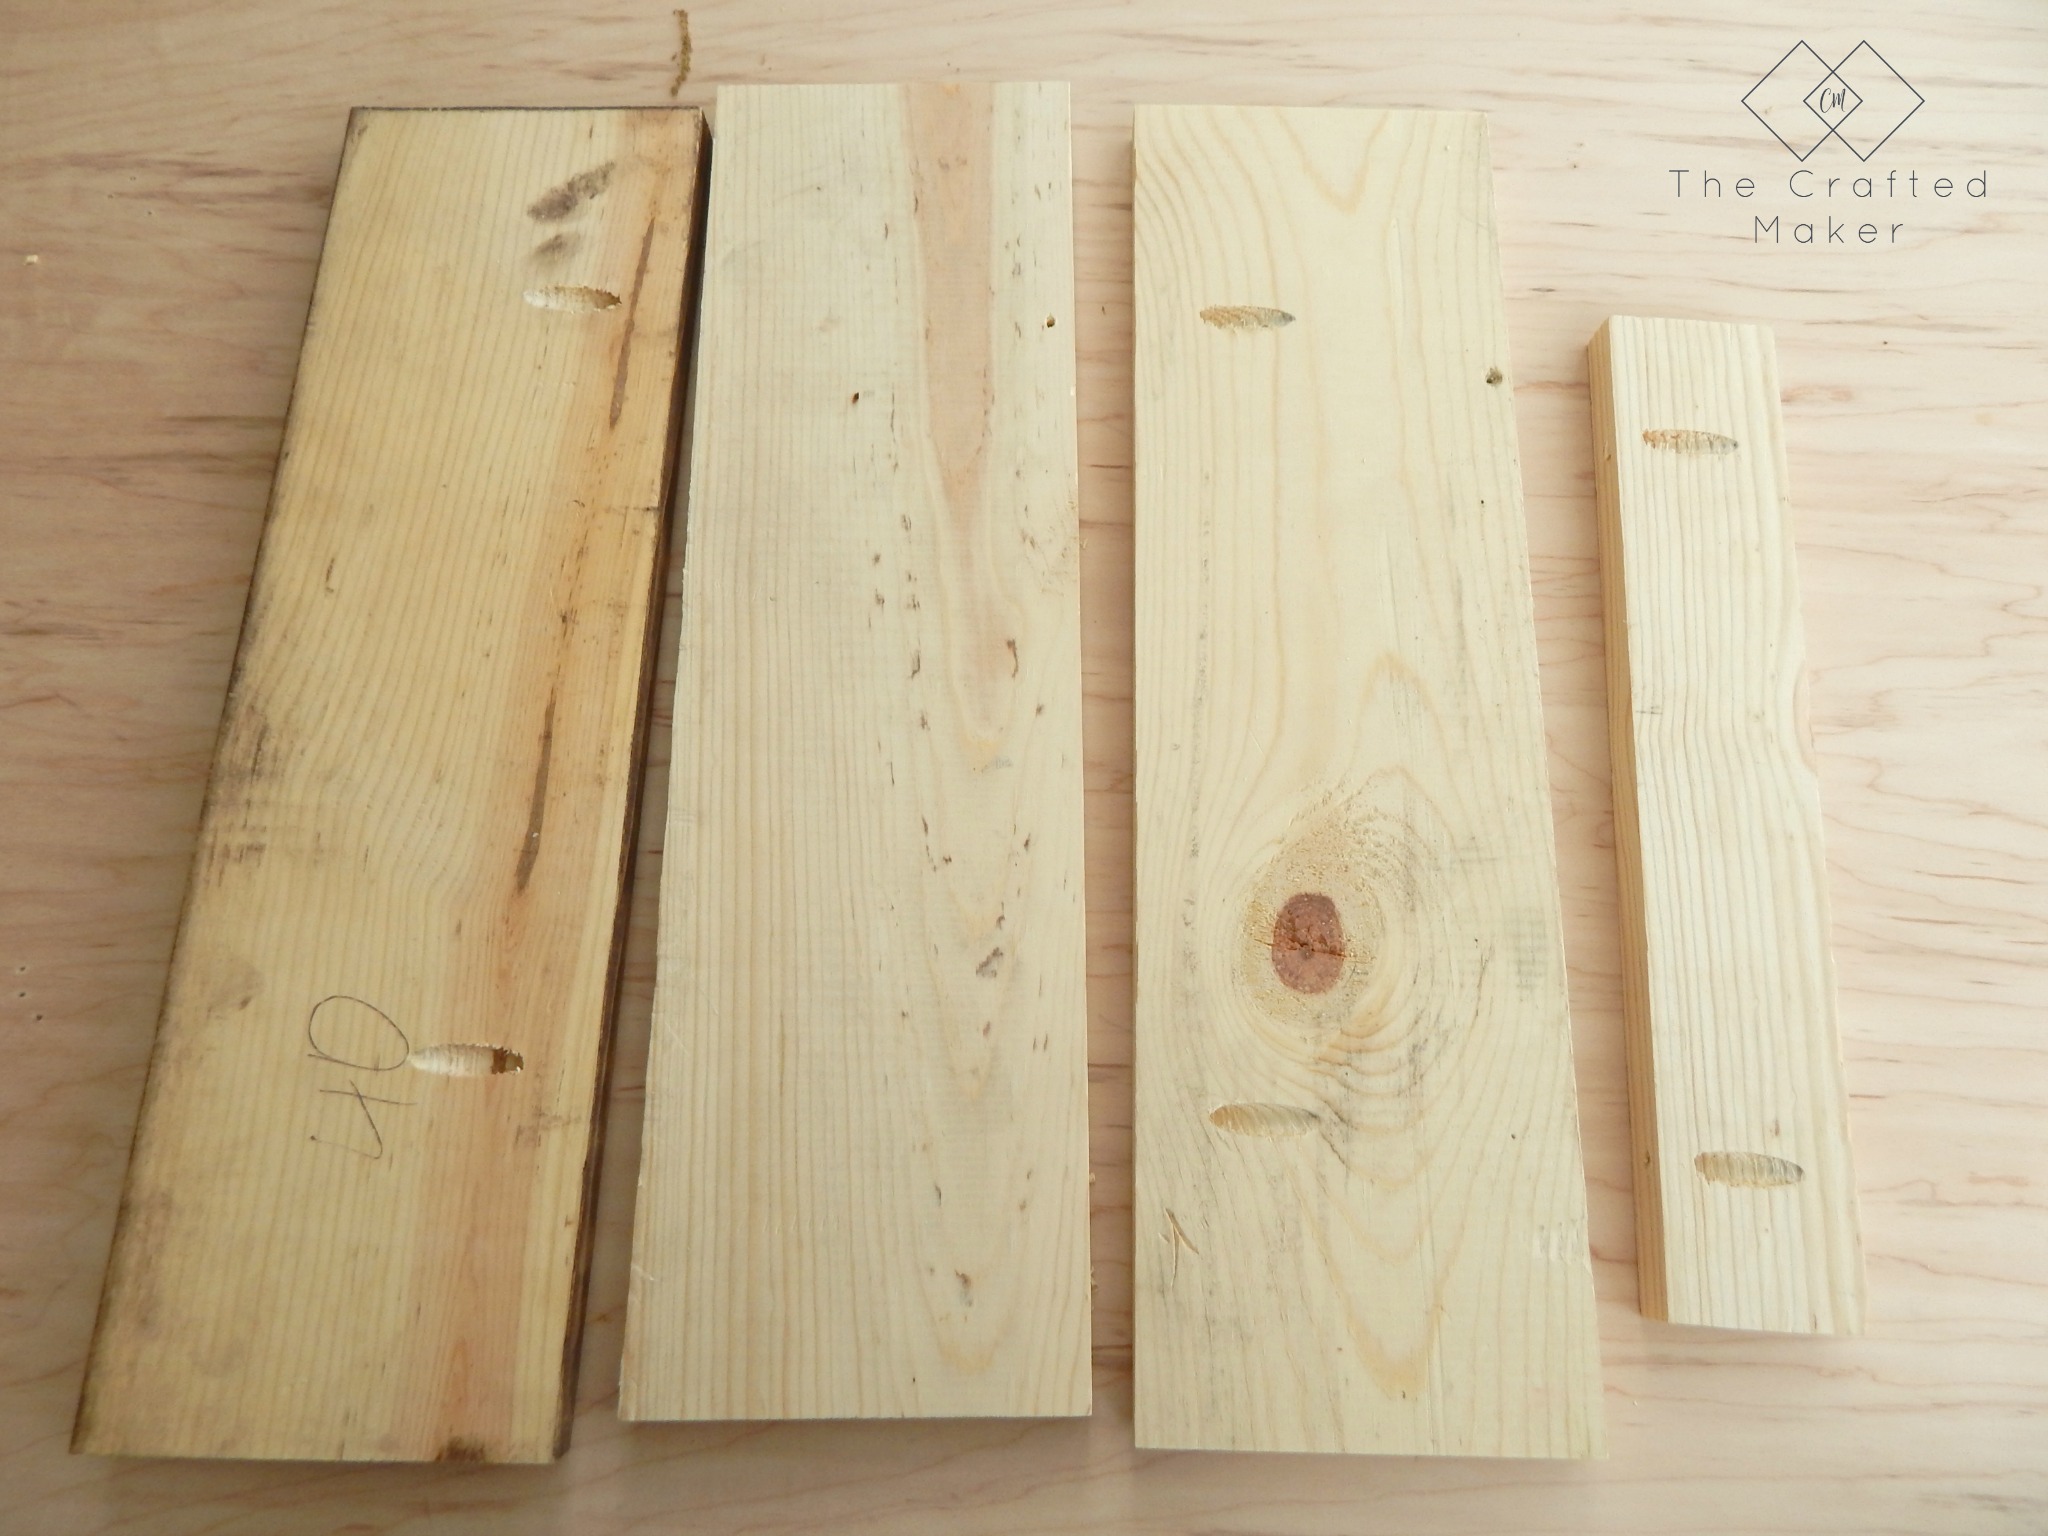
First things first, cut boards to length. 3- 1X6 @19″ and 1- 1X3 @14″ Sorry about the 40 mark and the stain on one board. I had some scrap wood to use up. Can’t let good wood go to waste now, can we? 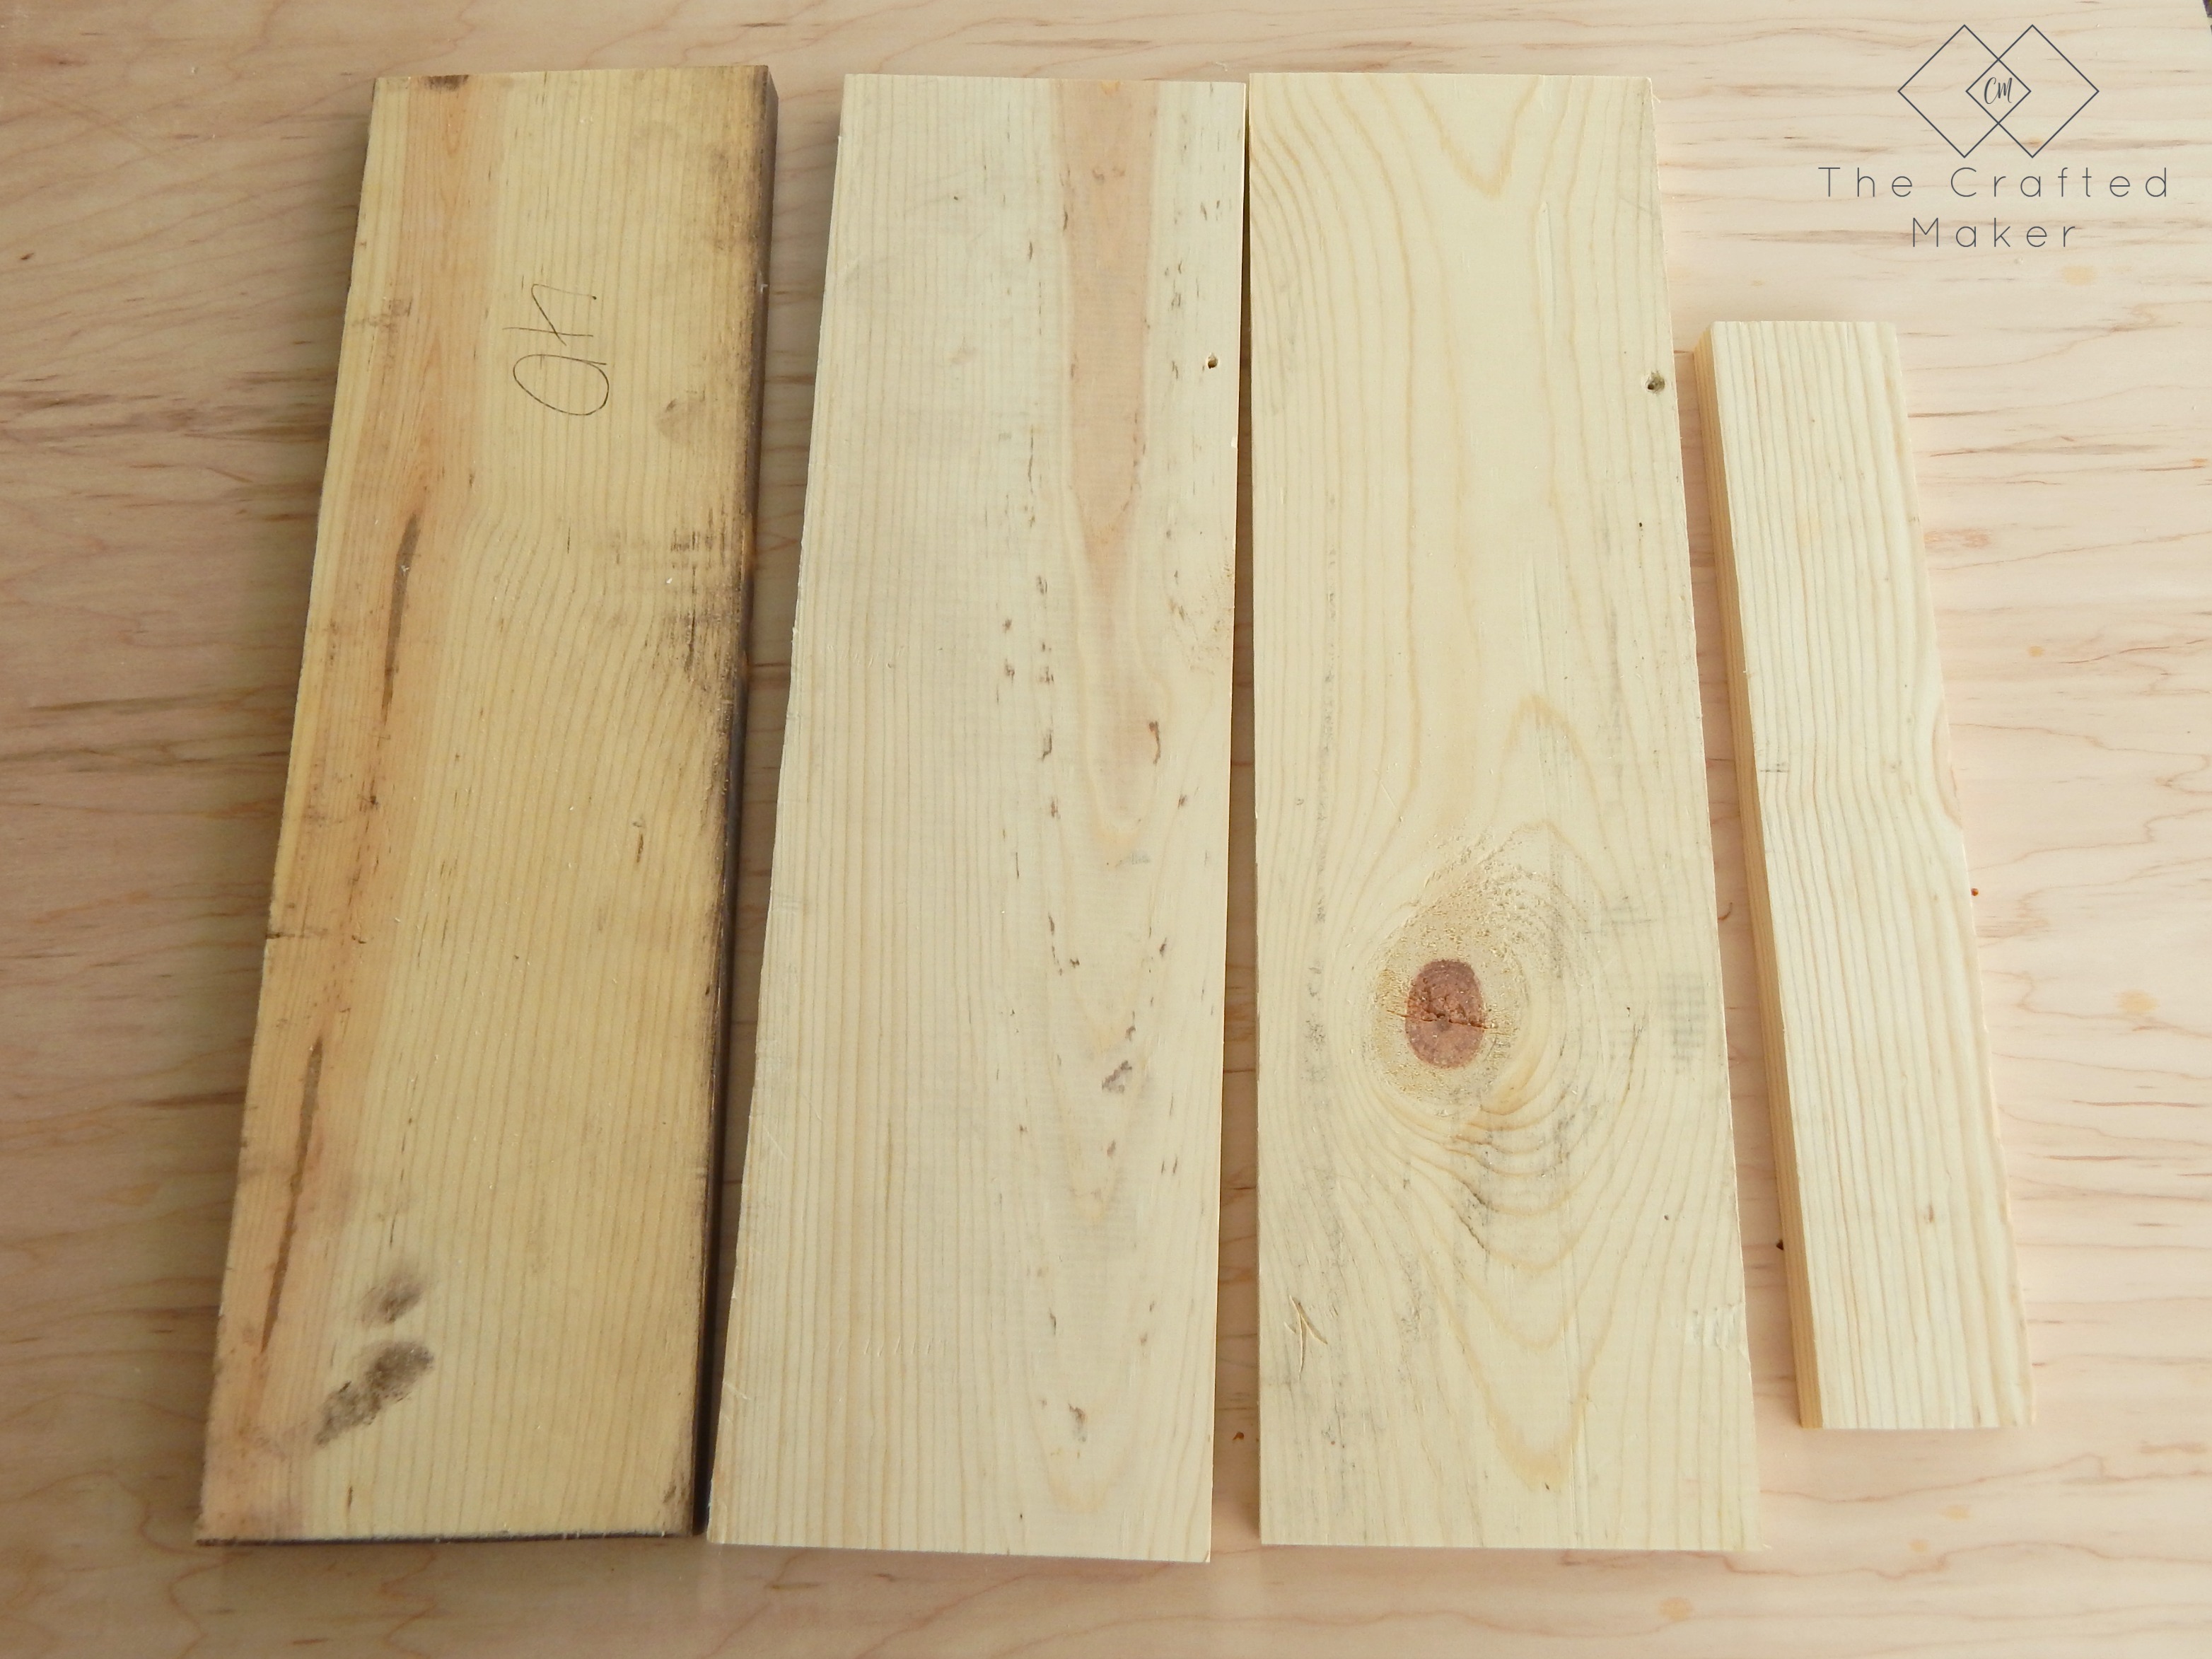 Now time to drill the pocket holes. The picture shows where I placed them.
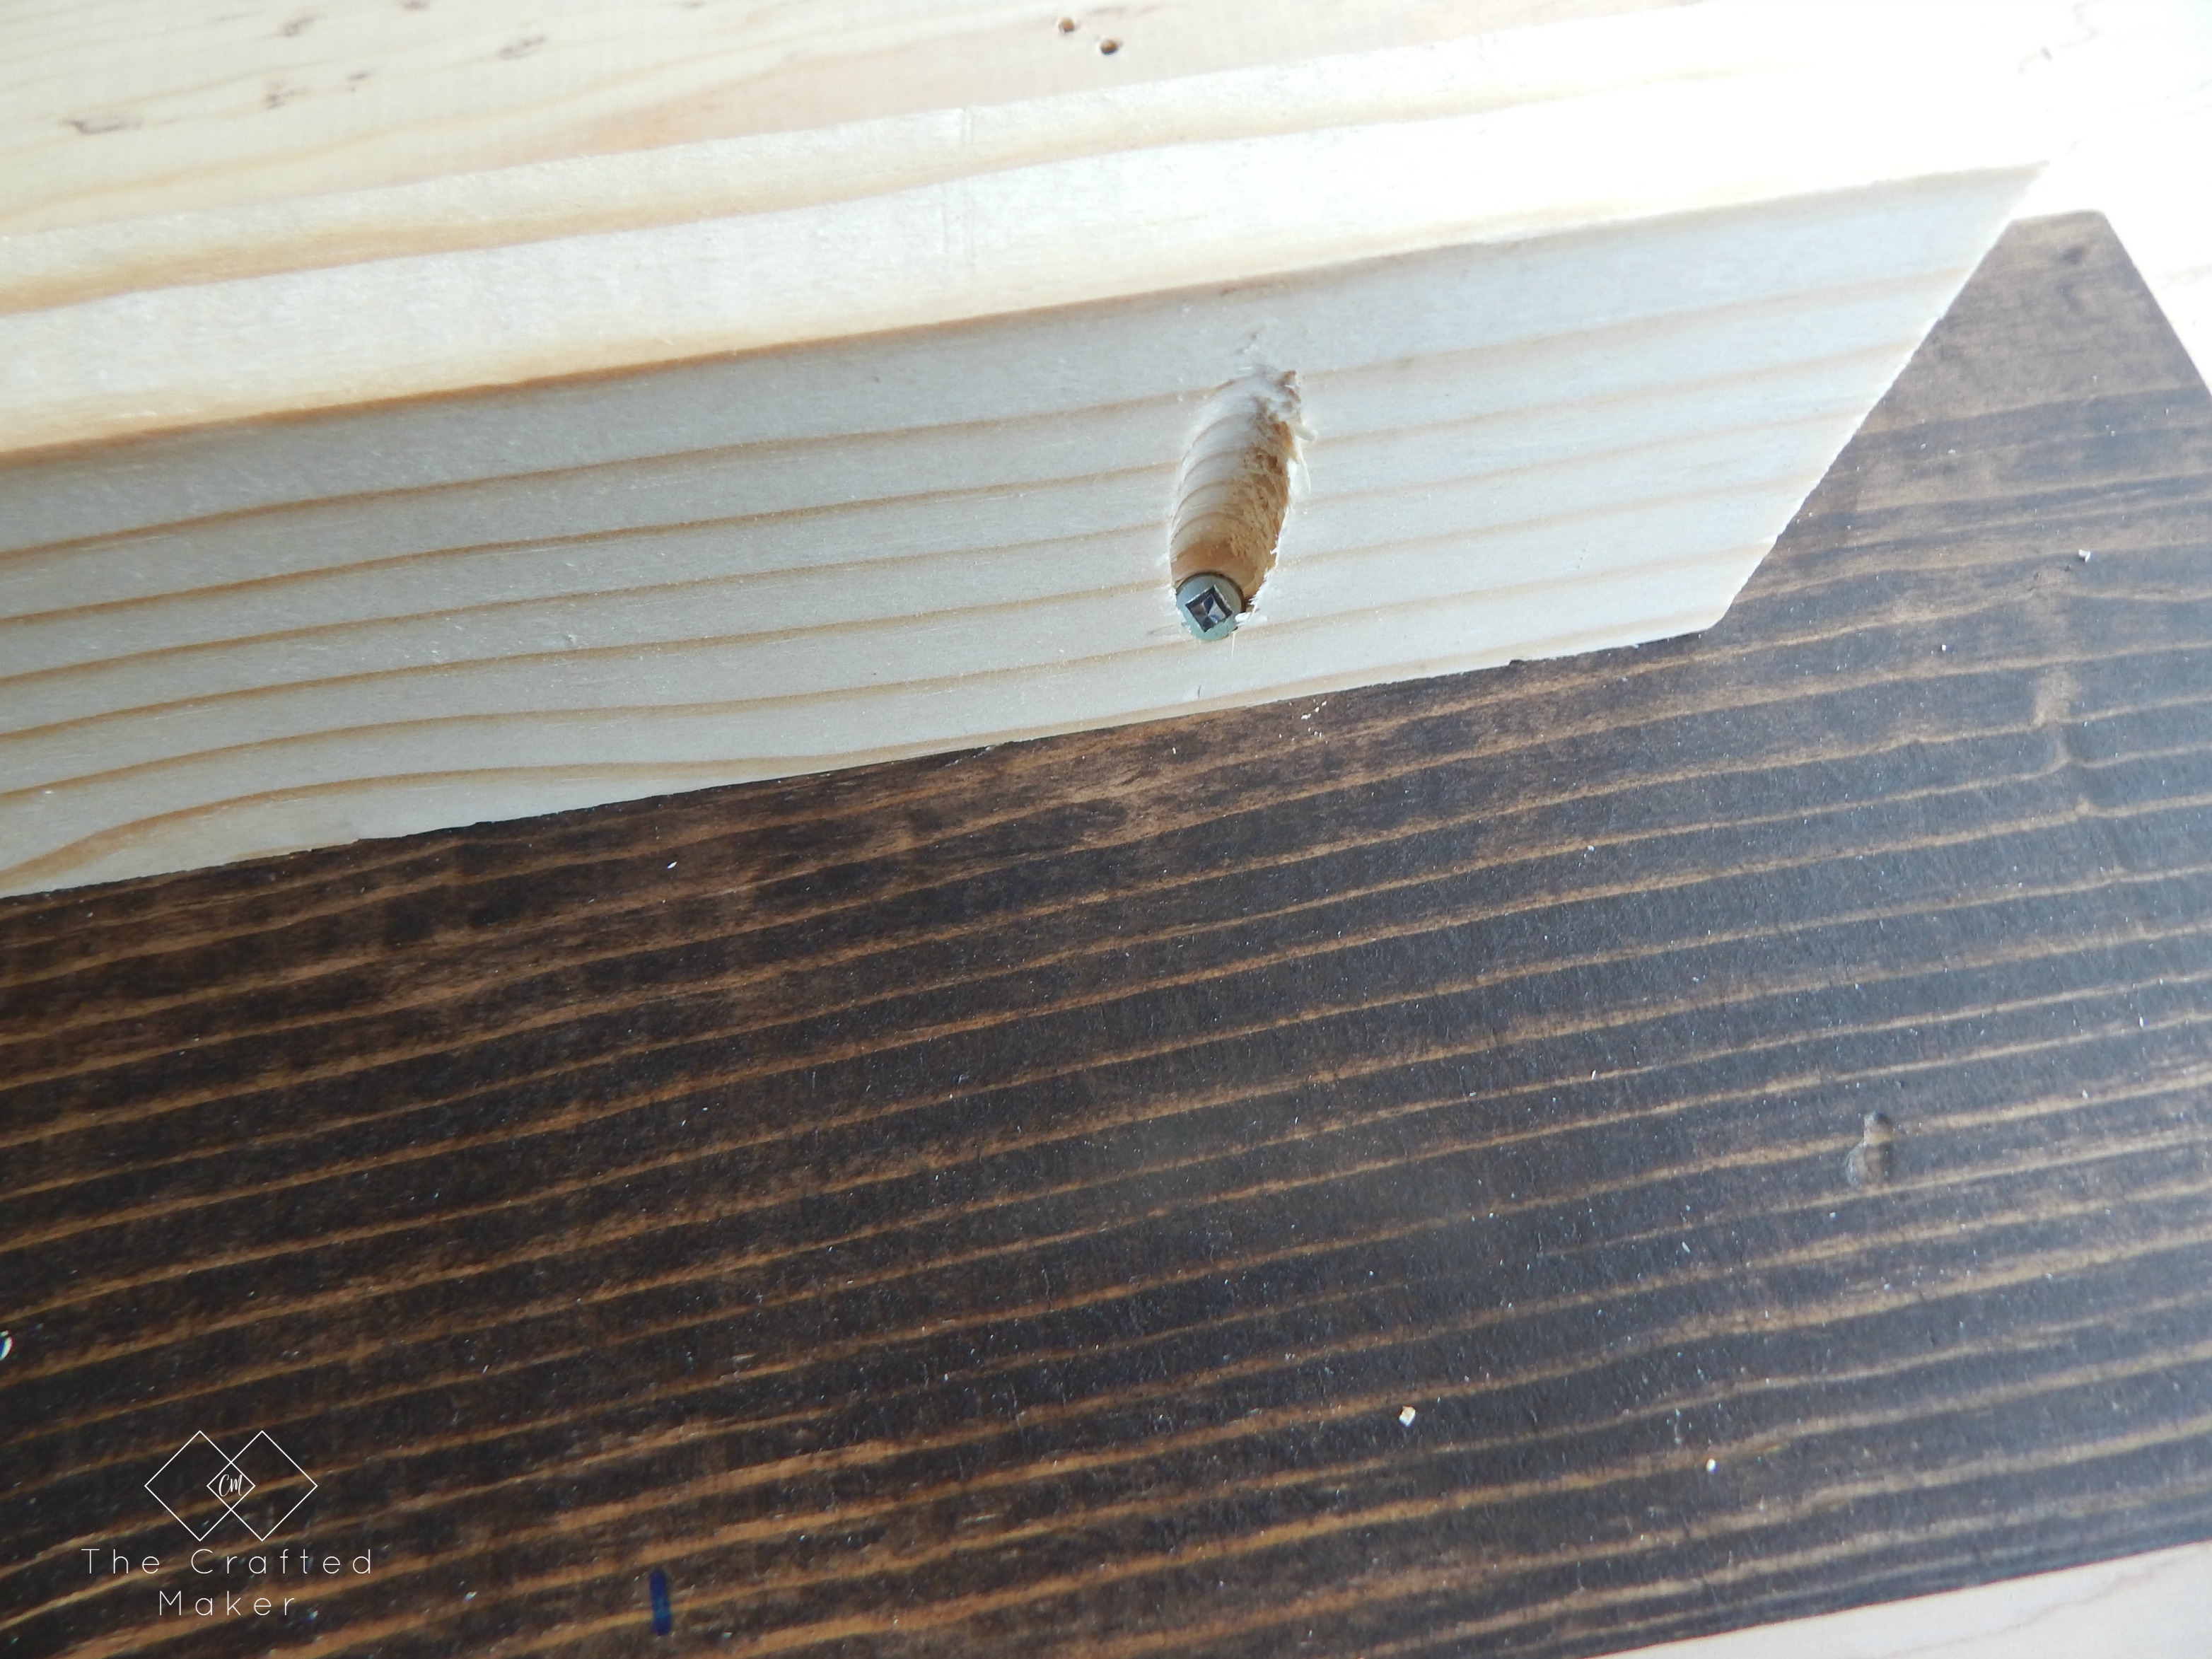
 Screw the 1X6 boards together with the pocket hole screws and attach the 1X3 to the lowest board. You can change the placement of this board depending on what size vases you purchased. If they are taller, you may want to put it at the very bottom. Place the 1X3 board 2.5″ from each side to align in the center.
Now time to give this project a finish. I chose to use stain for this project. Kona by Rustoleum (maybe one day I will branch out on color choice, but I just love it!). You could also paint this project. There are a lot of different techniques you can do with paint.
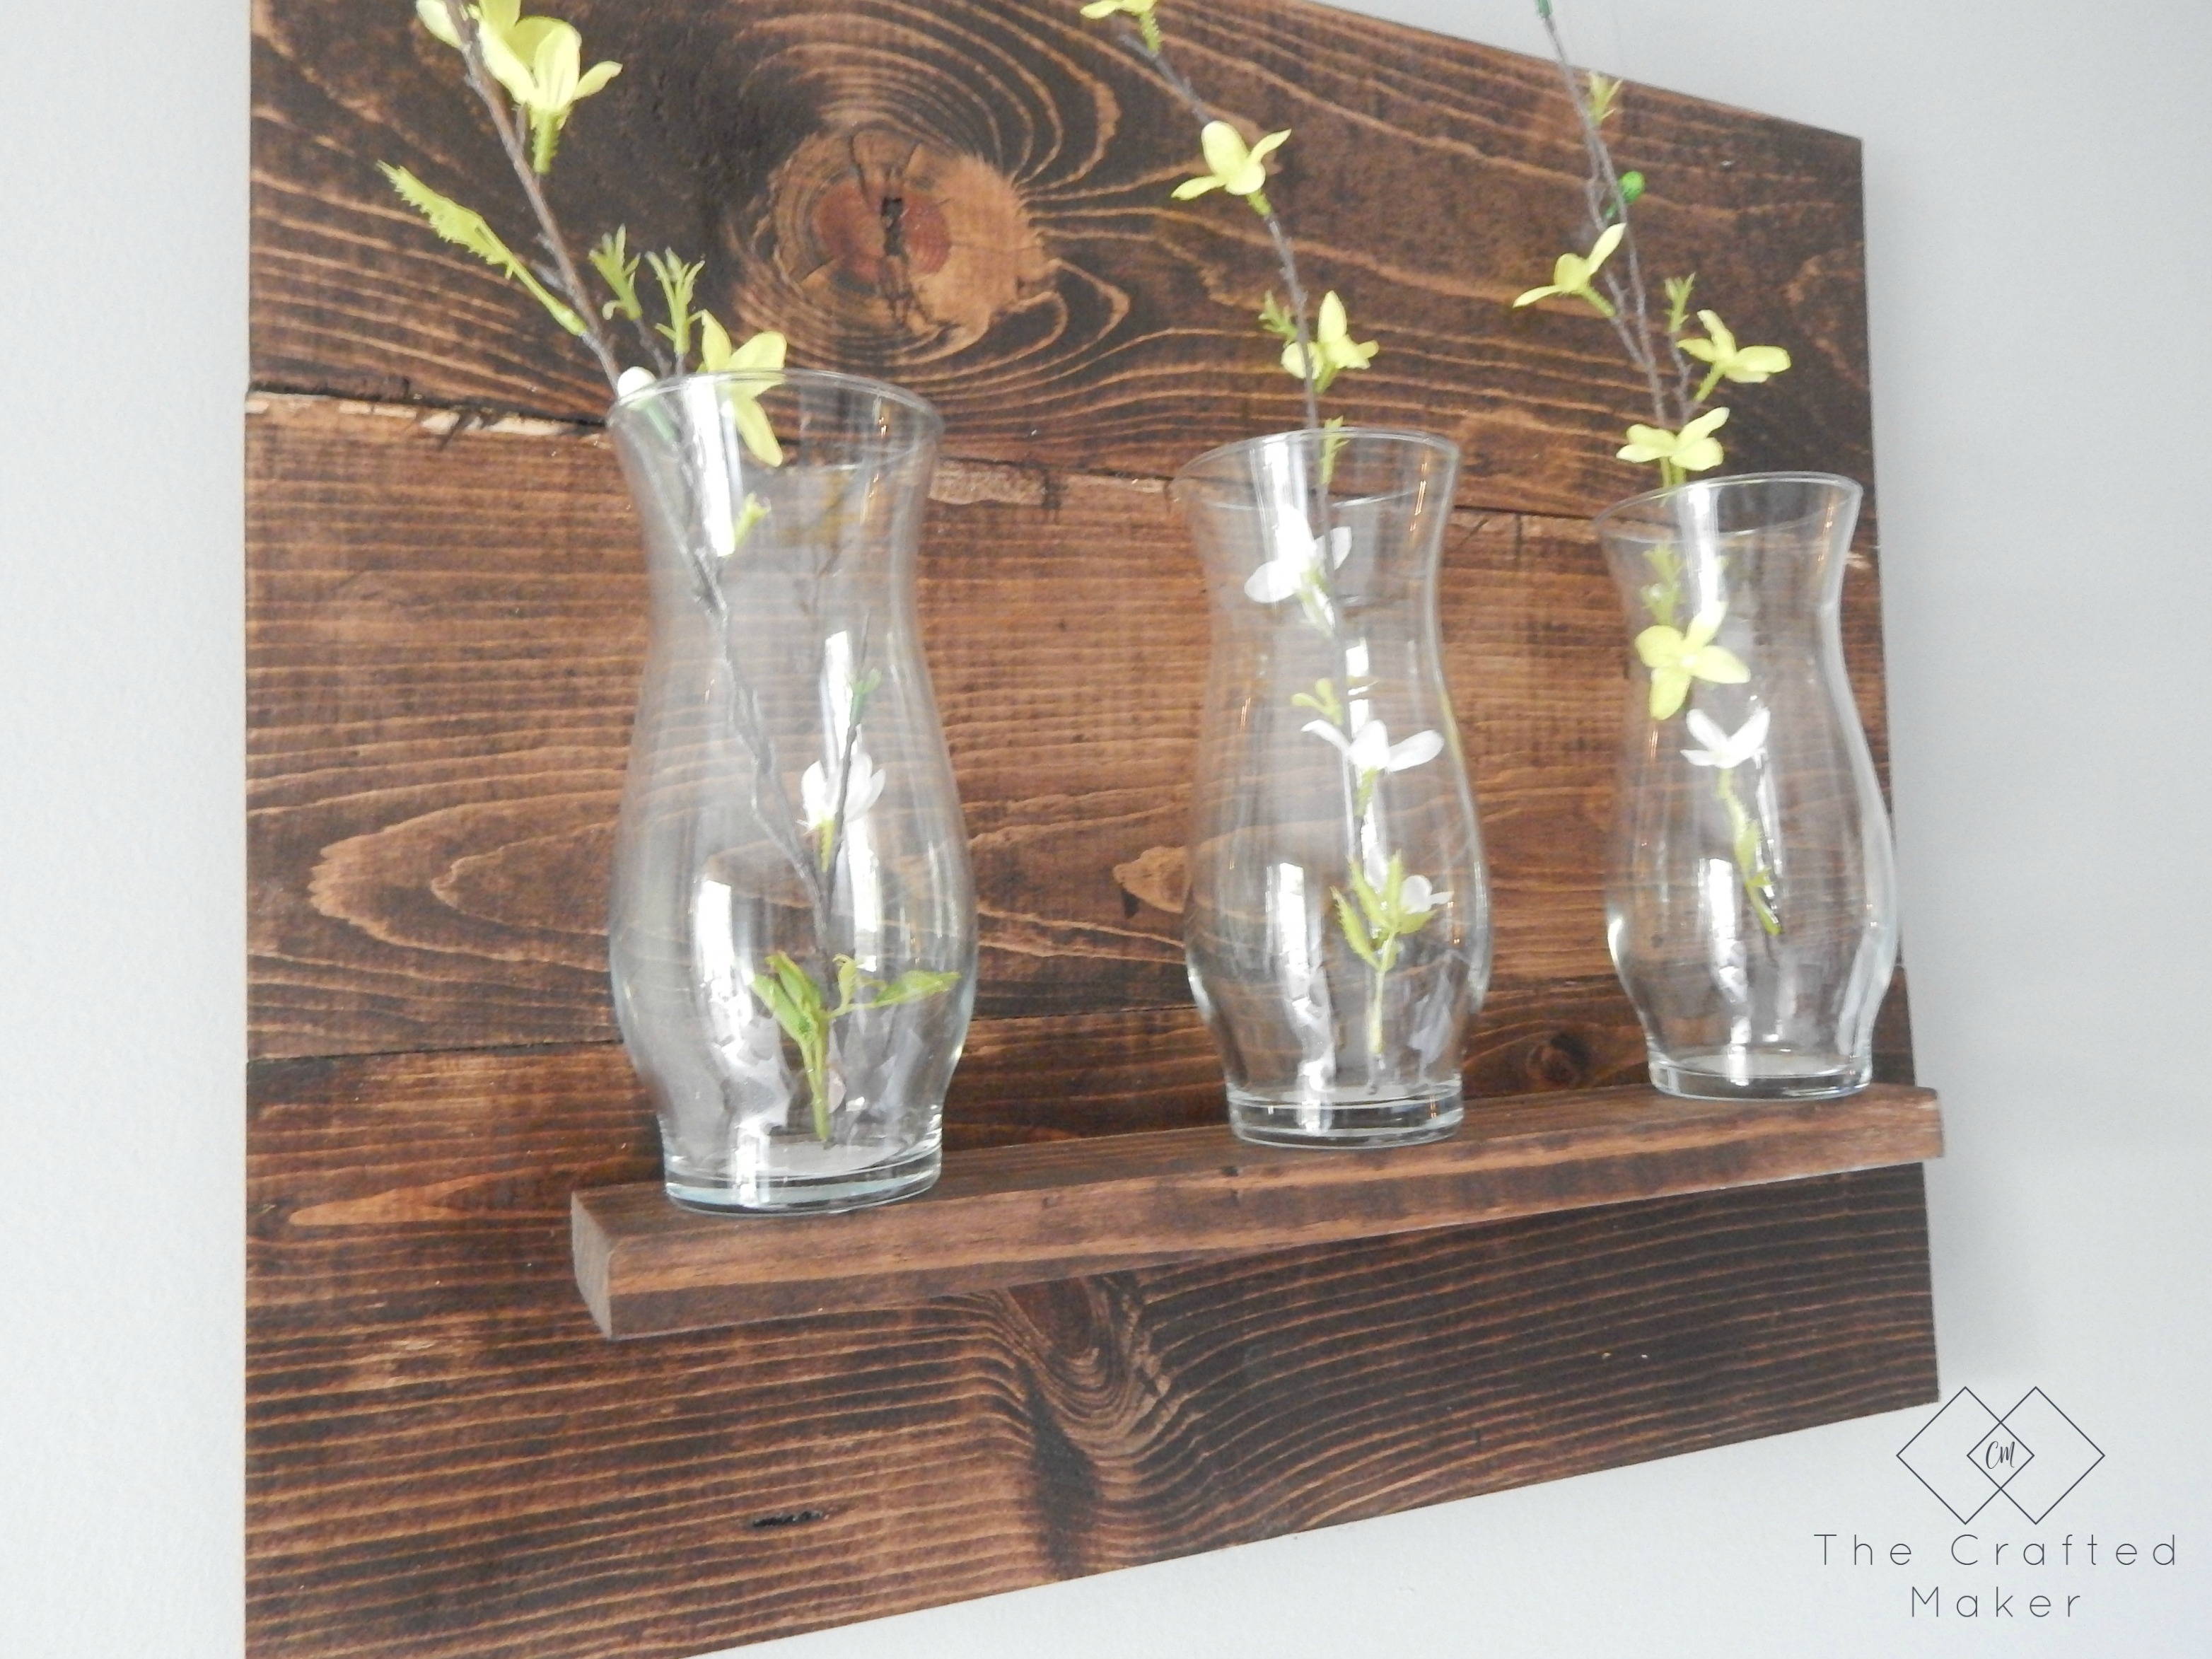
Once this is dry, place your vases on the 1X3 board and enjoy! Depending on where this is placed in the house, you may want to use epoxy on the vase bottoms to keep them from slipping off.
I hope you have fun making this project your own! Here are some after pics, enjoy.

Thanks for spending some time with me today. To keep up with my latest projects, be sure to follow me on Instagram and Pinterest.
Until next time…

Pinning is always appreciated!!