Hey all! To keep up with my latest projects, come follow along with me on Pinterest and Instagram.
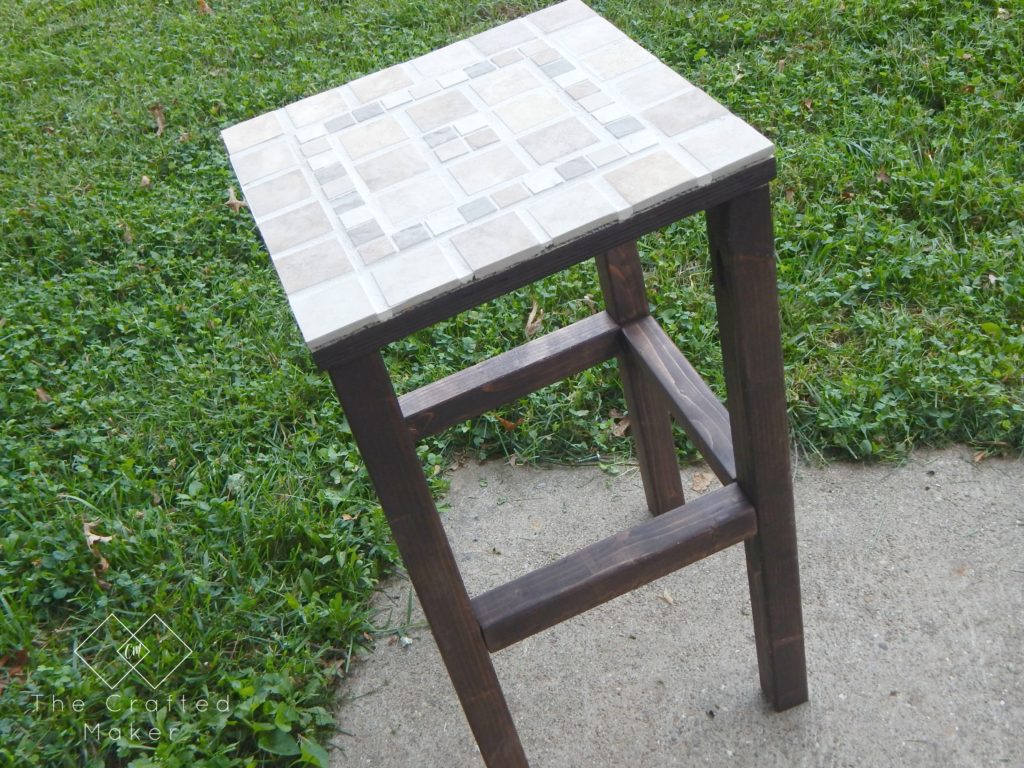
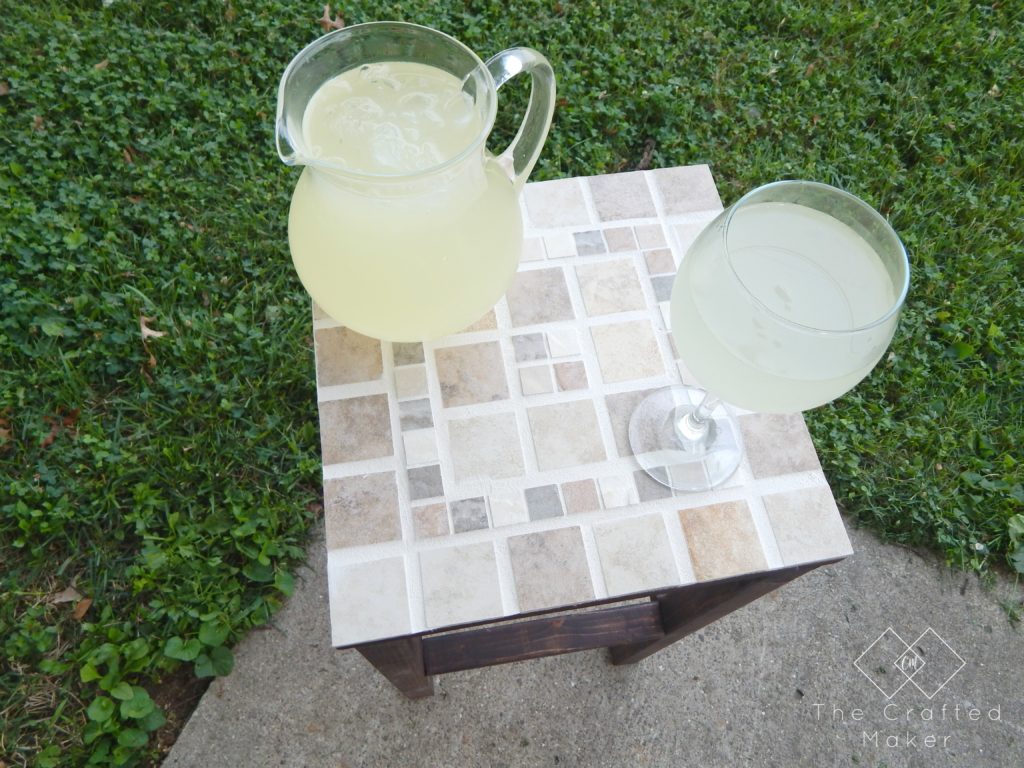
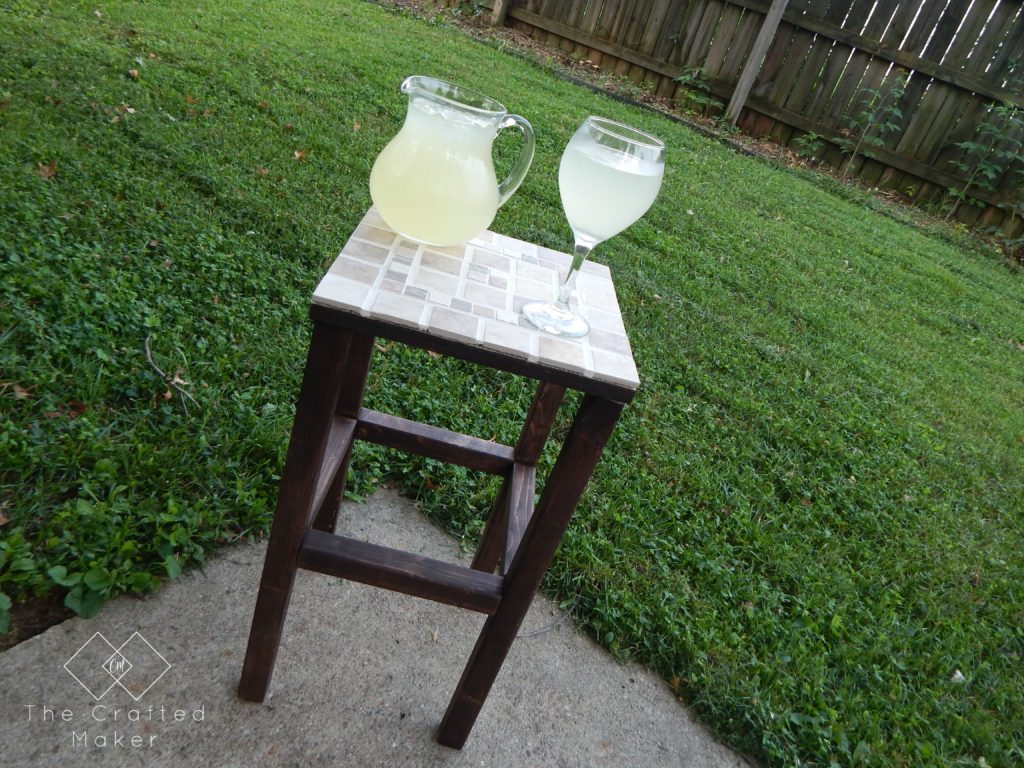
Now that summer is here, I spend a lot of time outside of the house. I love going to and hosting backyard barbeques and get-togethers with friends and family. It seems like there is always a need for more surfaces to hold things such as plates, cups, and the usual party goodies. So I decided to make a DIY tiled end table for my back patio.
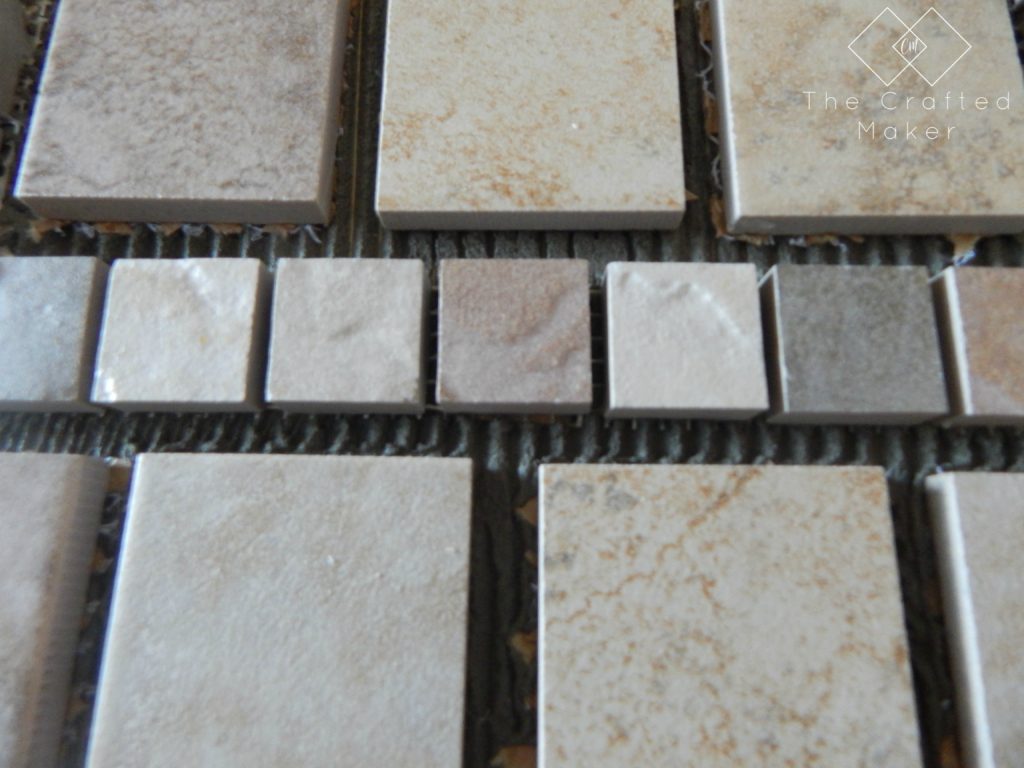
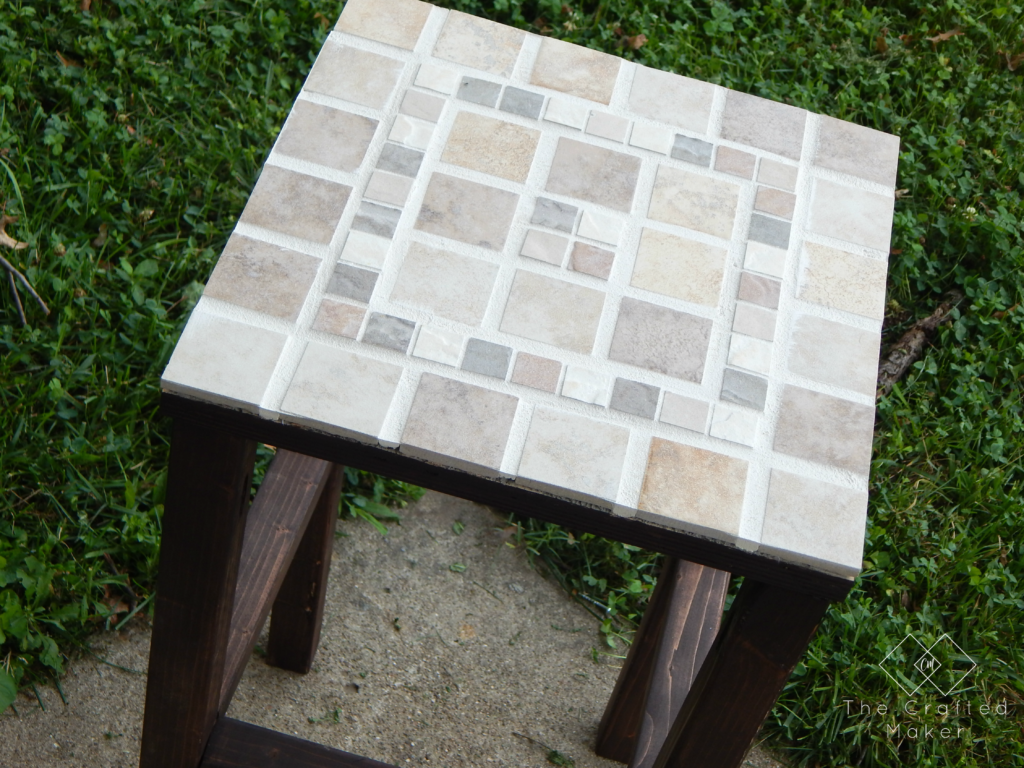
I have had a ton of tile just sitting around in my garage. I usually stockpile moderately buy tile when it goes on clearance at home improvement stores. There are just so many fun things to do with it. Anyway, because I have the tile already I picked out a couple of different patterns to make this table with. I like the contrasting sizes of the tile. It adds character. Most of the outdoor furniture I see with tile just has a plain piece of 12×12 ceramic tile in it. I wanted something a little more different from that.
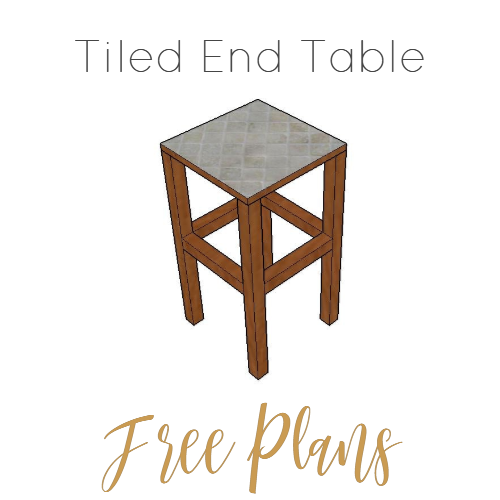
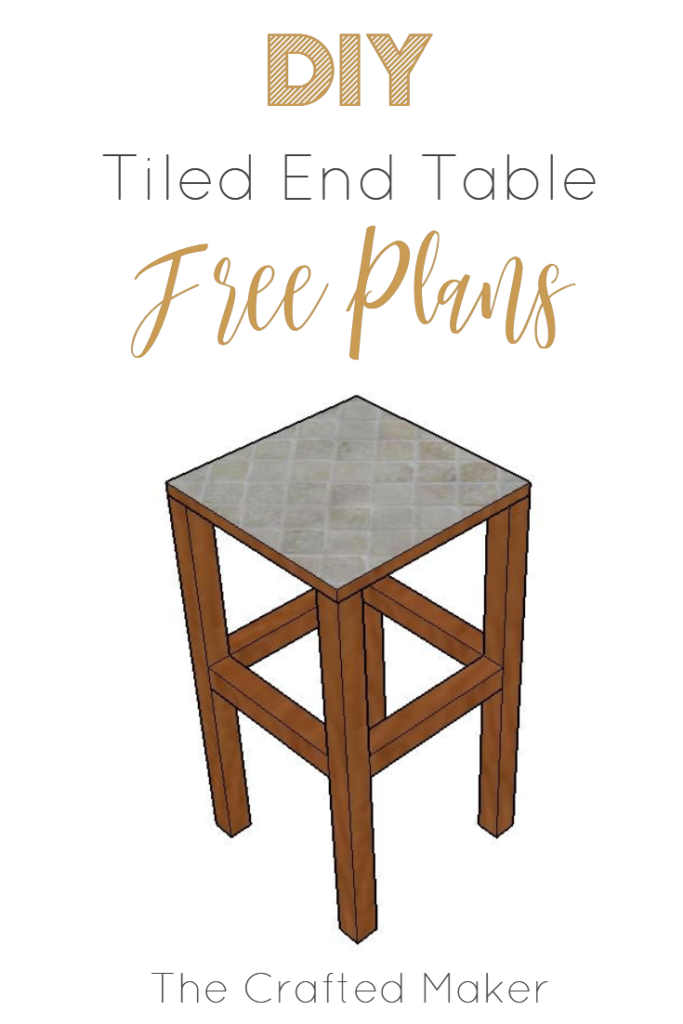
I have put together a free PDF of this build. Just click on the picture to print out a copy. As always, I will walk you through a step by step of how I built my tile end table.
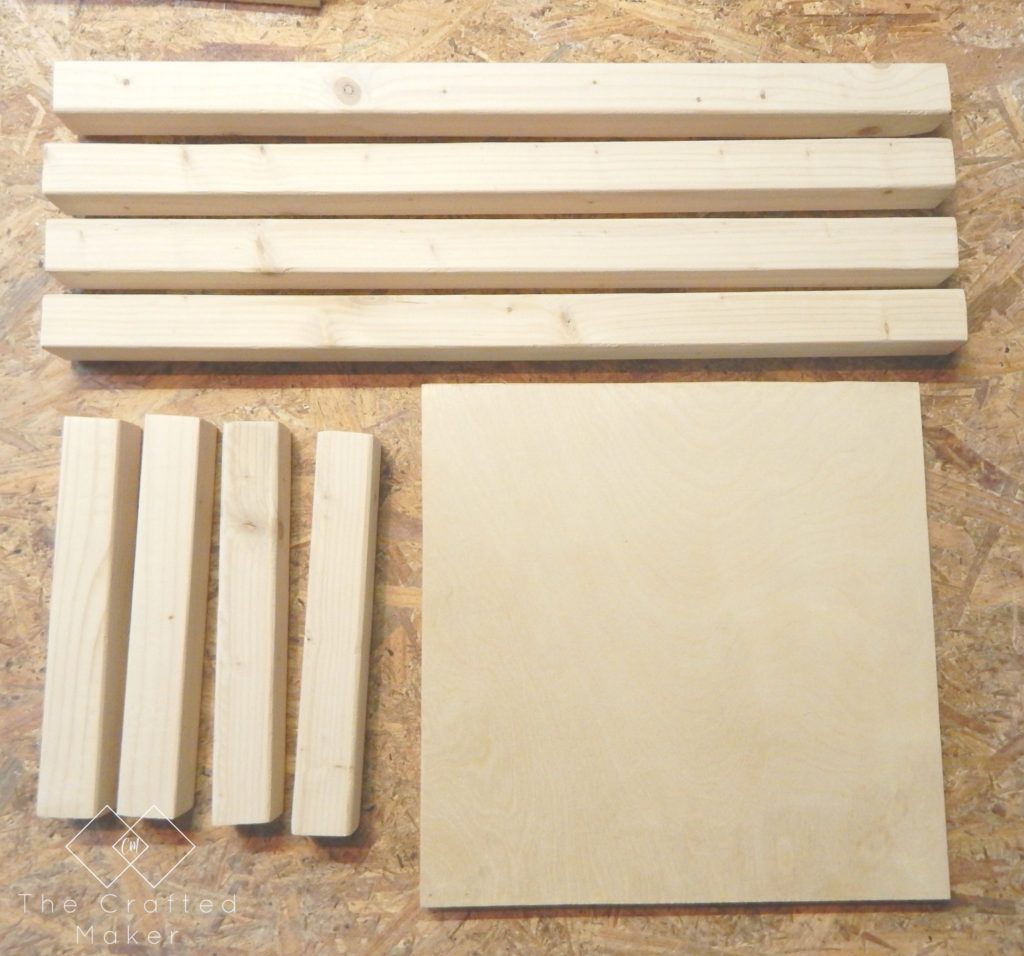
First things first, I cut my boards according to the cut list. This project only requires a few different boards, so the cutting time is pretty short and easy.
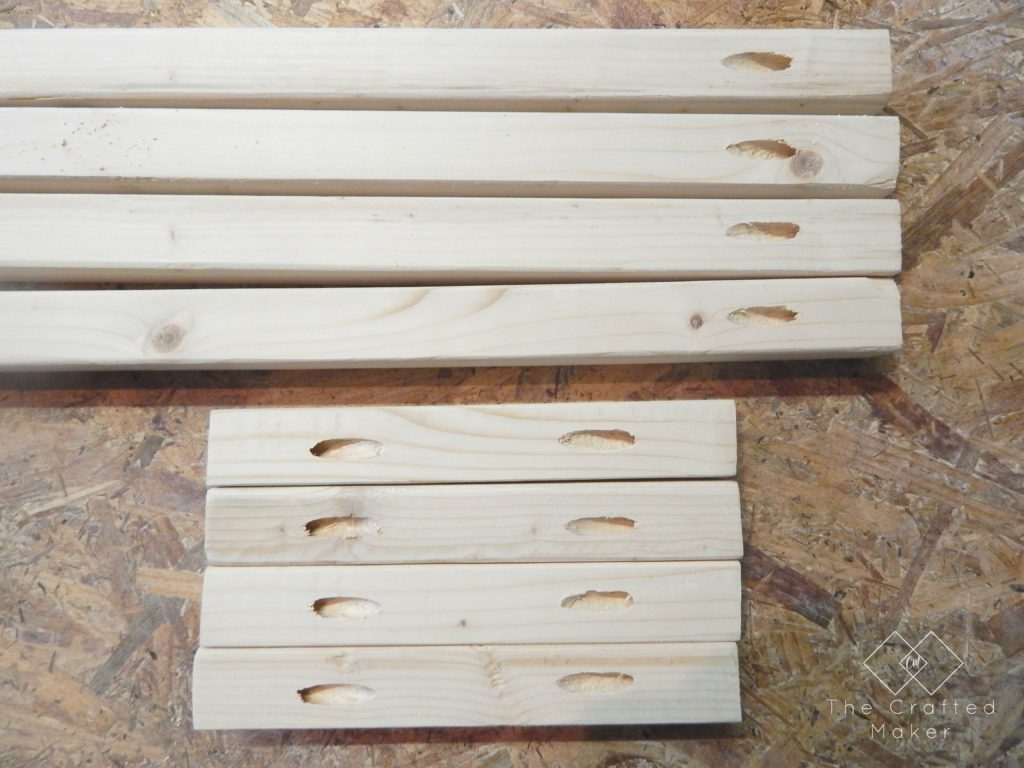
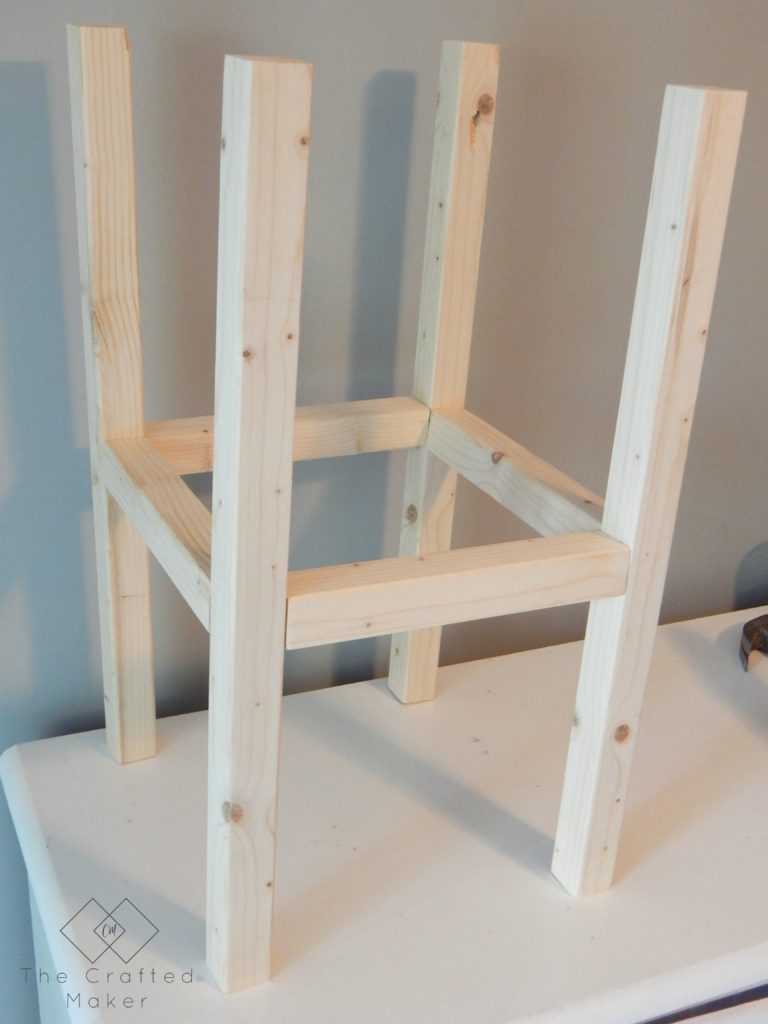
Now time for the pocket holes. I love using pocket hole joinery. It’s so simple to drill the holes and the piece comes out so strong in the end.
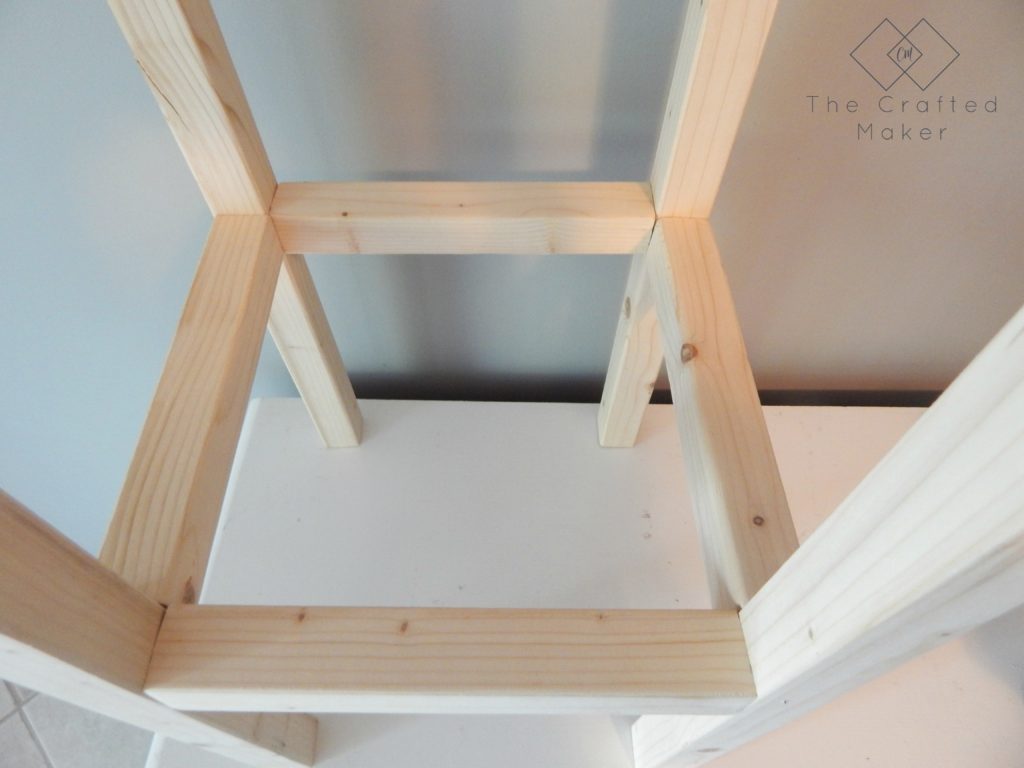
I made the base of the end table by joining the 24″ 2x2s together with the 10″ 2x2s. I placed the pocket holes facing the ground so I wouldn’t have to worry about filling in the holes later.
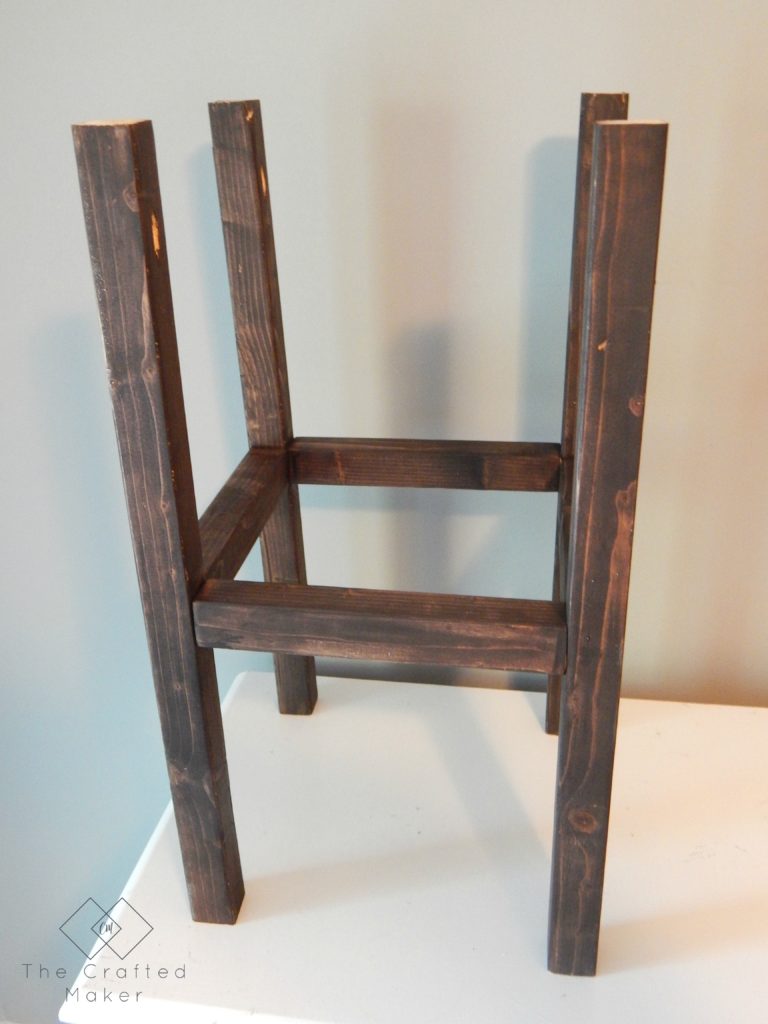
Before I placed the top on my table, I completely sanded the base and stained it. I figured it would be easier to do this now when there wasn’t a table top getting in my way.
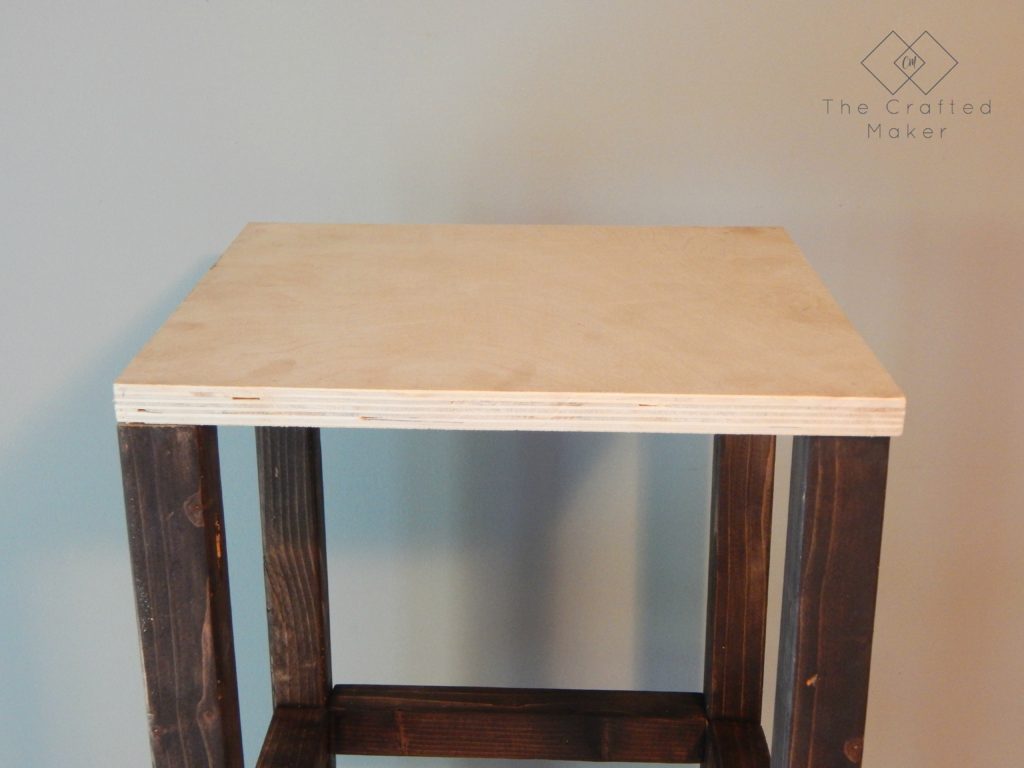
Once the table was dry, I attached the plywood with pocket hole screws to form the table top.
Let the tiling begin!!Tiling is a relatively easy thing to do, so don’t be intimidated if you’re new to tiling. As always, if you have a question while making your table, don’t hesitate to reach out and send me an email. I’m always here to help. : )
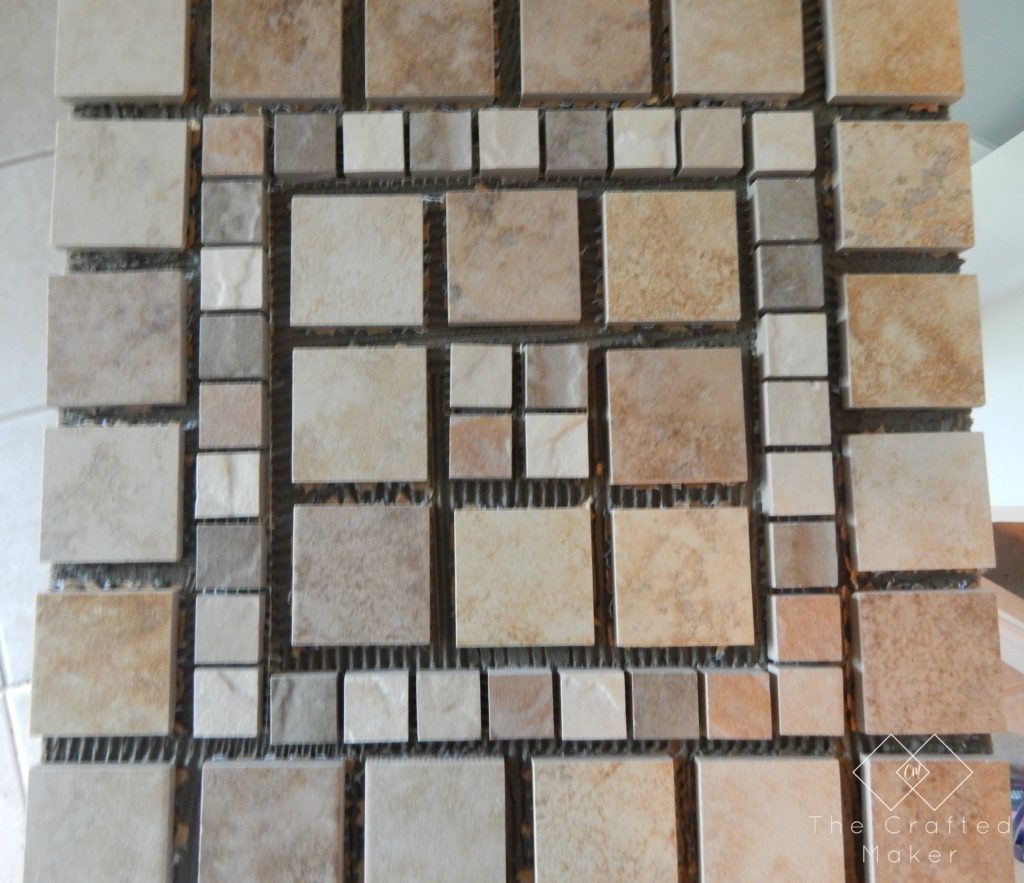
I mixed up my mortar, put some down and started laying my tile.
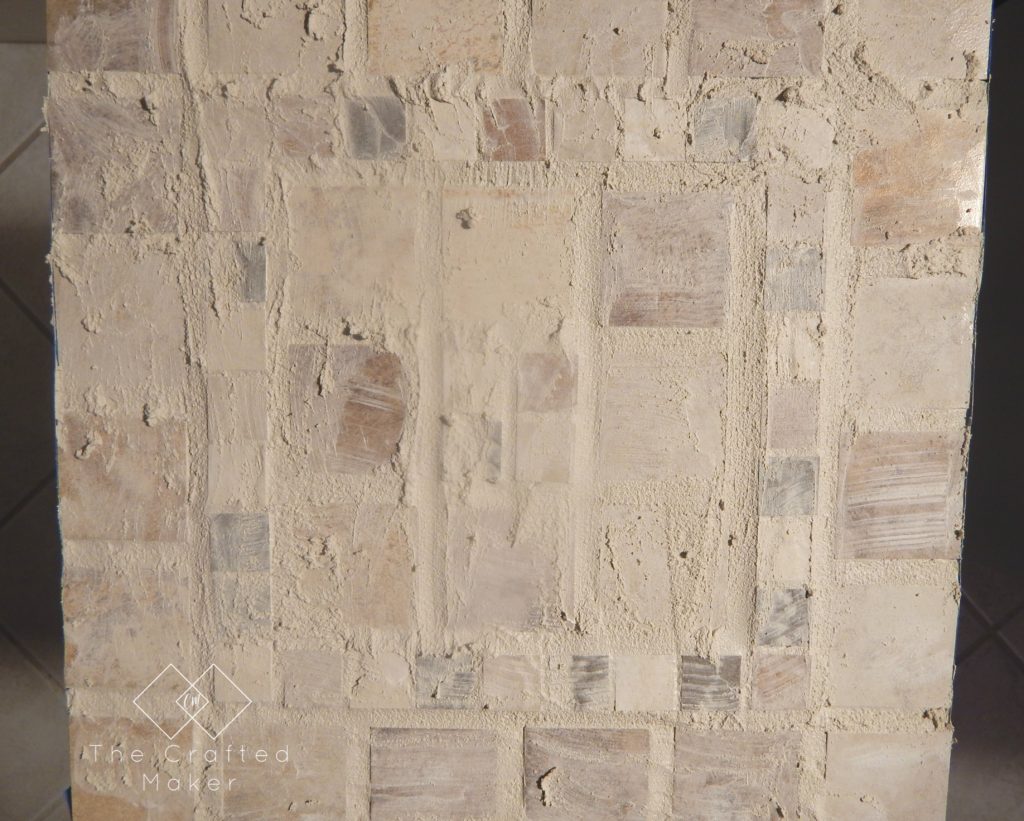
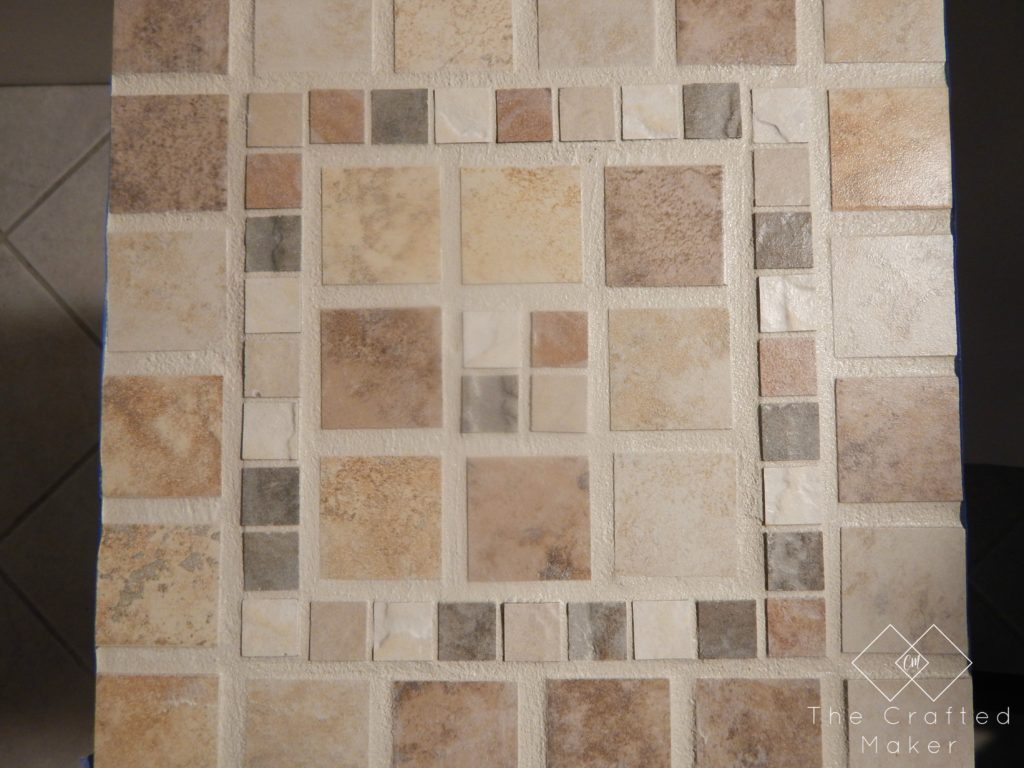
Once the mortar was completely dry, I started to grout my tile. Since this is such a small amount of tile, it went fairly quick. I applied the grout with a grout float and wiped off the excess with a sponge.
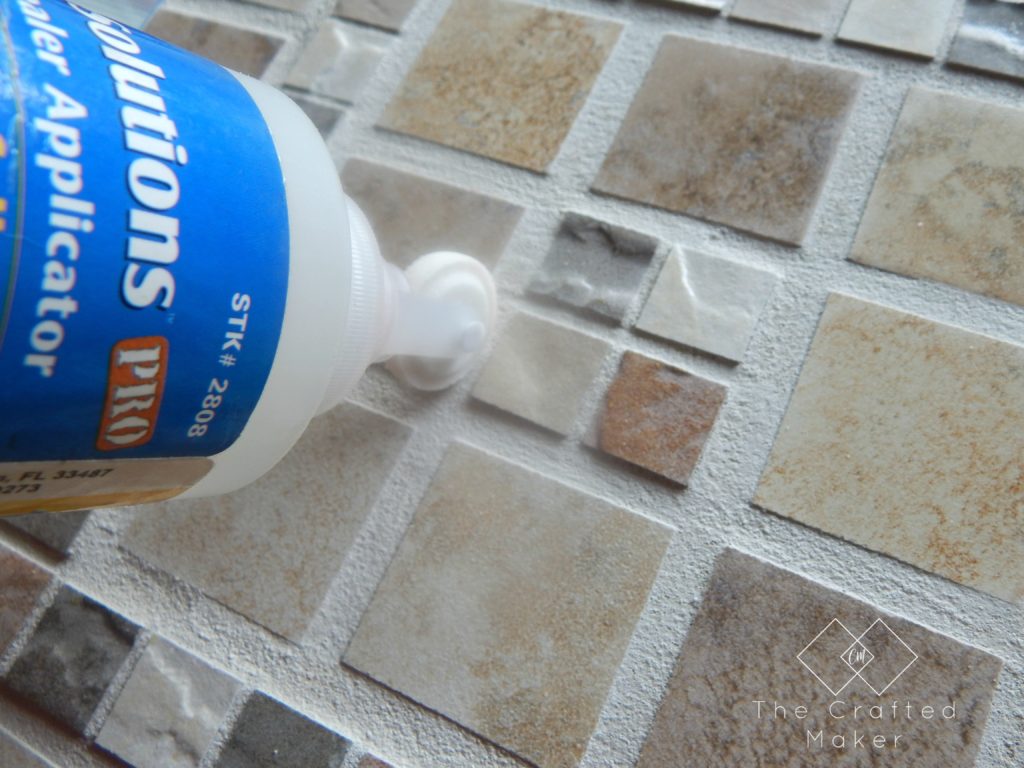
Once the grout was completely dry, I sealed my table and let the sealer dry. Since I decided to not put trim around the top board, I stained the edges with the same color (Kona) as the base of the table.
This project from start to finish took a little longer than most of my other builds, simply because of the drying time of the mortar and grout.
I absolutely love the way it turned out!! Now its time to go enjoy it.
I hoped you enjoyed this post and are inspired to make your own tiled end table.
Thanks for spending some time with me today.
Until next time…

link for plans doesn’t work, great looking table
Thanks for your interest in the DIY tiled end table! The link is fixed now if you want to download the plans. Have fun building!