Hey all! To keep up with my latest projects, come follow along with me on Instagram and Pinterest.
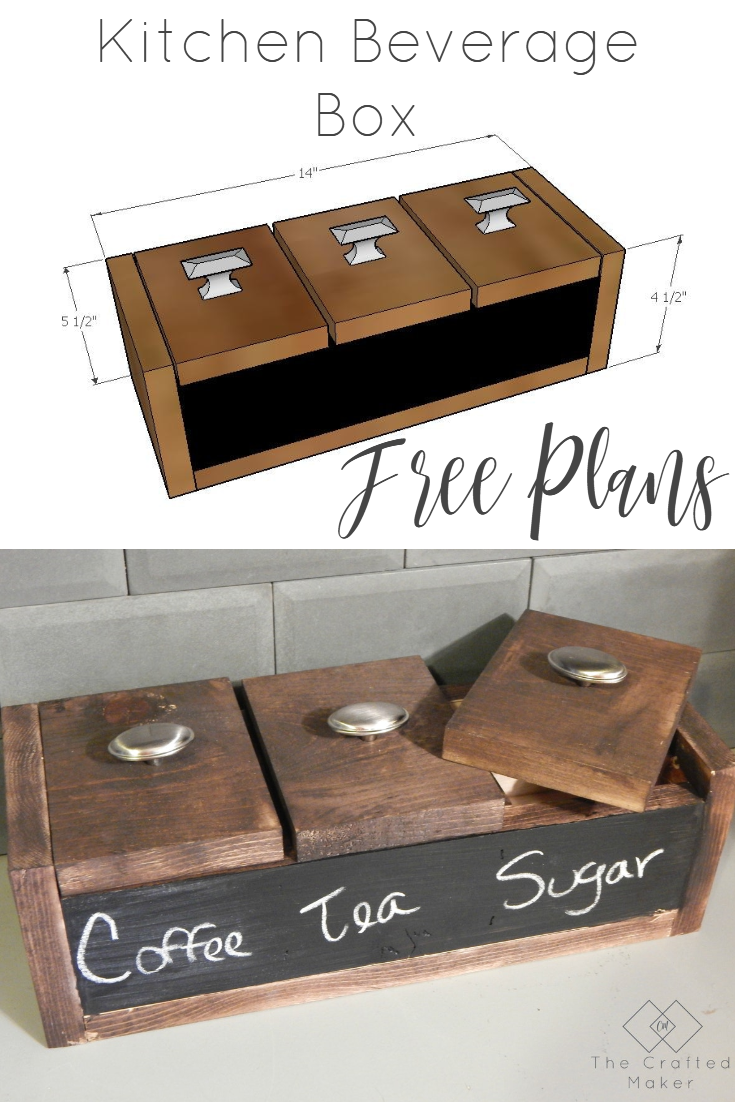
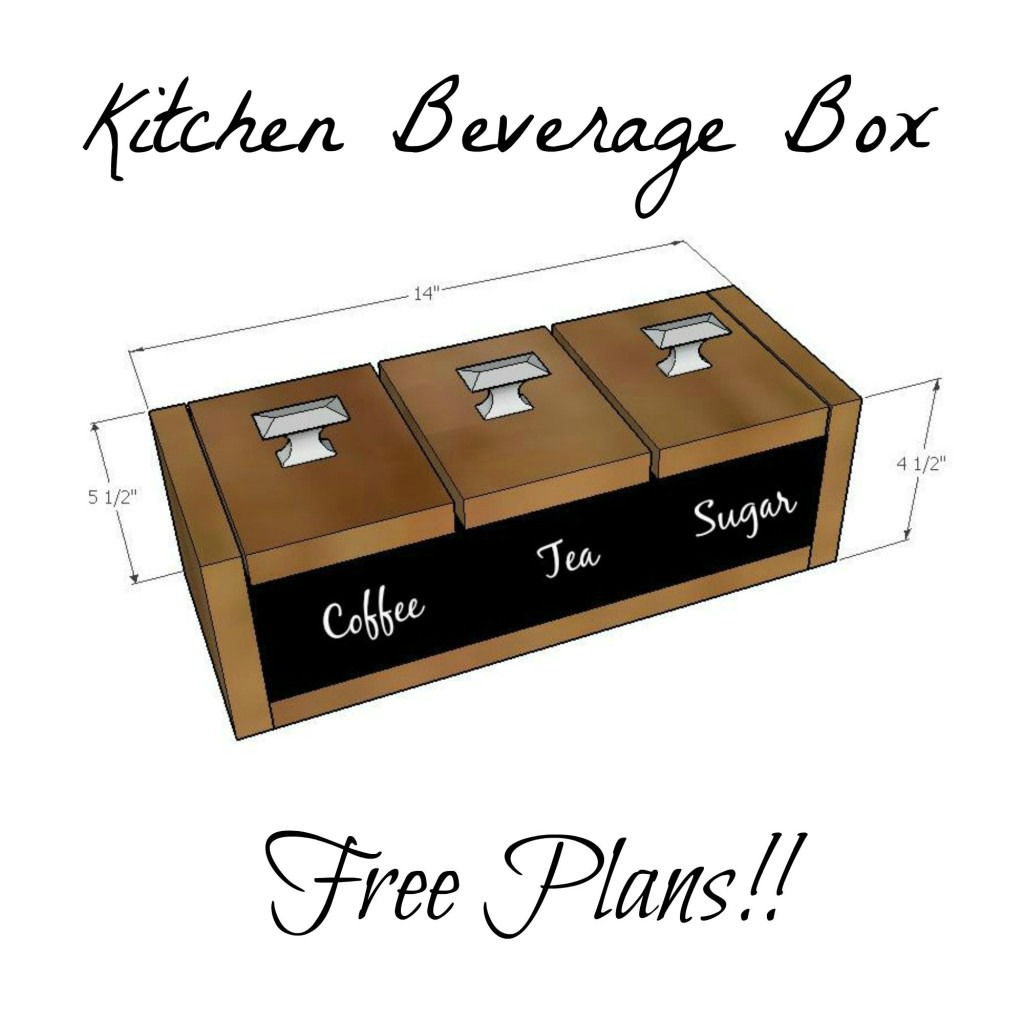
Well, fall is here, and what a great time to start thinking about all things warm and cozy. To me, a big part of fall is the warm drinks you can enjoy snuggled up on the couch. So to get ready for this season, I decided to make a kitchen beverage box to store all of my favorite fall beverages. I have included a free PDF plan for you to use when building your own, but as always, I am showing you my step by step build.
This blog post contains affiliate links. I may receive compensation when an item is purchased. This allows me to bring you more free content with no added cost to you.
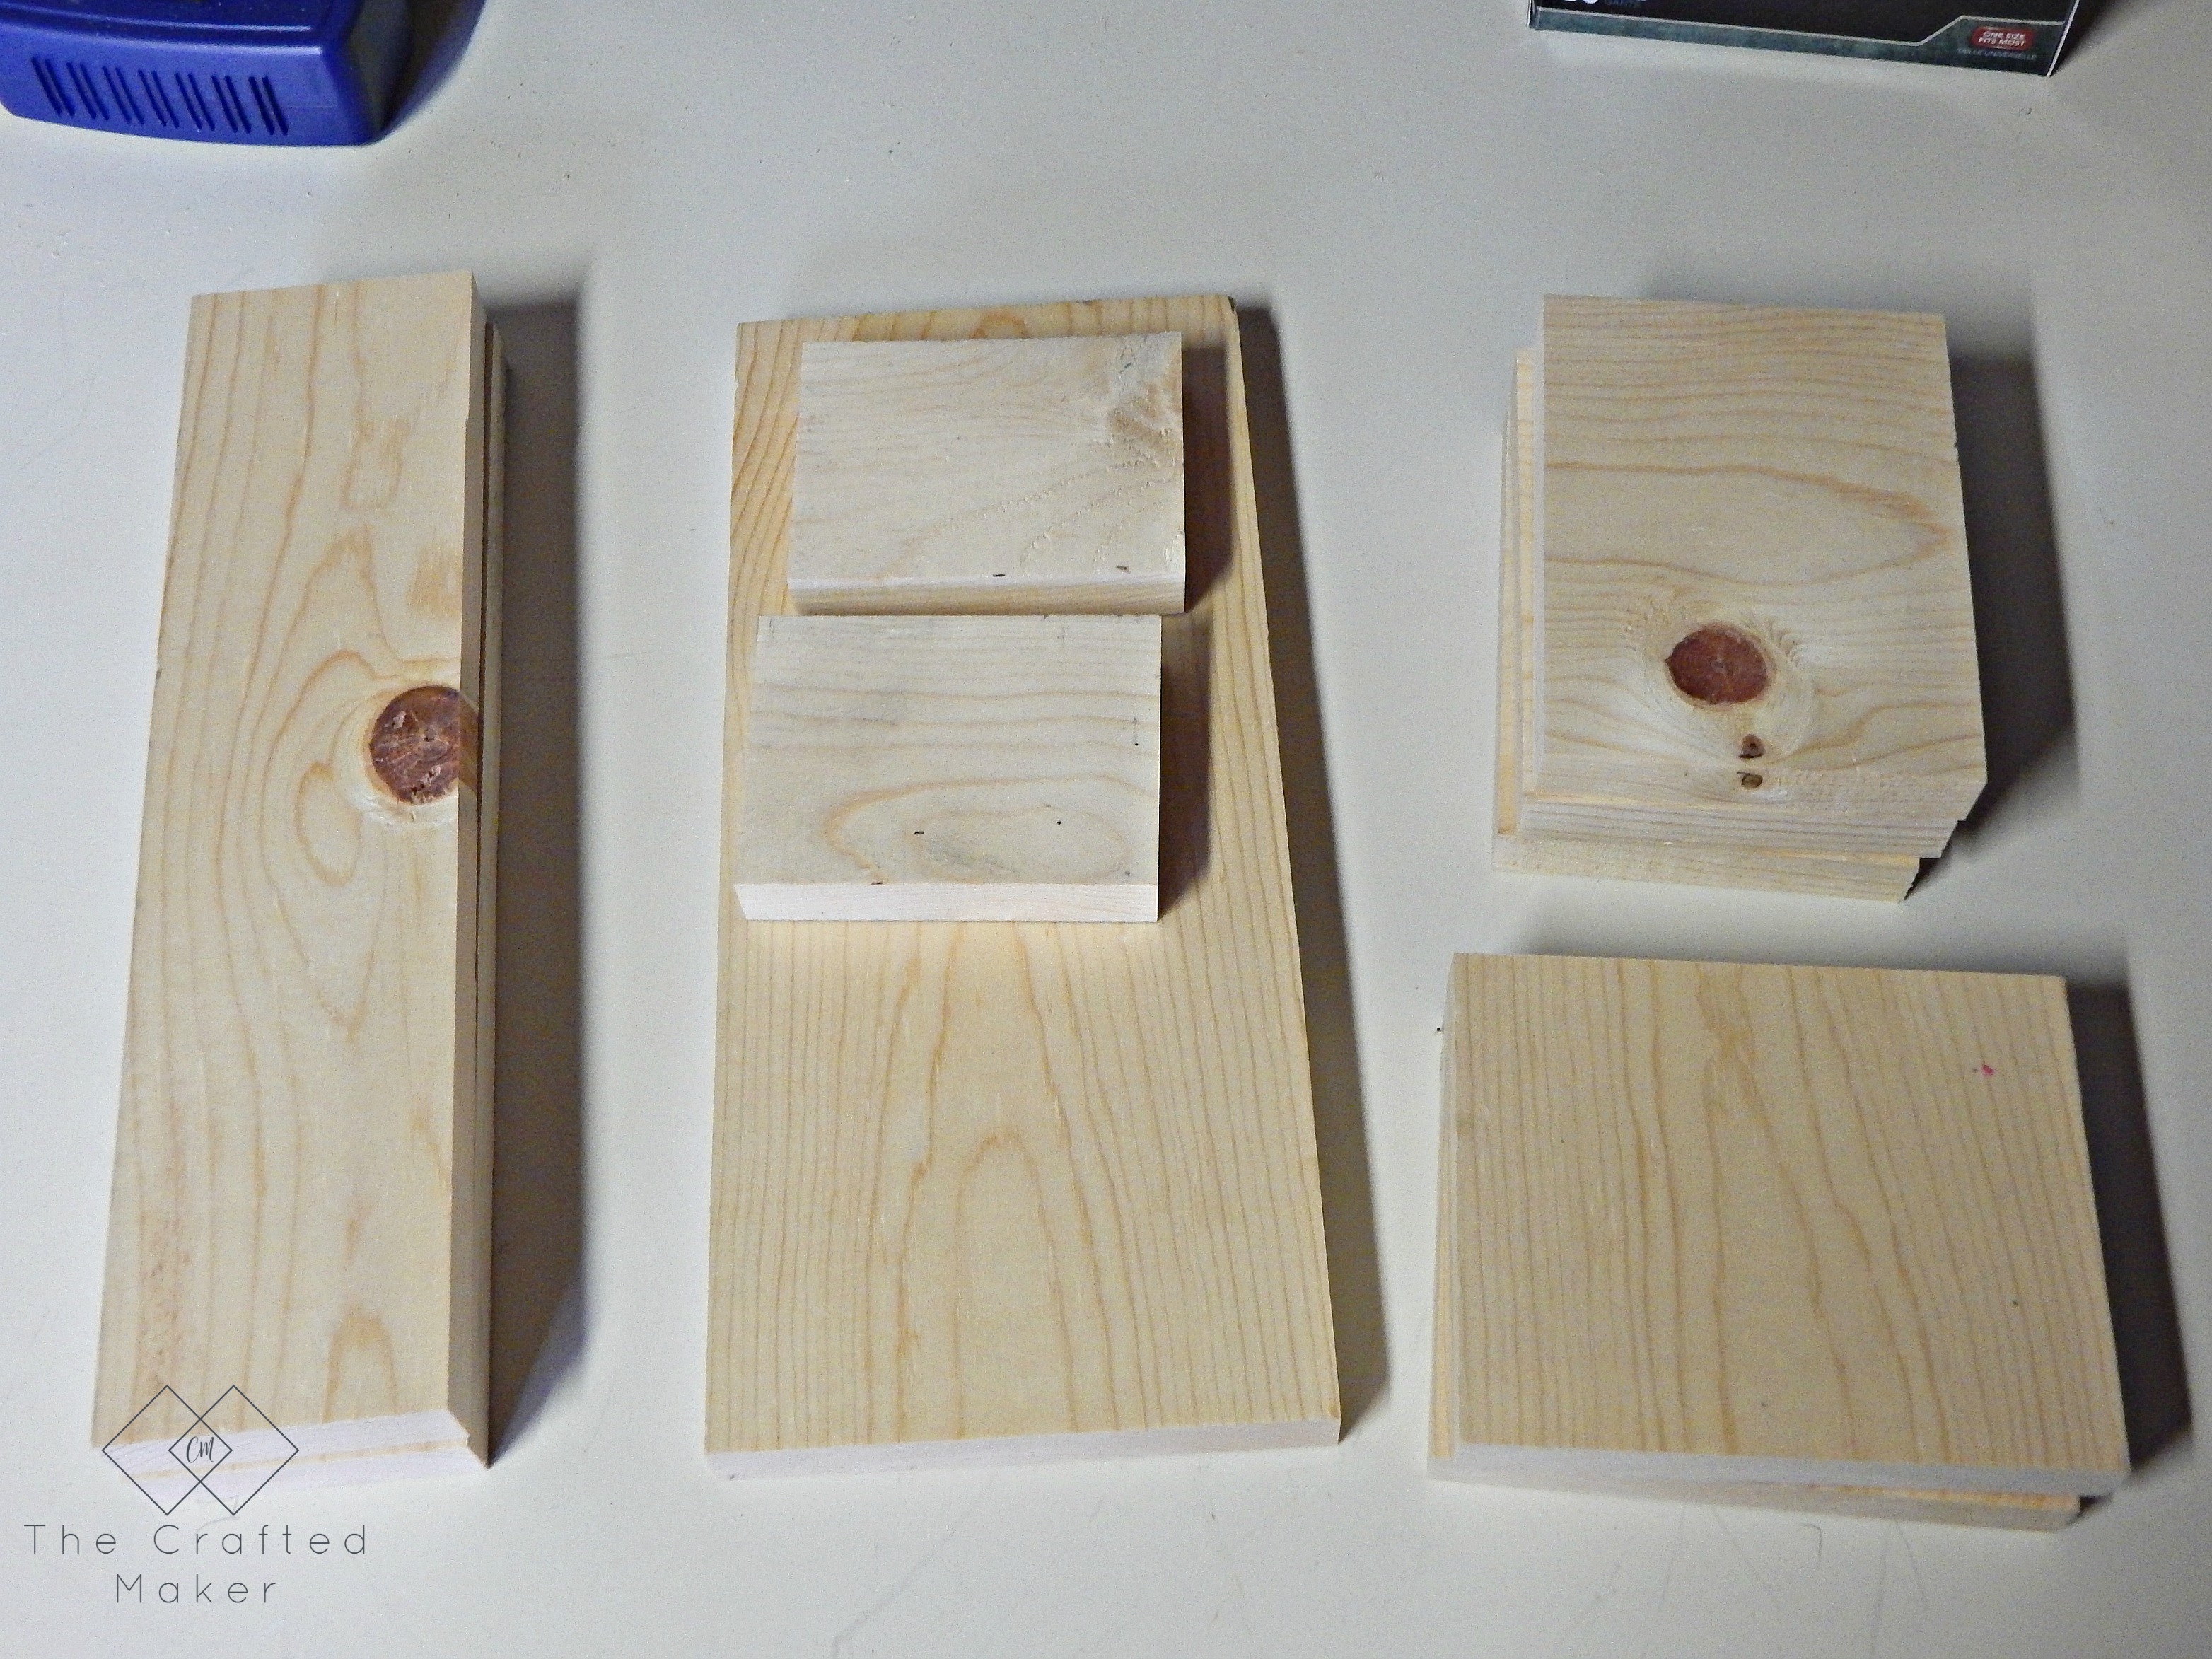
First things first, I cut all of my boards according to the plan. This part went pretty fast there are not a lot of cuts to make and they are all straight.
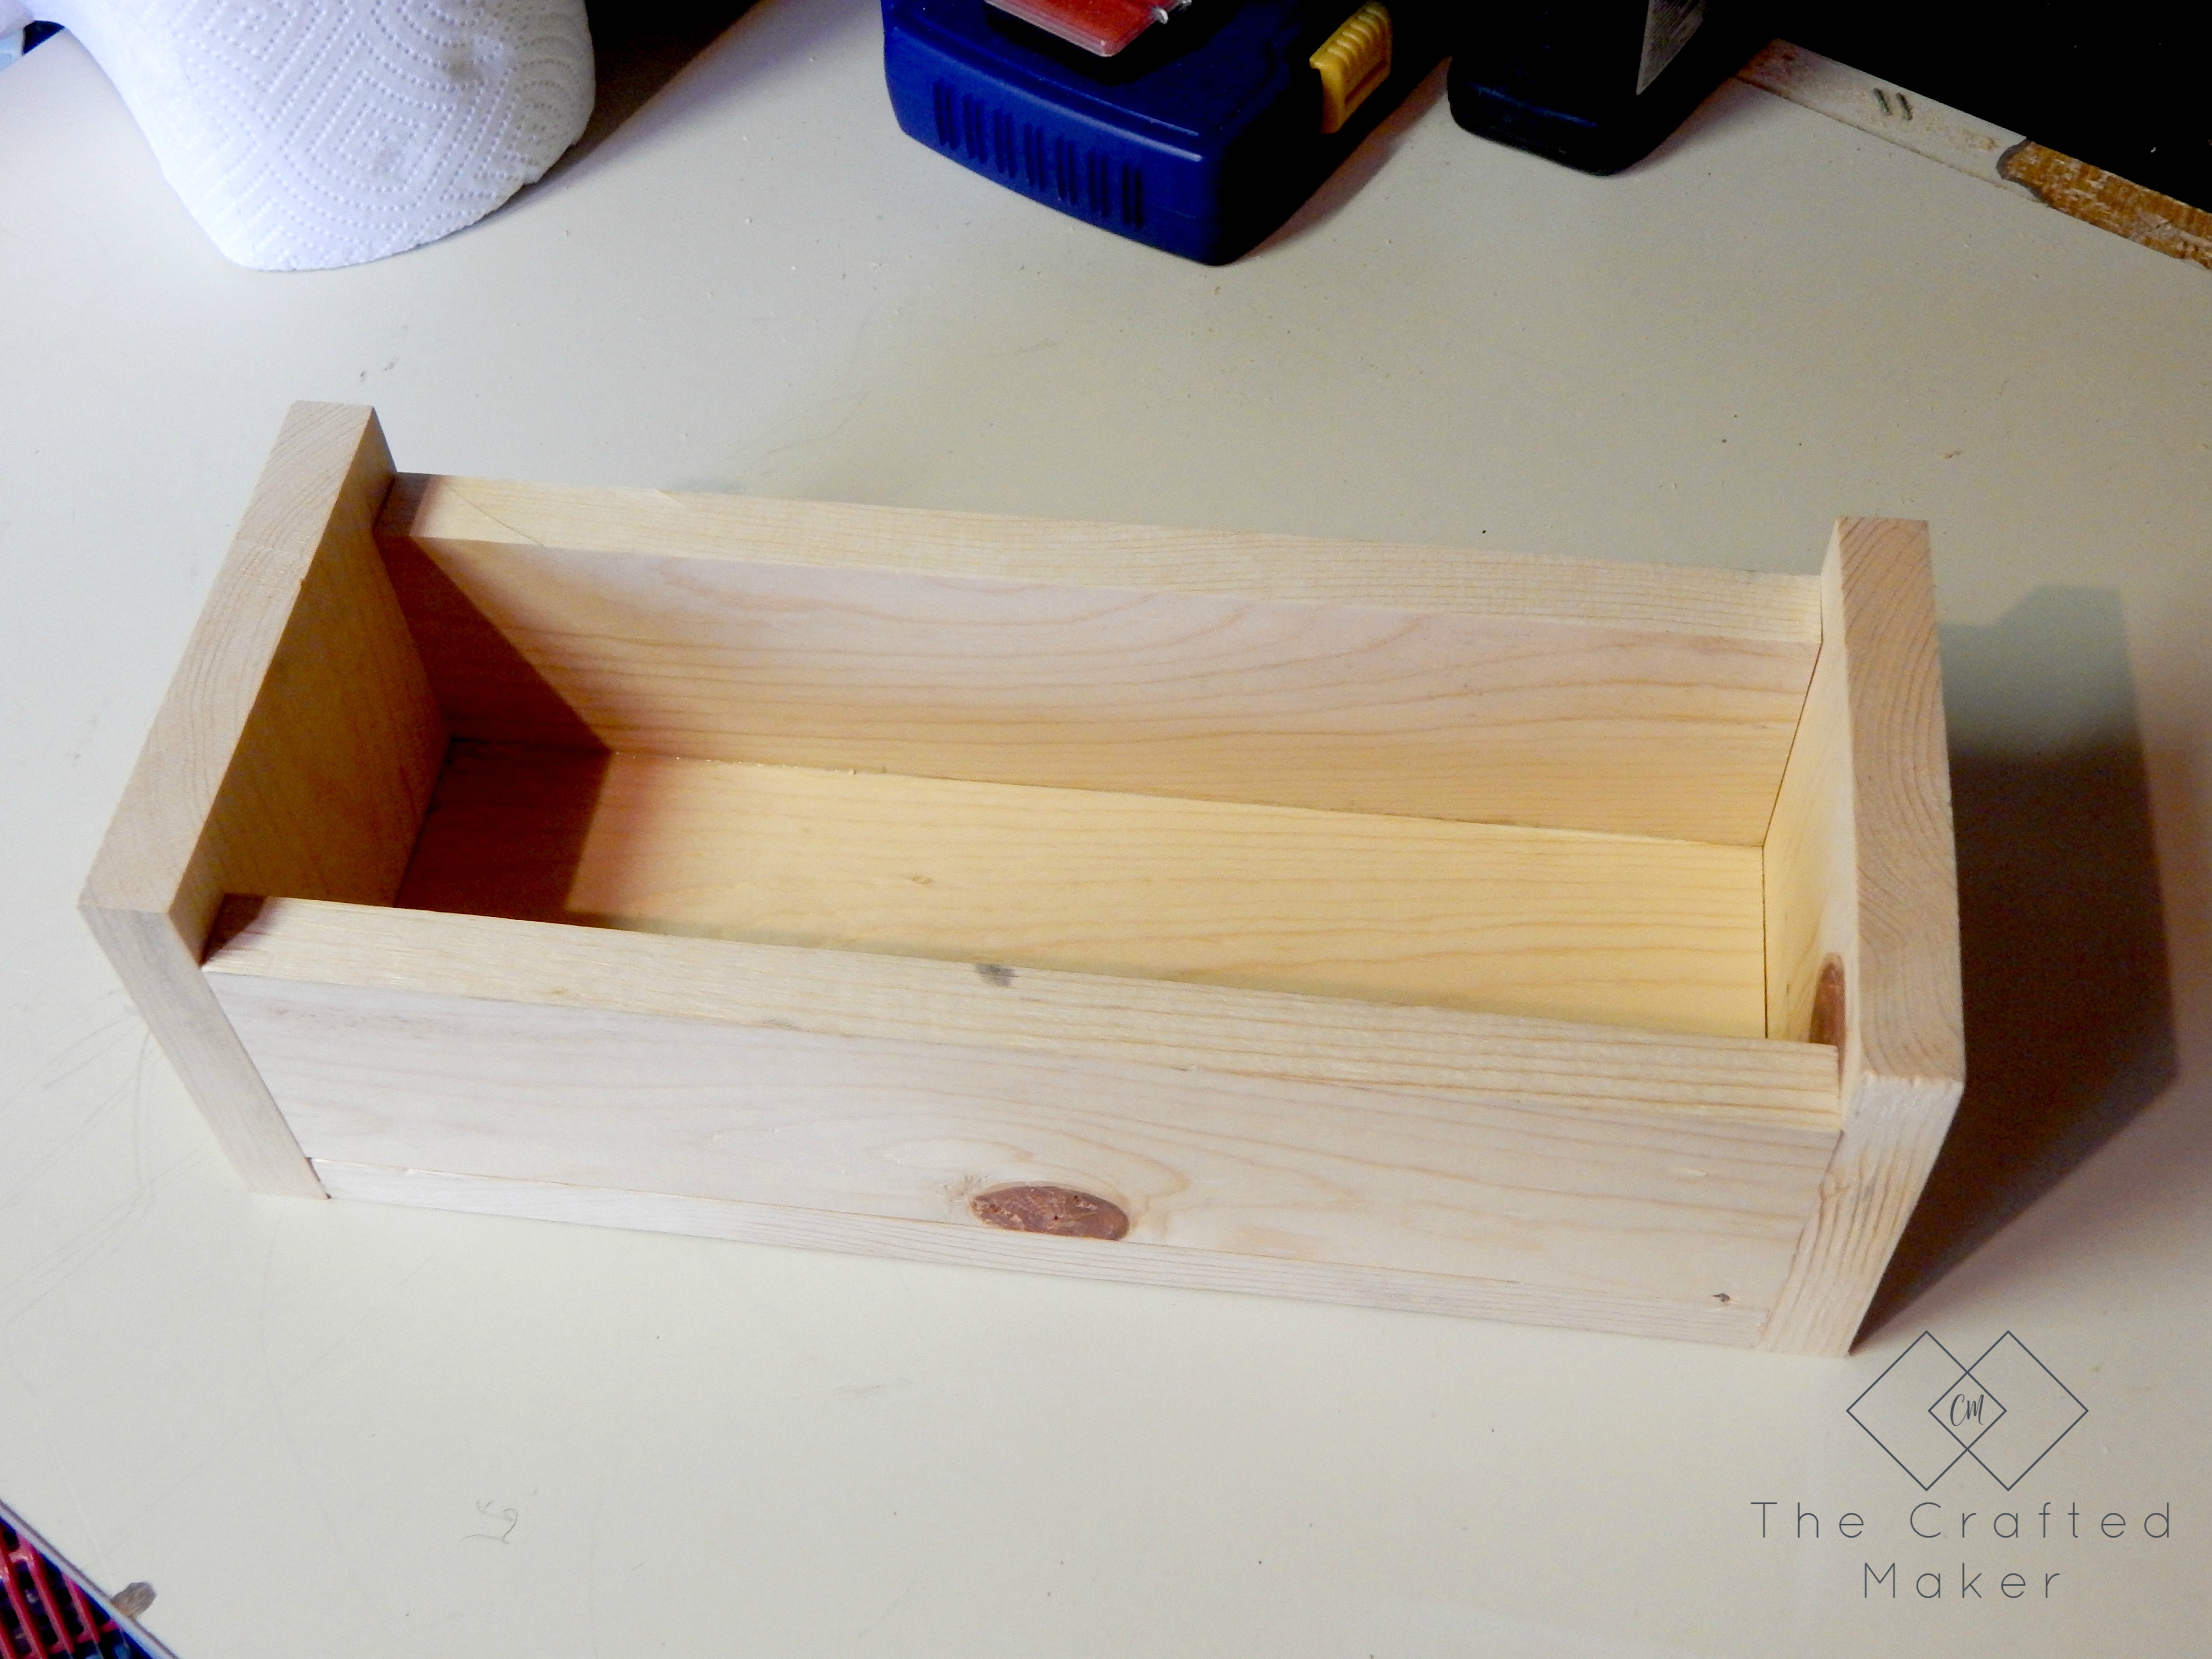
Now on to assembly. I attached the front and back to the bottom piece with wood glue and a nailer. Then, moved on the sides and attached the same way. If you do not own a nailer, finish nails and a hammer can be used very easily.


Here is what the beverage box should look like at this point. The sides and front and back are attached with the wood glue and nails. At this point, you could choose to fill in the holes from the nailer with wood filler, but I didn’t. I don’t mind the look of beat up wood, but it is personal preference. It shouldn’t take the wood filler long to dry in such little spots if you choose to use it.
One thing I forgot to take a picture of is drilling the holes in the lid boards for the pulls to attach to. Just find the center of your three lid boards and drill a hole big enough for the cabinet knob screw to fit through. These will be attached once the stain is dry.
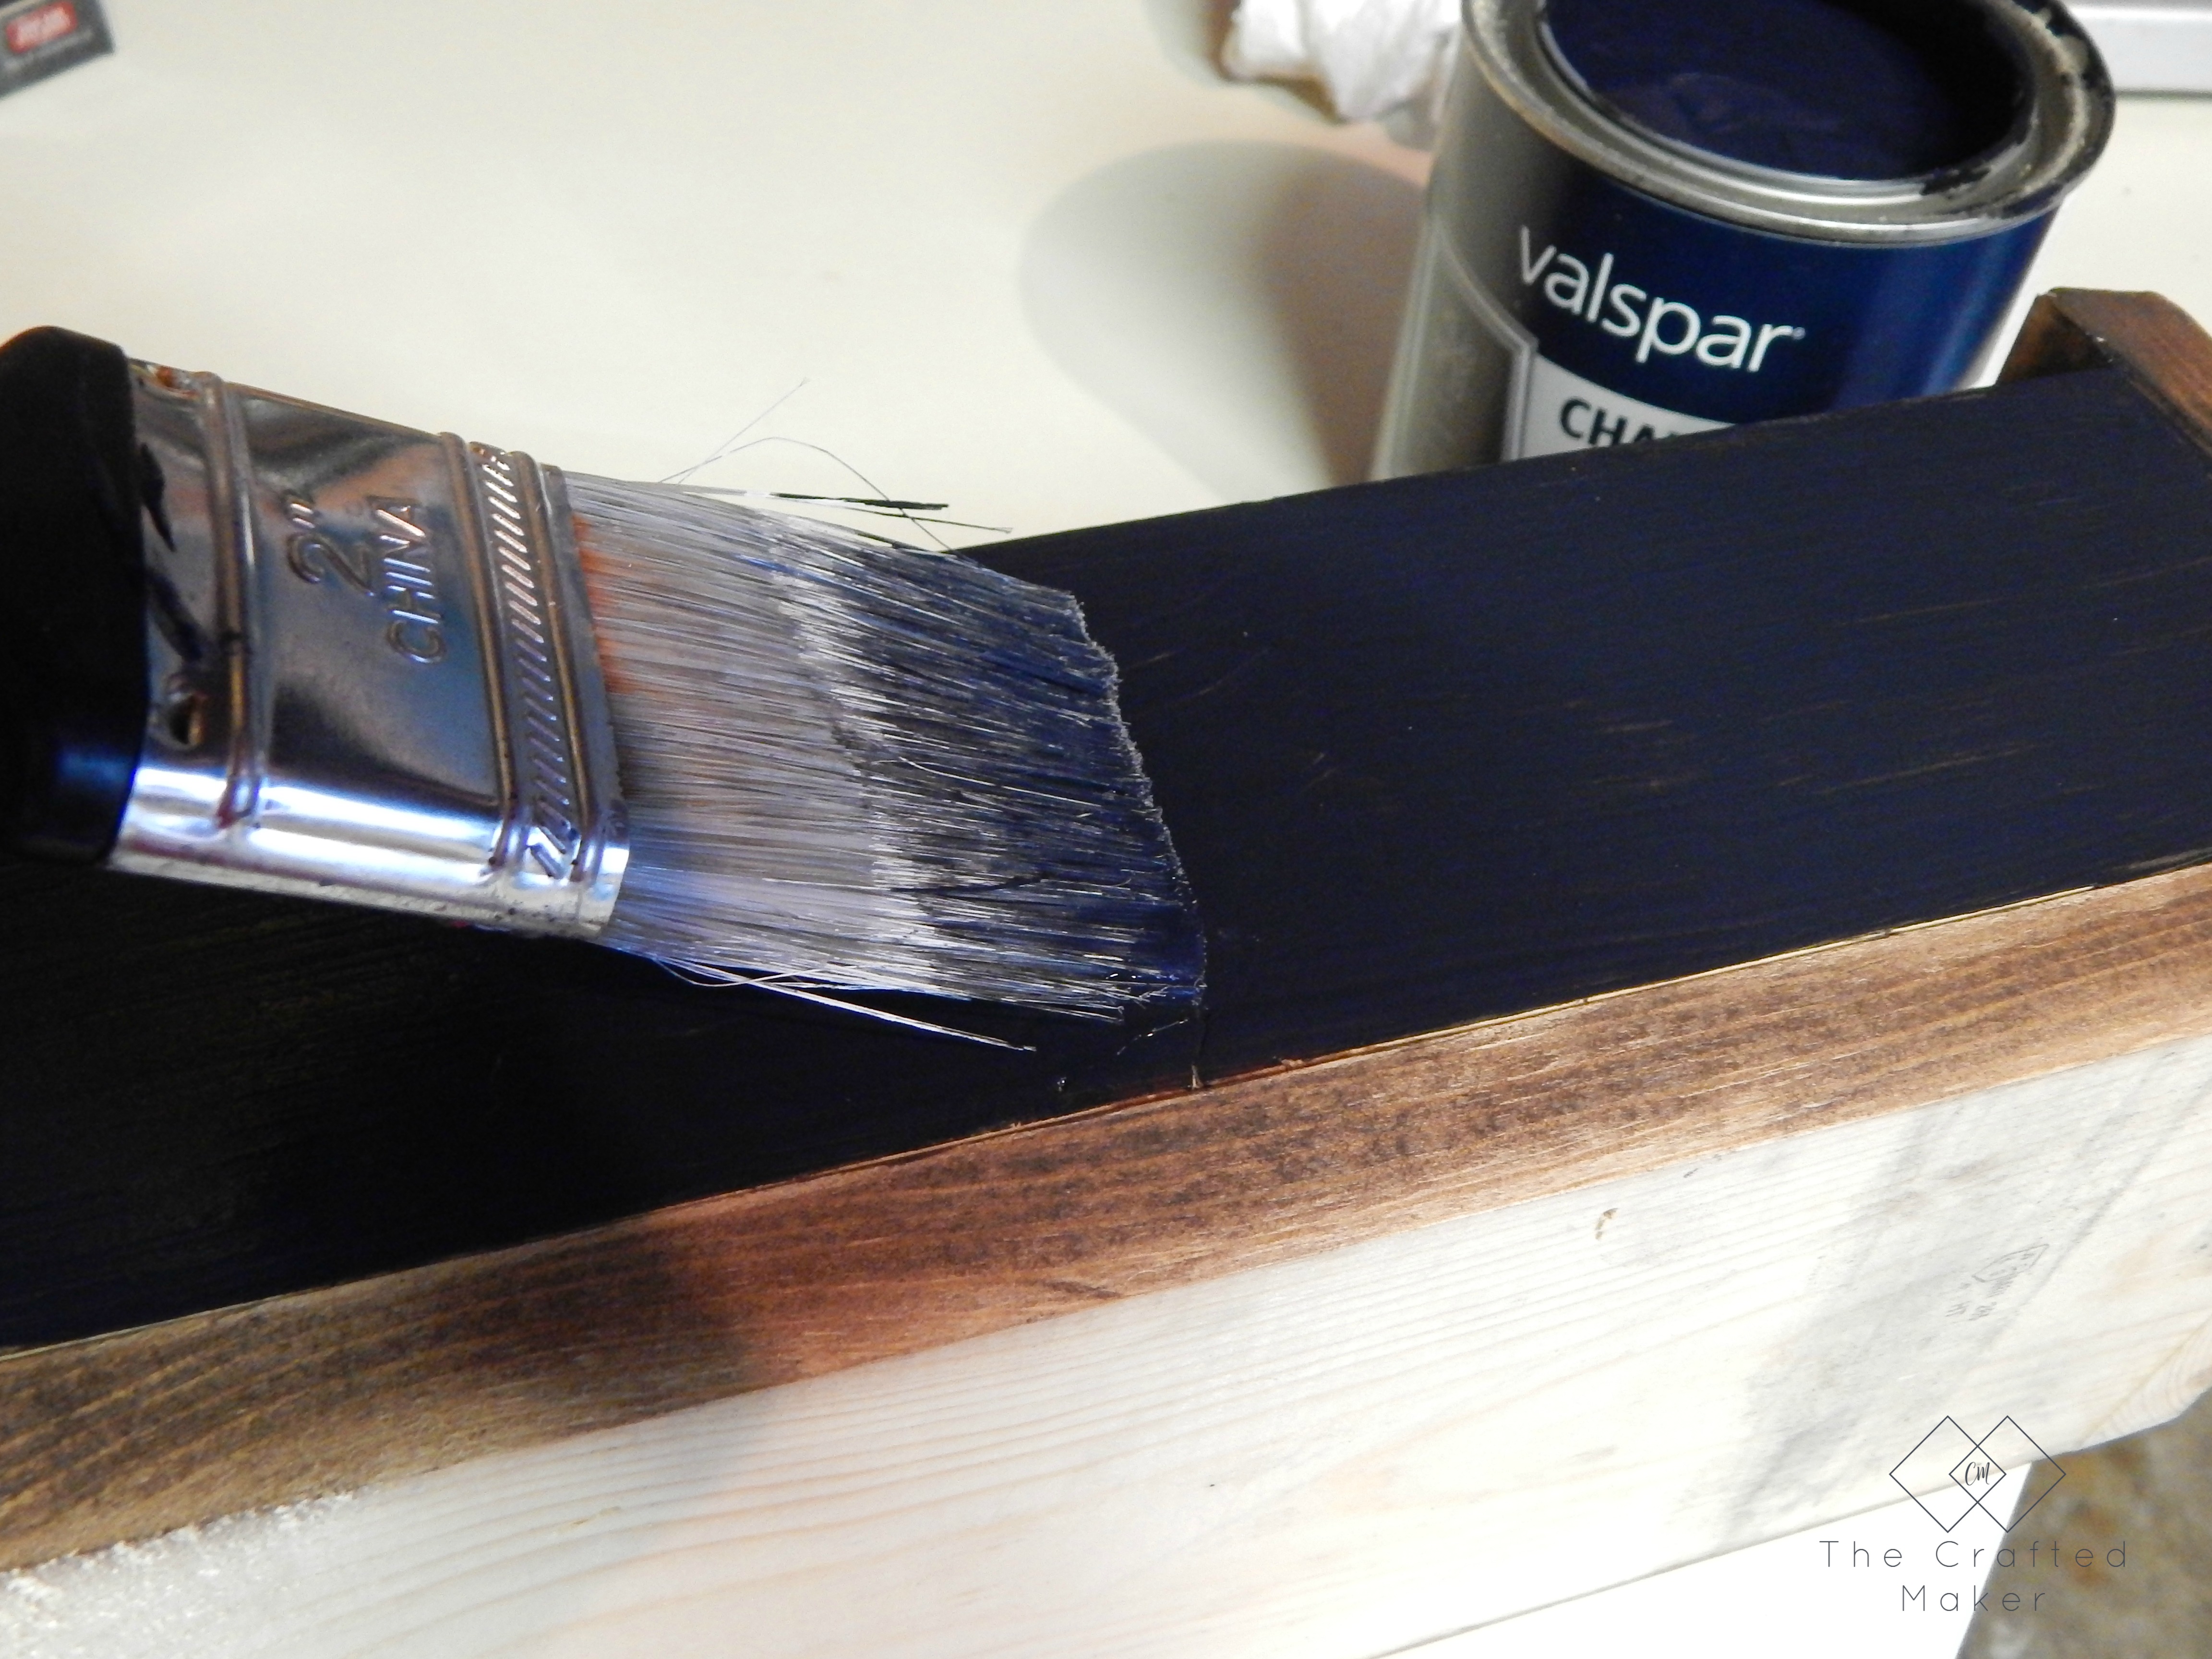
I decided to finish this project with some good ol’ Kona stain and chalkboard paint. You really can’t go wrong with either one!! I stained the sides, back and top pieces with the Kona. I did not stain the inside of the cubbies.

Then it was time for the chalkboard paint. (Yay!) I didn’t tape off the boards around the painted area, but it would have saved me some cleanup time. Things to think about next time. I gave the front board one good coat of the chalkboard paint and allowed adequate time for it to dry. Your container of paint should give you the recommended drying times.
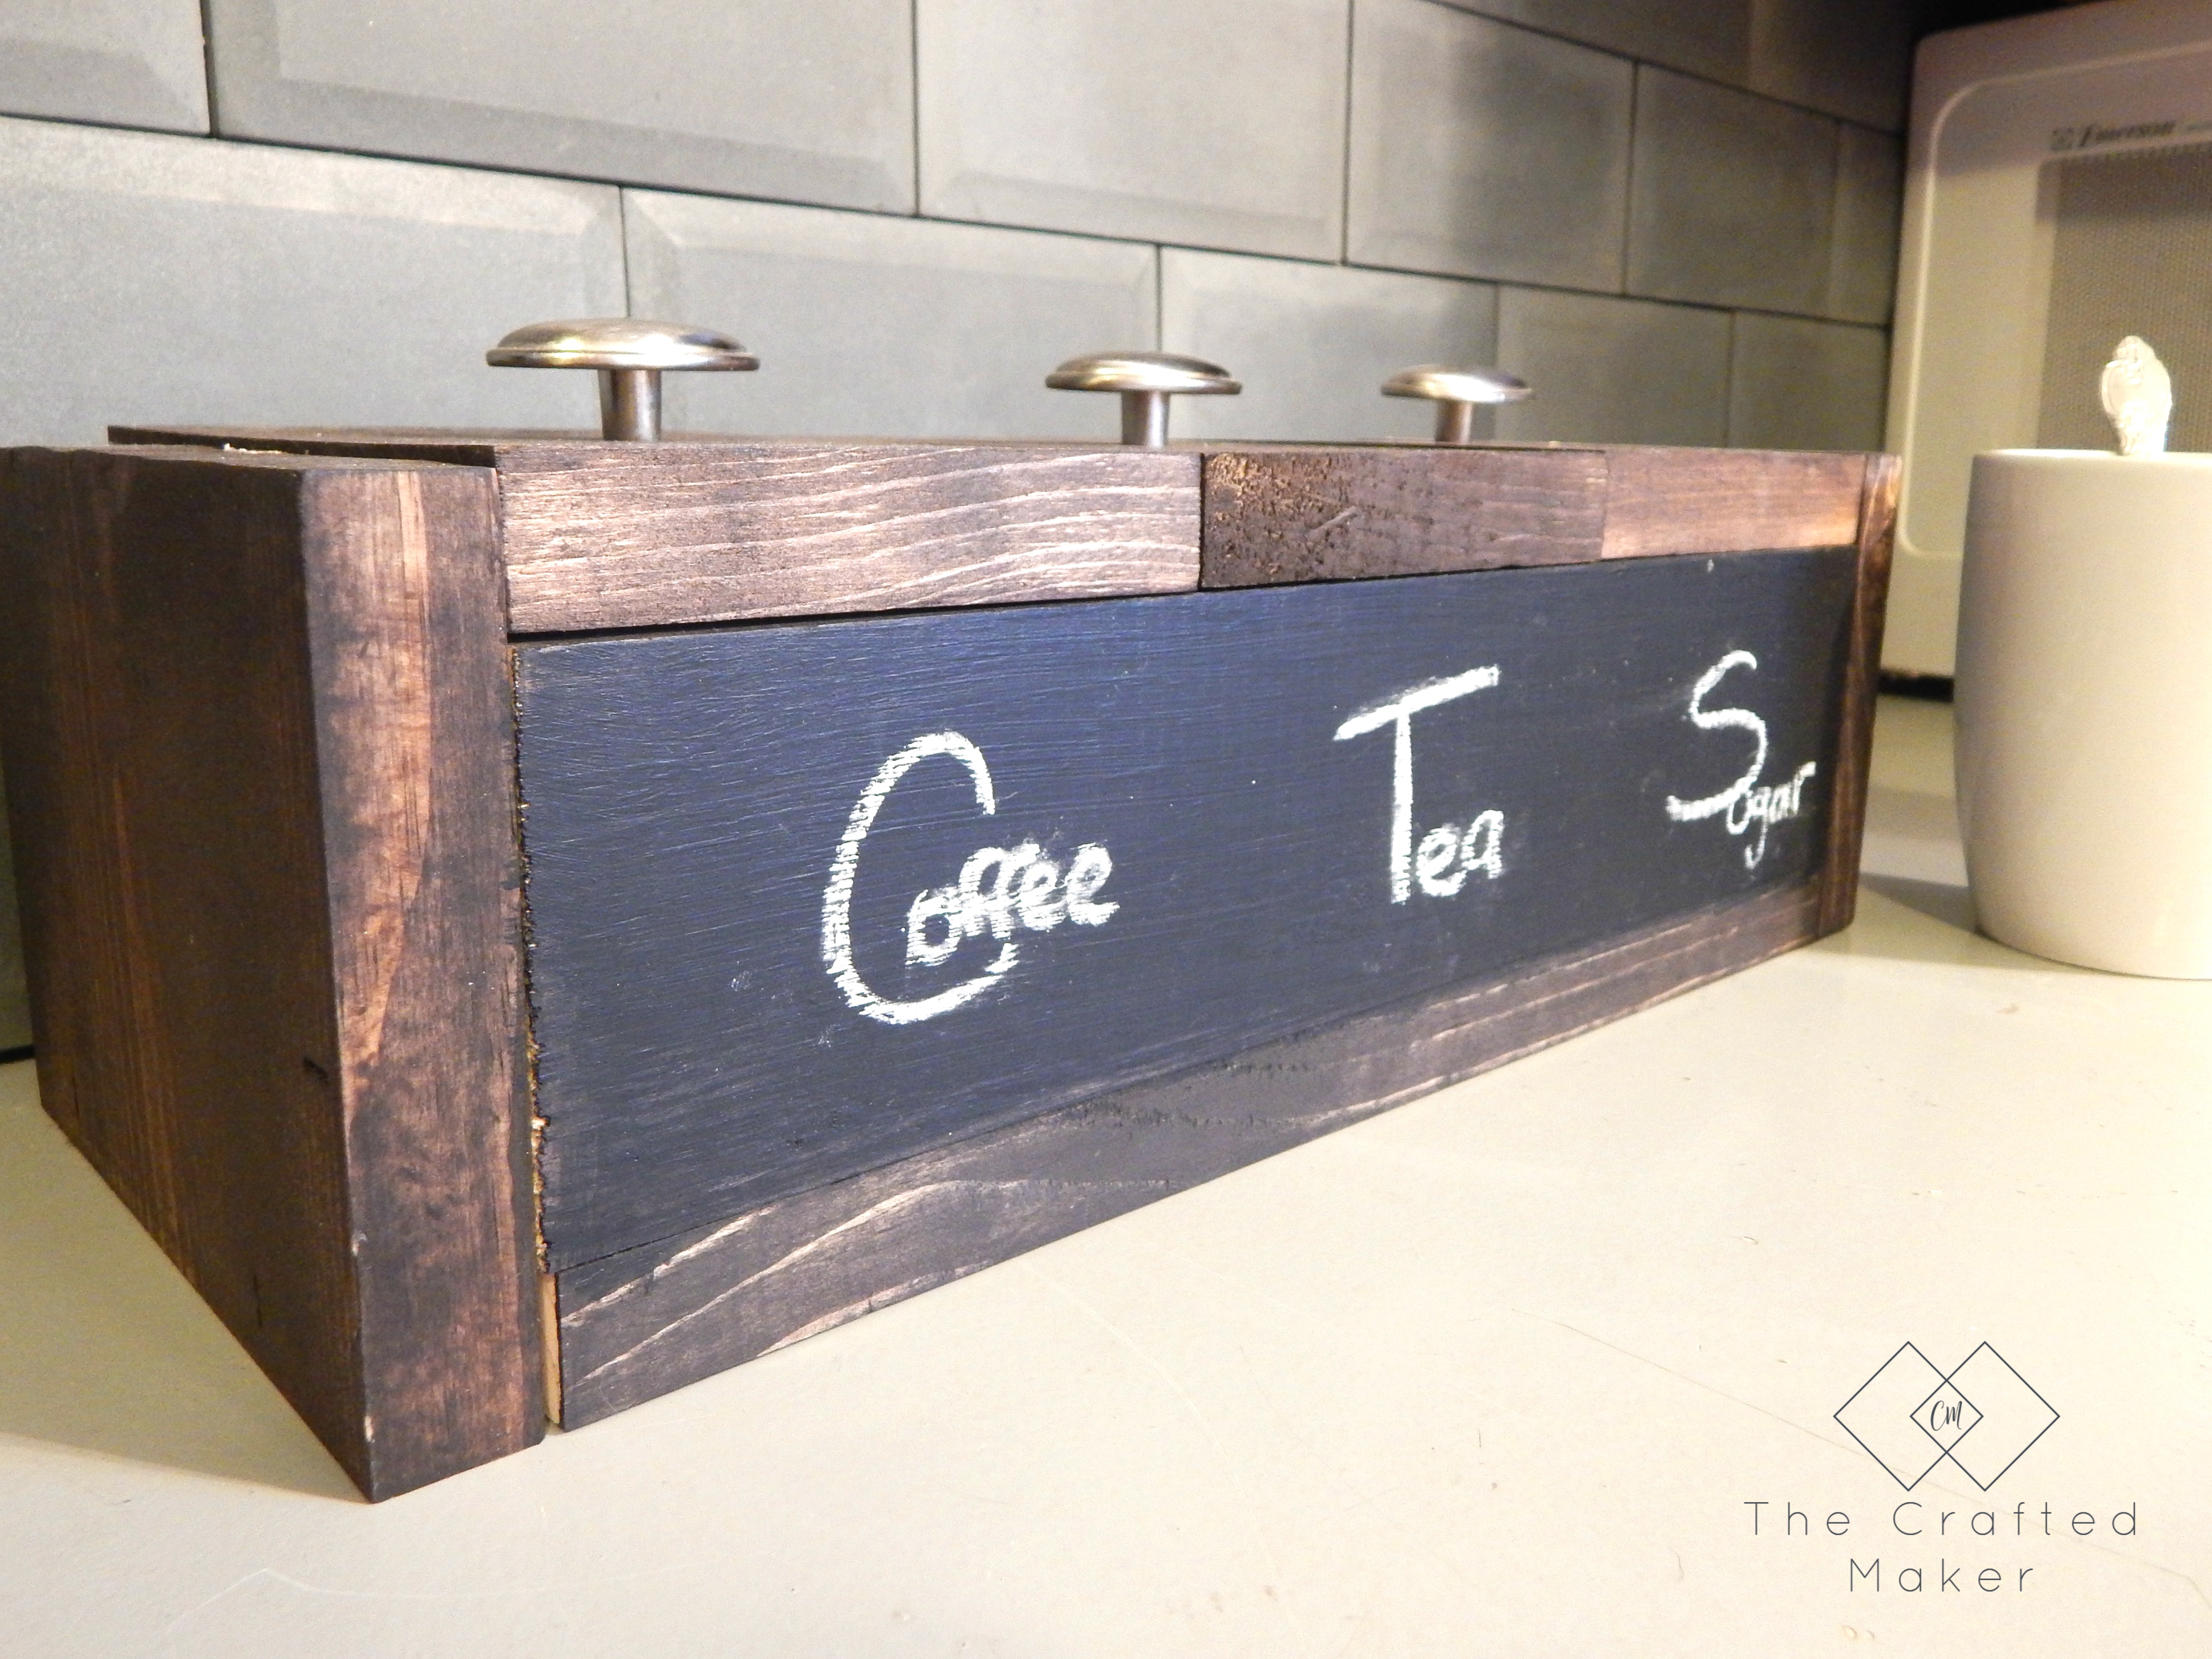
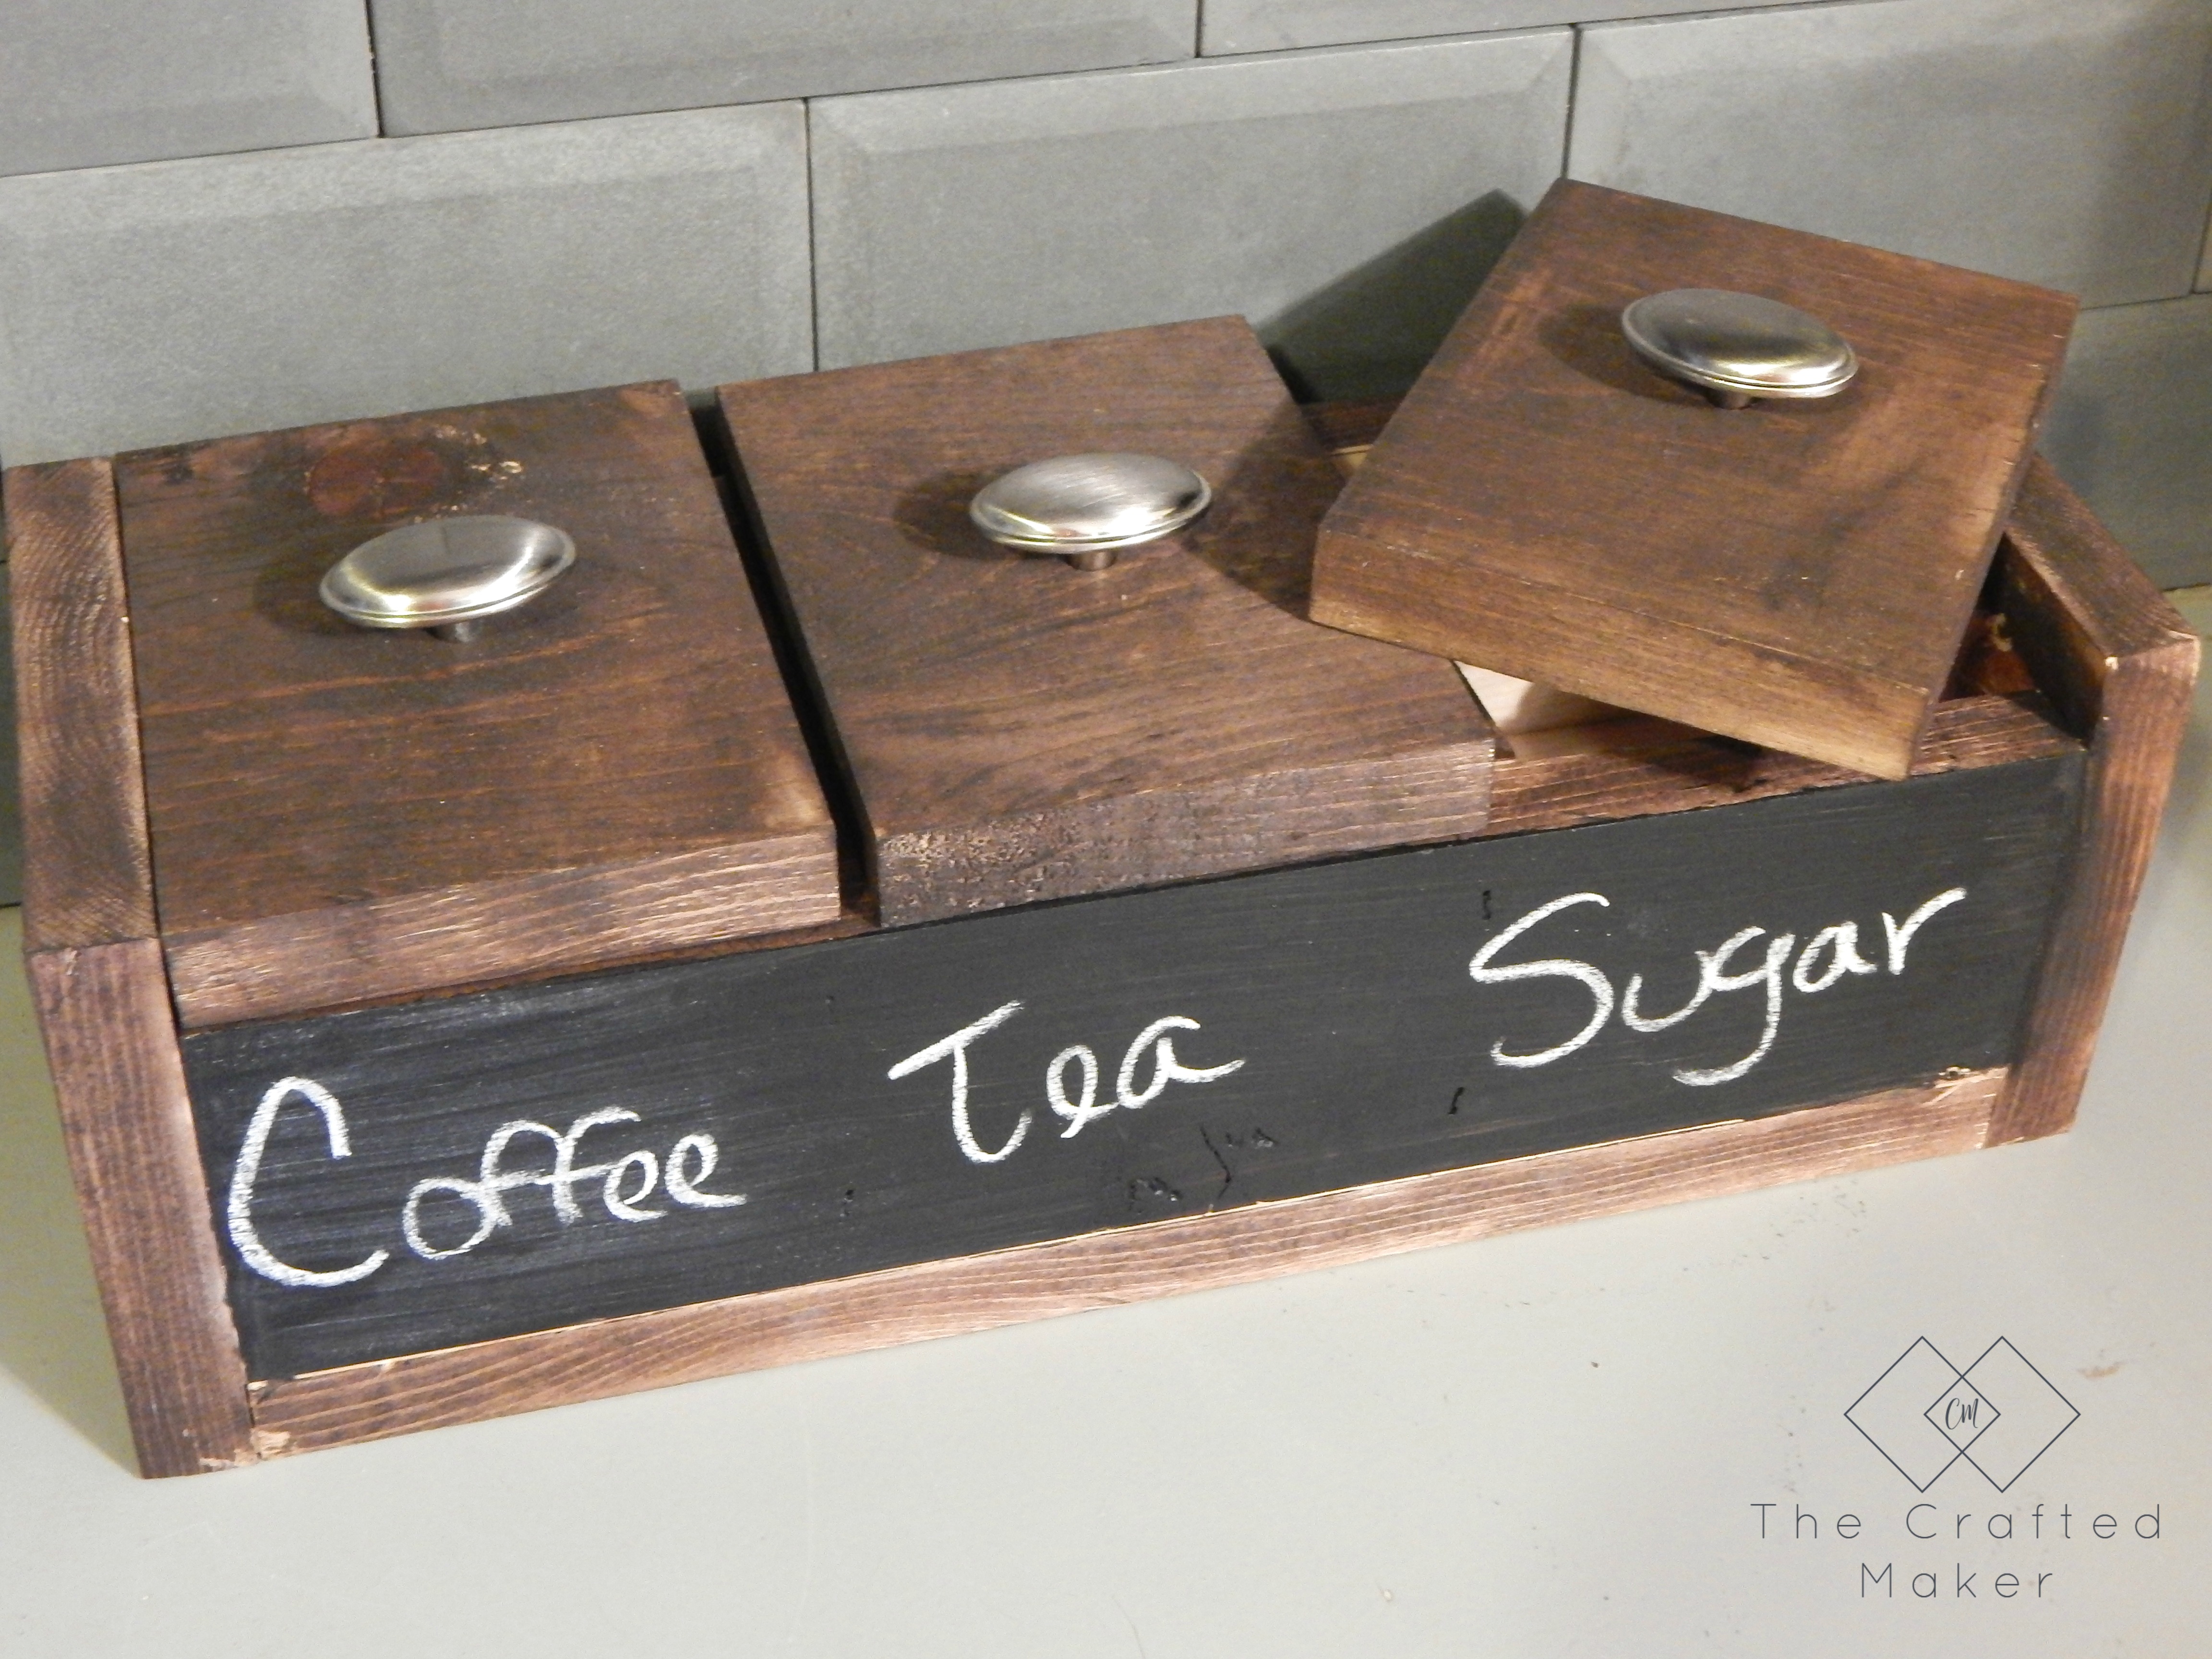
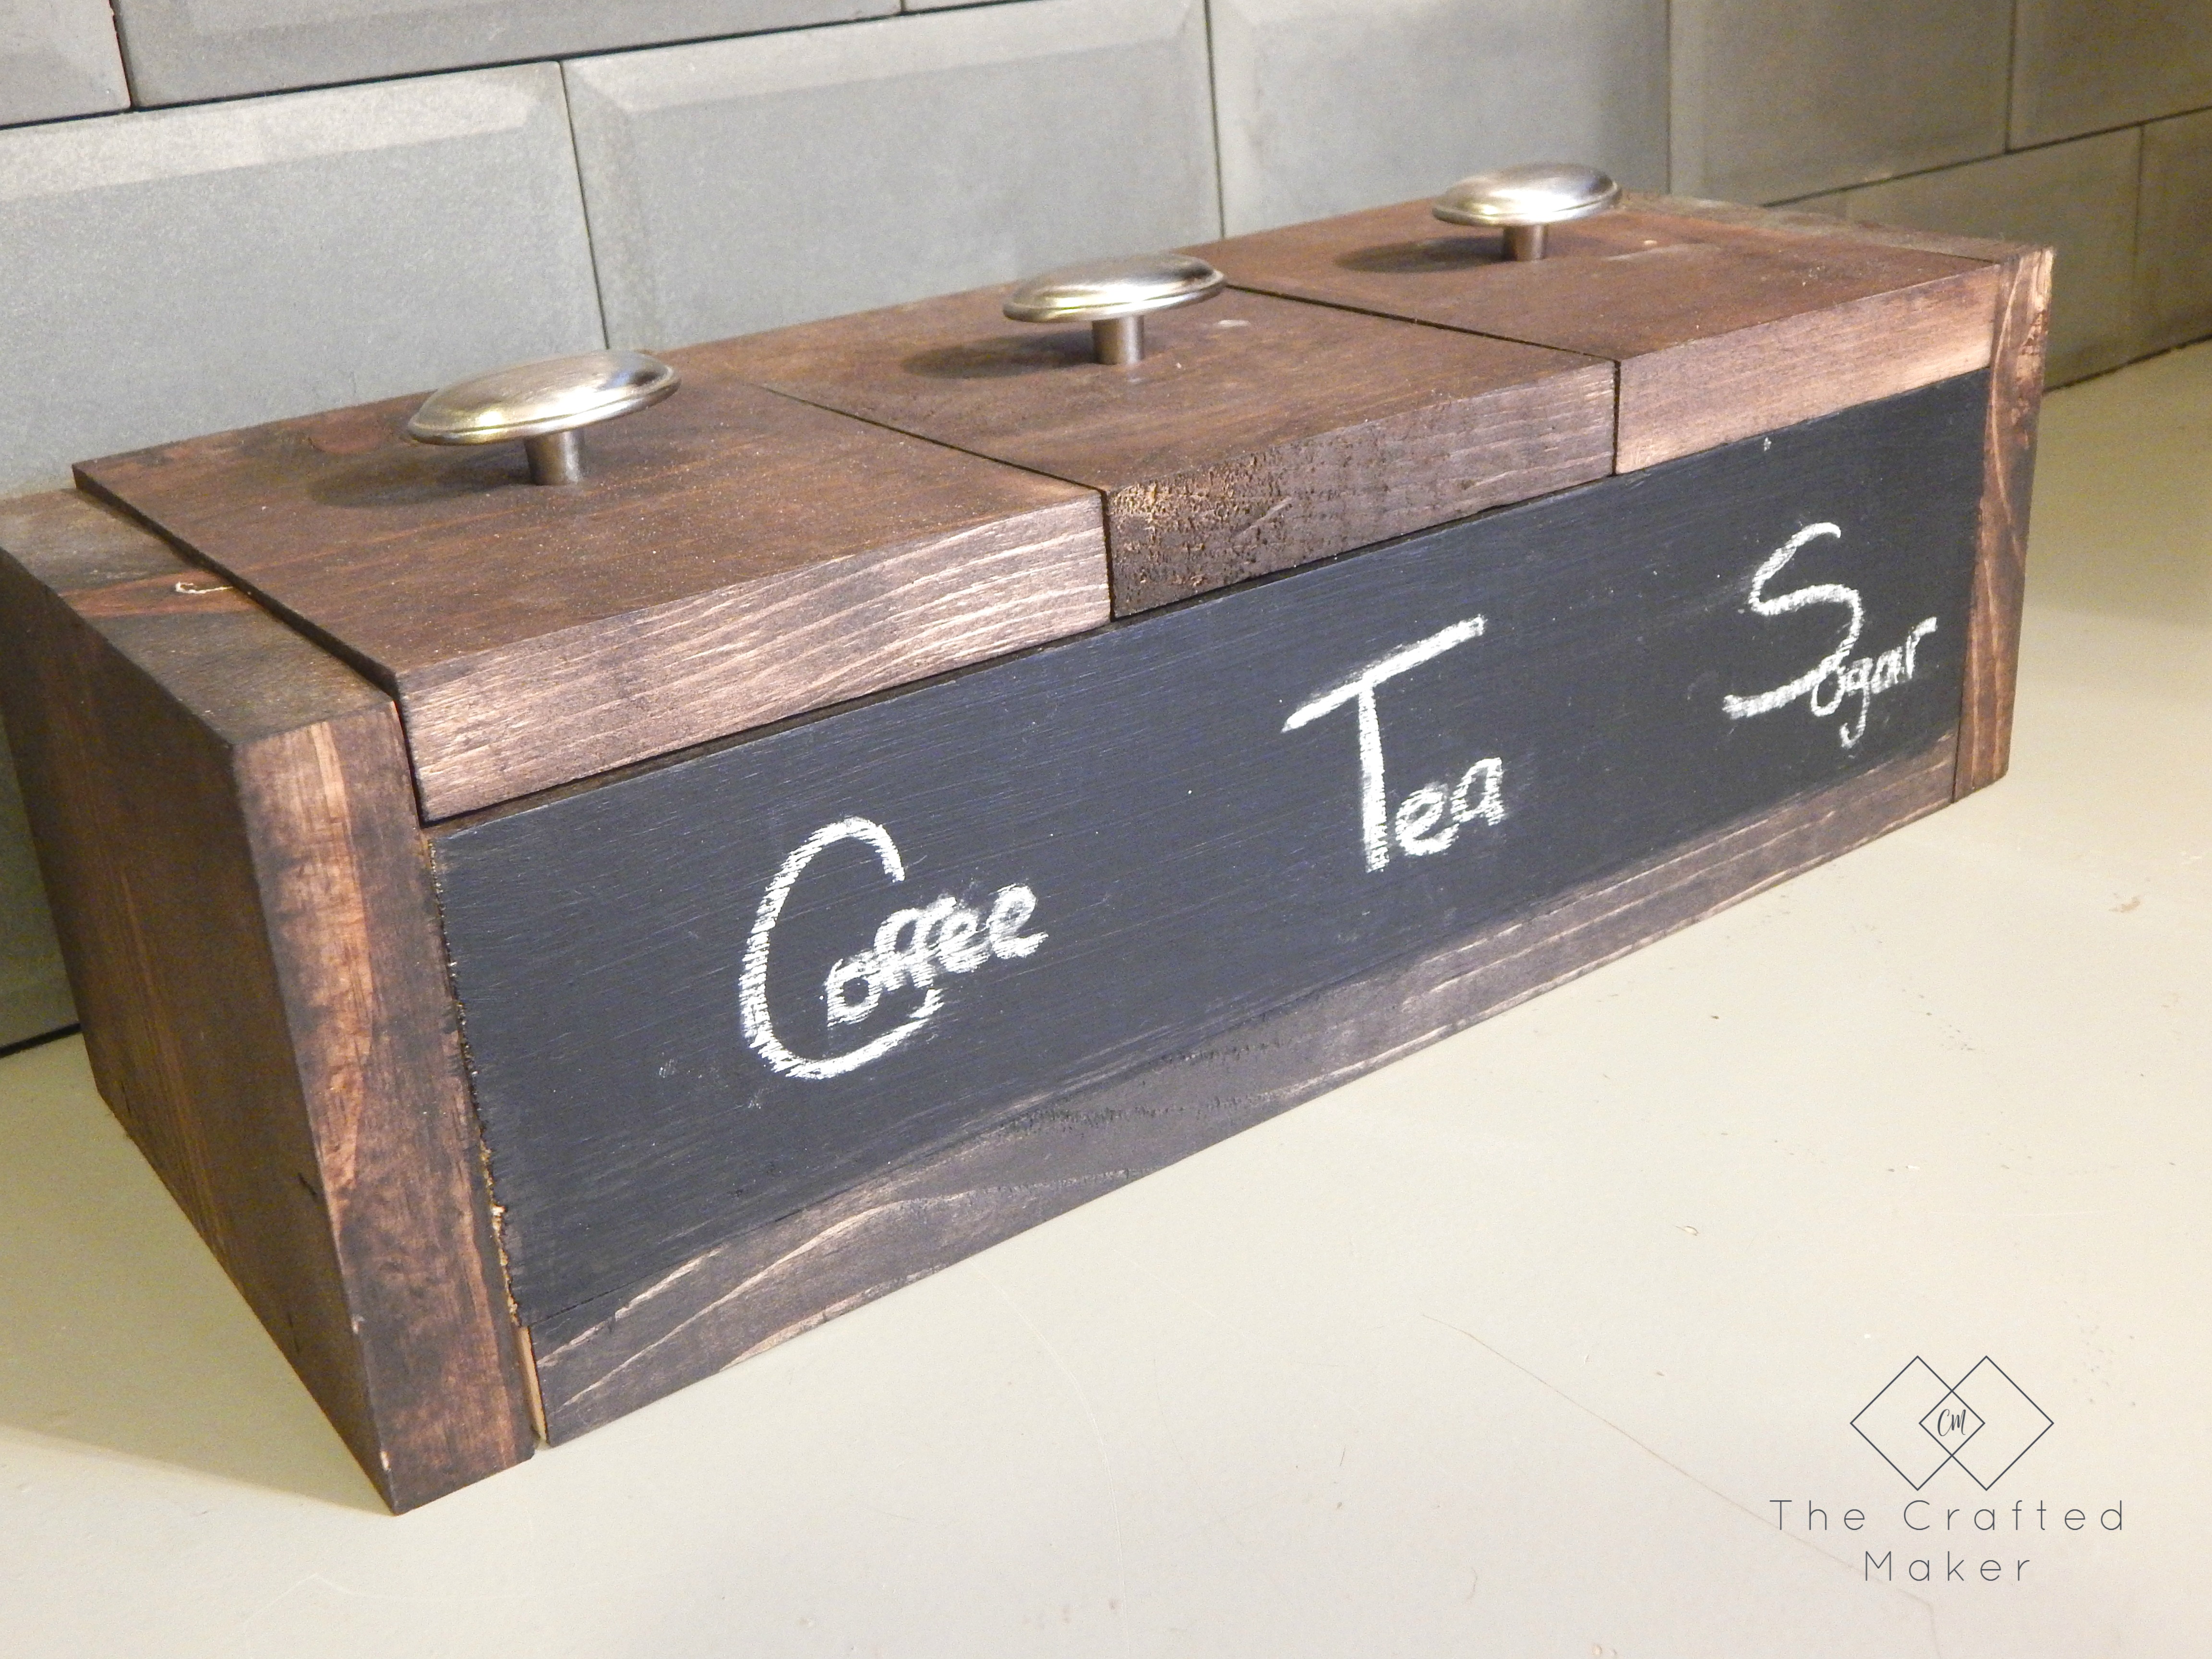
Once the stain and paint were dry, I added the cabinet hardware to the top lids and wrote on my freshly painted chalkboard. Coffee and teas are some of my favorite fall drinks, but there are many other options. Just think of how happy it will make you on a chilly morning to stumble into the kitchen and see the words apple cider written on your kitchen beverage box!! Here are some after pics of this project.

I hope you enjoyed this project and it filled you with happy thoughts of the warm fall beverages to come. I love this time of year and I can’t wait to share more fall projects with you! Until next time,

Pinning is always appreciated!!