• Home
  • About
  • PROJECTS
    • BUILD
      • FURNITURE
      • SCRAPPY SATURDAY
    • HOW TO
    • ORGANIZATION
    • HOME DECOR
    • TIPS AND TRICKS TUESDAY
    • HOME IMPROVEMENT
      • RENOVATION
    • SEASONAL
  • Resources
    • FAQ
  • Shop
    • Plans
  • Work With Us
  • DIY 101:Make Your House a Home One Project at a Time

The Crafted Maker

Crafting a Maker one project at a time

BUILD, HOME DECOR, SCRAPPY SATURDAY · December 1, 2018

Simple Wooden Tray

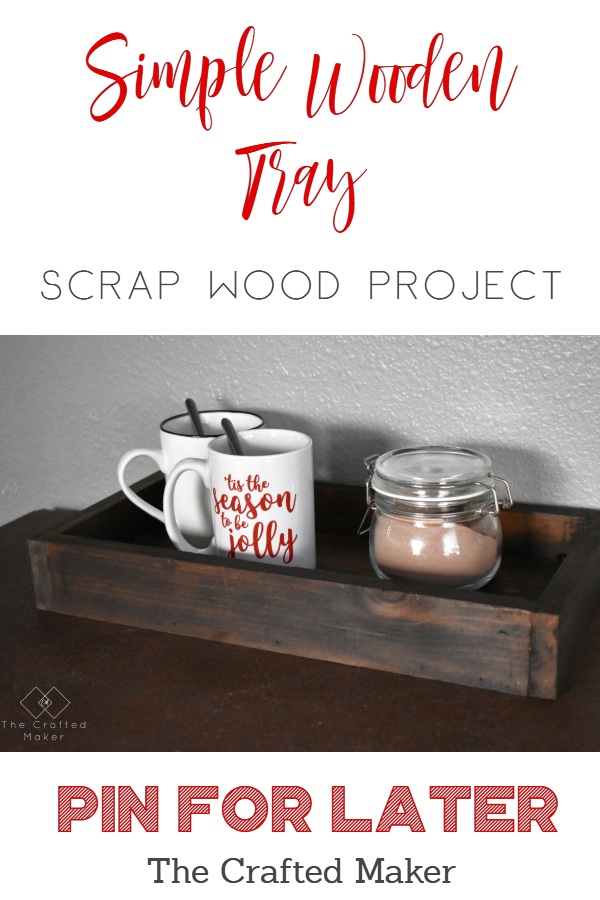
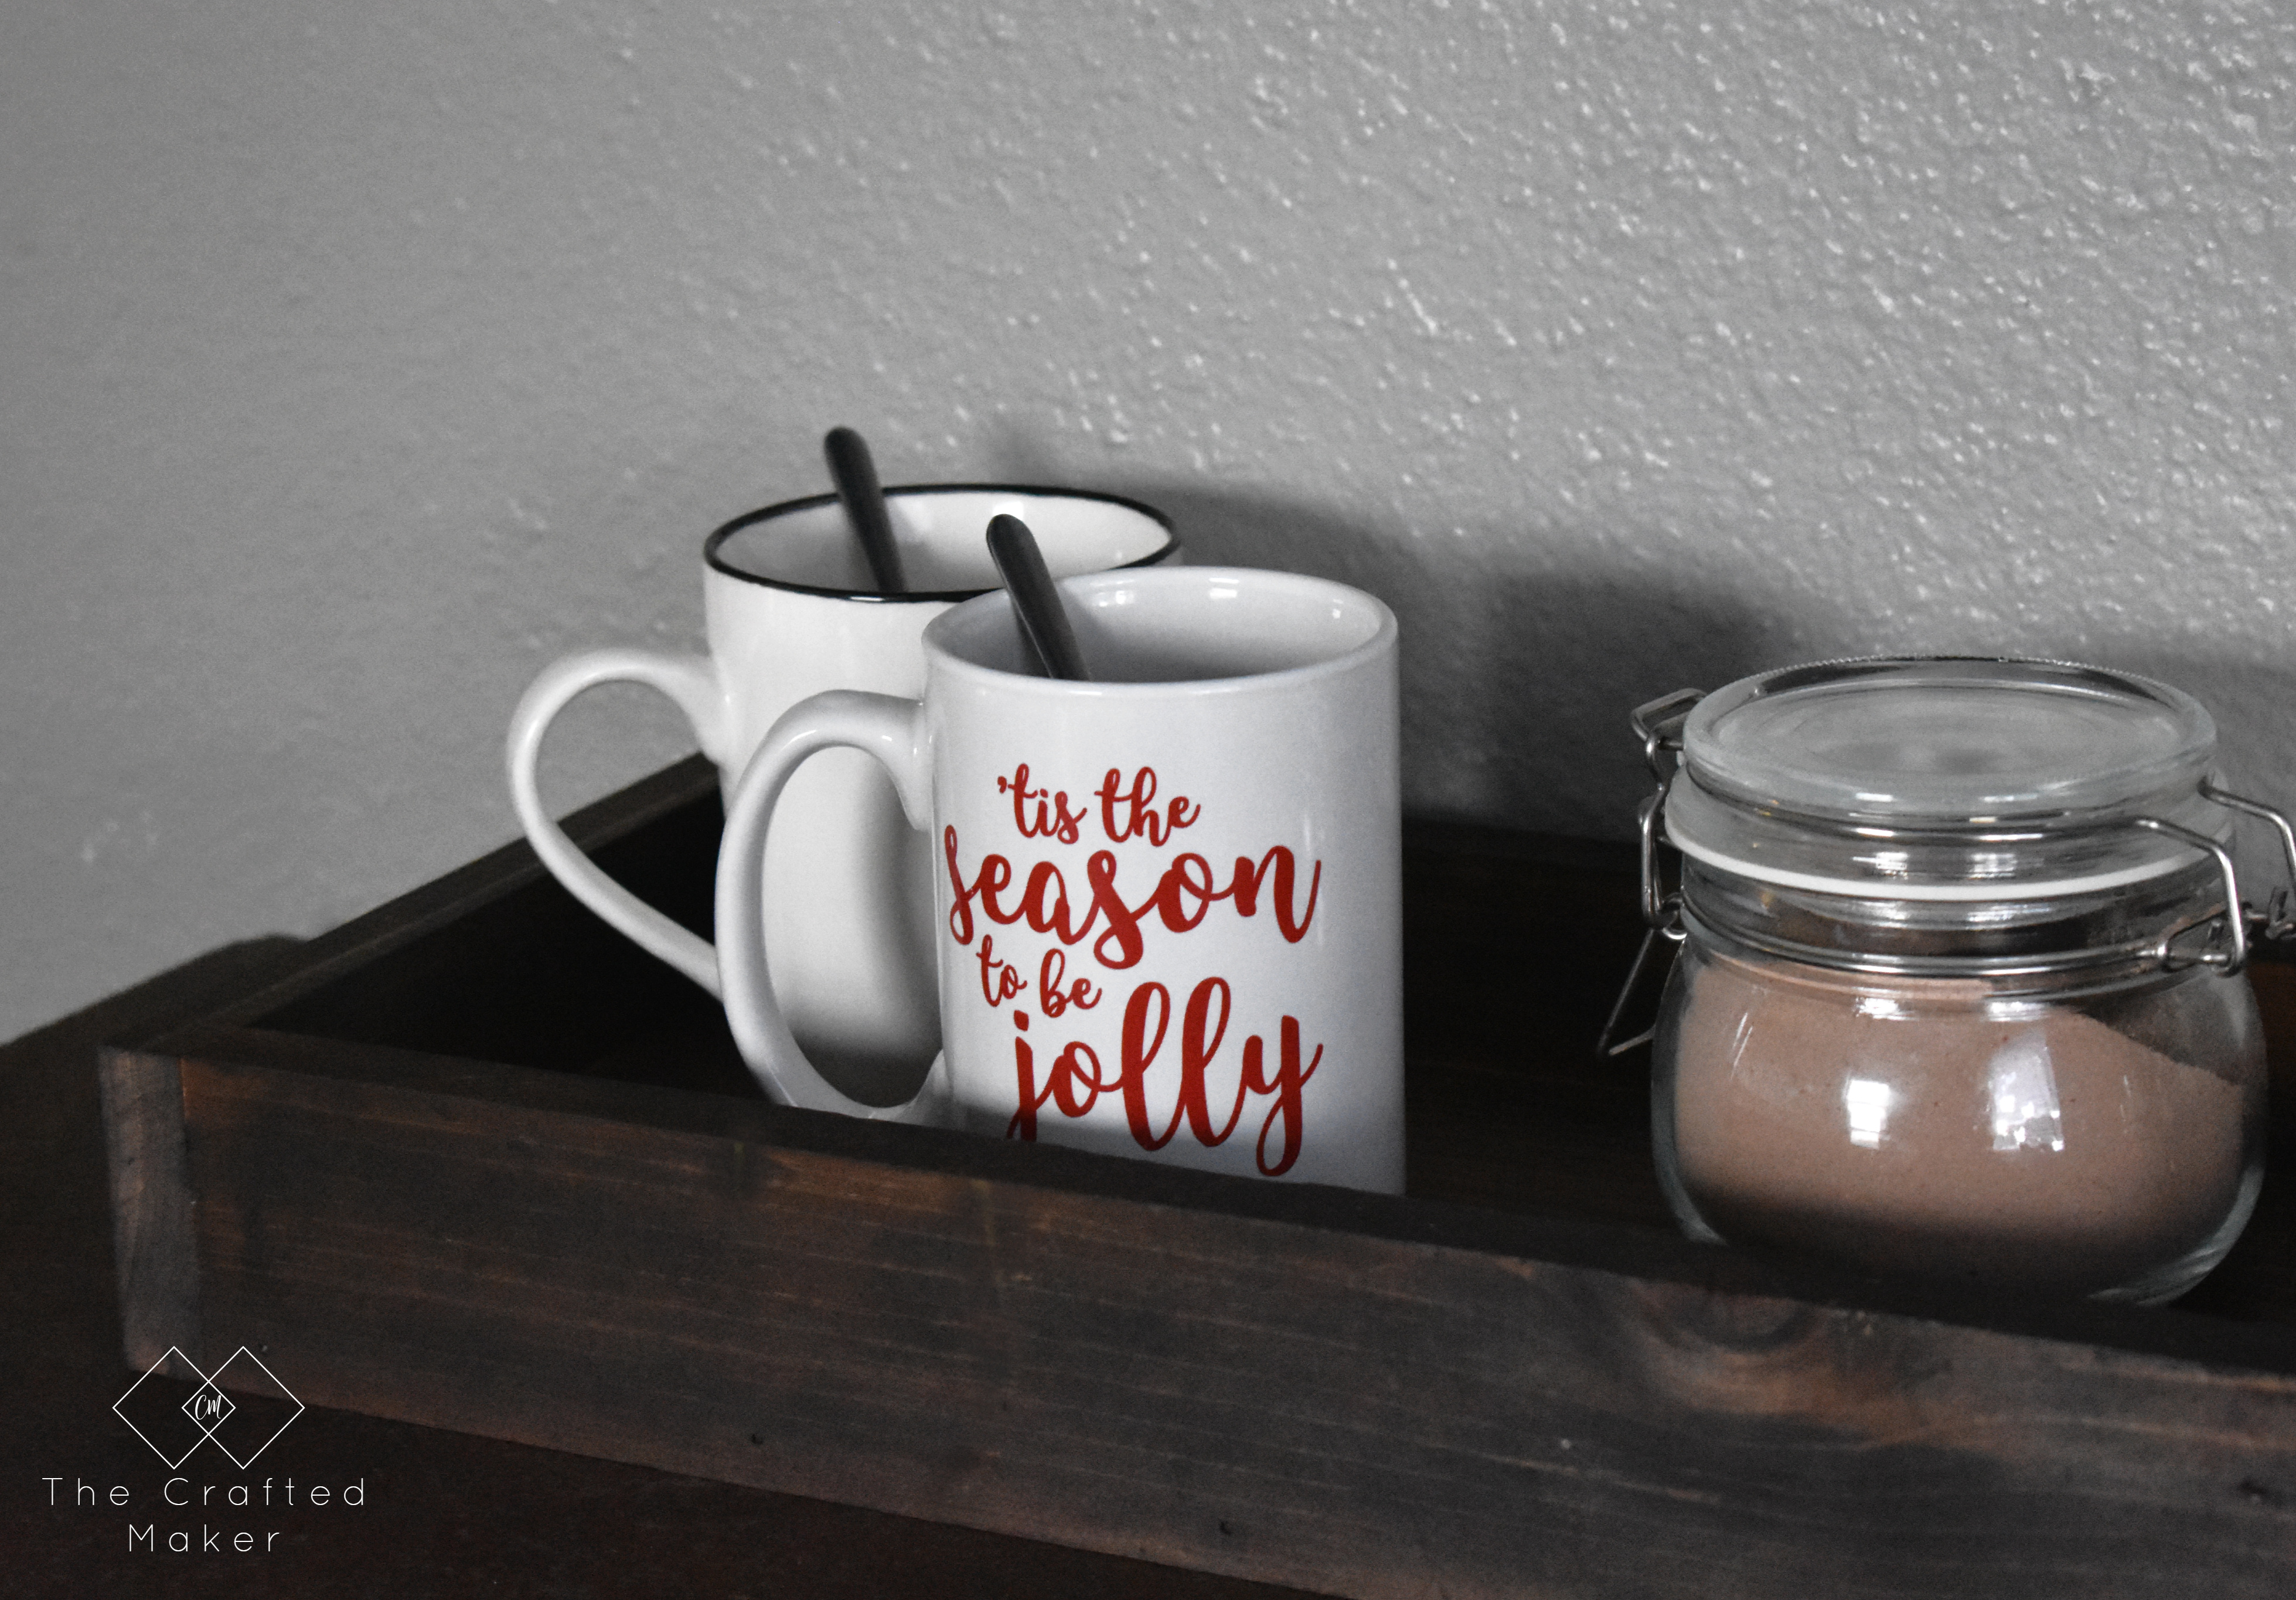
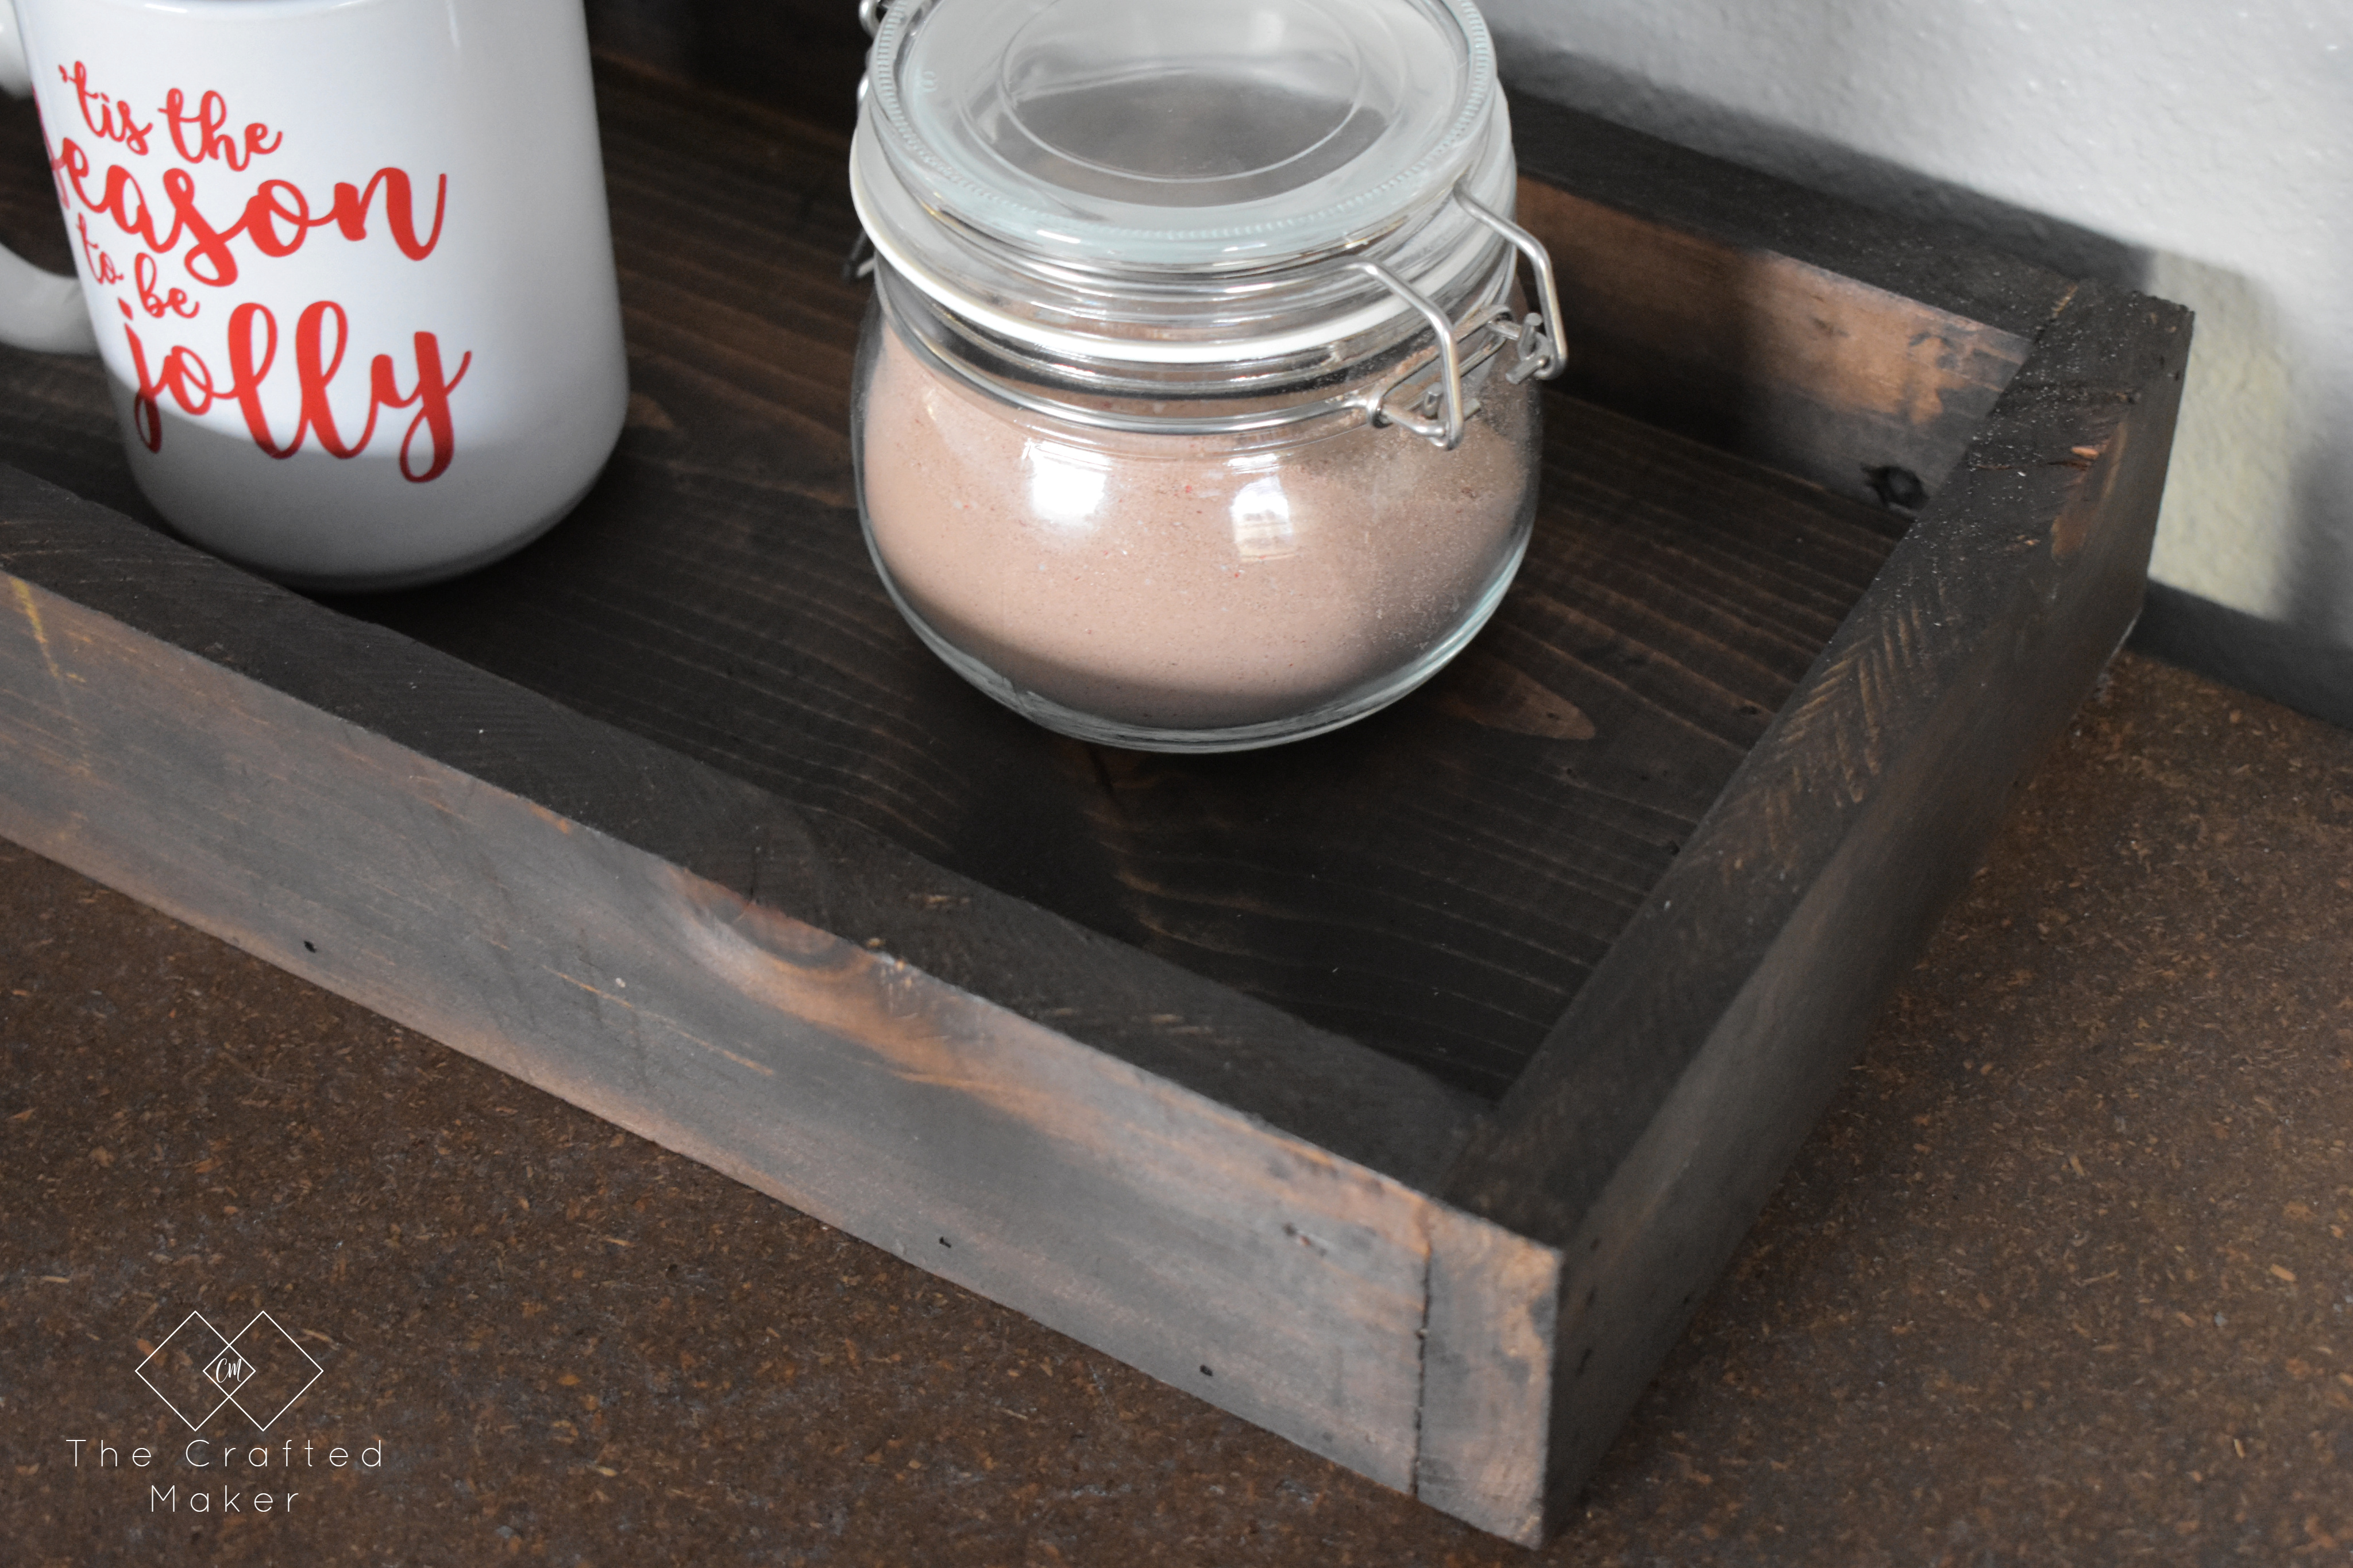
Welcome to a quick and simple version of Scrappy Saturday. Thanksgiving is just in a couple of weeks!! It’s really hard to believe, I know. With that in mind, I was going for something quick, inexpensive, and actually handy with holiday company coming over. So, today I’m sharing a project that has been made probably thousands of times but is always a good thing to have around. A simple wooden tray. This can be used a serving tray, a decorative tray, or something to collect belongings from family and friends.

Here is what you will need for this project:

All of the tools used can be found on the resources page.

Supplies

  • Scrap wood – 1 x 4 for the edges and 1 x 12 for the bottom
  • Sandpaper
  • Paint or Stain of Choice
  • Safety Gear (eyes, ears, and mouth)
  • Paint or Stain Applicator
  • 1 1/4″ Nails
  • Clamps

Tools

  • Saw
  • Sander
  • Nailer

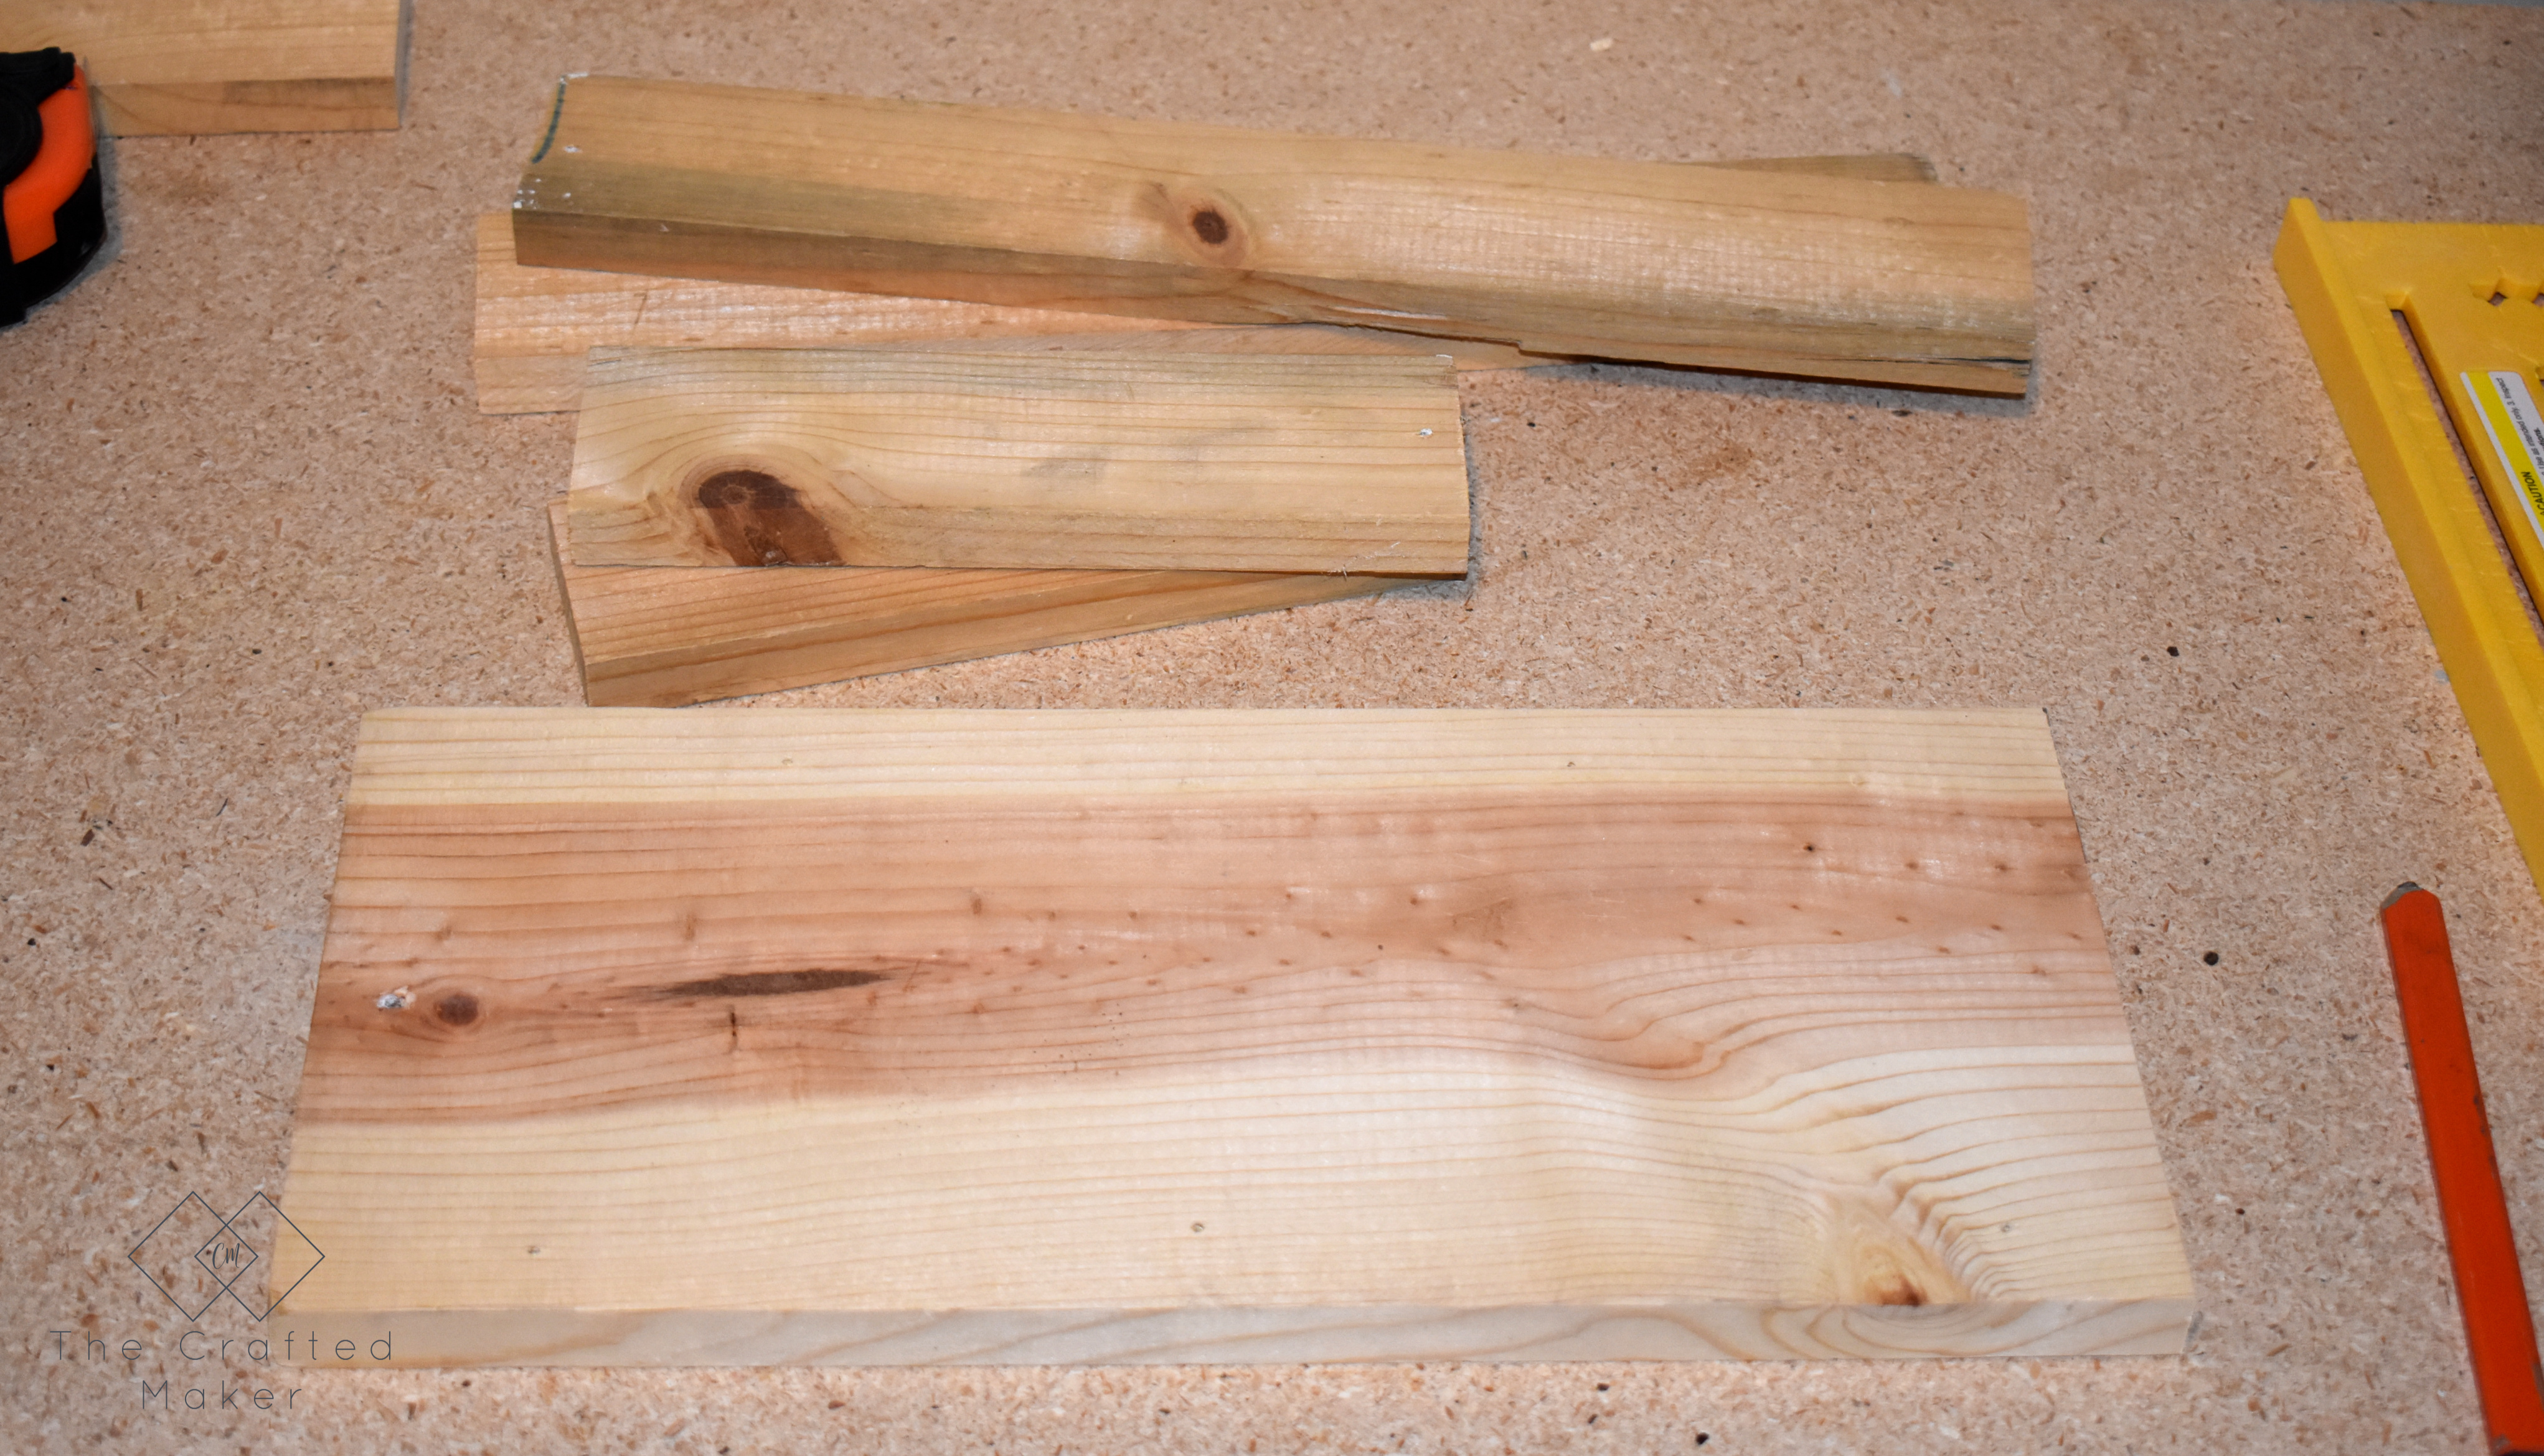
The first step is to cut the wood into the desired measurements. This project is totally customizable and can be any size you want.


A wooden tray is a staple in home decor. It not only looks good mixed in with decor but serves a purpose too! Build this simple wooden try in about an hour.

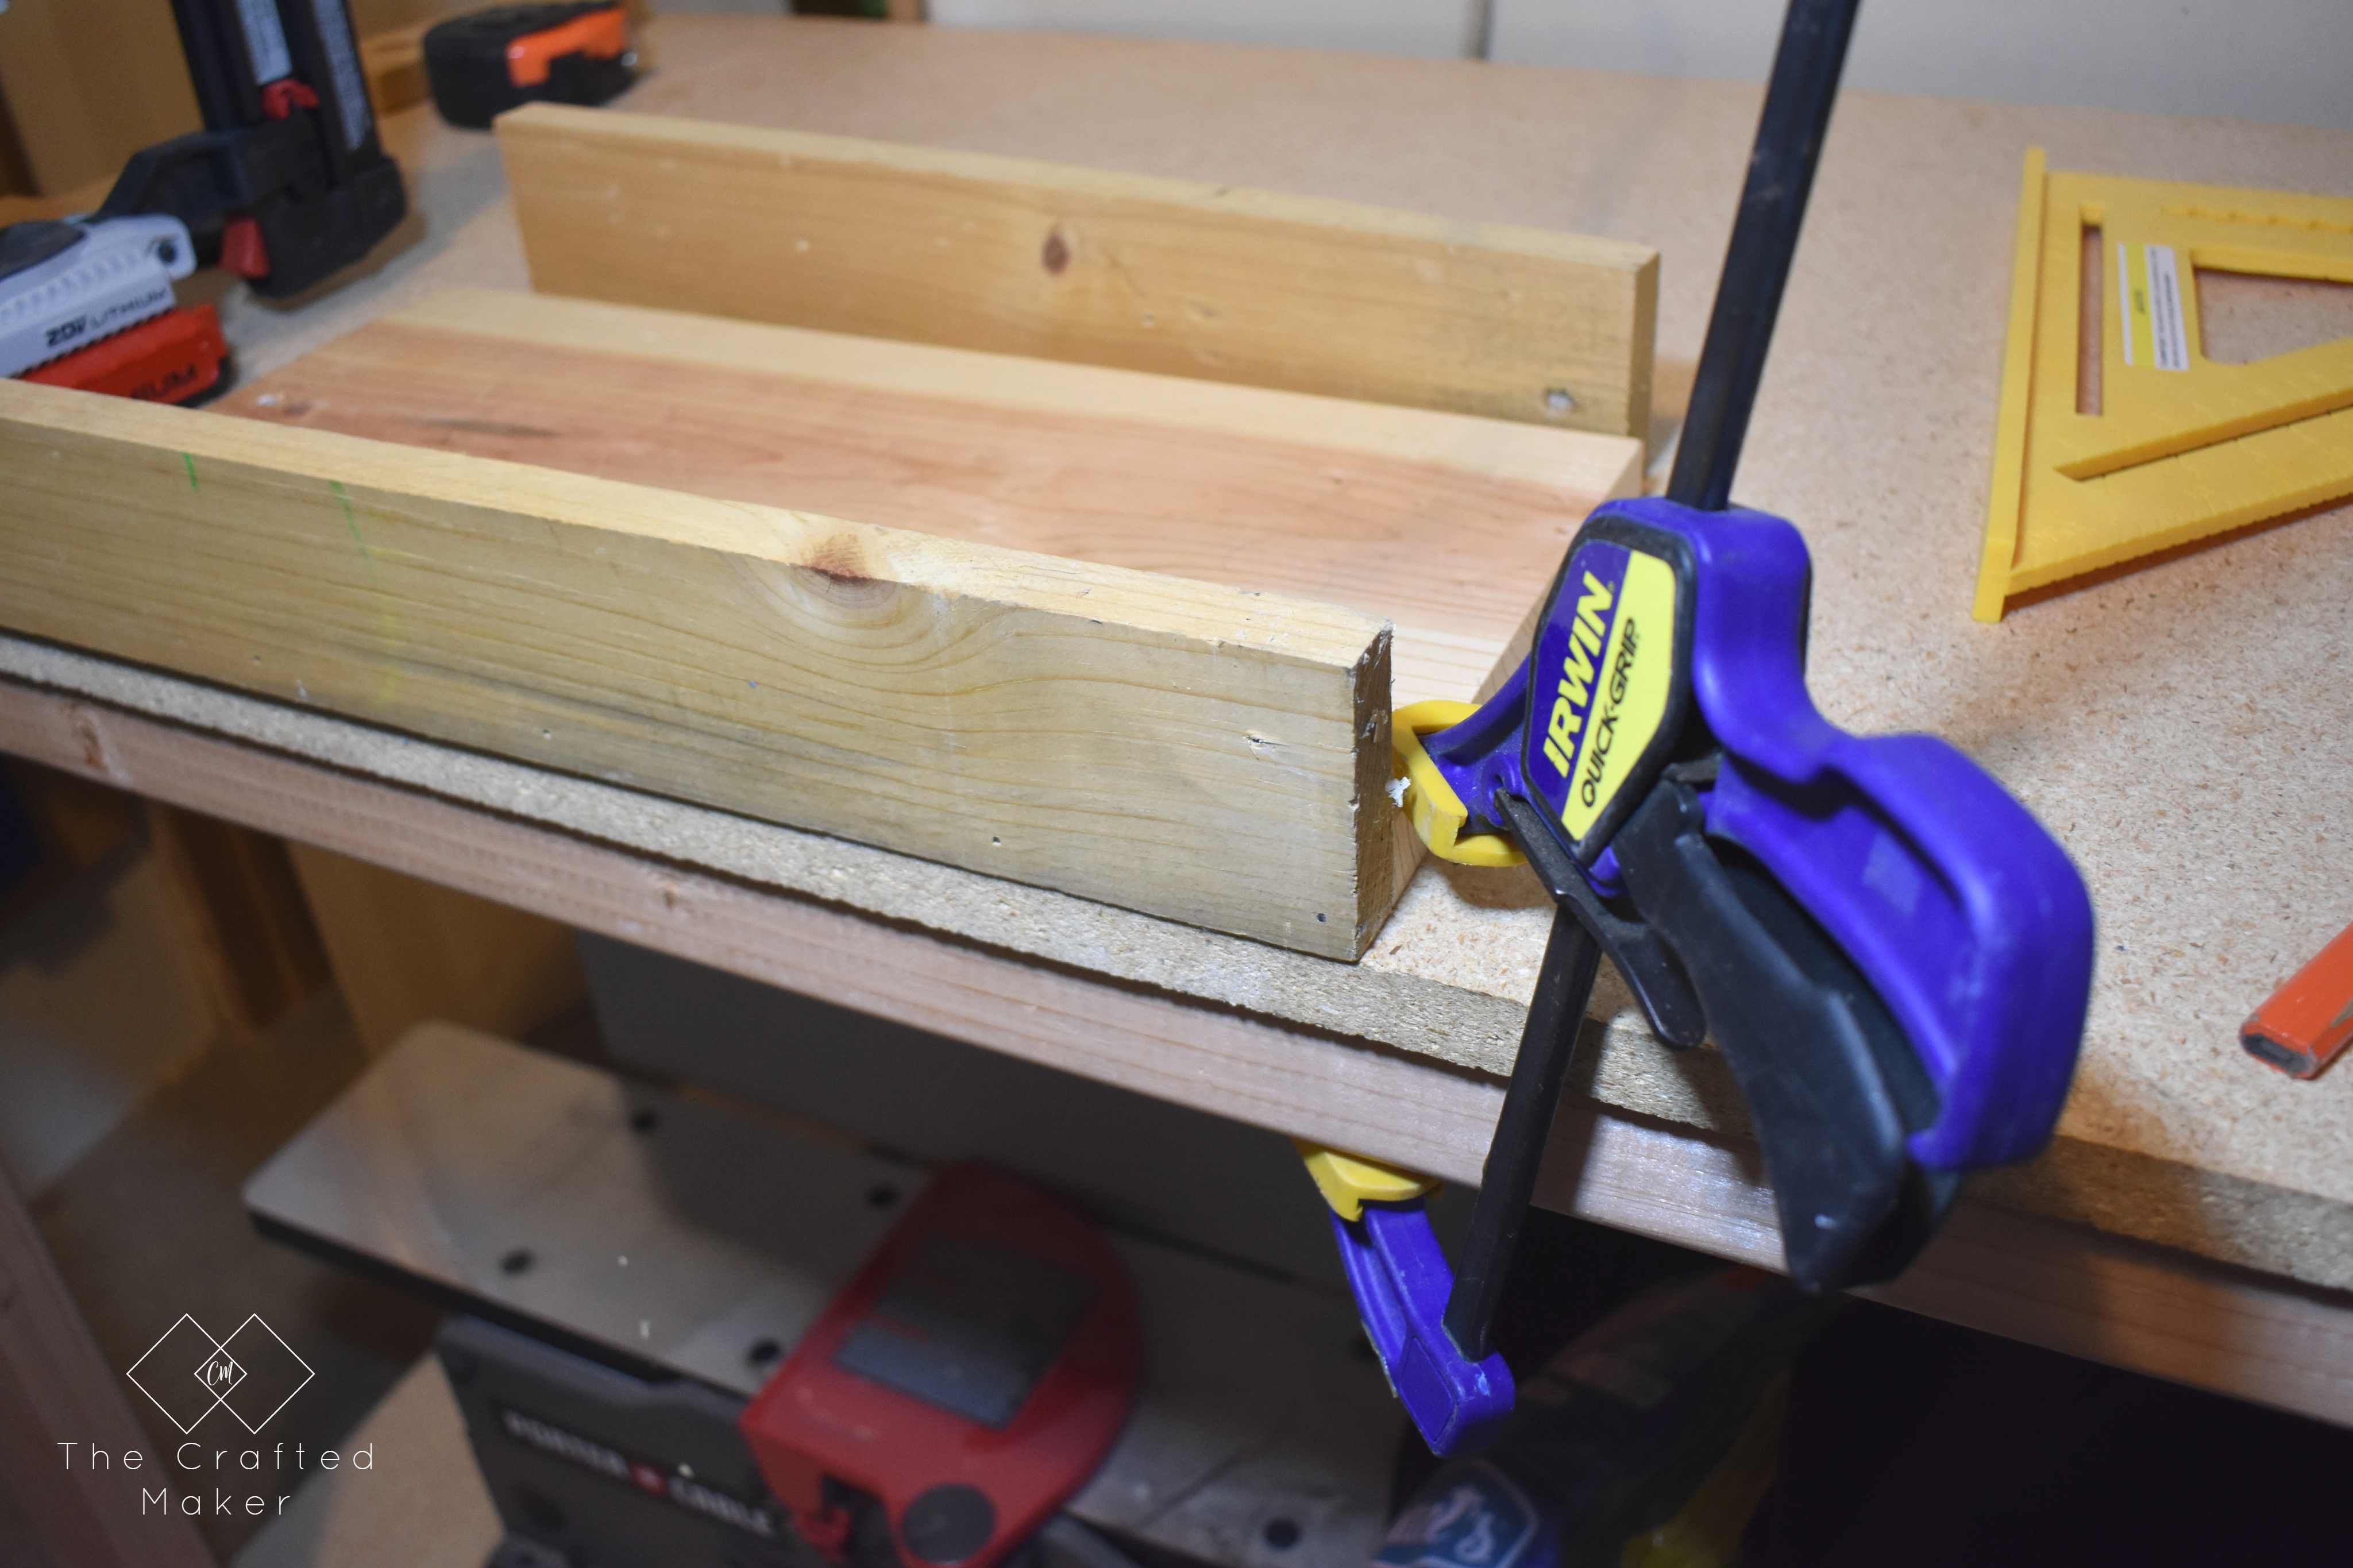
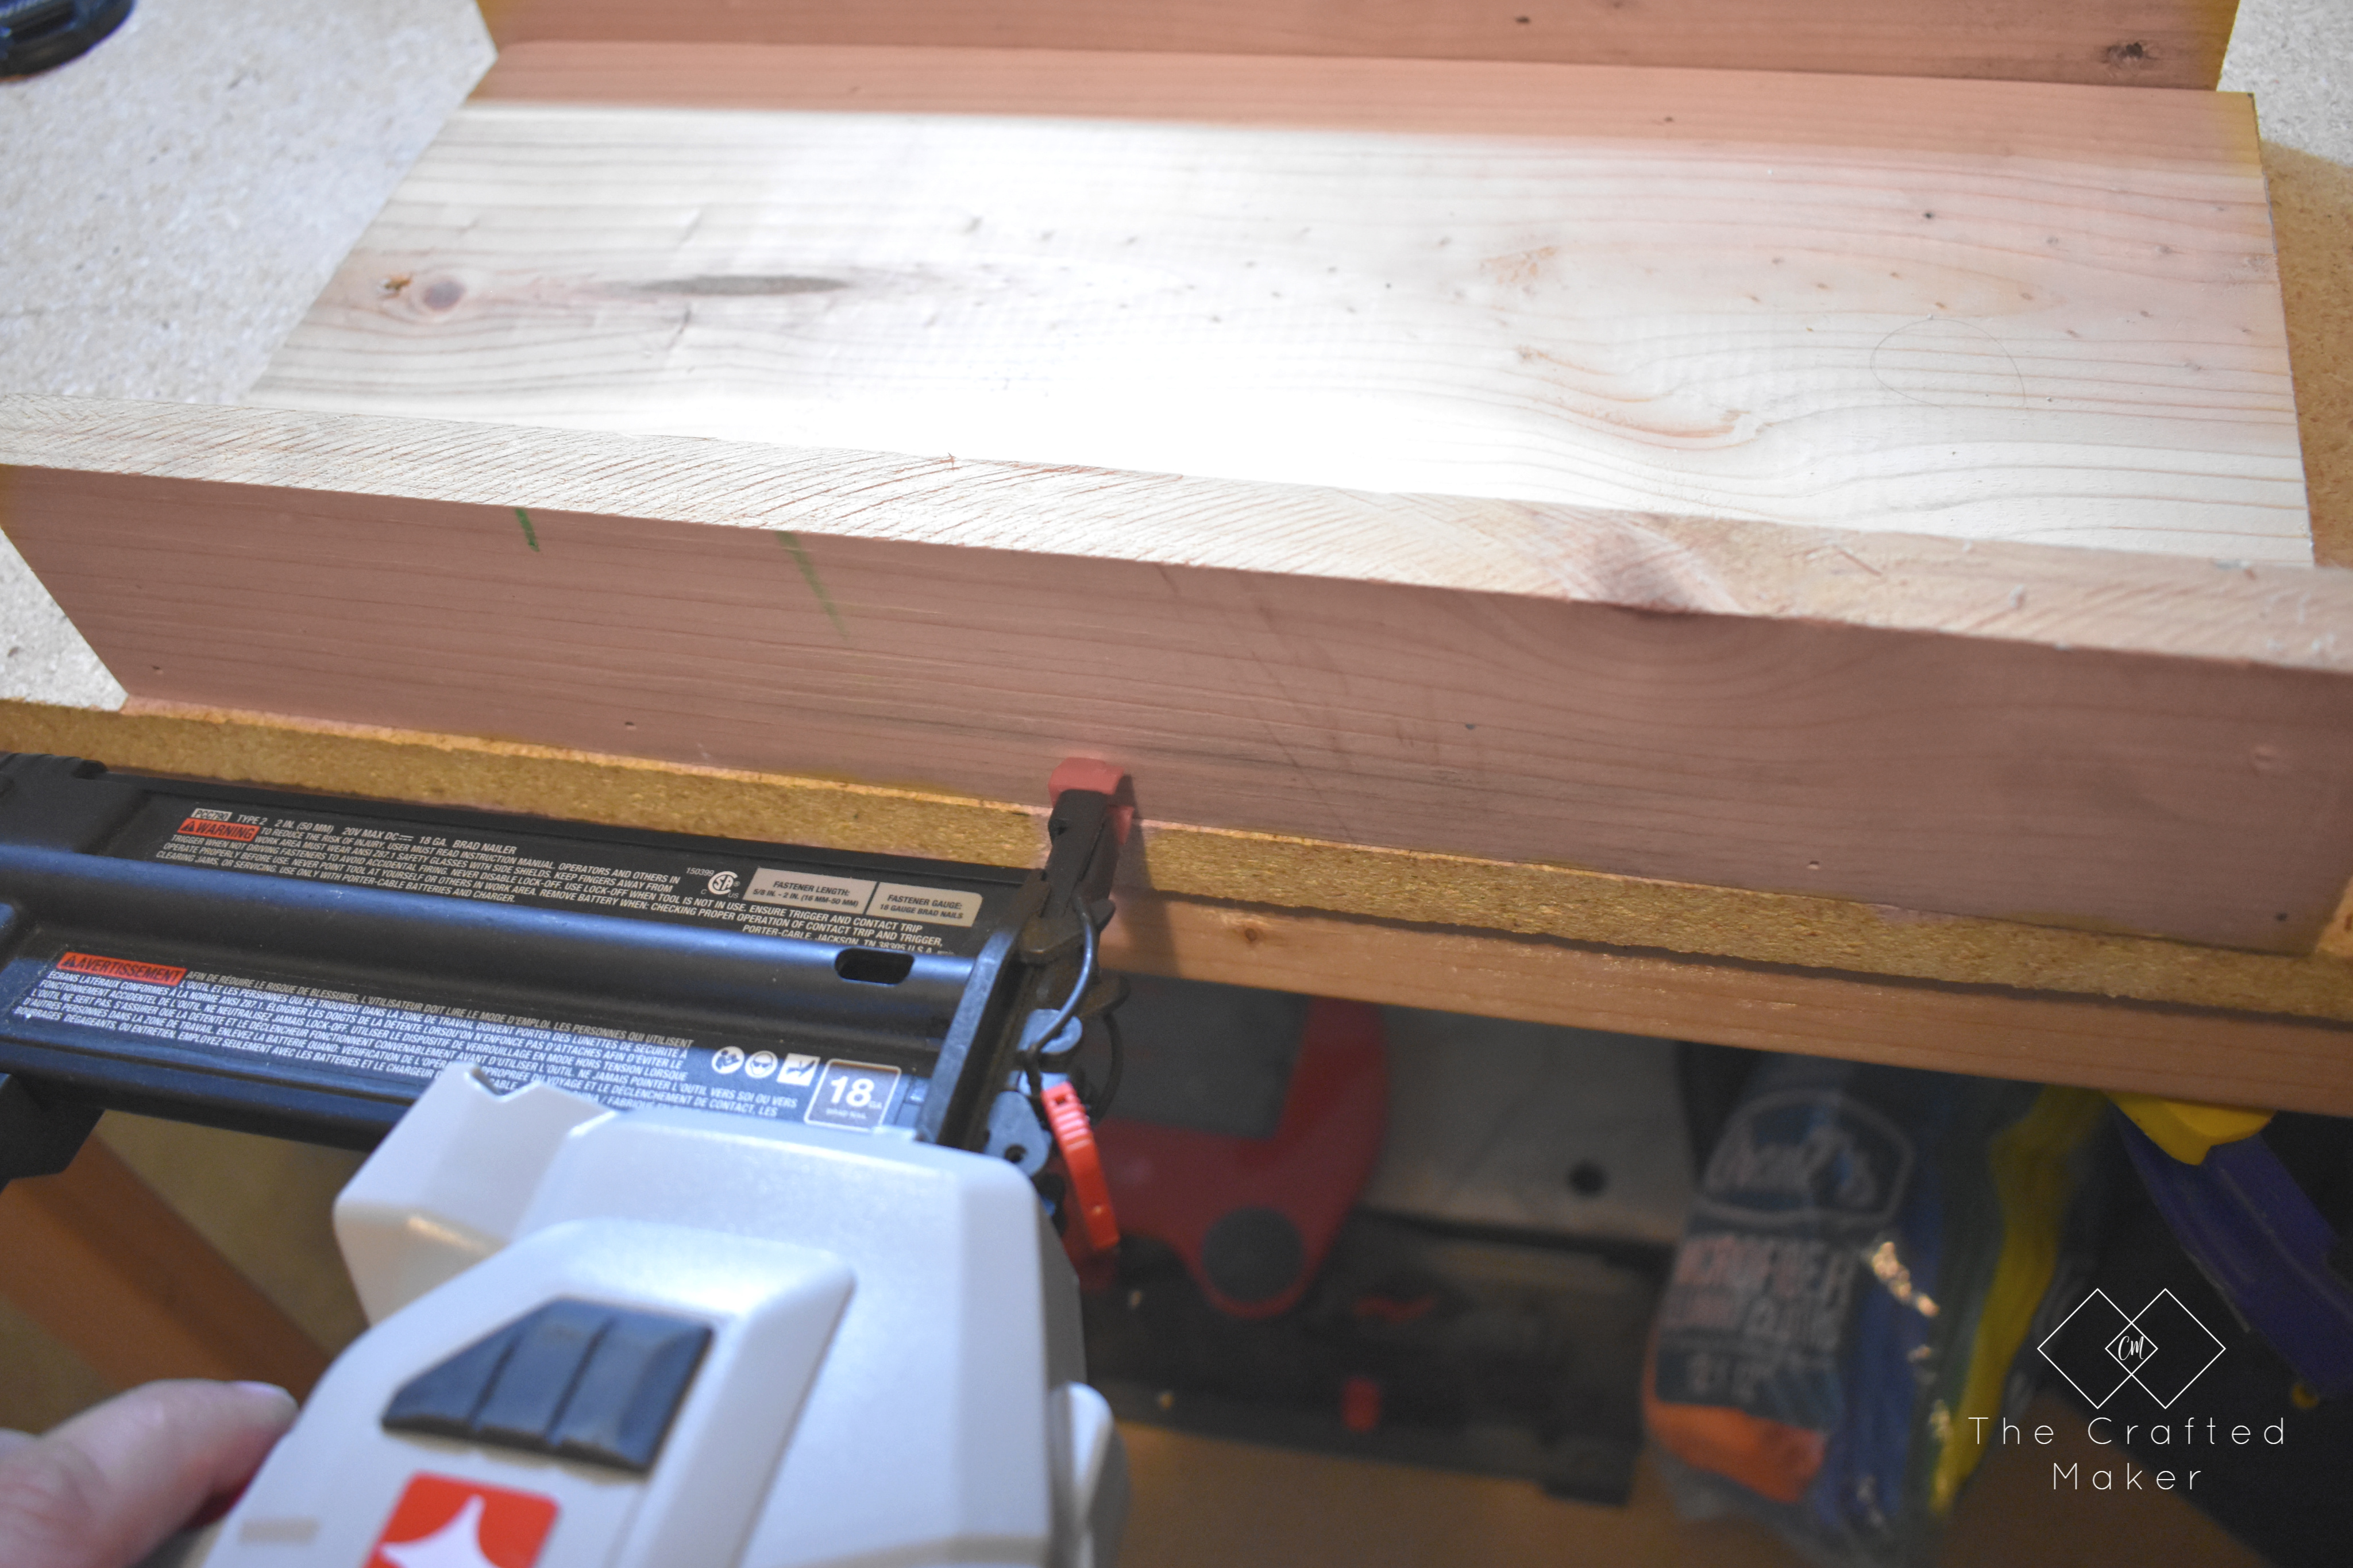
Once the boards are cut, it’s time to start the assembly process. When using a nailer, the angle is very important. You need your nail to go in straight so it doesn’t poke out the side. To make this process easier, I like to clamp down my project to a work surface so there isn’t that much movement when I’m nailing. Clamps really can be a woodworker’s best friend! ?

A wooden tray is a staple in home decor. It not only looks good mixed in with decor but serves a purpose too! Build this simple wooden try in about an hour.

I started with the longer sides and moved onto the shorter sides. Make sure to hold the project tight when nailing so you won’t have any gaps in your finished wooden tray.

A wooden tray is a staple in home decor. It not only looks good mixed in with decor but serves a purpose too! Build this simple wooden try in about an hour.

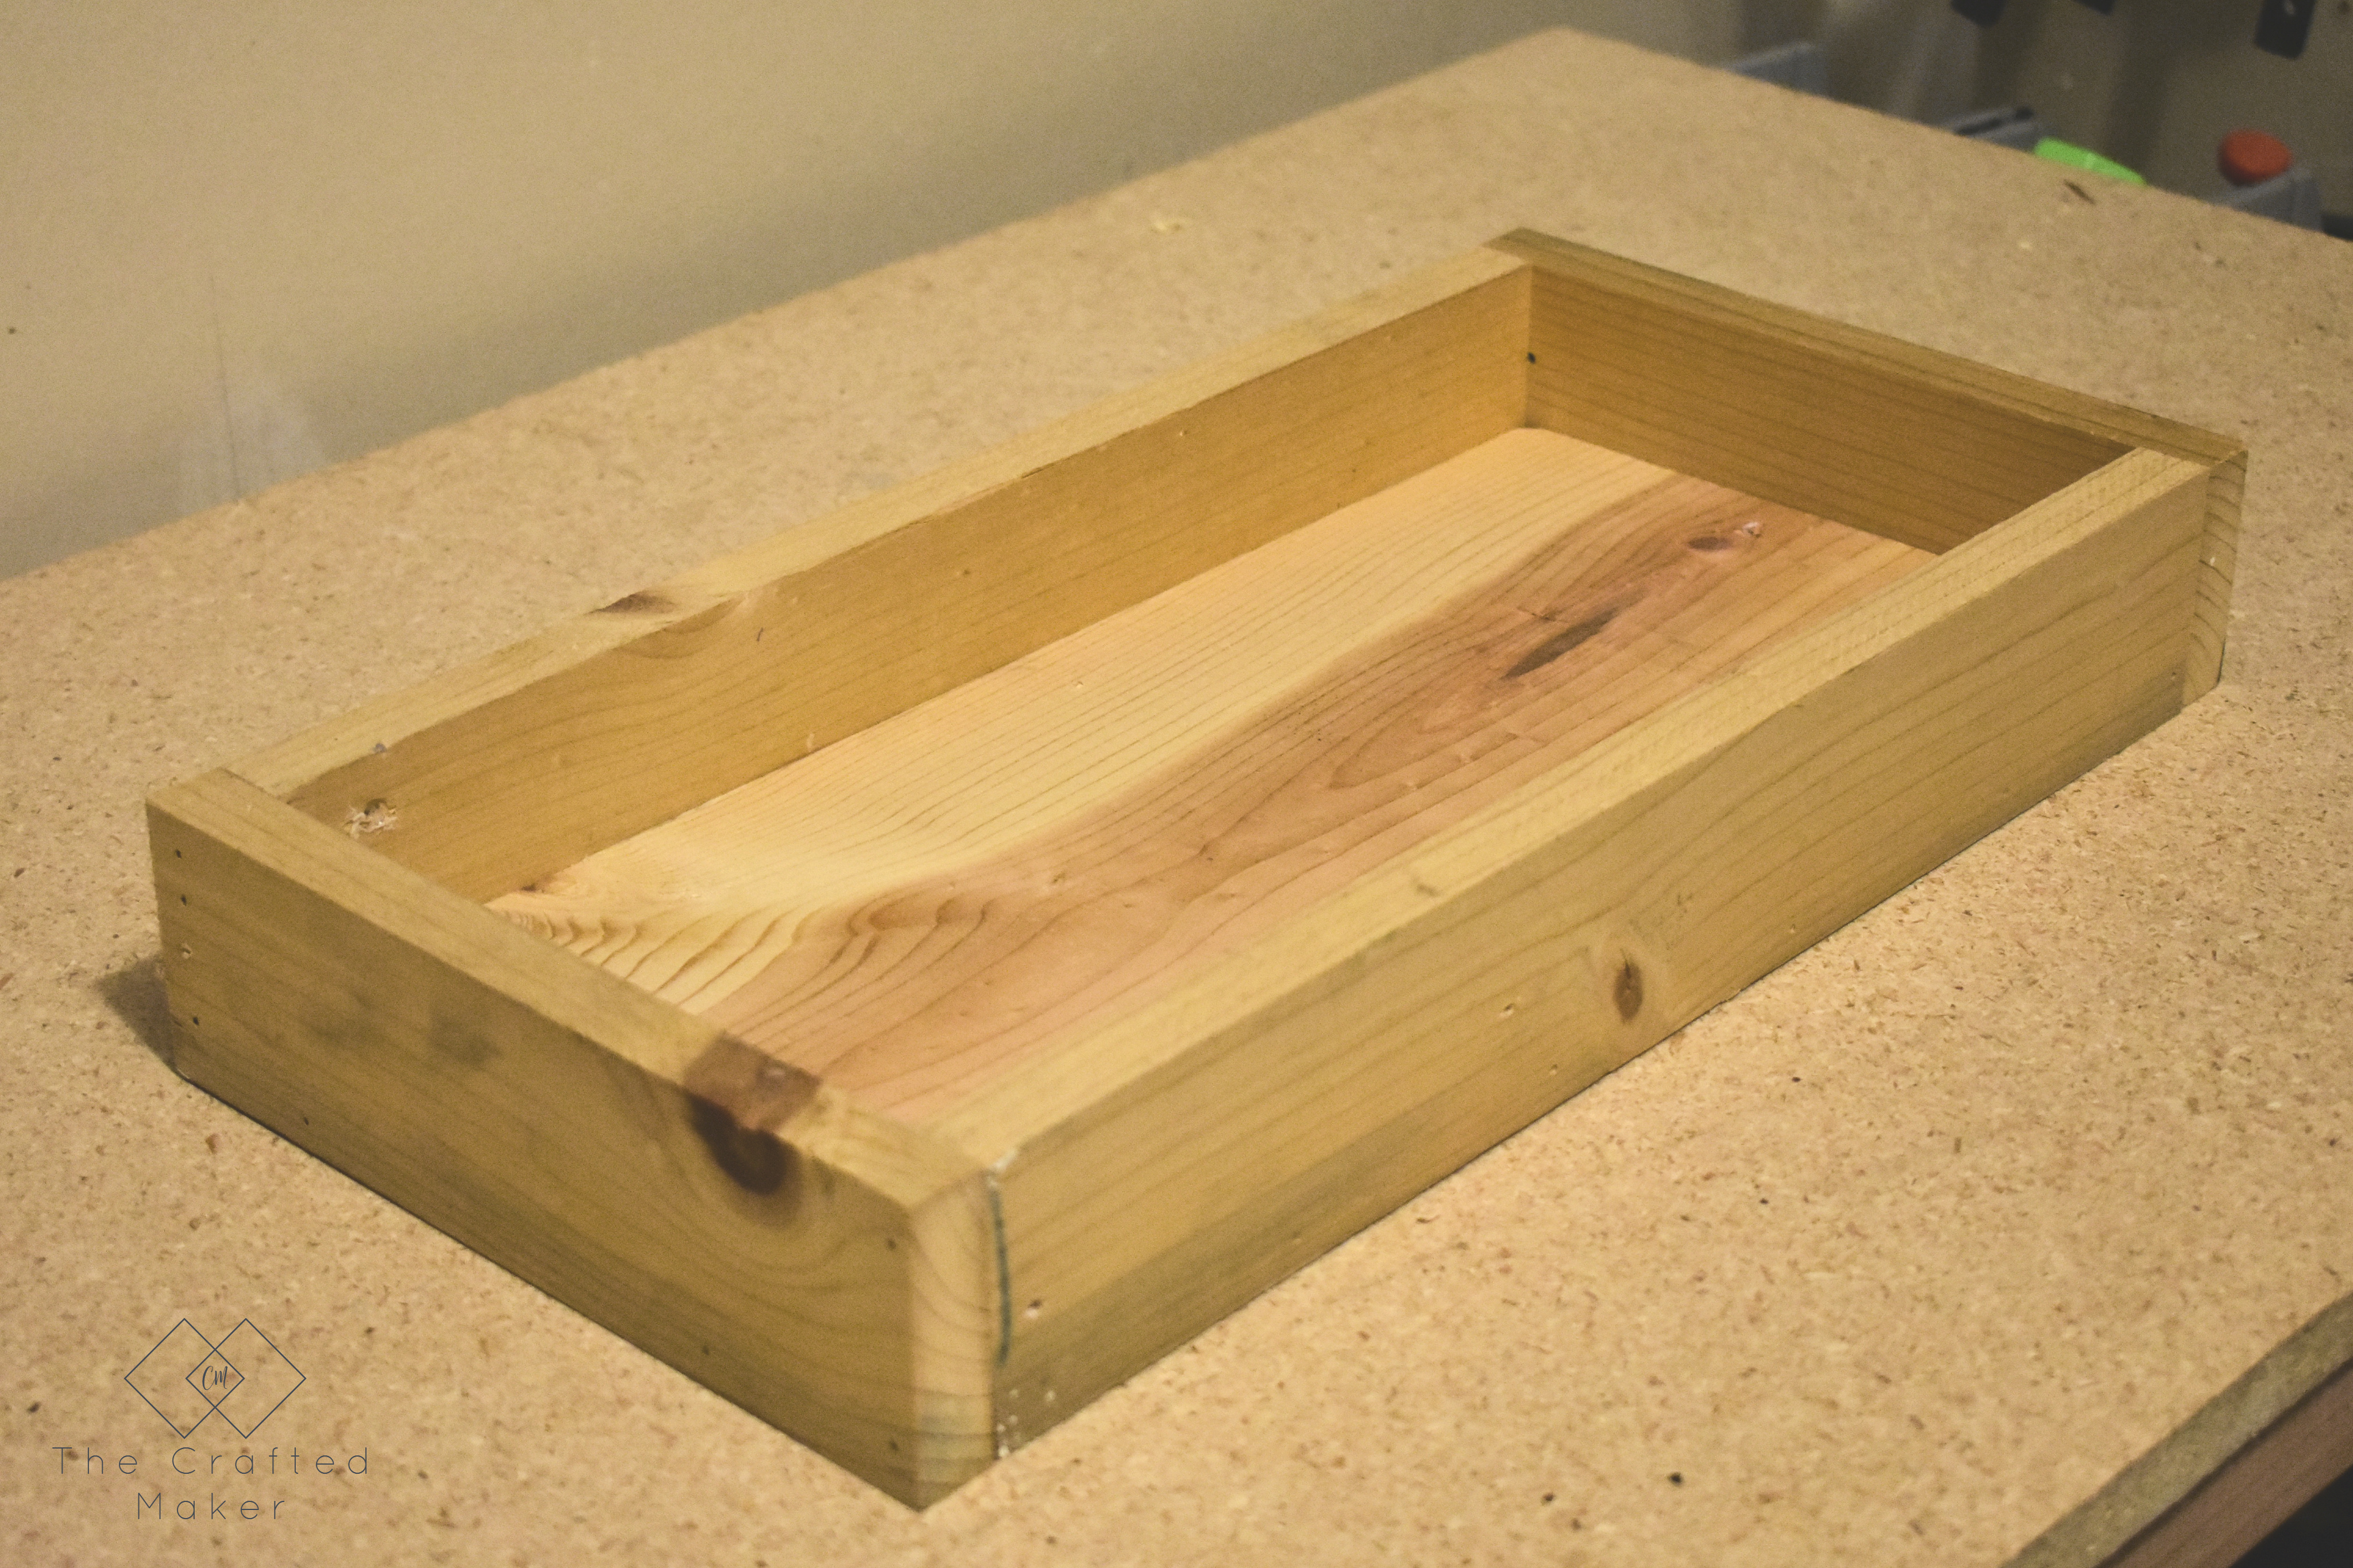
When the tray is fully assembled, it’s time to sand, first with an 80 grip paper and worked my way up to 120 grit.

A wooden tray is a staple in home decor. It not only looks good mixed in with decor but serves a purpose too! Build this simple wooden try in about an hour.

I chose to stain my wooden tray with Kona, applying the stain with a rag and immediately wiping off the excess.

A wooden tray is a staple in home decor. It not only looks good mixed in with decor but serves a purpose too! Build this simple wooden try in about an hour.

A wooden tray is a staple in home decor. It not only looks good mixed in with decor but serves a purpose too! Build this simple wooden try in about an hour.

A wooden tray is a staple in home decor. It not only looks good mixed in with decor but serves a purpose too! Build this simple wooden try in about an hour.

A wooden tray is a staple in home decor. It not only looks good mixed in with decor but serves a purpose too! Build this simple wooden try in about an hour.

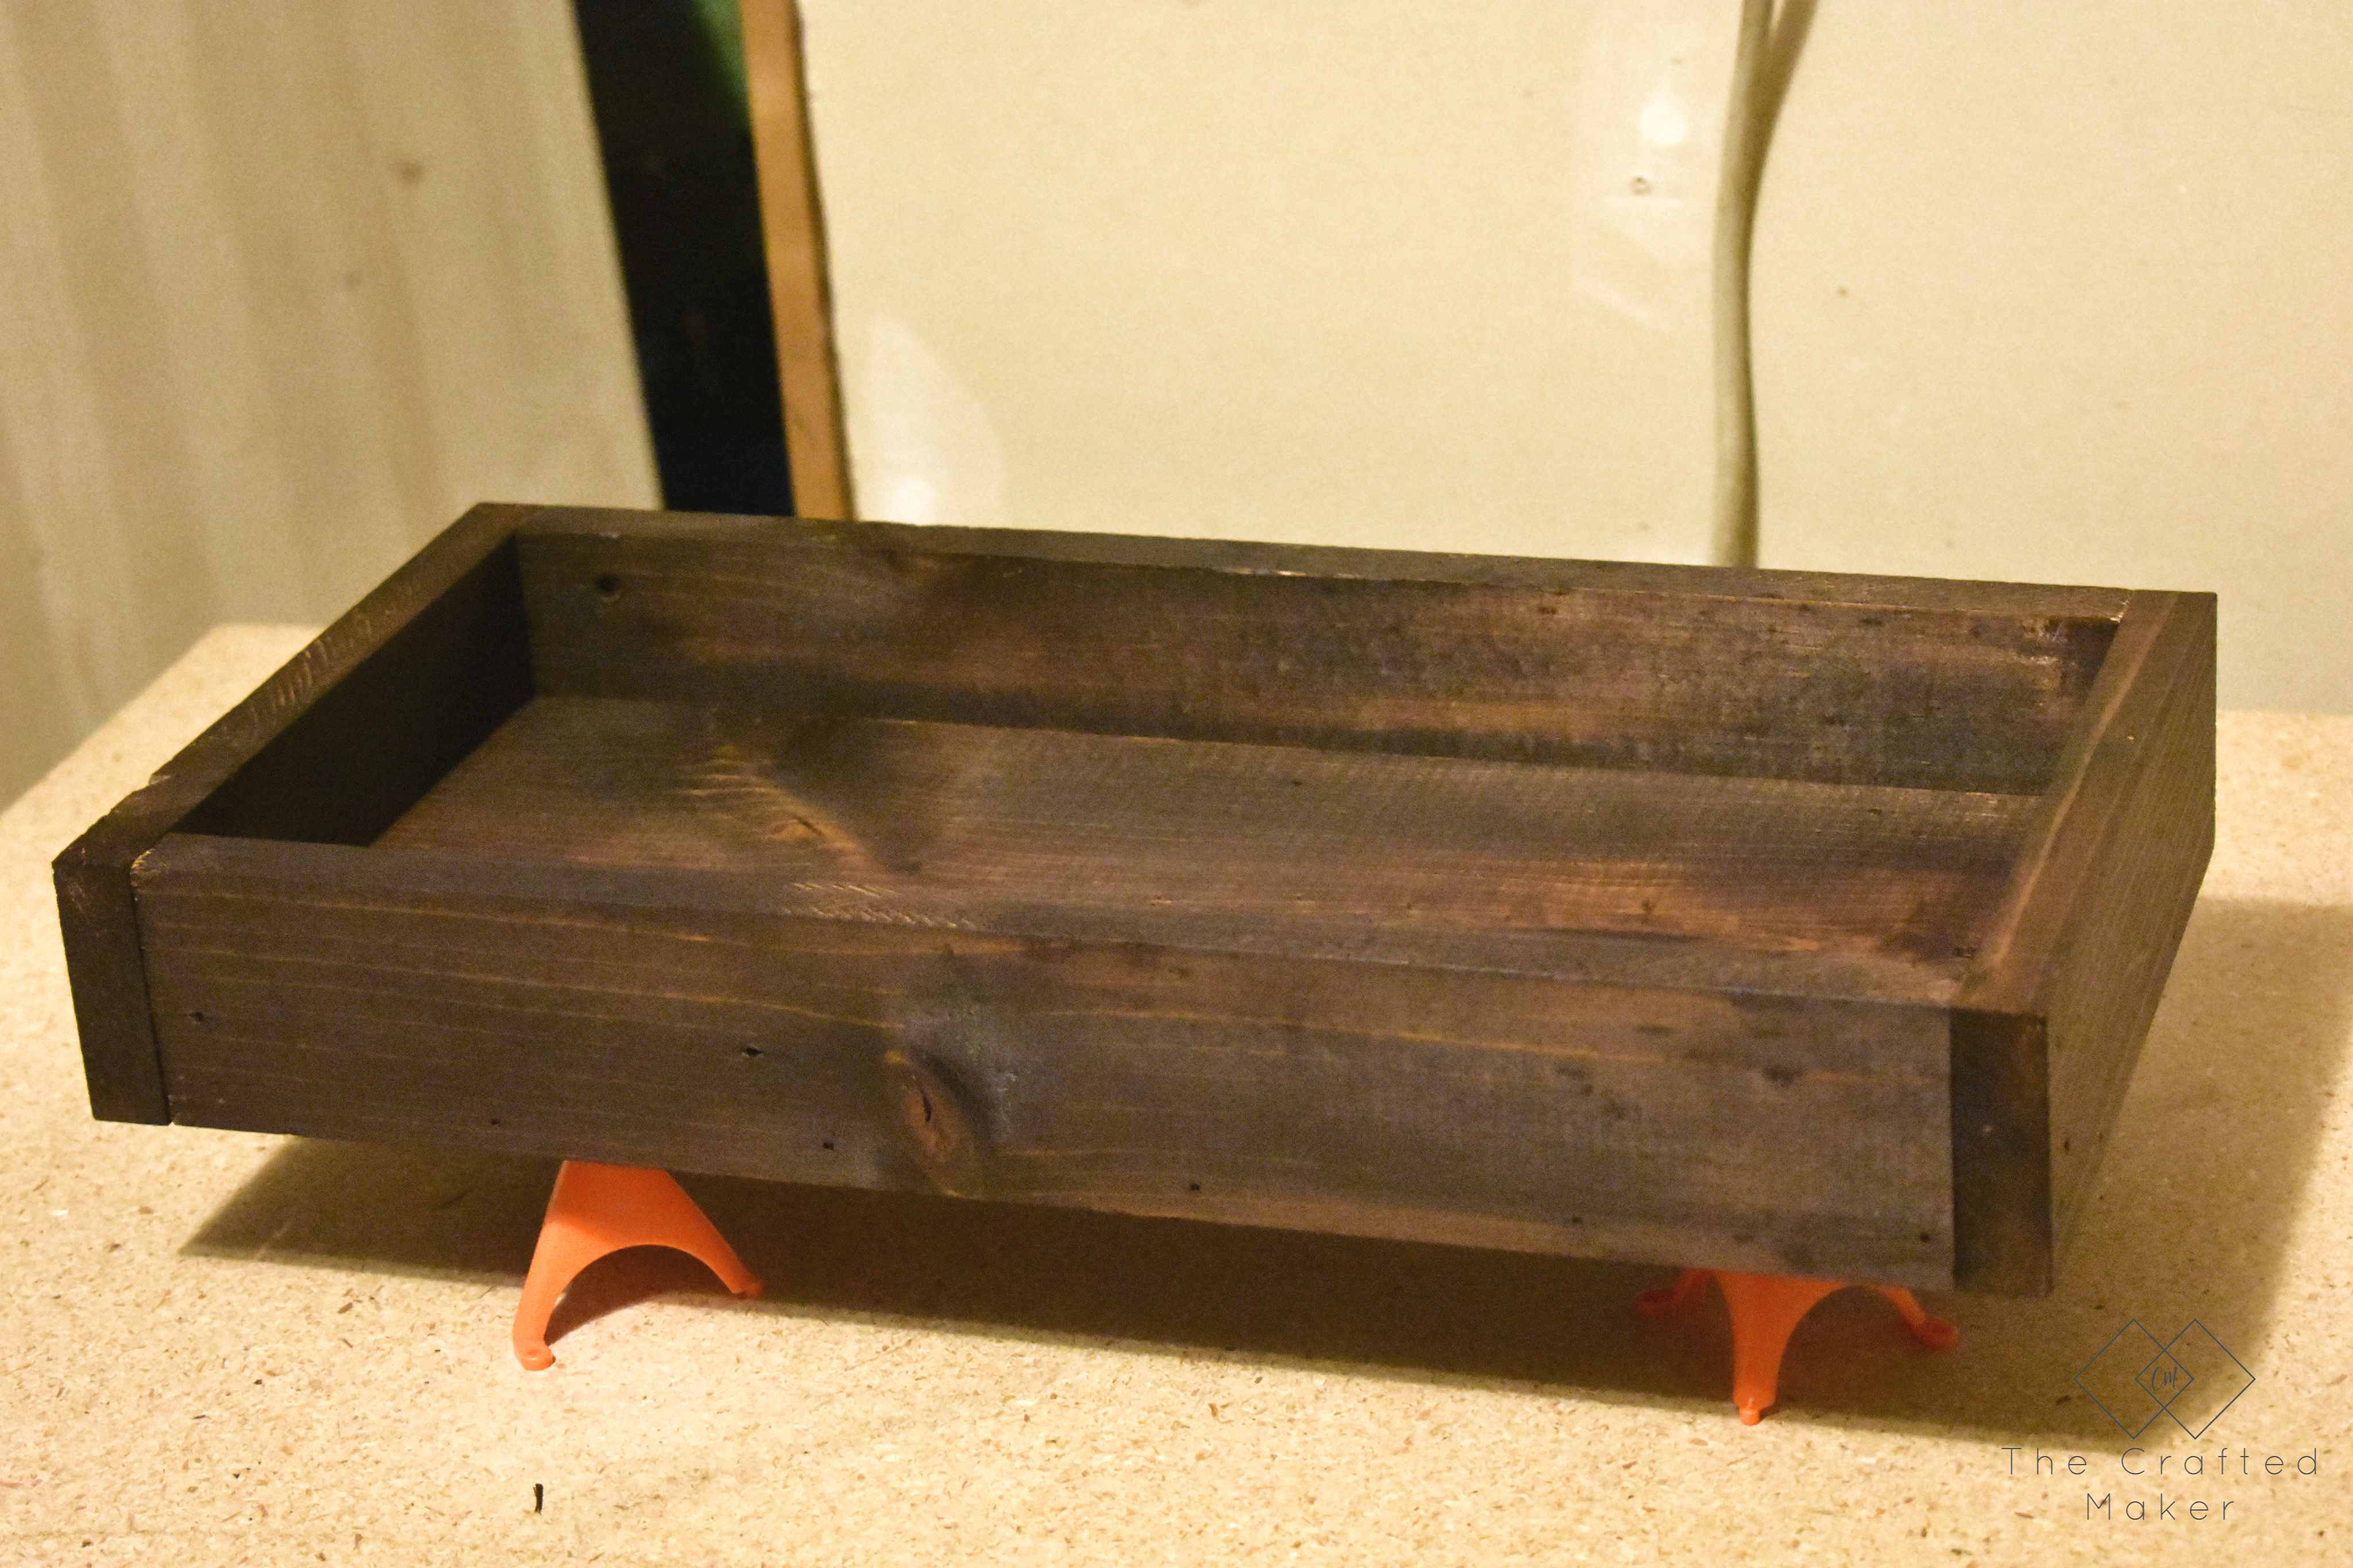
Allow your wooden tray to dry and give it a coat of polyurethane. I am using spray poly for this project and applying one coat. If your tray is going to come into contact with anything wet such as cups, give it more coats of poly for added protection.


Have fun with this simple wooden tray and make it your own.

See you all real soon!


A wooden tray is a staple in home decor. It not only looks good mixed in with decor but serves a purpose too! Build this simple wooden try in about an hour. #woodentray #holidaydecor #tray #scrapwoodproject


Posted In: BUILD, HOME DECOR, SCRAPPY SATURDAY · Tagged: home decor, scrap wood projects, Scrappy Saturday

You’ll Also Love

DIY Fall Leaf Door Hanger
DIY Desk Organizer
Make this DIY Napkin Holder with scrap wood and a few tools. Add some convenience to your dining table setting in about an hour.DIY Napkin Holder
Next Post >

DIY Fall Leaf Door Hanger

Hi, I’m Crissie!

Hello and welcome! I’m Crissie, the girl behind The Crafted Maker. This is my journey of DIY living where new skills are being learned, developed, and crafted one project at a time.


Follow Along!

  • Facebook
  • Instagram
  • Pinterest
  • Twitter

SEARCH THE BLOG

Join TCM Tribe!

If you want to keep in touch with us, this is the best way to do it! Just sign up below and receive all our posts in your inbox!


Free Project Planner!

  • About
  • Contact
  • Disclosure
  • Privacy Policy


Trending Now

  • 25 Dollar Console Table - The Crafted Maker $25 Console Table with Free Plans!
  • This Scrappy Saturday project is sliding bookends for open shelving. These sliding bookends are a great addition to any room with open shelving. This is a fun and quick project to complete! Sliding Bookends for Open Shelving
  • FIVE DOLLAR WINDOW BOX
  • Give the exterior of your home an upgrade with these simple DIY shutters. They take very little time to make and will add curb appeal to your home. SIMPLE DIY SHUTTERS

Copyright © 2023 The Crafted Maker · Theme by 17th Avenue