Hey everyone! To stay in touch and see new projects, come follow along on Pinterest and Instagram!
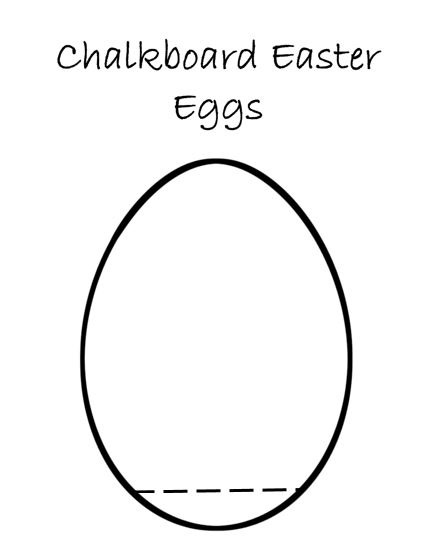
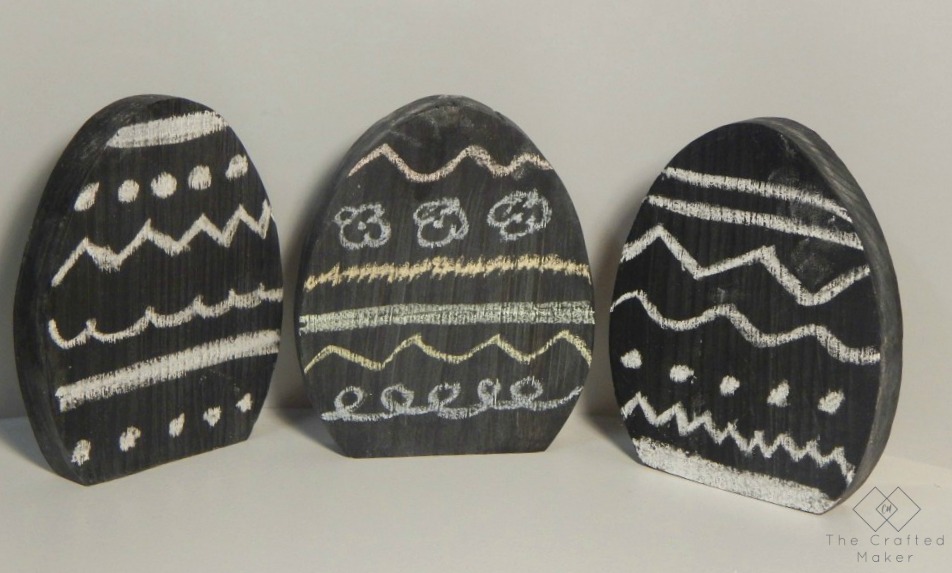
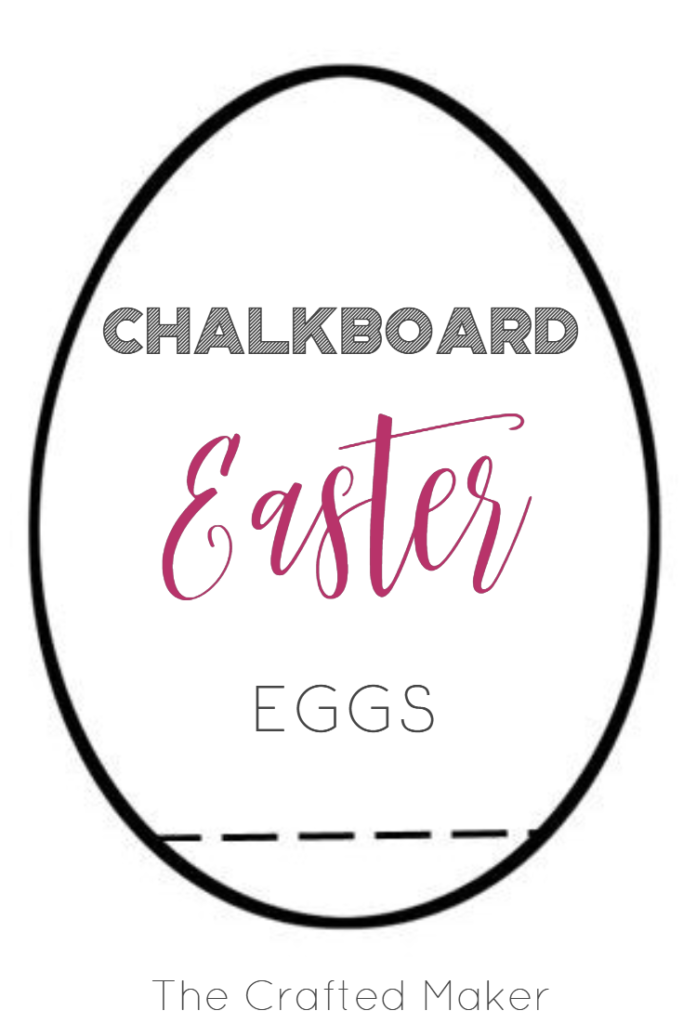
Well, as you all know, Easter is in just a few days and that means all things bunny and eggs. I decided to jump in on the Easter decorating and make a quick and simple DIY project. I came up with these chalkboard Easter eggs. They are really easy to make and don’t take hardly any time at all. Below is the template I used for this project. Click the picture or the link below to print one out.
Chalkboard Easter Egg Printable
This blog post contains affiliate links. I may receive compensation when an item is purchased. This allows me to bring you more free content with no added cost to you.
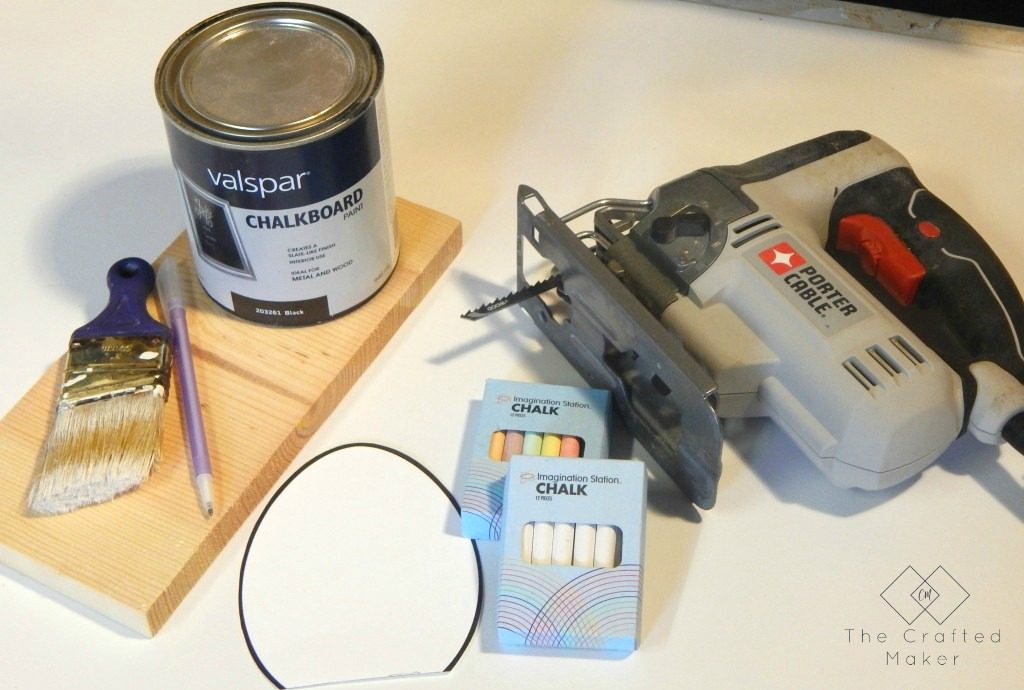
Tools and Supplies
- Scrap Wood
- Chalkboard Paint (Rust-Oleum and Valspar both make good chalkboard paints)
- Paint Brush
- Pen or Pencil
- Chalk (colored or white)
- Jigsaw
- Sander
- Scissors
Optional (but helpful)
- Clamps to keep your scrap wood steady while cutting
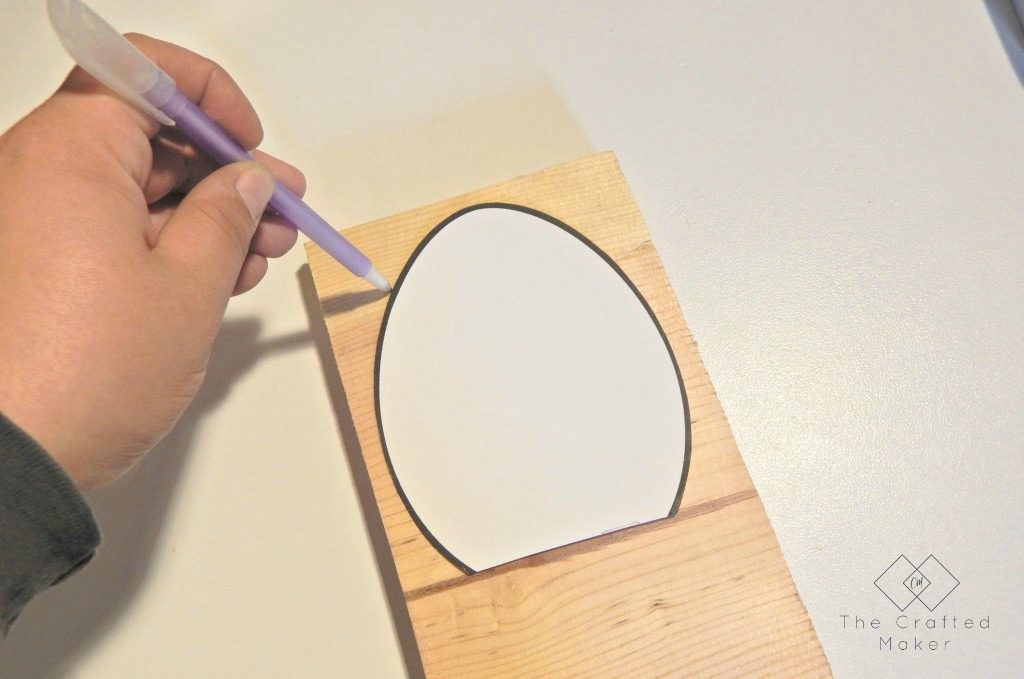
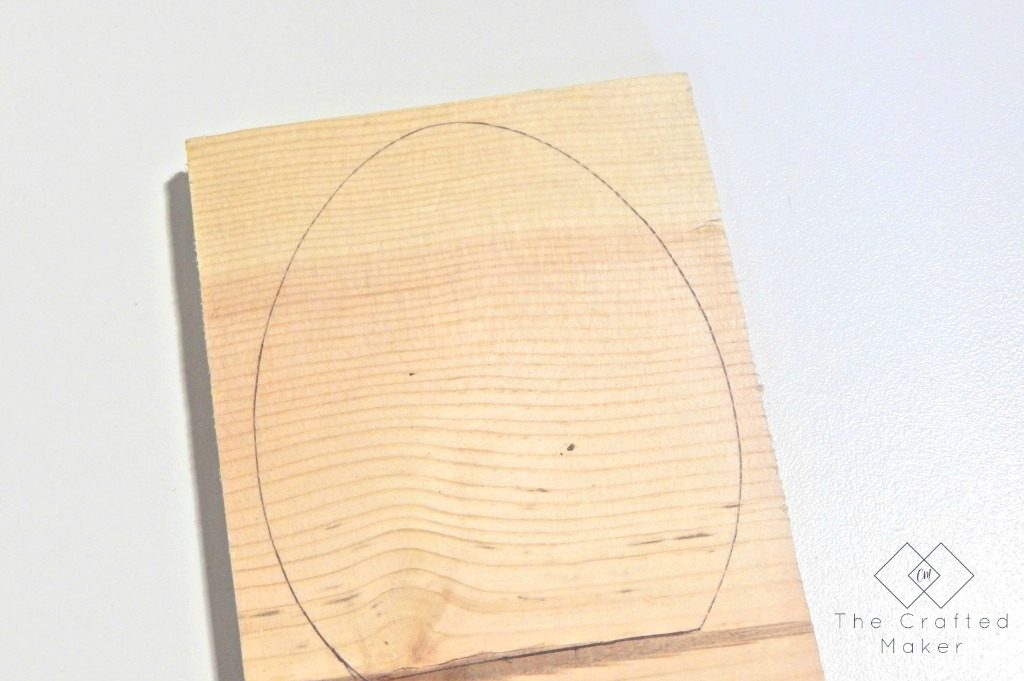
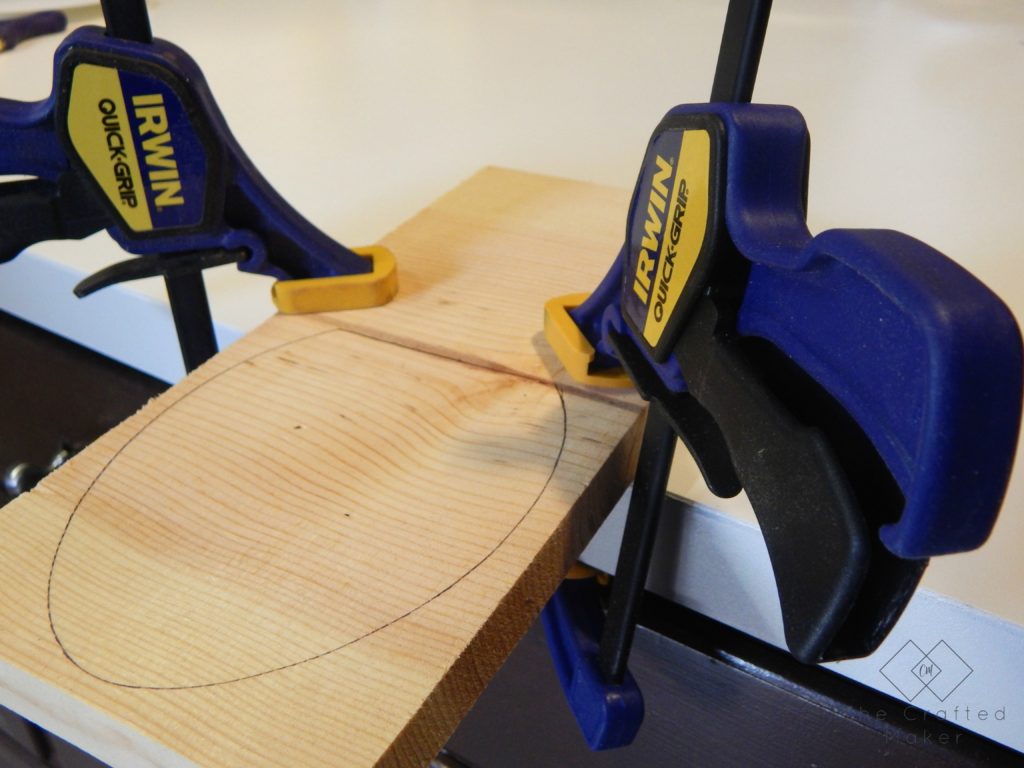
 Start out by printing out the template and cutting it out with scissors. Use the dashed line as a guide to make the bottom of the egg flat. Once the template is ready, place it on your scrap wood and trace around the template.
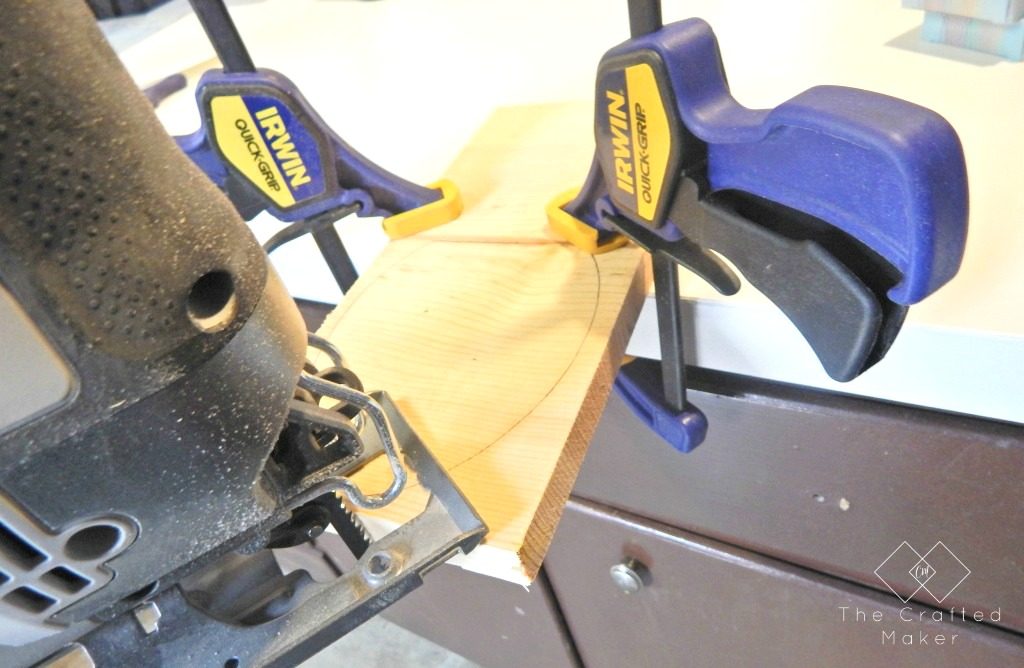
Once you have the design traced onto as many eggs as you would like to make, it’s now time to cut them out. Place your scrap wood in a spot where it can hang over. Perhaps a workbench, or propped up on other pieces of wood. The easiest way to secure your board is a couple of clamps. I used a set of Irwin clamps for this project. If you don’t have any clamps, I would recommend these for the ease of use.
Use your jigsaw to cut around the pattern. You will need to re-position your board to cut all the way around the egg. Take your time when doing this part to prevent the wood from chipping off when cutting the rounded edges. Cut out as many eggs as you want. For my project, I cut out three eggs.
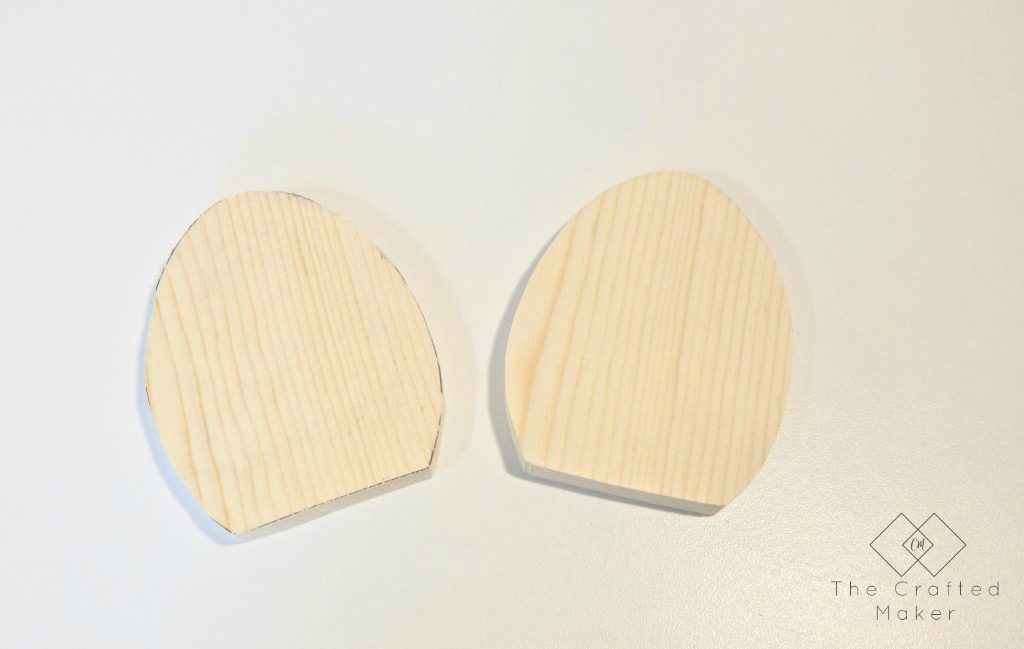
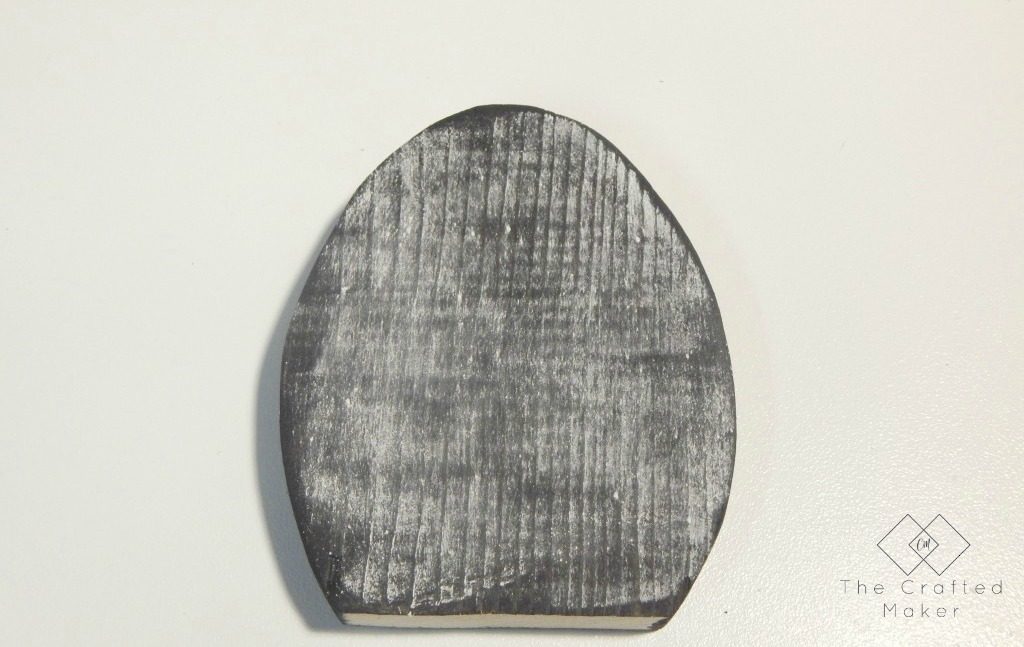
The eggs are a little rough when freshly cut, but you can fix all of that with a little light sanding. Use a sander or sanding block to smooth out the edges and the front and back sides.
Here is the difference between the freshly cut eggs and the sanded eggs.
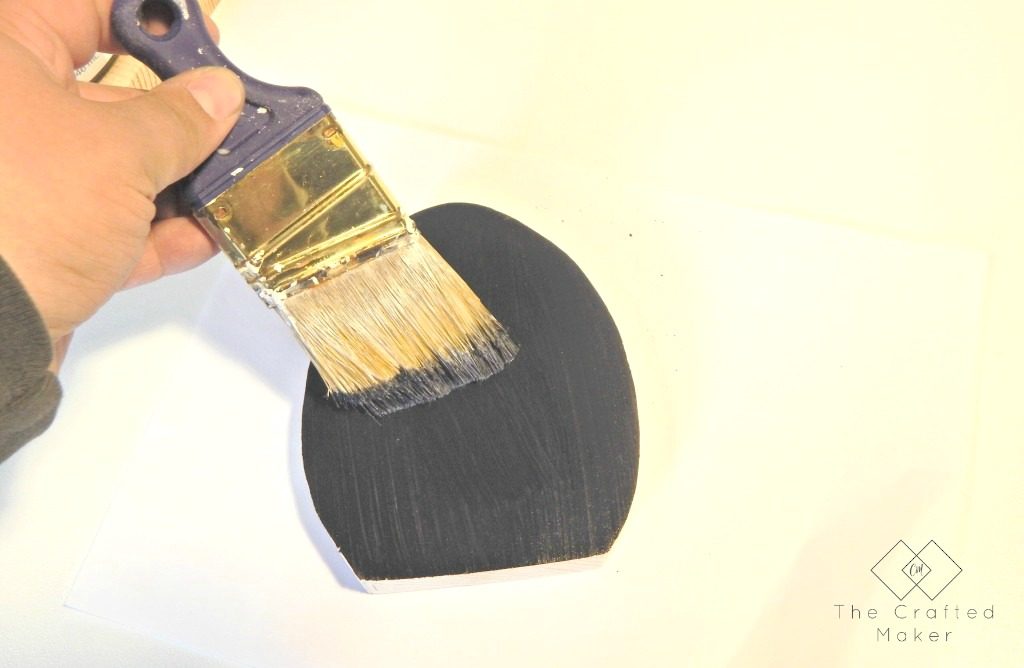
It’s time to make these eggs chalkboard!! Give all of your eggs a coat of chalkboard paint and let this dry. You may need to give your eggs more than one coat, depending on how thick you want the paint to be. I only used one coat on mine, but I could still see a slight hint of wood grain. This isn’t a problem if it happens to you. We will season the eggs before decorating them.
Whenever I am making a chalkboard project that I’ll be writing on, I like to season it. I think it just gives it a better look and it allows the chalk to flow more freely on the surface. This is done by taking a piece of chalk on its side and rubbing it all over the surface you will be writing on. Once the surface is covered, wipe off the chalk.
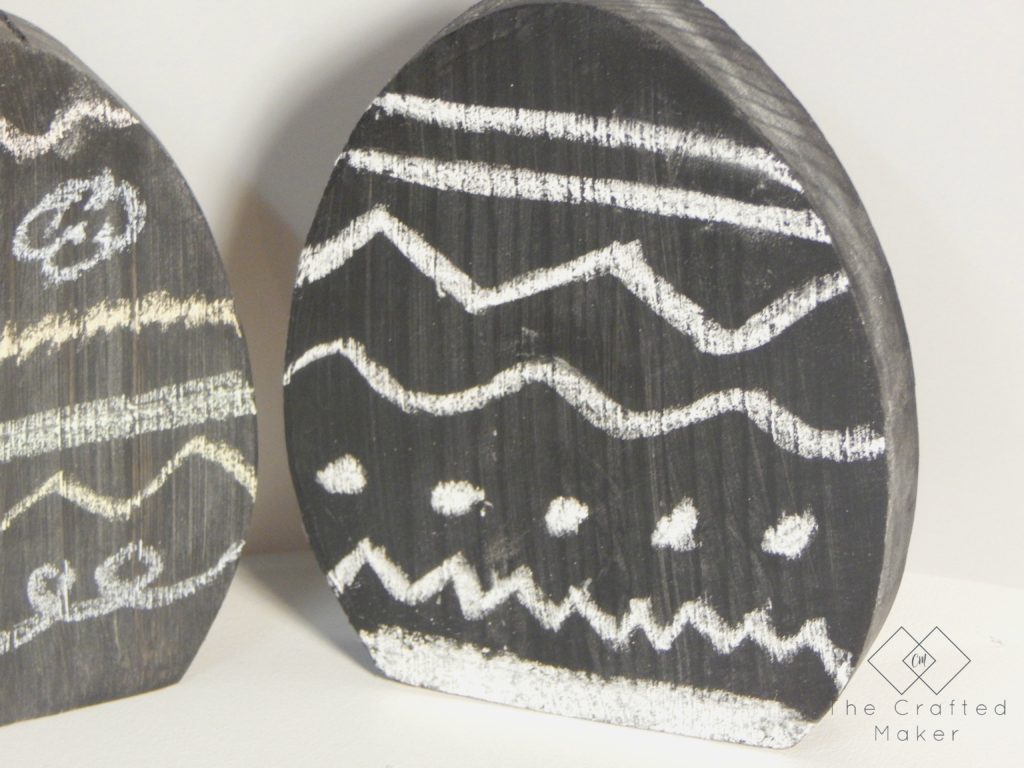
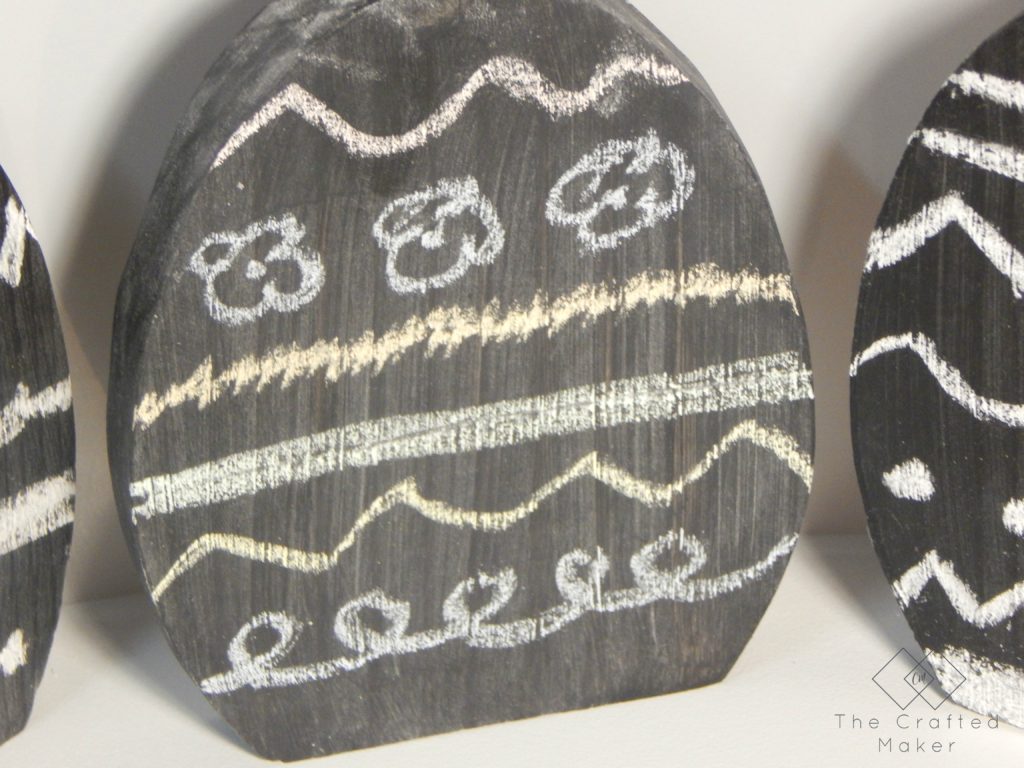
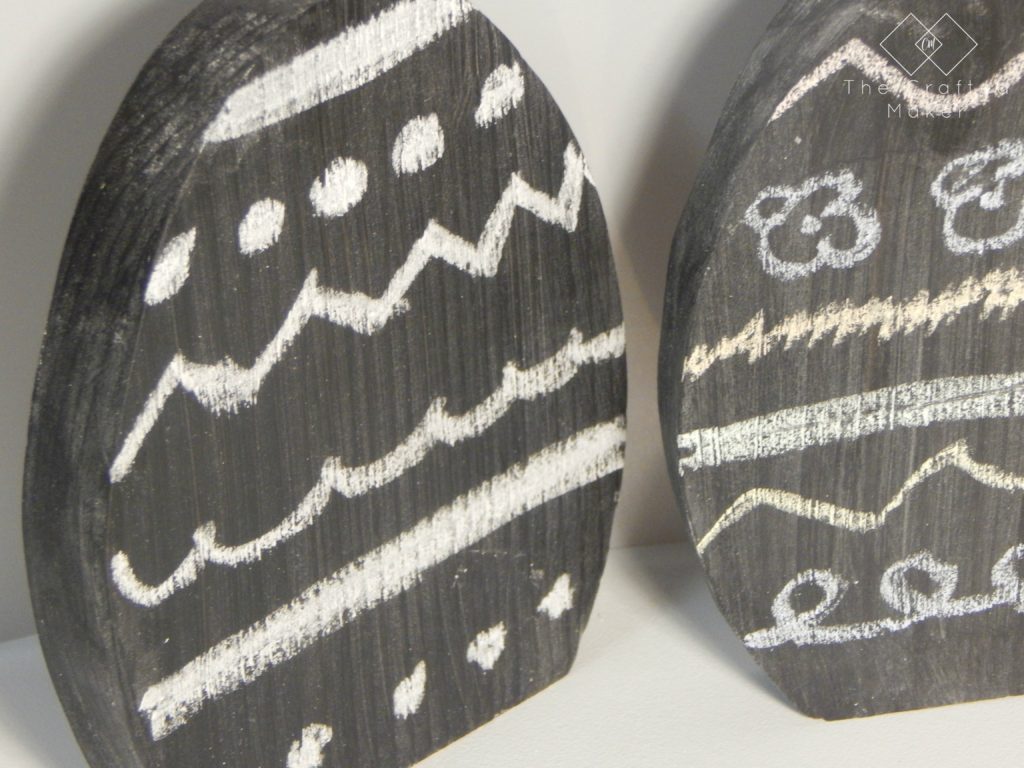
Now its time to decorate!!! I put together a short video of my decorating. There are so many ways to do this. I decorated two of my chalkboard Easter eggs with white chalk and one with colored chalk. Have fun with this step. This would be a great project to let the kids lend a helping hand on!
Thanks for stopping by today! I hope you have fun with this project. I love seeing photos of what you create, so feel free to email me pics or tag me on social media.
Pinning is always appreciated!!

These are so fun, and I love that you can customize them with chalk. They’re the perfect Easter decoration!
Thanks Celeste! They are fun to customize. I hope you had a lovely Easter!!