If you have ever worked in a small space while trying to build furniture, you will understand why this build came to be. Giving a shout out to all of my small workshop peeps out there!
The house I moved into last year has a garage with a room on the back. This is currently my workshop, but it is small. Like so small, it’s hard to cut some longer boards in there. So, I decided to build a big workbench. This might sound crazy since the space is small, but there is a reason behind it (I promise).
Plus, I didn’t have a work surface, I had been using my centipede as a table to make cuts with the miter saw. Probably not the most effective (or safe) option out there.
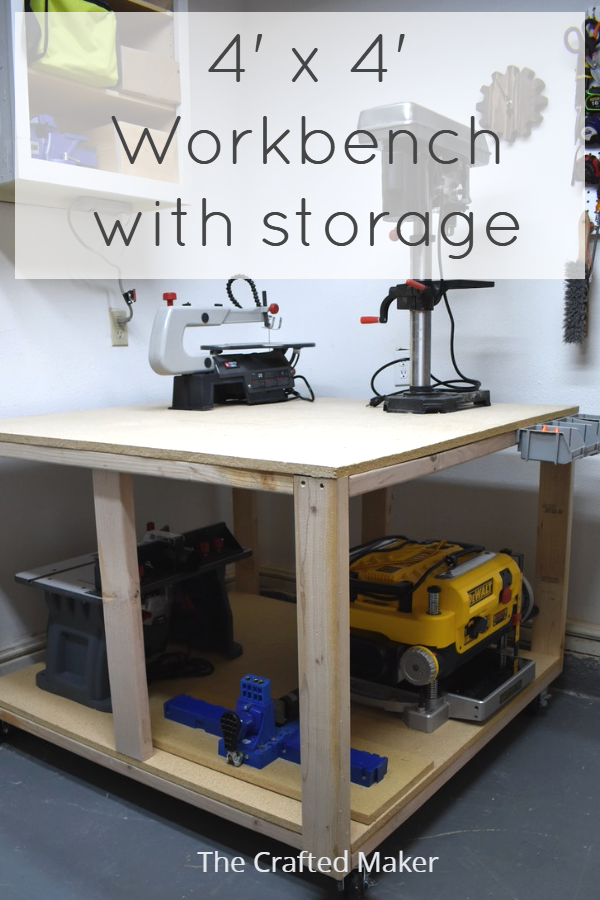
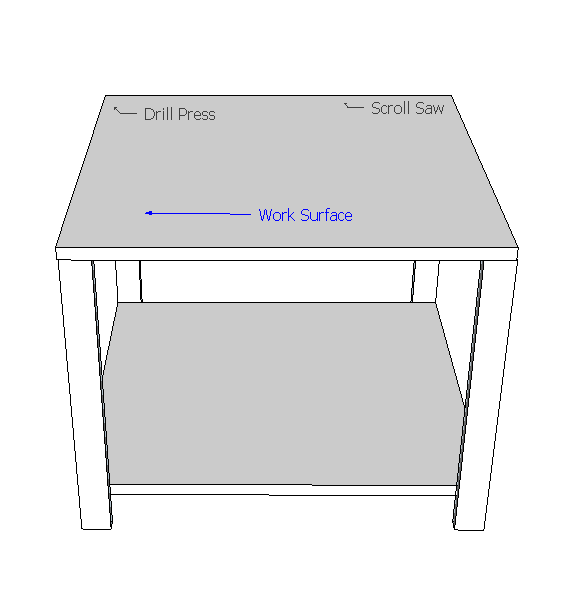
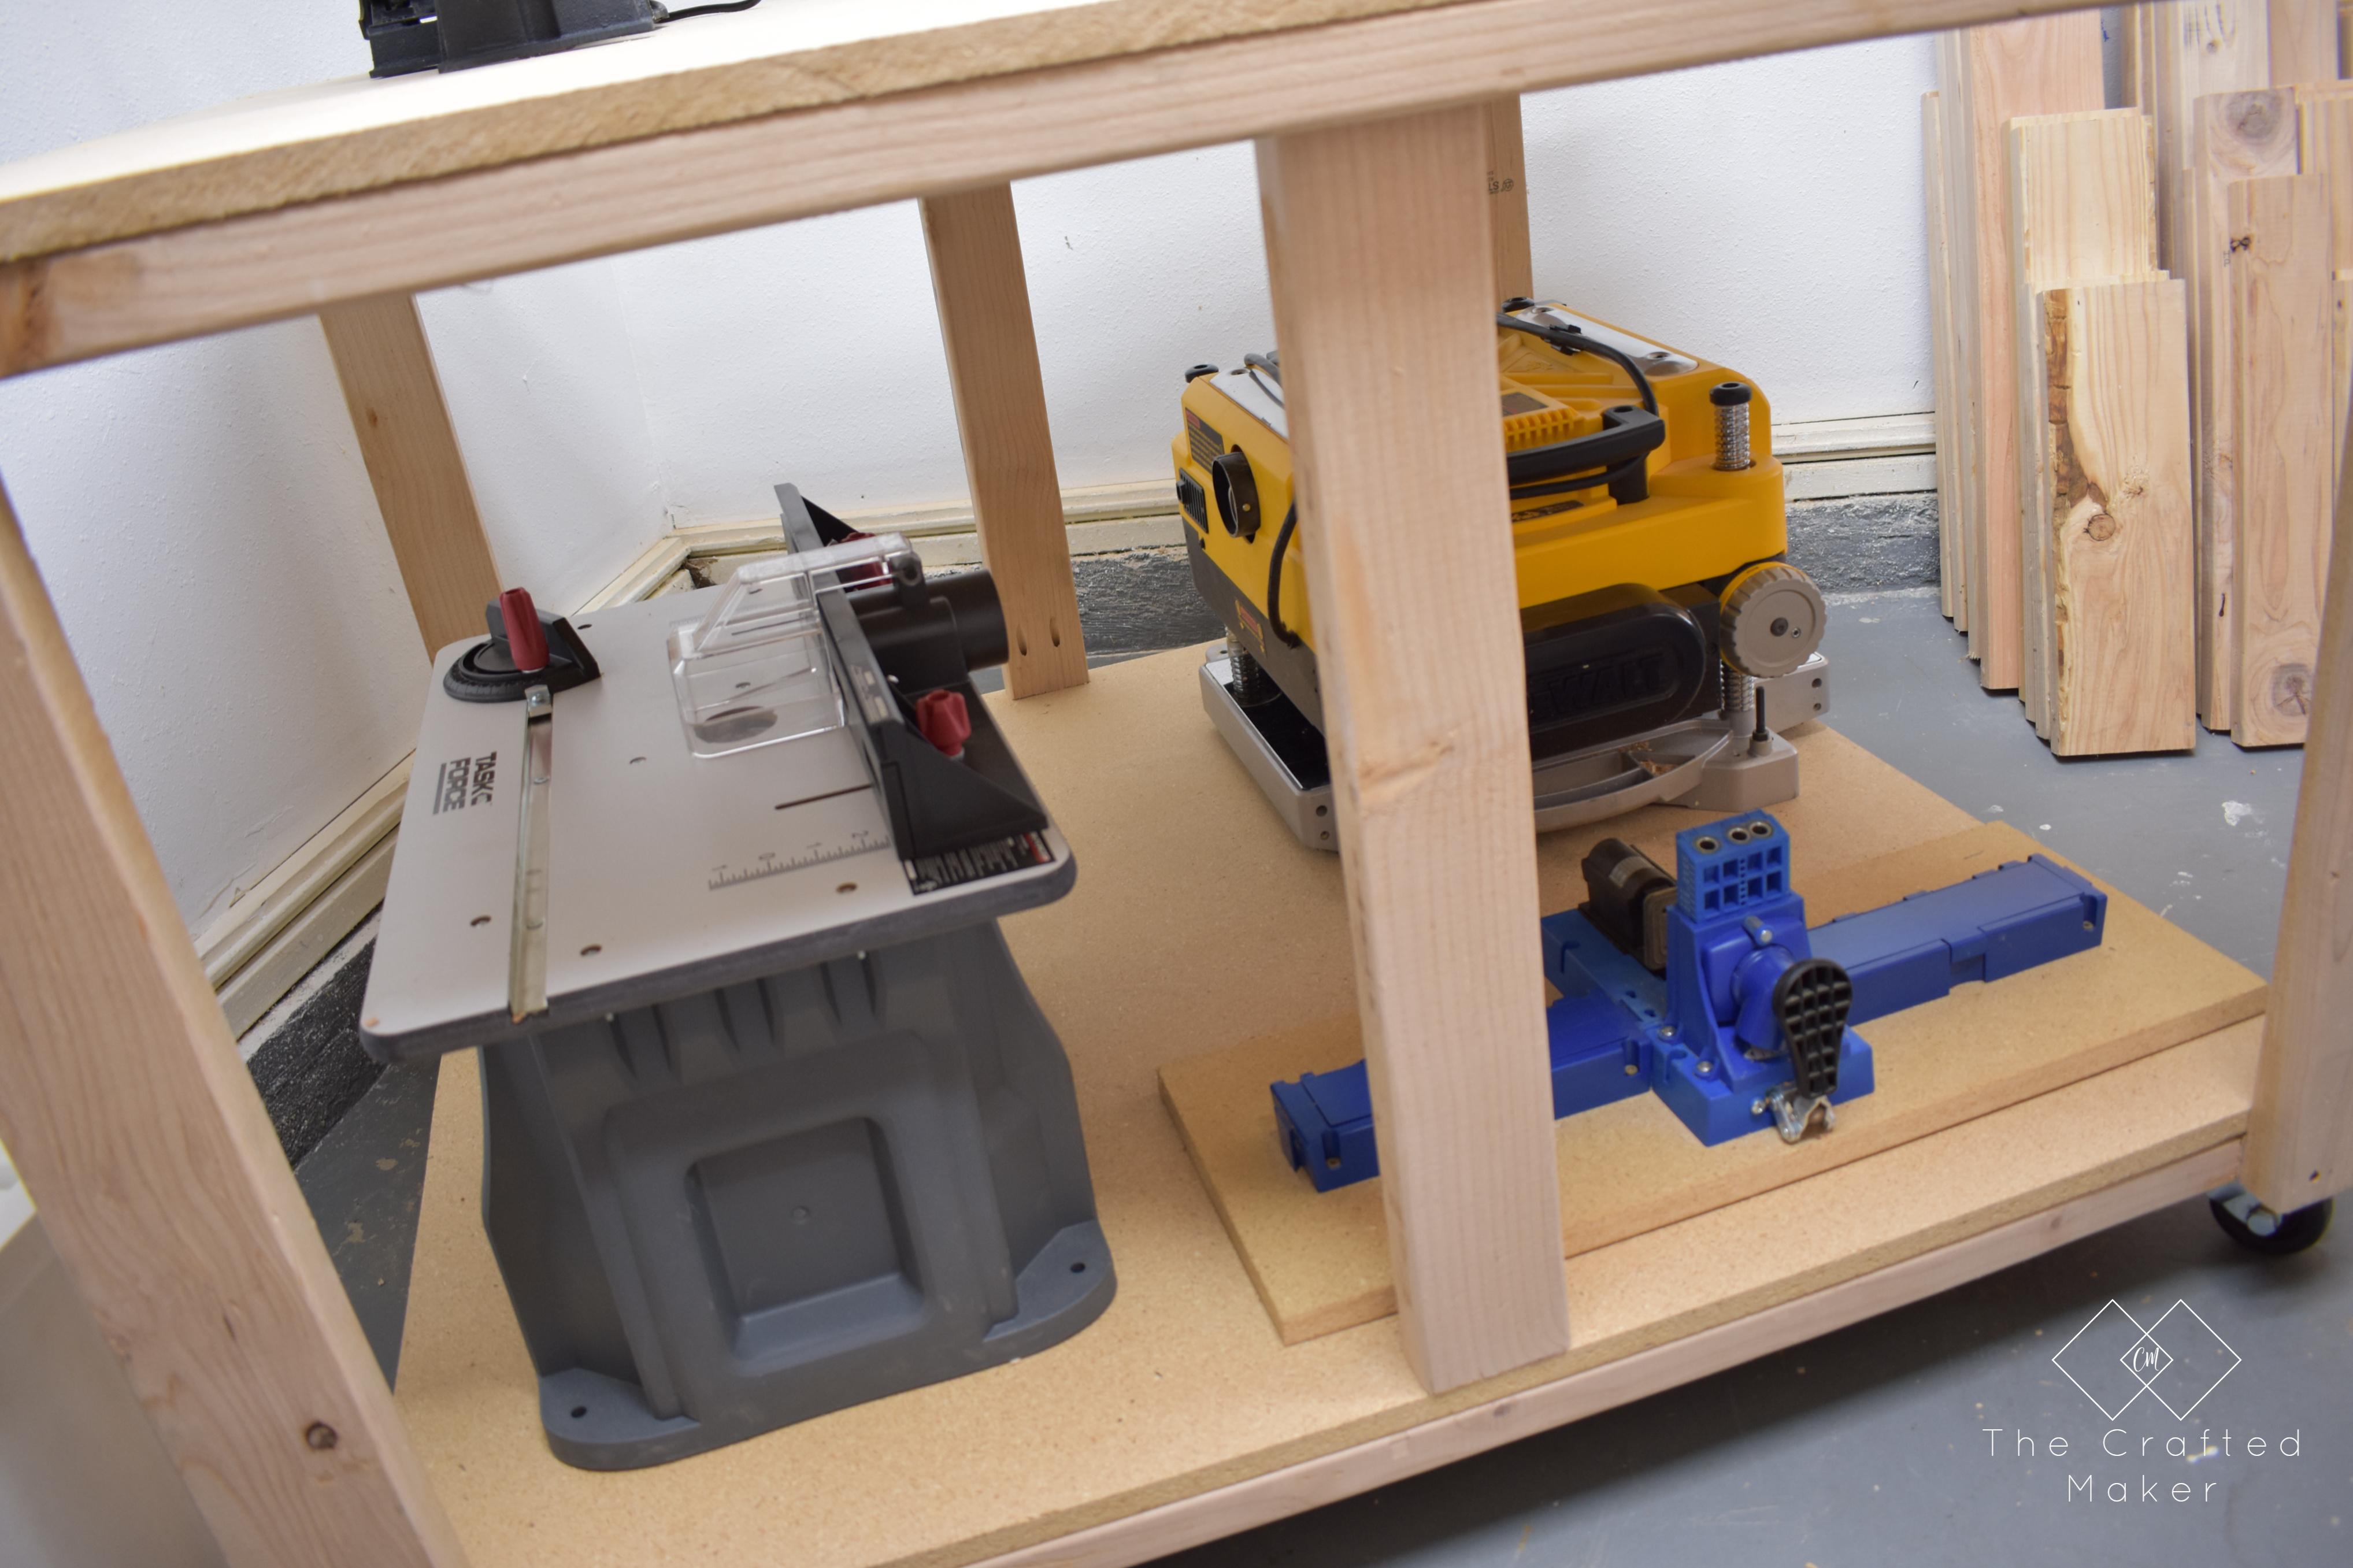
With such a limited space, there is not a lot of options for a work surface, plus additional places for tools such as my drill press and miter saw, and scroll saw. With a bigger work surface, I can permanently attach these tools to the surface and still have room to use as a building surface. Here is what I was going for.
Affiliate links used. See disclosure here
Tools
Miter Saw or Table Saw
Materials and Supplies
2 x 4 Lumber
3/4″ Plywood
Wood Screws
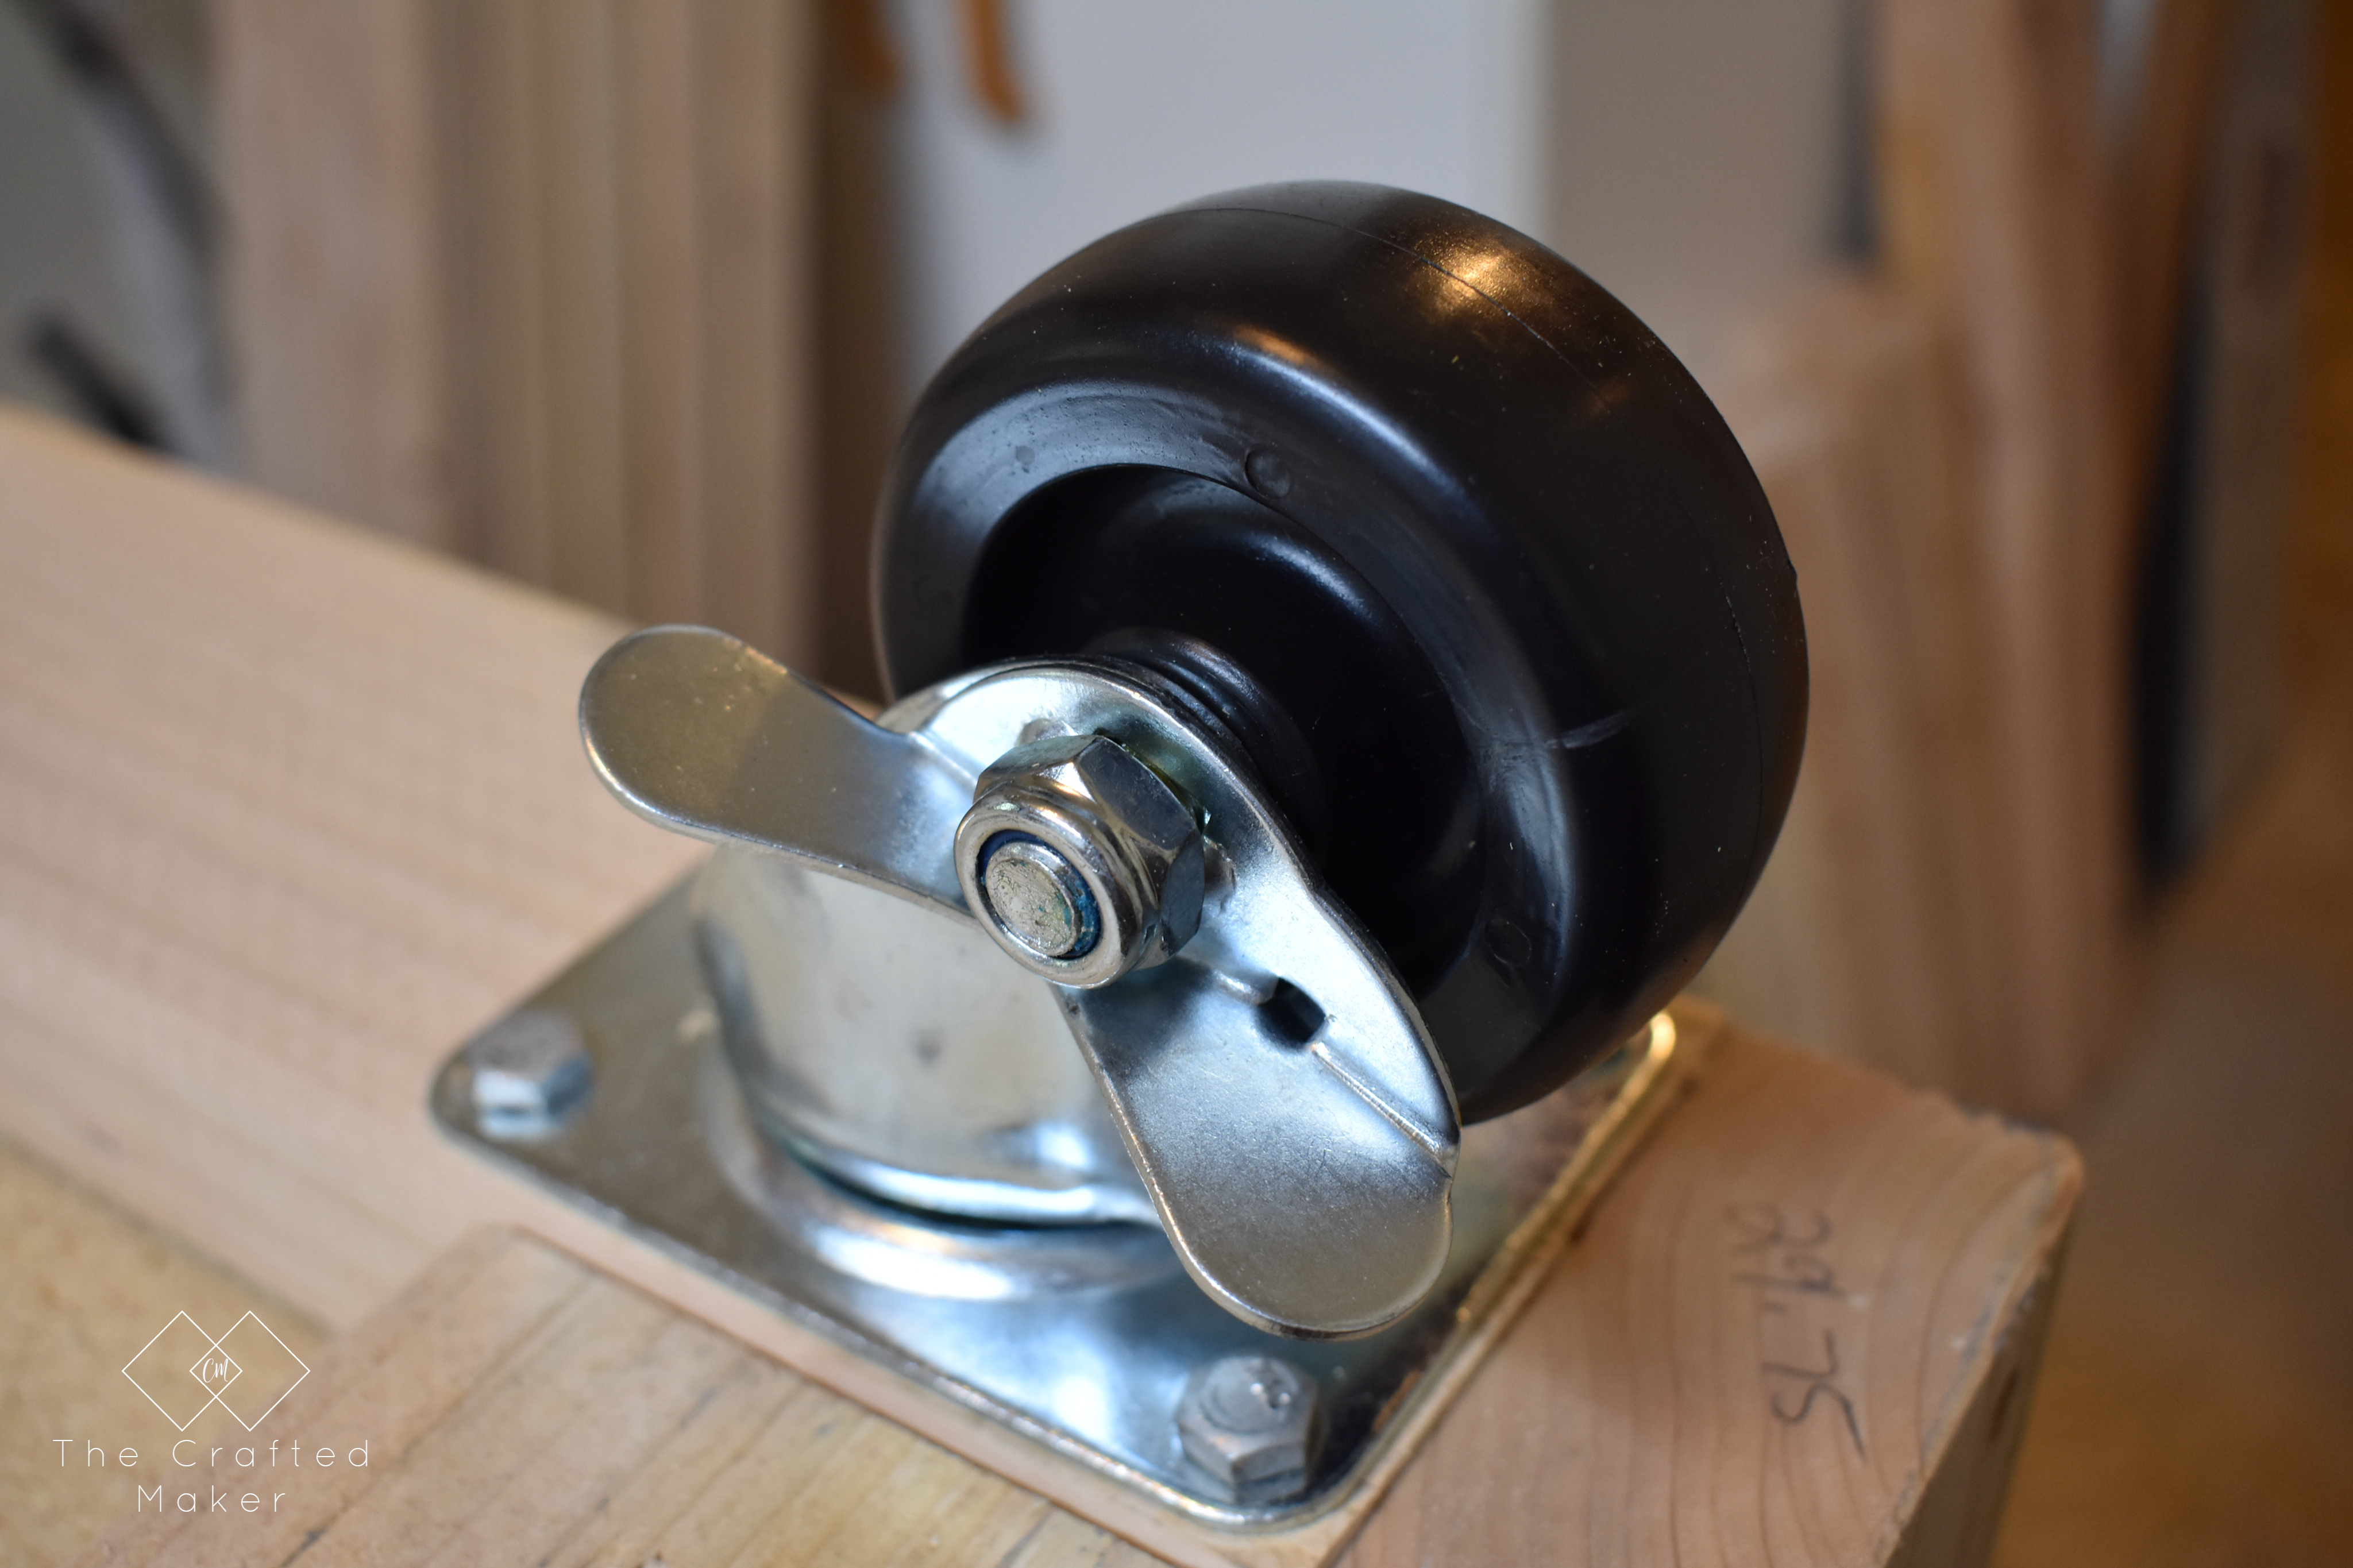
3″ Casters with hardware
The first to do is cut down the lumber to size. Measure and cut the 2 x 4 boards and the plywood. Set the plywood aside for now.
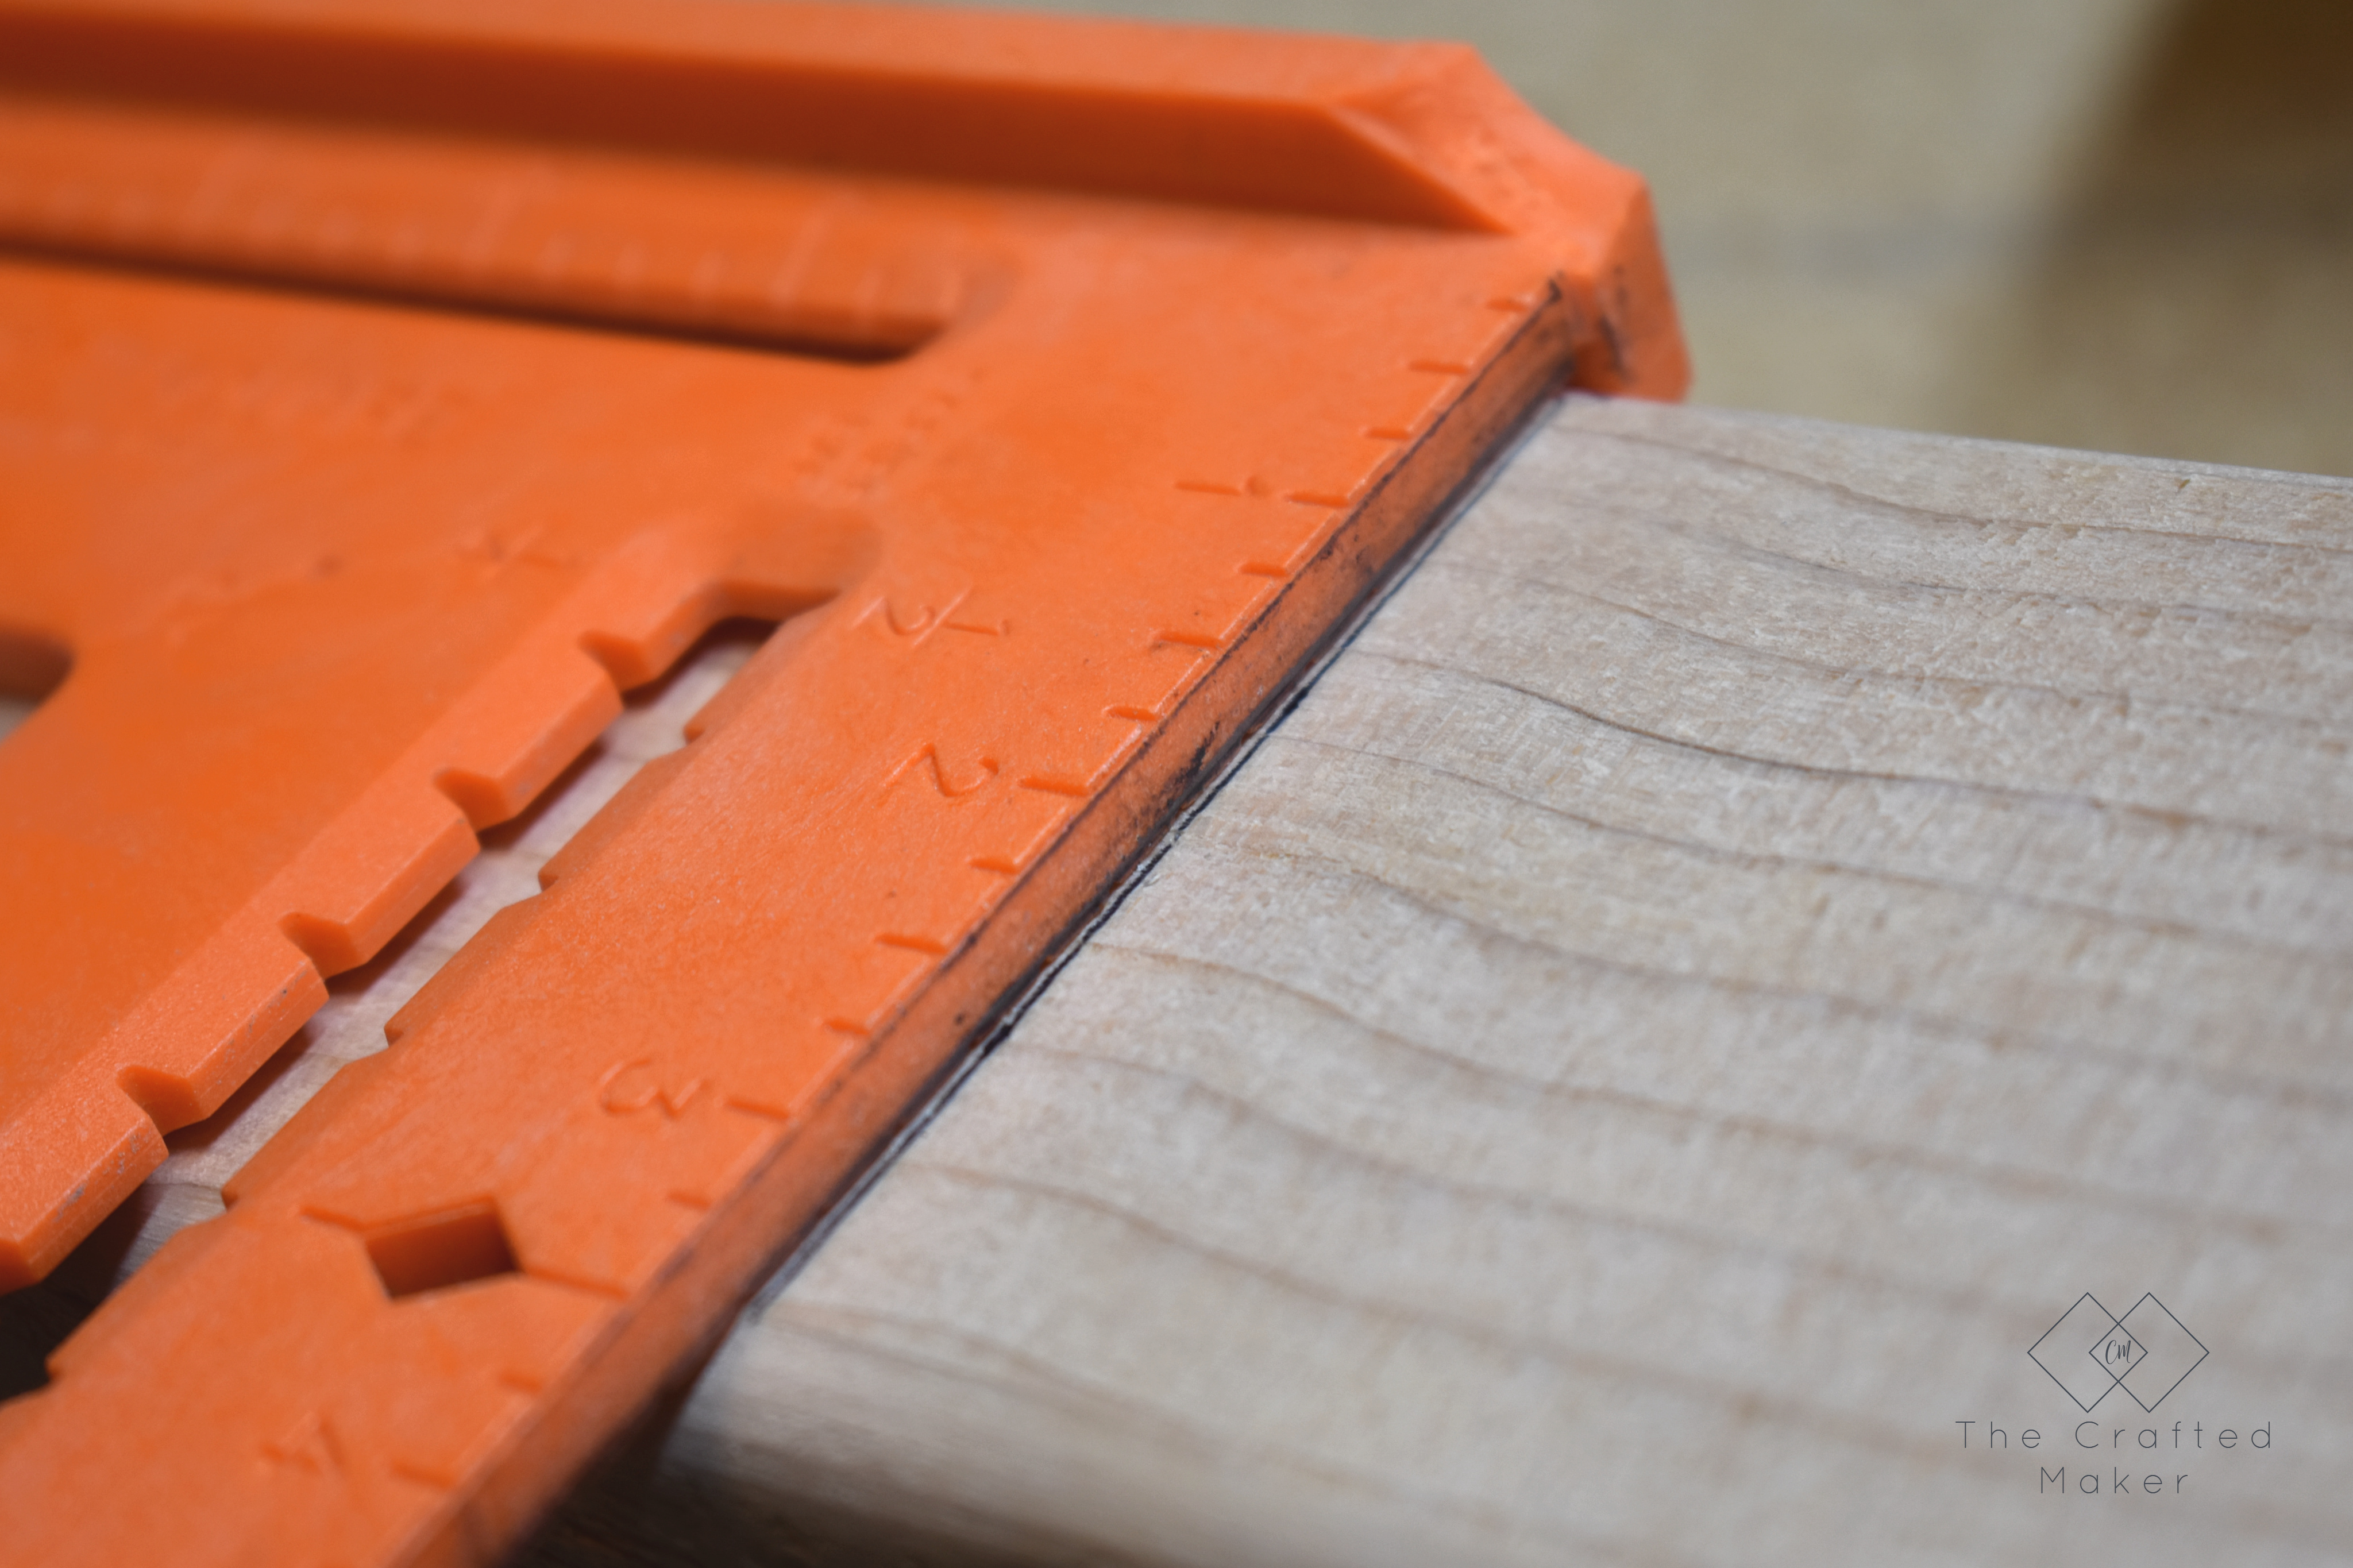
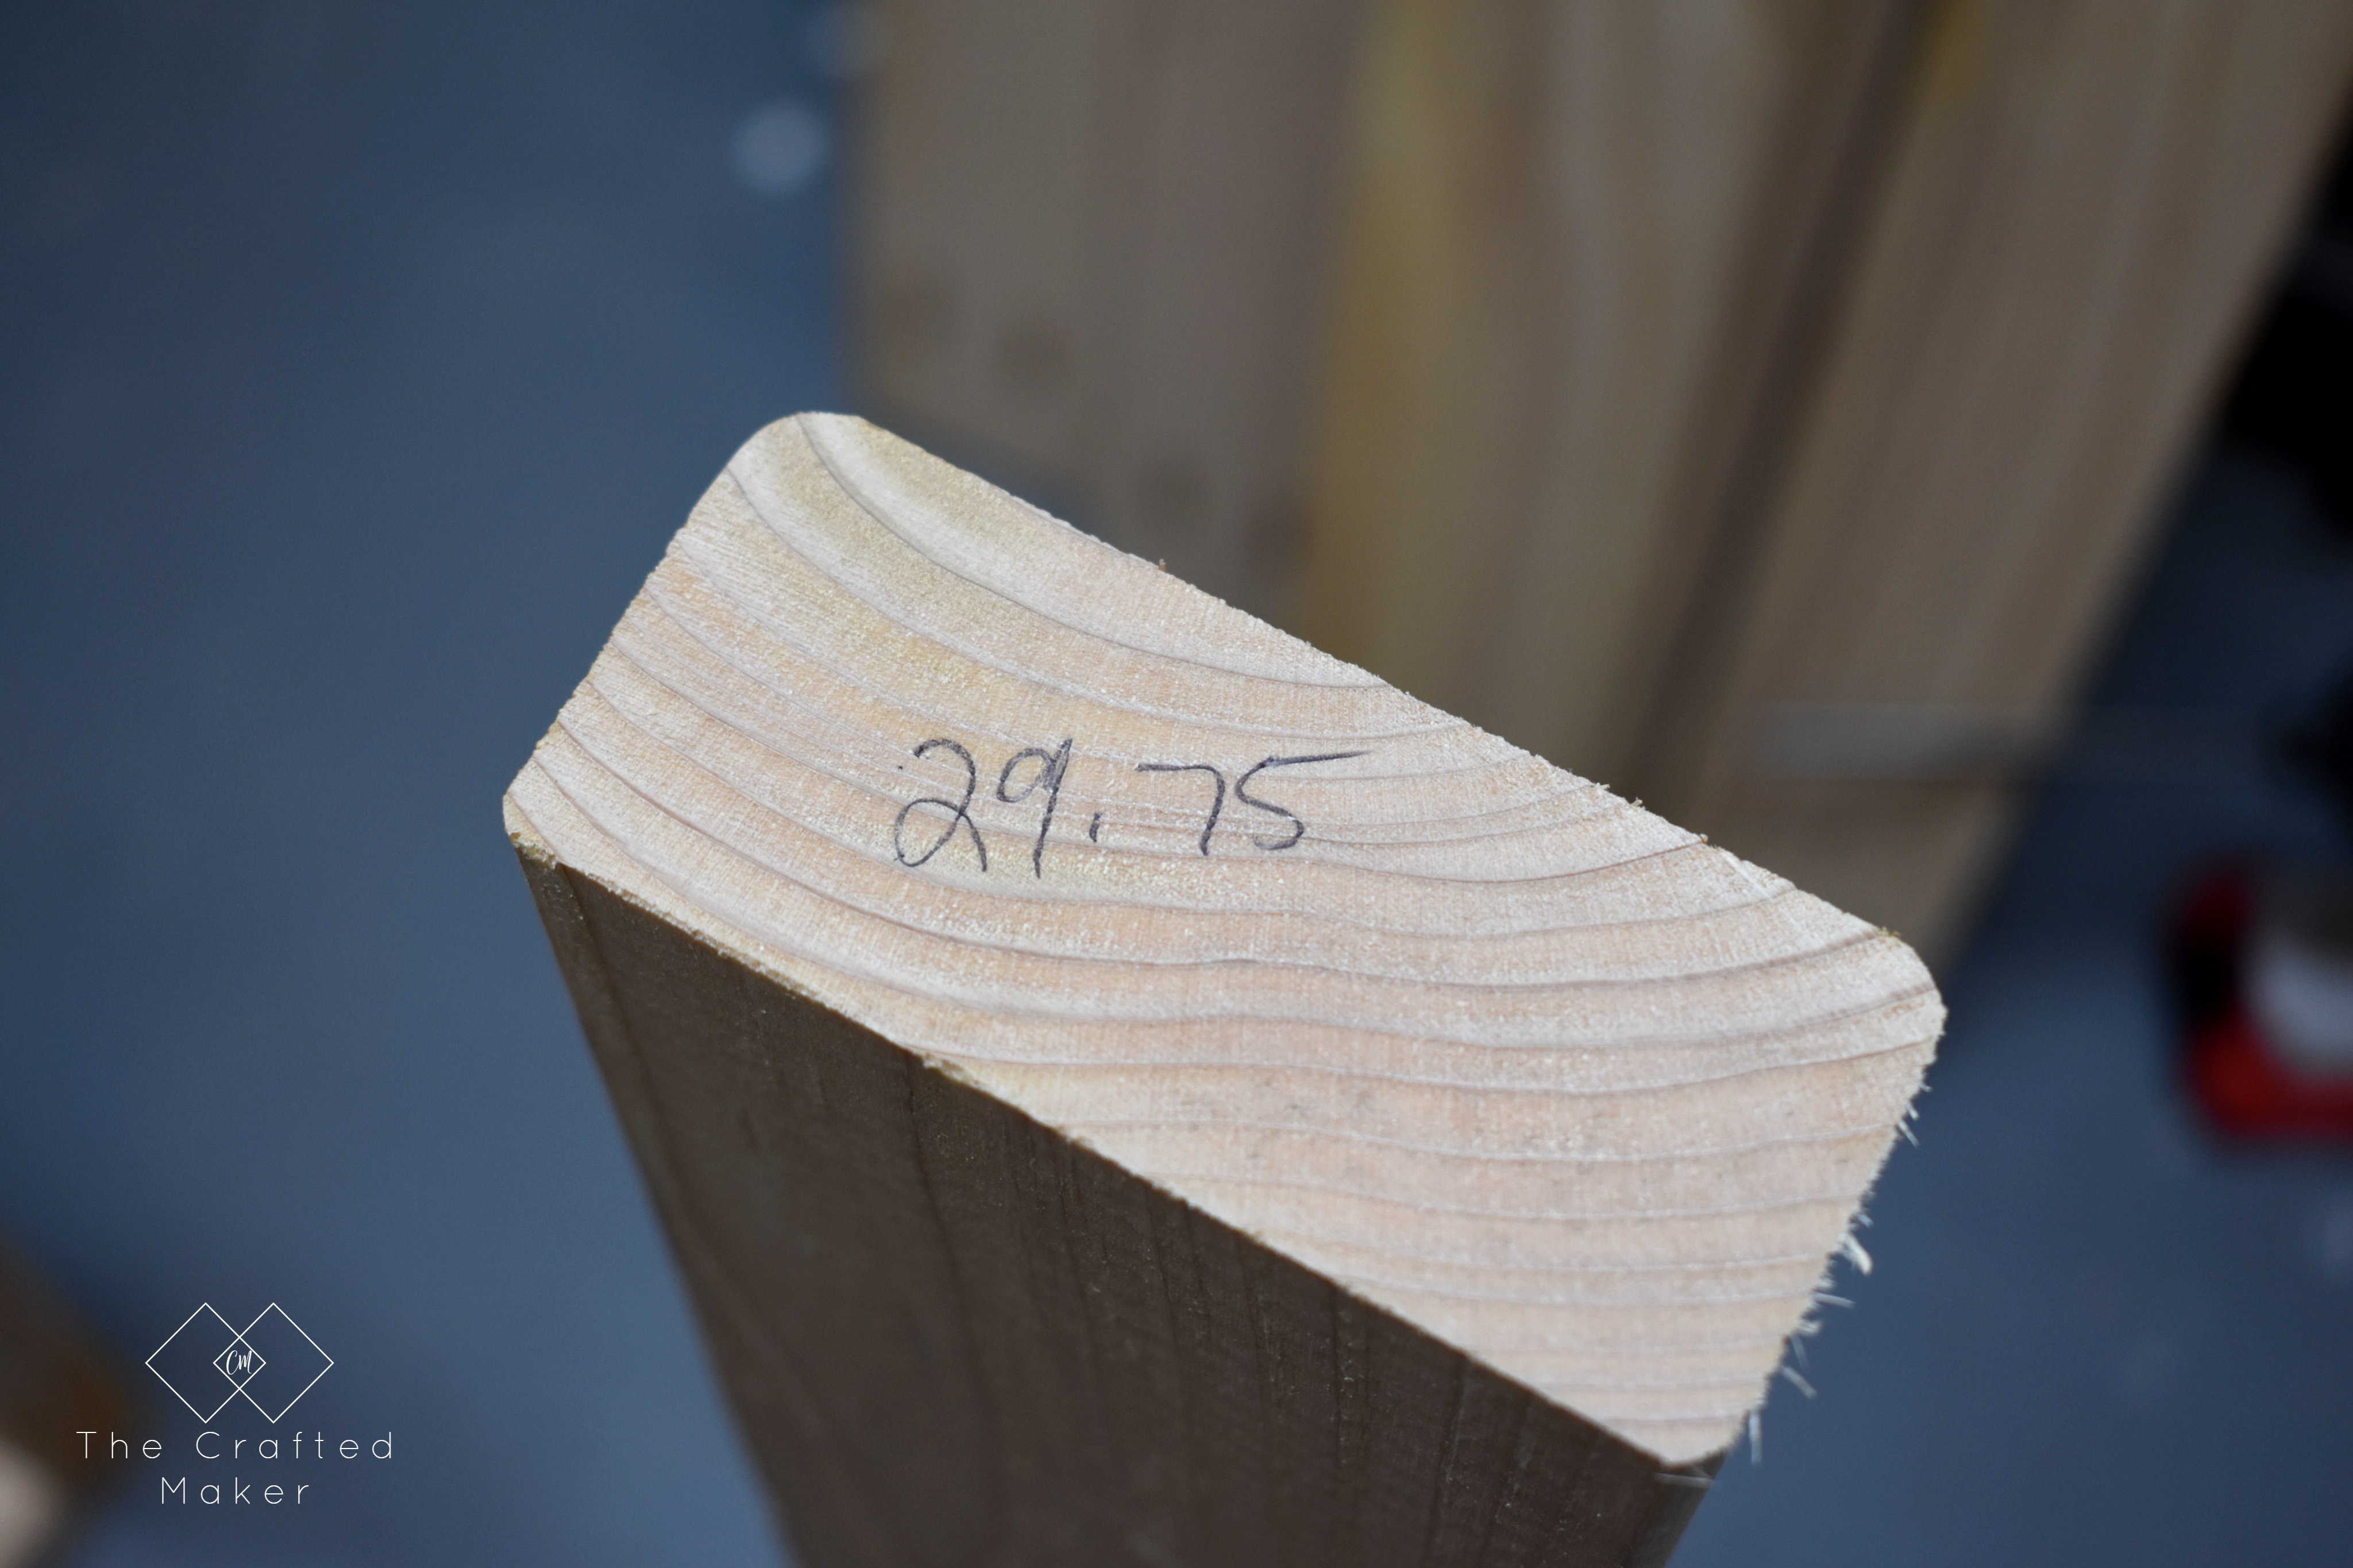
Quick Tip: Mark the measurements on the end of the boards to keep them organized!
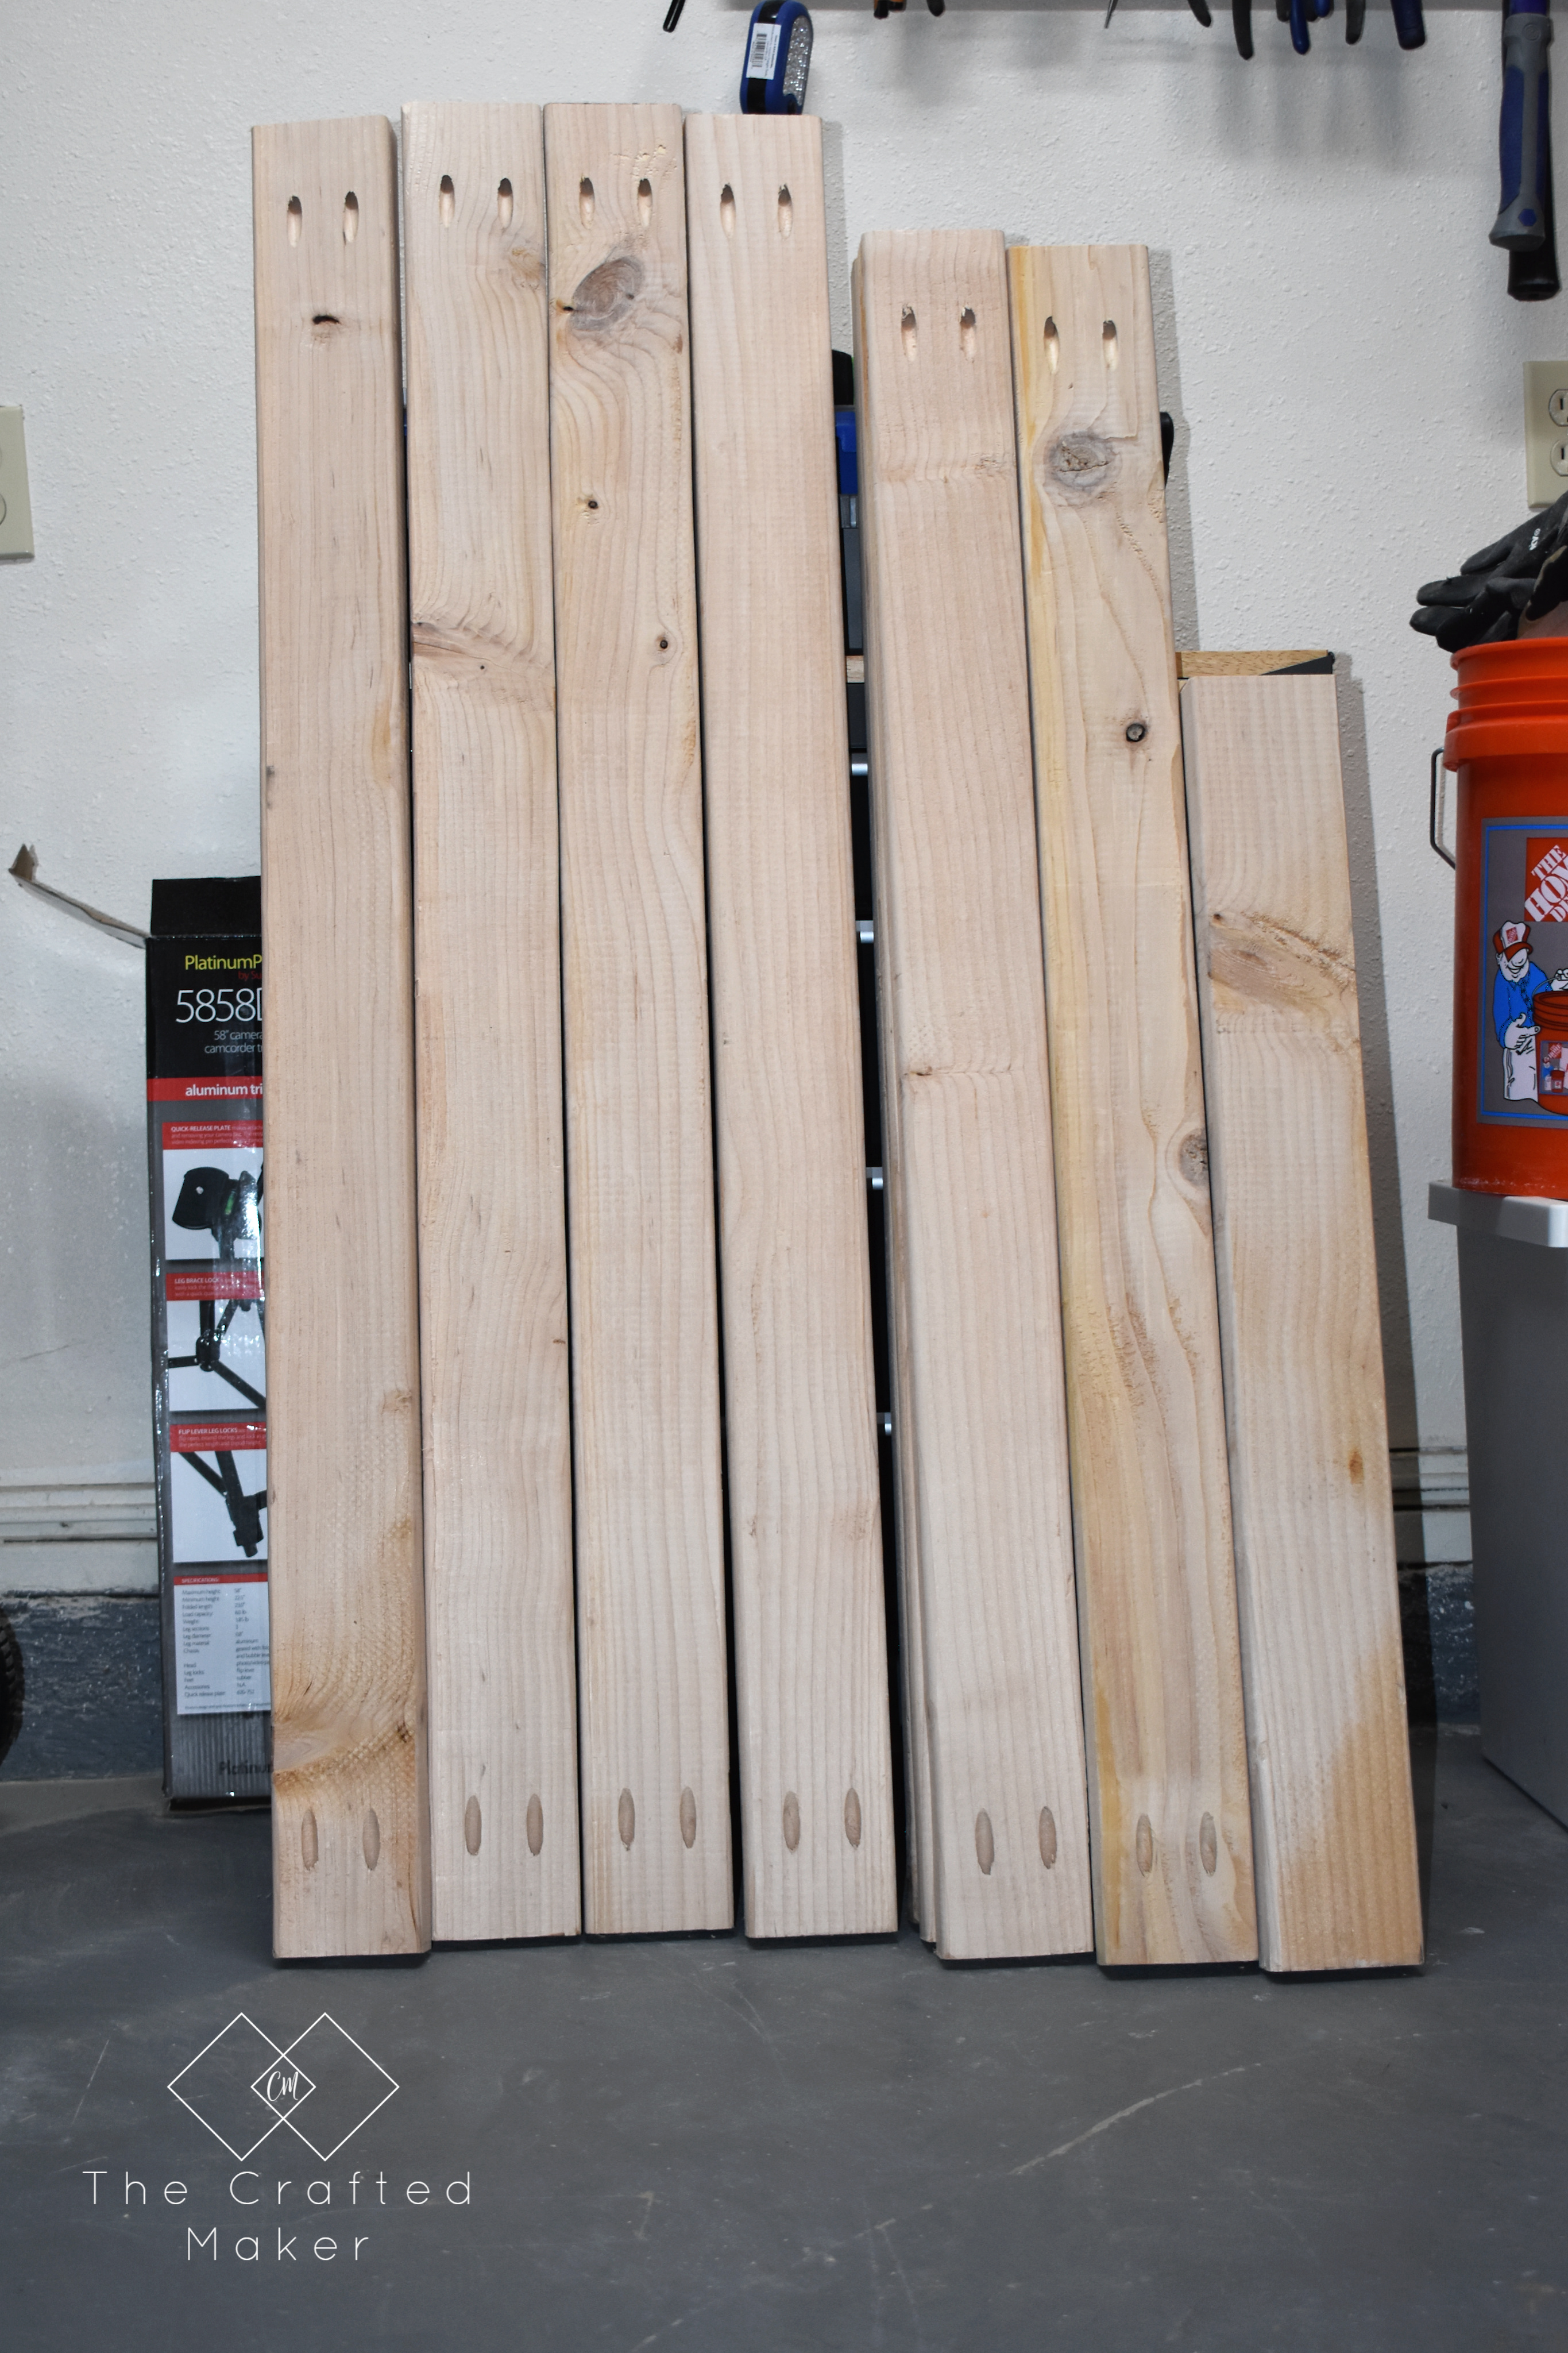
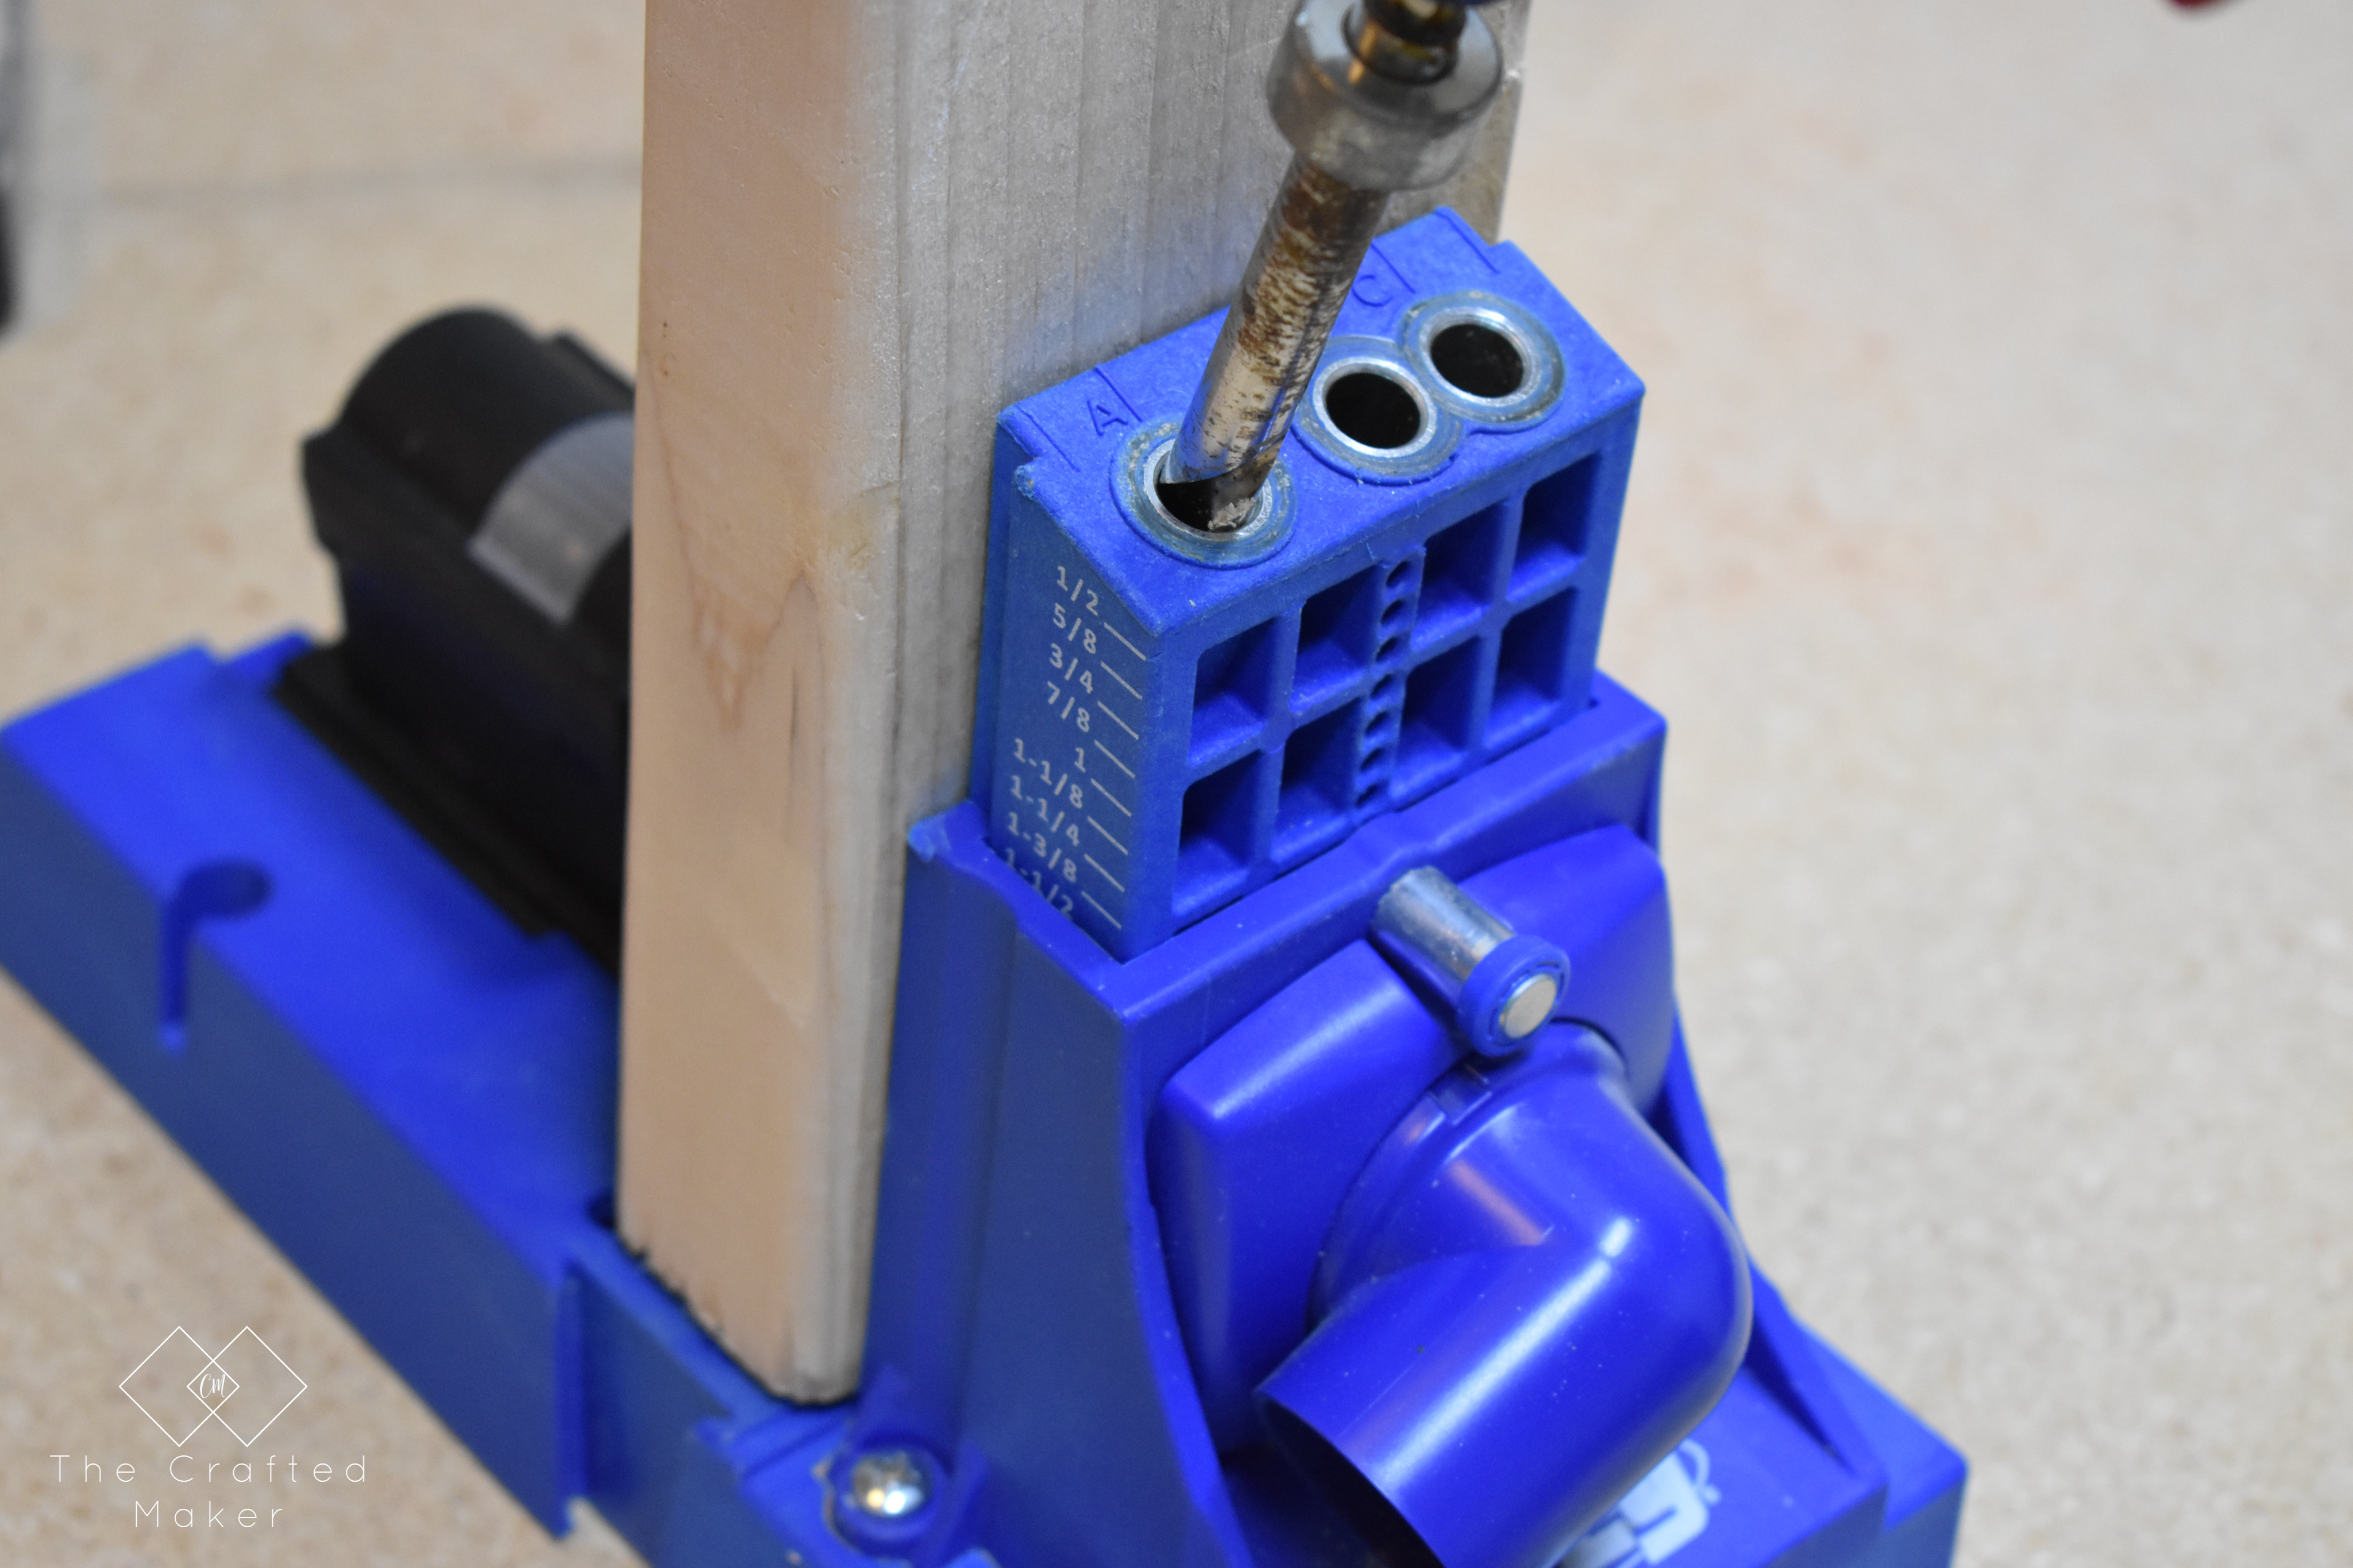
As shown in the picture above, the next step is to cut out the pocket holes. I used my K5 for this and it’s super simple and fast. To get the exact locations, reference the plans.
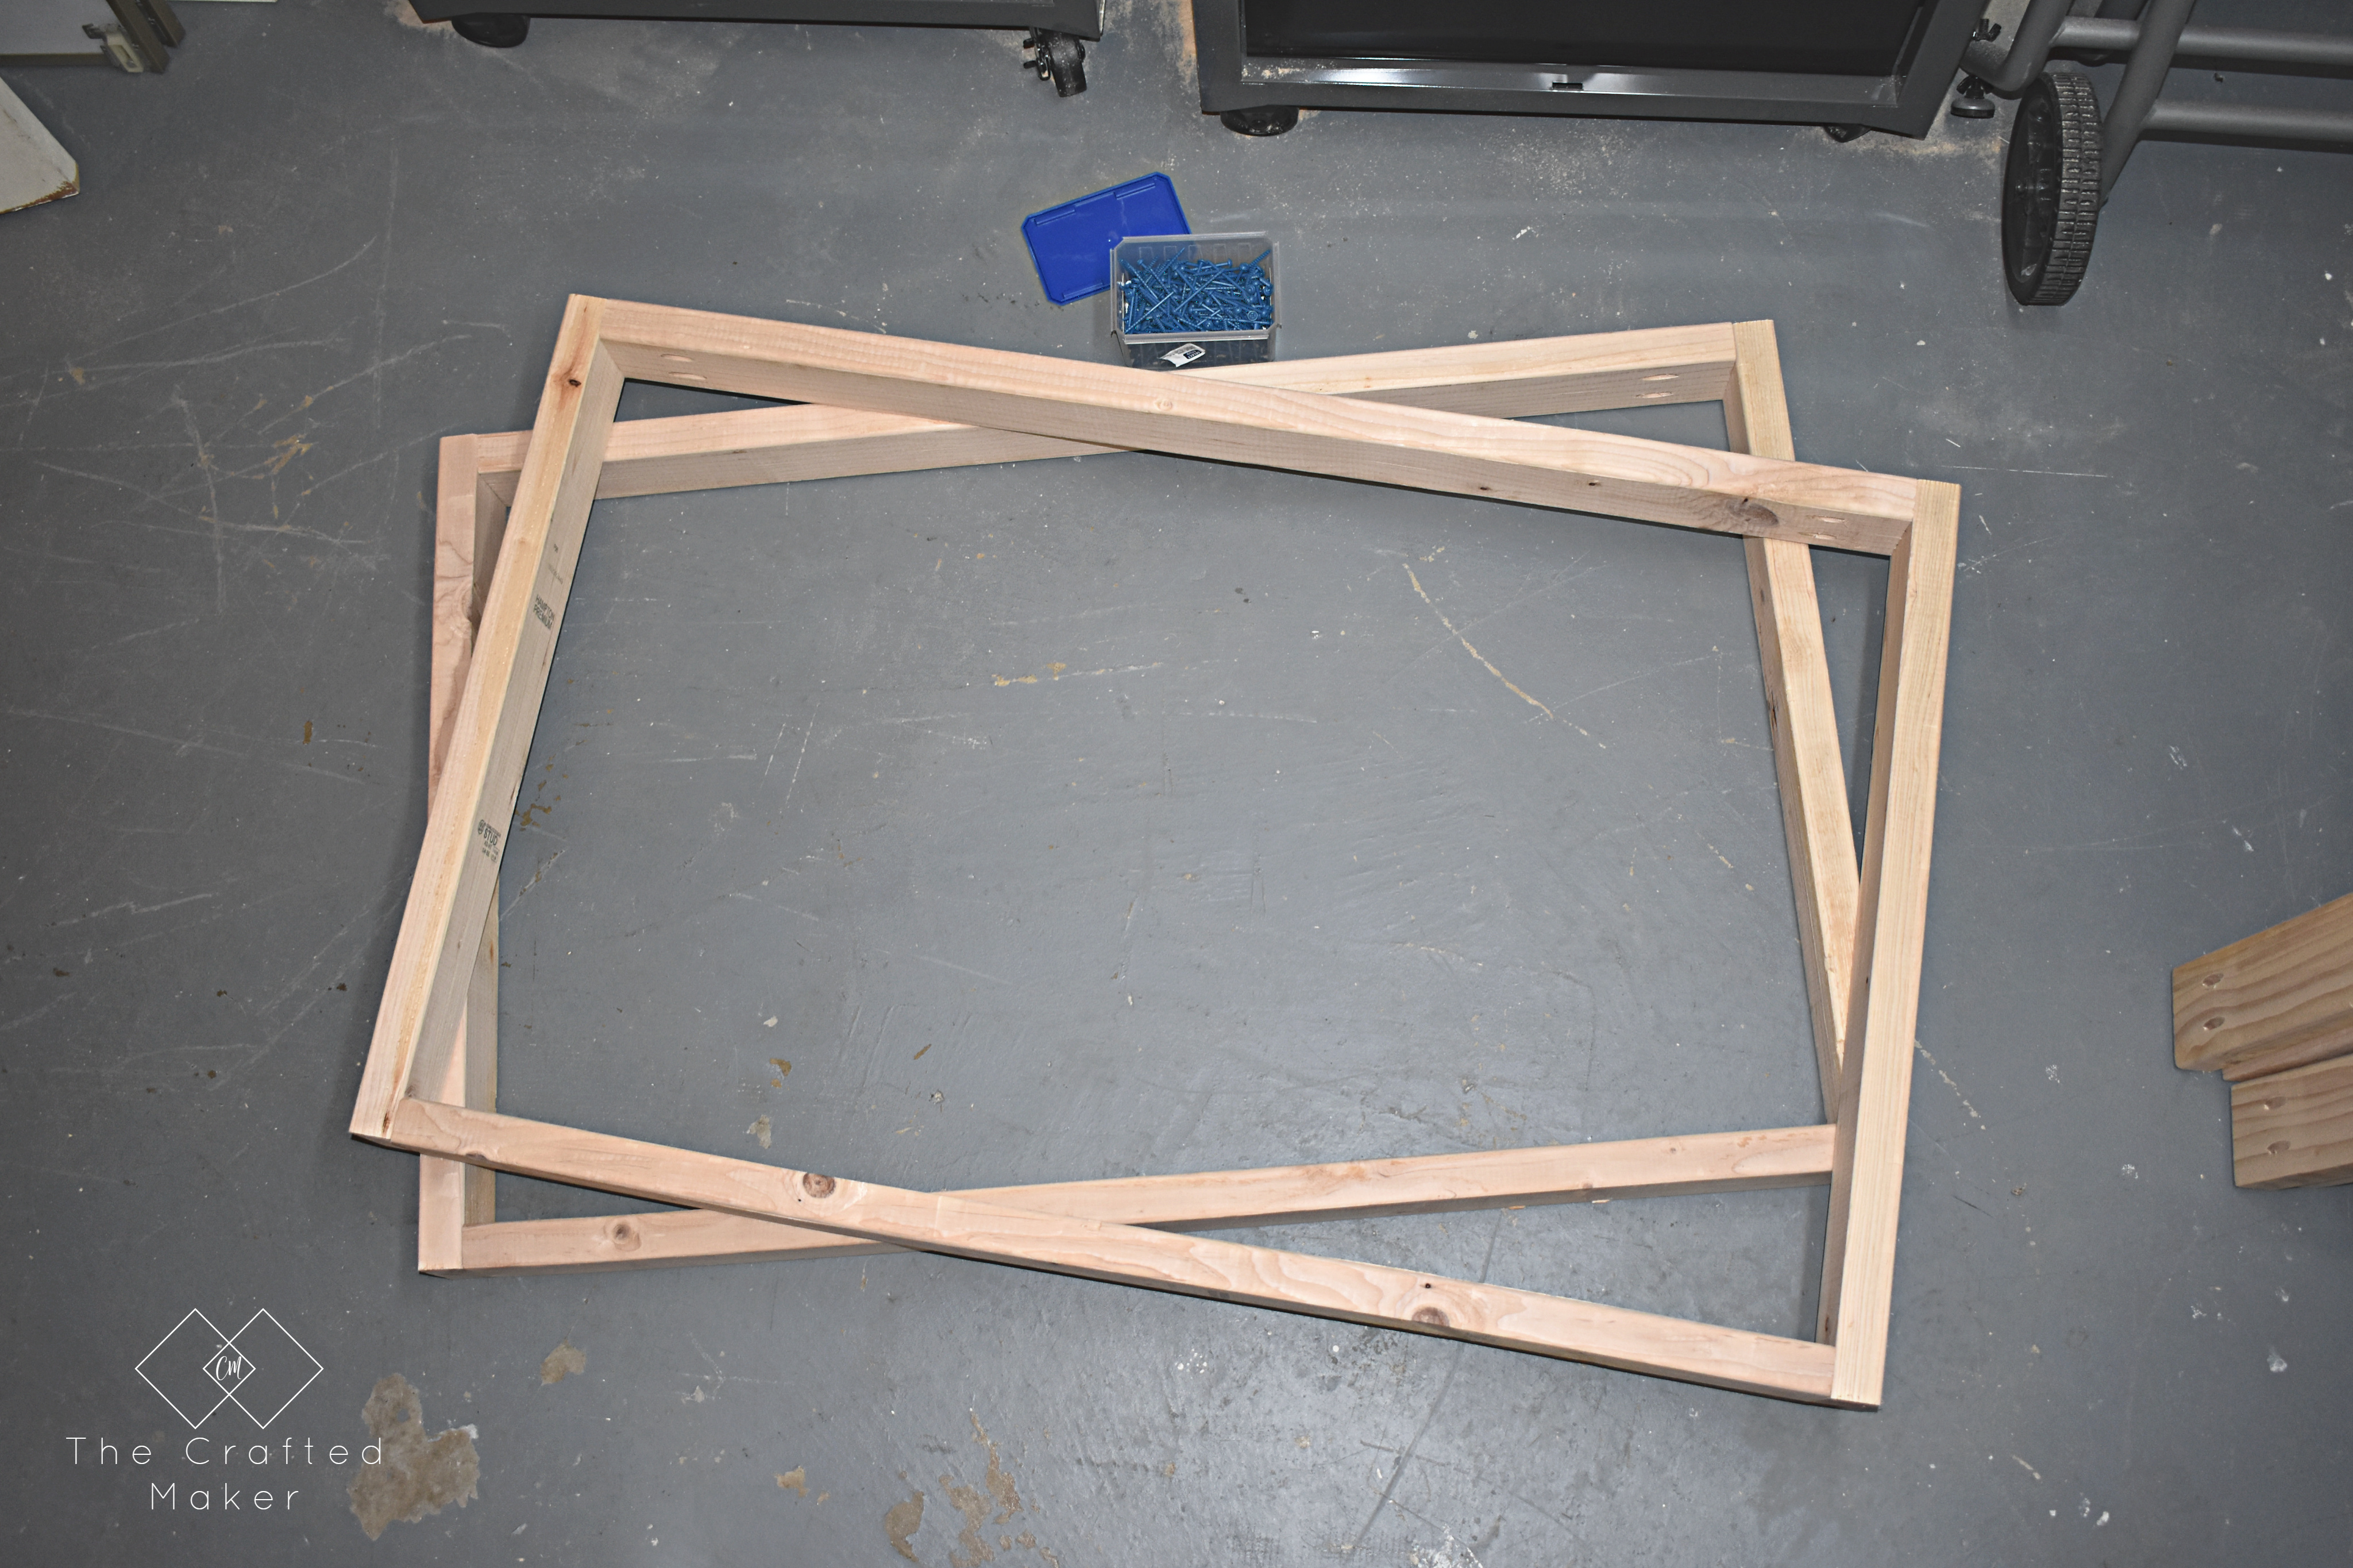
Now time to start assembling the base of the workbench. You will essentially be making two rectangle boxes, to begin with.
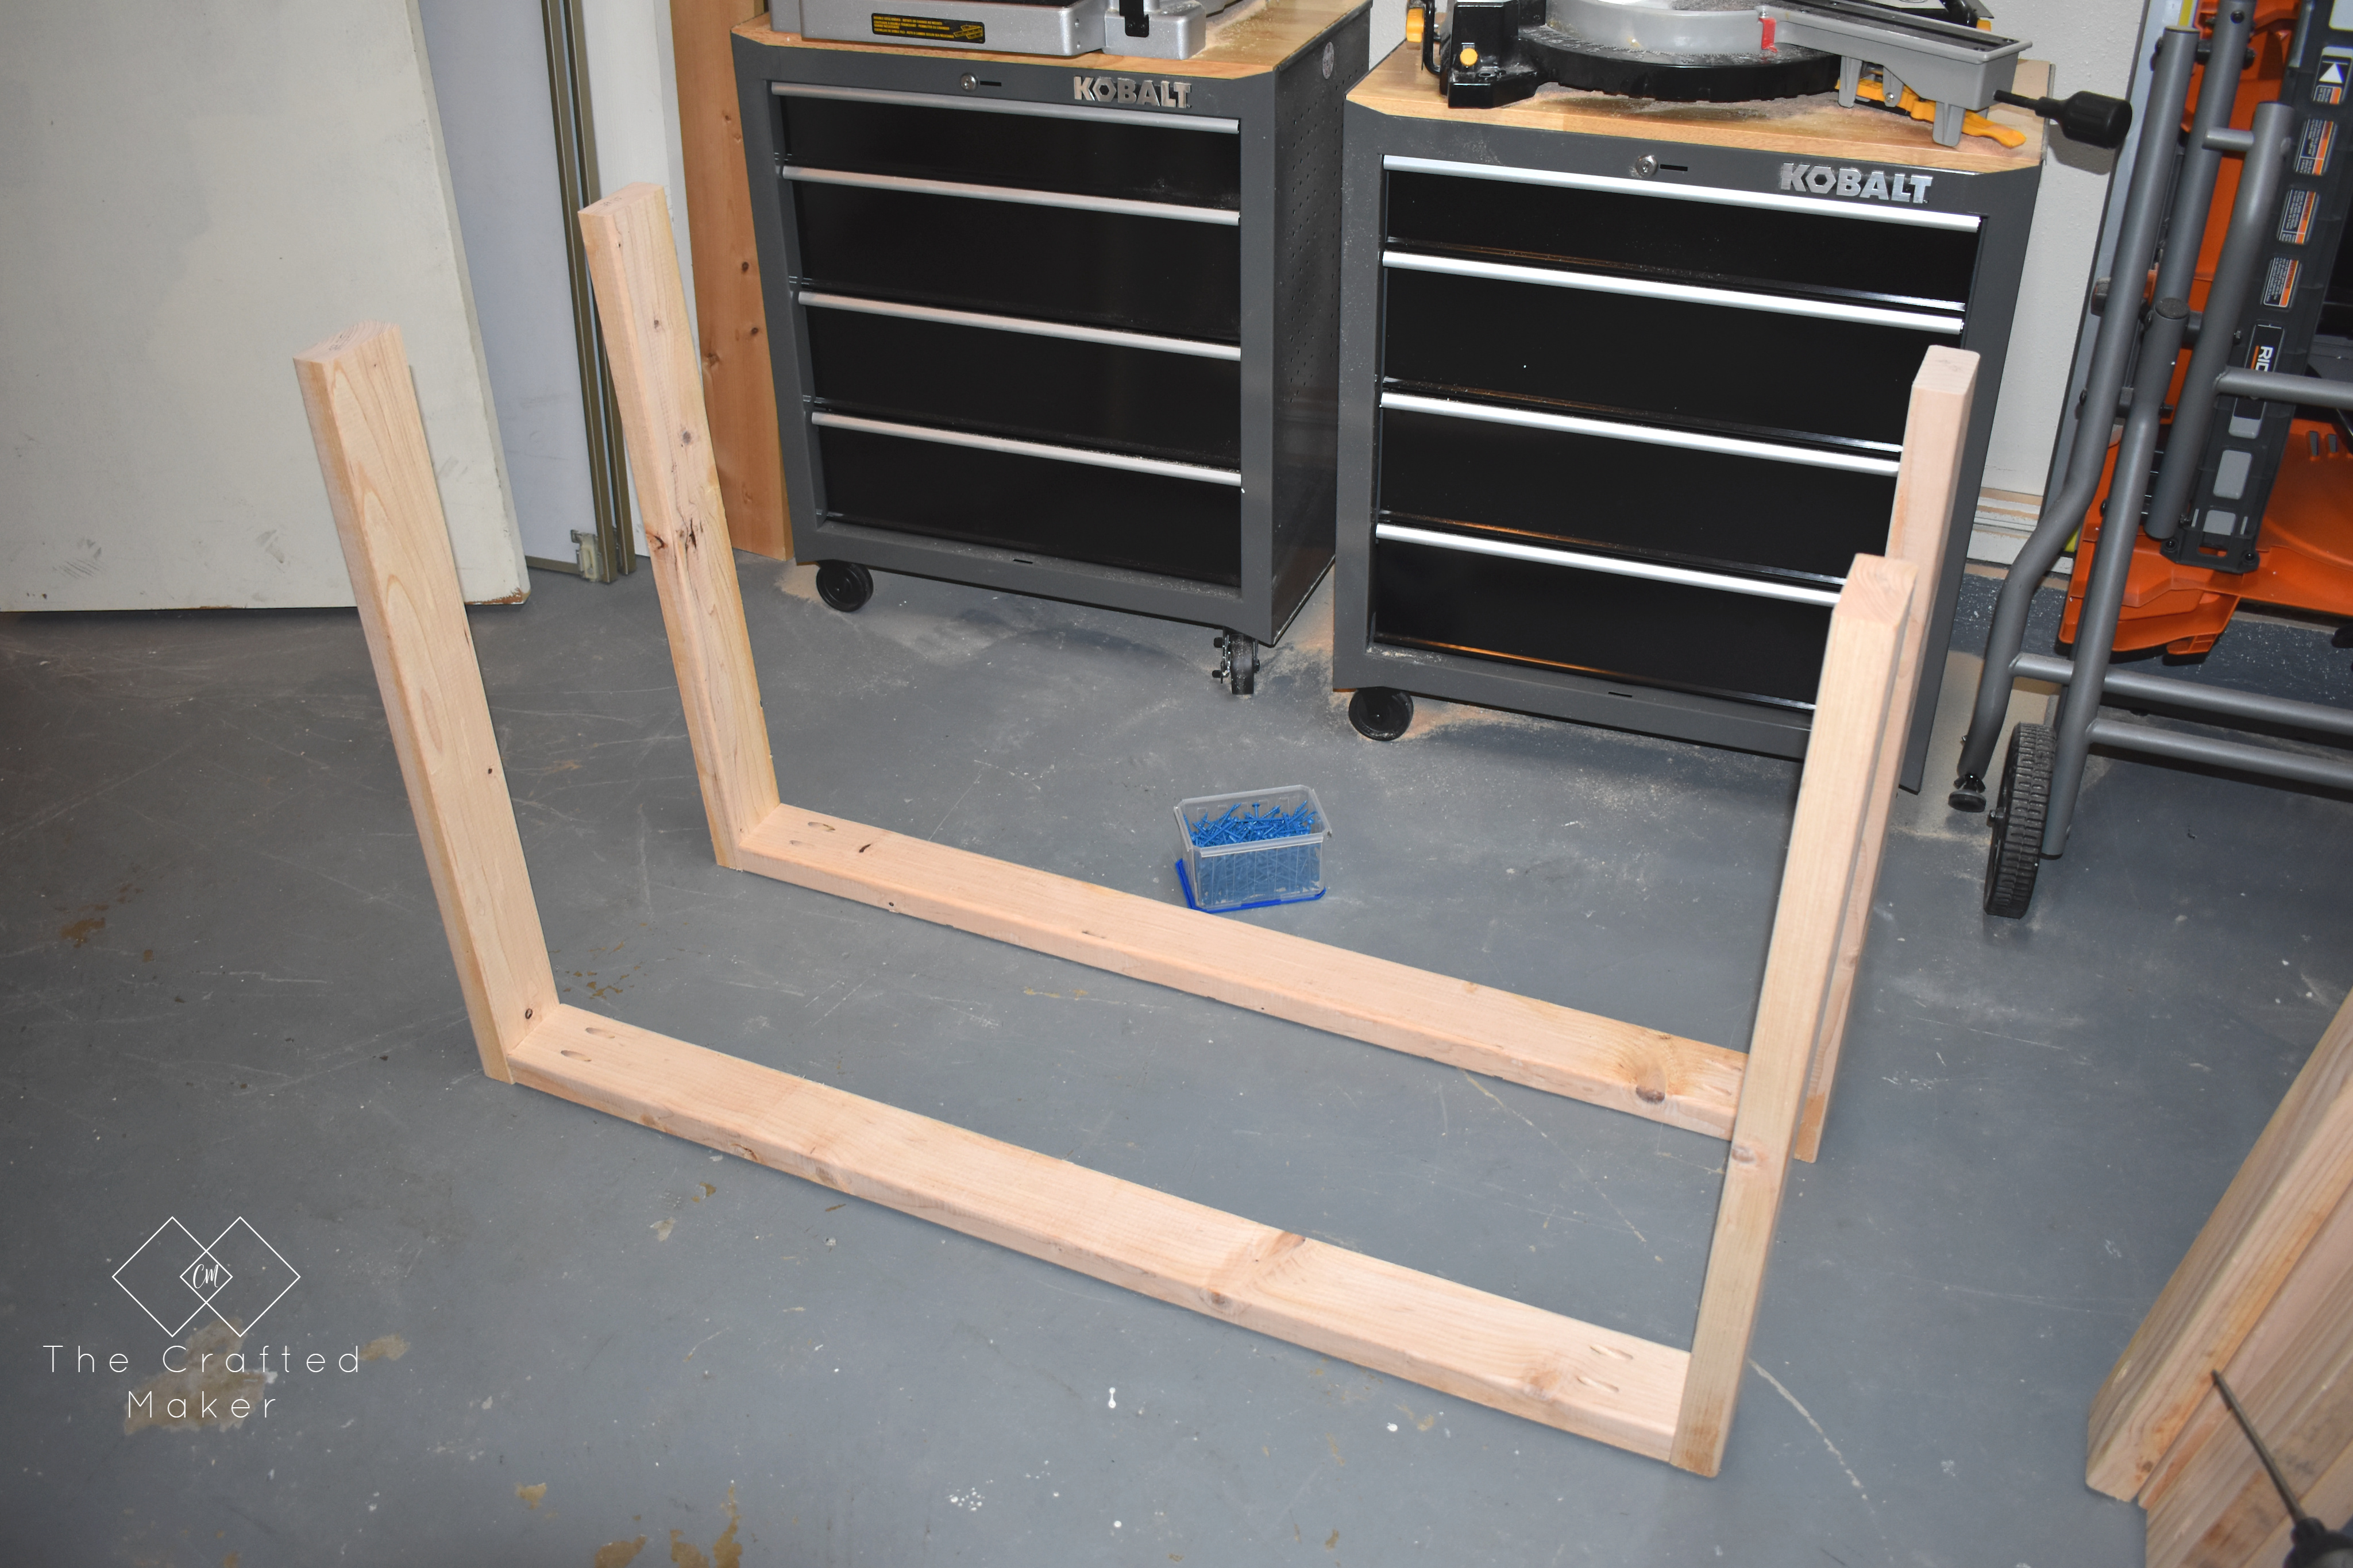
Once those are assembled, stand them on their sides and attach the bottom supports, connecting the two together.
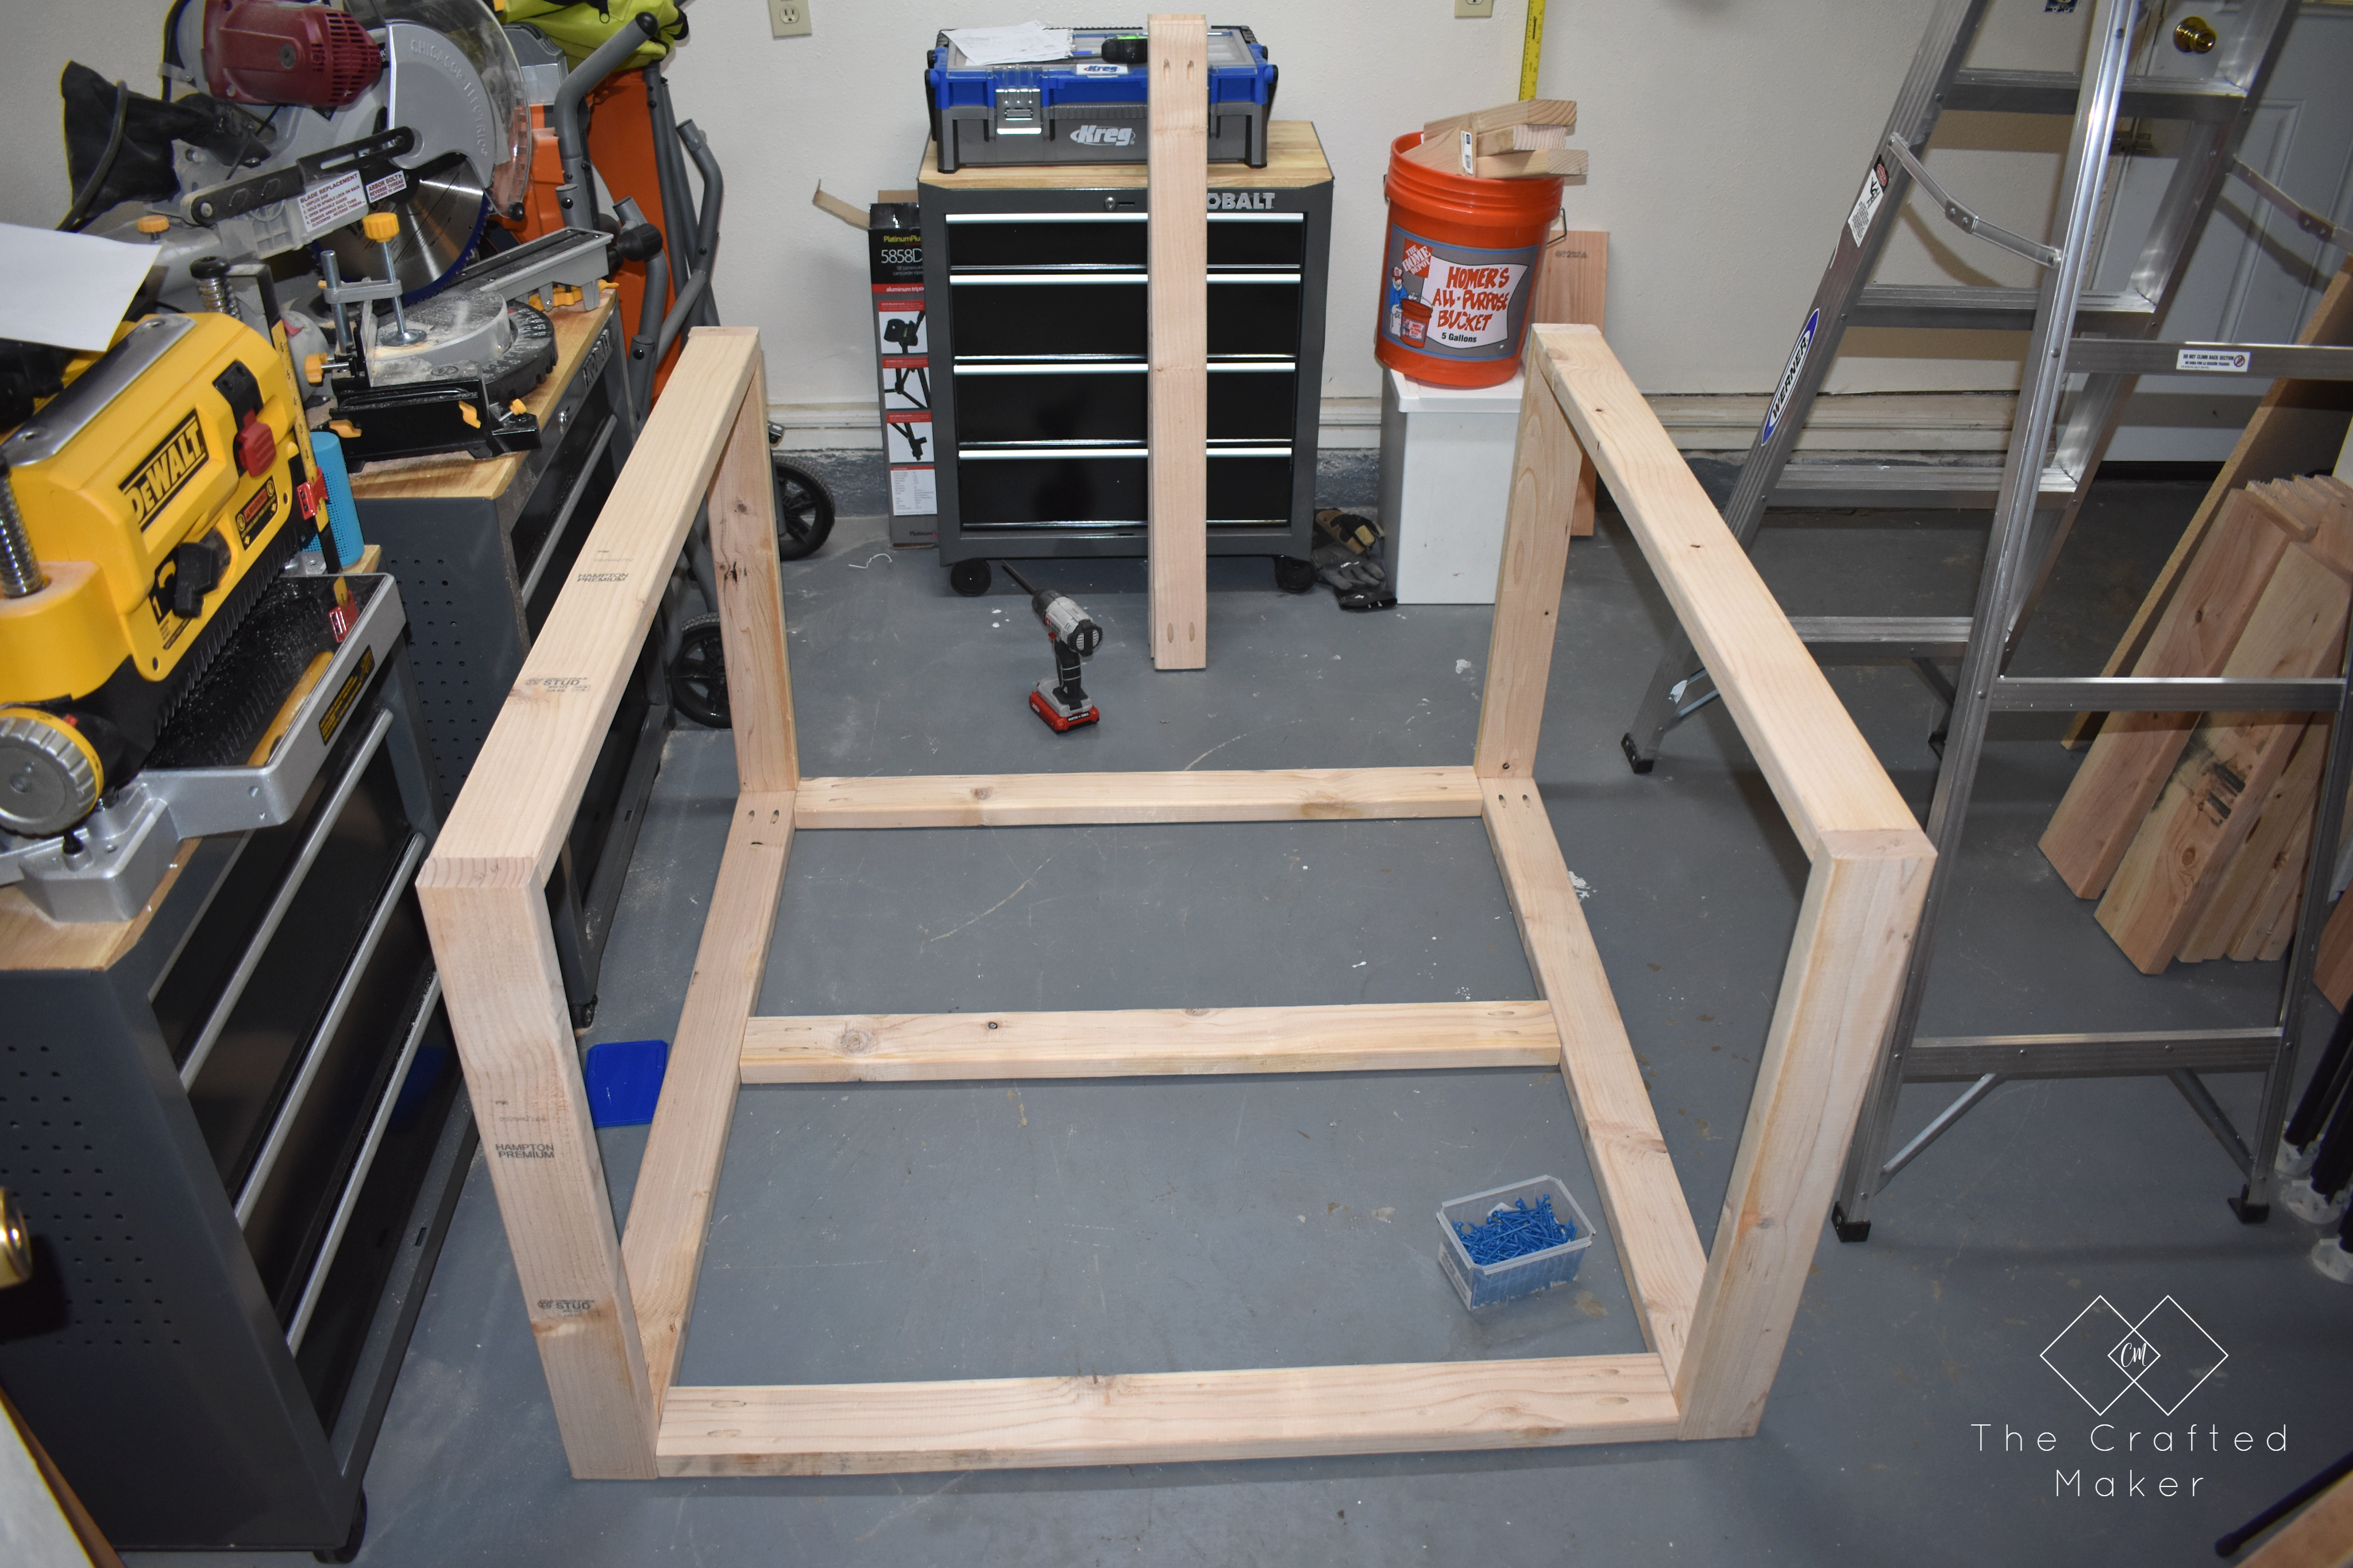
Then, move on to the top supports.
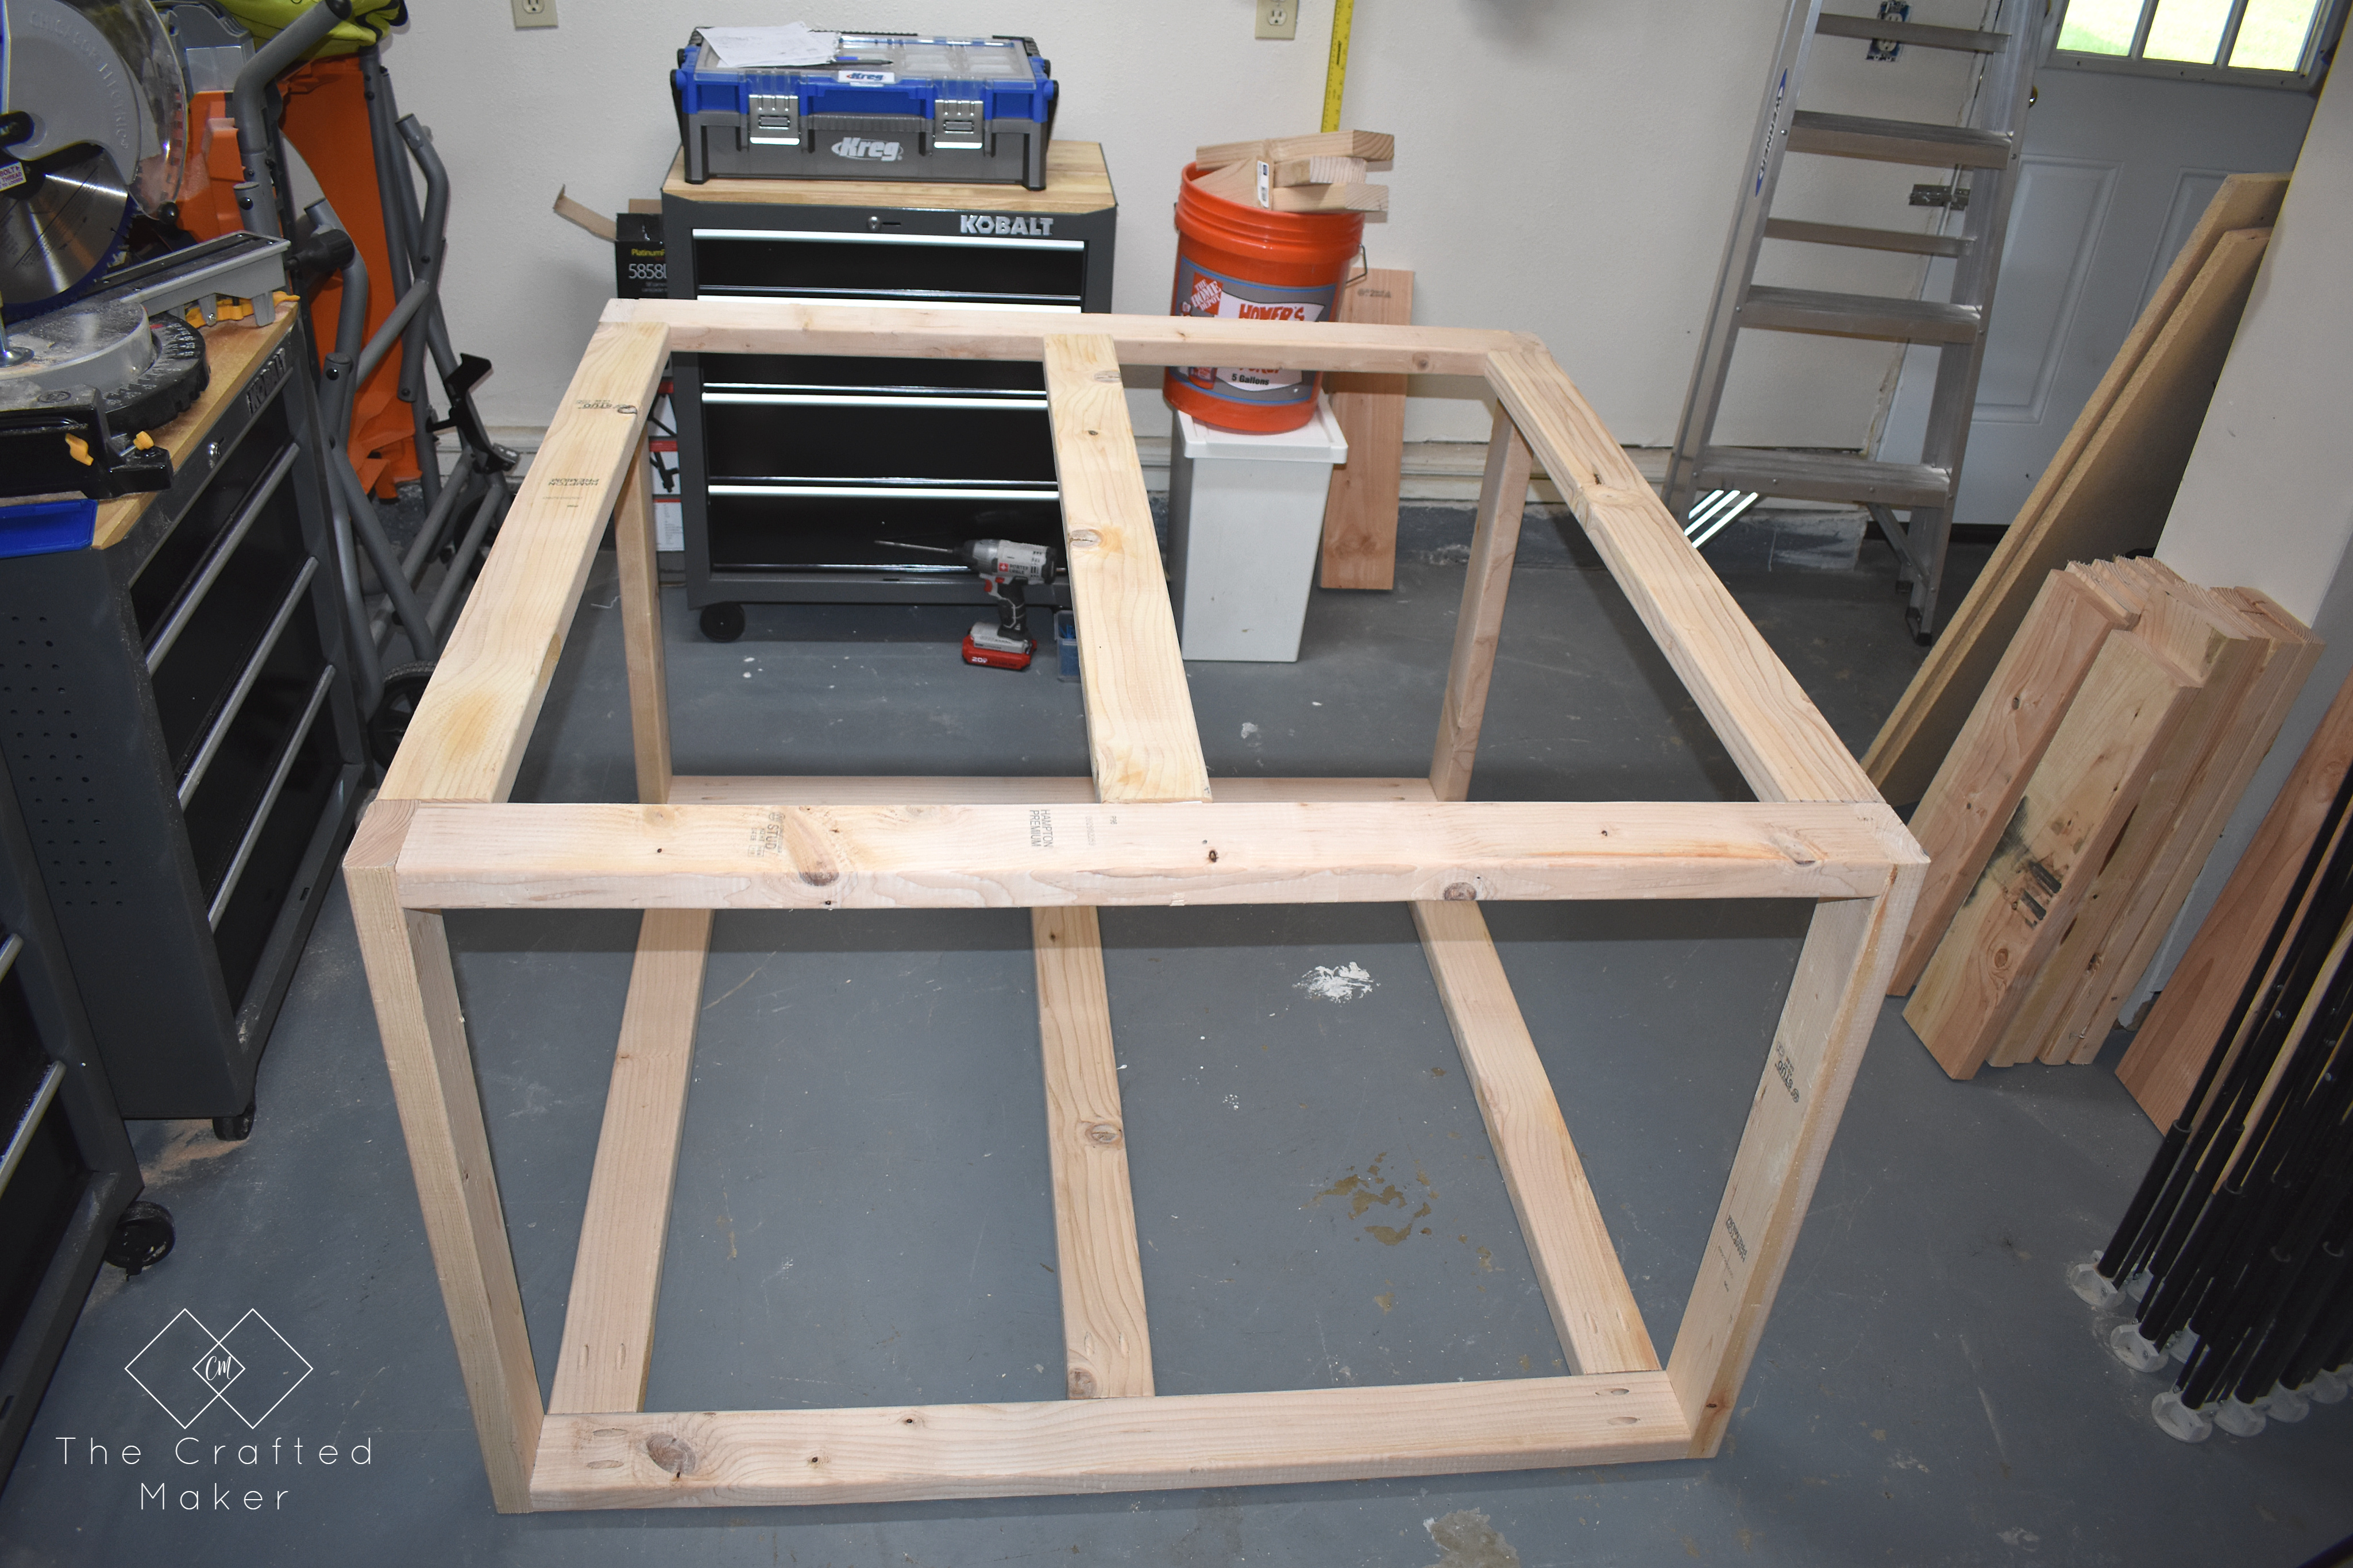
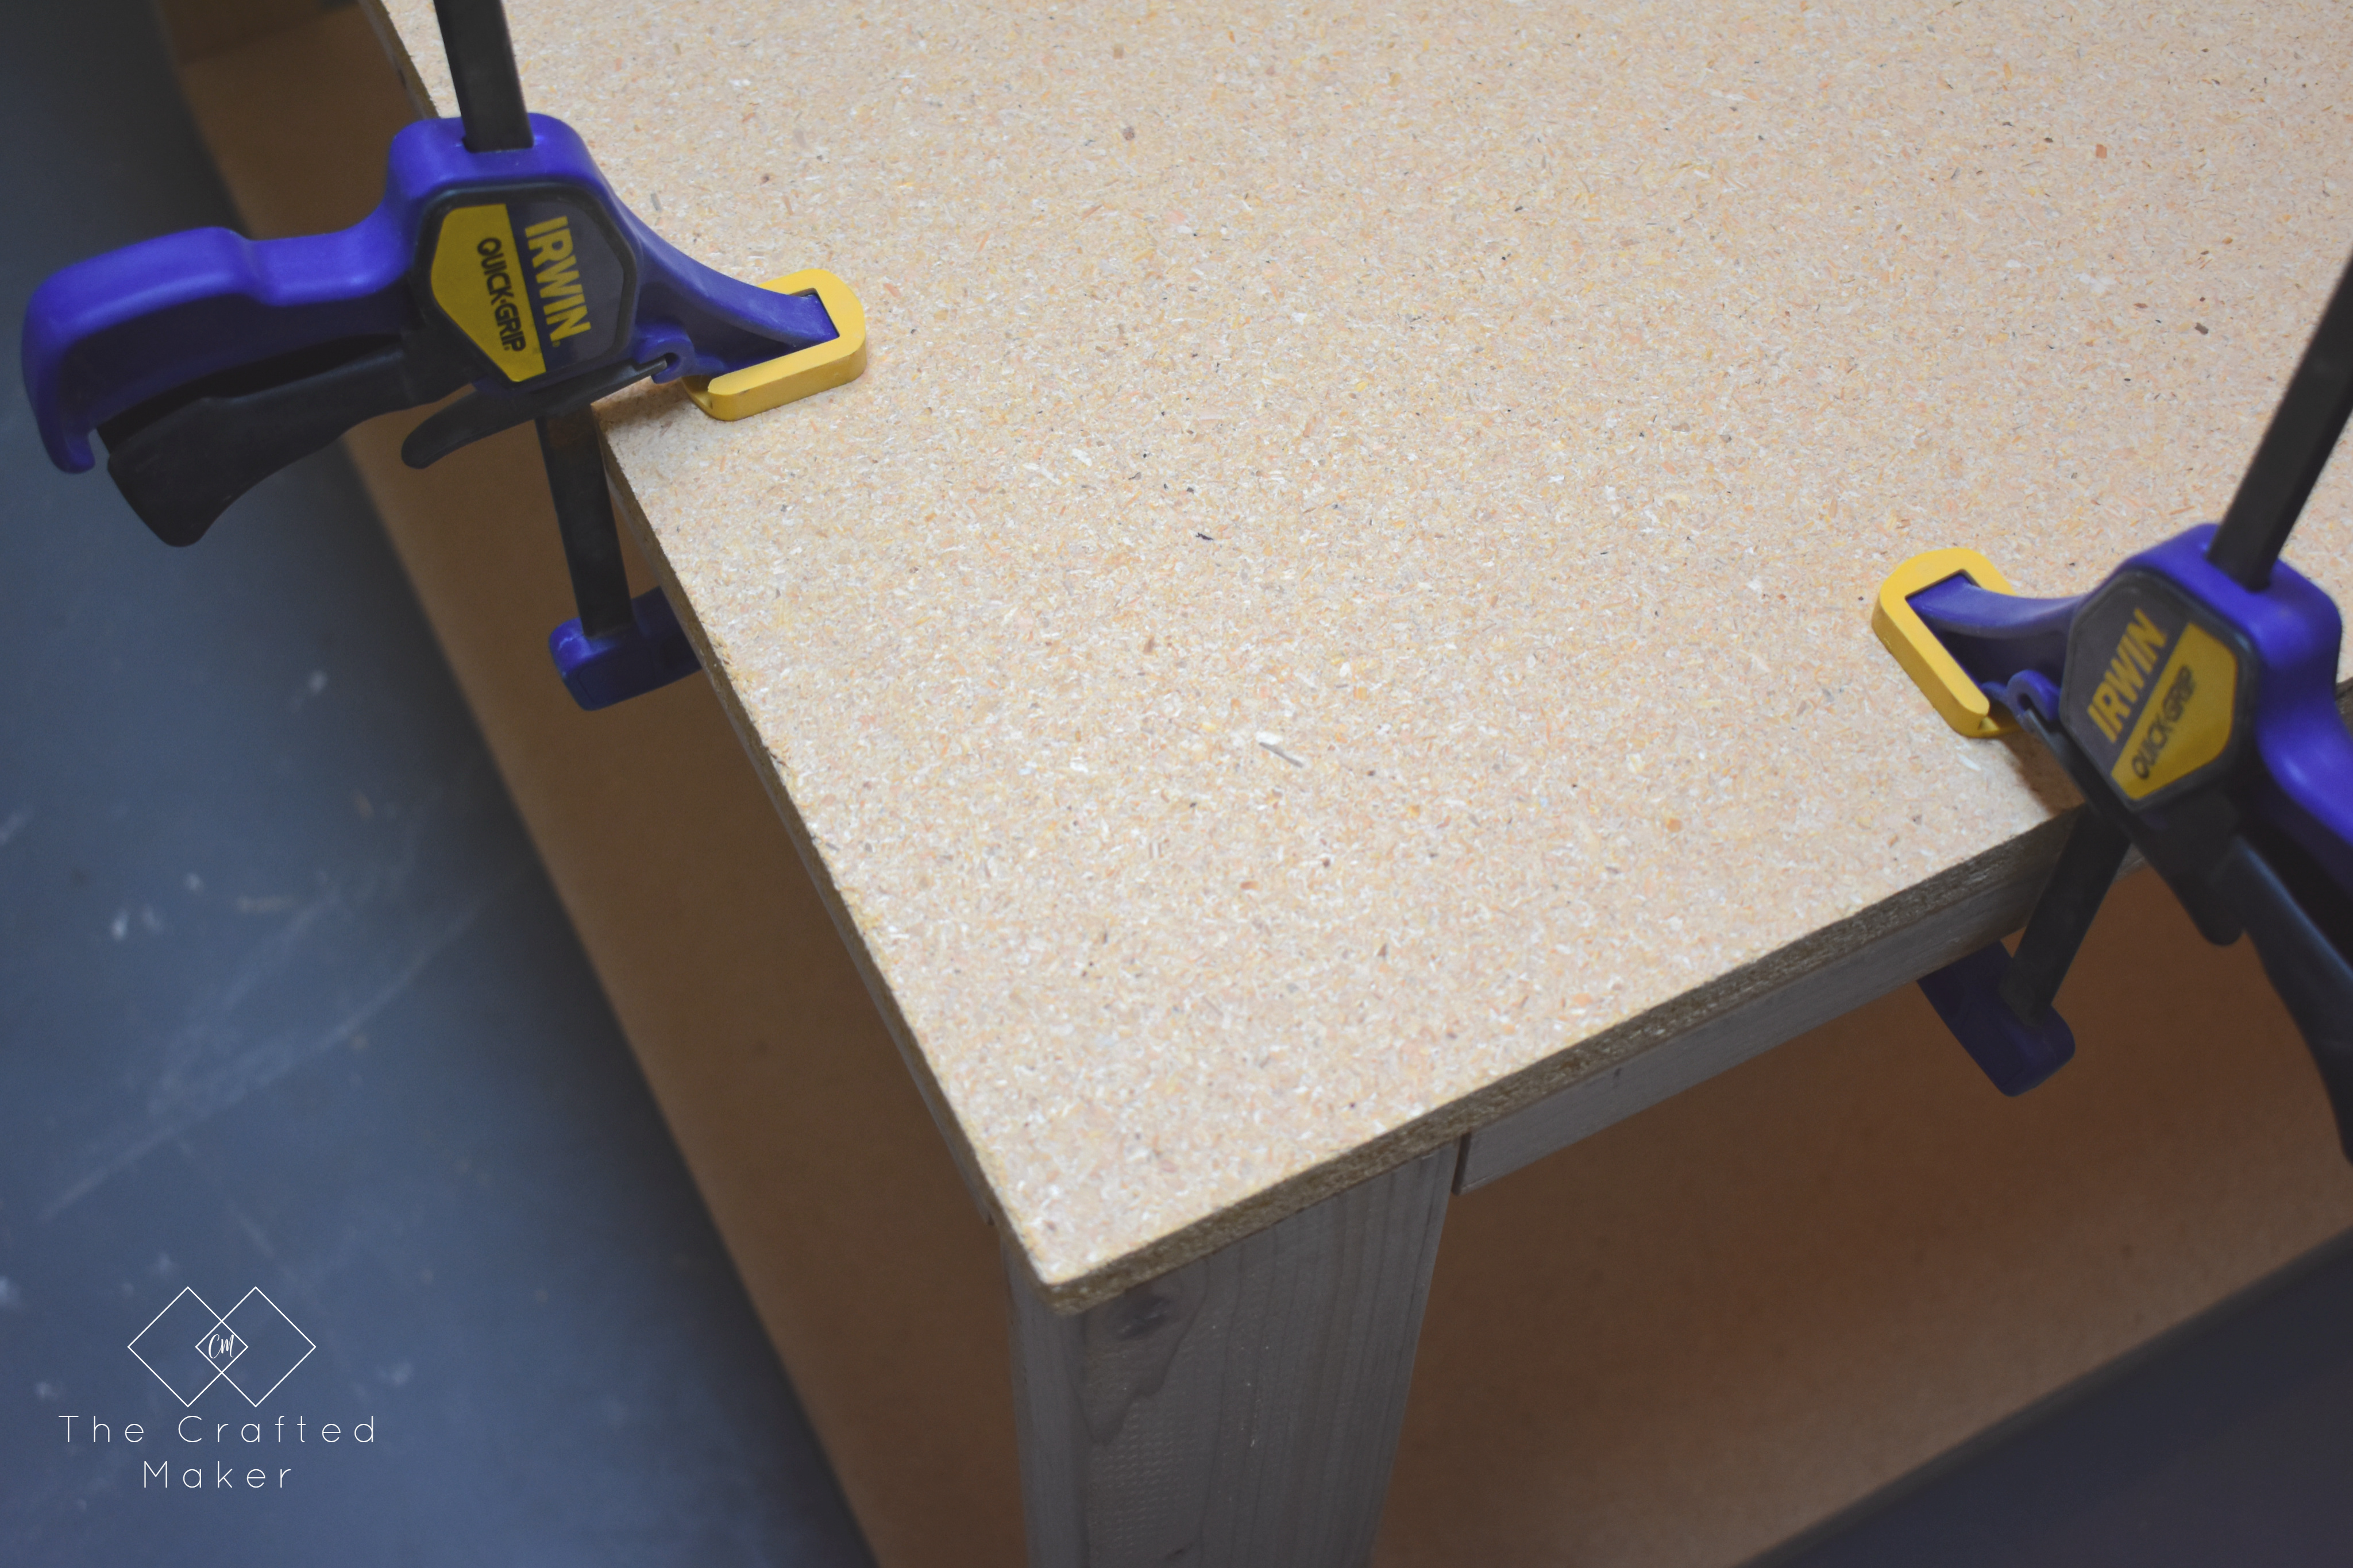
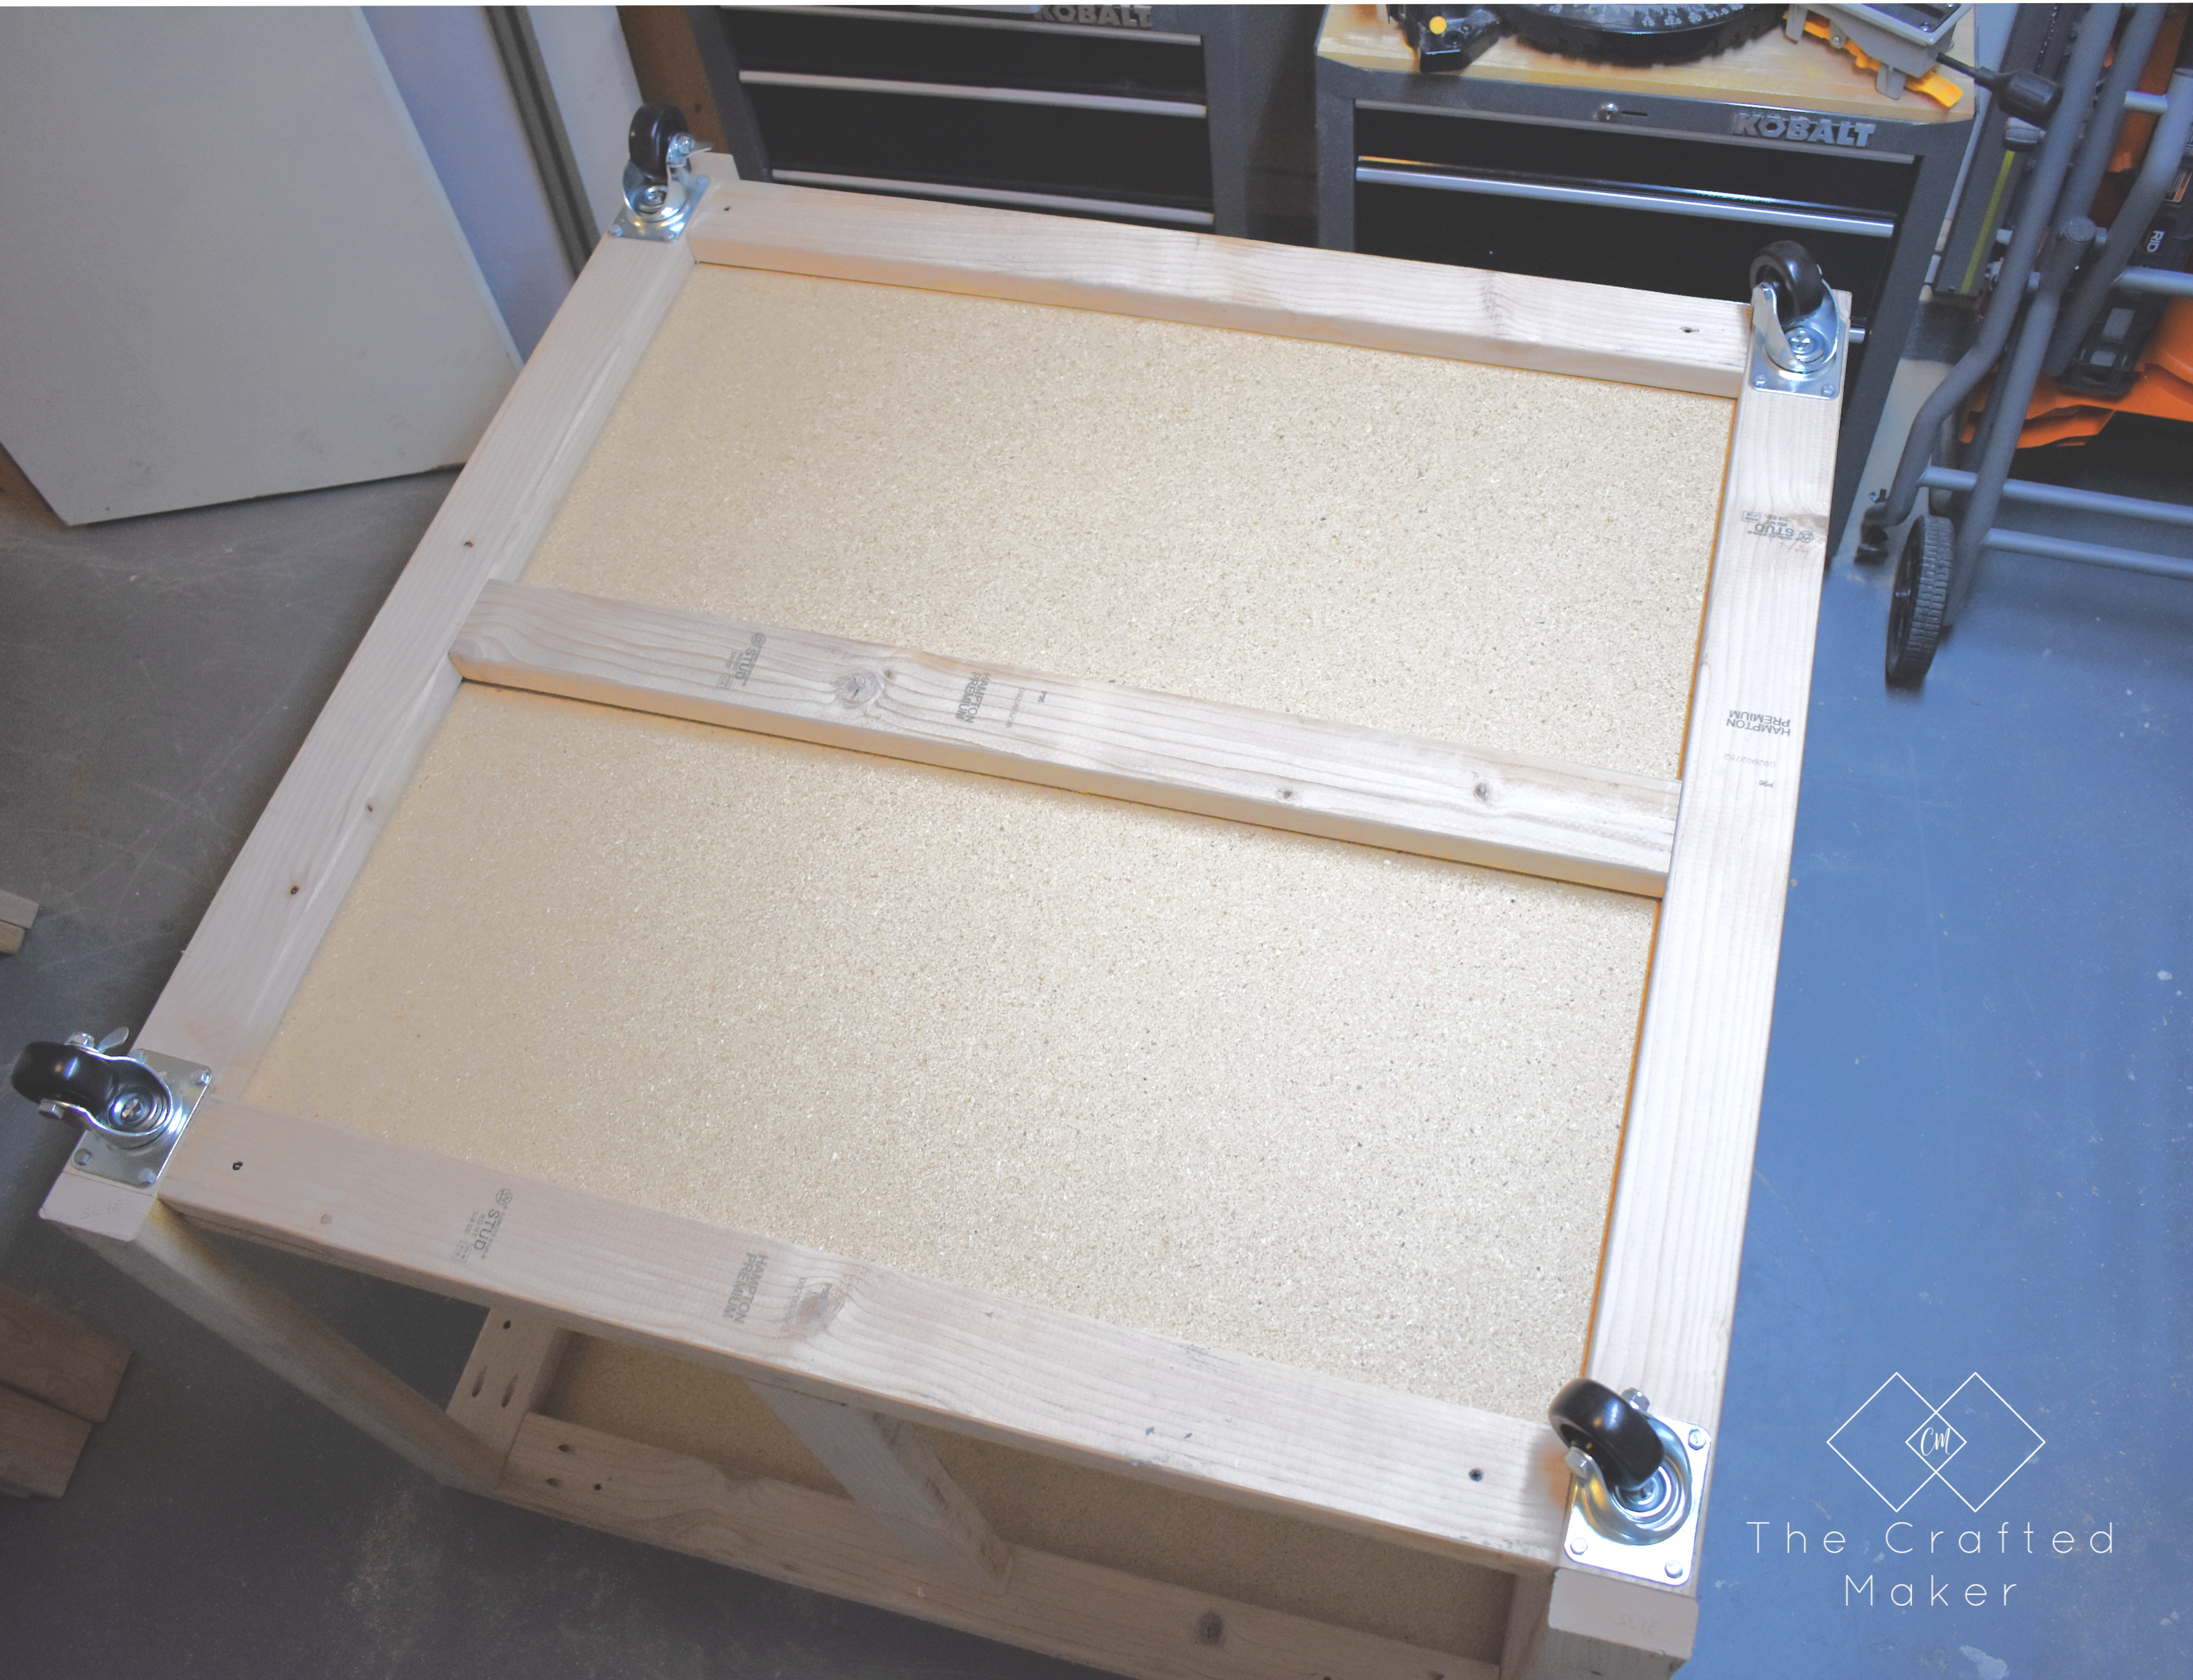
The base is finished, now onto the top and bottom shelves. Attach these with the wood screws. I attached mine through the bottom, using clamps to hold them in place.
Not pictured, two 2 x 4 boards were attached in the middle of two sides facing each other for added support.
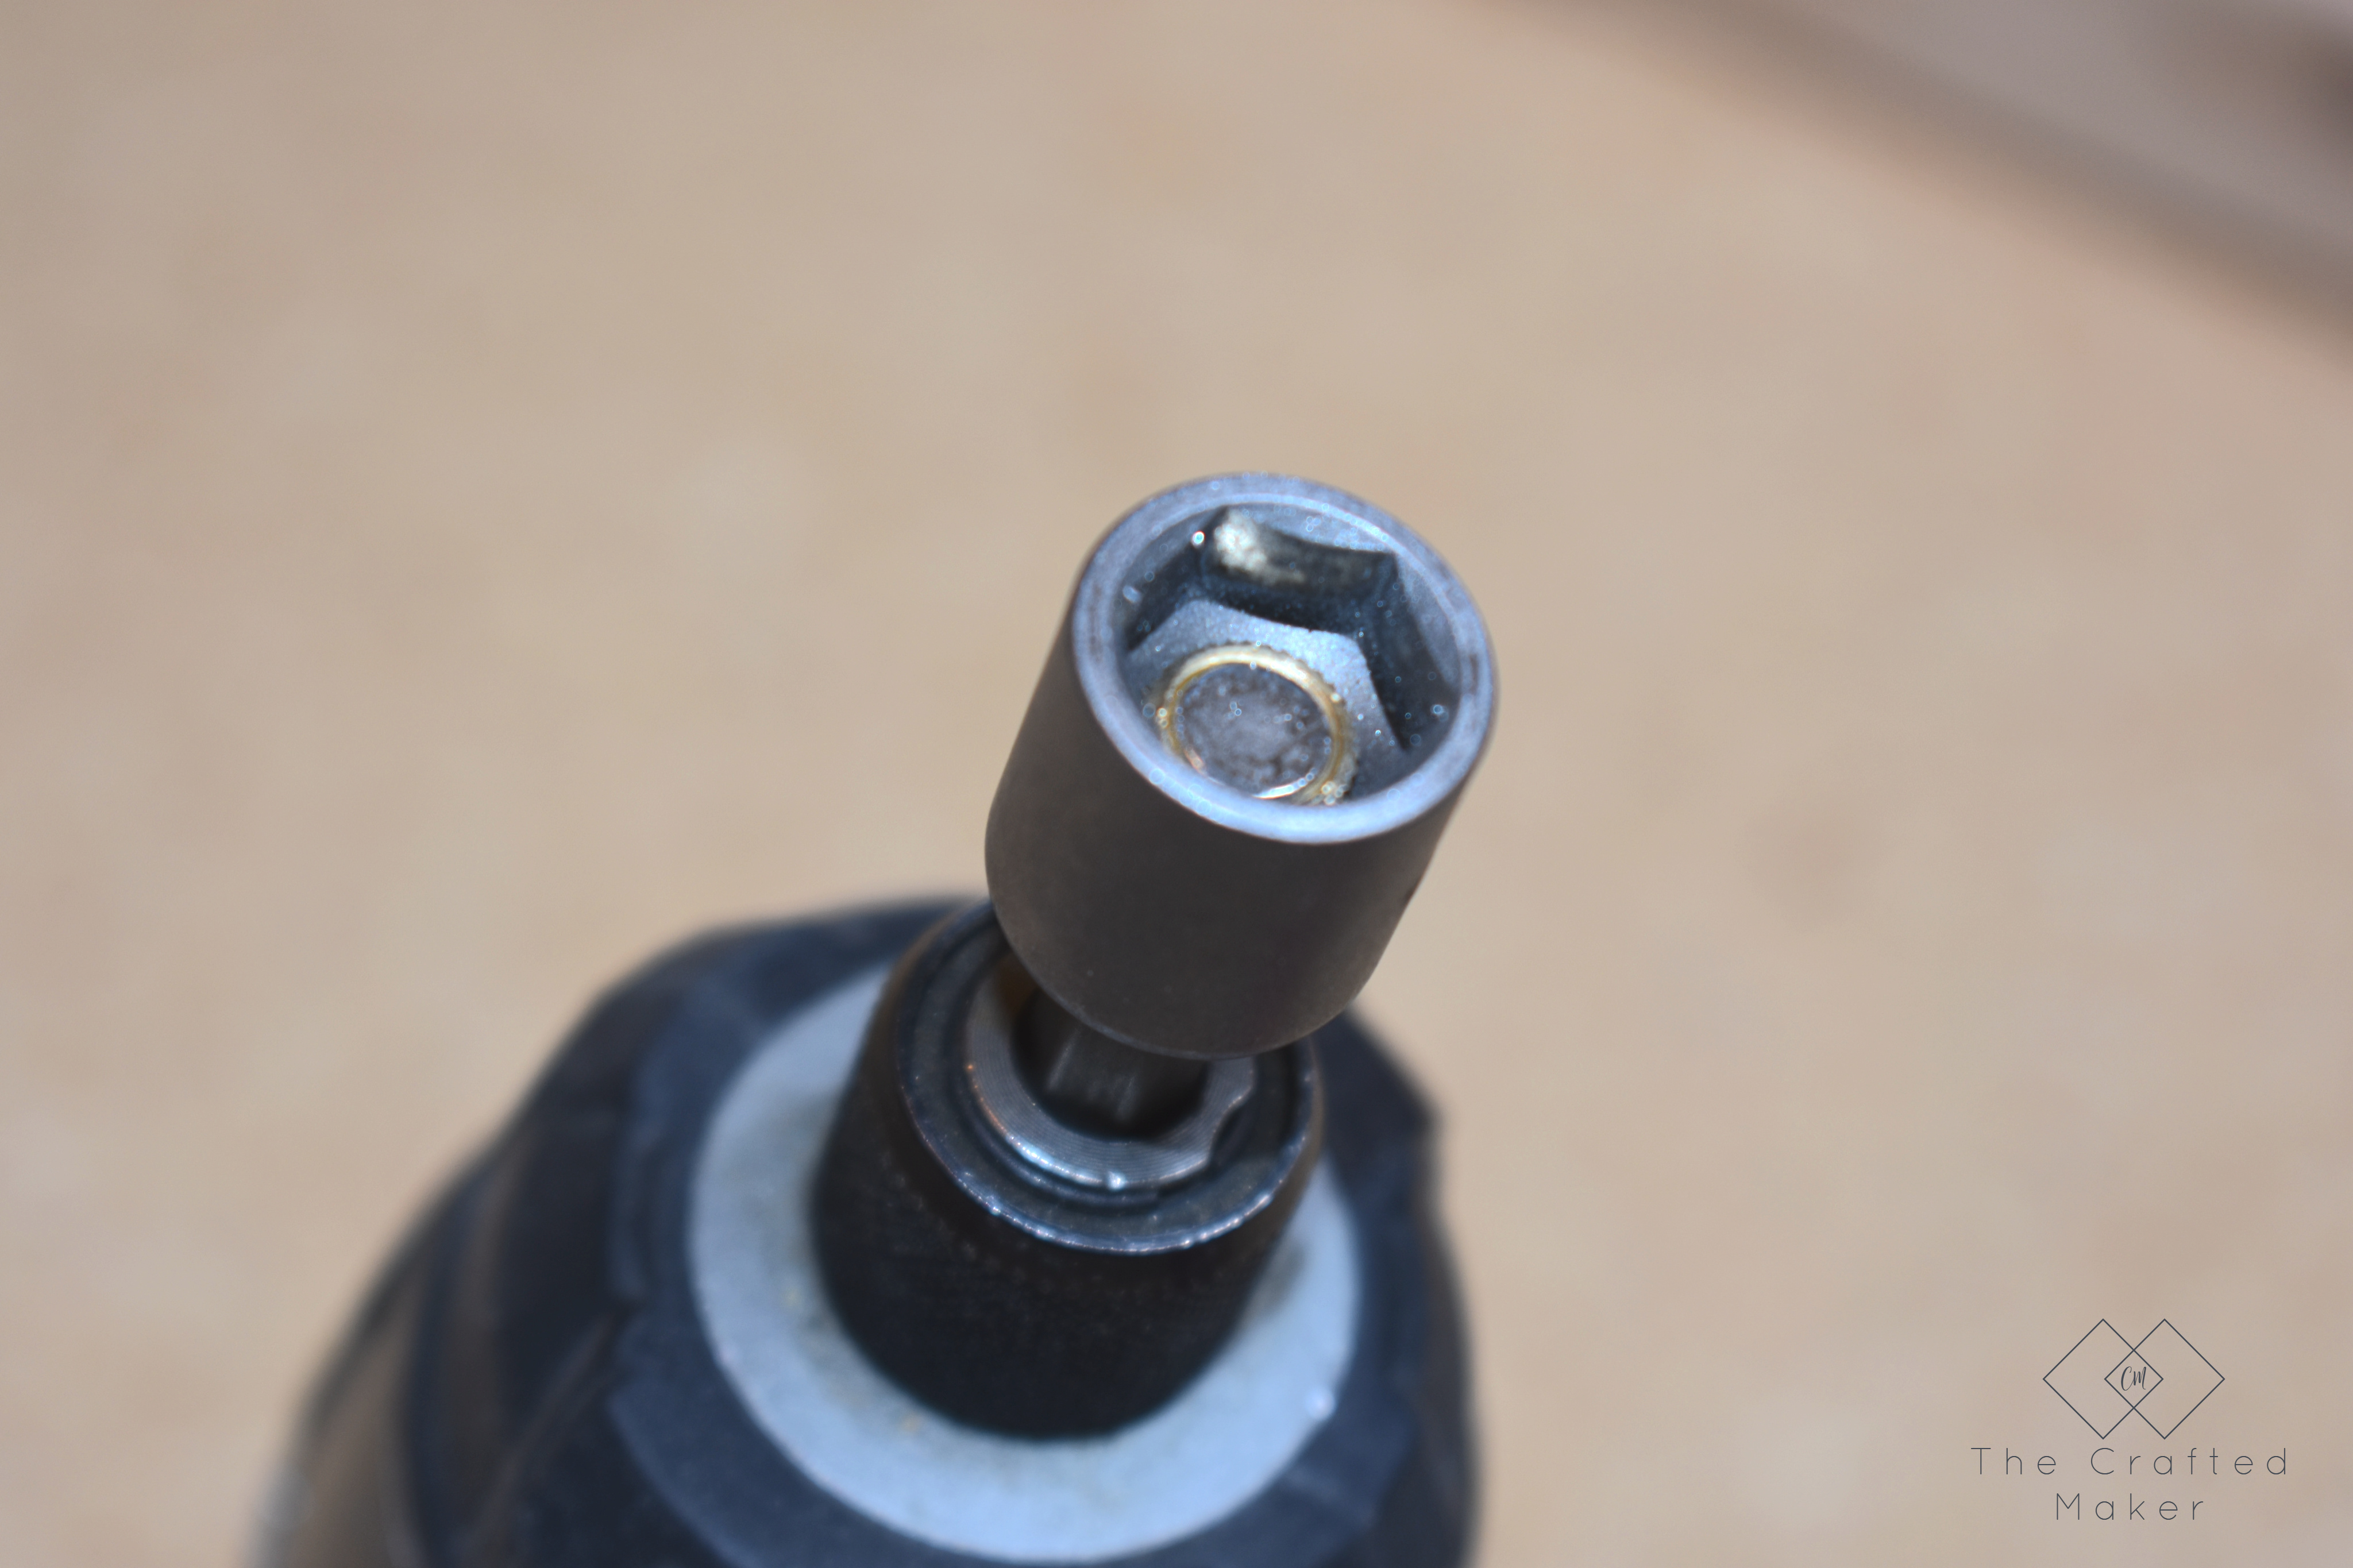
Now time for the mobility factor!! Adding the casters is pretty easy. Flip the workbench either on its side or completely over. Add a caster to each corner. If you have locking casters, keep the positioning in mind when attaching them. The casters I used had hex screws, so I used a hex driver bit in my driver.
This new workbench is a lifesaver and is already getting a ton of use. If some of you decide to build this, I hope you make many, many projects on it while having a blast!
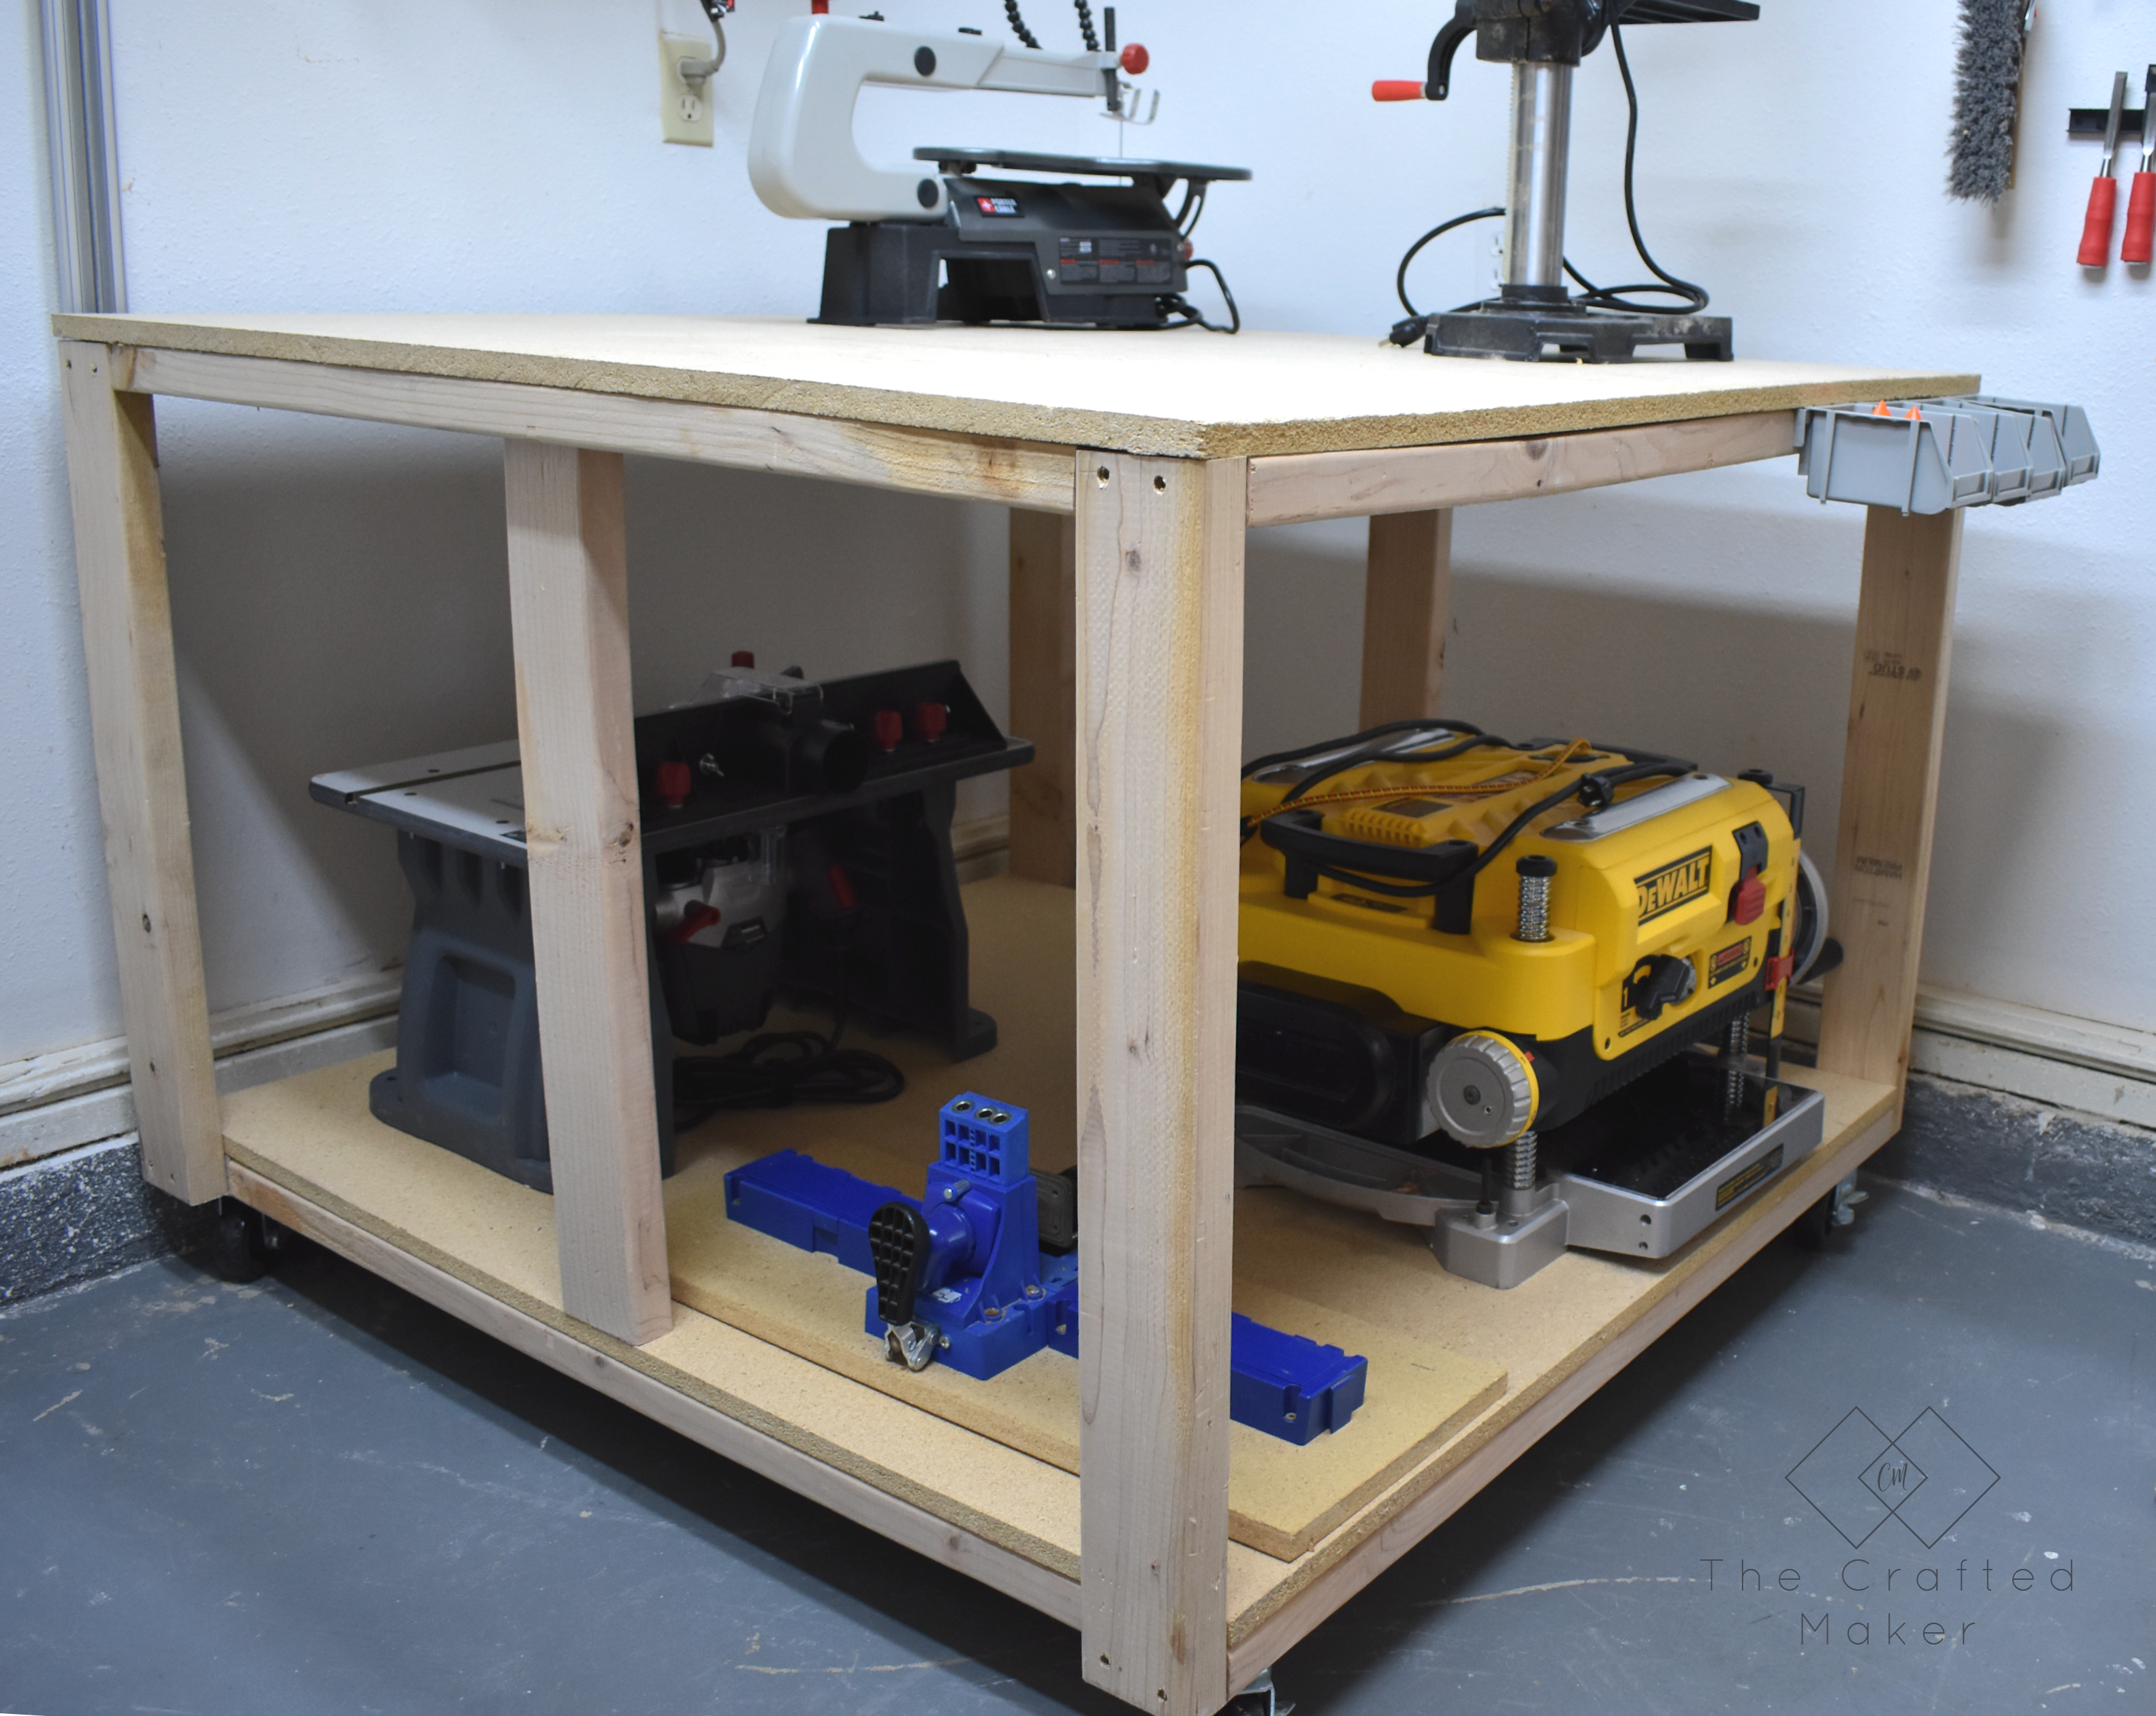
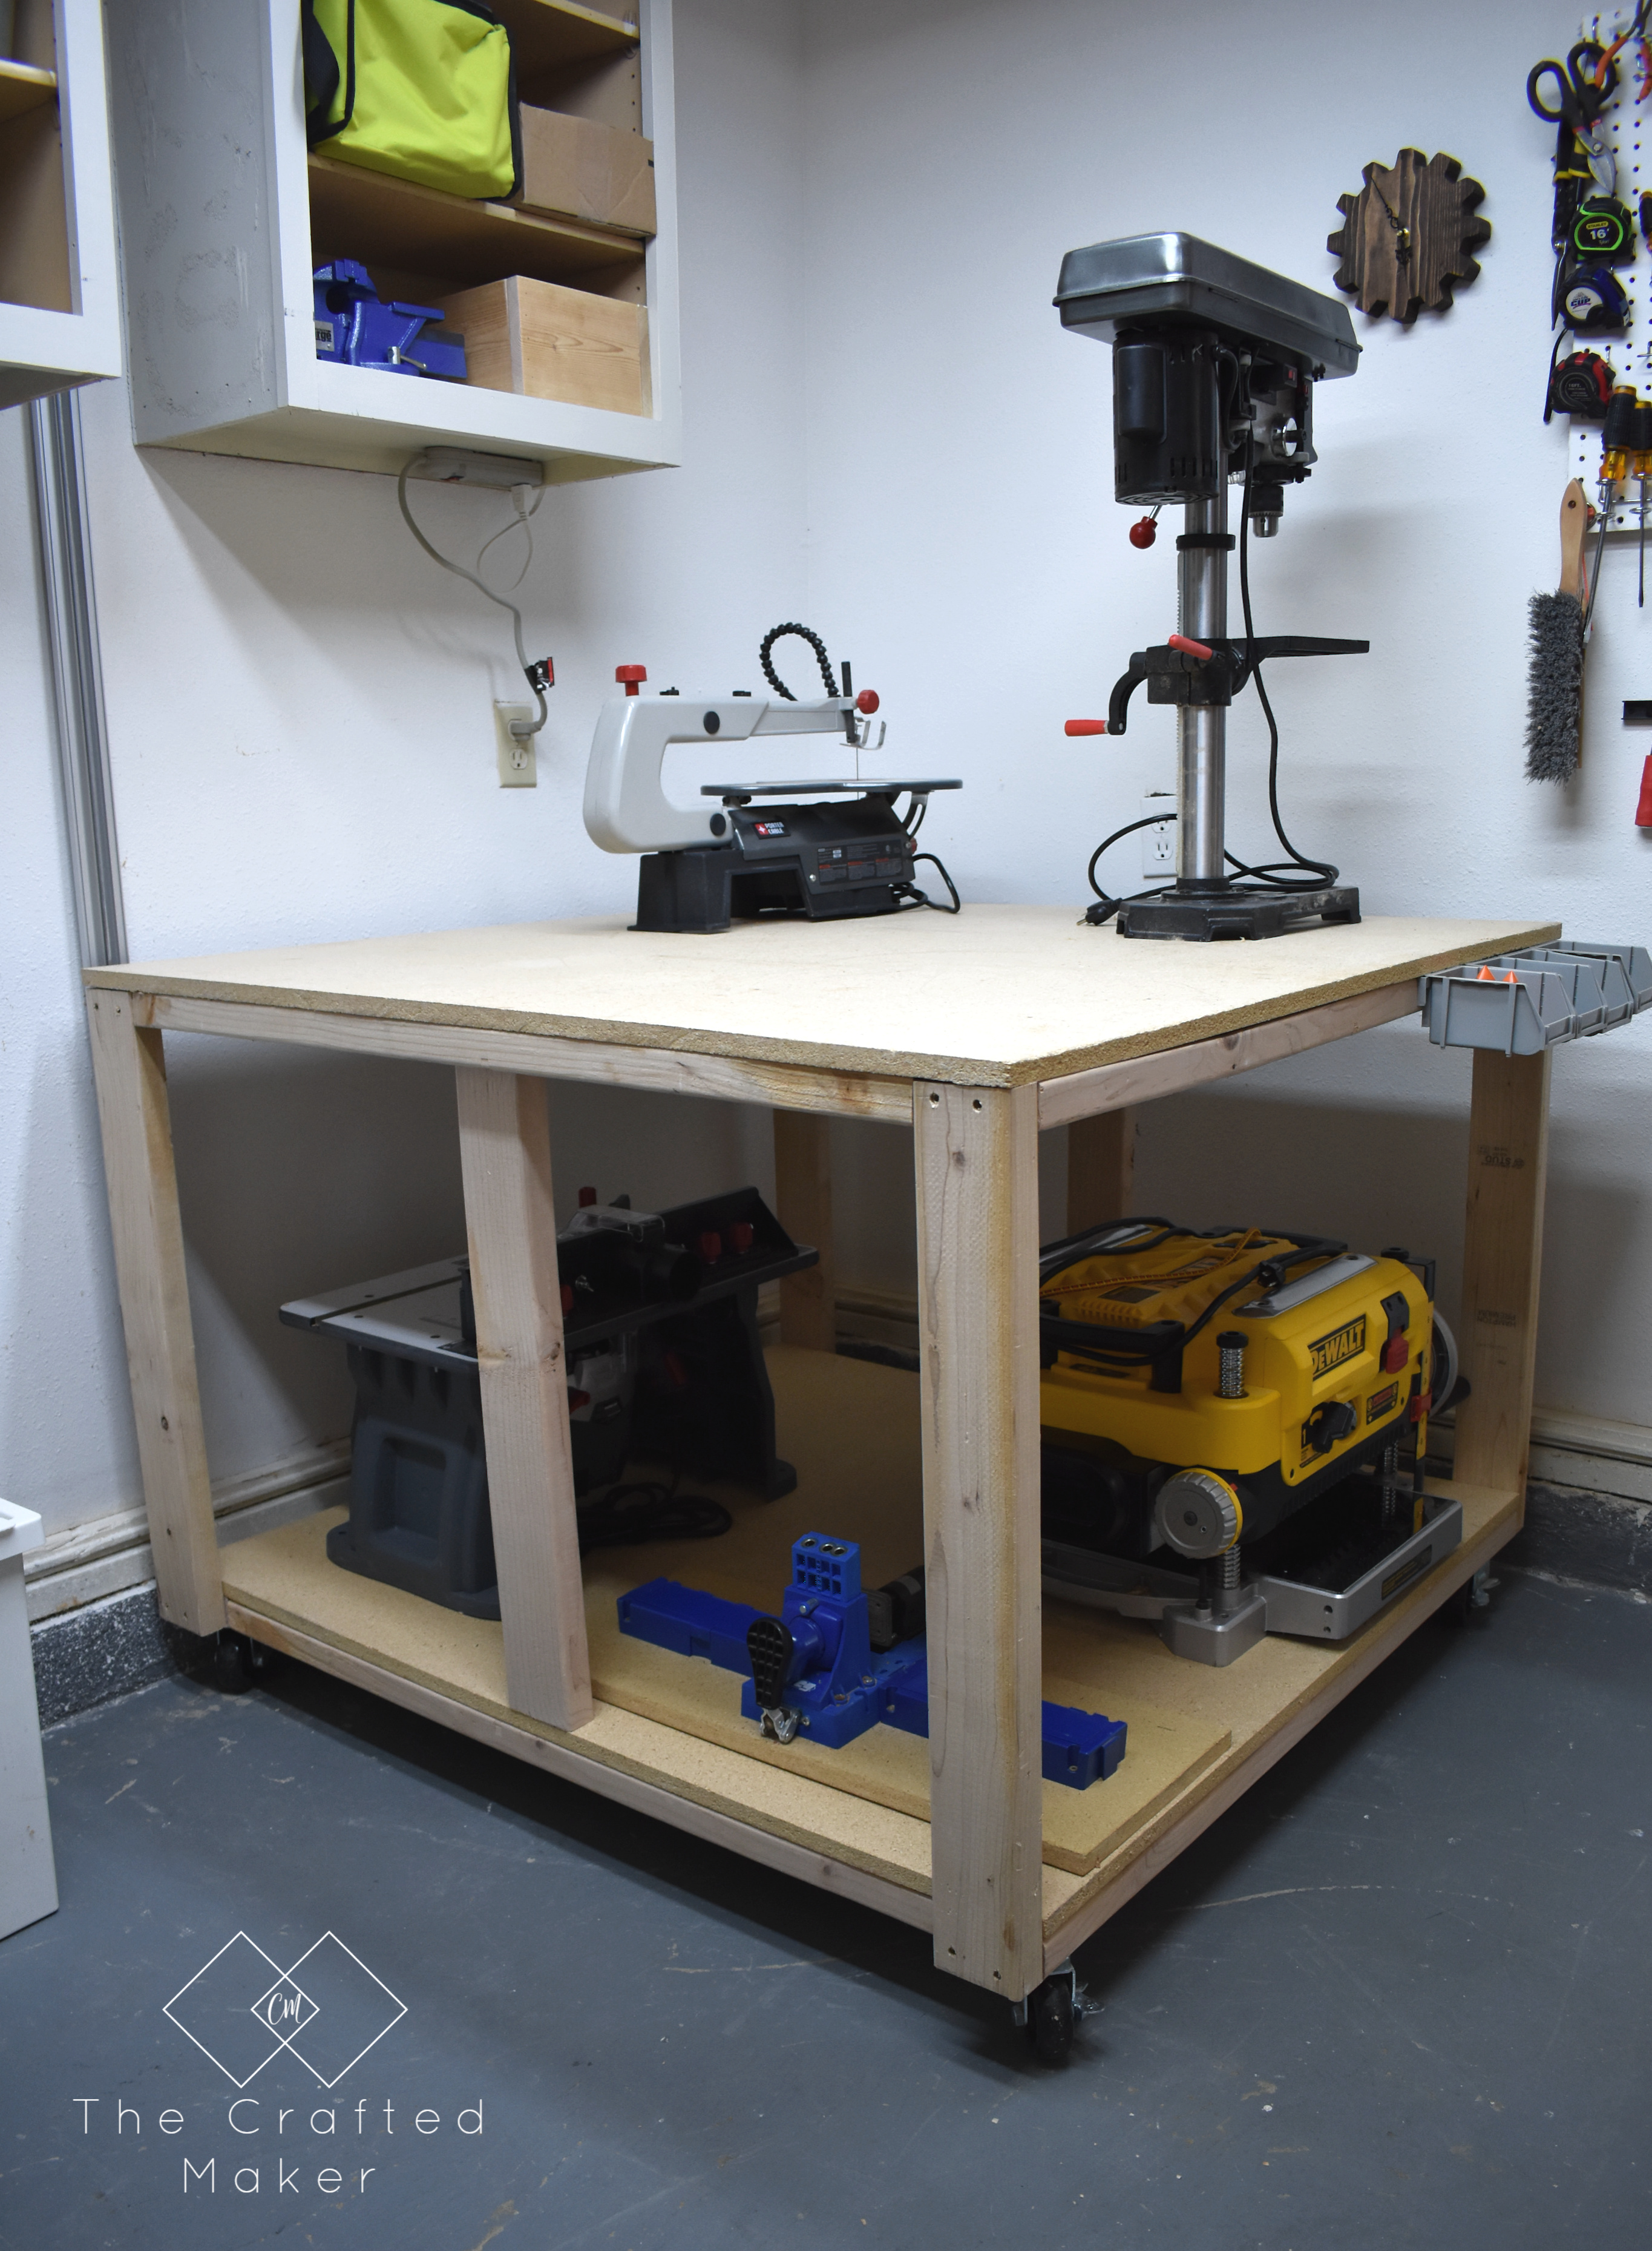
Look at all of that room!!
There are tons of ways you can customize this to your specific needs.
Talk to you all real soon!

Pinning is always appreciated!