• Home
  • About
  • PROJECTS
    • BUILD
      • FURNITURE
      • SCRAPPY SATURDAY
    • HOW TO
    • ORGANIZATION
    • HOME DECOR
    • TIPS AND TRICKS TUESDAY
    • HOME IMPROVEMENT
      • RENOVATION
    • SEASONAL
  • Resources
    • FAQ
  • Shop
    • Plans
  • Work With Us
  • DIY 101:Make Your House a Home One Project at a Time

The Crafted Maker

Crafting a Maker one project at a time

BUILD, SCRAPPY SATURDAY · September 22, 2018

DIY Napkin Holder

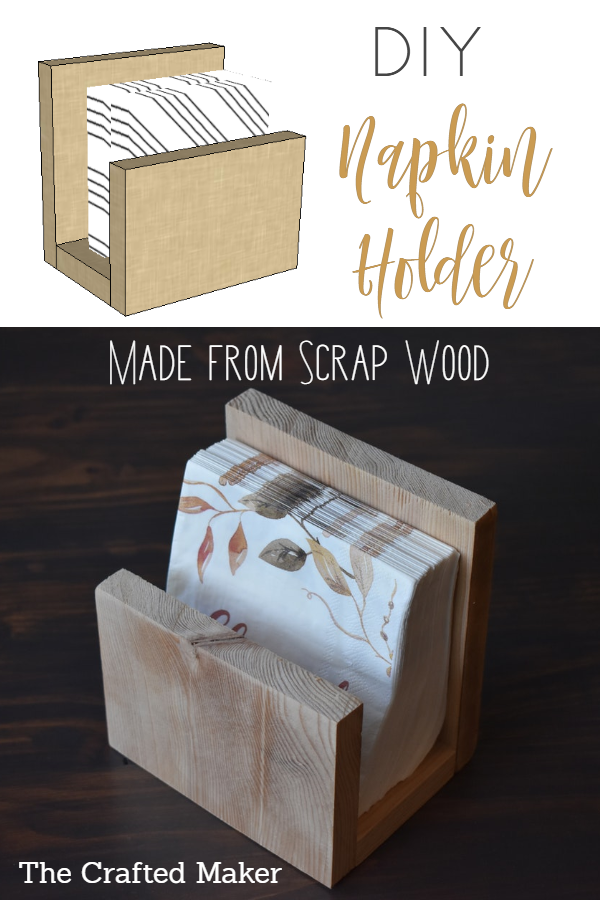
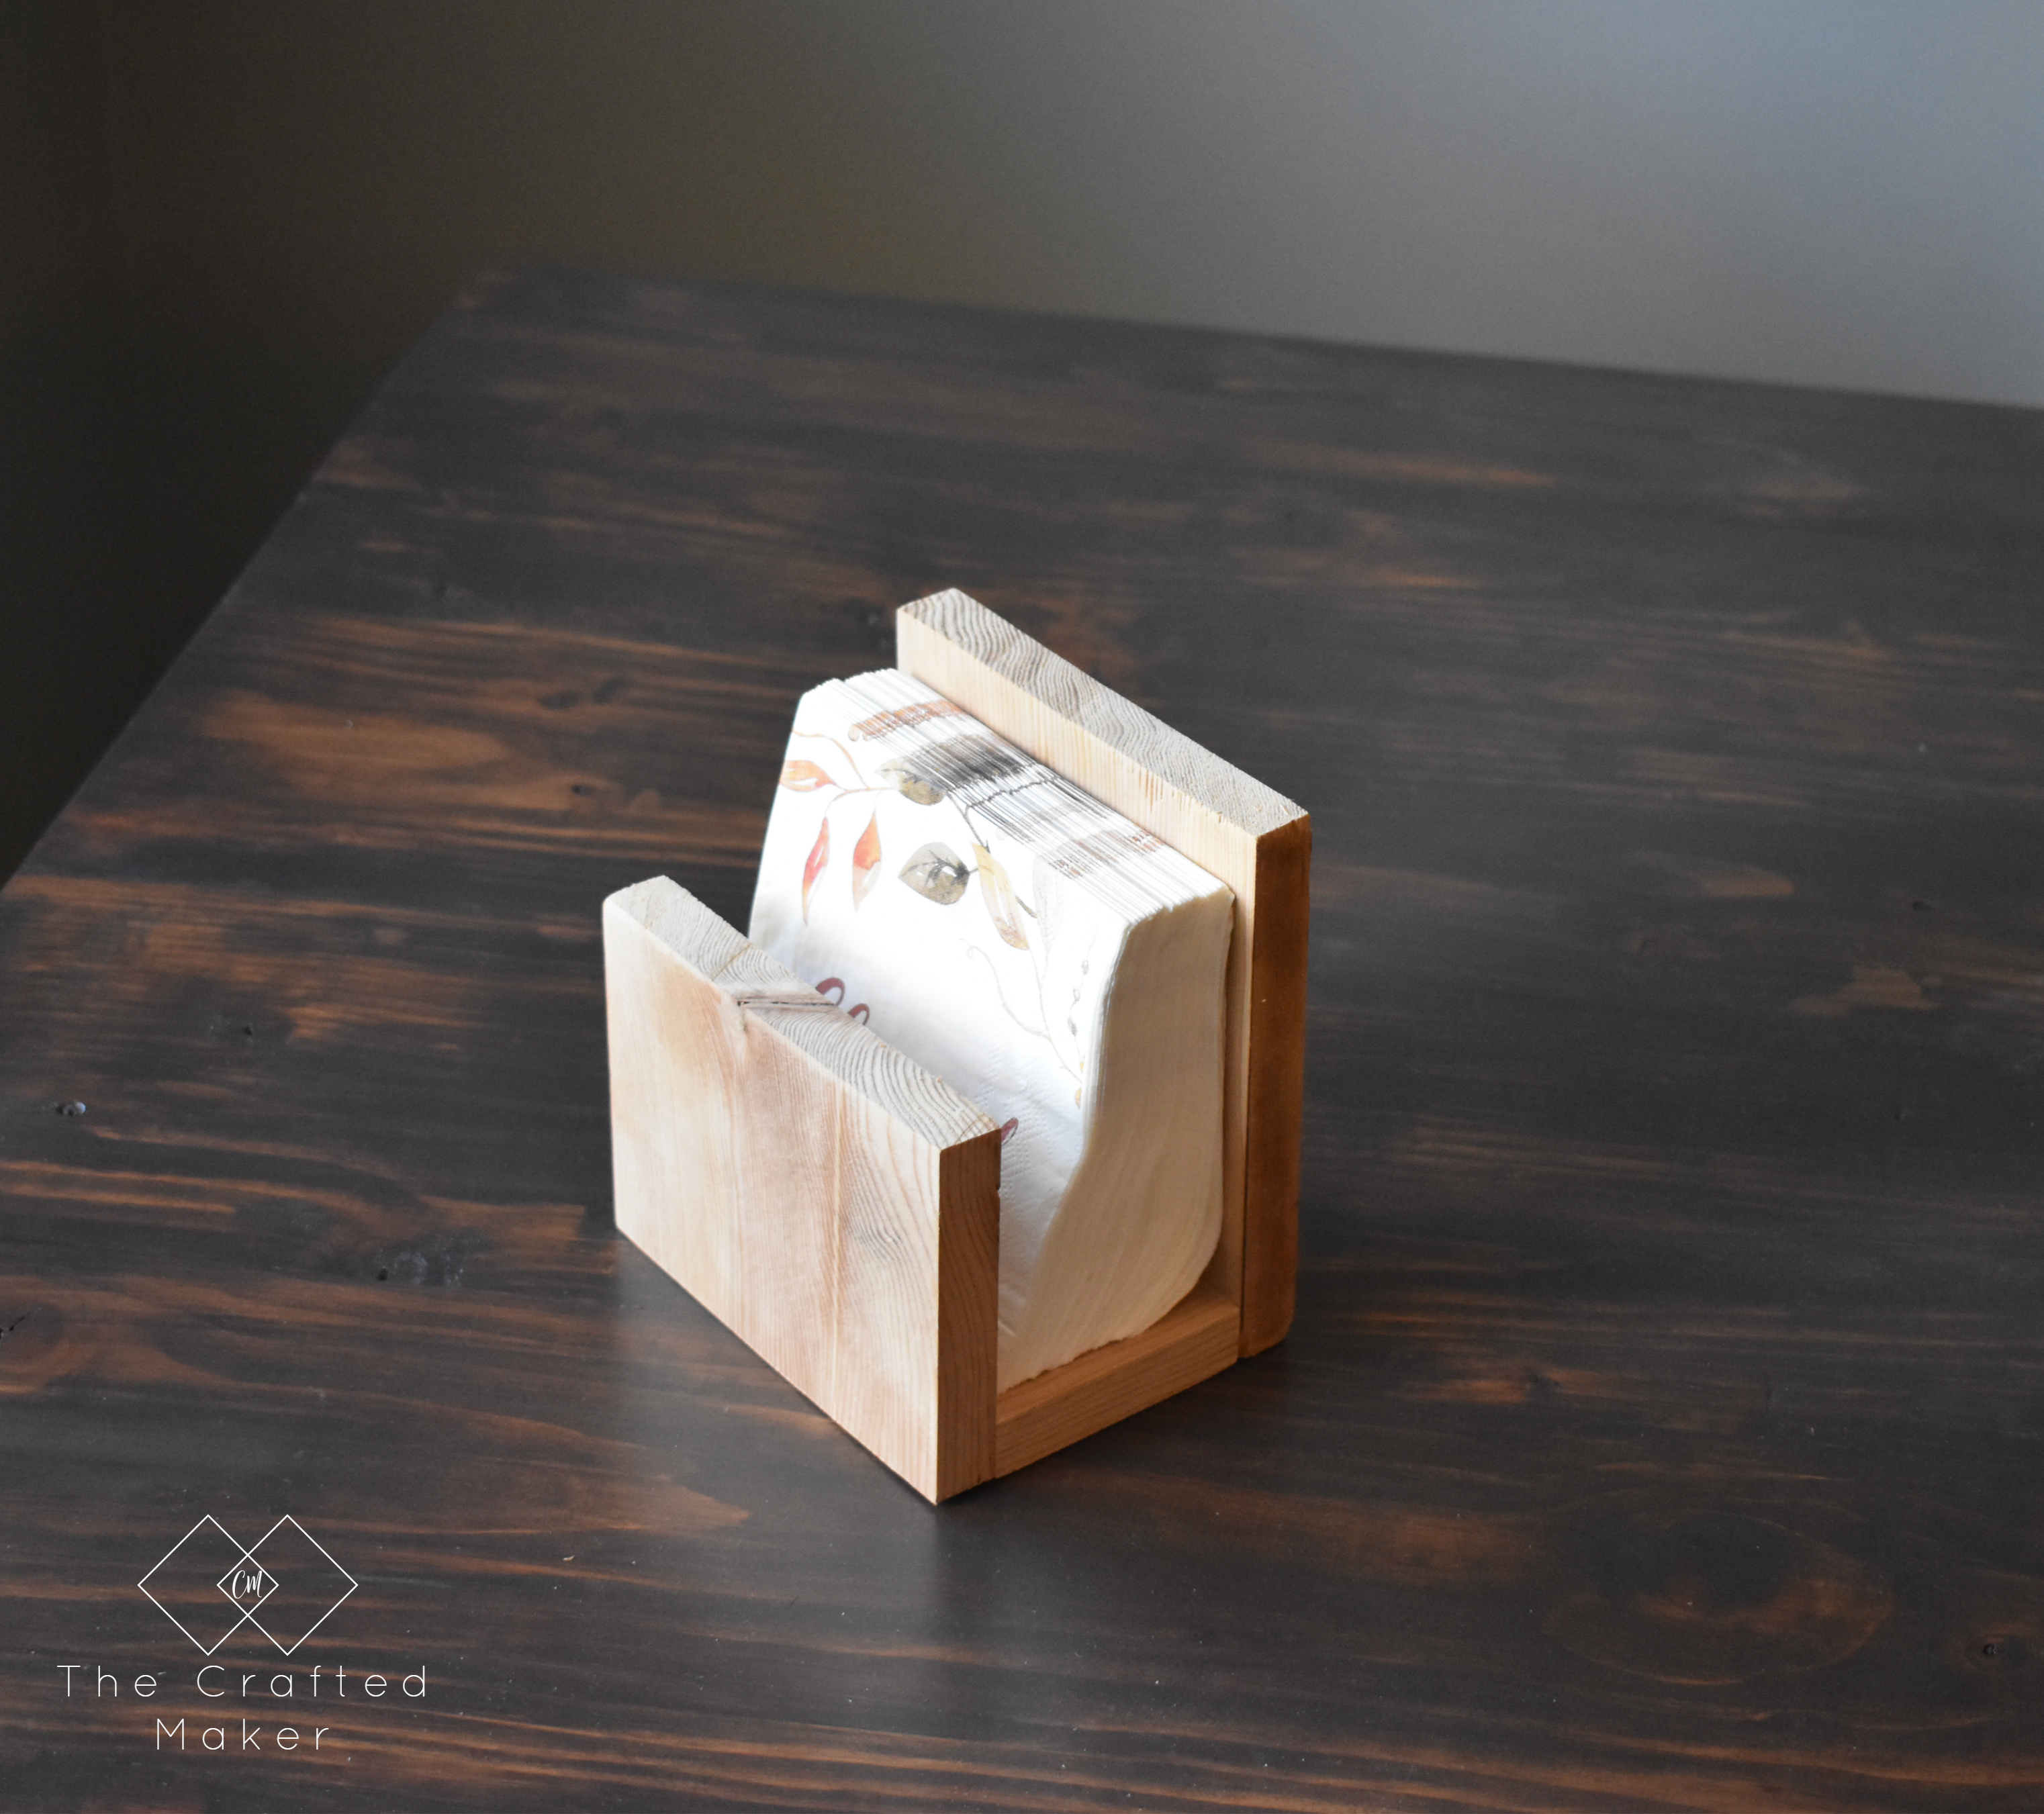
It’s Saturday, and that means it’s time for another scrap wood project! With the holidays coming up shortly, there will be a lot of gathering around the table with food. Eating food leads to messes, so I decided to whip up (pun intended) a simple DIY napkin holder for today’s project. Here is what you will need to complete this project.

Affiliate links used. See disclosure here.

Supplies

Scrap Wood – I used a scrap 1 x 6 cut into three pieces. 6″ 3″ 4″

Clamps

Wood Glue

Paint, Stain, or Poly of Choice

Applicator Brush

Tape Measure and Pencil or Pen

Tools

Saw to cut scrap wood – I used my Circular Saw

Sander

Let’s Build This!

The first step was to cut the wood to the length I needed. I used a 1 x 6  cut into three sections ( 6″, 3″, 4″).

Make this DIY Napkin Holder with scrap wood and a few tools. Add some convenience to your dining table setting in about an hour.

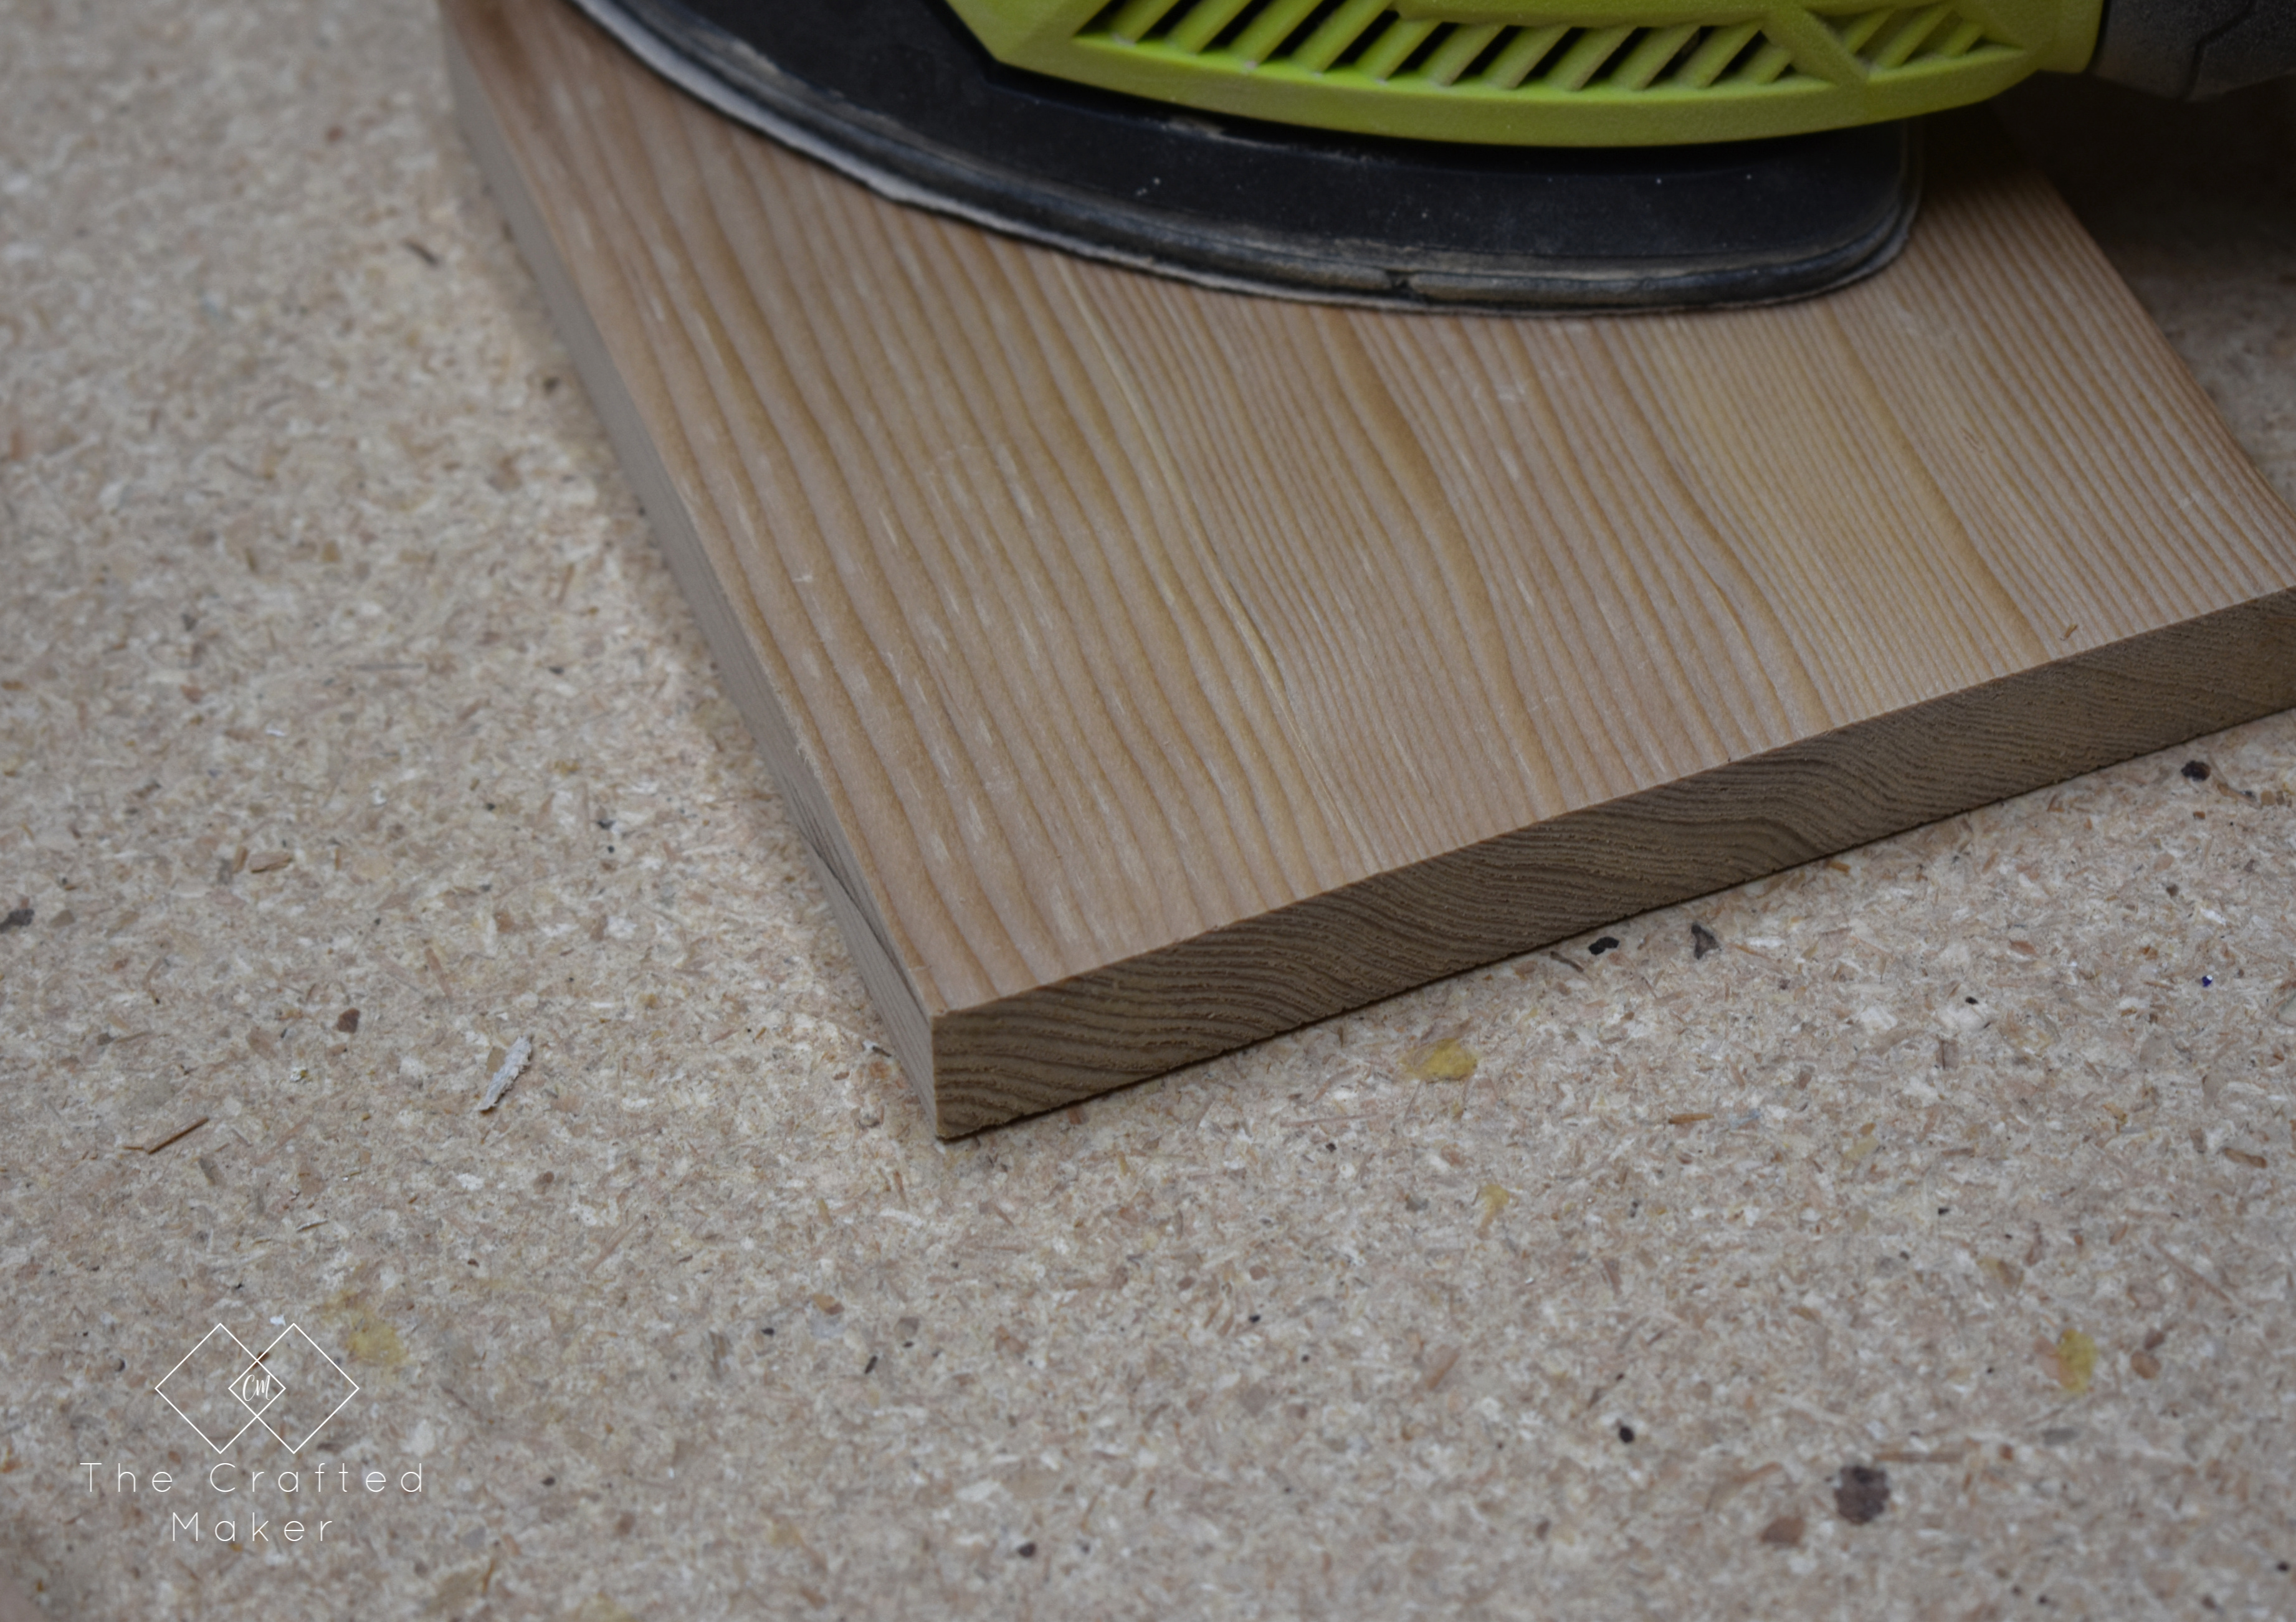
Using my circular saw, I cut the board to the lengths I needed for the DIY napkin holder.

Make this DIY Napkin Holder with scrap wood and a few tools. Add some convenience to your dining table setting in about an hour.

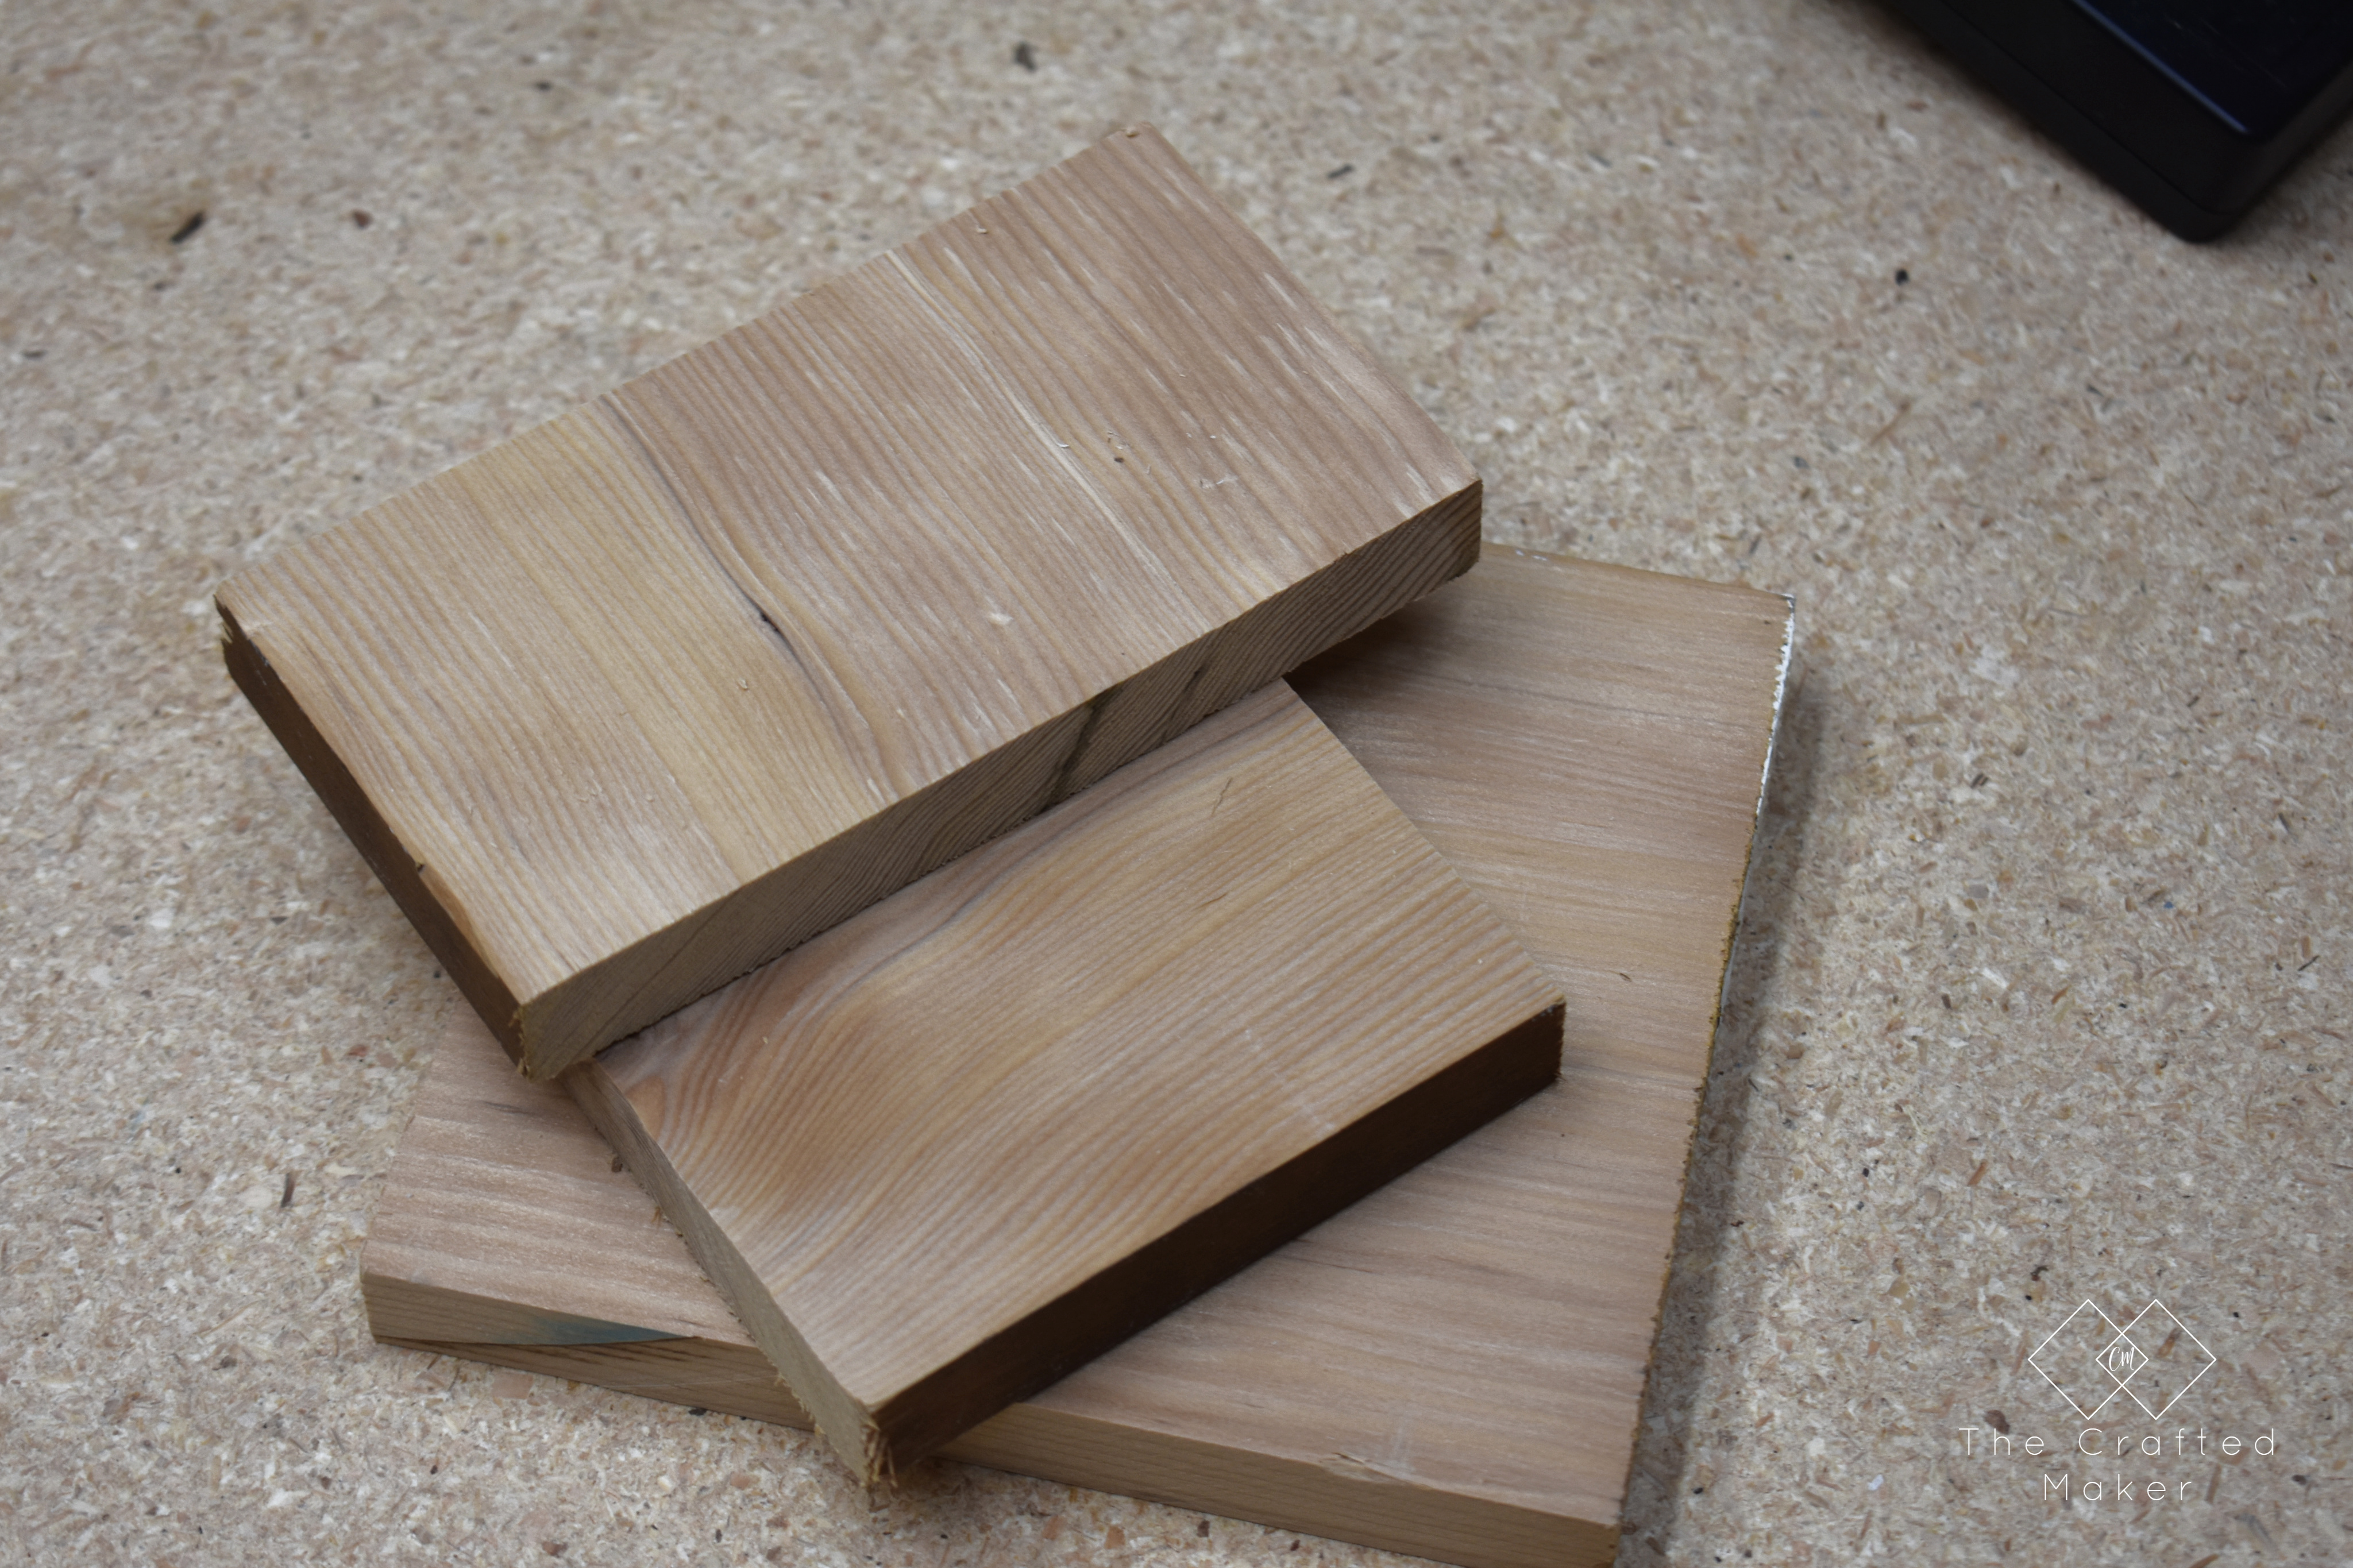
The boards need to be sanded before assembling. There will be tight spaces once the boards are attached together and it would be difficult to use a power sander.

Make this DIY Napkin Holder with scrap wood and a few tools. Add some convenience to your dining table setting in about an hour.

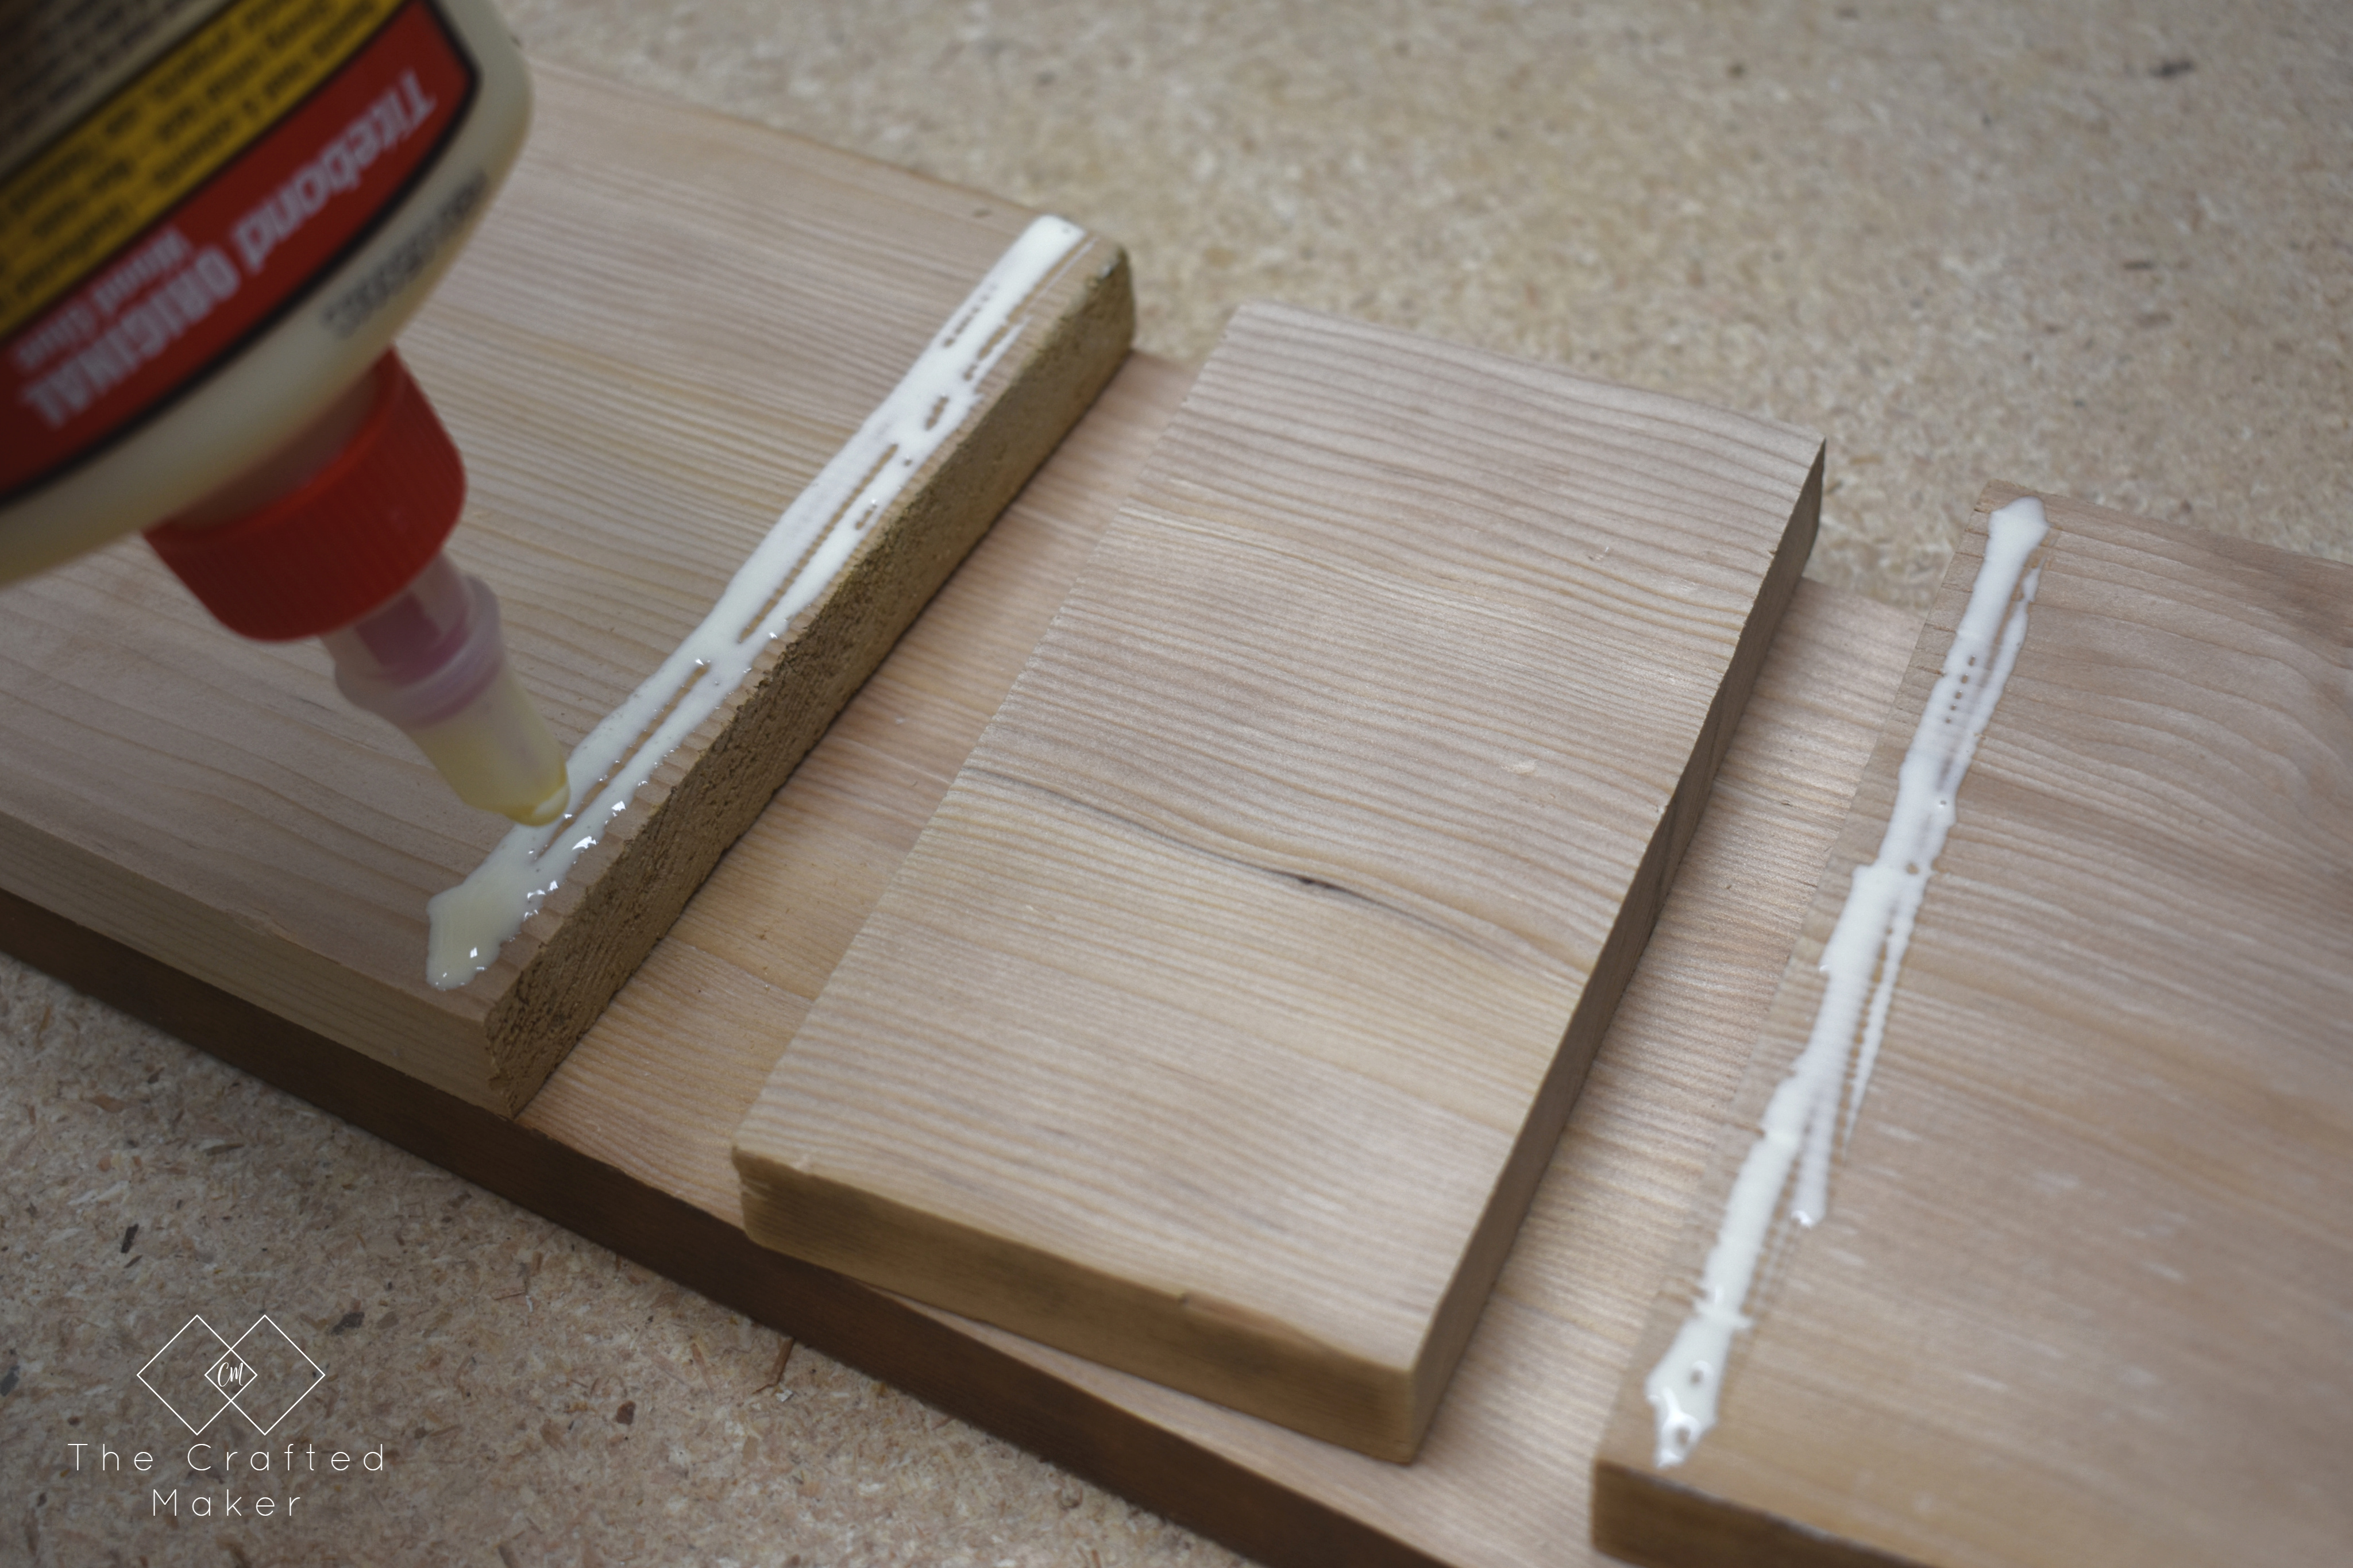
To attach the boards together, I am using wood glue and some clamps. If you let the wood glue set up for the appropriate time, this should be plenty strong enough. I applied wood glue to the points where the front and back board meet the middle board and clamped them up.

Make this DIY Napkin Holder with scrap wood and a few tools. Add some convenience to your dining table setting in about an hour.

Make this DIY Napkin Holder with scrap wood and a few tools. Add some convenience to your dining table setting in about an hour.

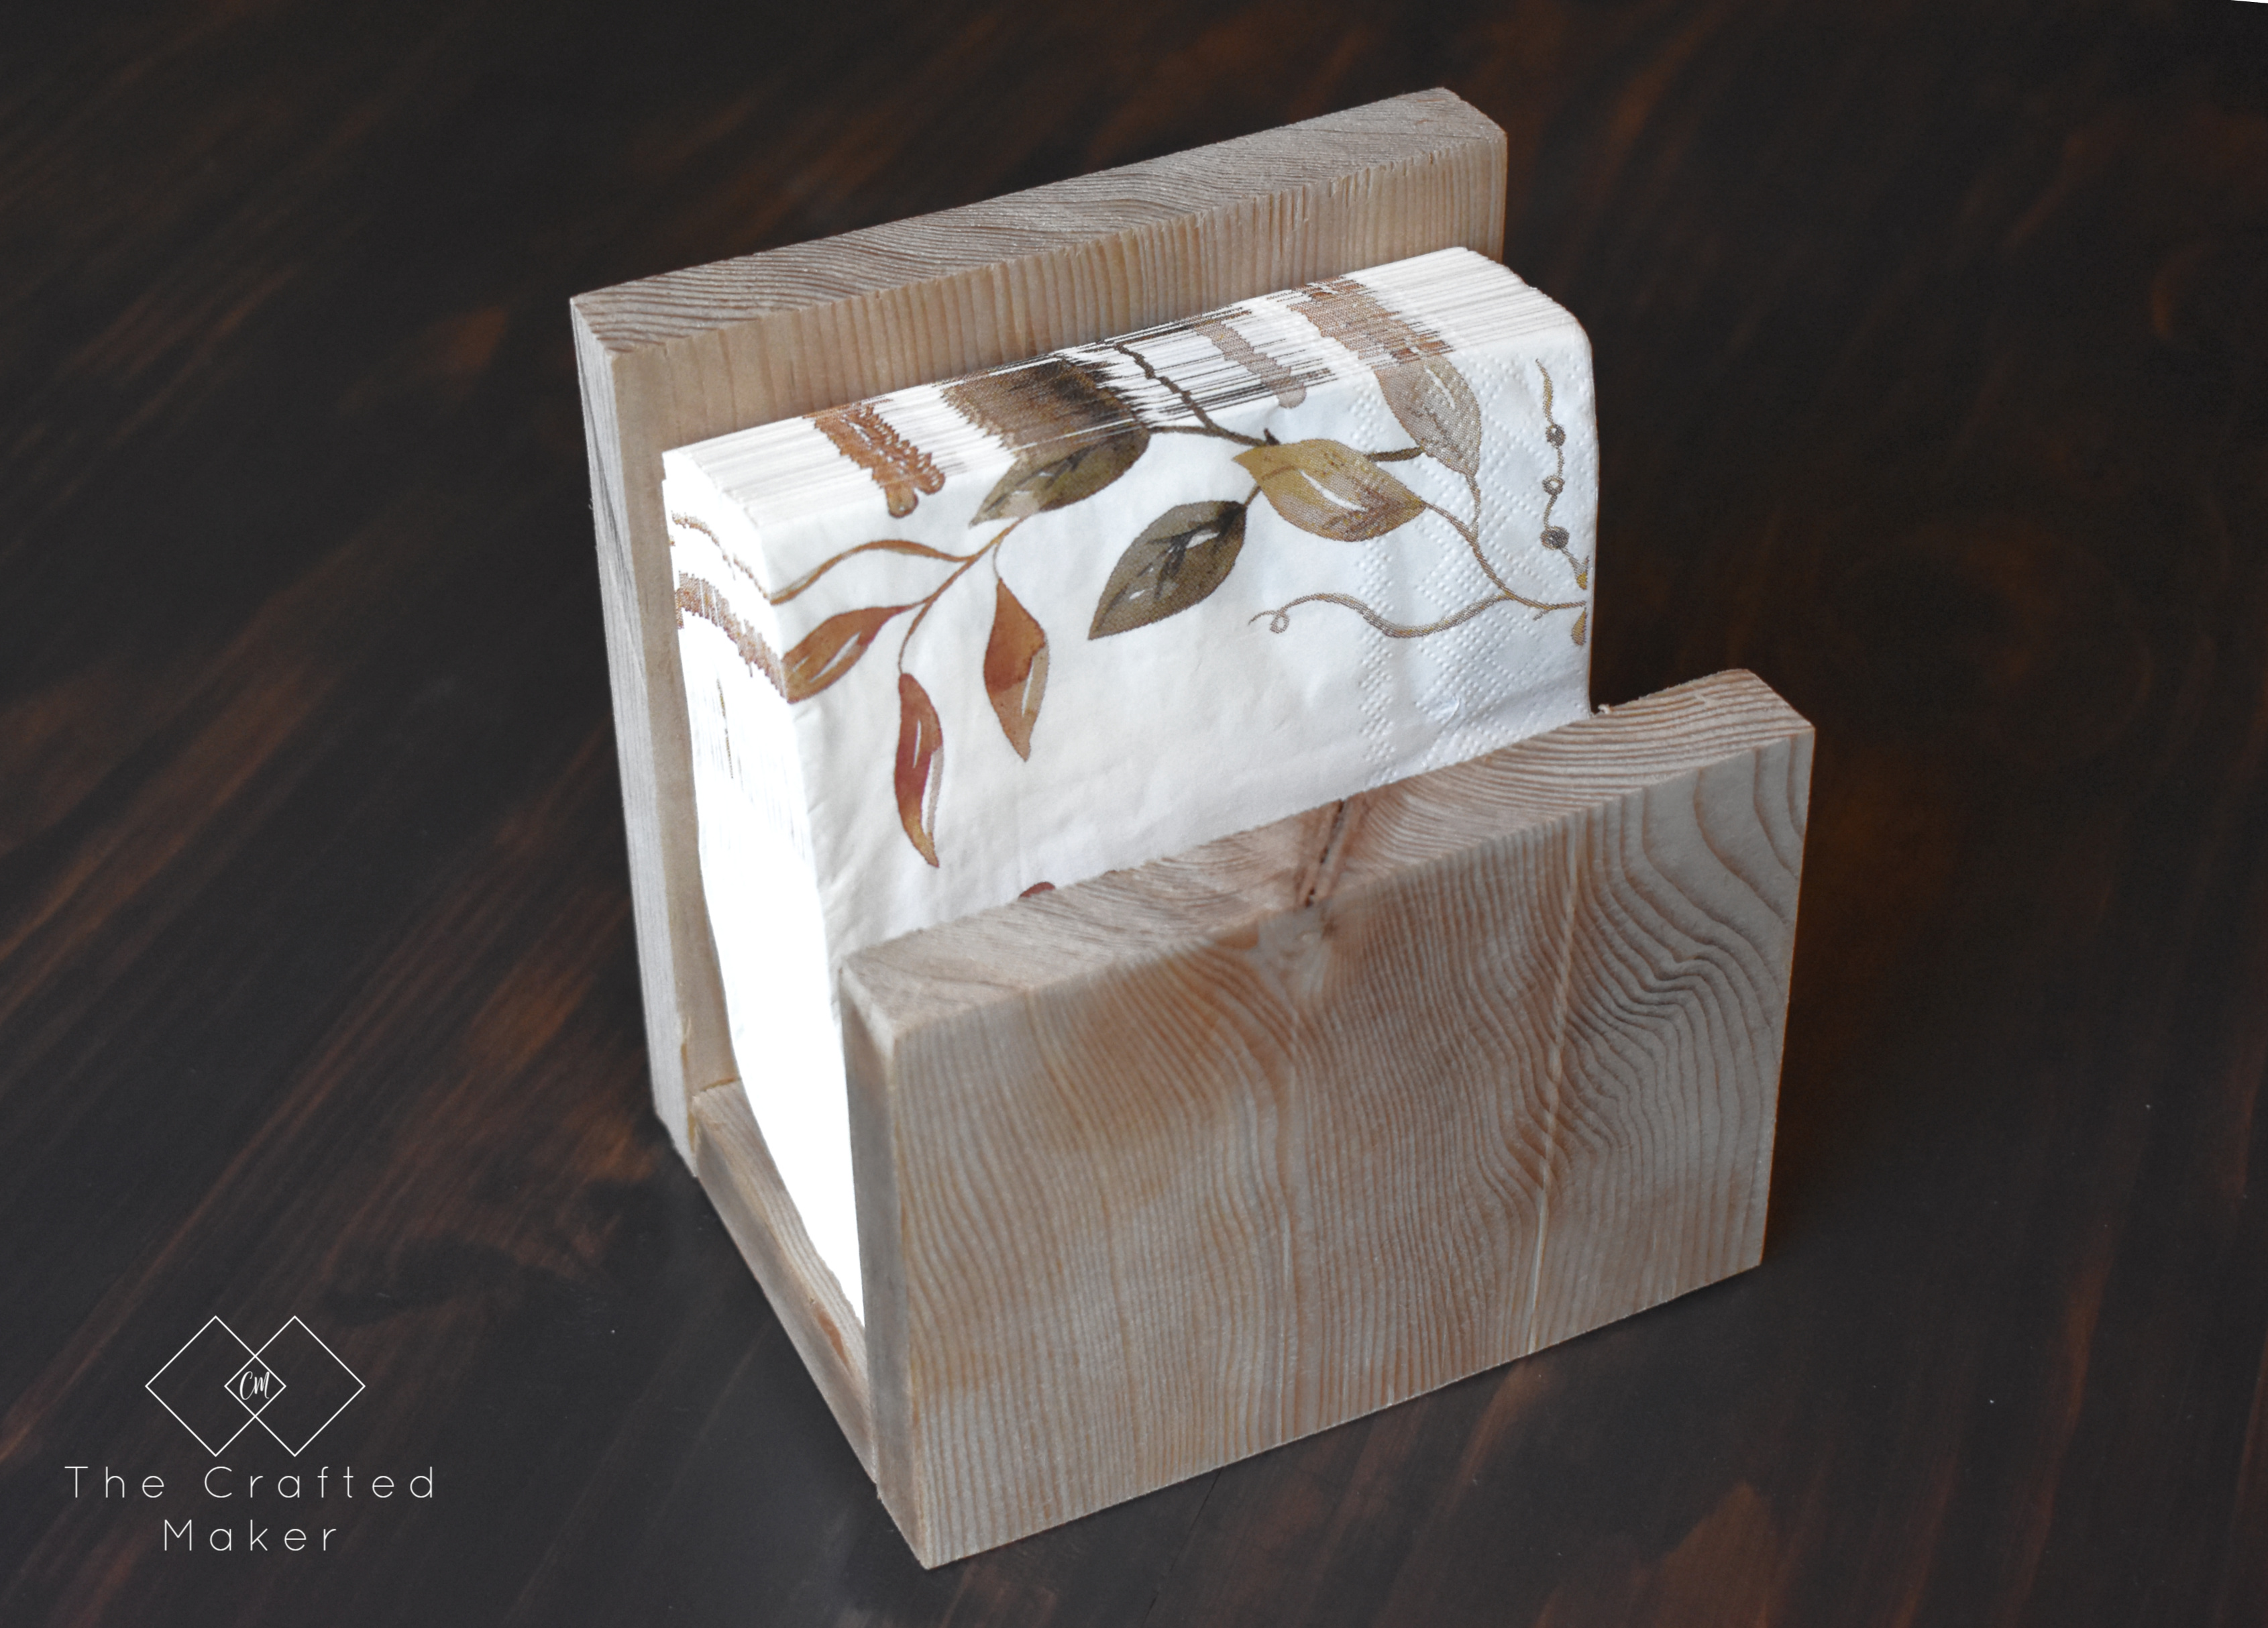
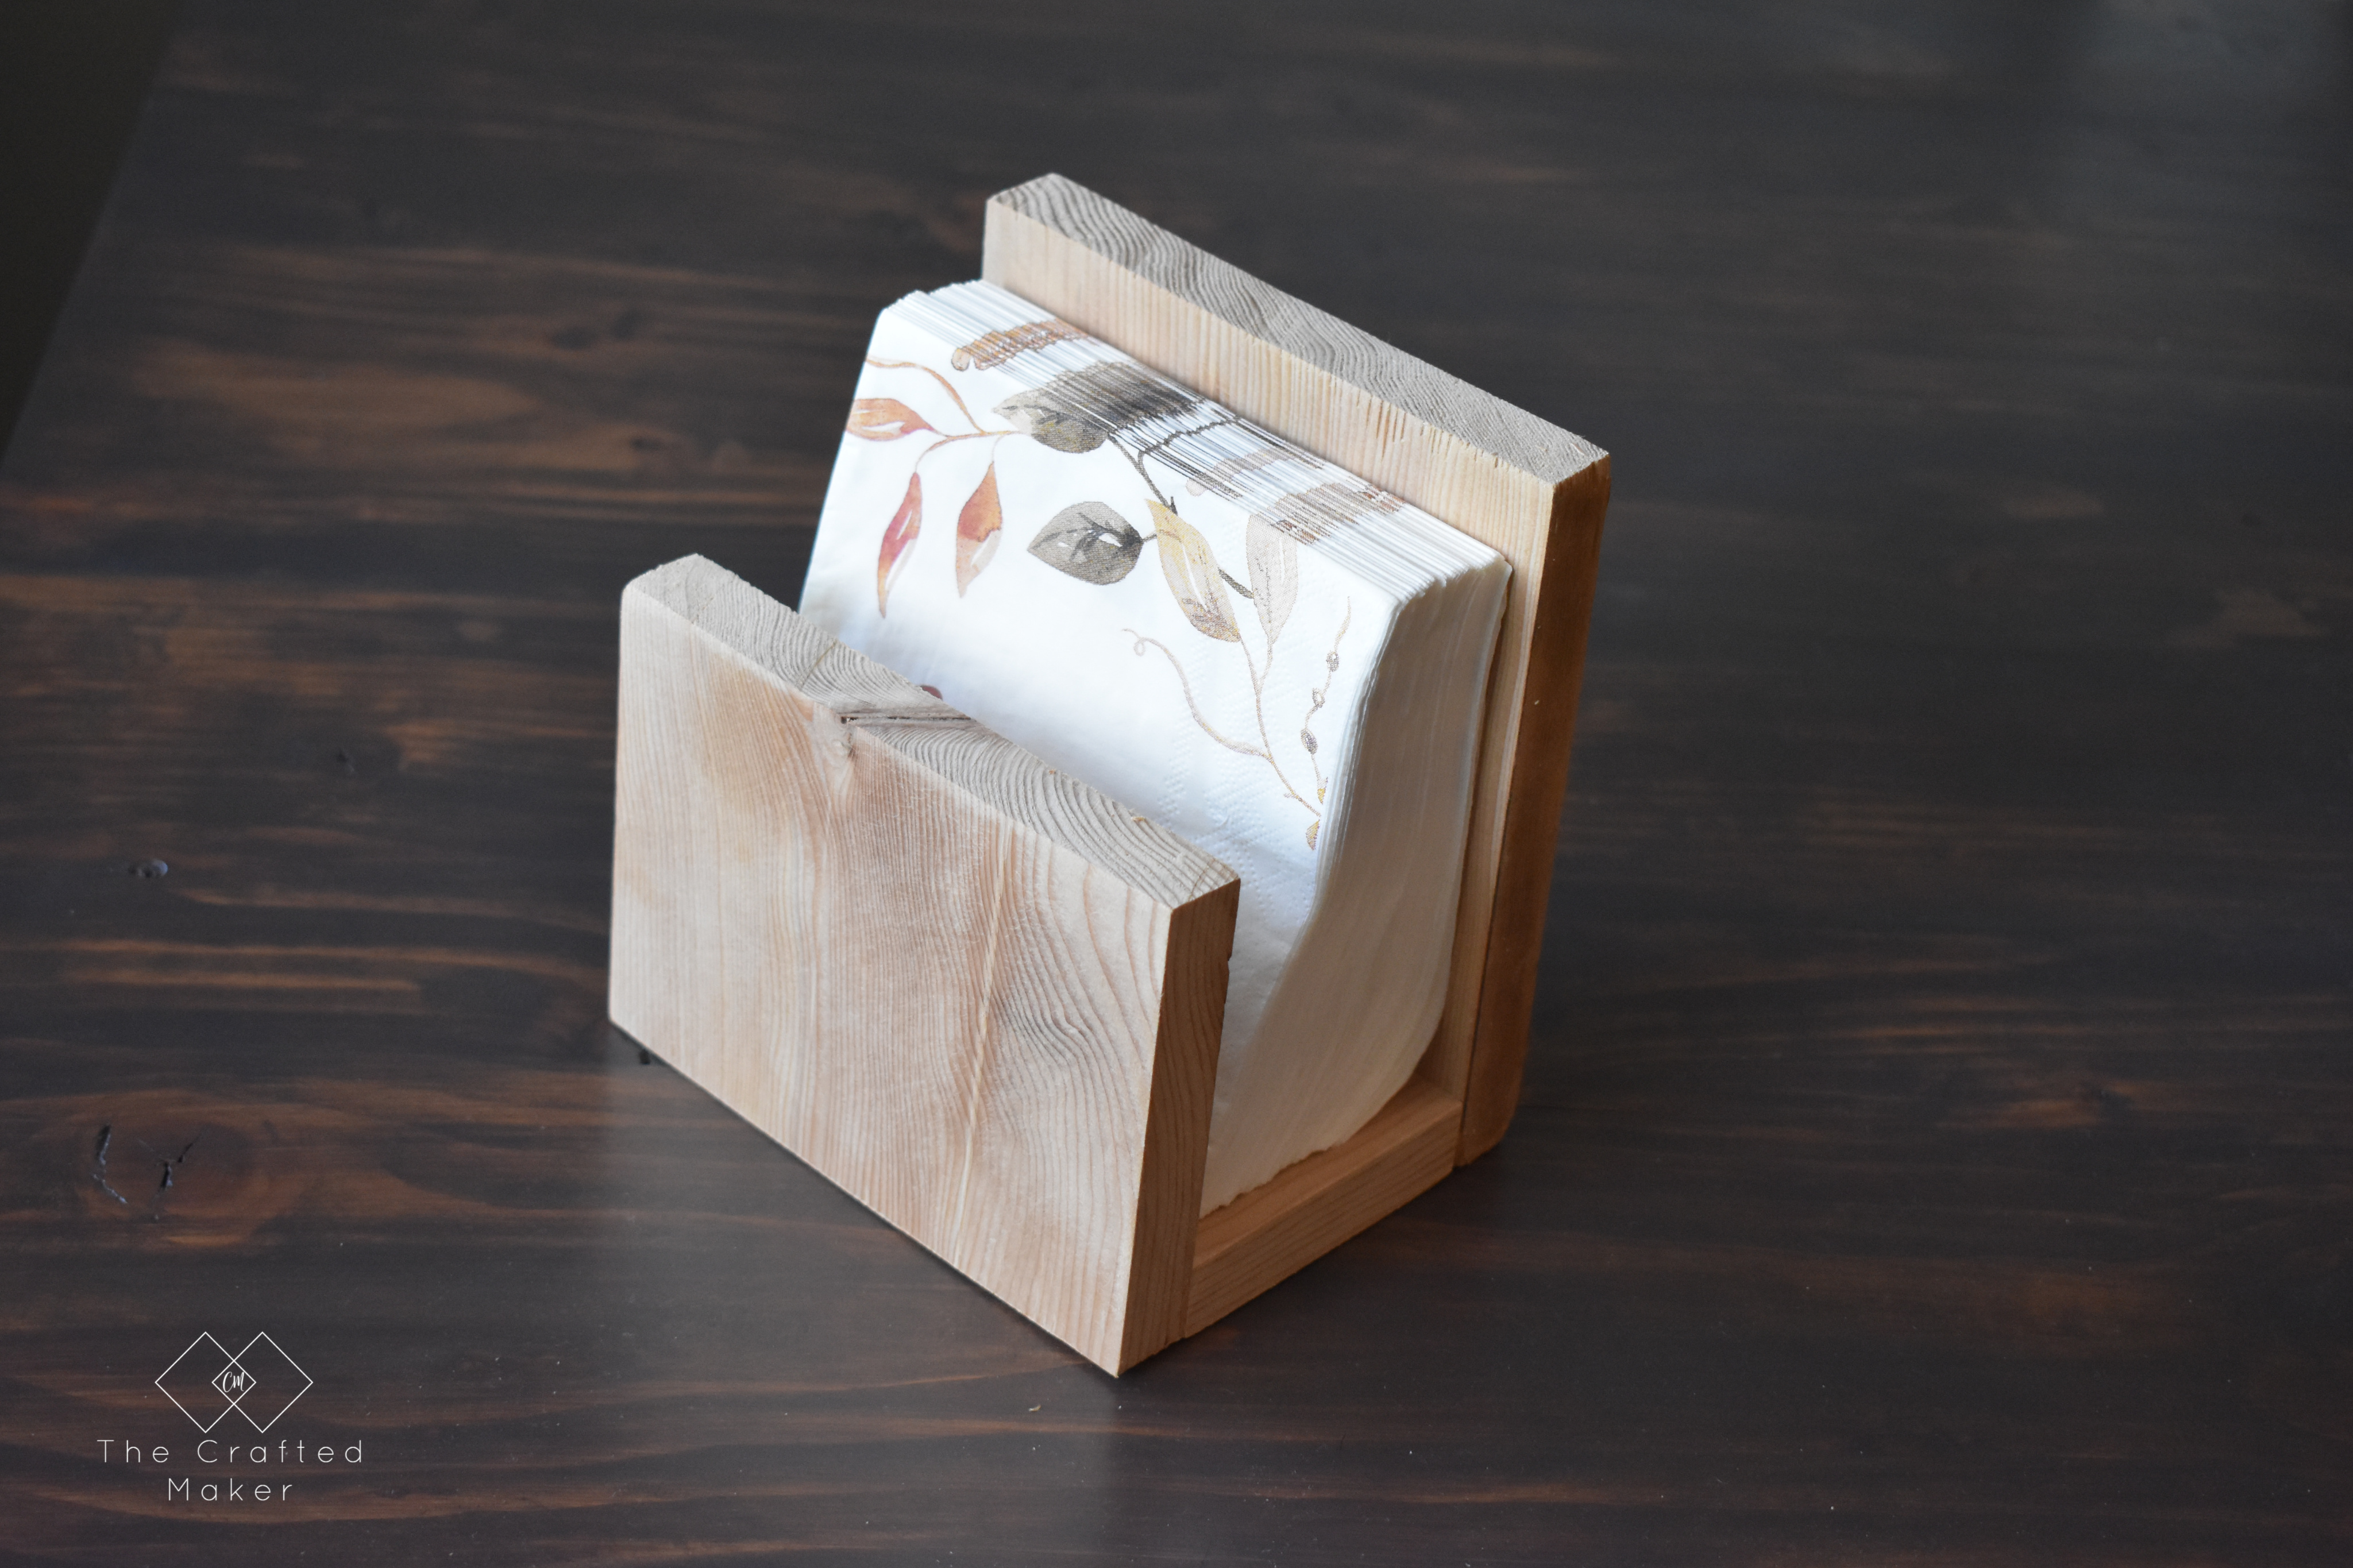
Once the wood glue was dry (the product you use should have drying times stated on the packaging), it was time to give this DIY napkin holder a finish. I chose to use a polyurethane in satin on this project. I really like the color of the natural wood against the finish of the table.

If you do want to see some different stain colors, check out the color used for the Modern Farmhouse Dining Table. ?

I used a brush on this project to apply the polyurethane and a rag to wipe off the excess.

There you have it, a simple scrap wood project that will come in very handy for the family gatherings right around the corner. Fall just has so much to offer!

Make this DIY Napkin Holder with scrap wood and a few tools. Add some convenience to your dining table setting in about an hour.

Make this DIY Napkin Holder with scrap wood and a few tools. Add some convenience to your dining table setting in about an hour.

Make this DIY Napkin Holder with scrap wood and a few tools. Add some convenience to your dining table setting in about an hour.

Make this DIY Napkin Holder with scrap wood and a few tools. Add some convenience to your dining table setting in about an hour.

If you like this project and want to see more, click here for more scrap wood projects!

Have a great weekend and I’ll talk to you all real soon!

Pinning is always appreciated!

Make this DIY Napkin Holder with scrap wood and a few tools. Add some convenience to your dining table setting in about an hour. #homedecor #fallhomedecor #napkinholder


Posted In: BUILD, SCRAPPY SATURDAY · Tagged: scrap wood projects, Scrappy Saturday

You’ll Also Love

Simple Wooden Tray
DIY Fall Leaf Door Hanger
DIY Desk Organizer
Next Post >

5 Things to Think About Before Starting A Renovation

Hi, I’m Crissie!

Hello and welcome! I’m Crissie, the girl behind The Crafted Maker. This is my journey of DIY living where new skills are being learned, developed, and crafted one project at a time.


Follow Along!

  • Facebook
  • Instagram
  • Pinterest
  • Twitter

SEARCH THE BLOG

Join TCM Tribe!

If you want to keep in touch with us, this is the best way to do it! Just sign up below and receive all our posts in your inbox!


Free Project Planner!

  • About
  • Contact
  • Disclosure
  • Privacy Policy


Trending Now

  • 25 Dollar Console Table - The Crafted Maker $25 Console Table with Free Plans!
  • This Scrappy Saturday project is sliding bookends for open shelving. These sliding bookends are a great addition to any room with open shelving. This is a fun and quick project to complete! Sliding Bookends for Open Shelving
  • FIVE DOLLAR WINDOW BOX
  • Give the exterior of your home an upgrade with these simple DIY shutters. They take very little time to make and will add curb appeal to your home. SIMPLE DIY SHUTTERS

Copyright © 2023 The Crafted Maker · Theme by 17th Avenue