If there is something in my shop that always has a steady supply, it would be scrap wood. It seems like after every project I make there is scrap wood left over. The pile never seems to go down, so why not start to use it? Right? Like mom always said, “waste not, want not”! There is normally waste boards of every size and many things can be made out of these. Today is the day to make a scrap wood project!
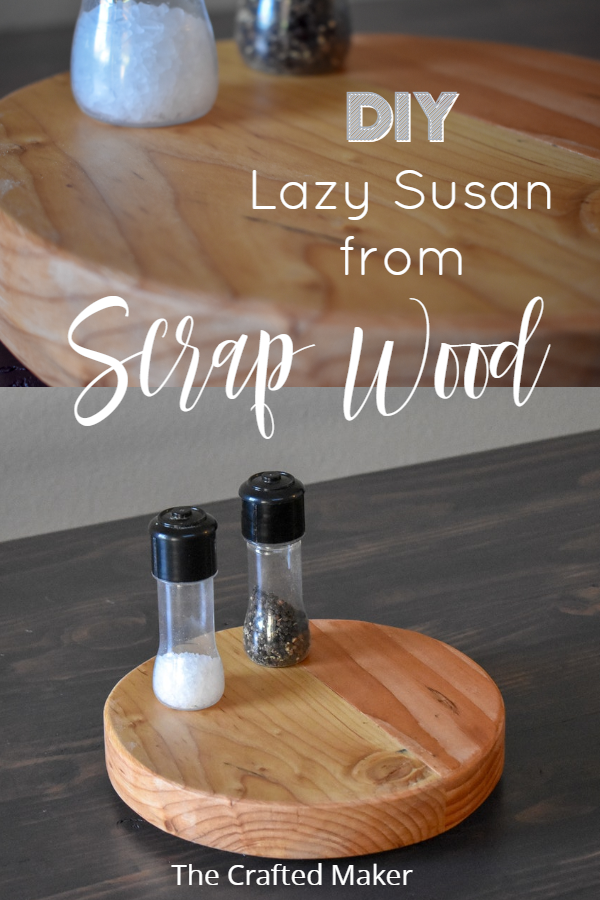
The first of many scrap projects is today’s wooden Lazy Susan!
Let’s get started! Here is what you will need:
Supplies and Materials
- Scrap wood – size is totally up to you. The scrap wood I used was about 13″ x 13″
- Lazy Susan Hardware
- Paint, Stain, or Oil (mine is finished with Danish oil)
- Gloves
- Applicator Brush
- Safety Equipment (hearing, eyes, and lungs)
Tools
Cutting the Shape
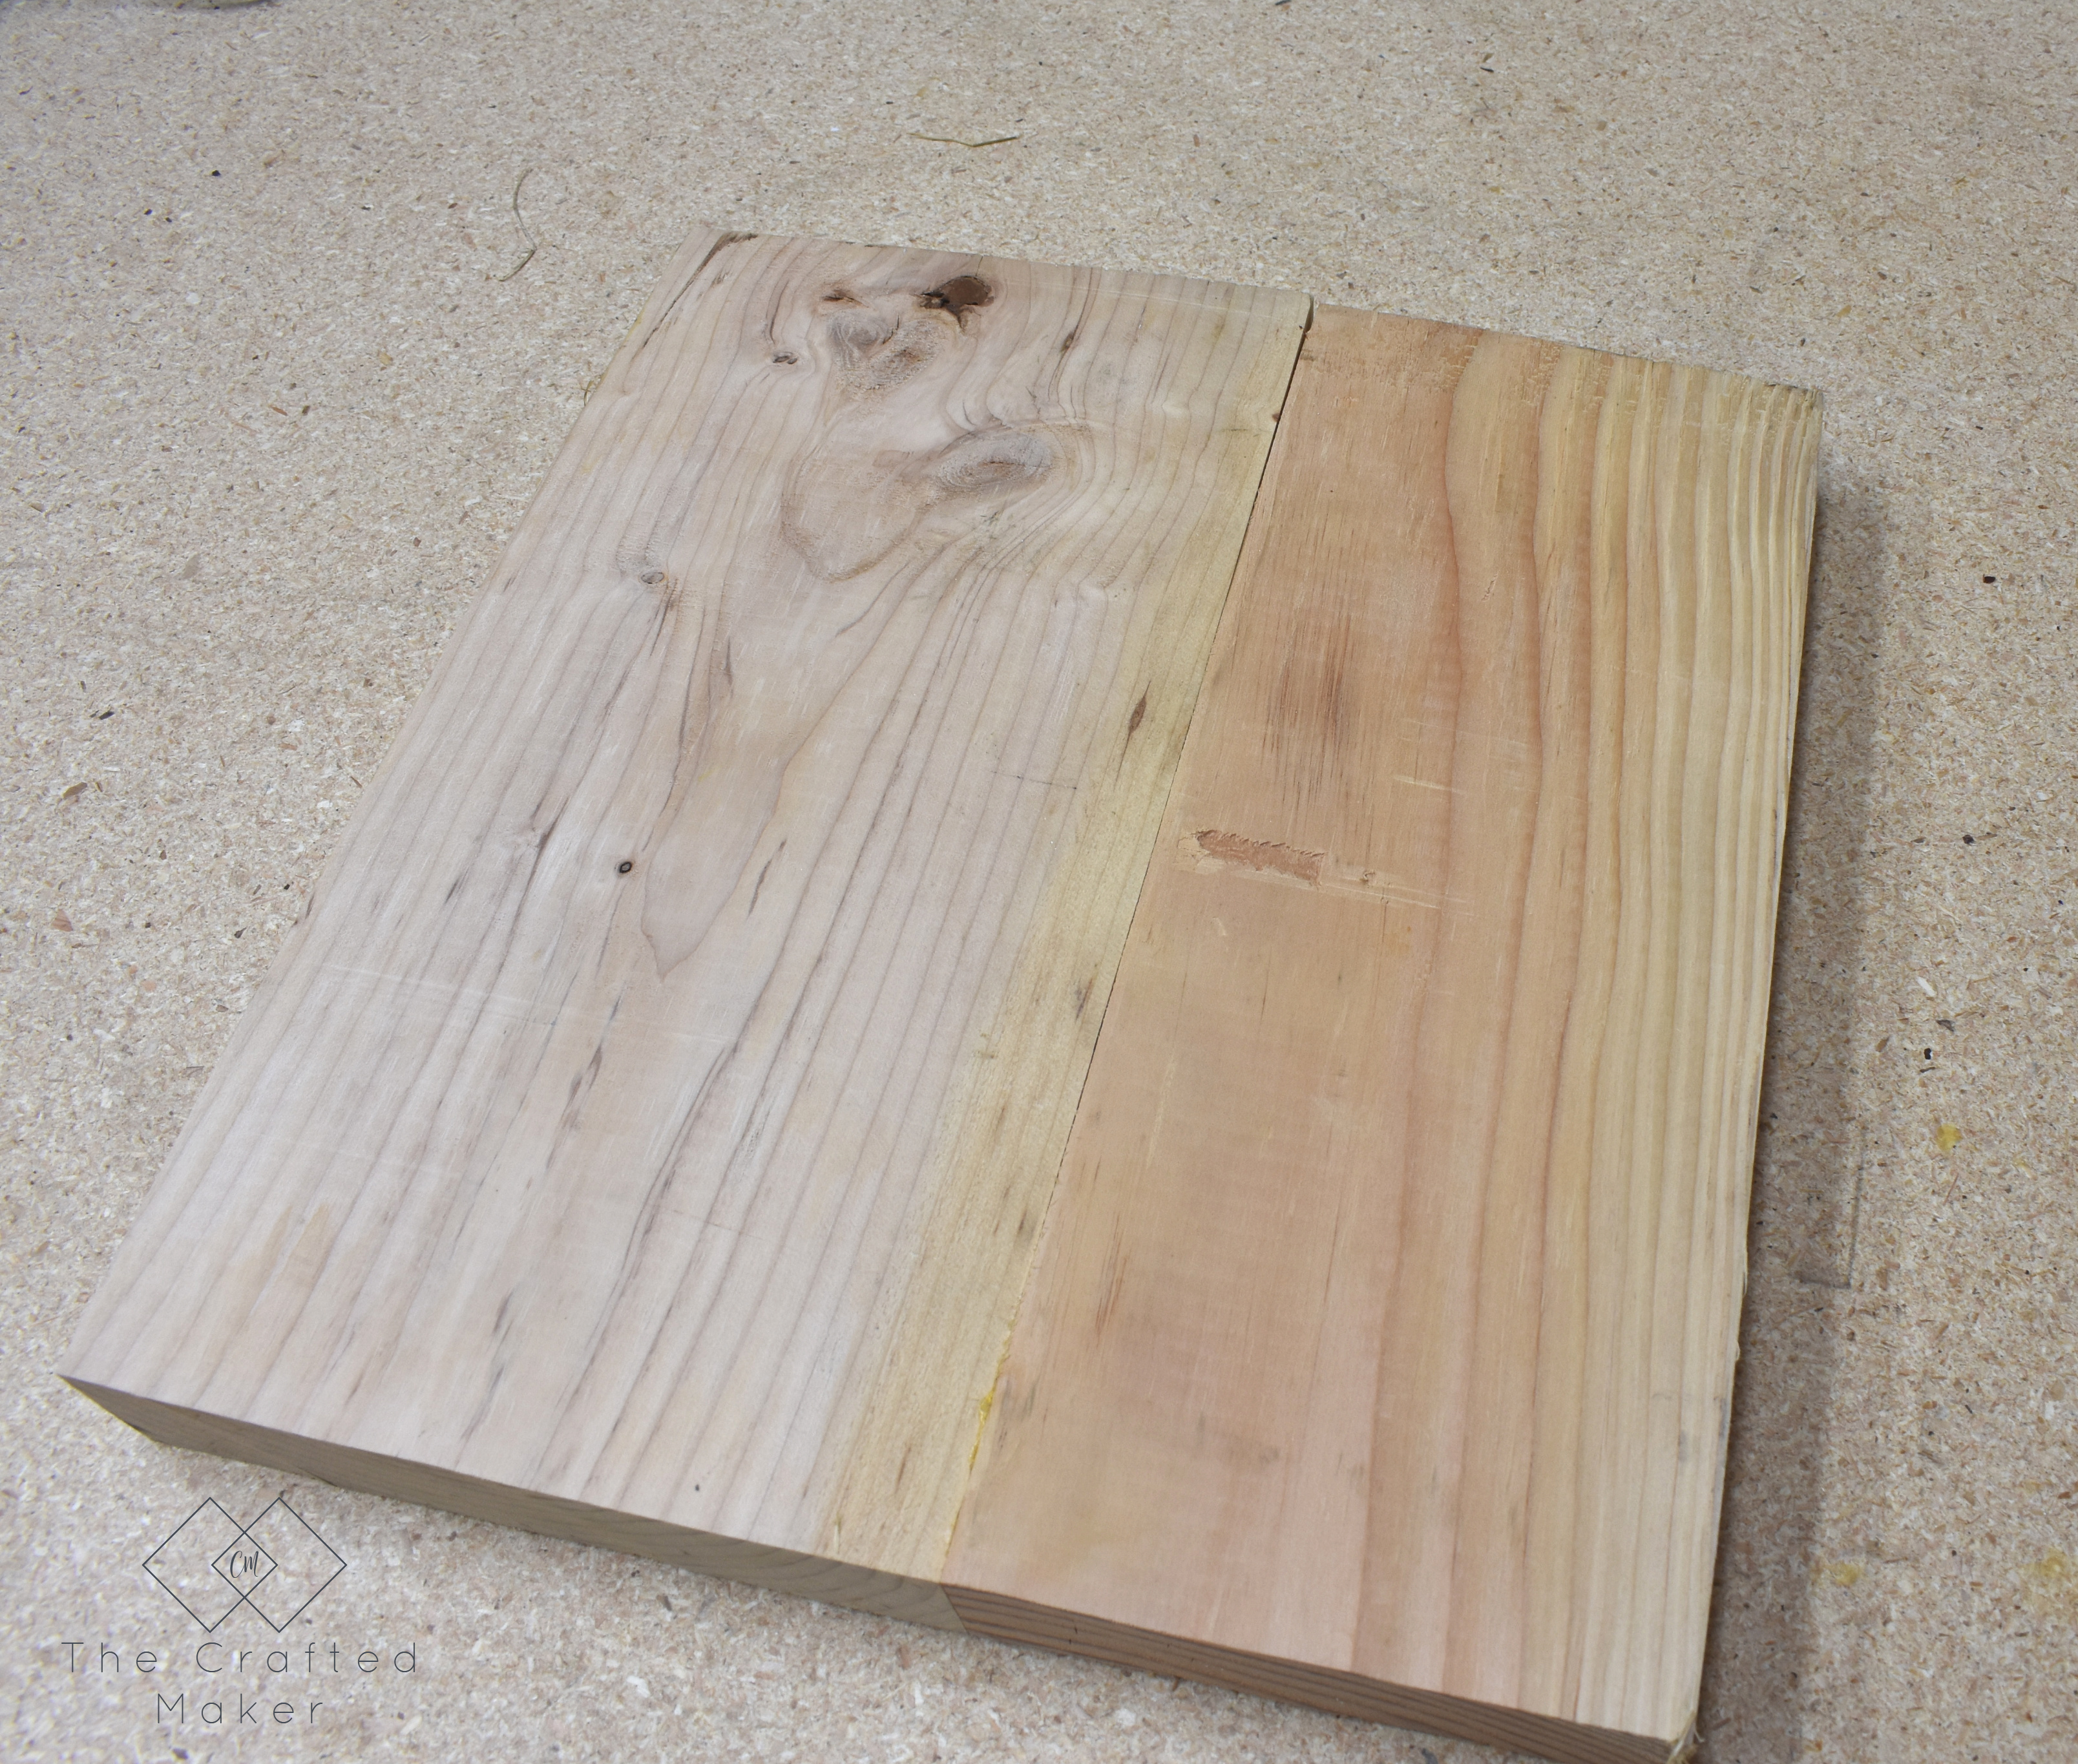
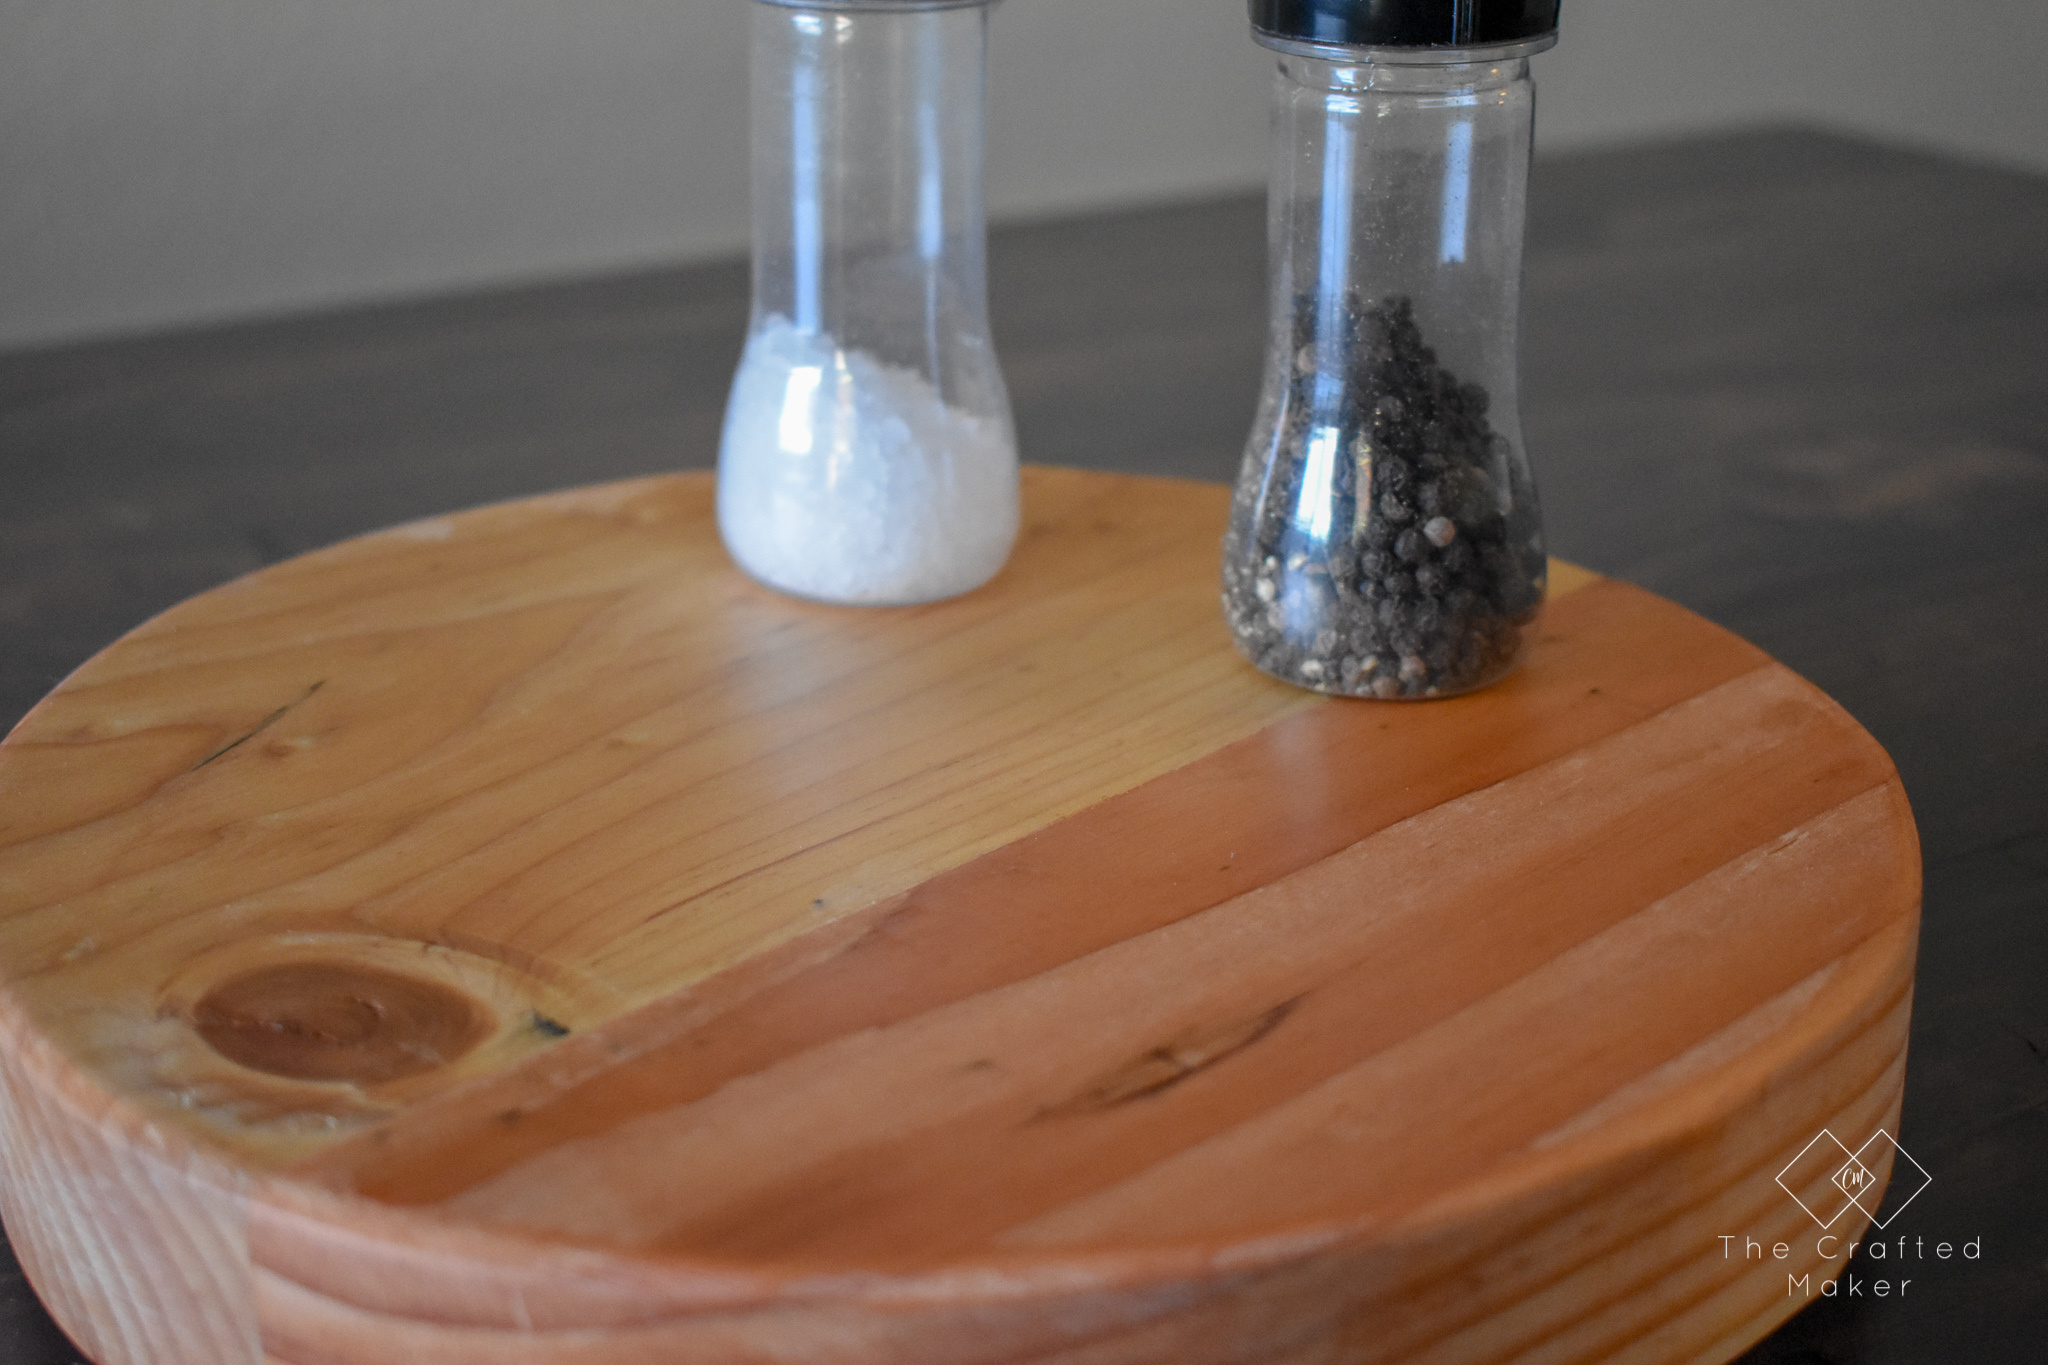
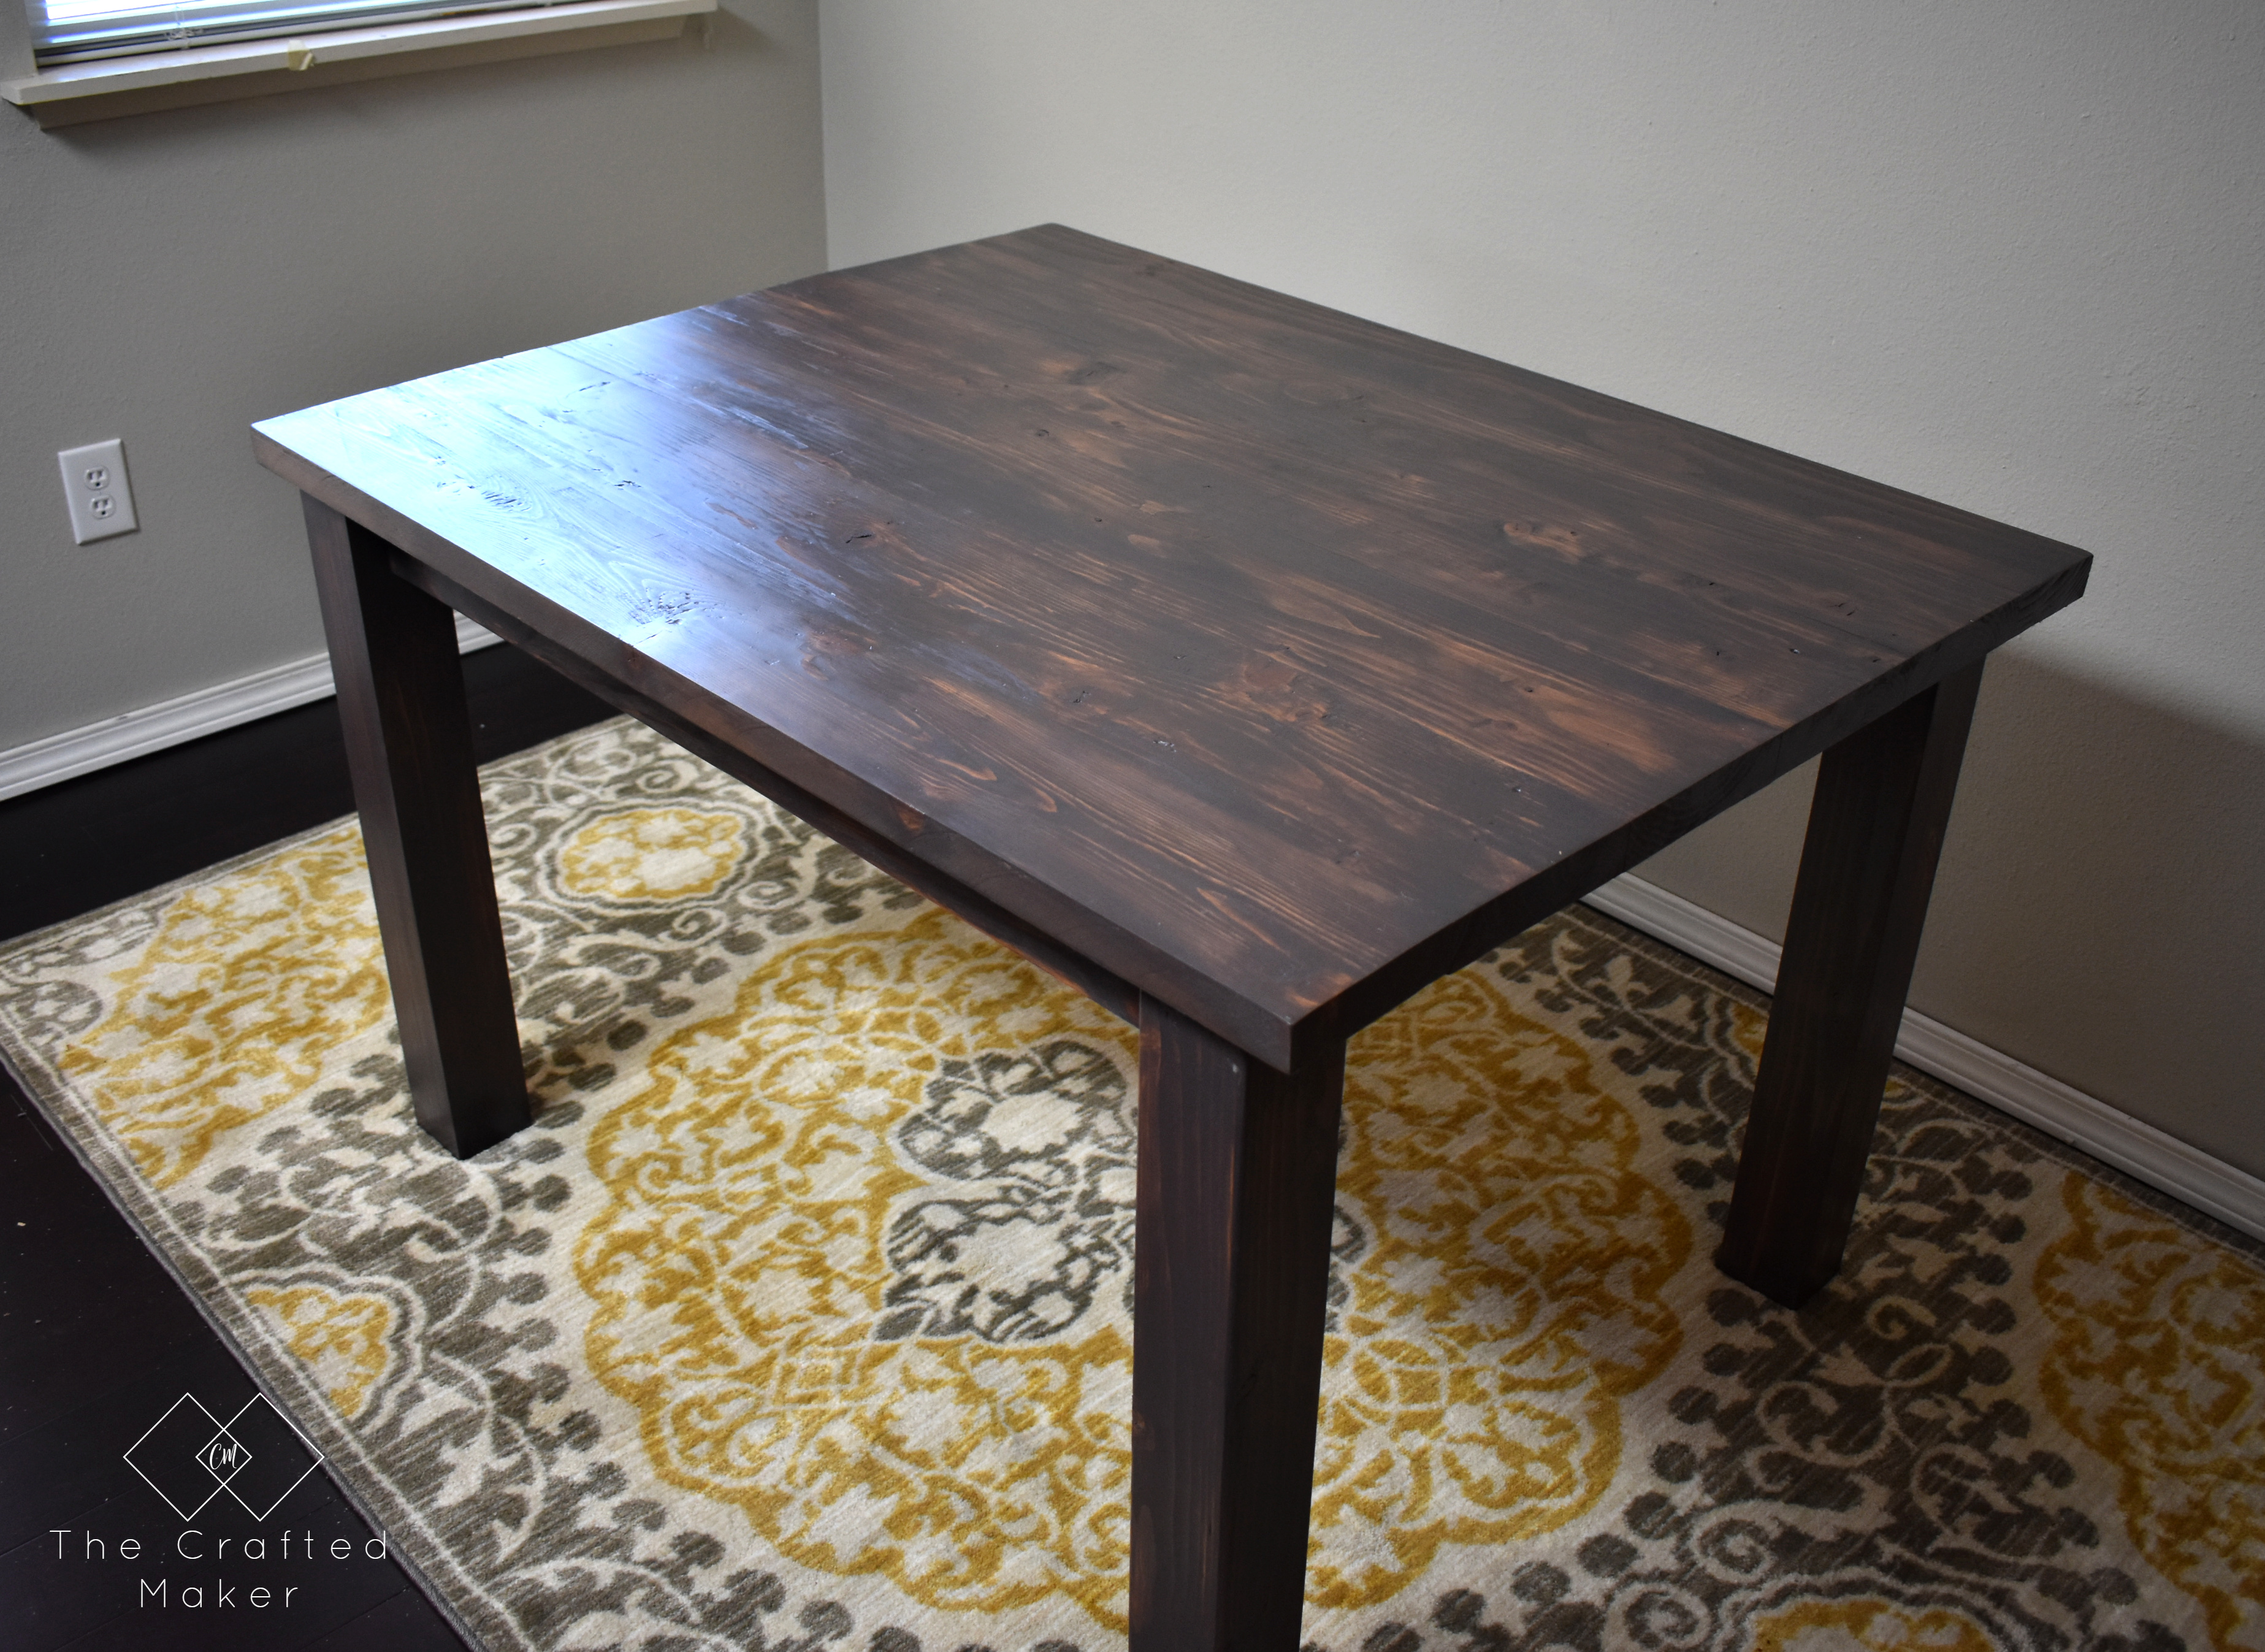
The scrap wood I used is actually a cut off from a tabletop glue up I recently made. The wood is two different tones, which makes a cool effect after the finishing process. You could be creative here and do the same thing. Possibly different species of wood or two pieces of the same with different stain or paint. That would be fun!
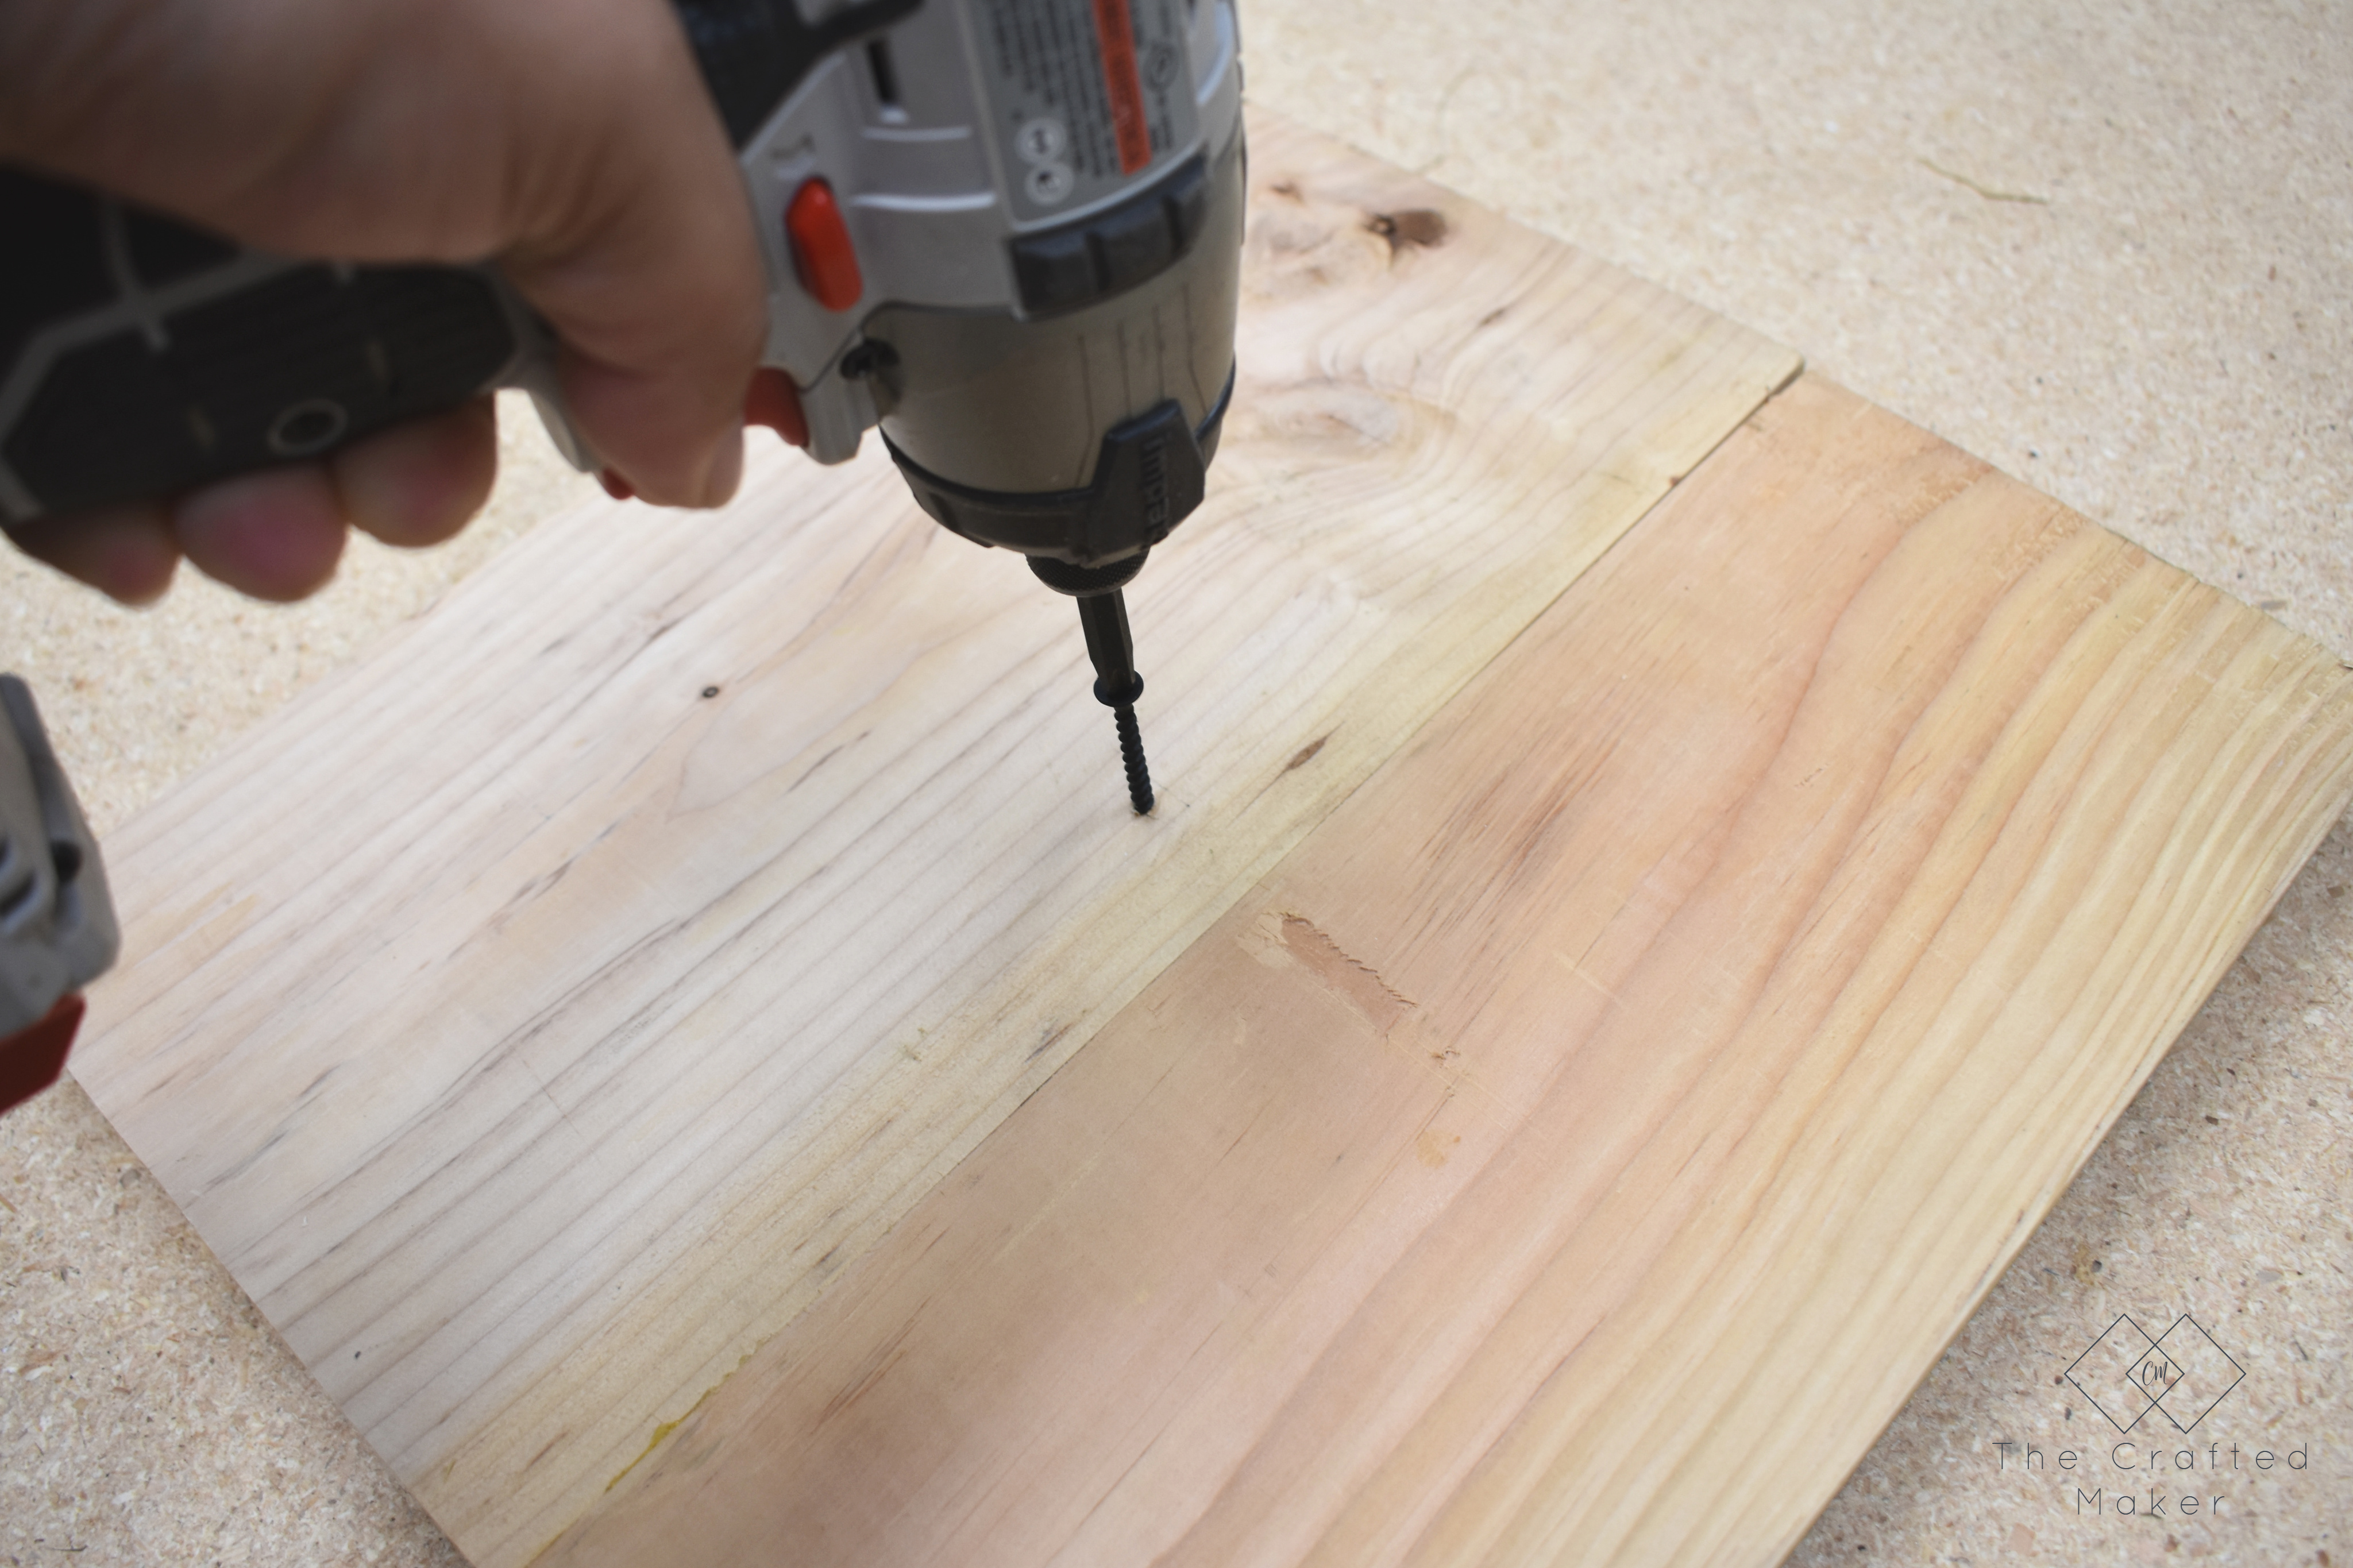
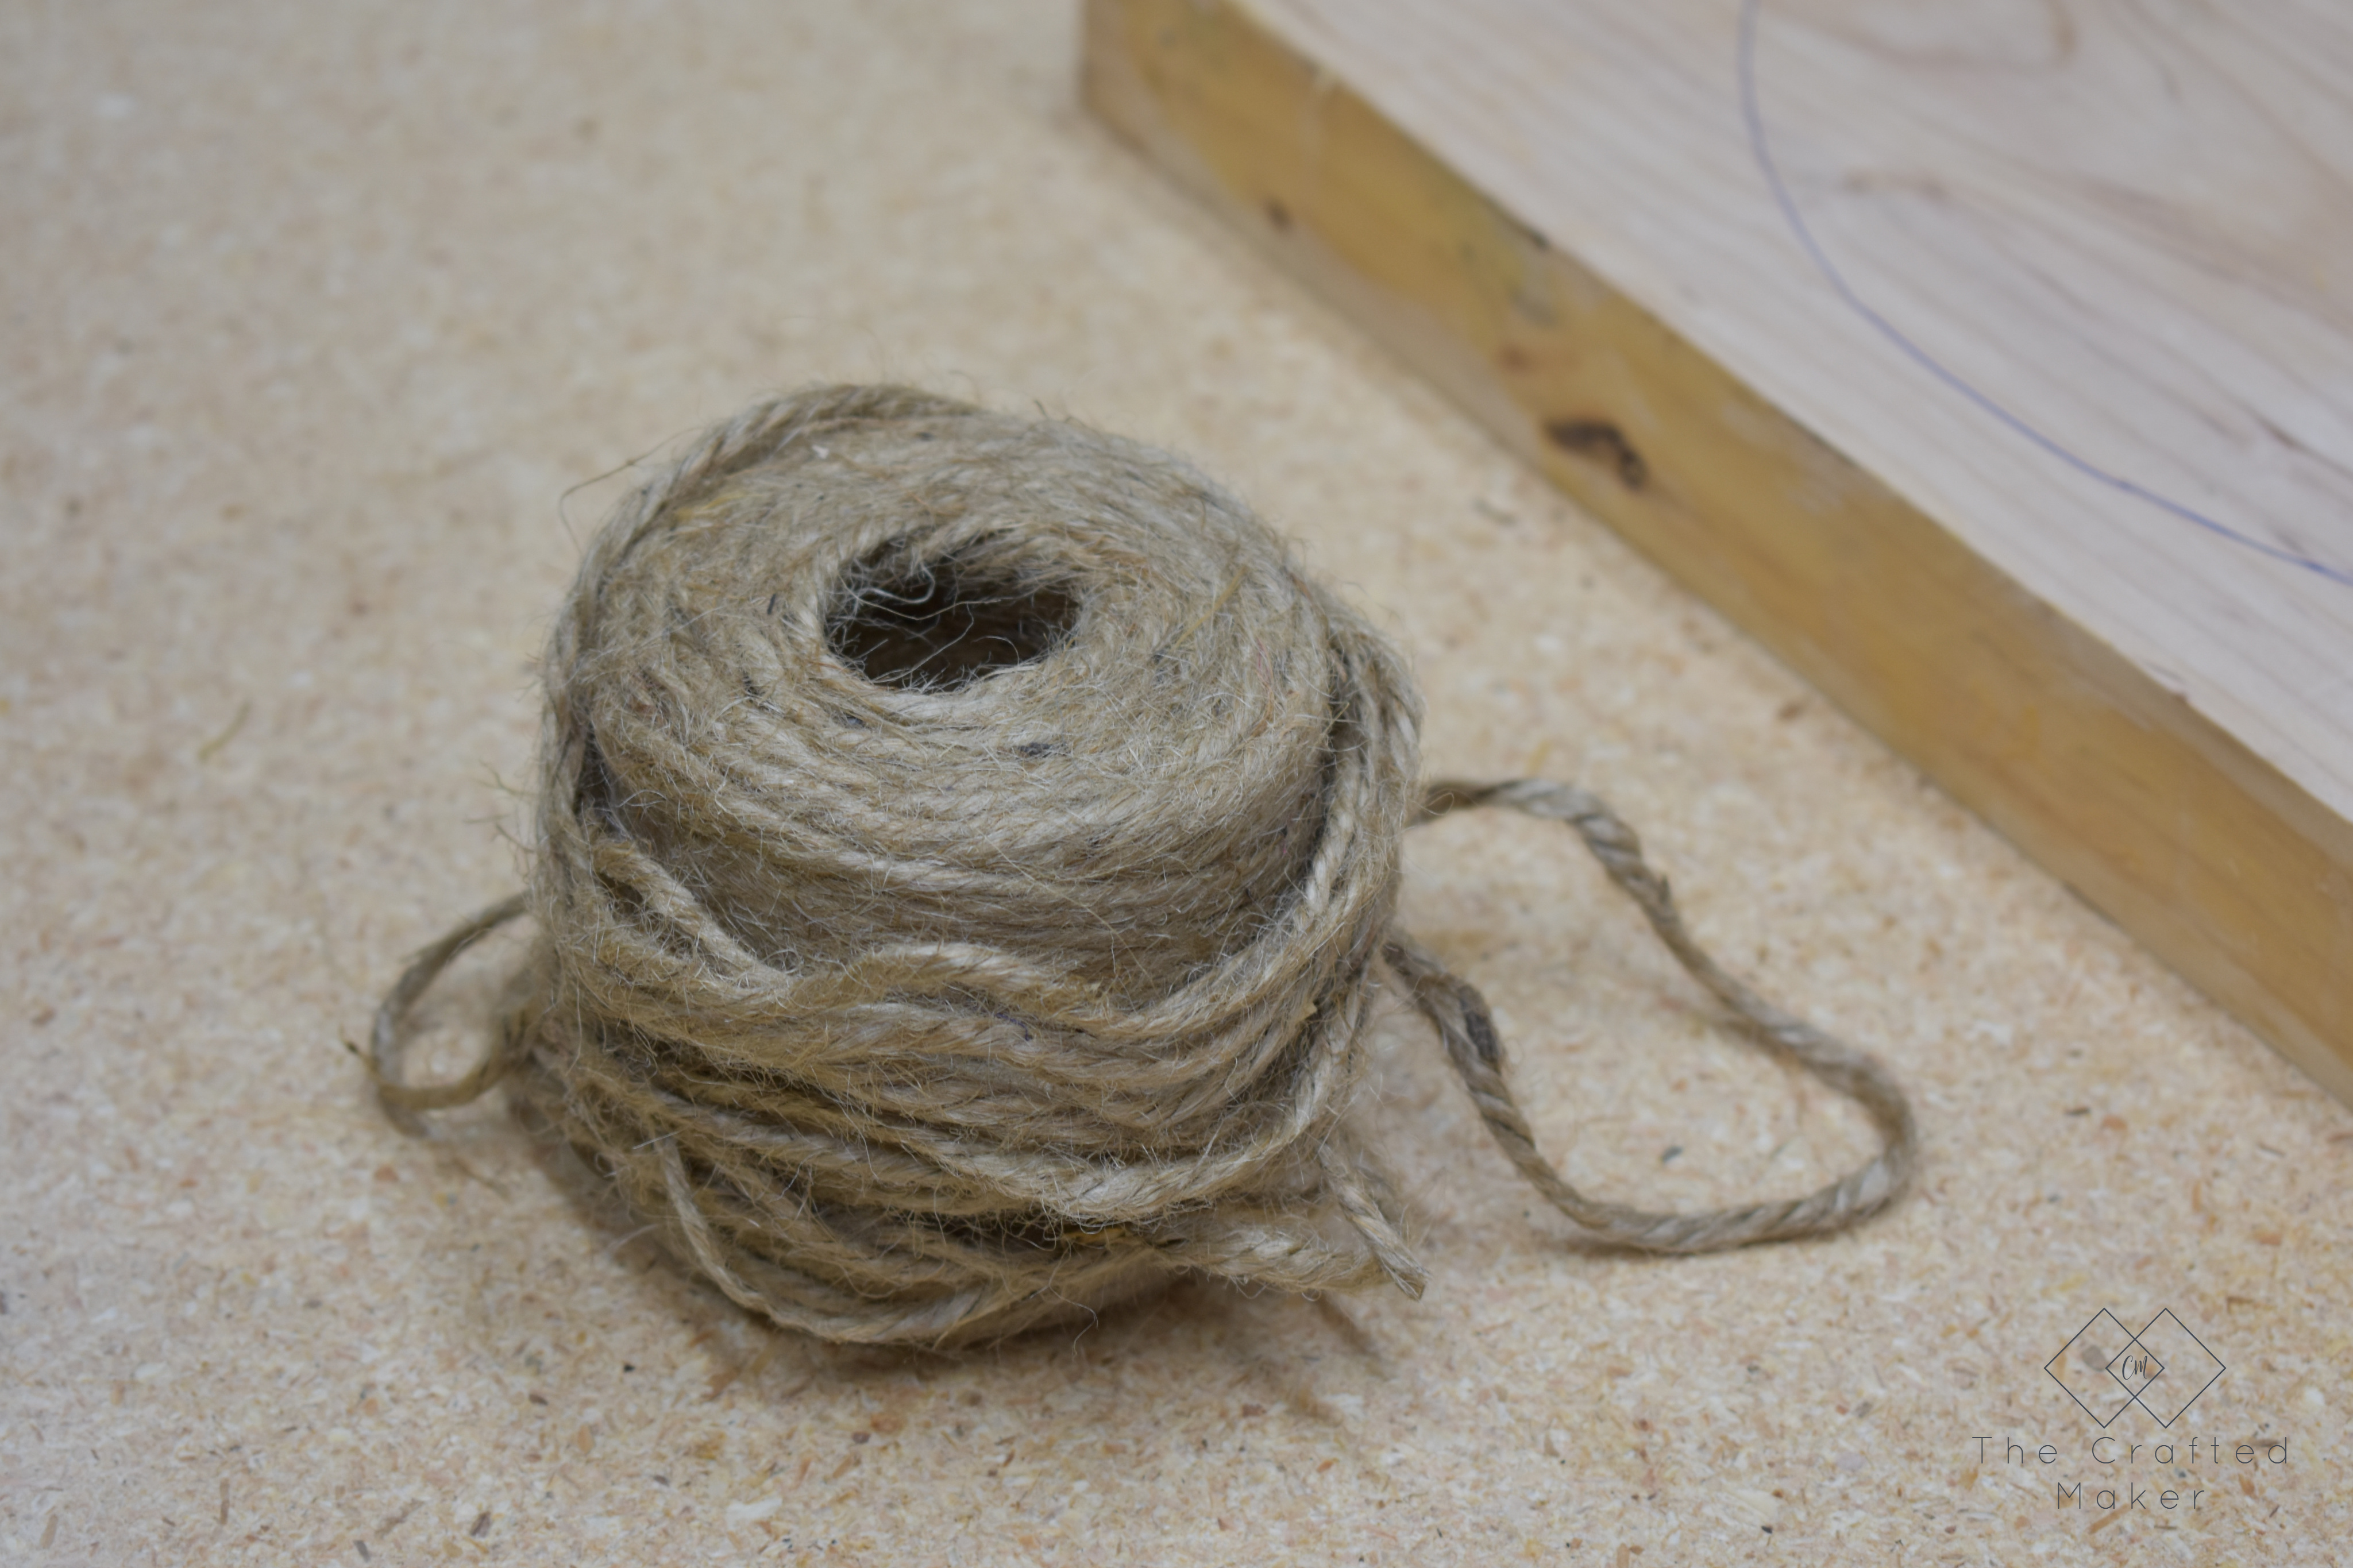
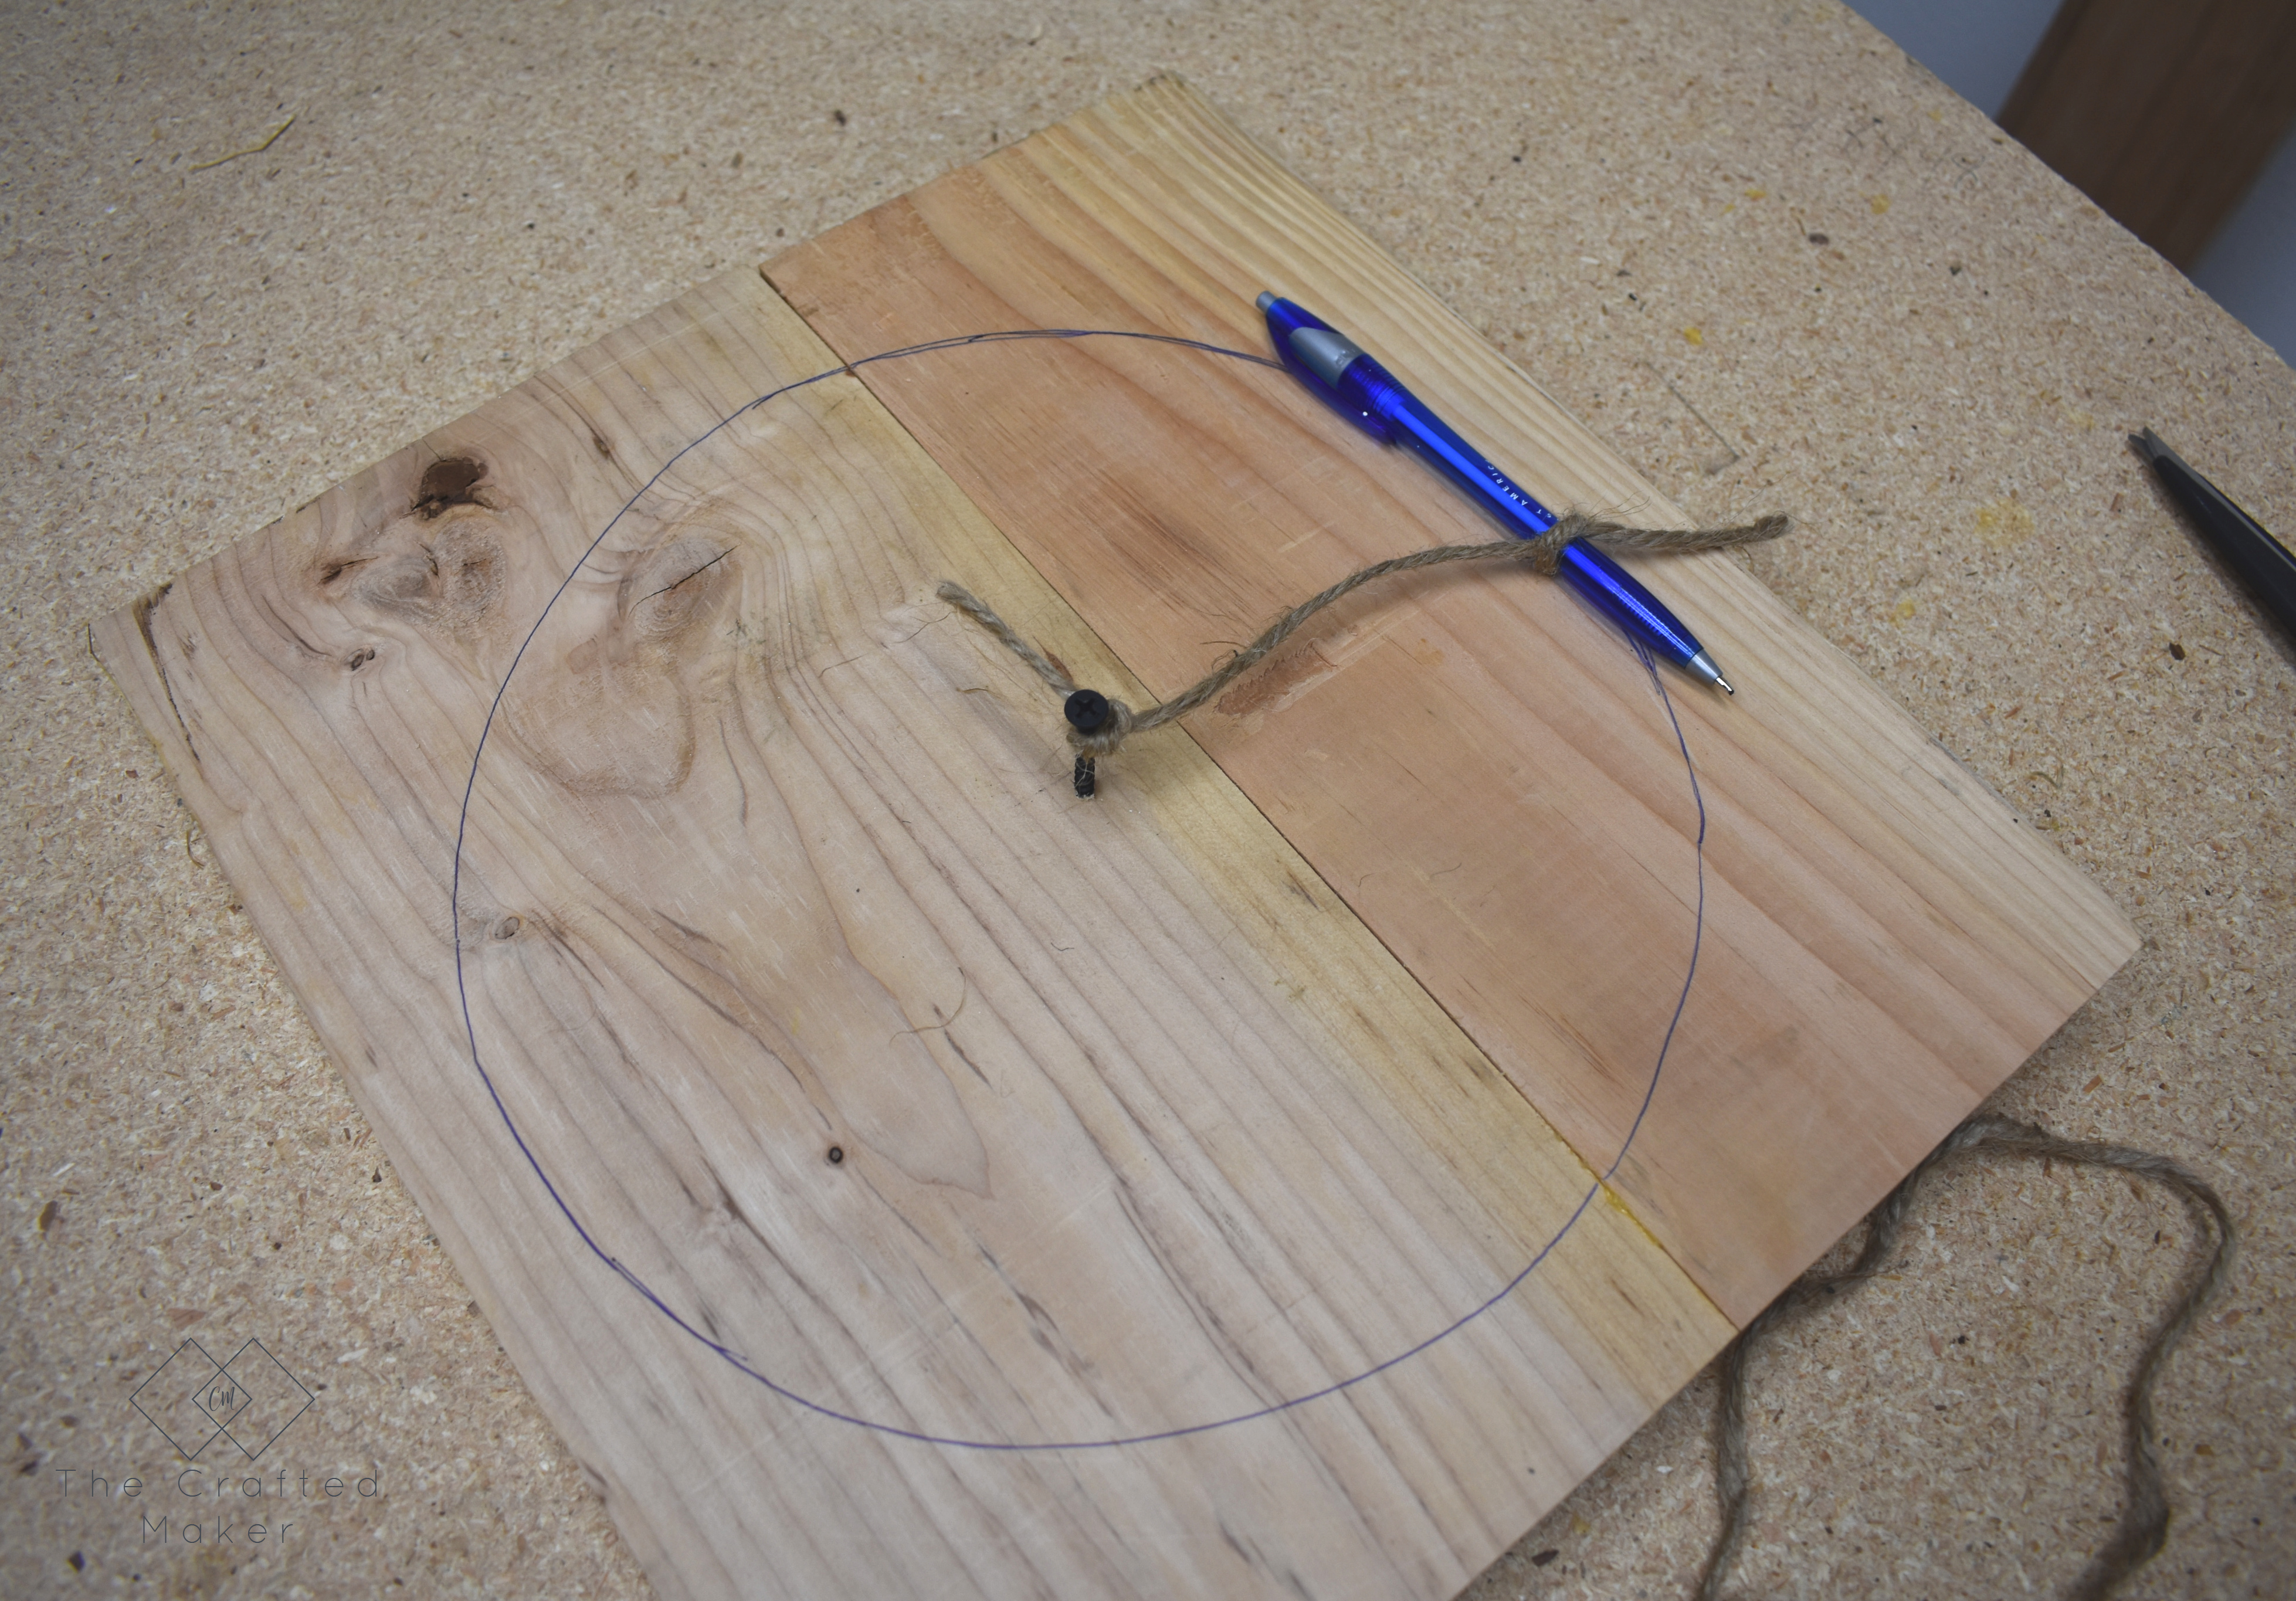
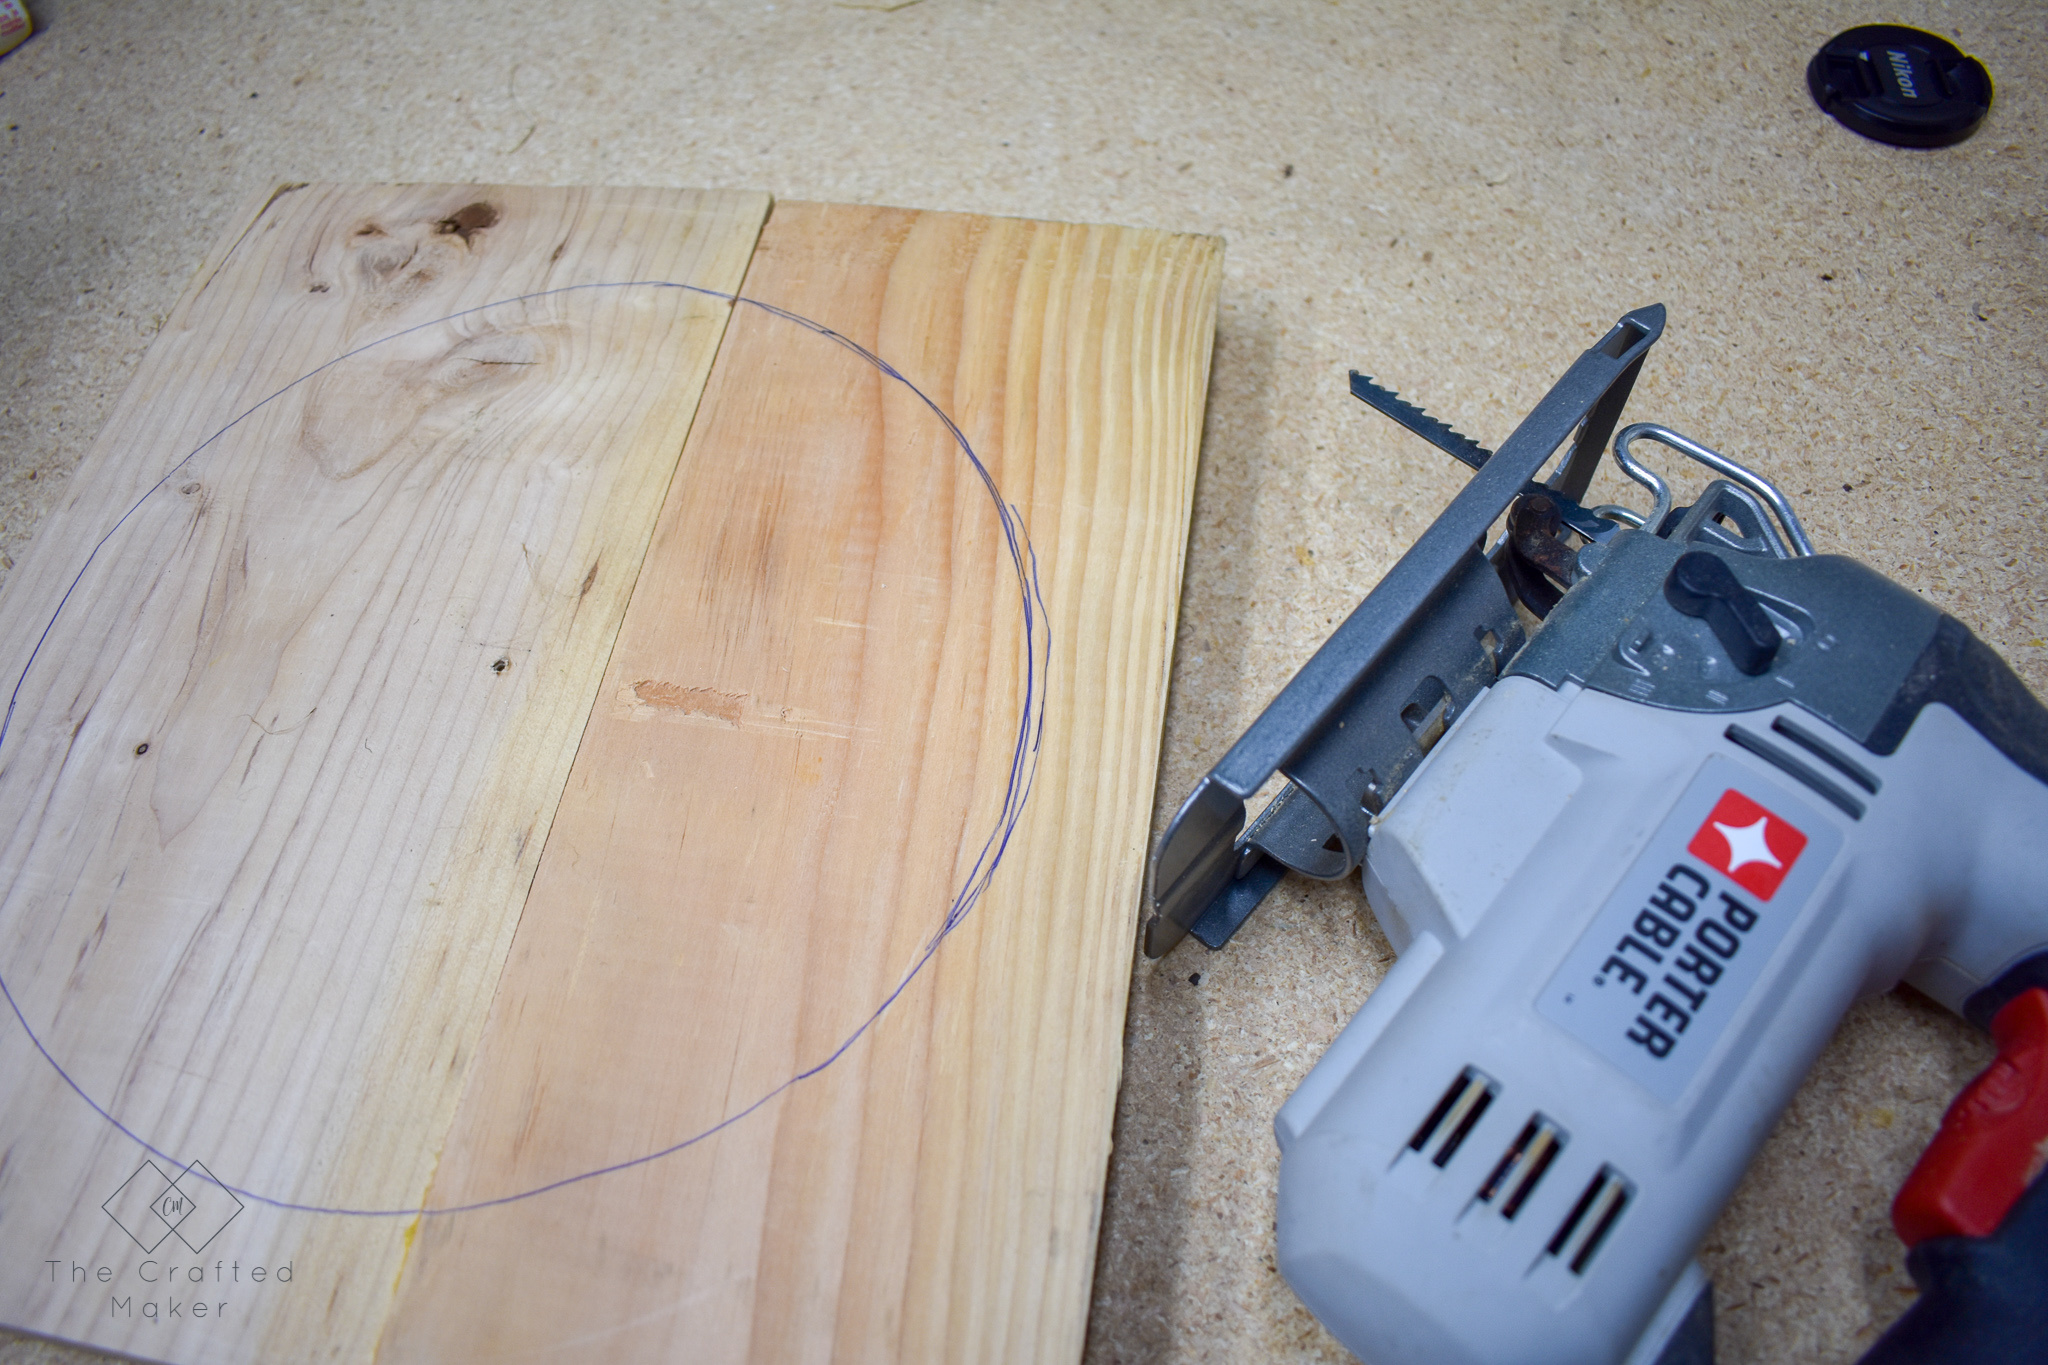
Since this is a wooden Lazy Susan, there needed to be a circle cut out of the scrap wood. If you have some string and a pencil or pen, this is a pretty easy process. I screwed in a screw into the center of the board, determined the size of the circle I needed and cut the string to that length. Attach a pen to the end of the string and guide the pen around the wood to make a circle. All of this is happening on the backside of the Lazy Susan.
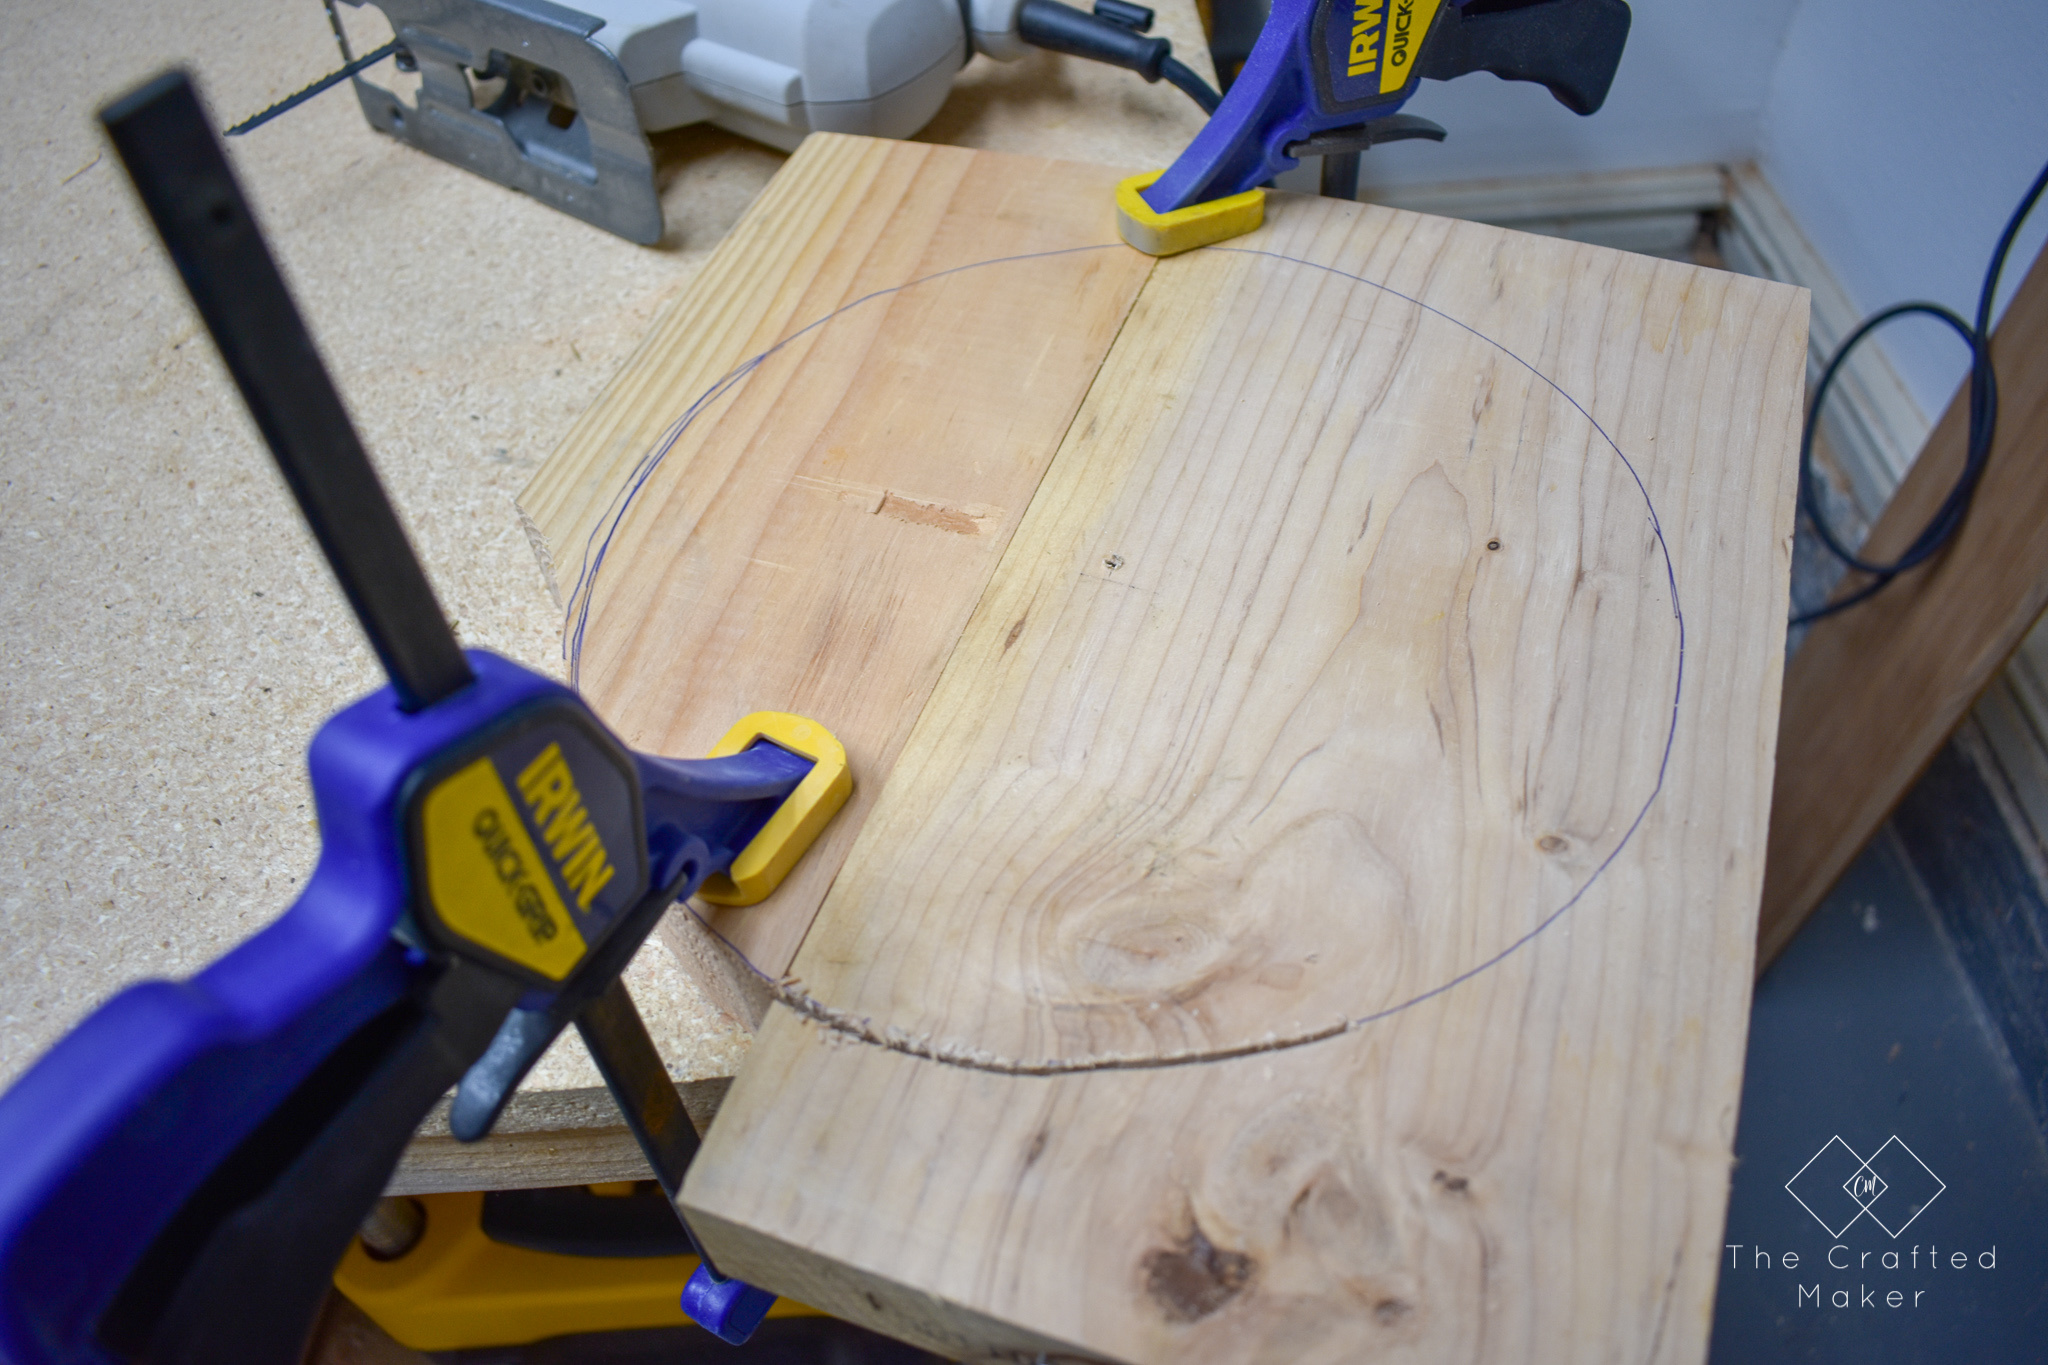
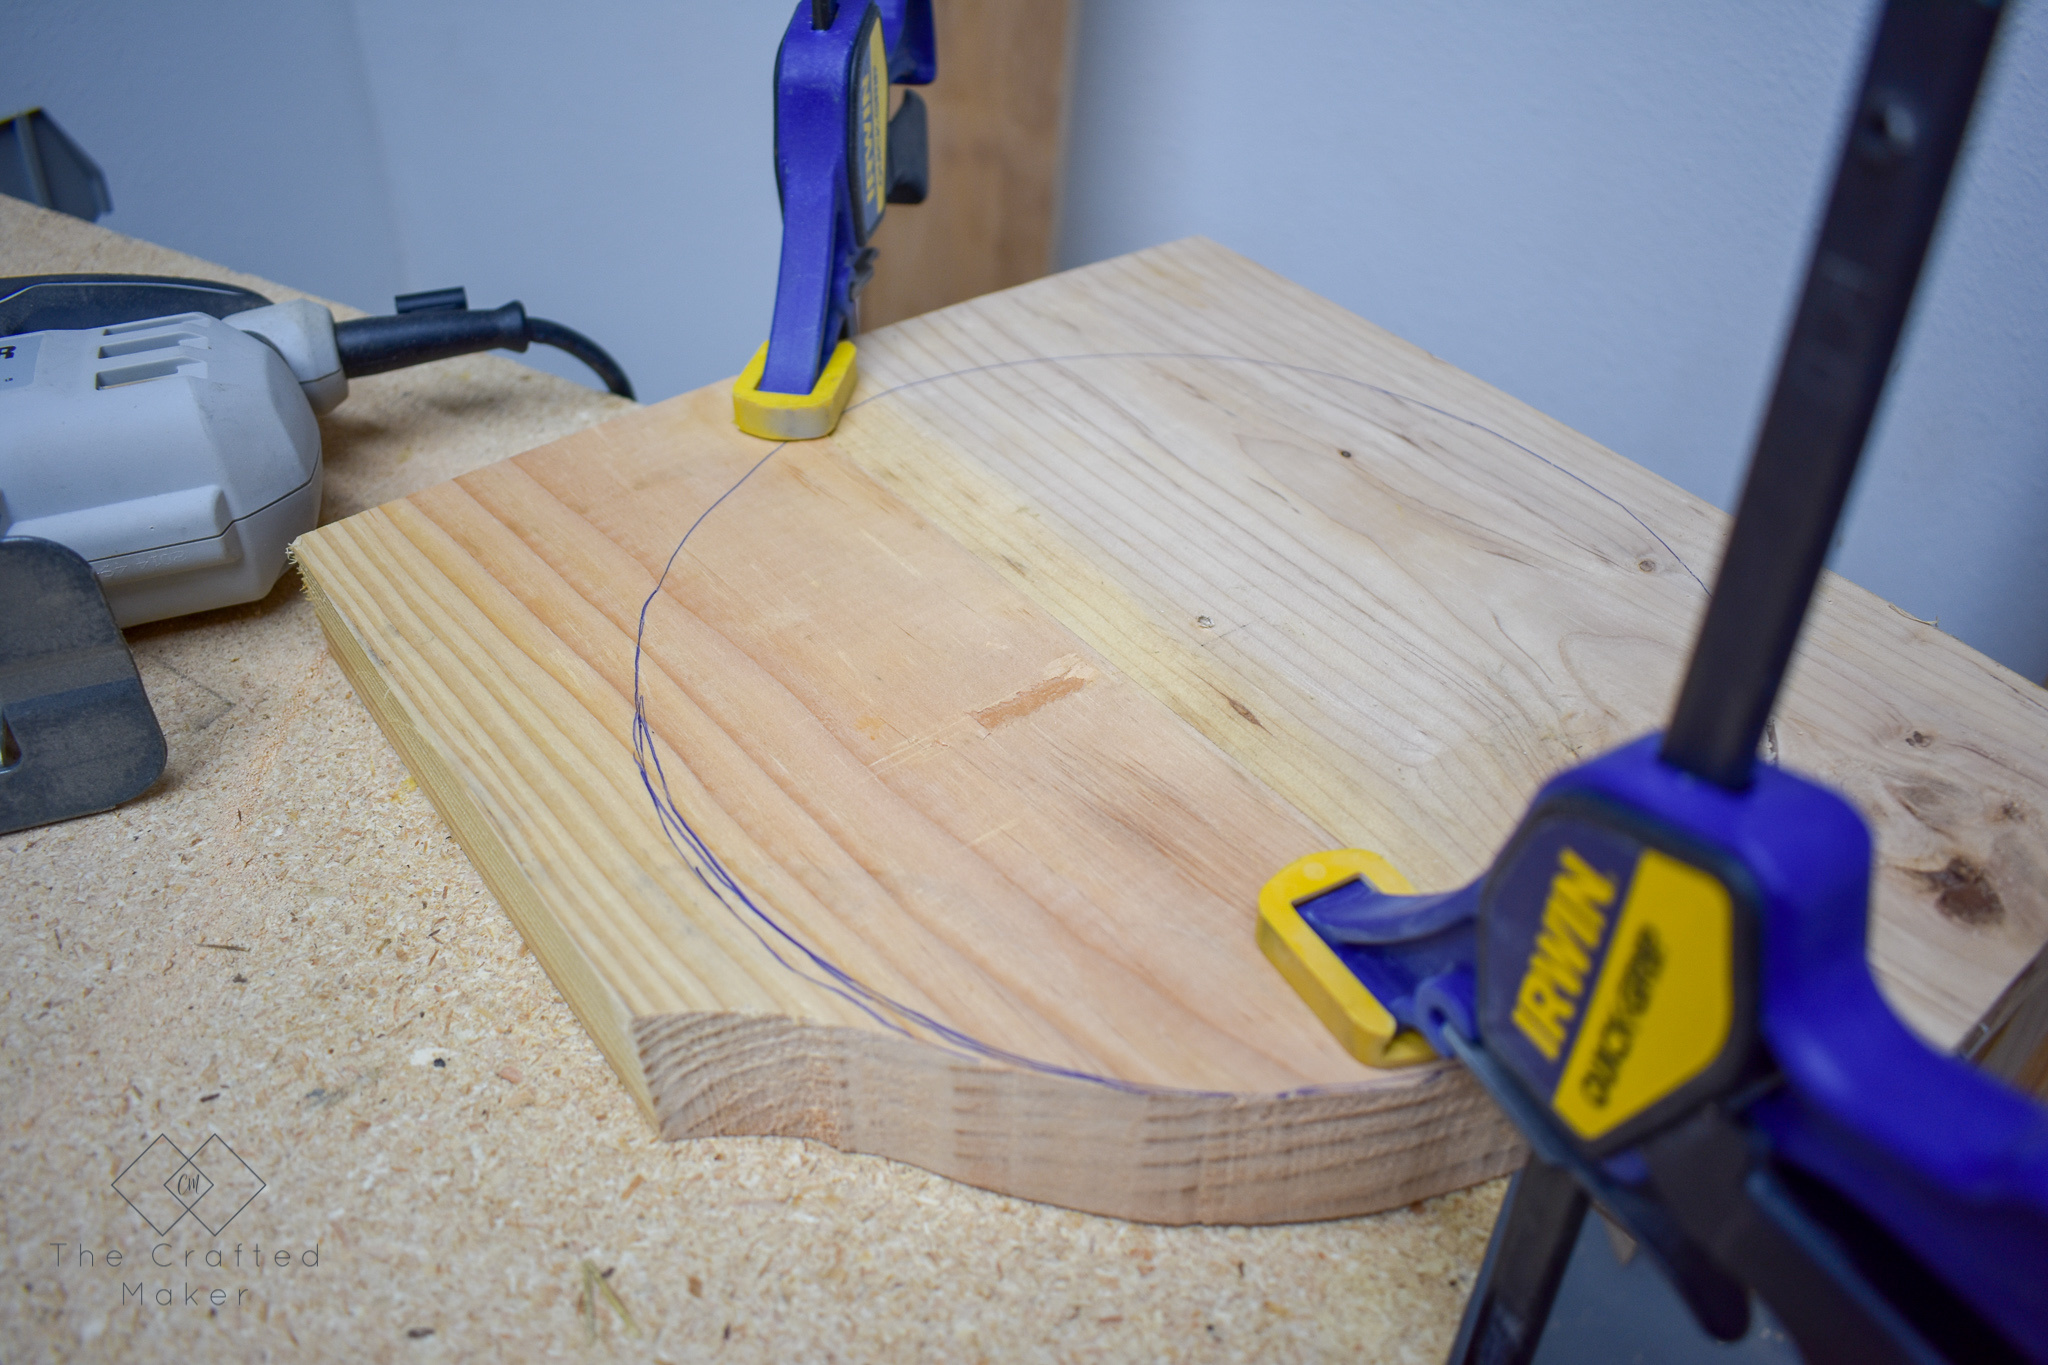
Once the circle was drawn, I removed the screw and cut out the circle with my jigsaw. It really helps if you have a surface that you can clamp your wood to when cutting. The less movement, the easier the cut is!
Feel free to move the position of the wood and clamps as you cut. This is especially helpful when cutting out something like a circle.
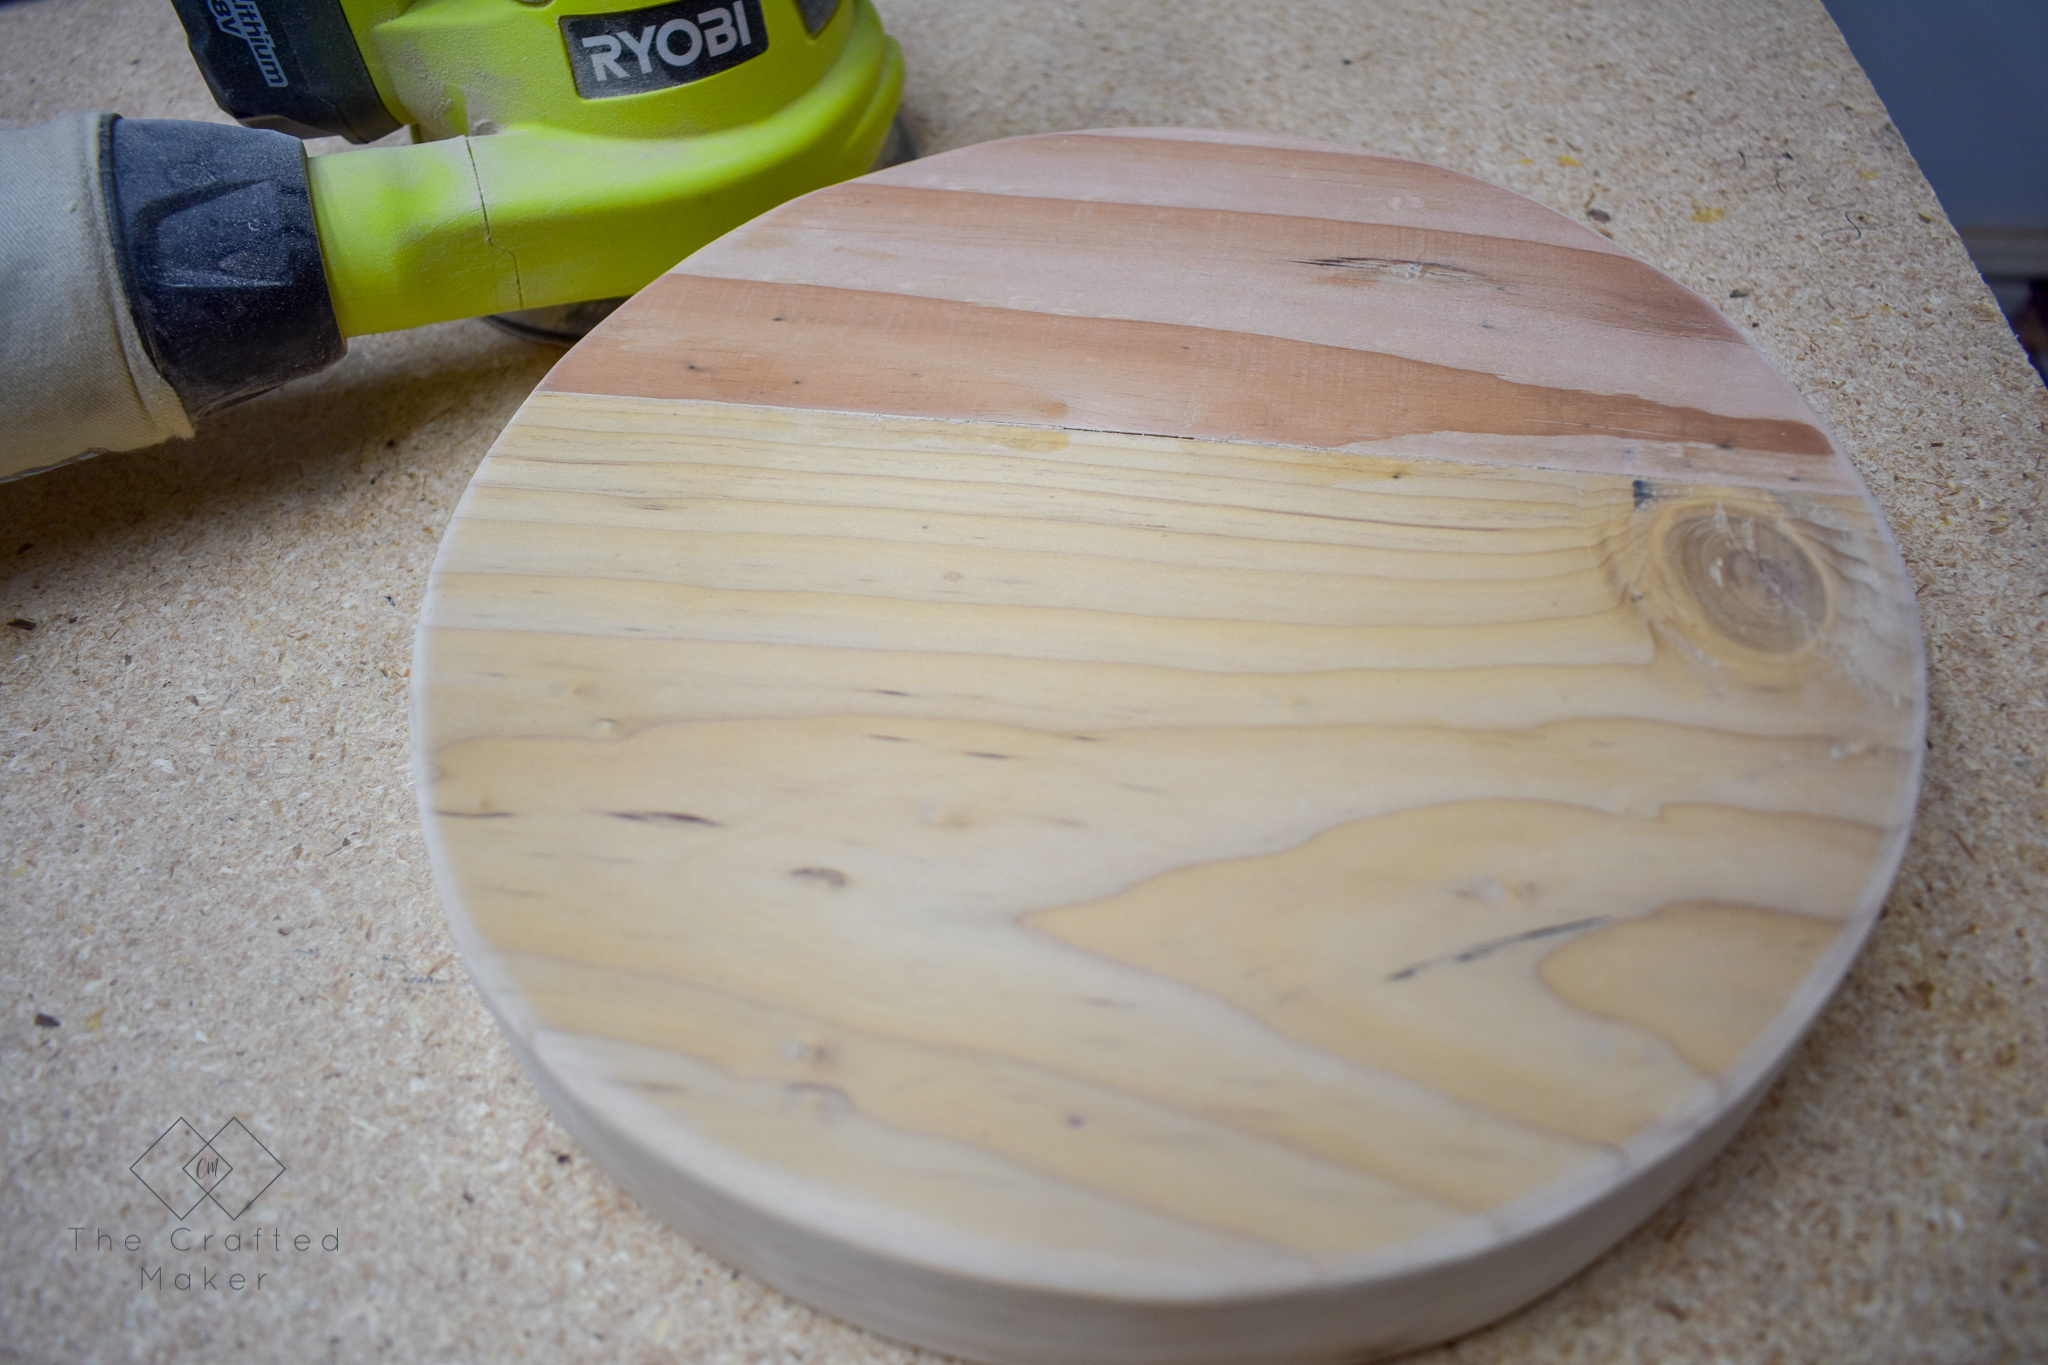
Once the circle is cut out, it’s time to sand the scrap wood and make it pretty! I started with a 120 grit and moved up to 220 from there.
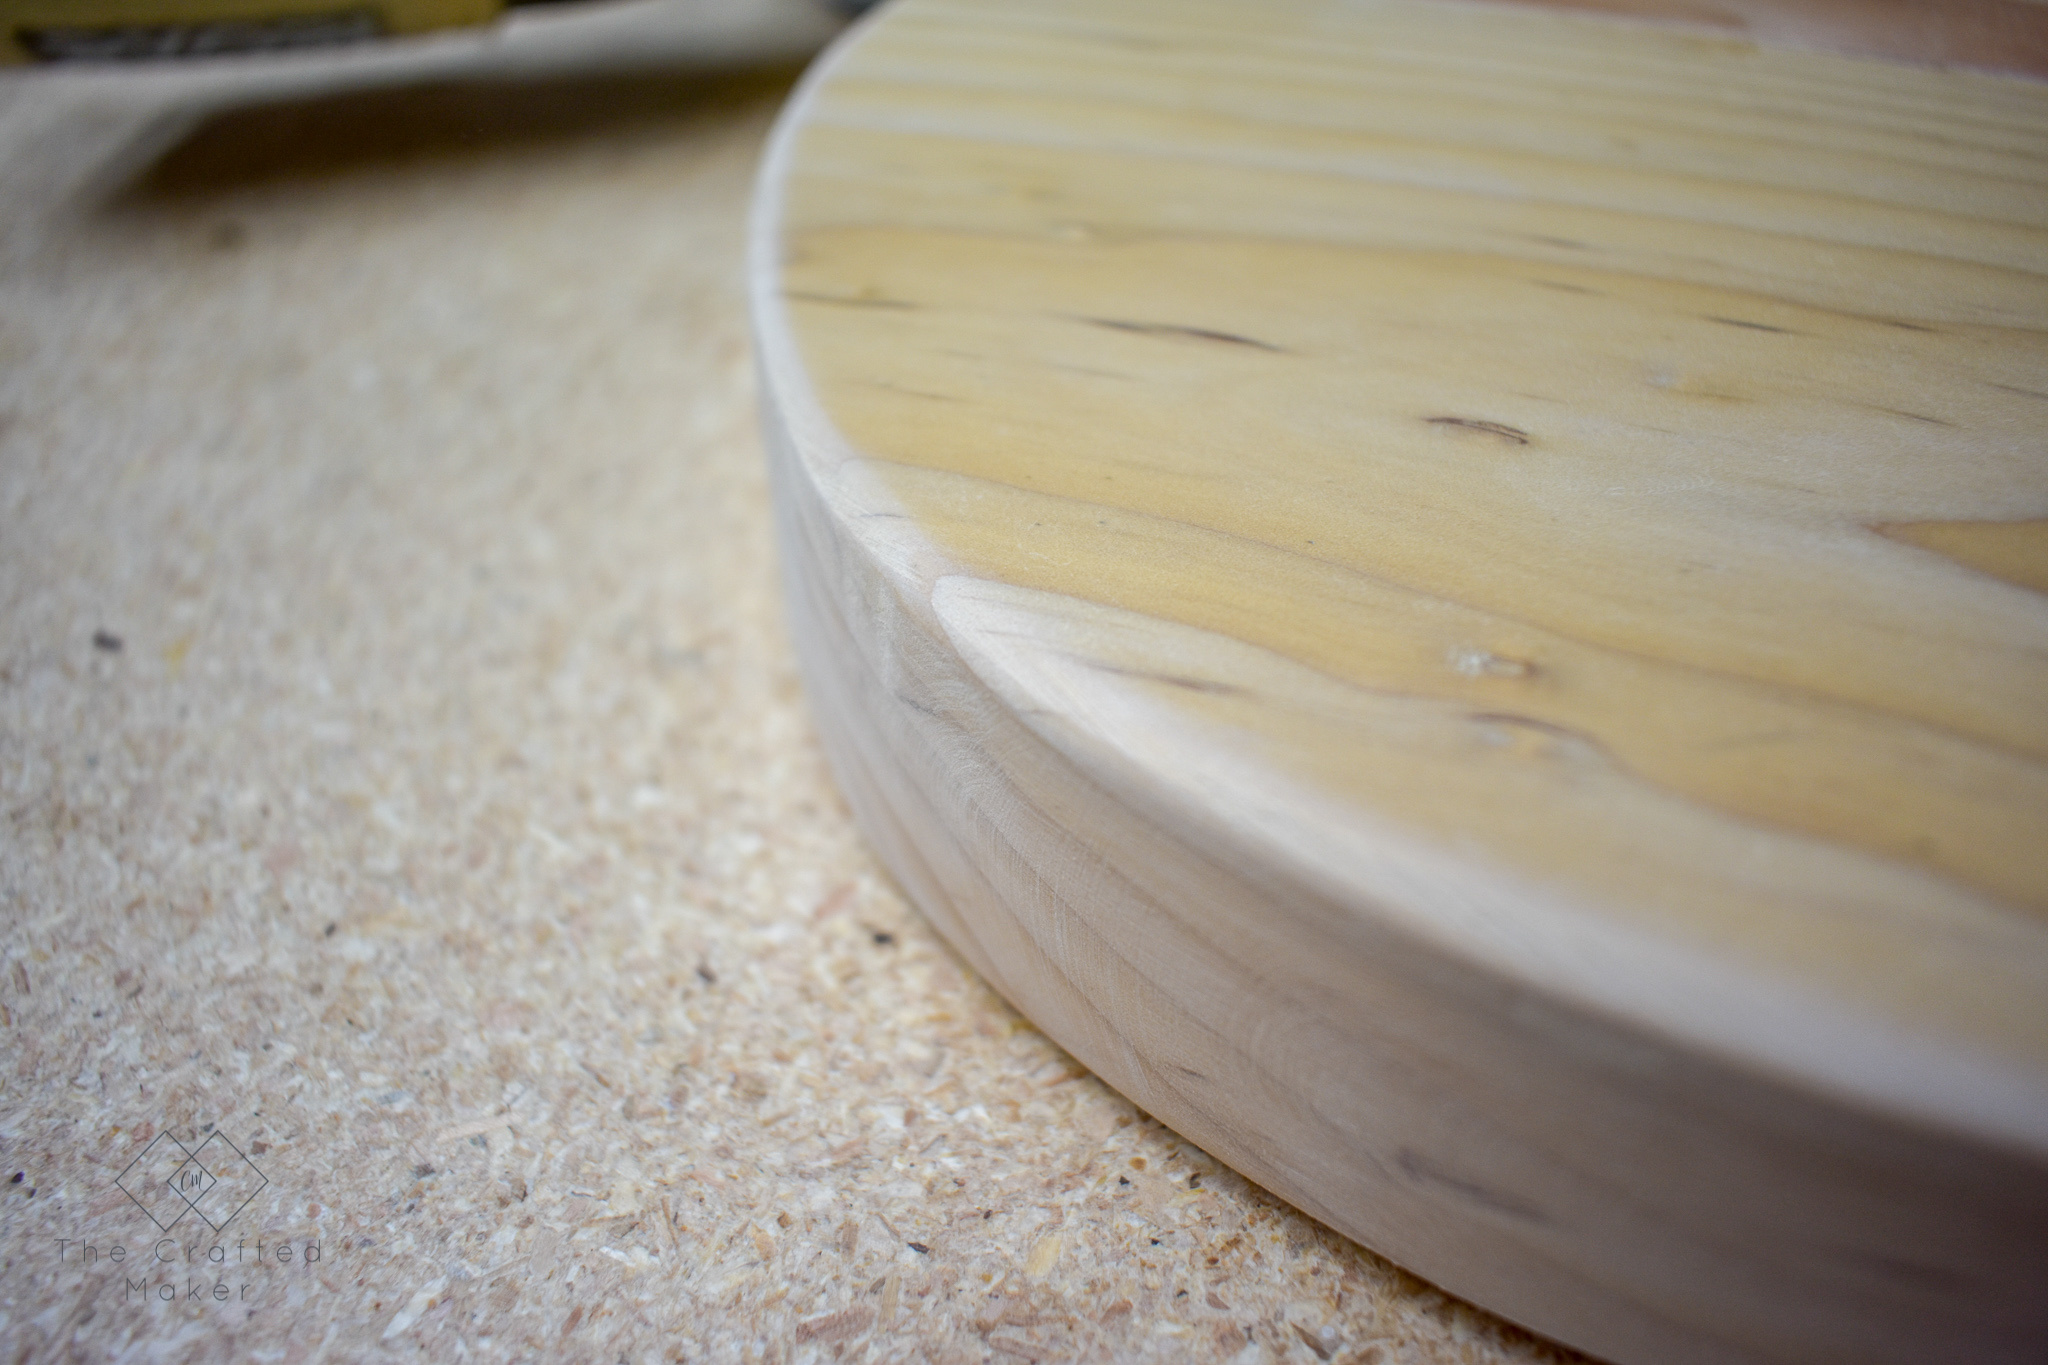
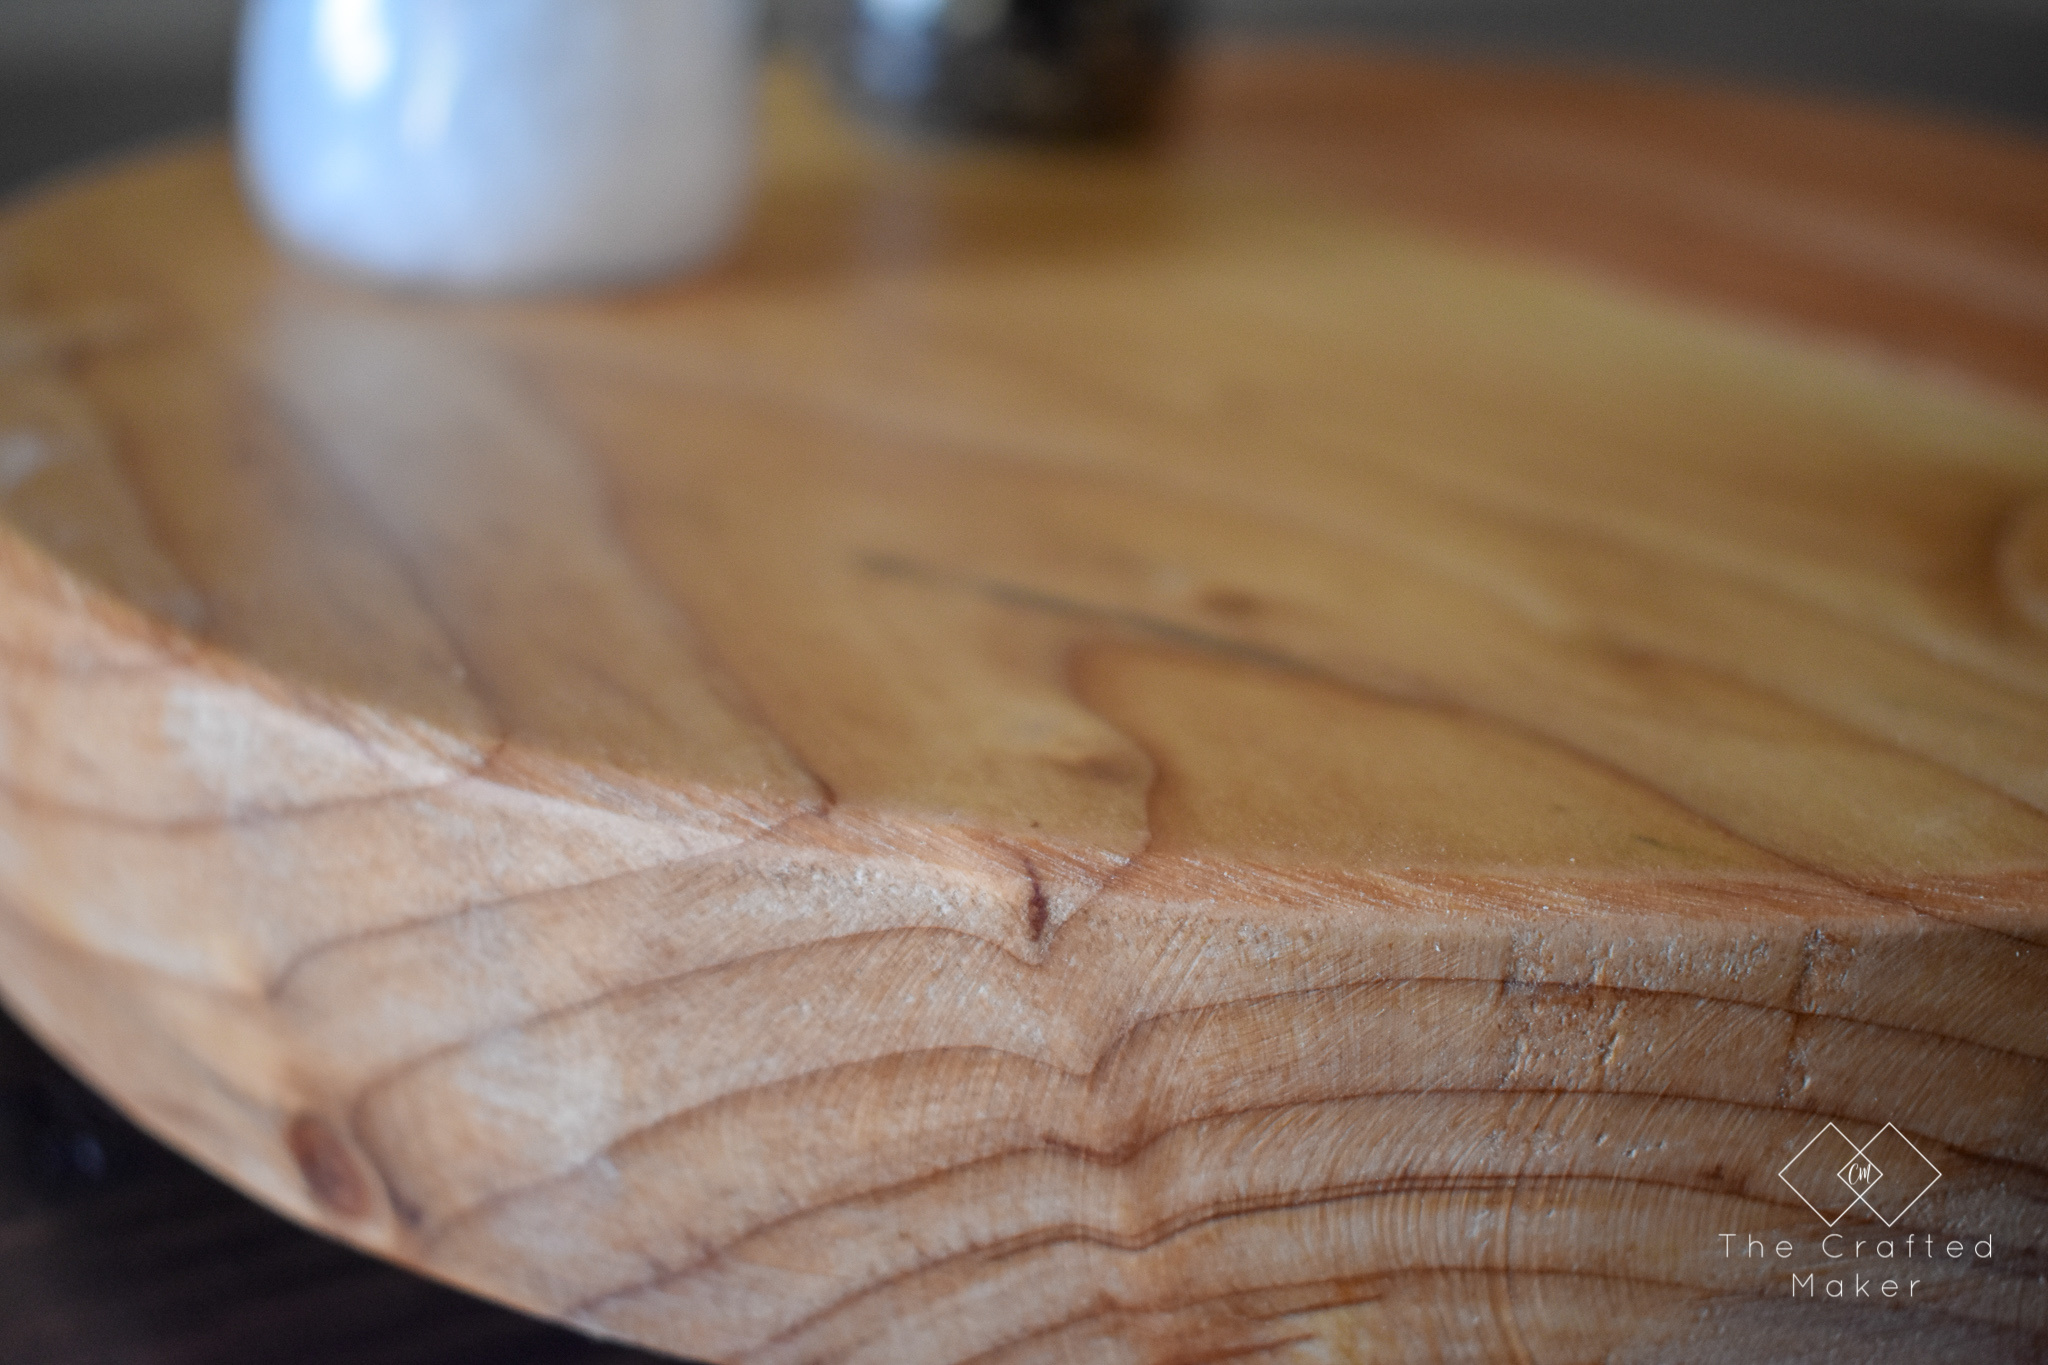
Be sure to sand the edges completely too. These will be front and center when you are using your new lazy susan. I used the sander to give the edge a little round over.
Time for Finishing!
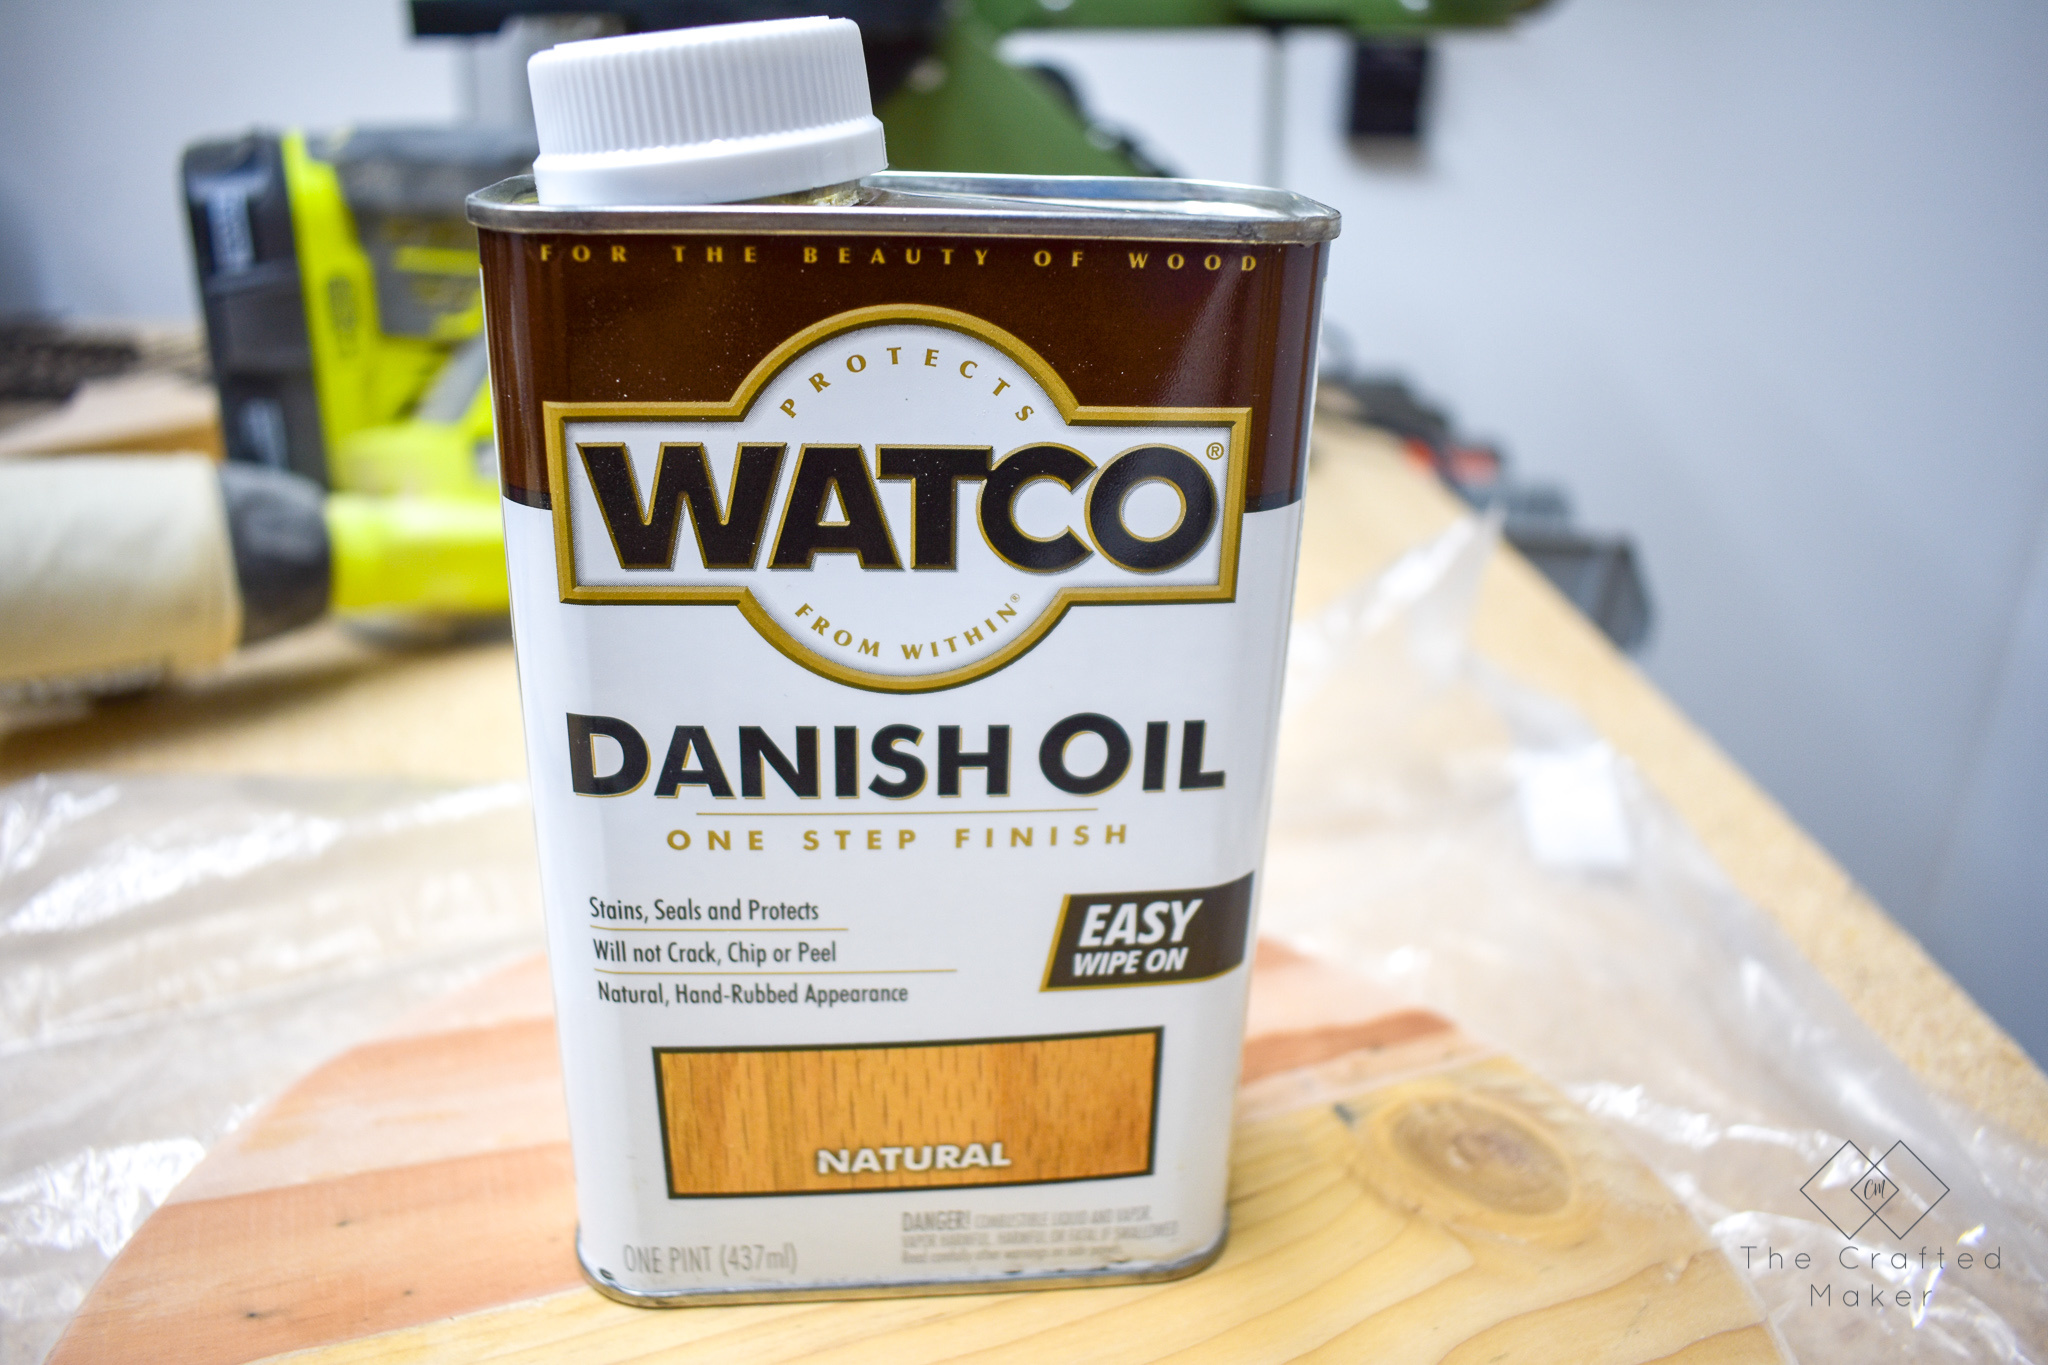
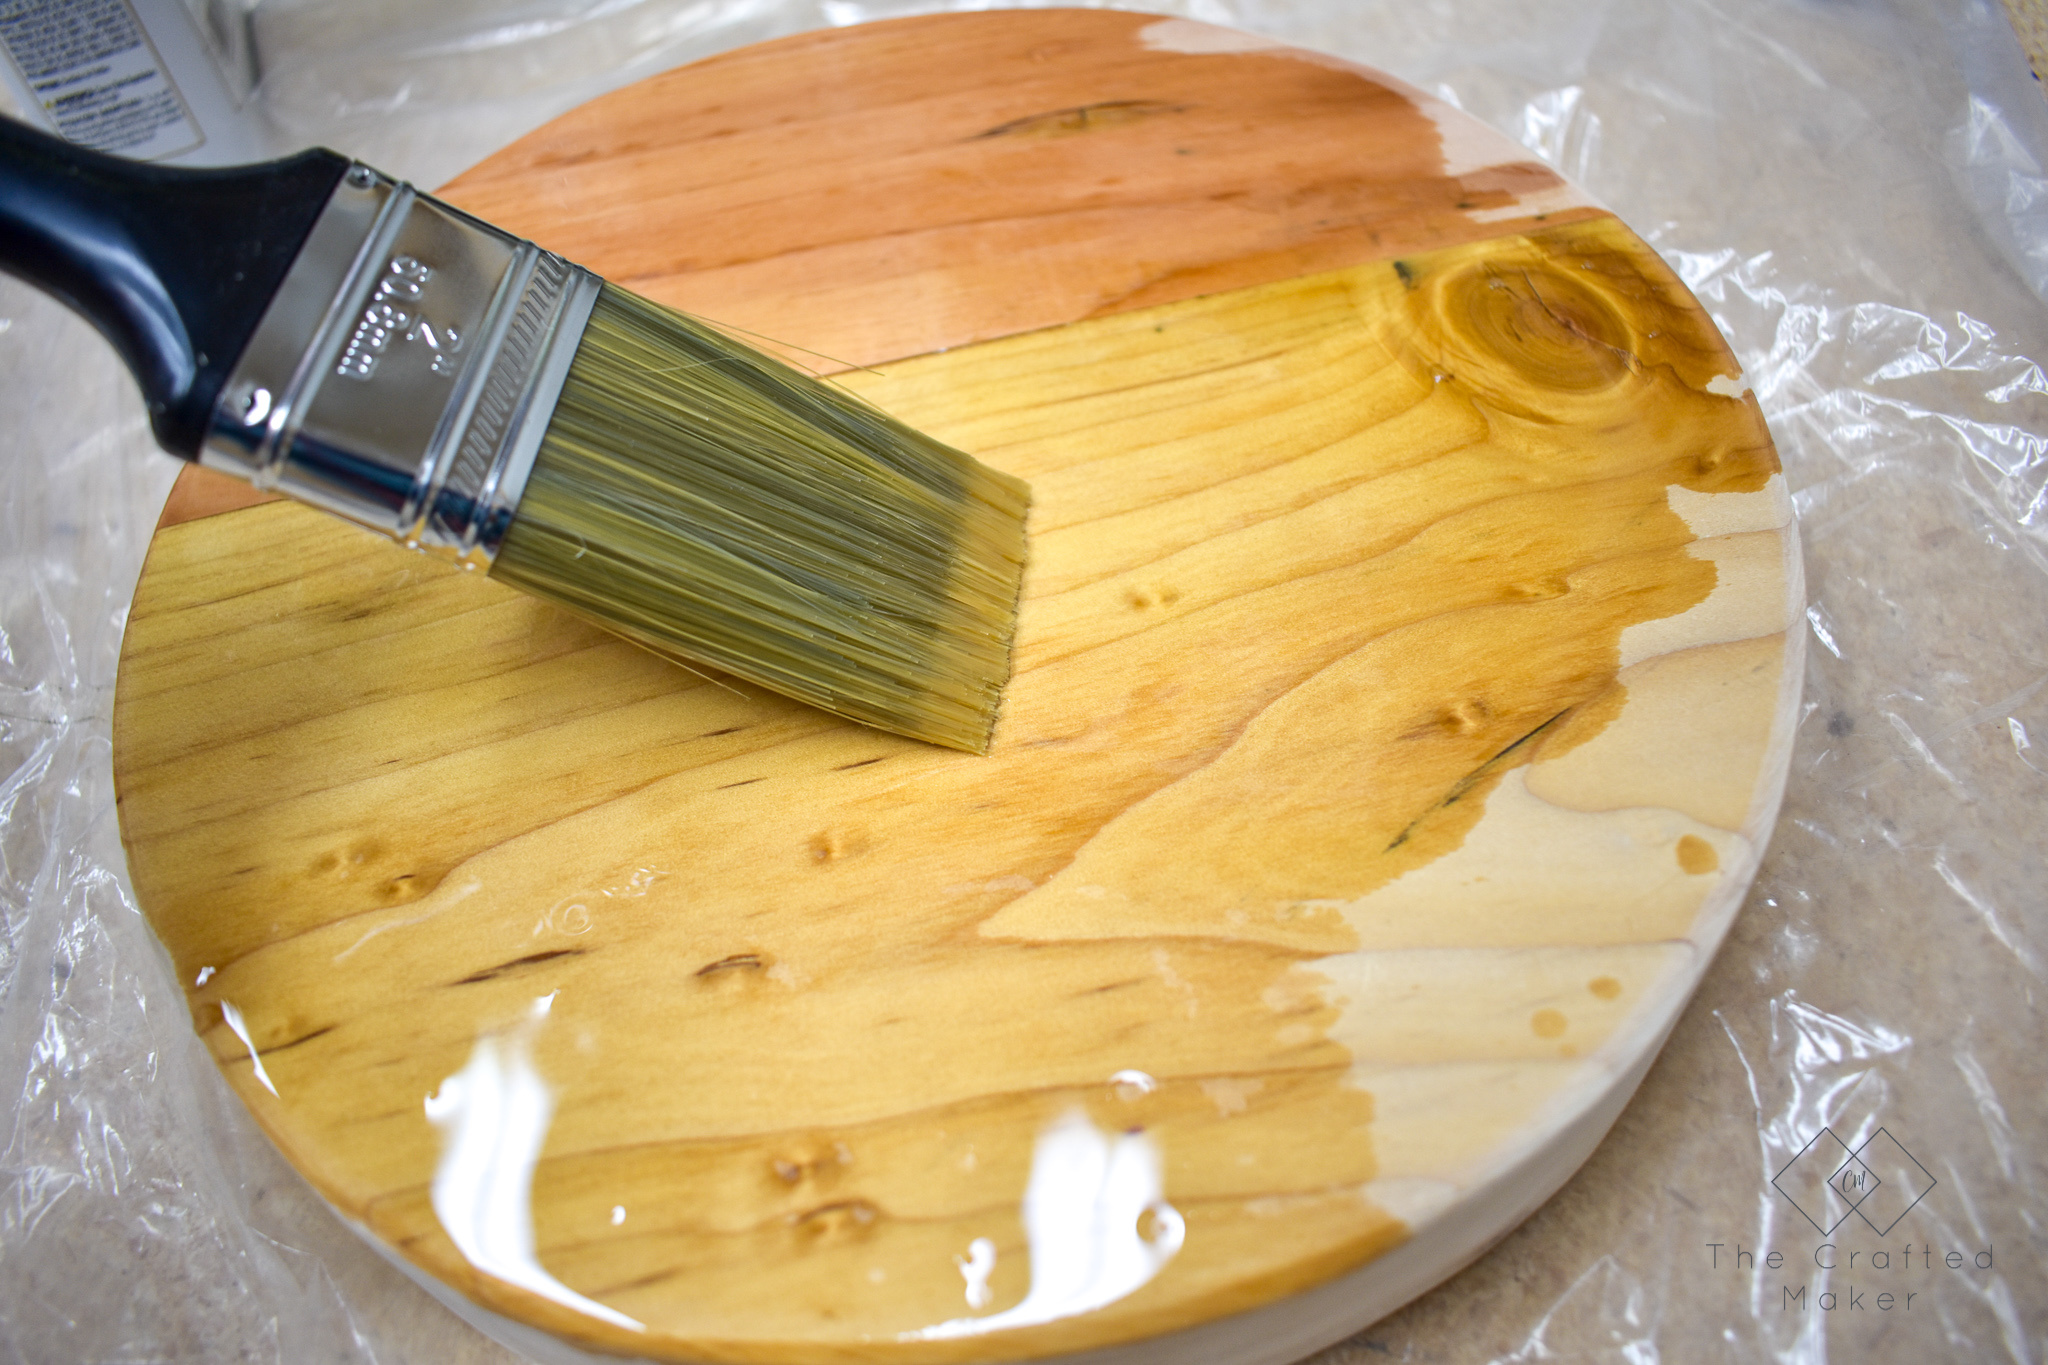
After sanding, I cleaned the wood with a rag to remove all of the dust. Then, I added some Danish oil. Man, oh, man! This was my first time using oil for a finish and I think there is a lot more of this in my future. It just looks so pretty going on and it actually soaks into the wood and hardens instead of just sitting on top.
I used a total of two coats allowing it to soak in fifteen minutes before reapplying.
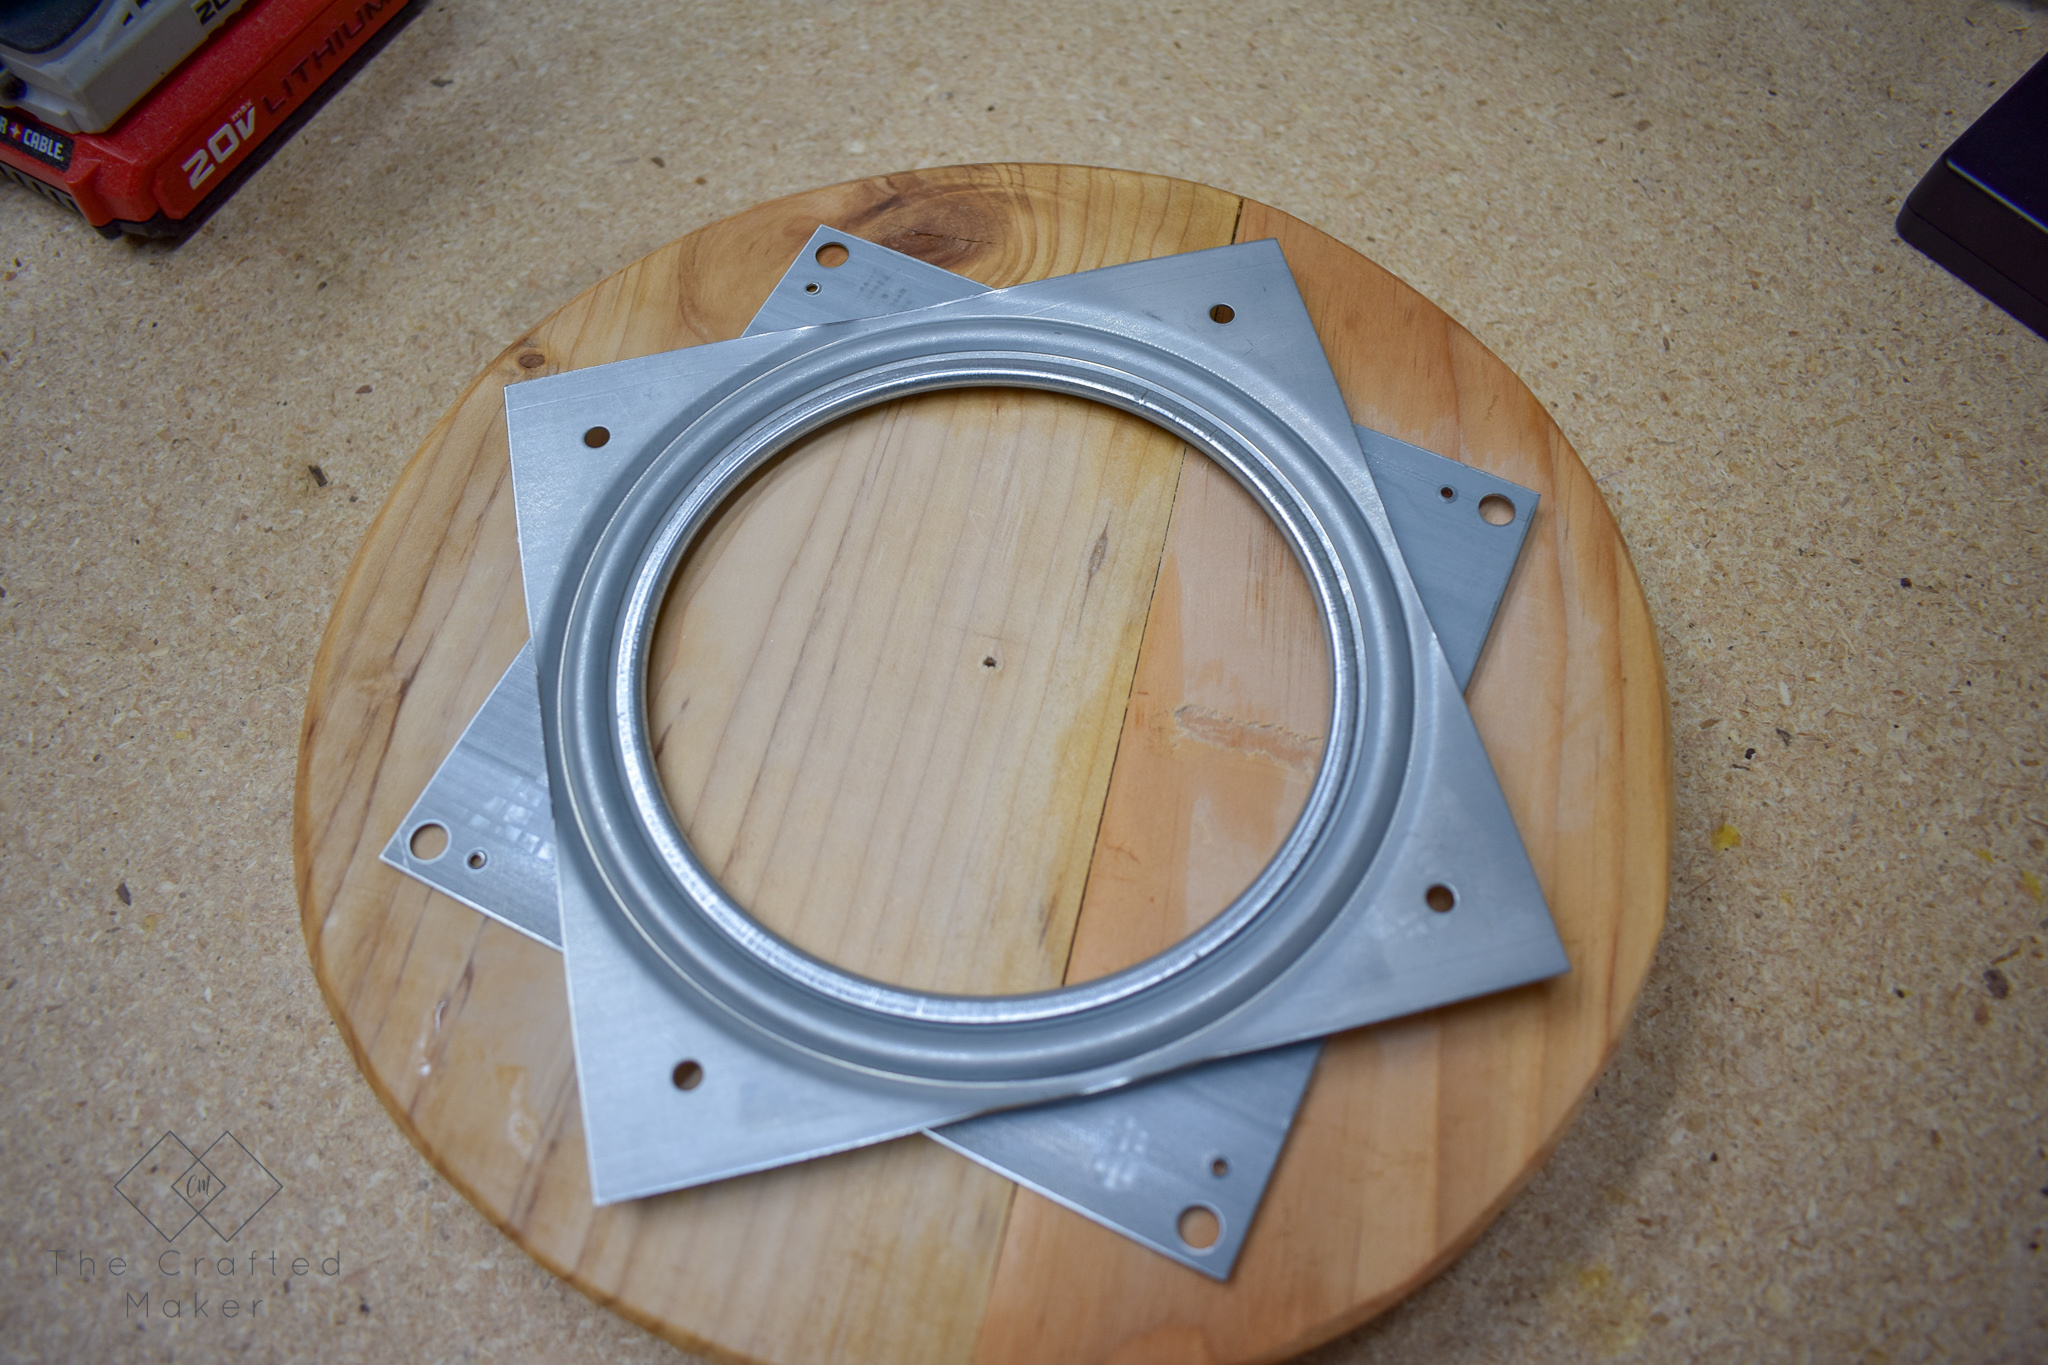
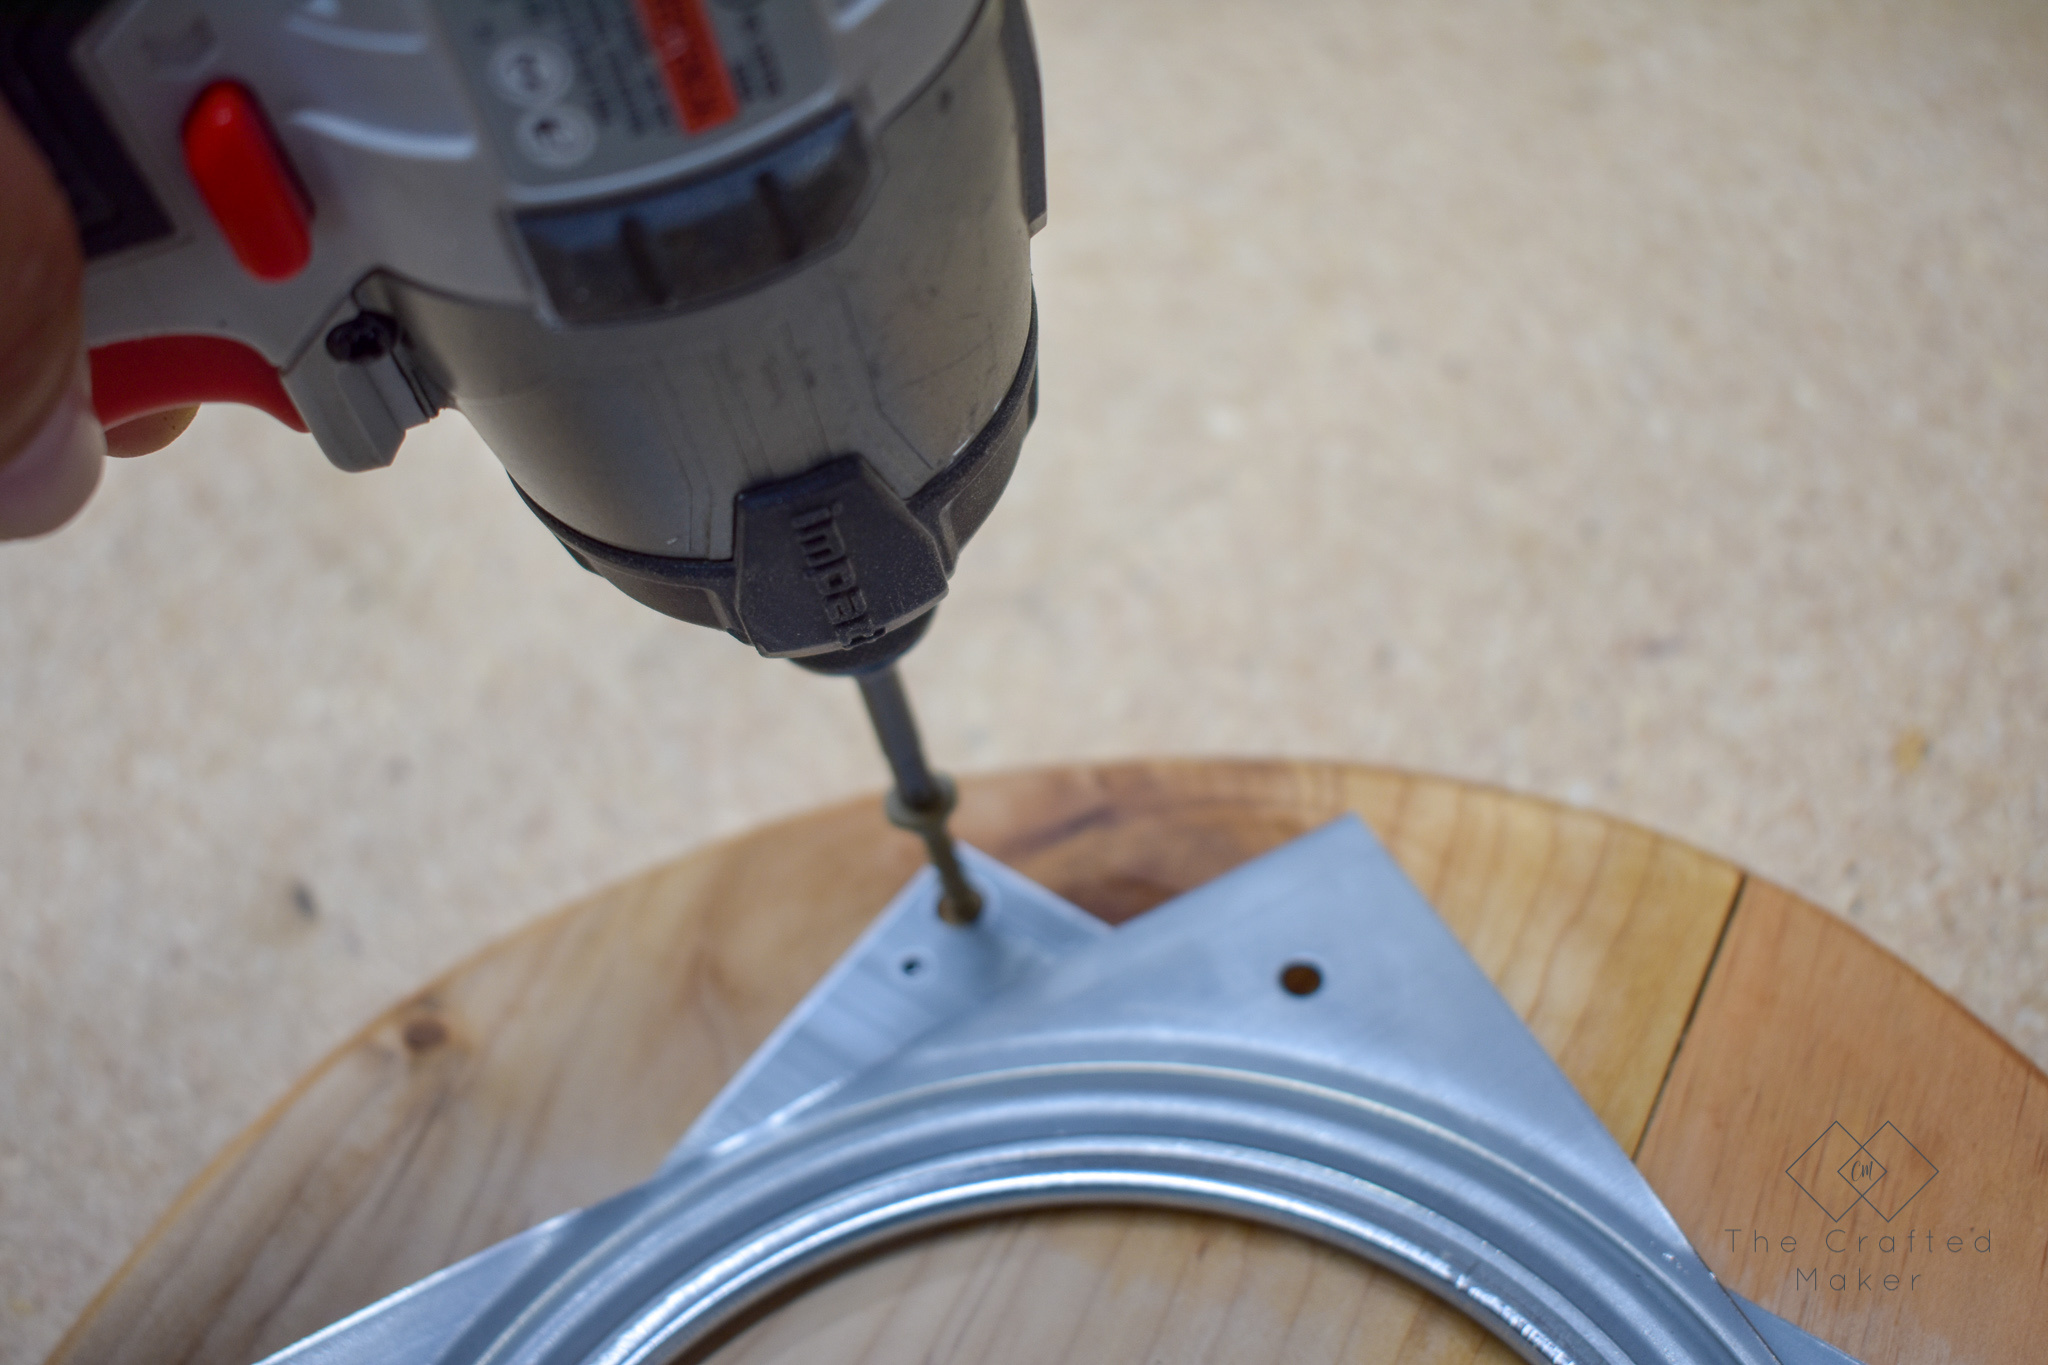
Now it’s time to add the Lazy Susan hardware! You can find these kits at many big-box retailers and online. I positioned the Lazy Susan hardware directly in the middle of the wood and attached it with 1.5″ wood screws.
We have the hardware installed, so now it’s time to use this thing! Technically, the Lazy Susan is supposed to have another piece of wood attached to the bottom of the bracket, but I just added some rubber bumpers to protect my table top from getting damaged. If you are interested in the process of attaching the bottom piece of wood, there are a few videos on YouTube that show the process quite well.
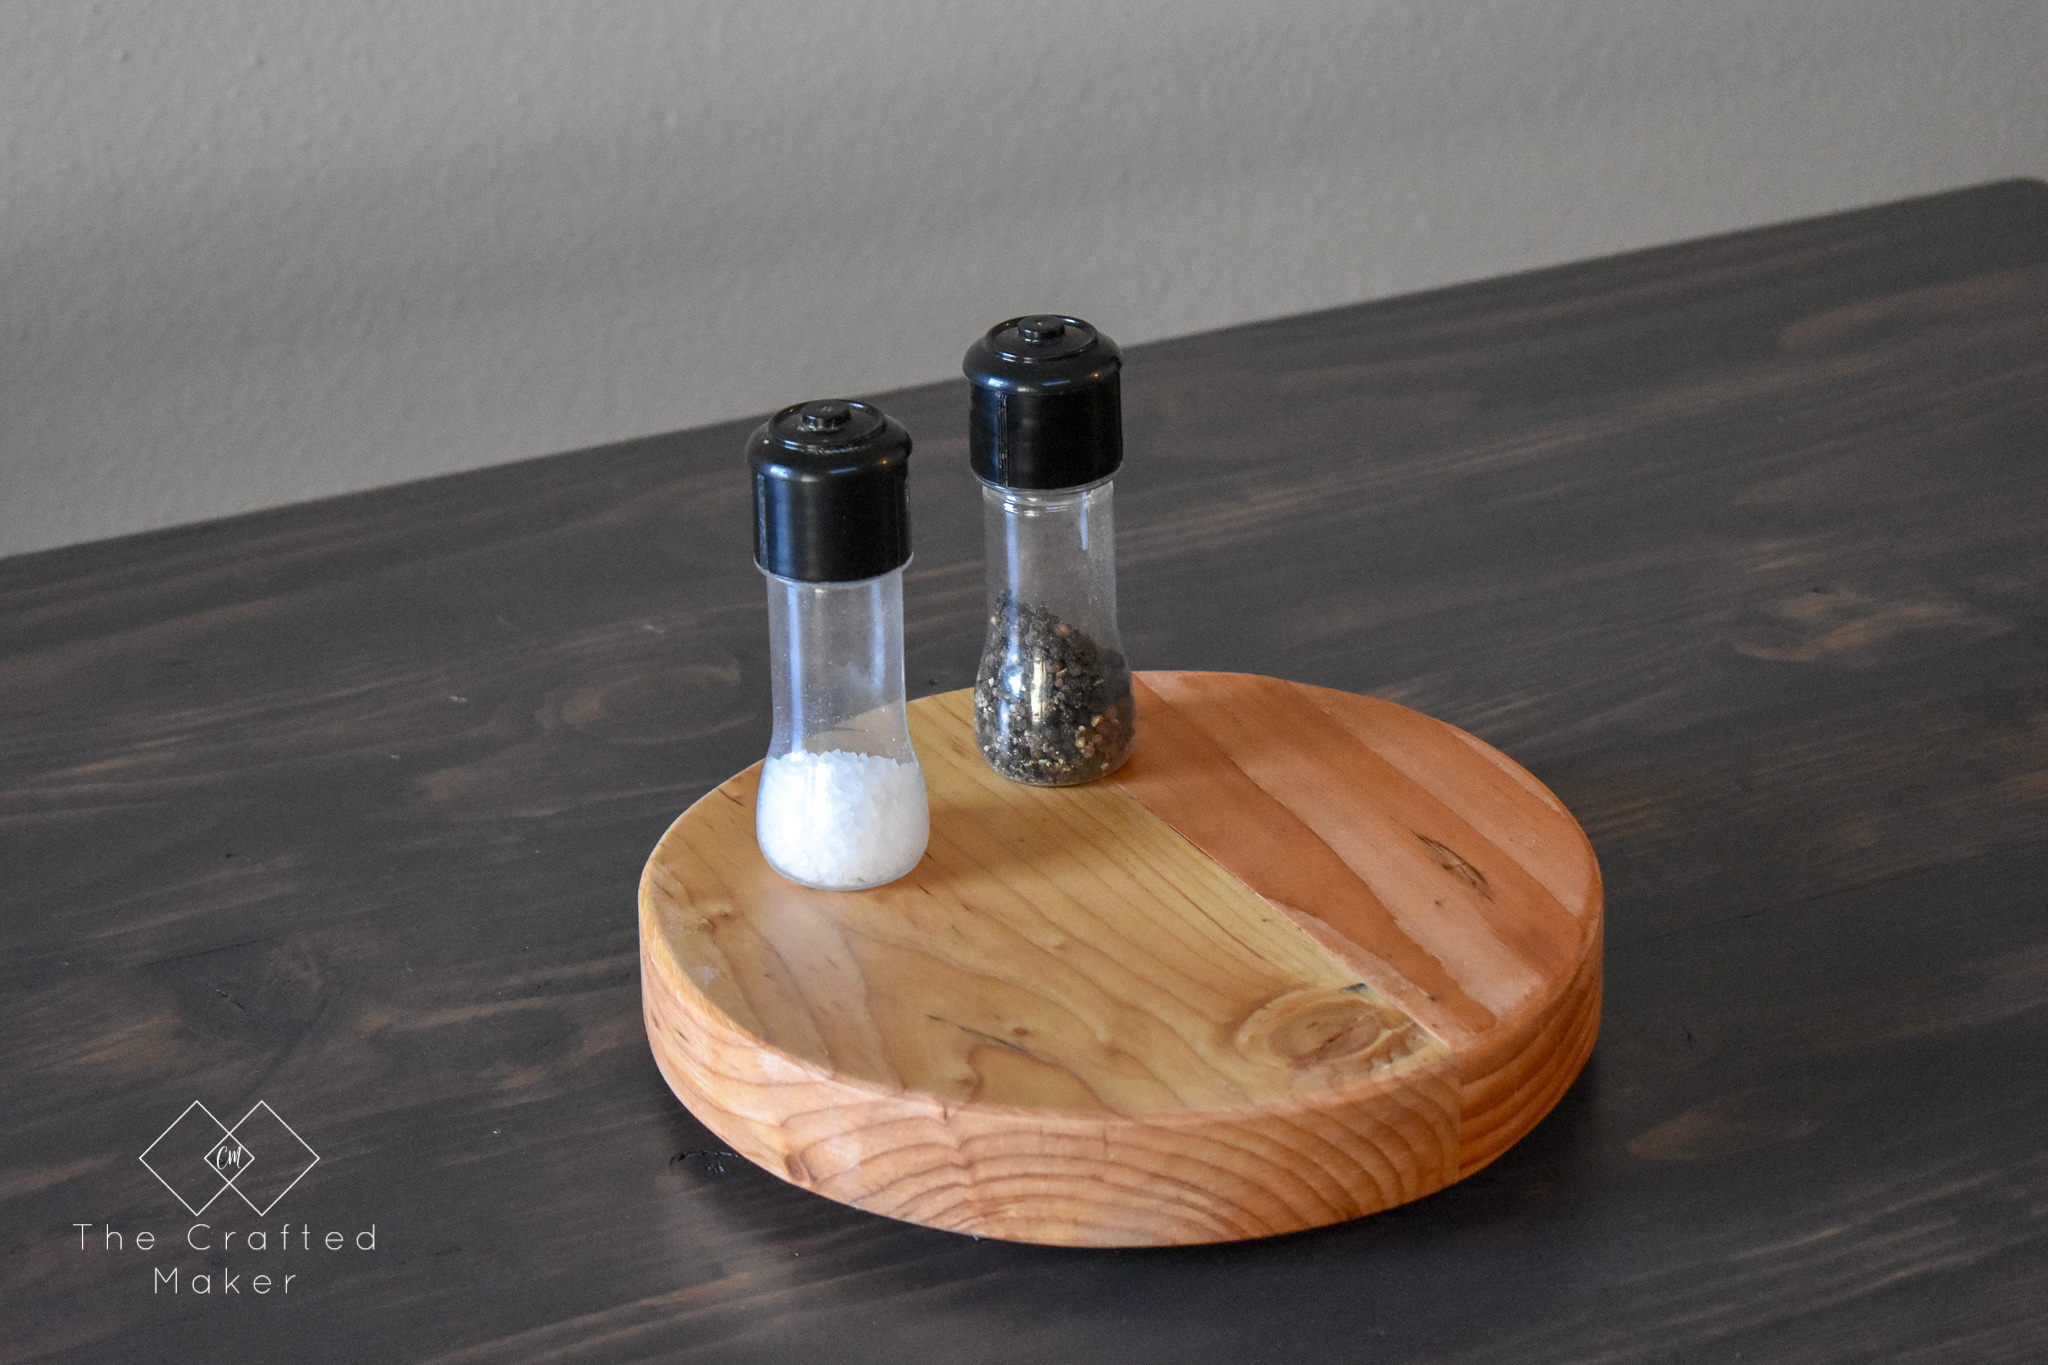
Here is it in its new home!
I hope this inspires you to make something with the scrap wood you have! See you all real soon…
Pinning is always appreciated!

