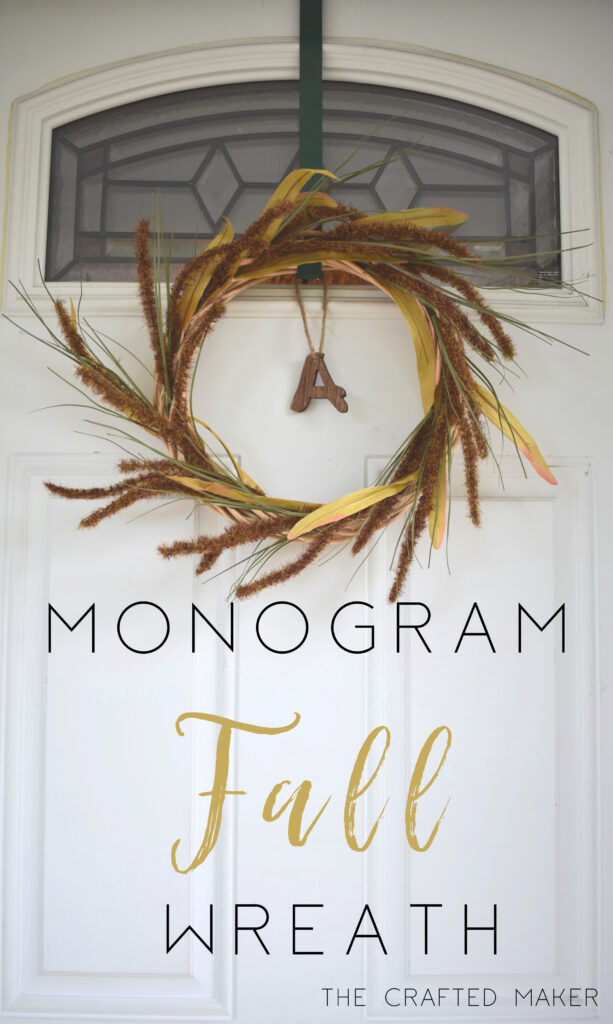
Fall is all around us here in Washington right now, which I welcome with open arms. This is definitely my favorite time of the year. Warm clothes, hot chocolate, and fuzzy blankets on the couch! So in true Fall fashion, it’s time to make a new monogram Fall wreath to welcome the new season!
Affiliate links used. See disclosure here.
Supplies
| Wreath Form | Fall Flowers |
| Template of Letter | Pen |
| Glue Gun | Scissors or Snips |
| String or Ribbon | Wreath Hanger |
| Scrap Wood | Paint or Stain |
Tools
| Drill | Sander |
| Scroll Saw | Safety Equipment |
There are many different kinds of wreath forms you can buy, but I wanted a more natural look, so this one is a woven wooden form. Believe it or not, I found most of the materials for this project at the dollar tree including the form and flowers. Nothing wrong with saving a little bit of money!
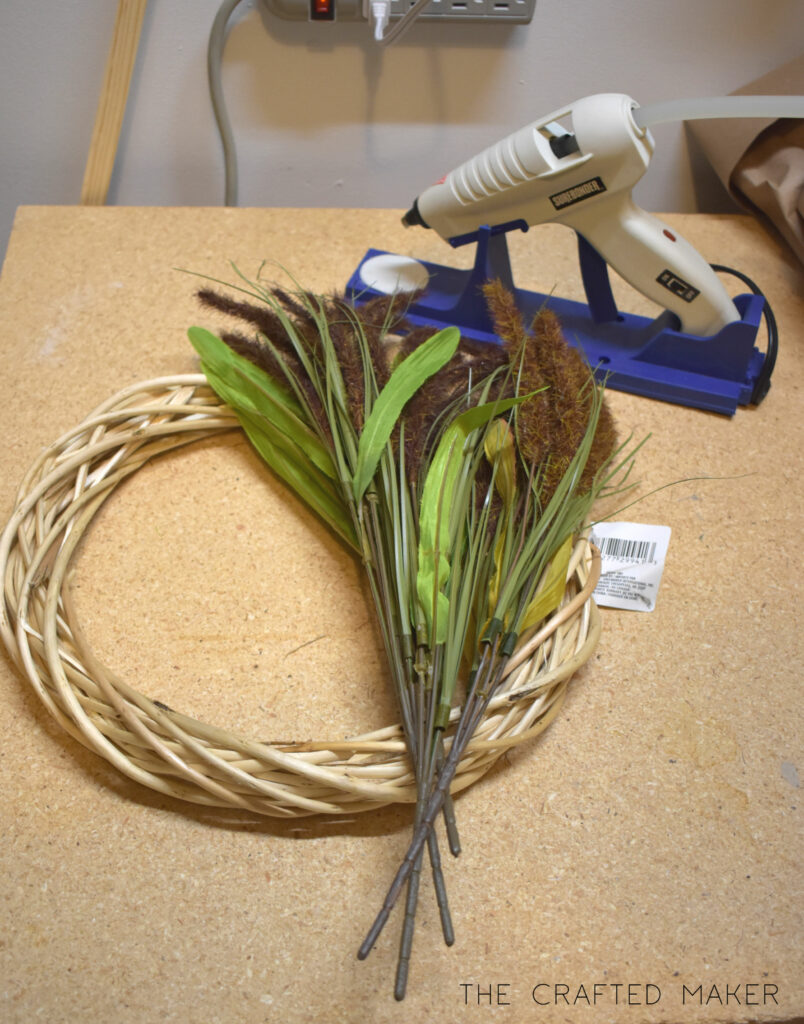
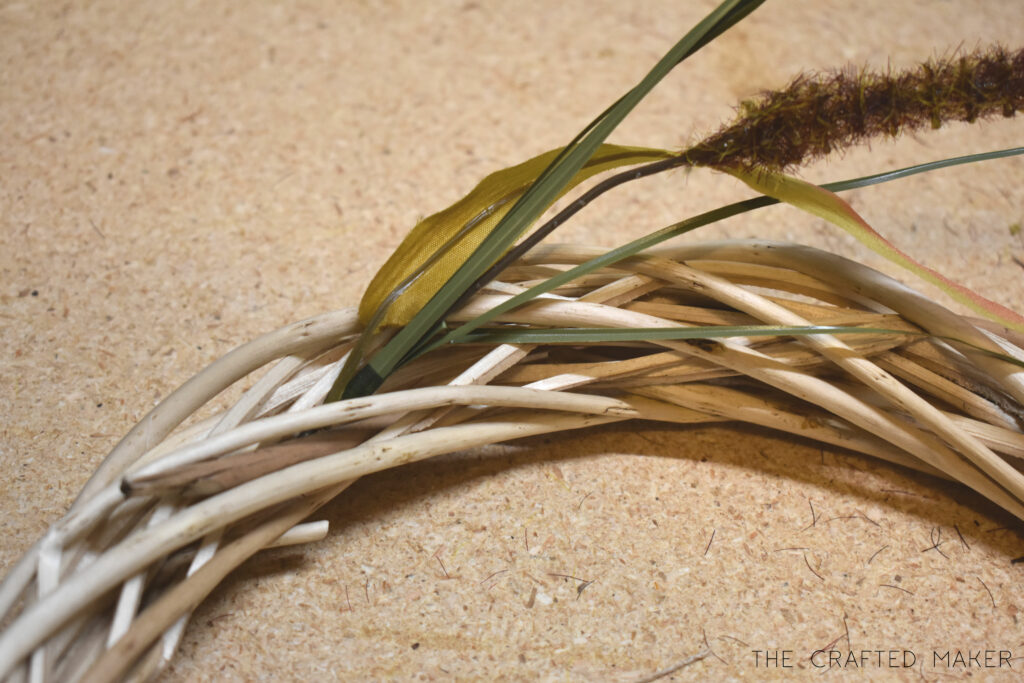
Start the wreath off by snipping the pieces of flowers you want to attach to the form. This can be done with a pair of snips or sharp scissors.
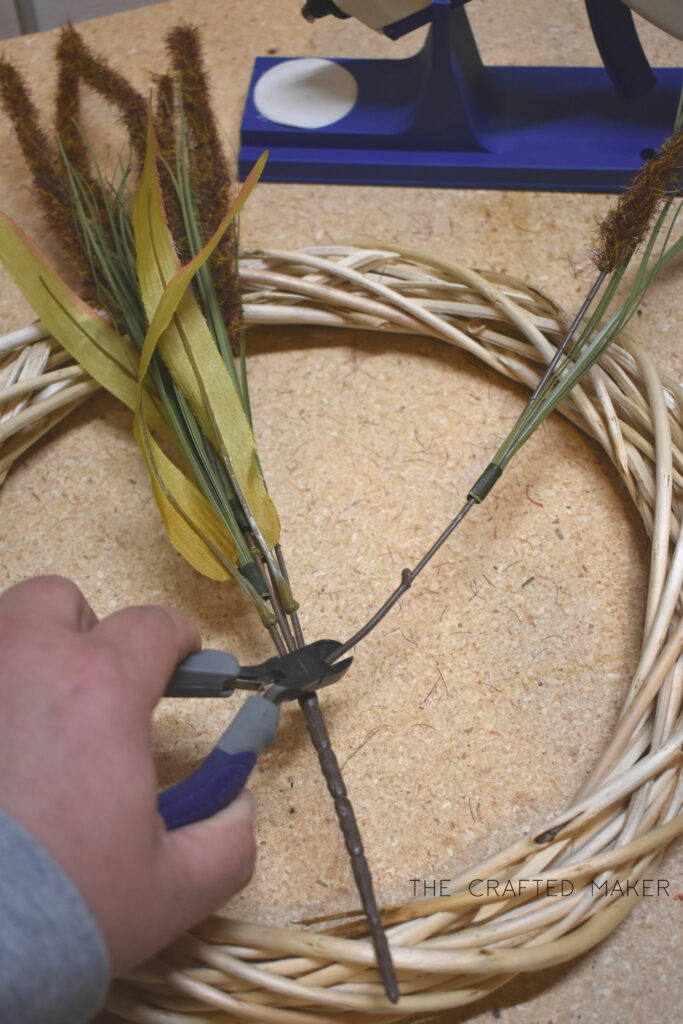
Using a hot glue gun, place the stems inside of the wreath form. A little bit of glue goes a long way on this project. Too much glue can cause running and glue globs, eeek.
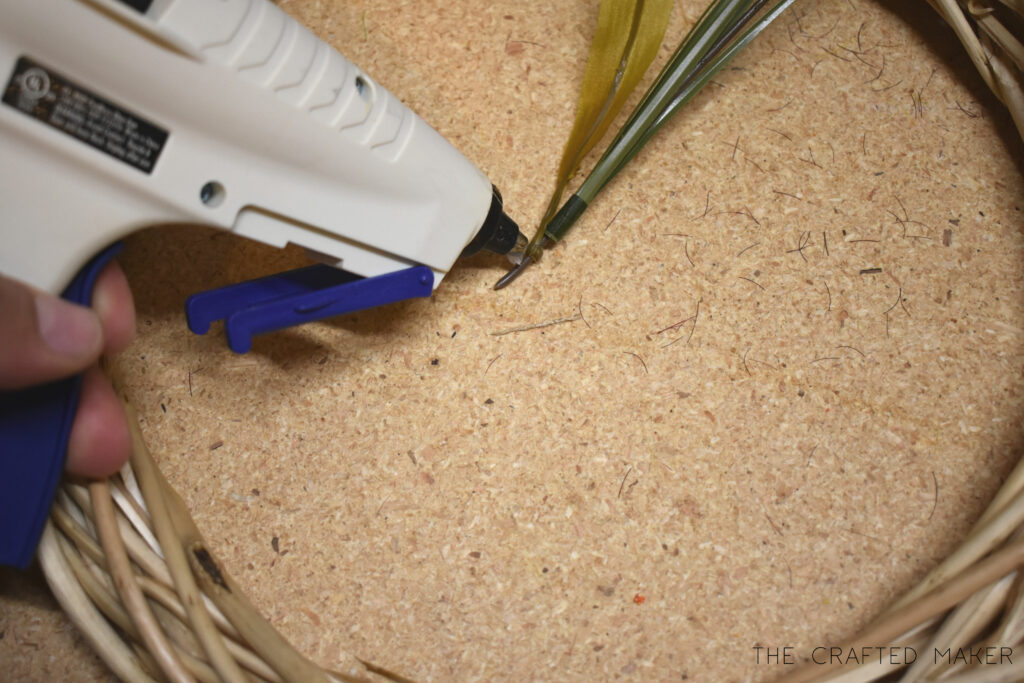
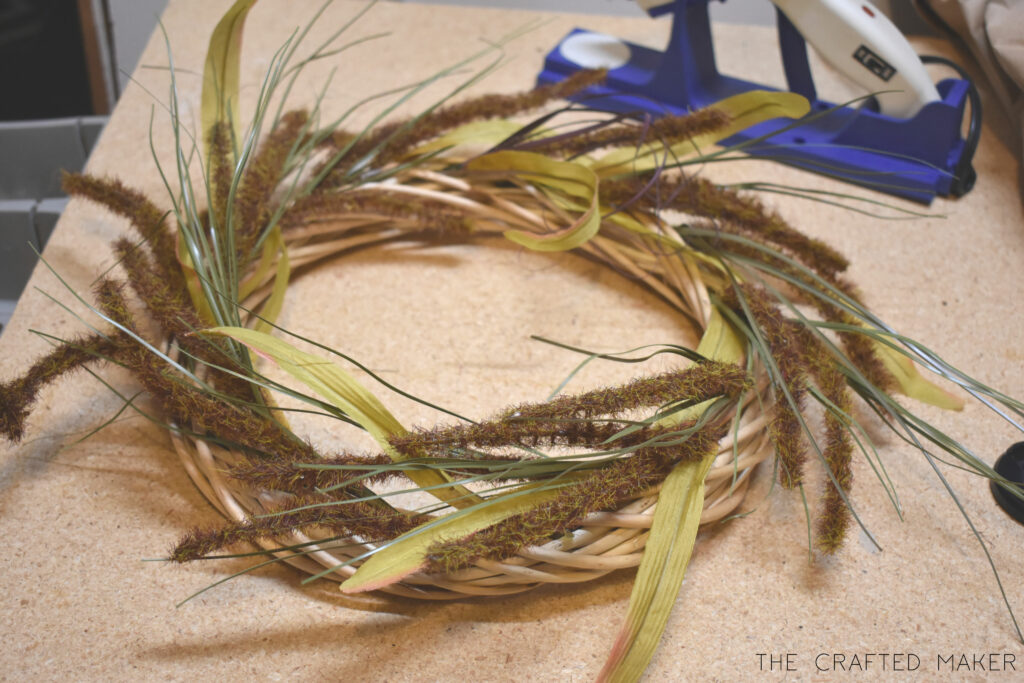
Go all the way around your wreath form like this. Add as many flowers as you want. Mine is pretty simple, but add as many as you like.
Time to make the monogram letter
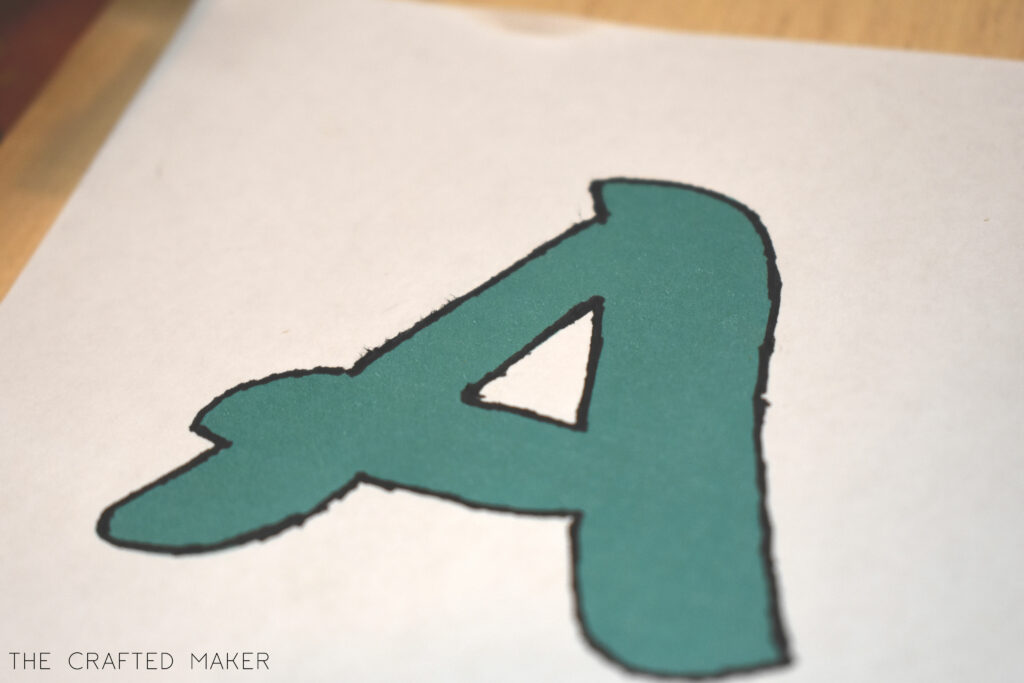
With the wreath done, it’s time to make the wooden letter. I am using some left over wood from shiplap I put up in my bathroom. Using a word program, I created a template for my last initial. When doing this, be sure to make the font big enough for your wreath. Print out the template.
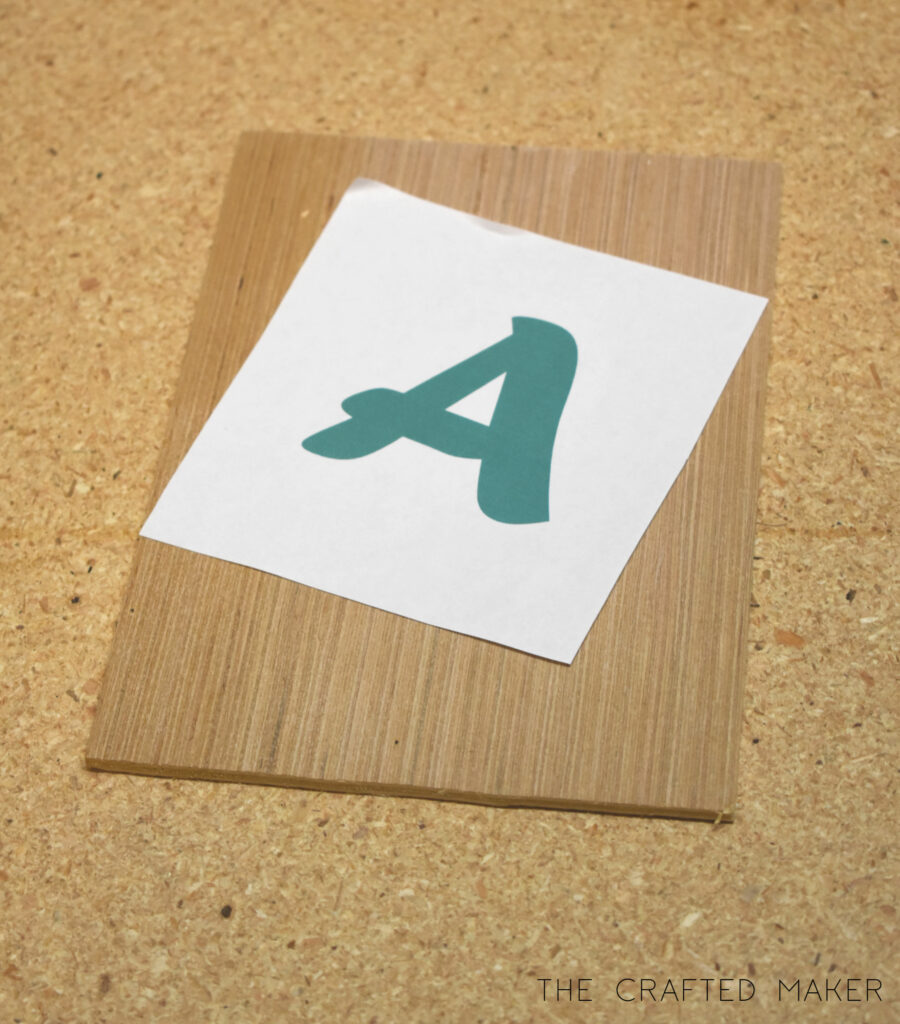
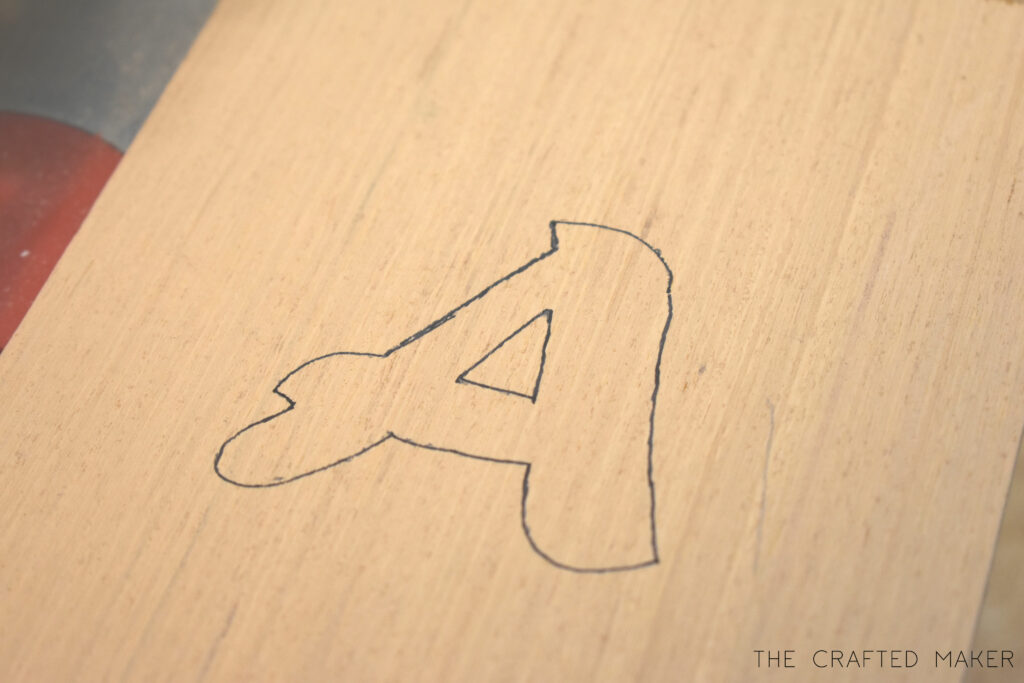
When I am cutting out a project with the scroll saw that is so small, I like to trace the pattern onto the wood instead of attaching the paper to the wood. It’s really a personal preference, but I think this is easier. I trace the letter with a pen making a small indention in the wood, then I take the paper off and trace the actual wood.
Now comes the fun part, cutting out the letter! There are not nearly enough scroll saw projects on here, I need to change that. It’s really enjoyable to cut things out with this tool!
When it comes to cutting out something this small, be sure to take your time and be careful. Your hands and eyes are very important, so make sure you protect them very well.
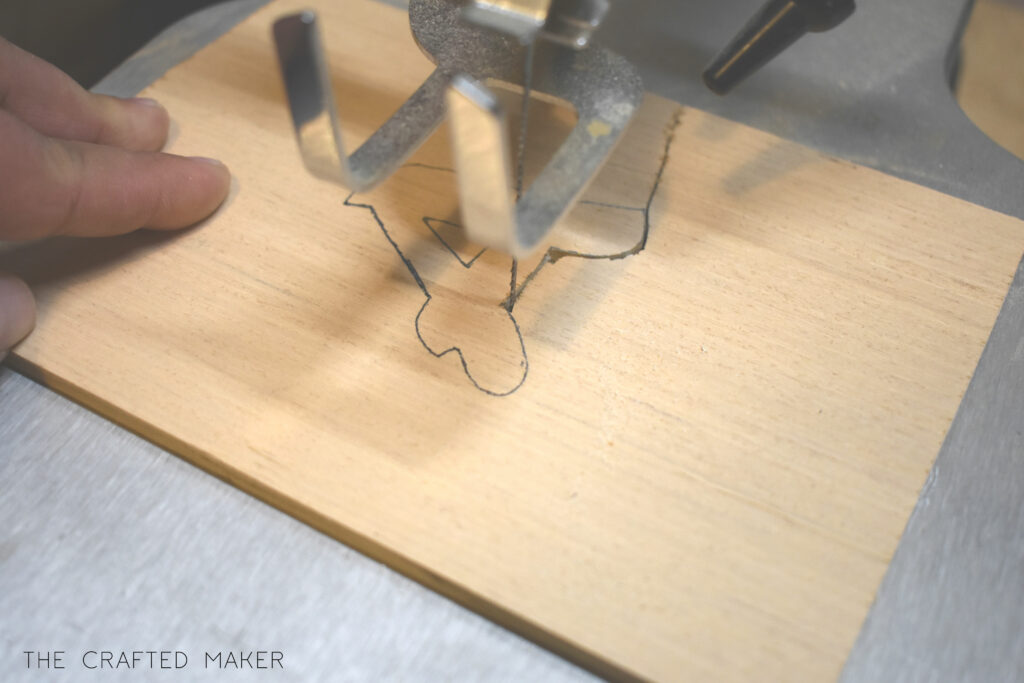
I needed to drill a hole in the middle and feed the blade through to cut out the whole letter. You may not need to worry about this depending on your letter.

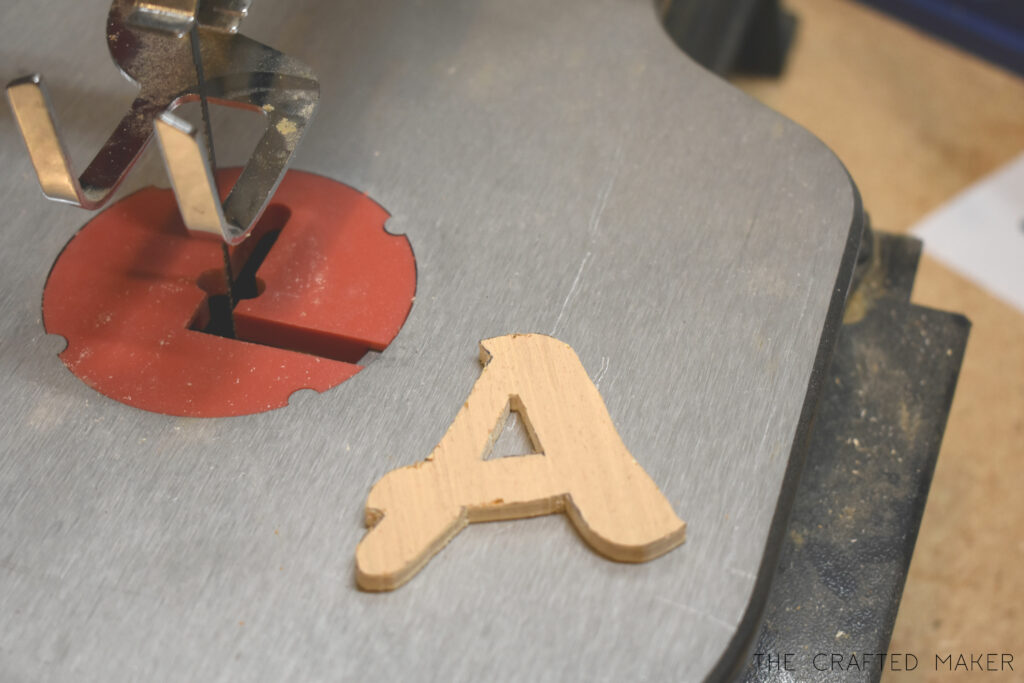
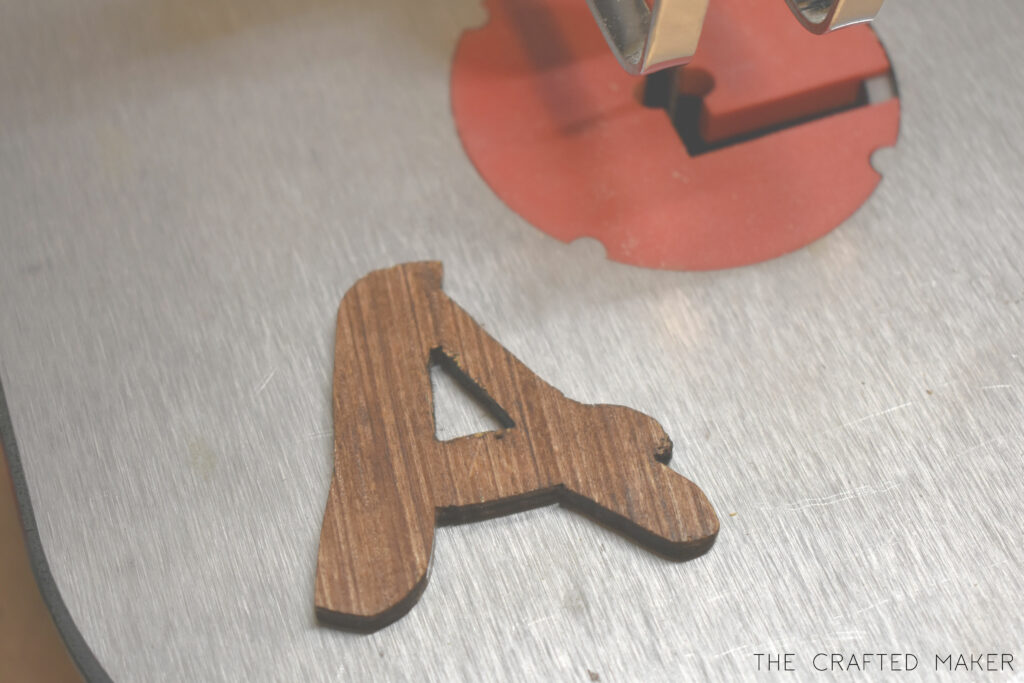
Here is what the letter looks like before sanding or finishing, Cute but a little rough around the edges.
Now the only thing to do is sand and finish the letter, I chose to stain mine, but this project would look great painted as well,
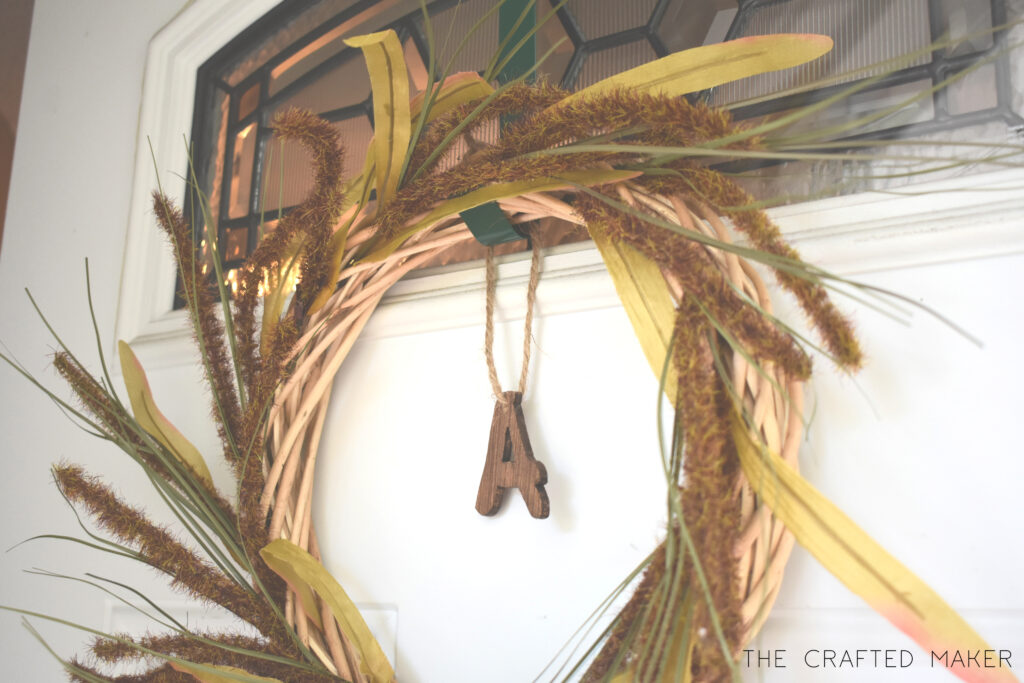
To complete the project, drill a hole in the top of your letter and attach it to the wreath with ribbon or string. This is such a great project to use up some scrap wood and to welcome the Fall Season. Now it’s time to hang your wreath!!


If you really liked this monogram Fall wreath project and would like to see some other past Fall projects just click below!
Fall Projects