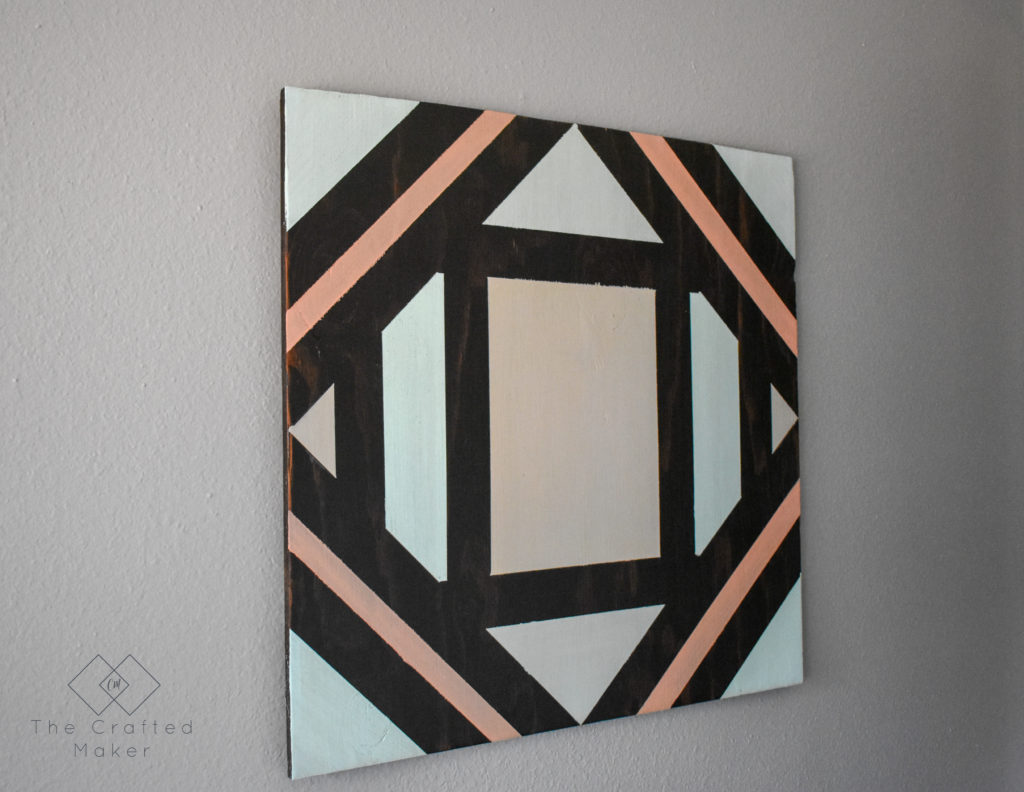
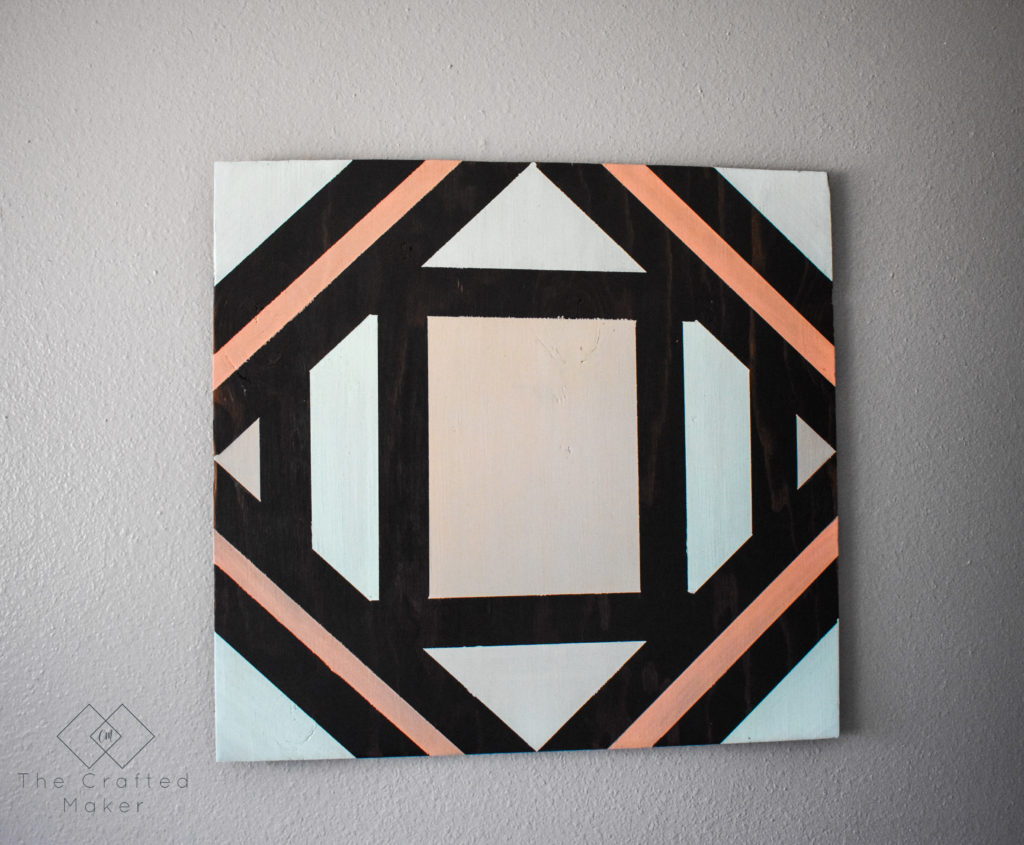
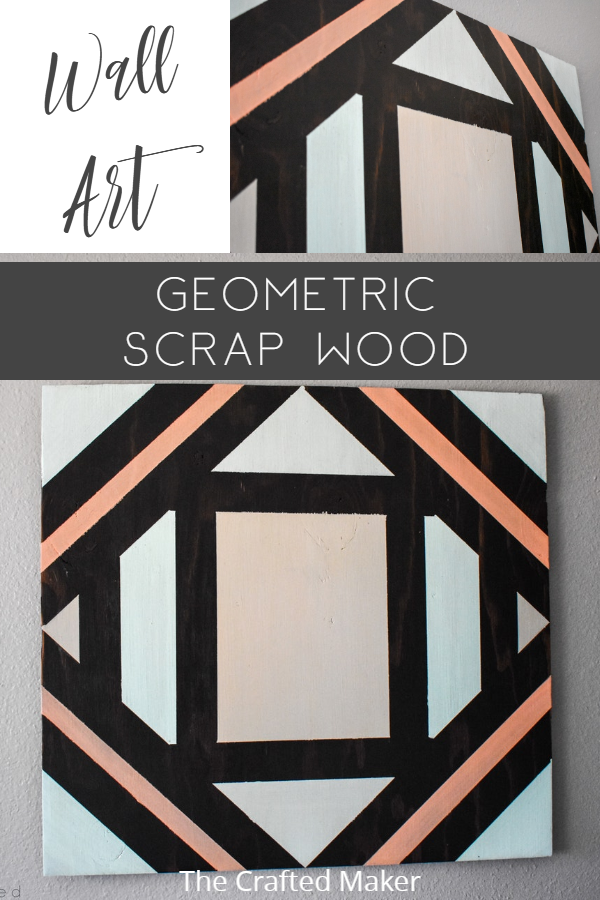
Happy Saturday! It’s time for another Scrappy Saturday! I am bound and determined to shrink my scrap pile down and make some fun stuff along the way. Today it’s all about the wall art. Introducing this fun, colorful, and easy geometric scrap wood wall art.
I am in the middle of doing a lot of projects around the house and sometimes you just need to see color on a wall to know if you are going to love it. This is exactly why I have the colors used for today’s project. I needed to pick out some bright colors for a home office remodel and paint comes in great sample sizes, it’s easy to buy several to try out.
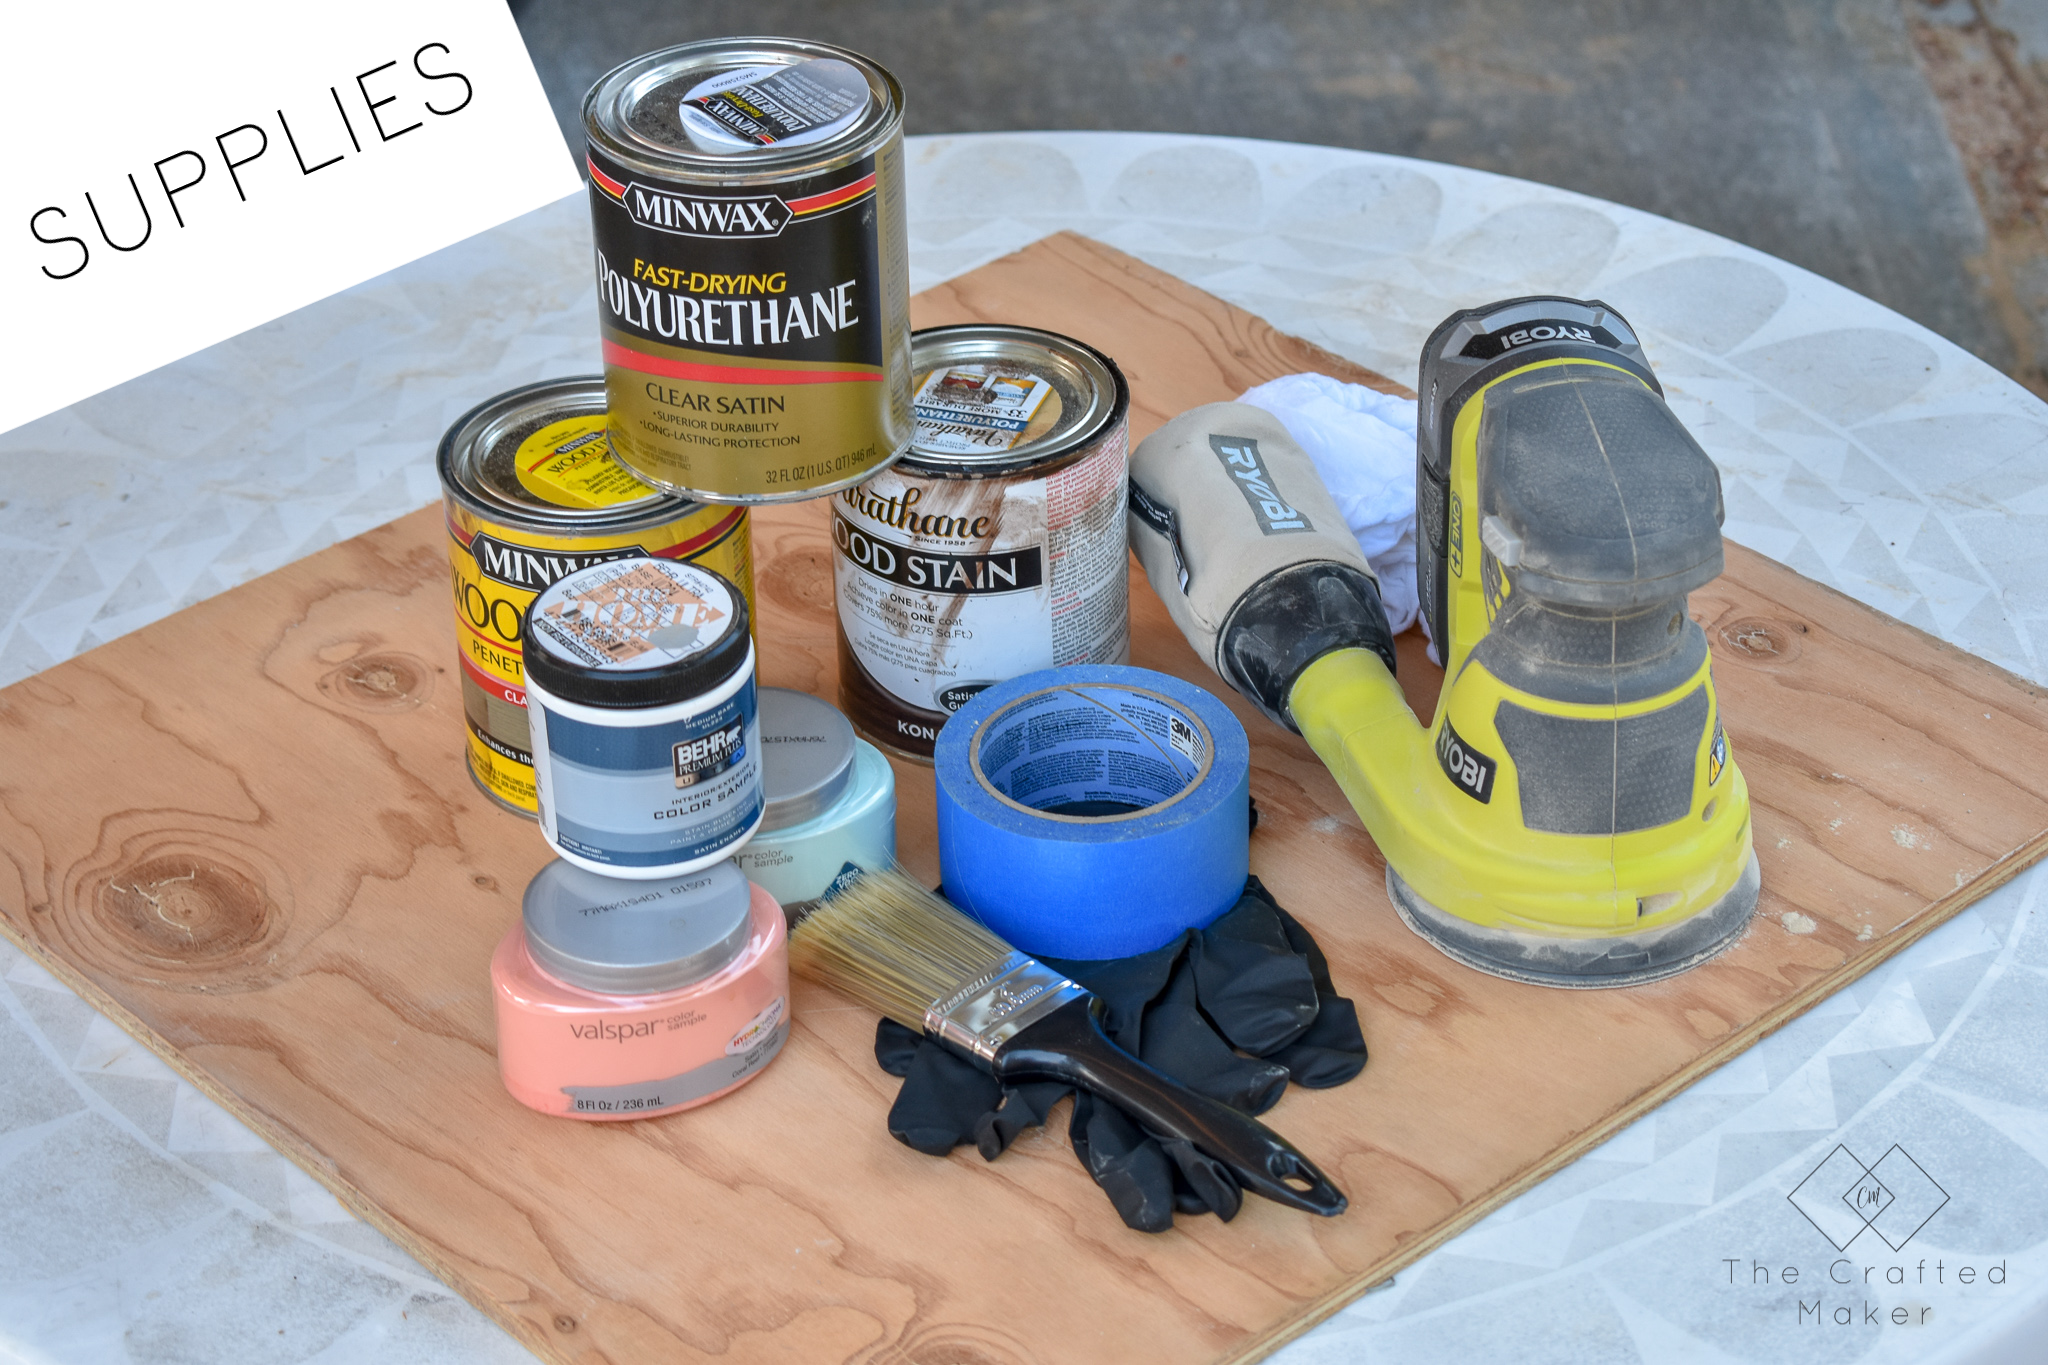
Here are a few things needed for today’s project:
Supplies and Materials
Scrap Wood – I had a scrap piece of 1/4″ plywood sized at 24″ x 22″
Paint or Stain of Choice – Use as many colors as your heart desires
Applicator Rags or Brushes
Eye and Ear Protection (Mask if staining indoors)
Tools
Saw if cutting your scrap wood down to size
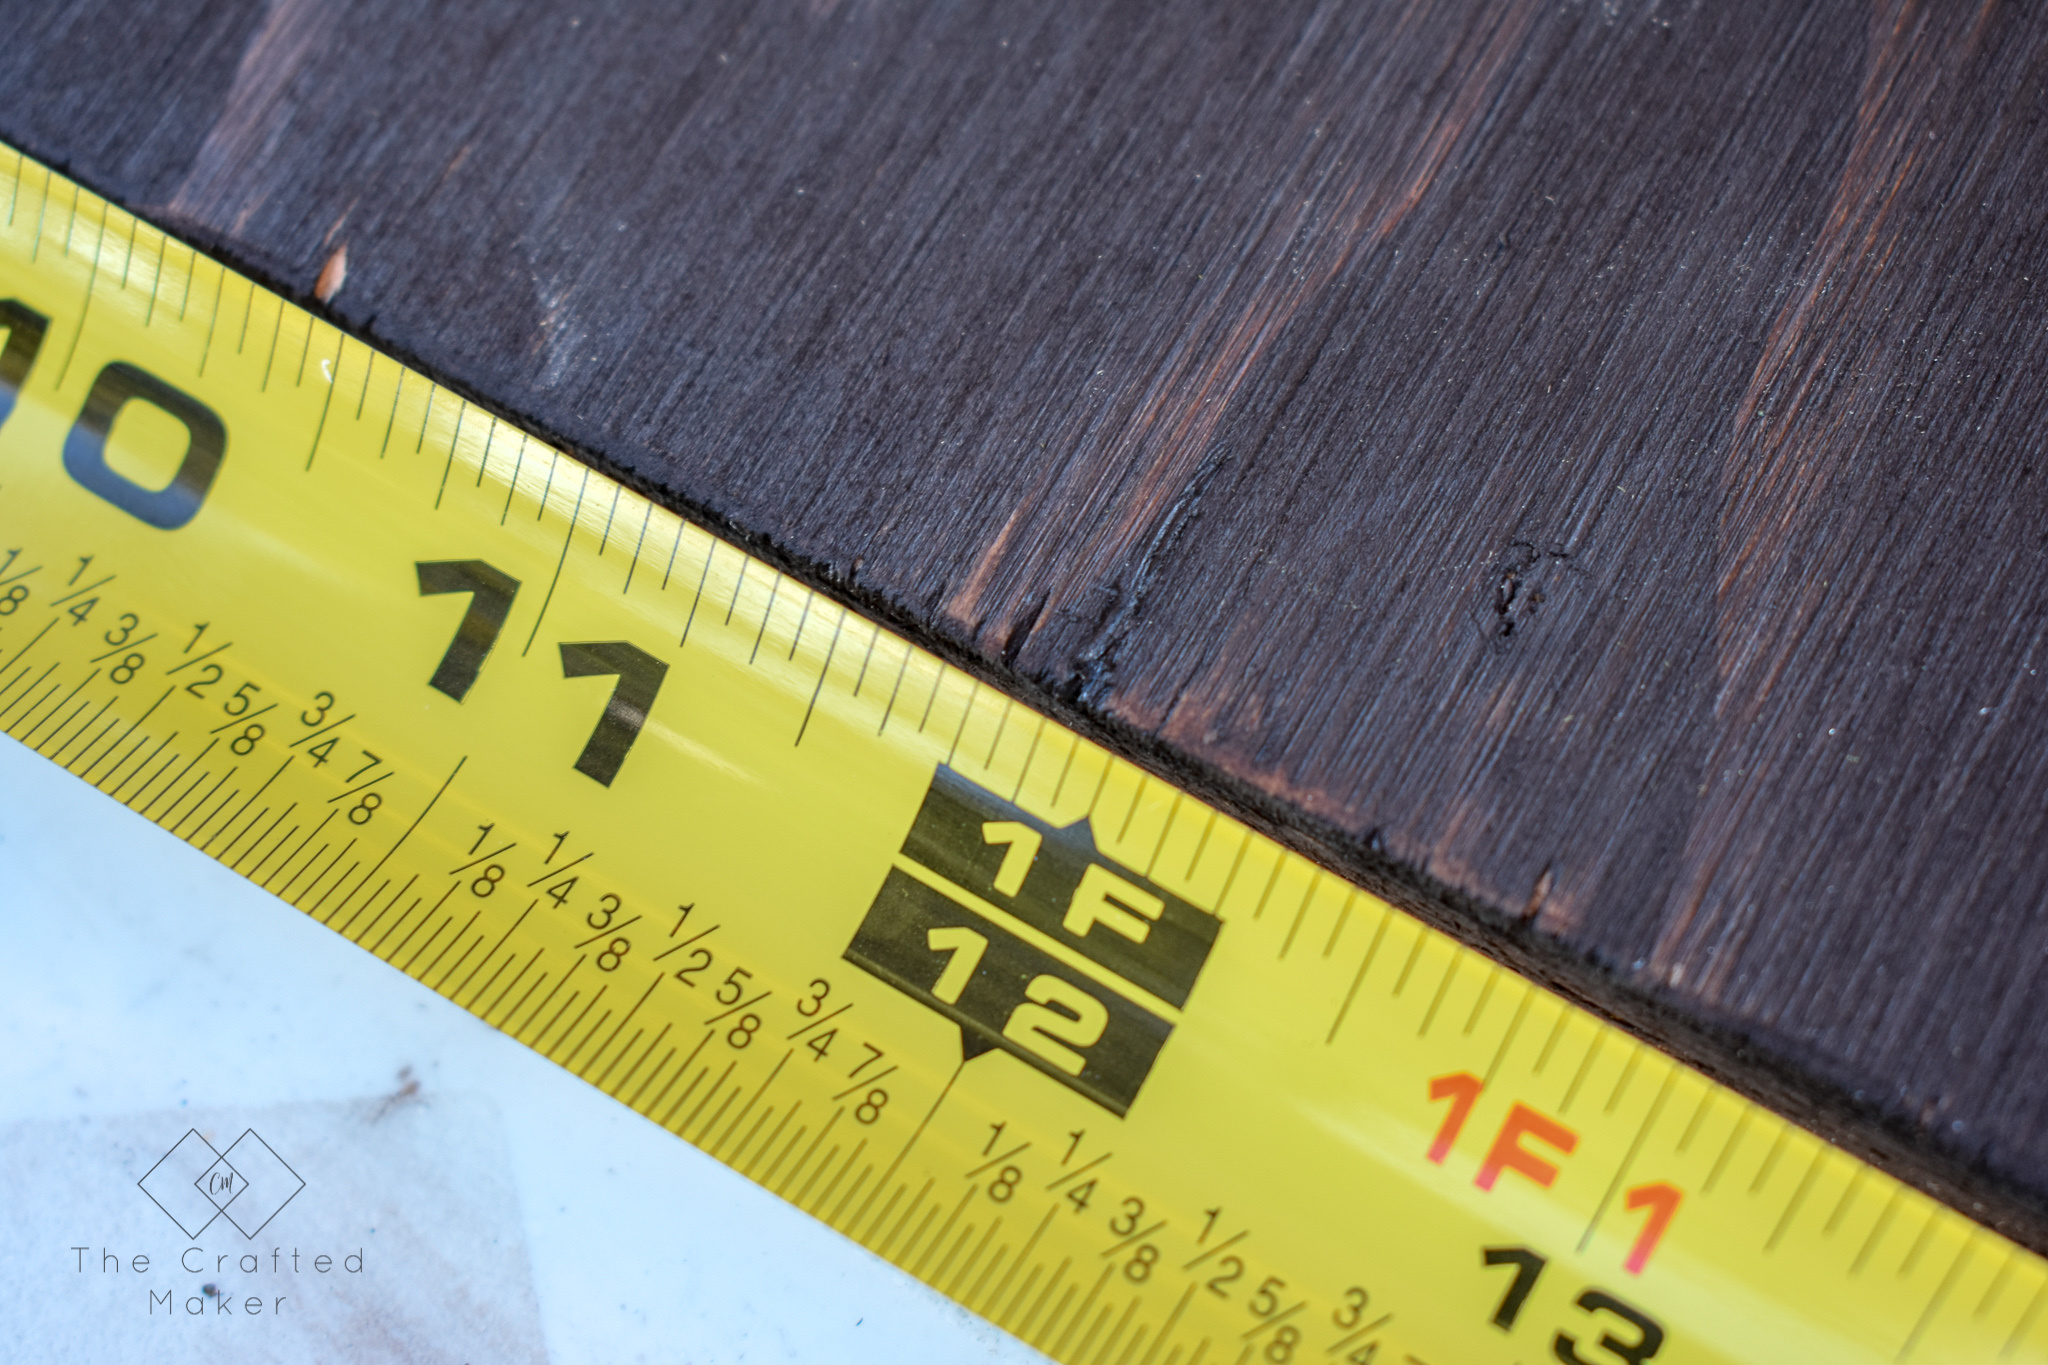
I am using a piece of 1/4″ plywood that had been previously cut, so the ends were a little jagged and needed to be sanded. Nobody wants to get splinters from some wall art. Am I right? I just did a light sanding with some 220 grit to smooth it out a little, wasn’t going for perfection here.
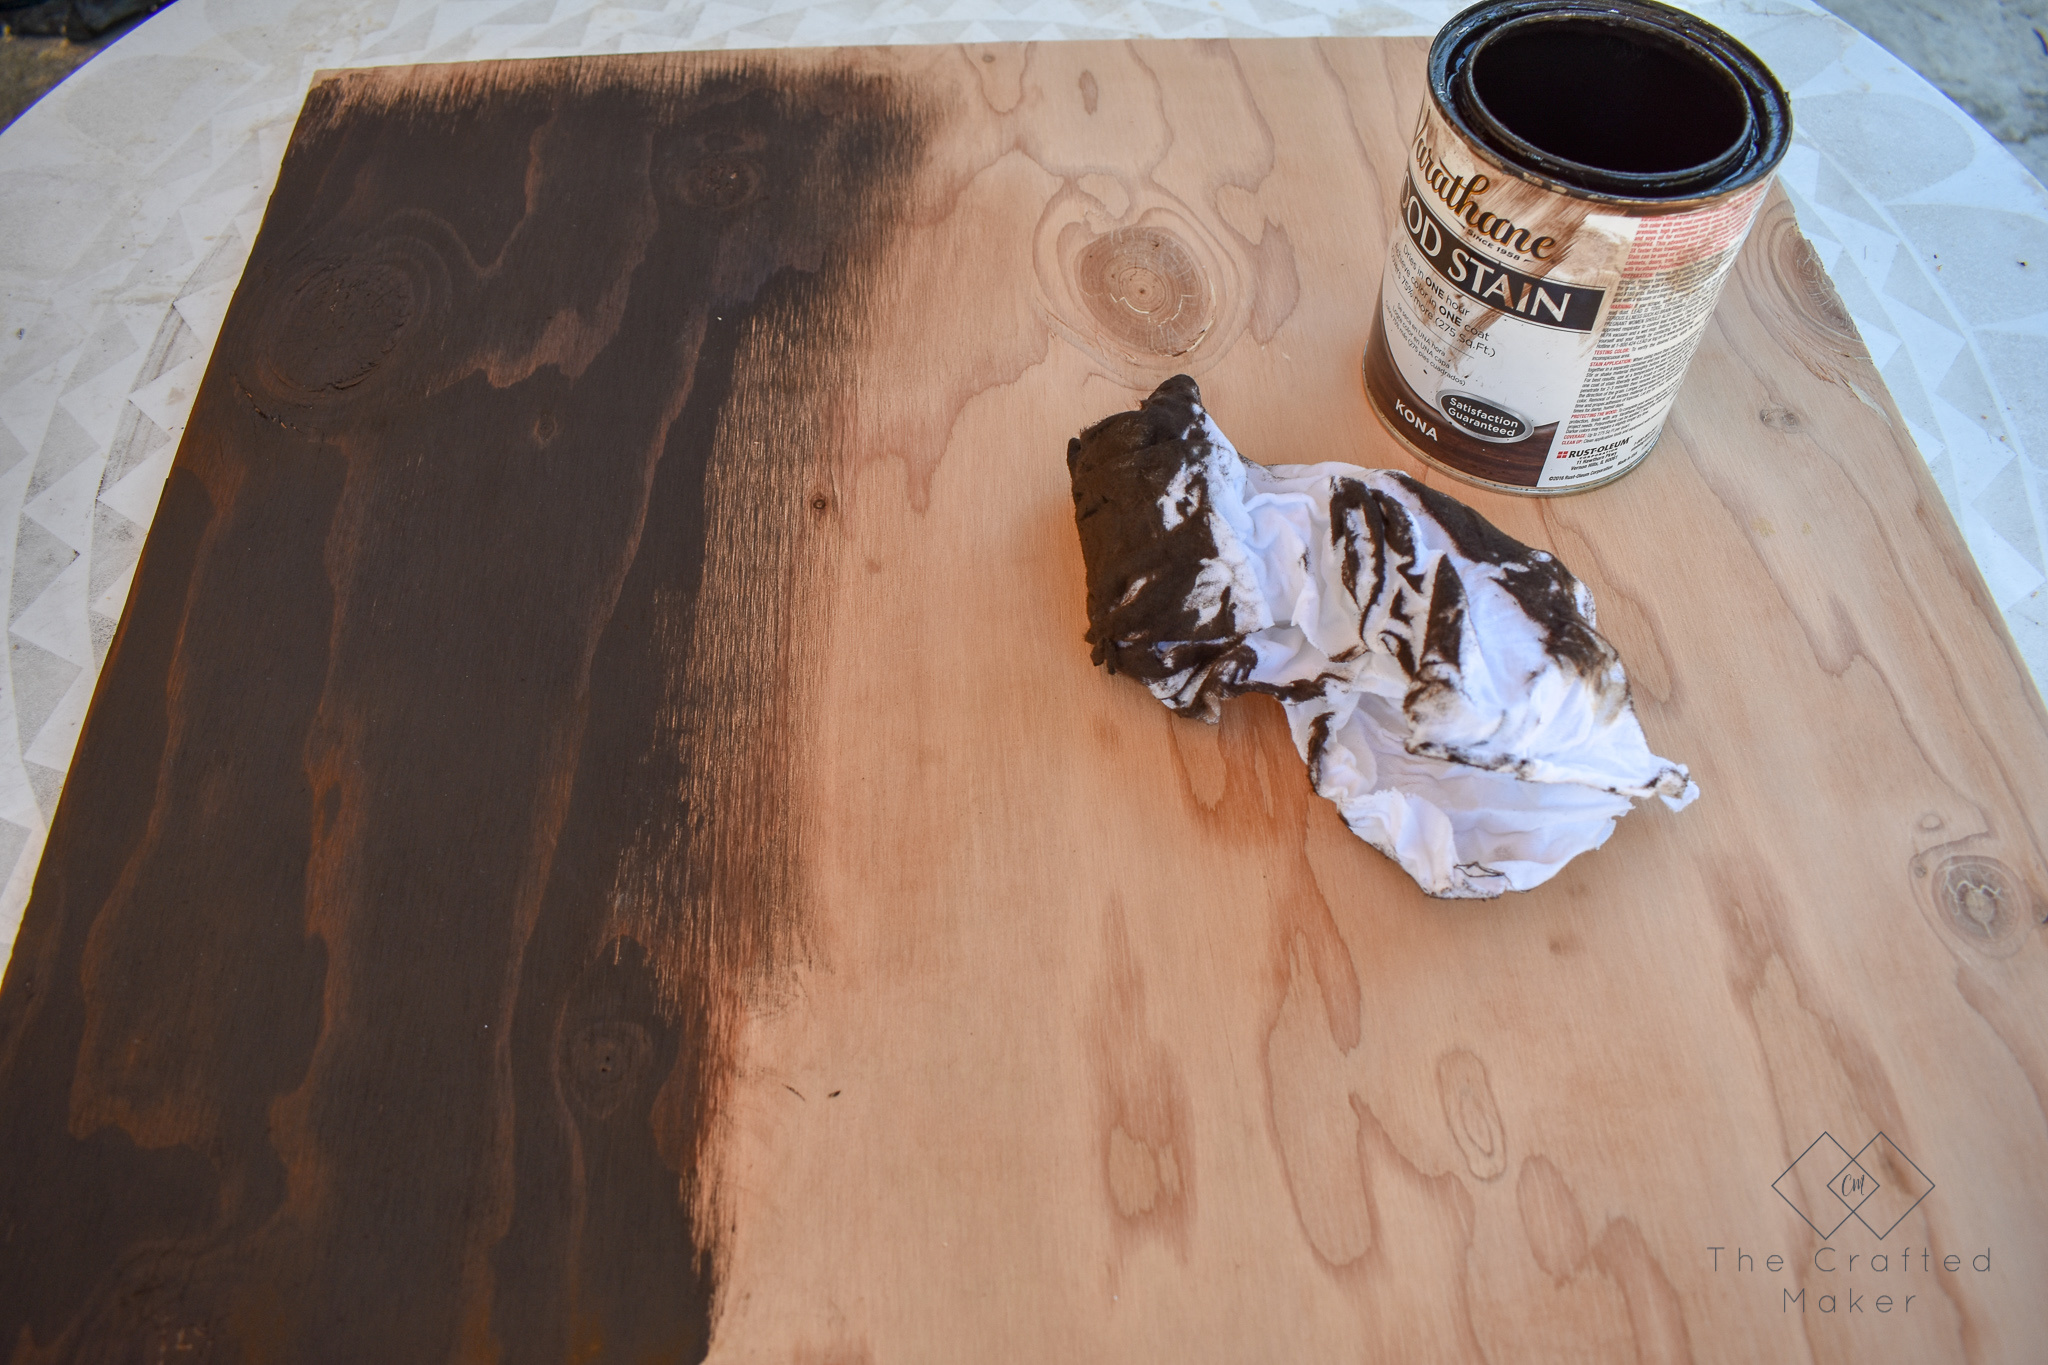
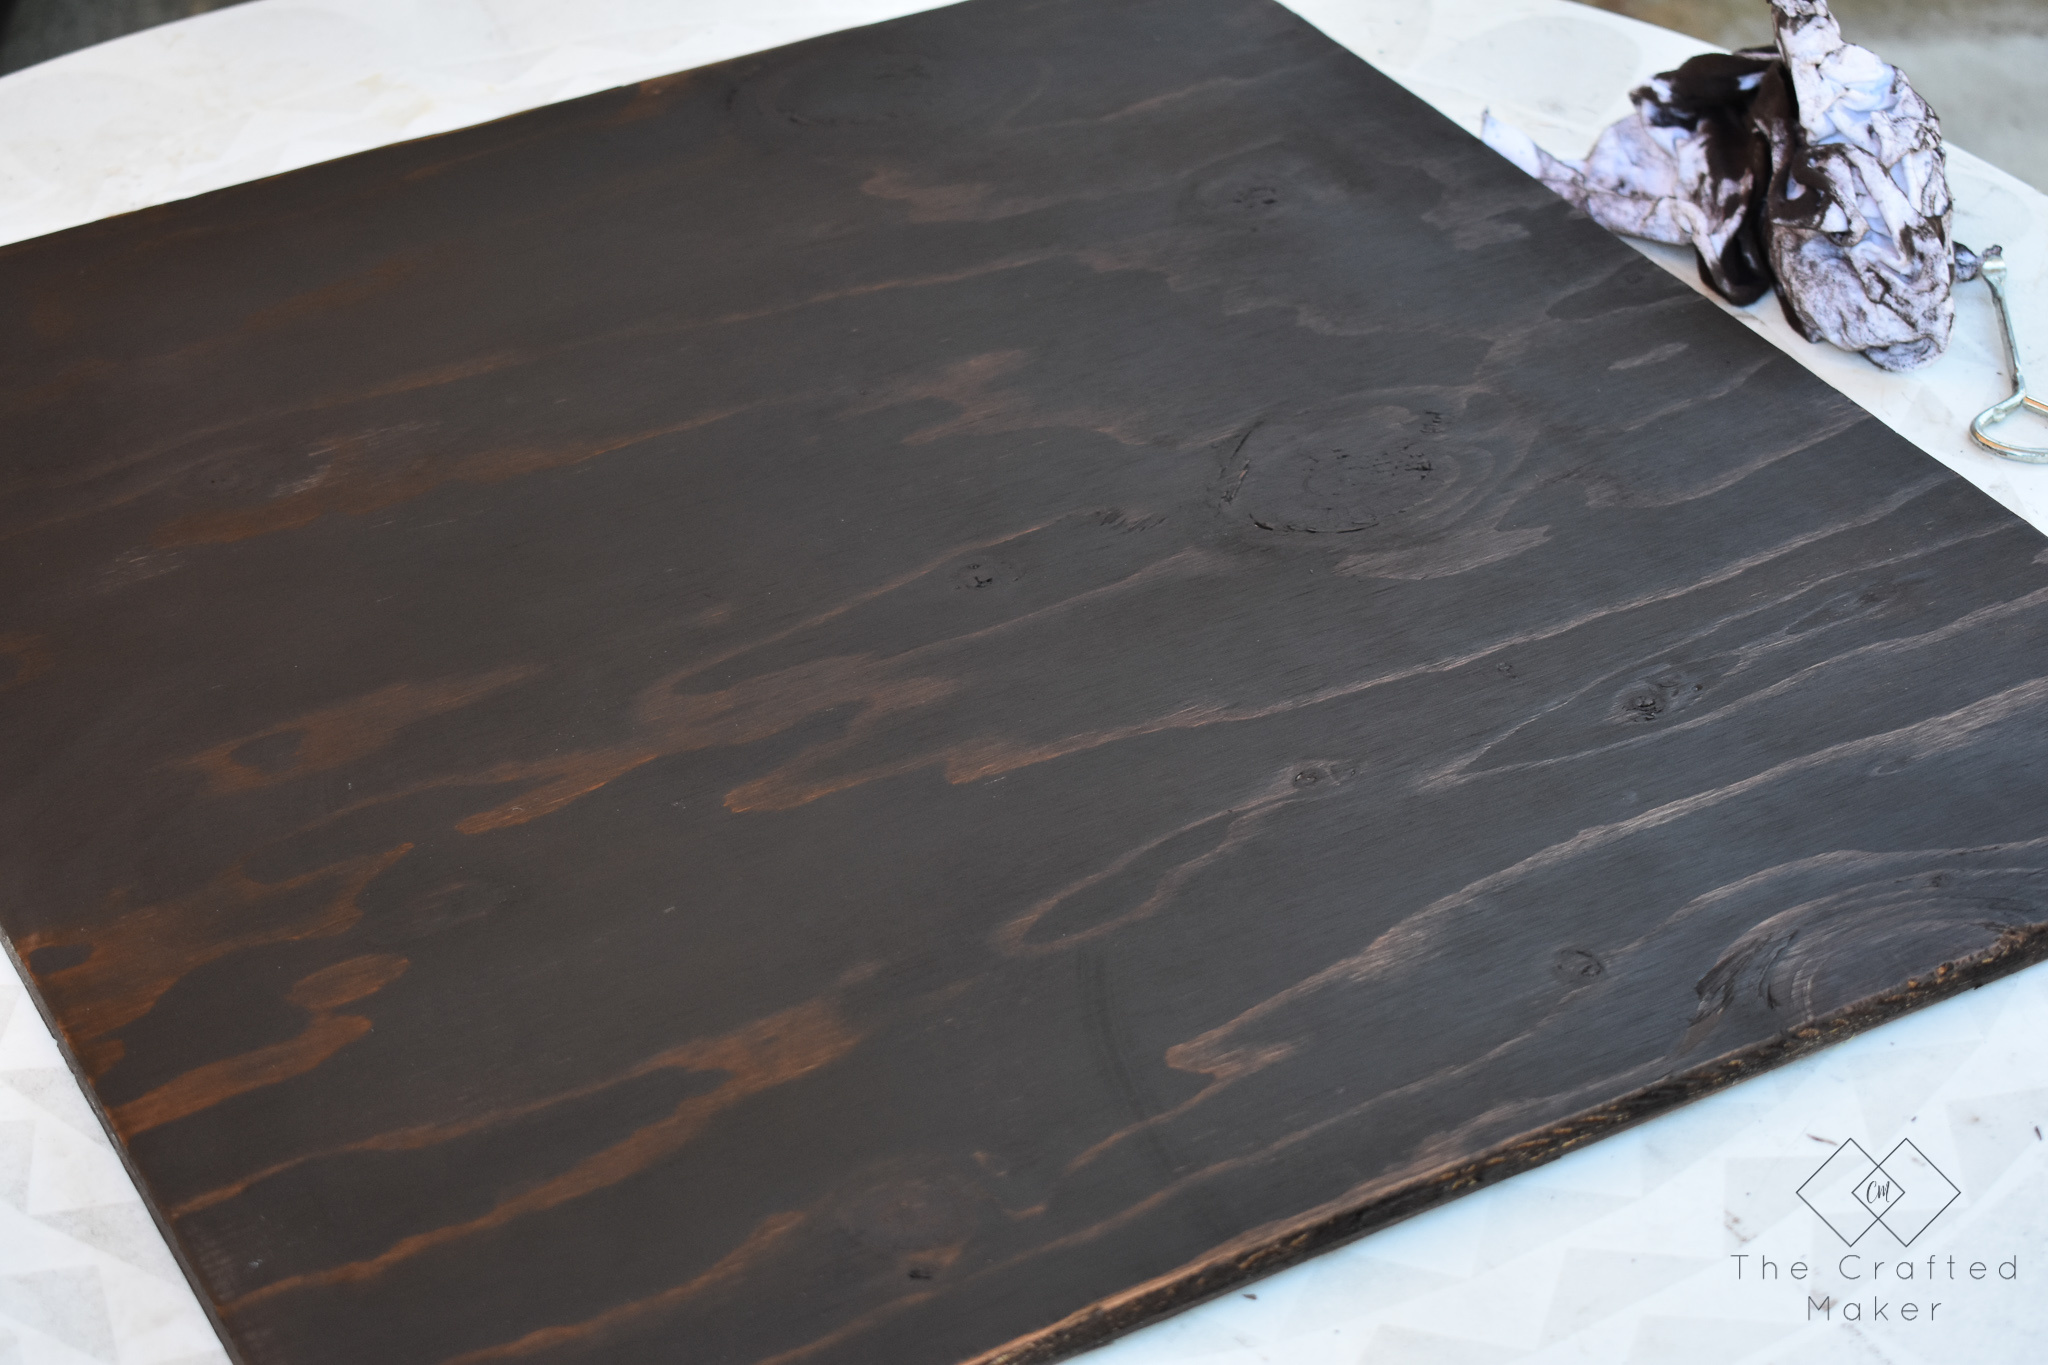
I applied Kona stain on the whole piece of scrap wood. This is my base color, the color that is going to be underneath the painter’s tape when I peel it off.
Allow the stain to dry for about 15-20 minutes before moving on the painter’s tape application.
Time to Design a Pattern!
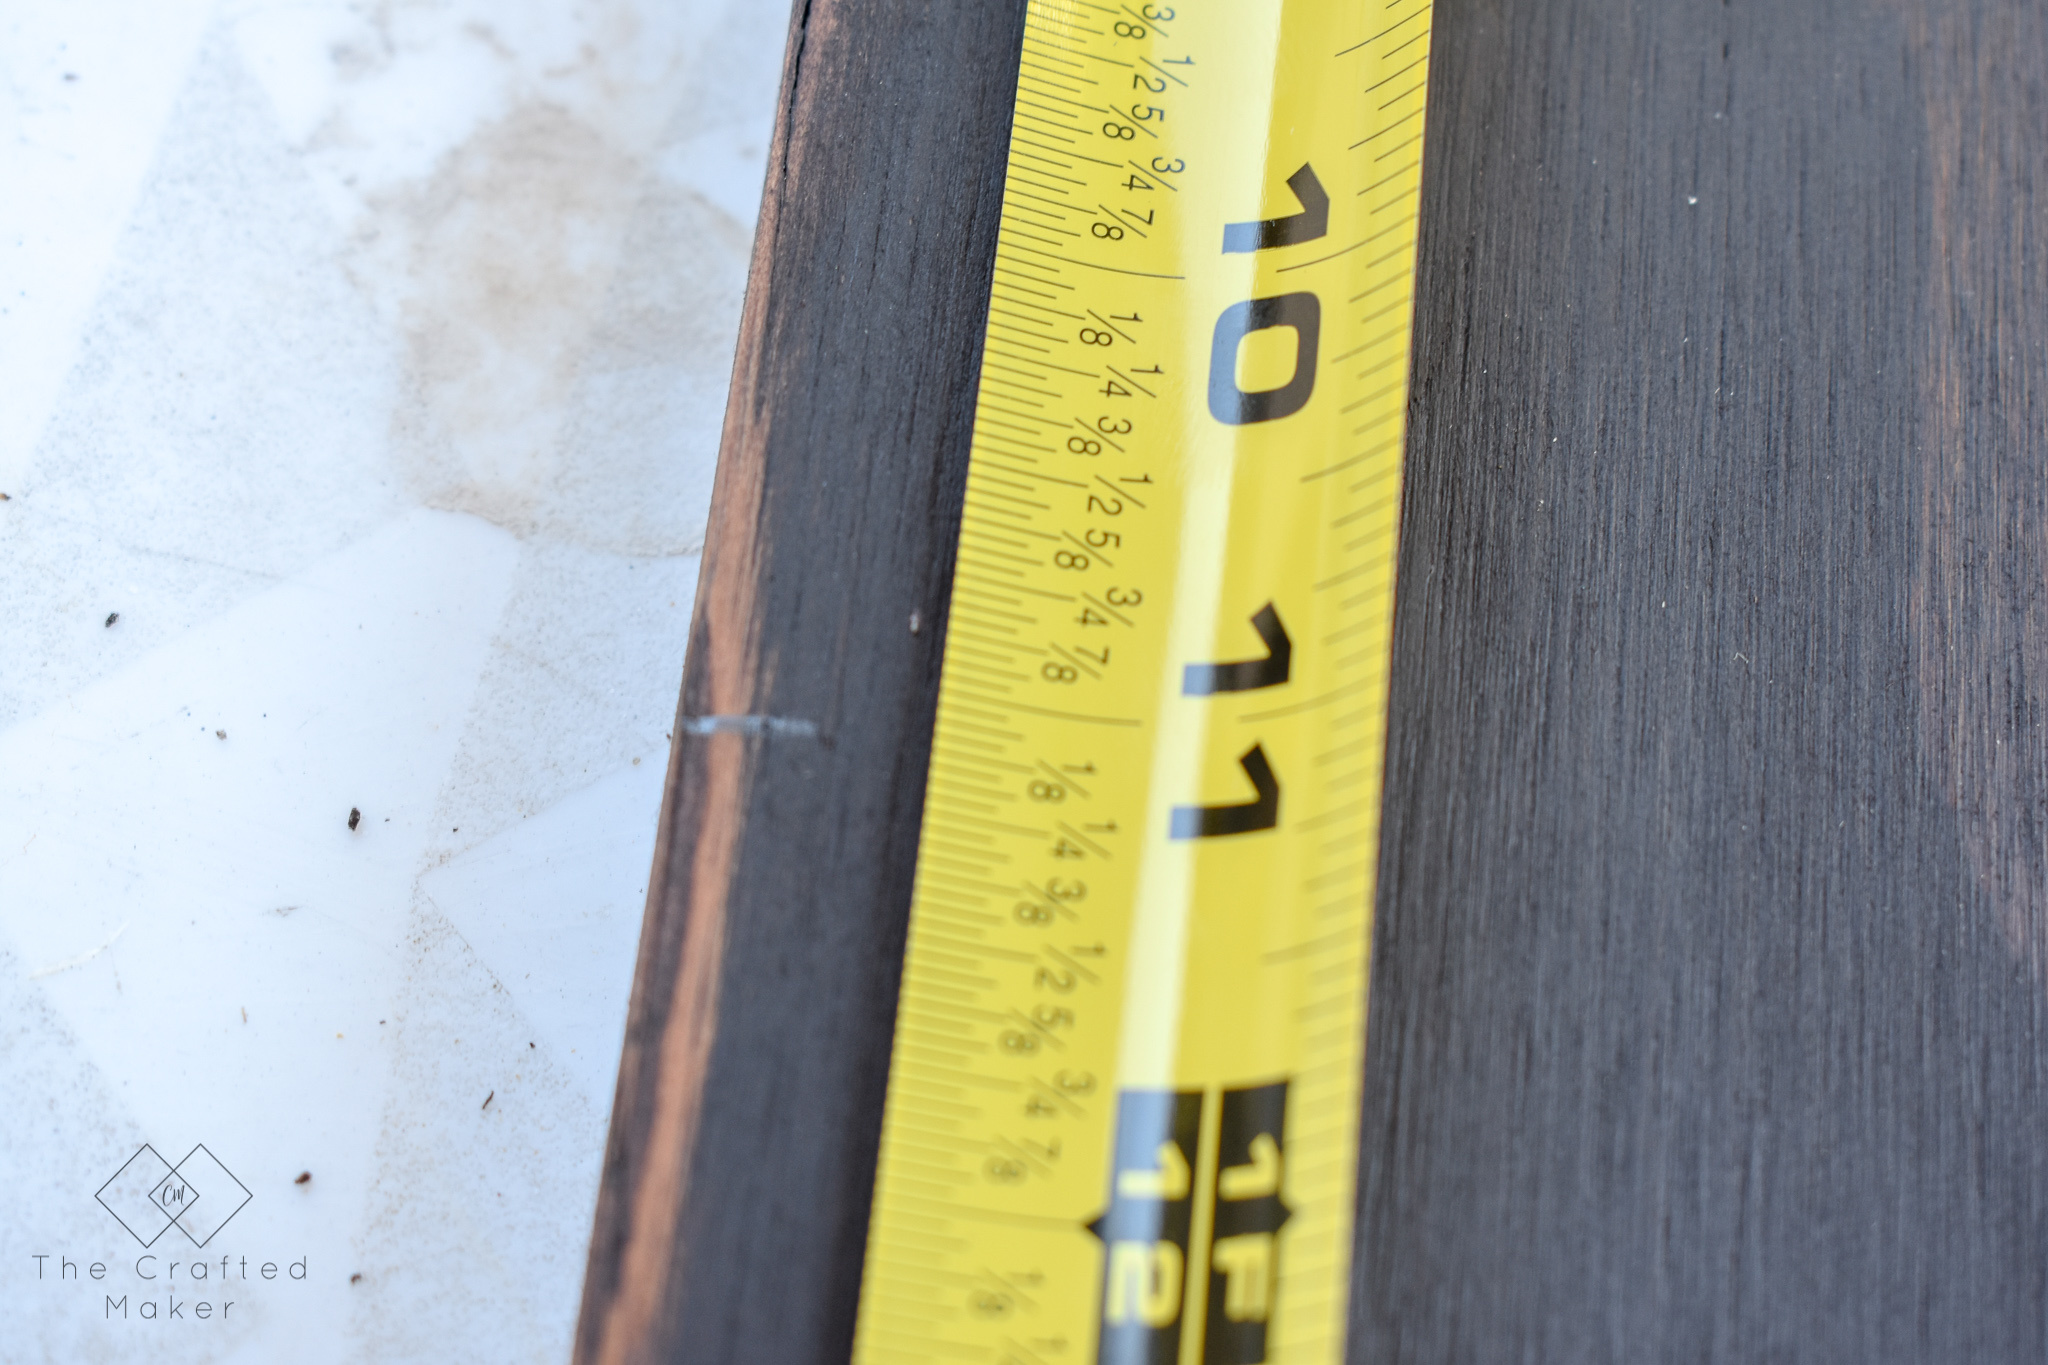
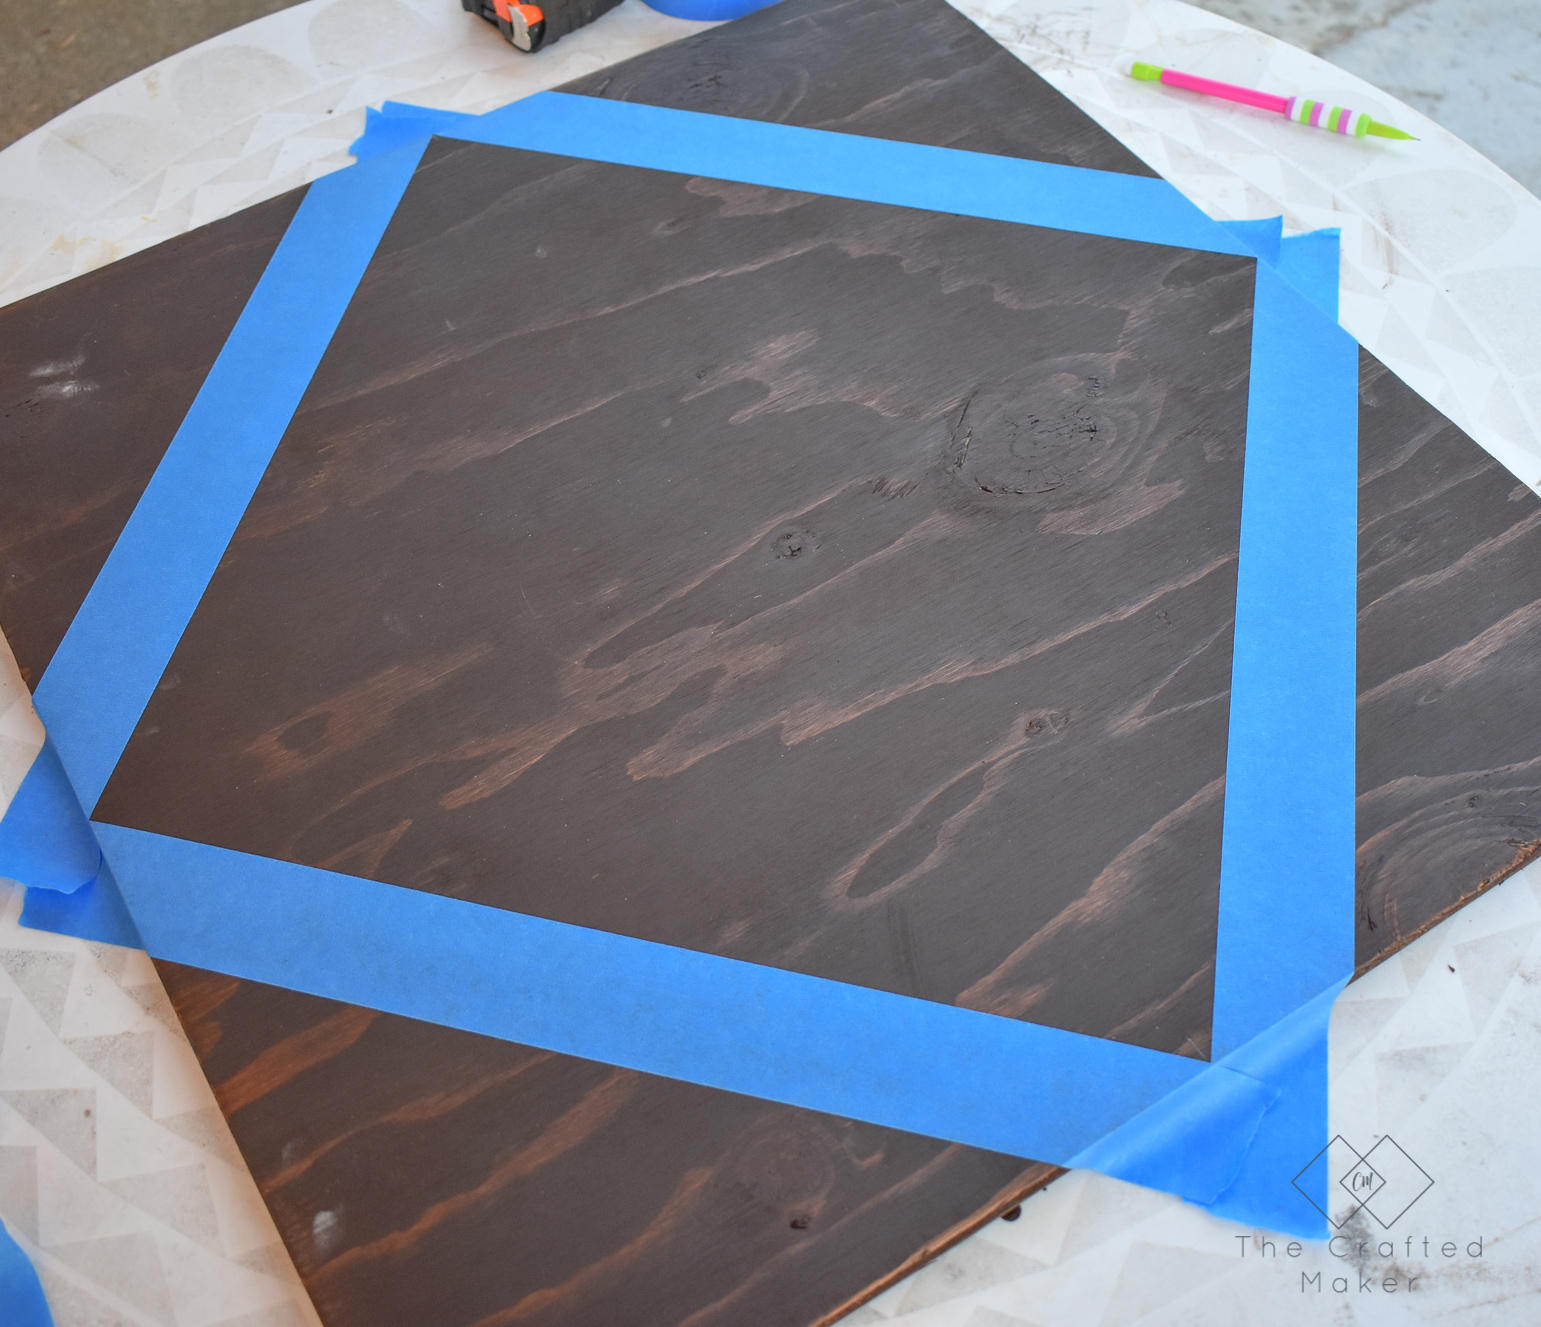
Now for the fun part, let’s make some designs! This is the best part because the pattern is completely up to you. I started off by measuring my centers on all four sides, but after that, I was footloose and fancy-free.
This is definitely a project that is made for some custom design. Everything goes here, get wild!
The first layer using the measurements.
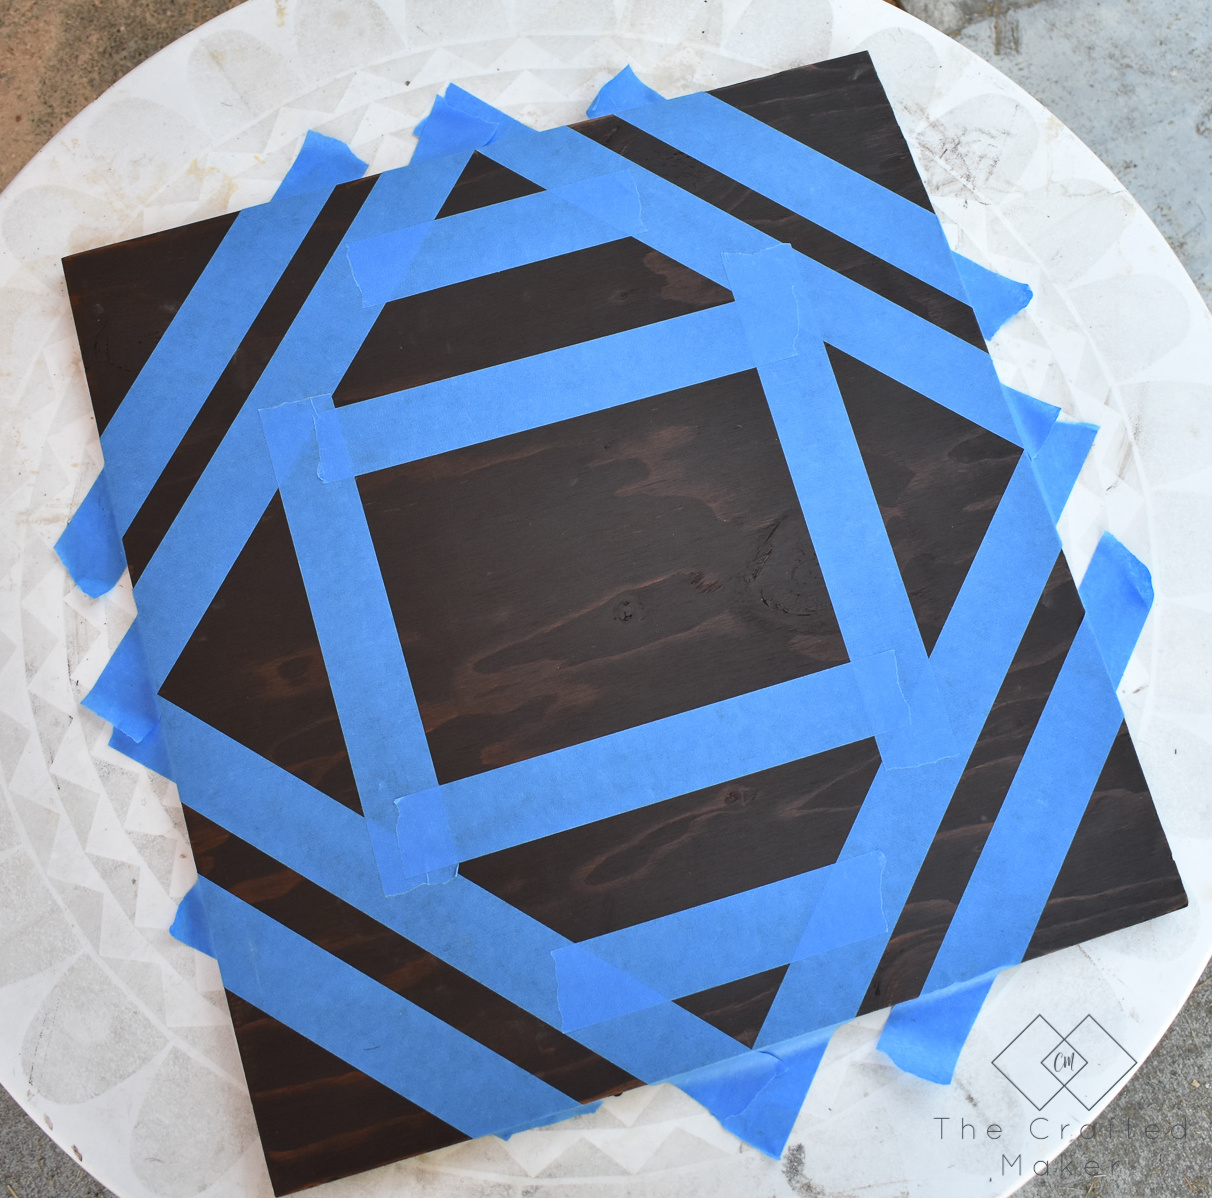
Here is a little freehand pattern for ya! It’s not perfect by any means, but it sure was fun.
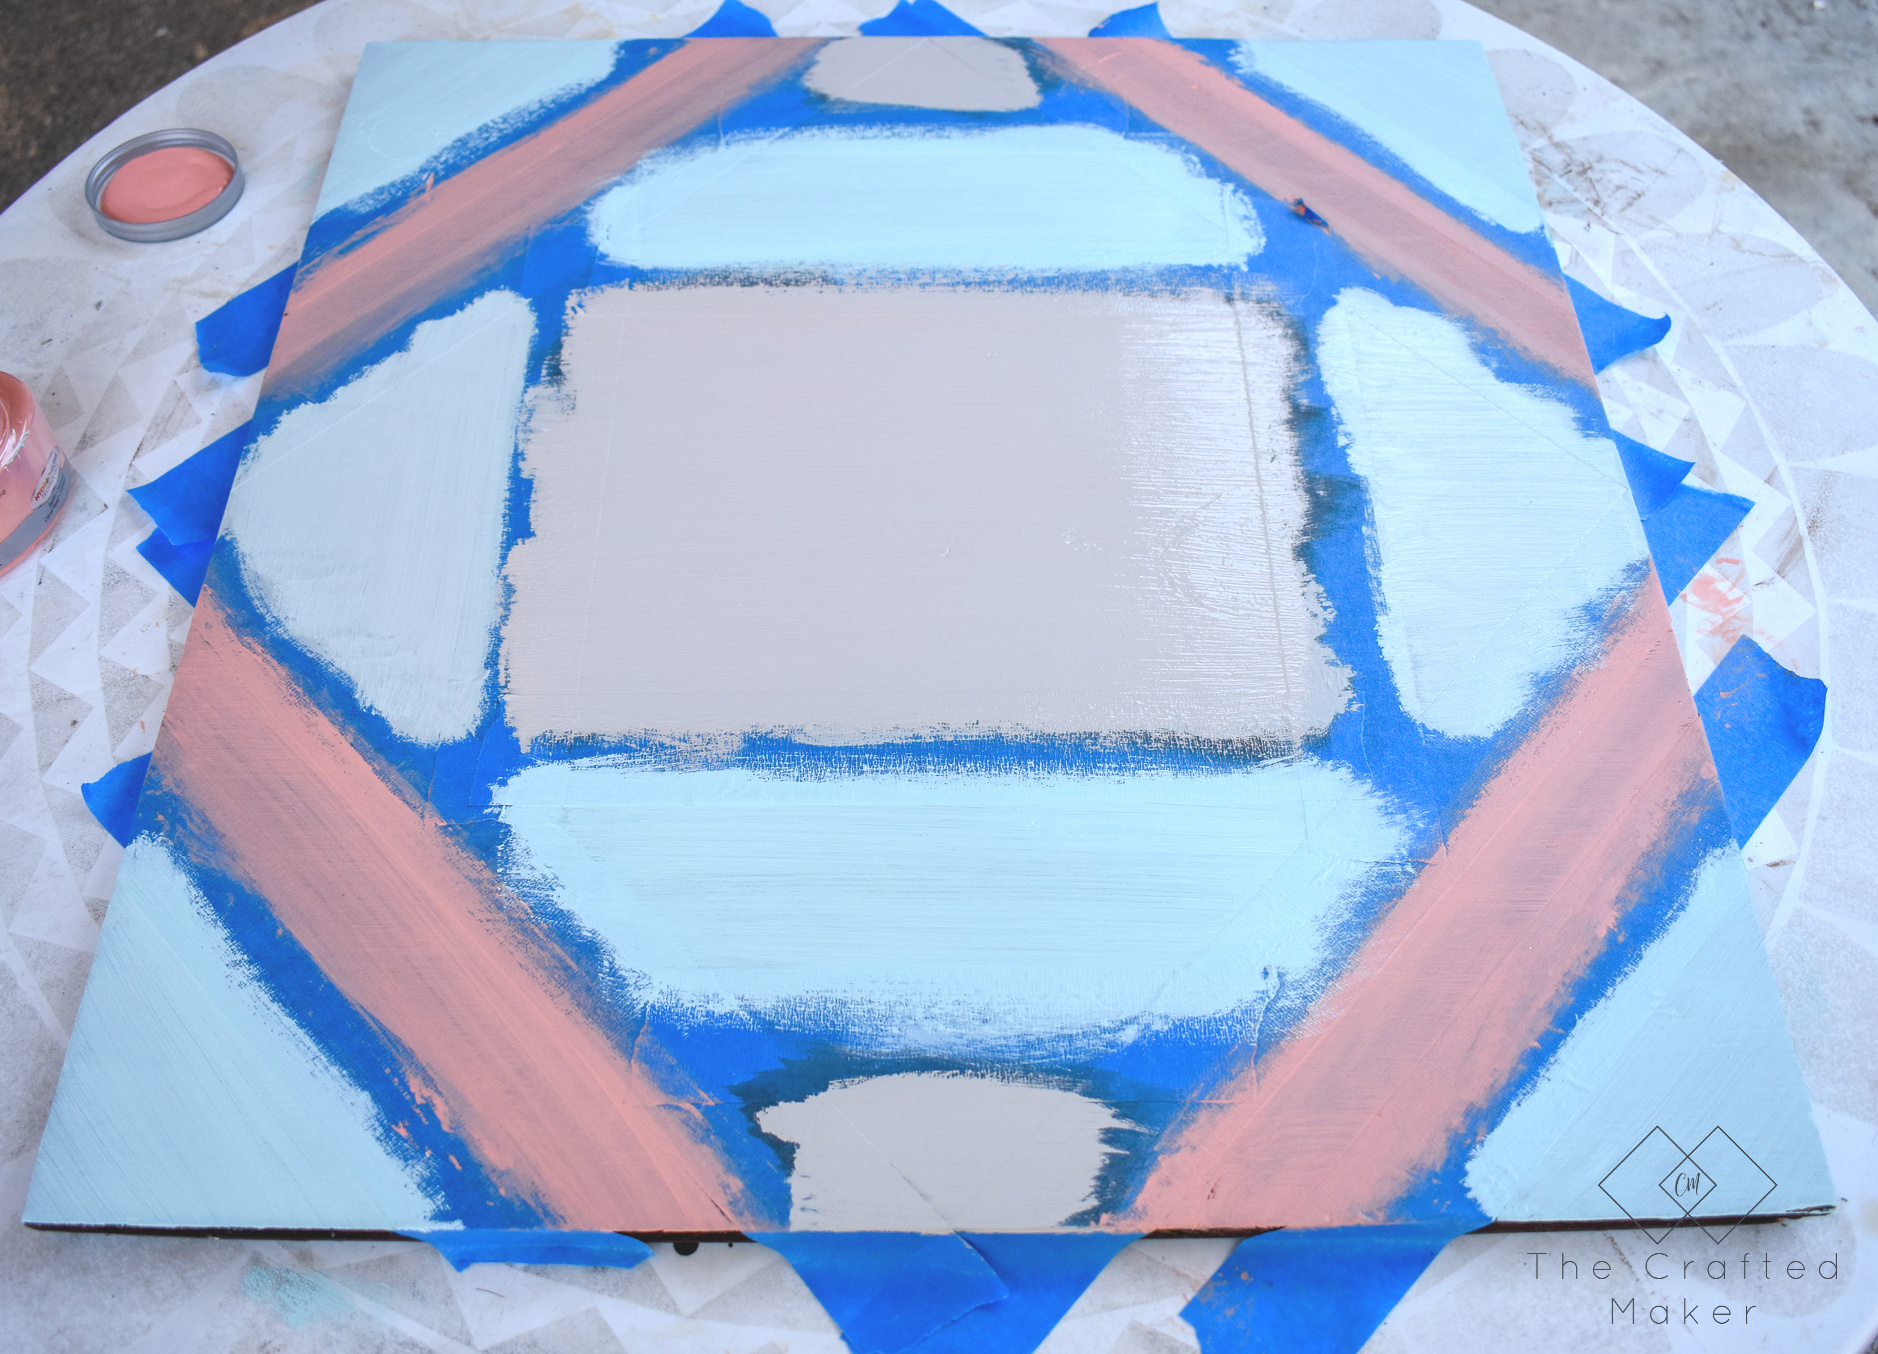
Now, let’s add some color! These paint samples are so fun and the perfect size and price to experiment with. I used THESE COLORS to paint in the areas without the painter’s tape. This is totally up to you. Use the colors you already have on hand, or buy some fun new ones.
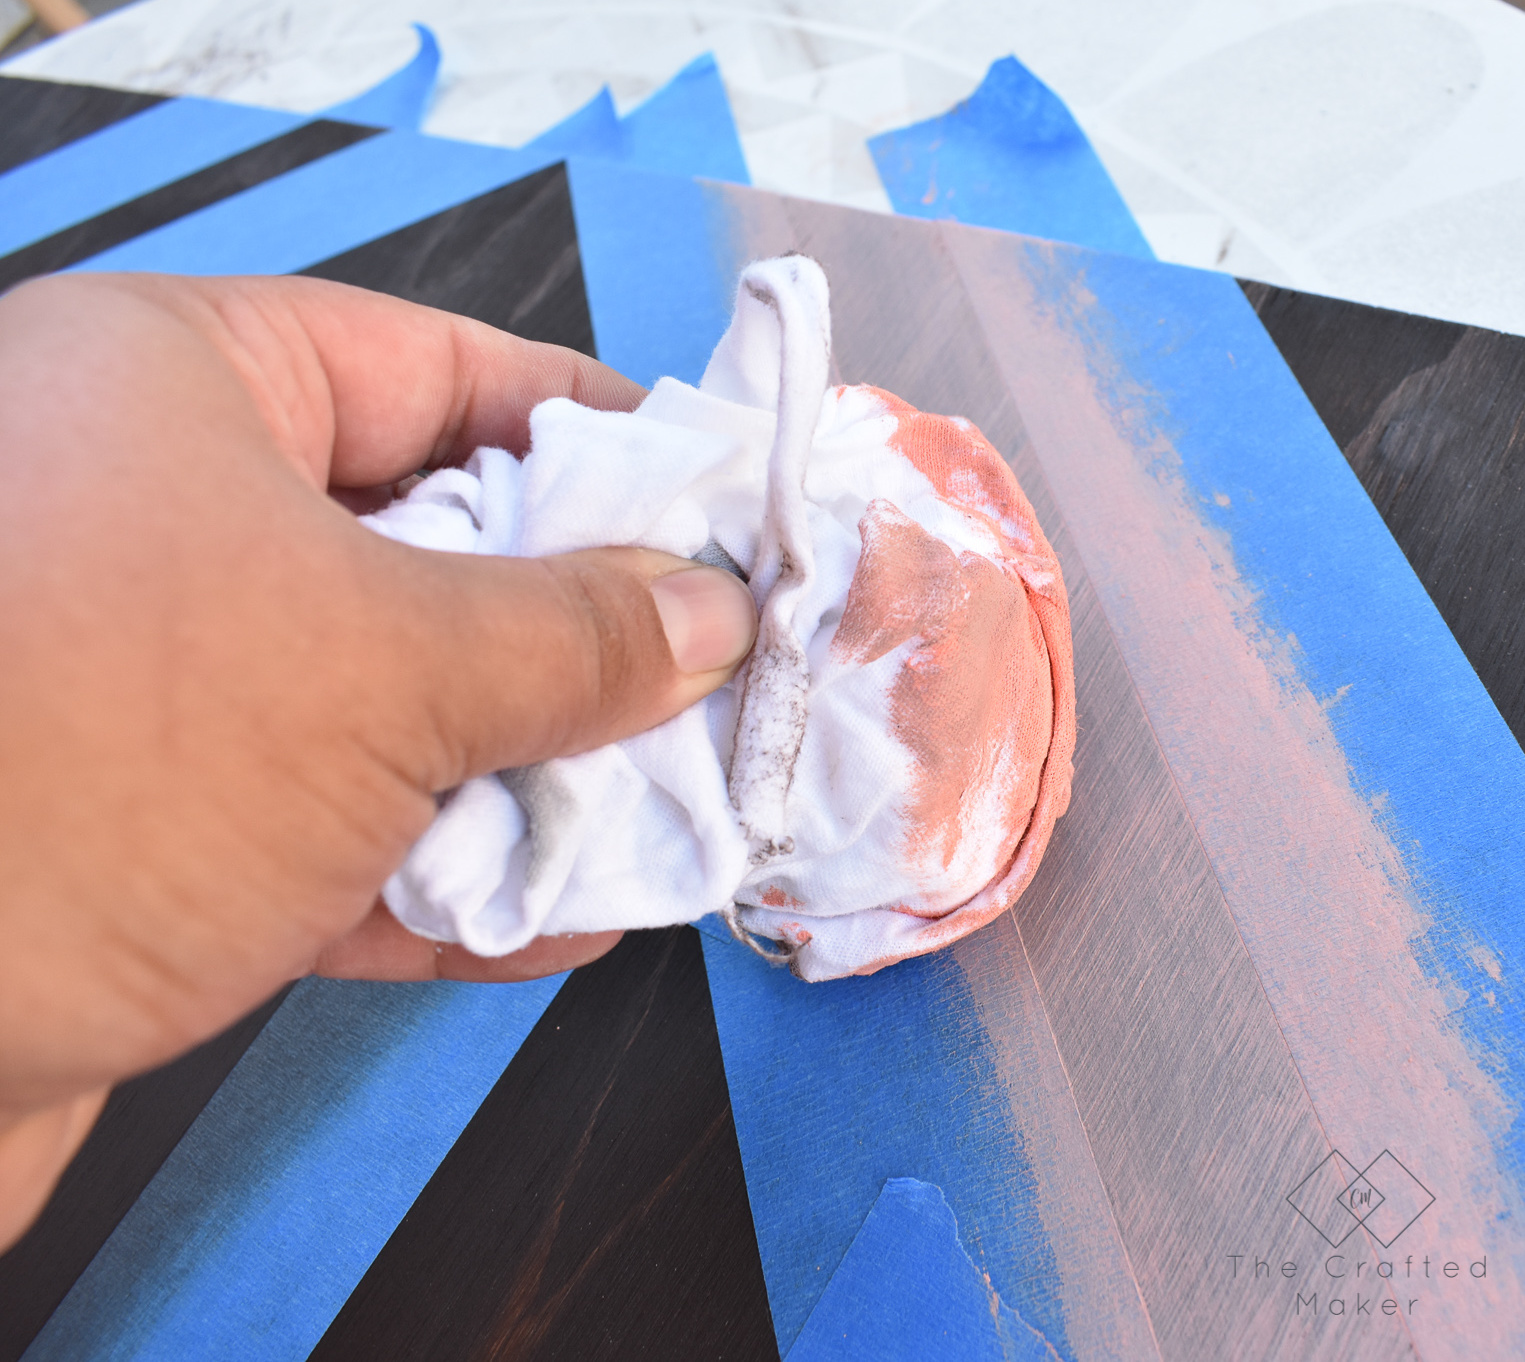
I tried to put classic gray stain on top of the Kona, but it didn’t show up very well, so I just painted over it later in the process.
If you want to see what a beautiful color those two make mixed together check out this post here!
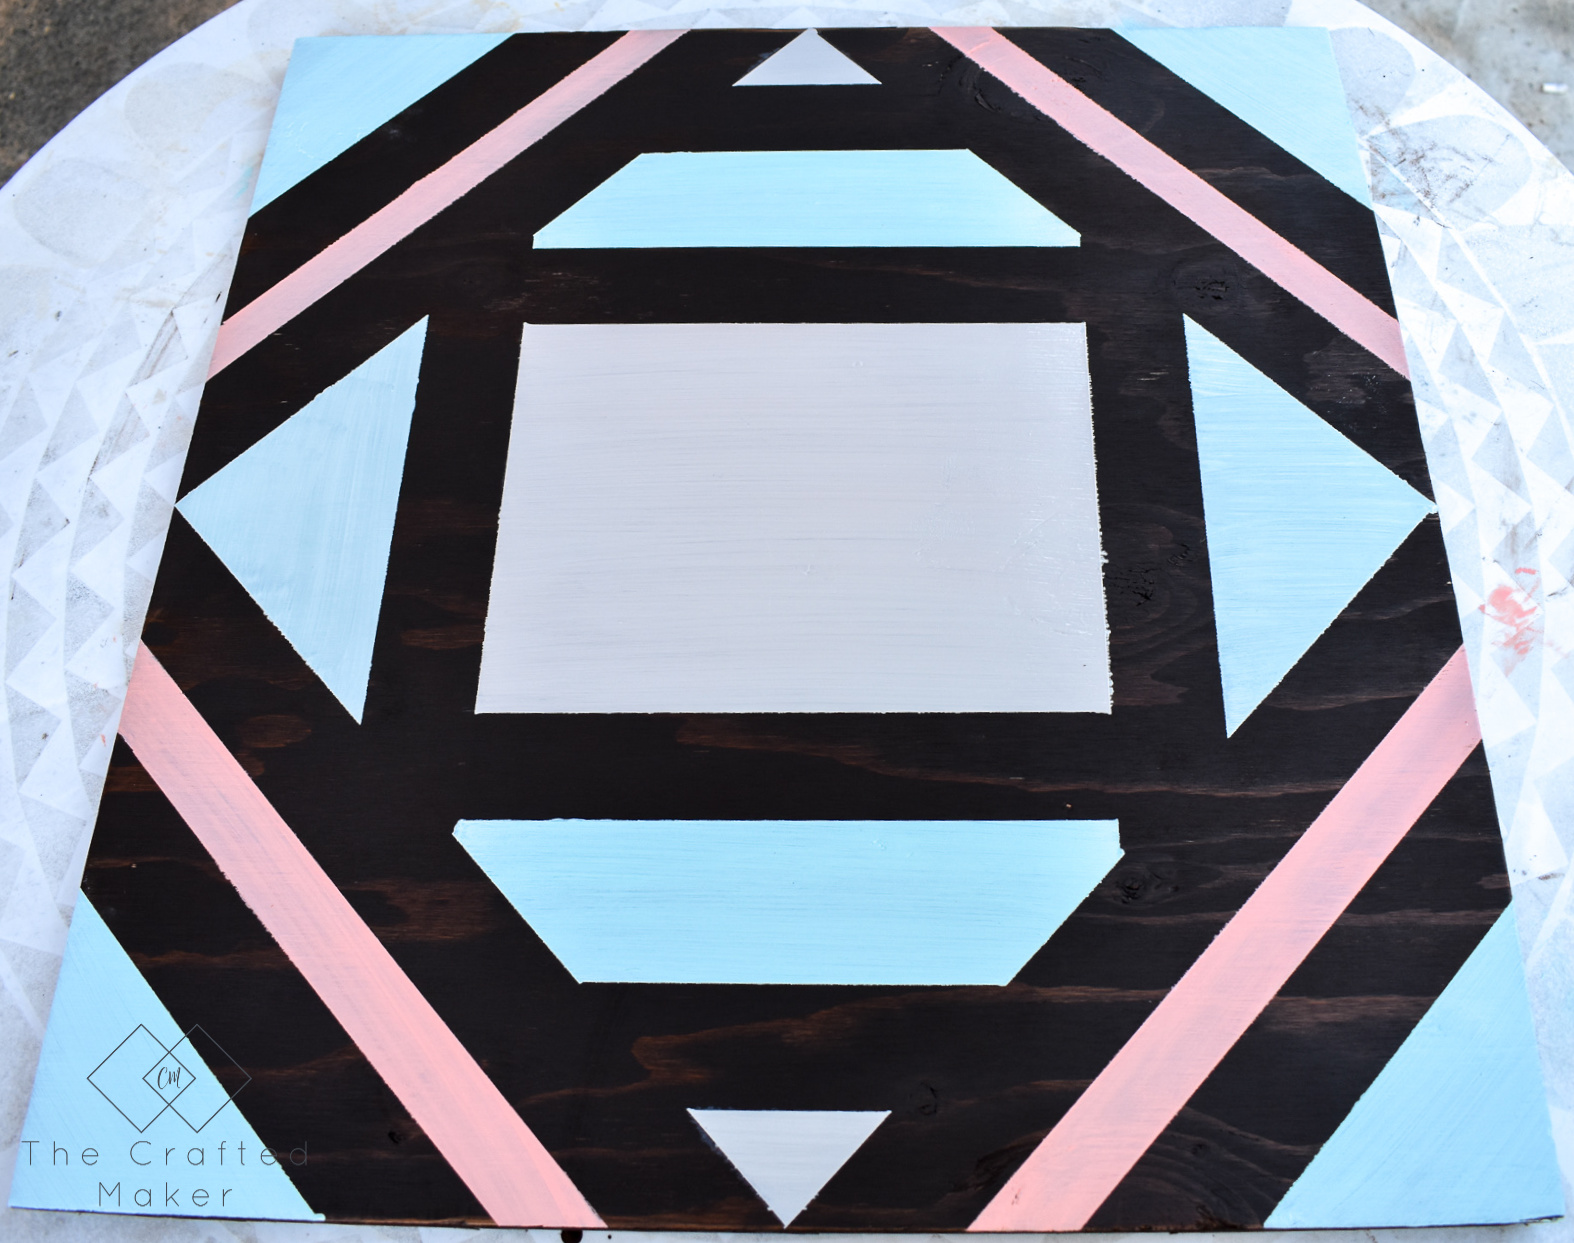
Here she is all painted. This is so much fun!
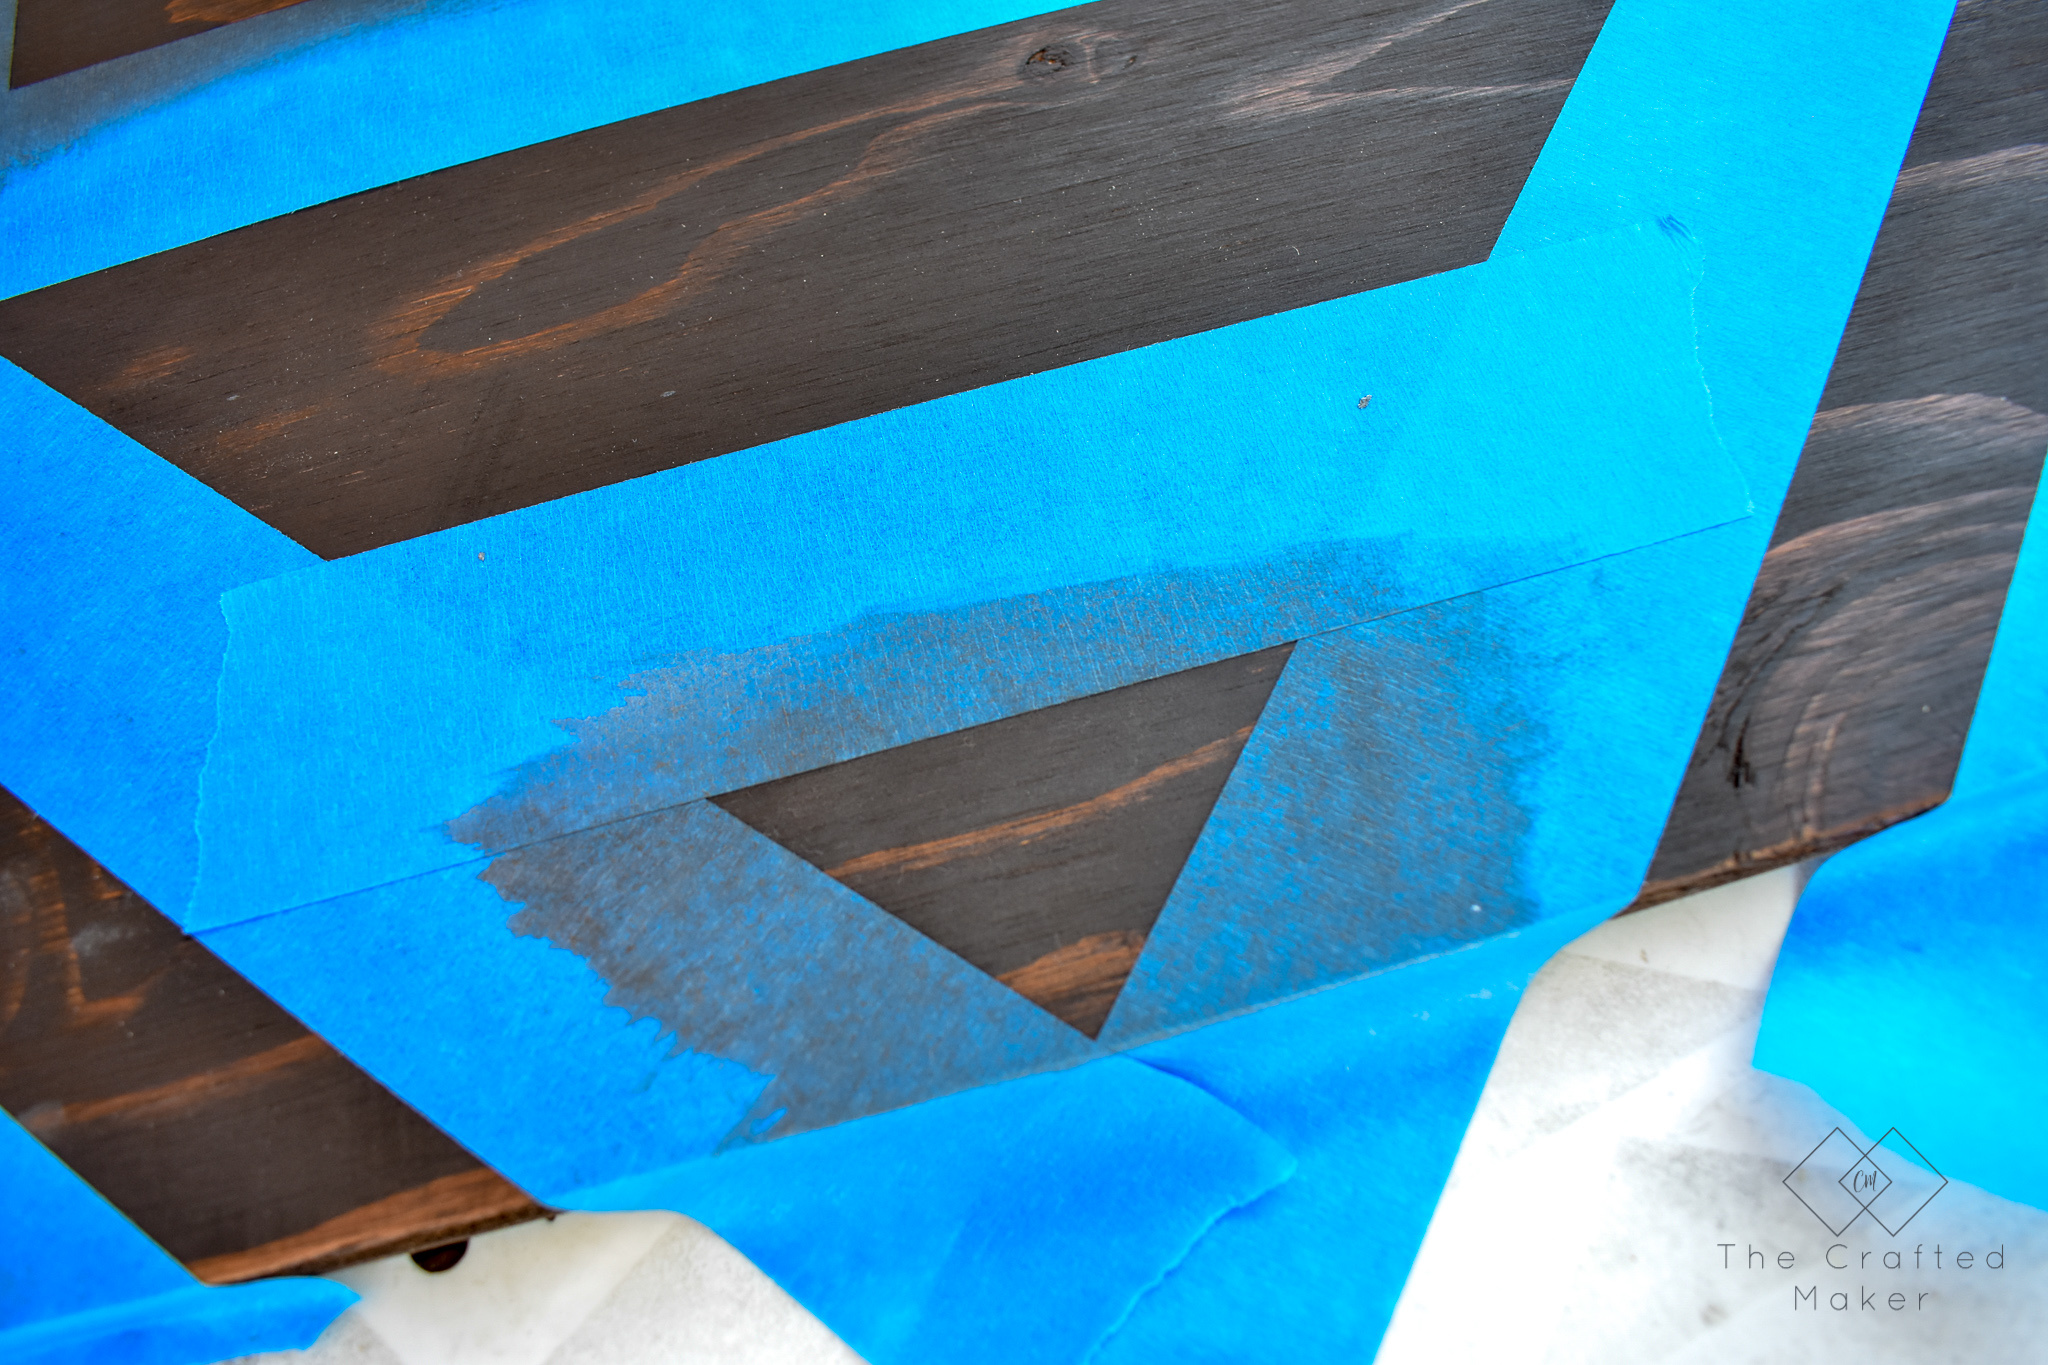
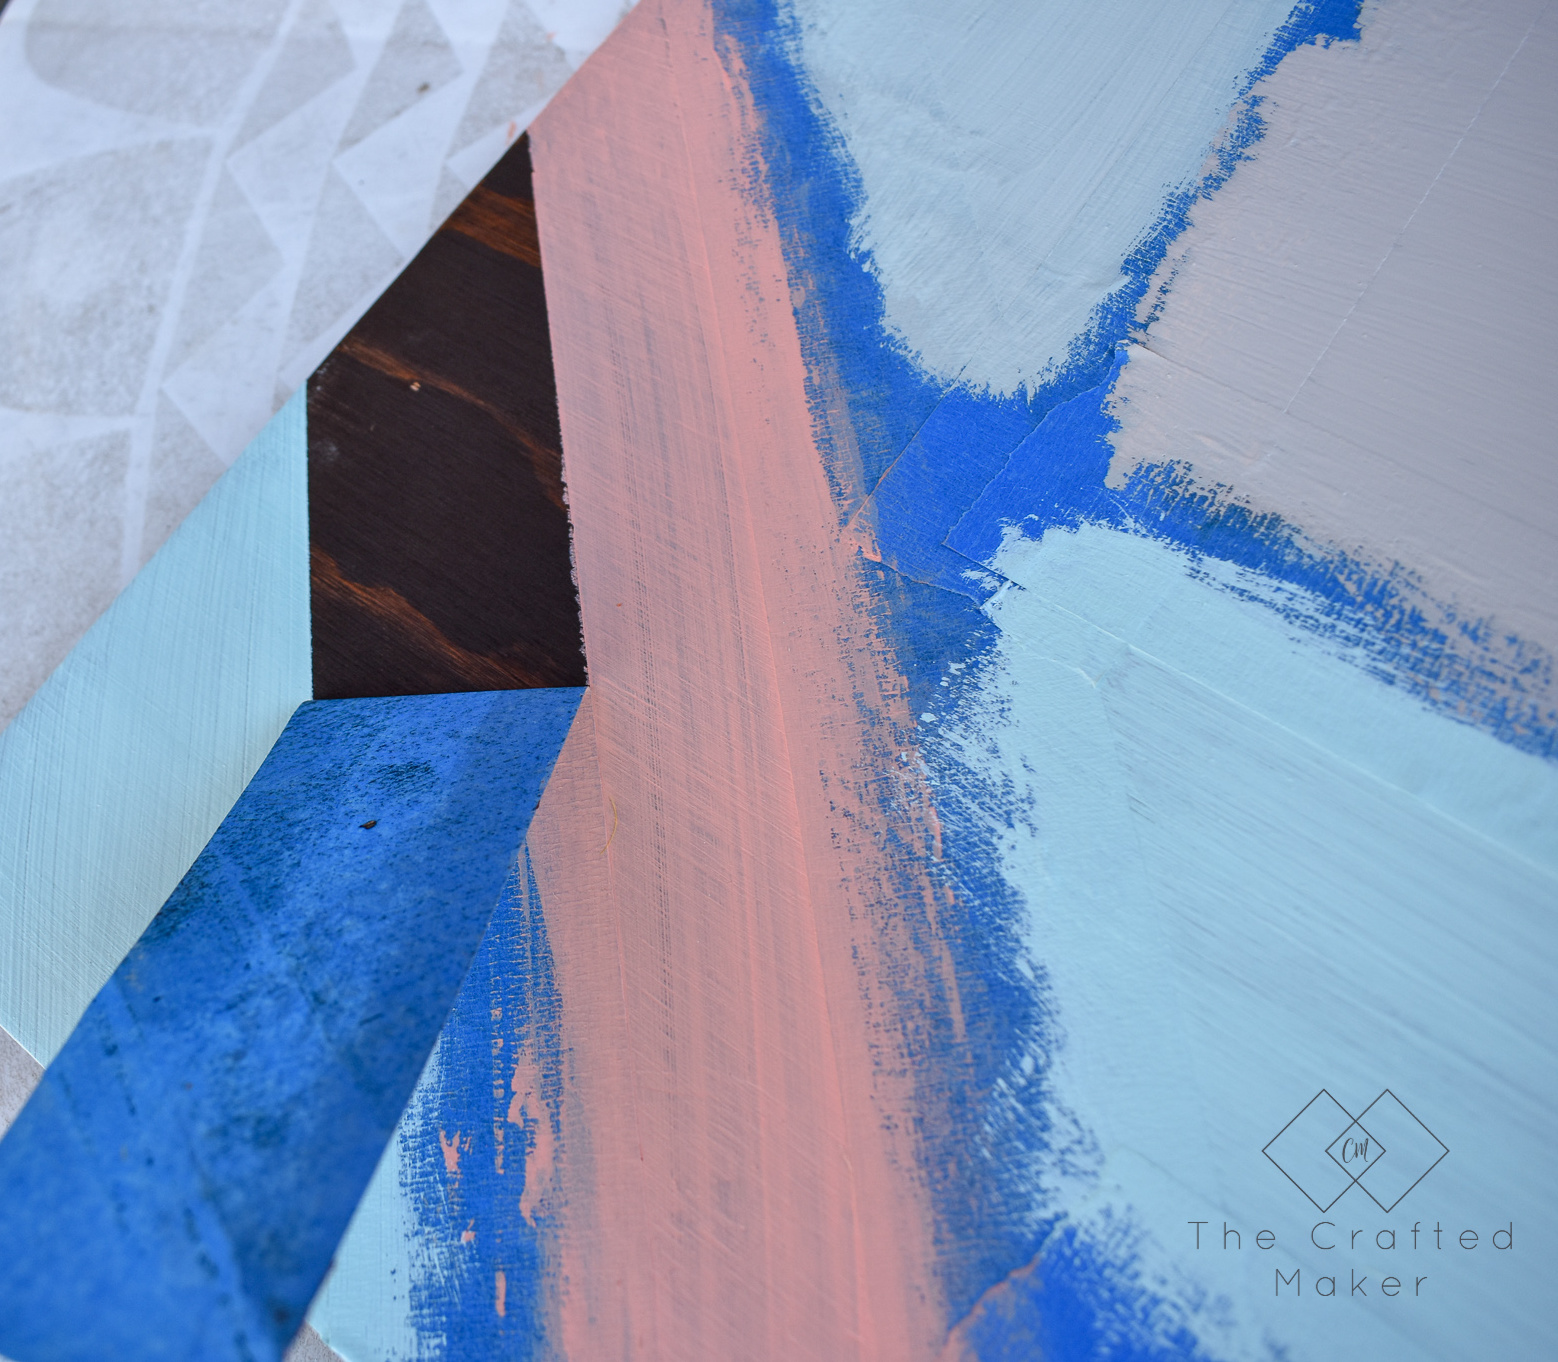
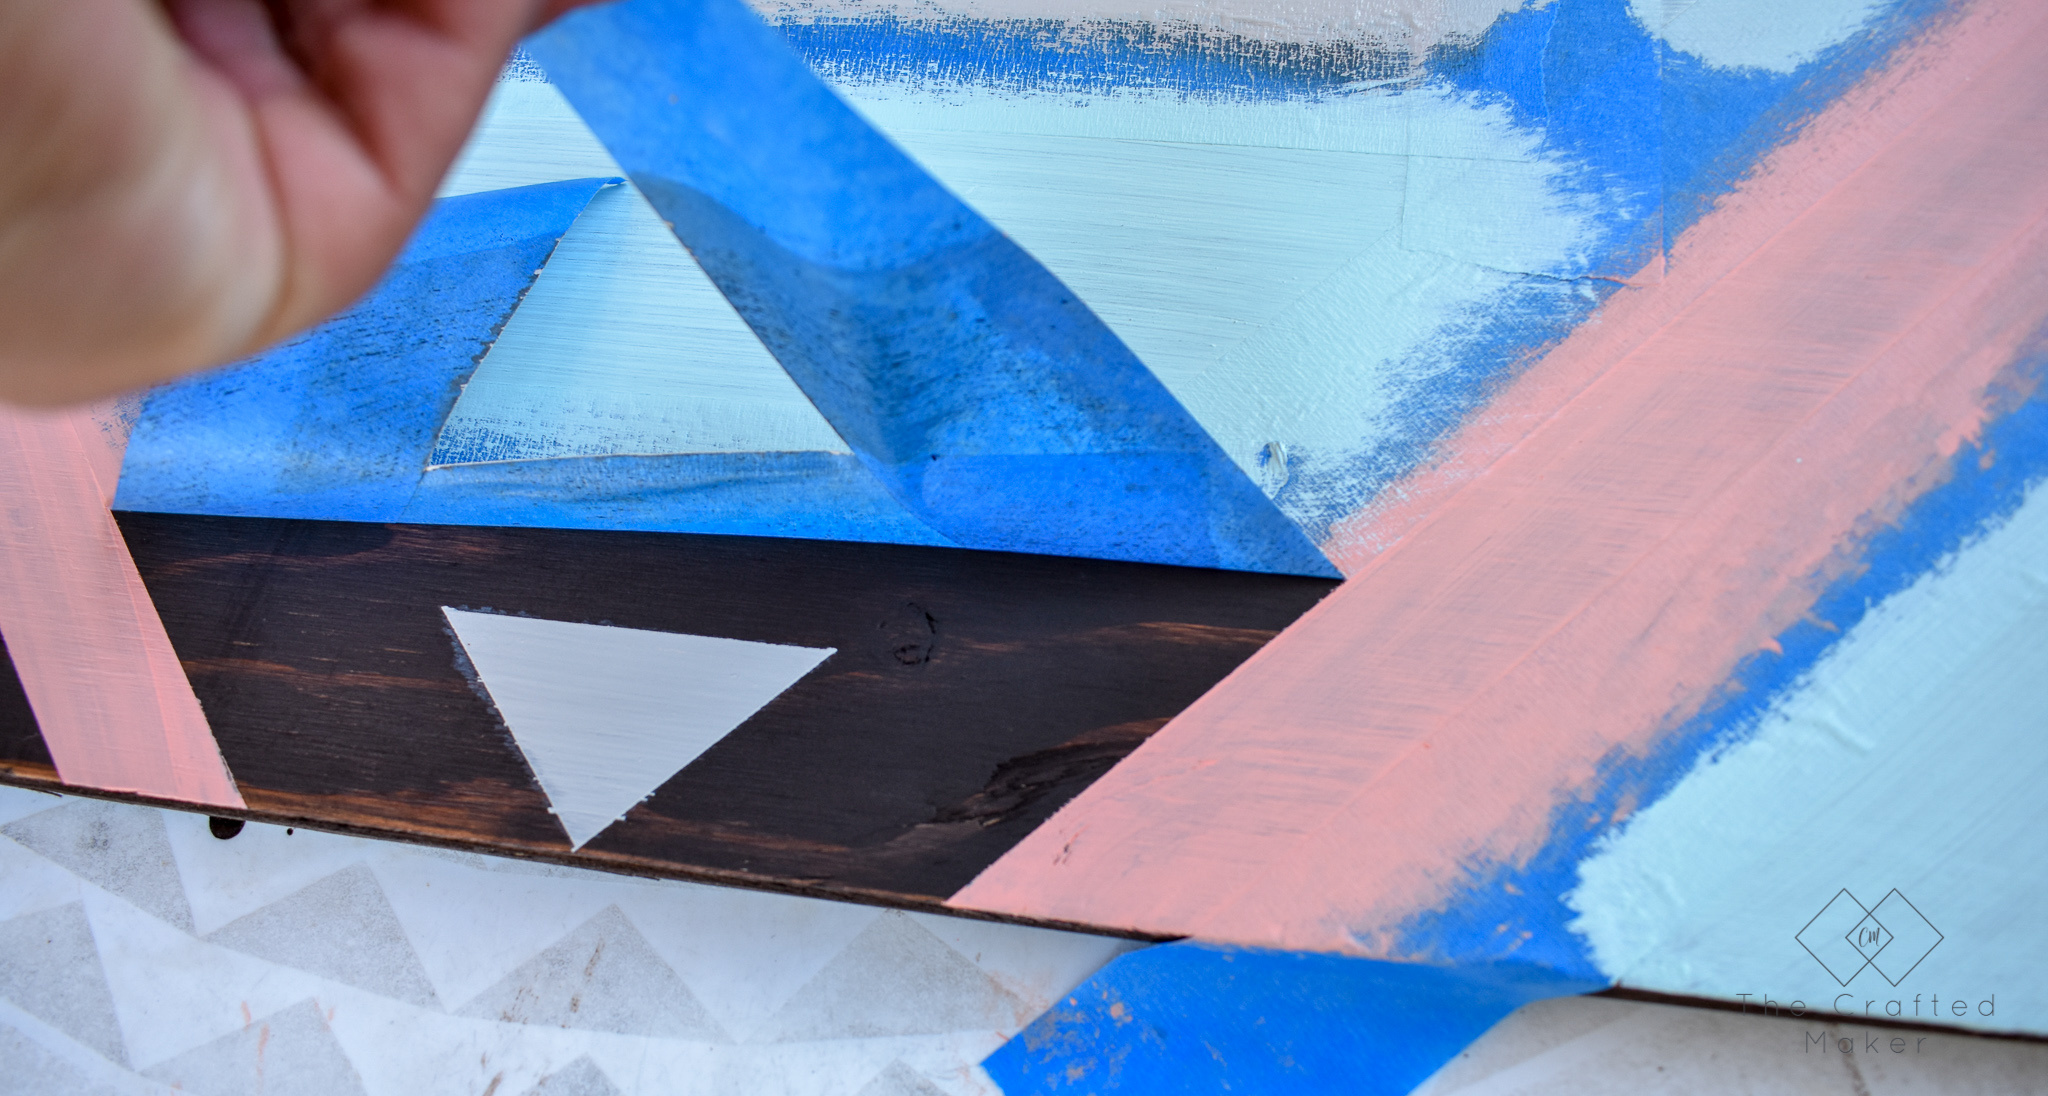
I allowed this to dry for about 5-10 minutes and removed the tape. I didn’t want to let it sit too long and risk the paint sticking to the tape.
Ooooooh look at that Kona!
I let the paint fully dry before moving on to the polyurethane, the paint could possibly smear when using a brush. That would not be good!
I added two coats of polyurethane to the geometric wall art, lightly sanding between coats.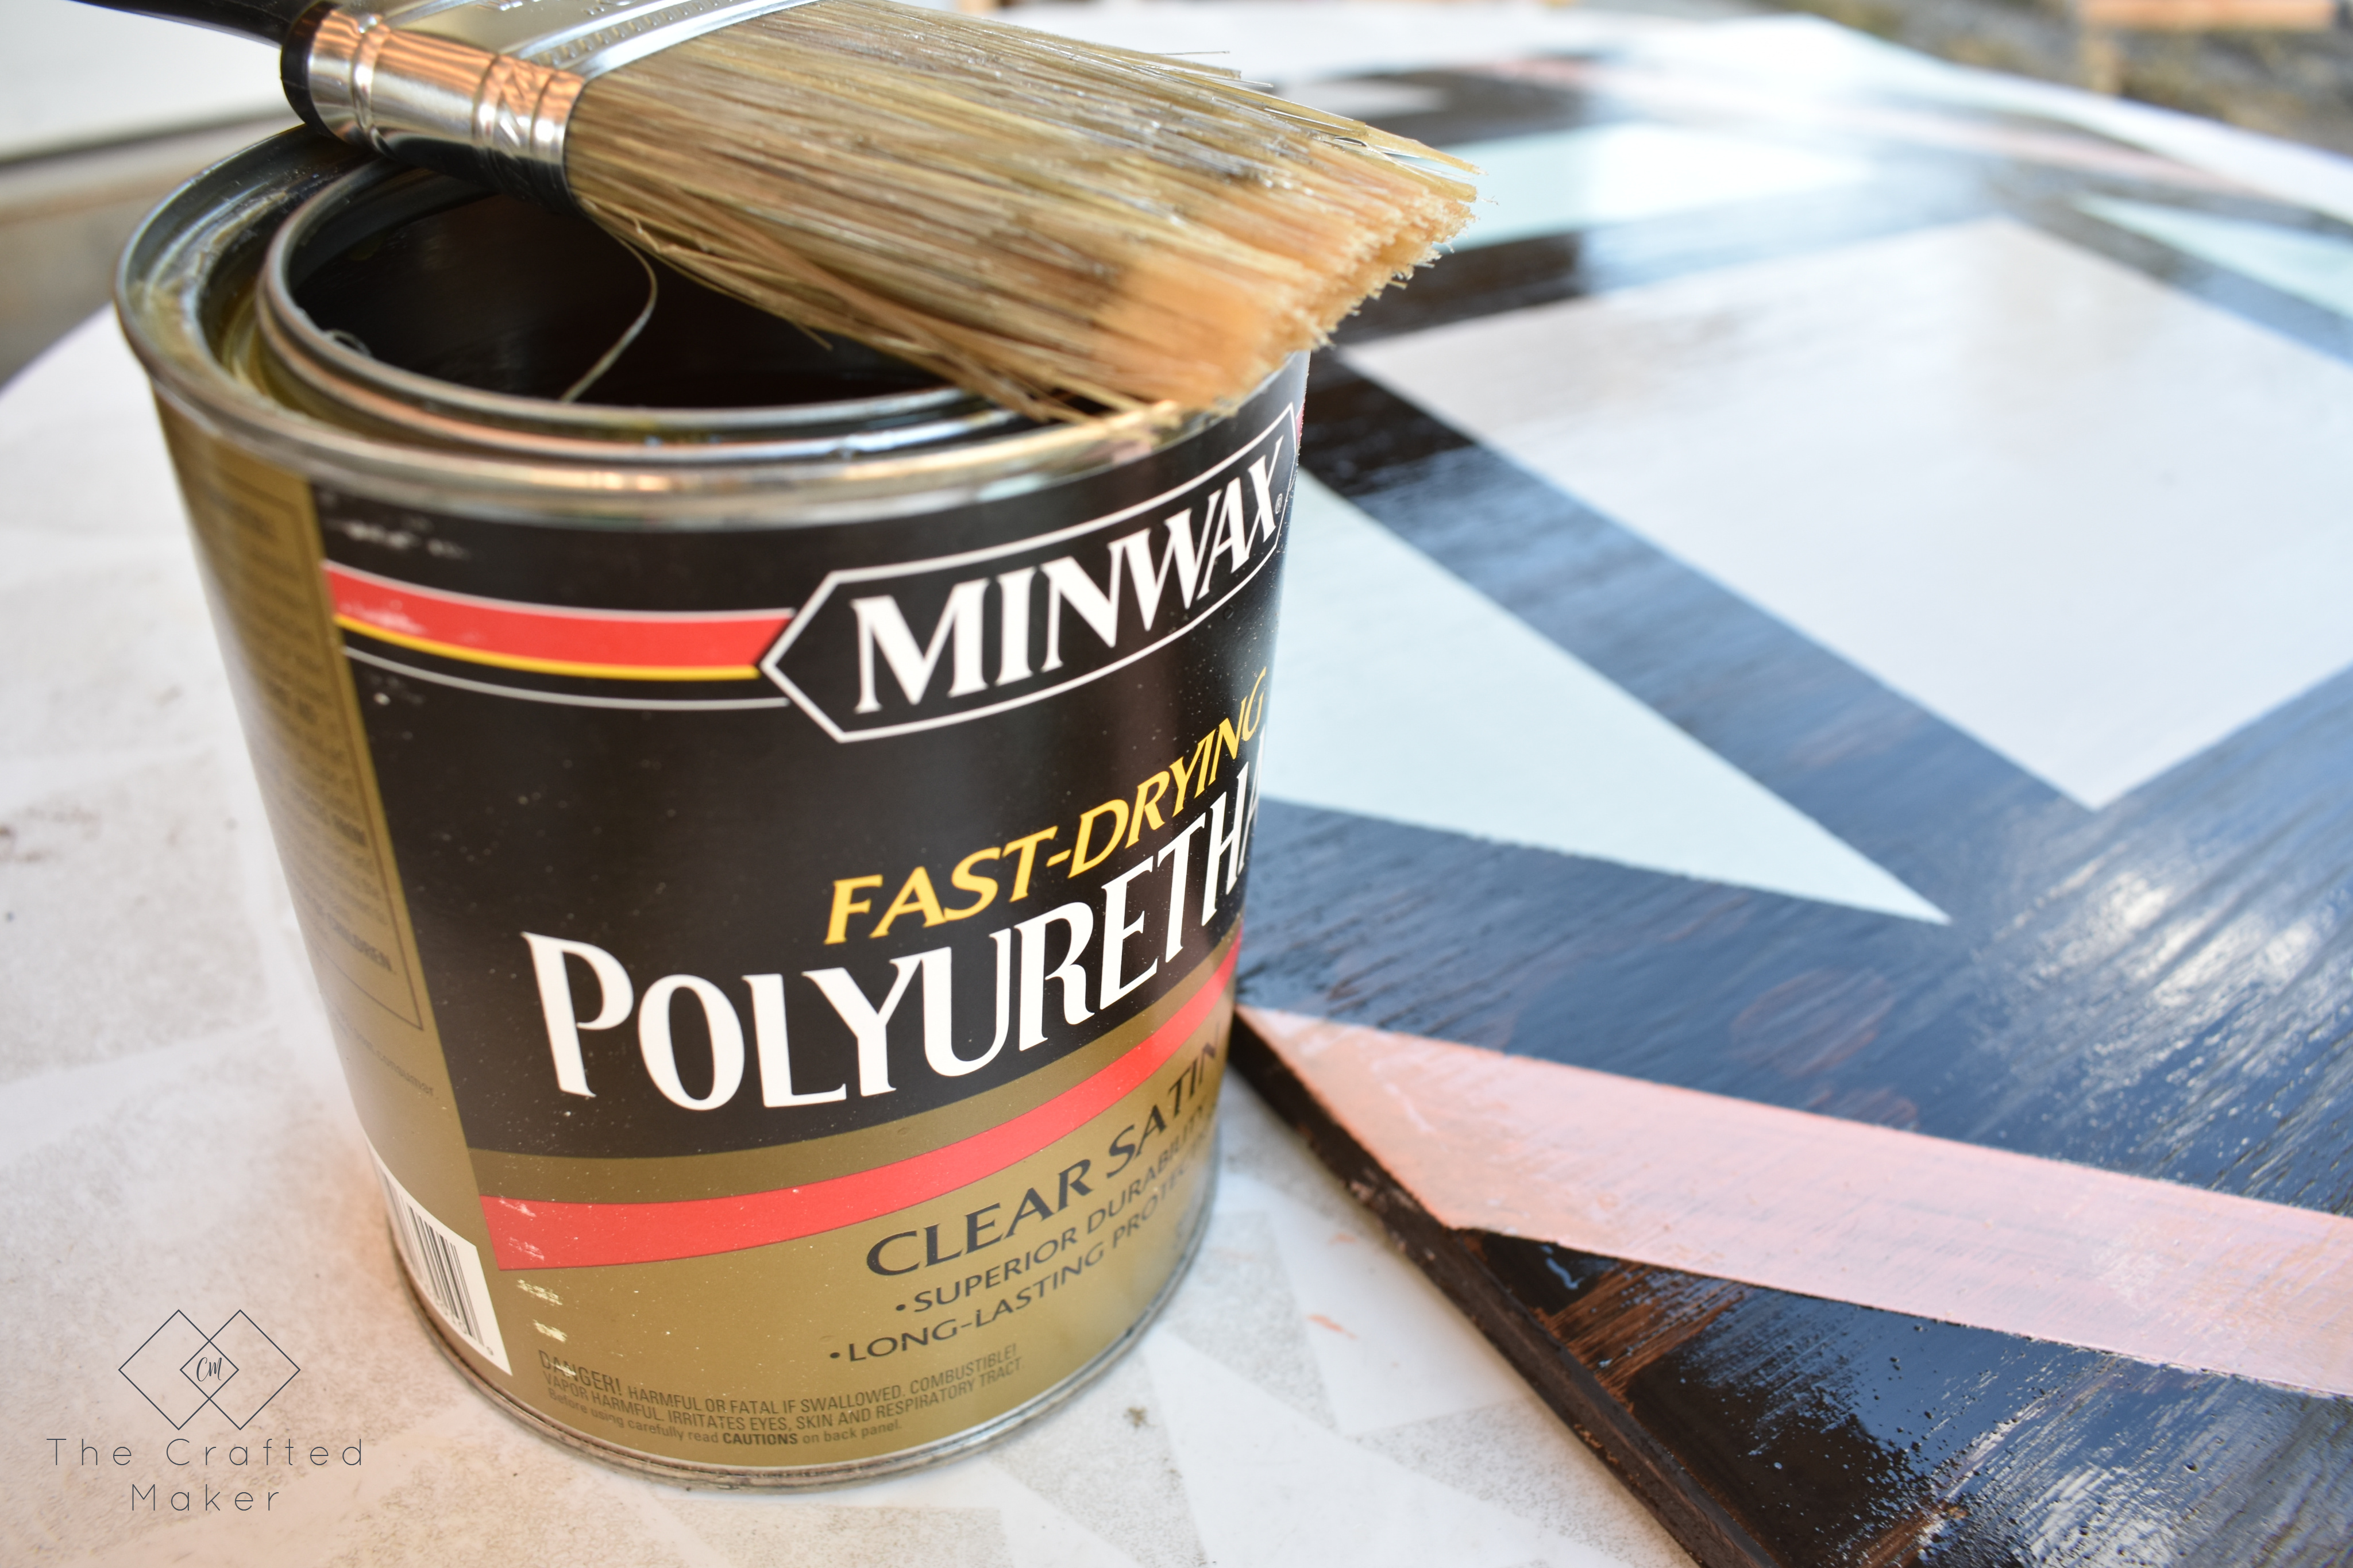
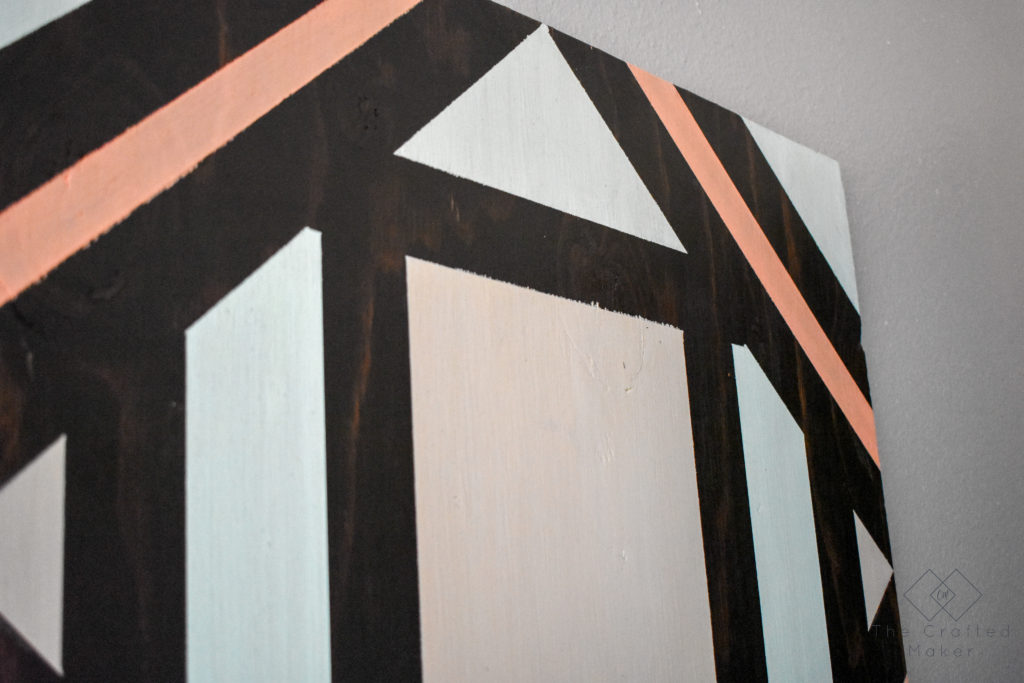
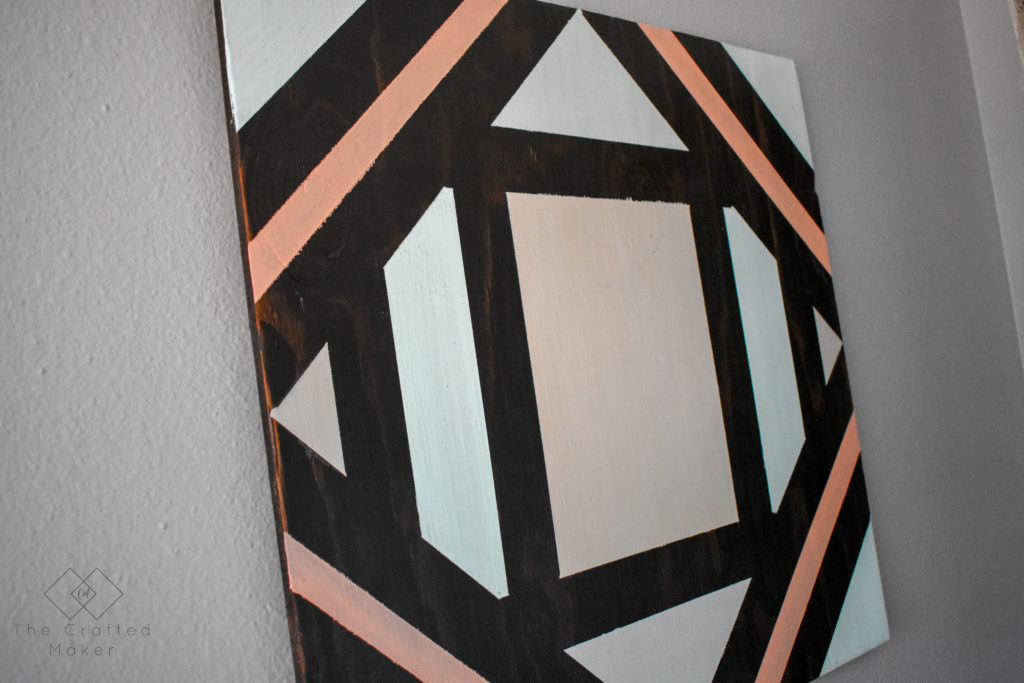
Give the polyurethane the proper time to dry according to the manufacturer’s instructions and add some hanging hardware. It’s now time to display this geometric scrap wood wall art! This was such a fun project and a great way to make something awesome out of scrap wood.
Hang and Enjoy!
Have a great weekend building!

