Hey hey everyone. Happy Sunday. I have a super easy DIY project for you all today. I have been (for quite some time) obsessed with packaging of all kinds. I love anything to do with packaging ranging from the fancy stuff to plain, yet fabulous, kraft paper packaging. So, with that in mind, I came up with a very easy DIY chalkboard hanging wall tag.
So on to the creation,
Supplies list:
- Cabinet Grade Plywood or a 1×12
- Chalkboard Paint
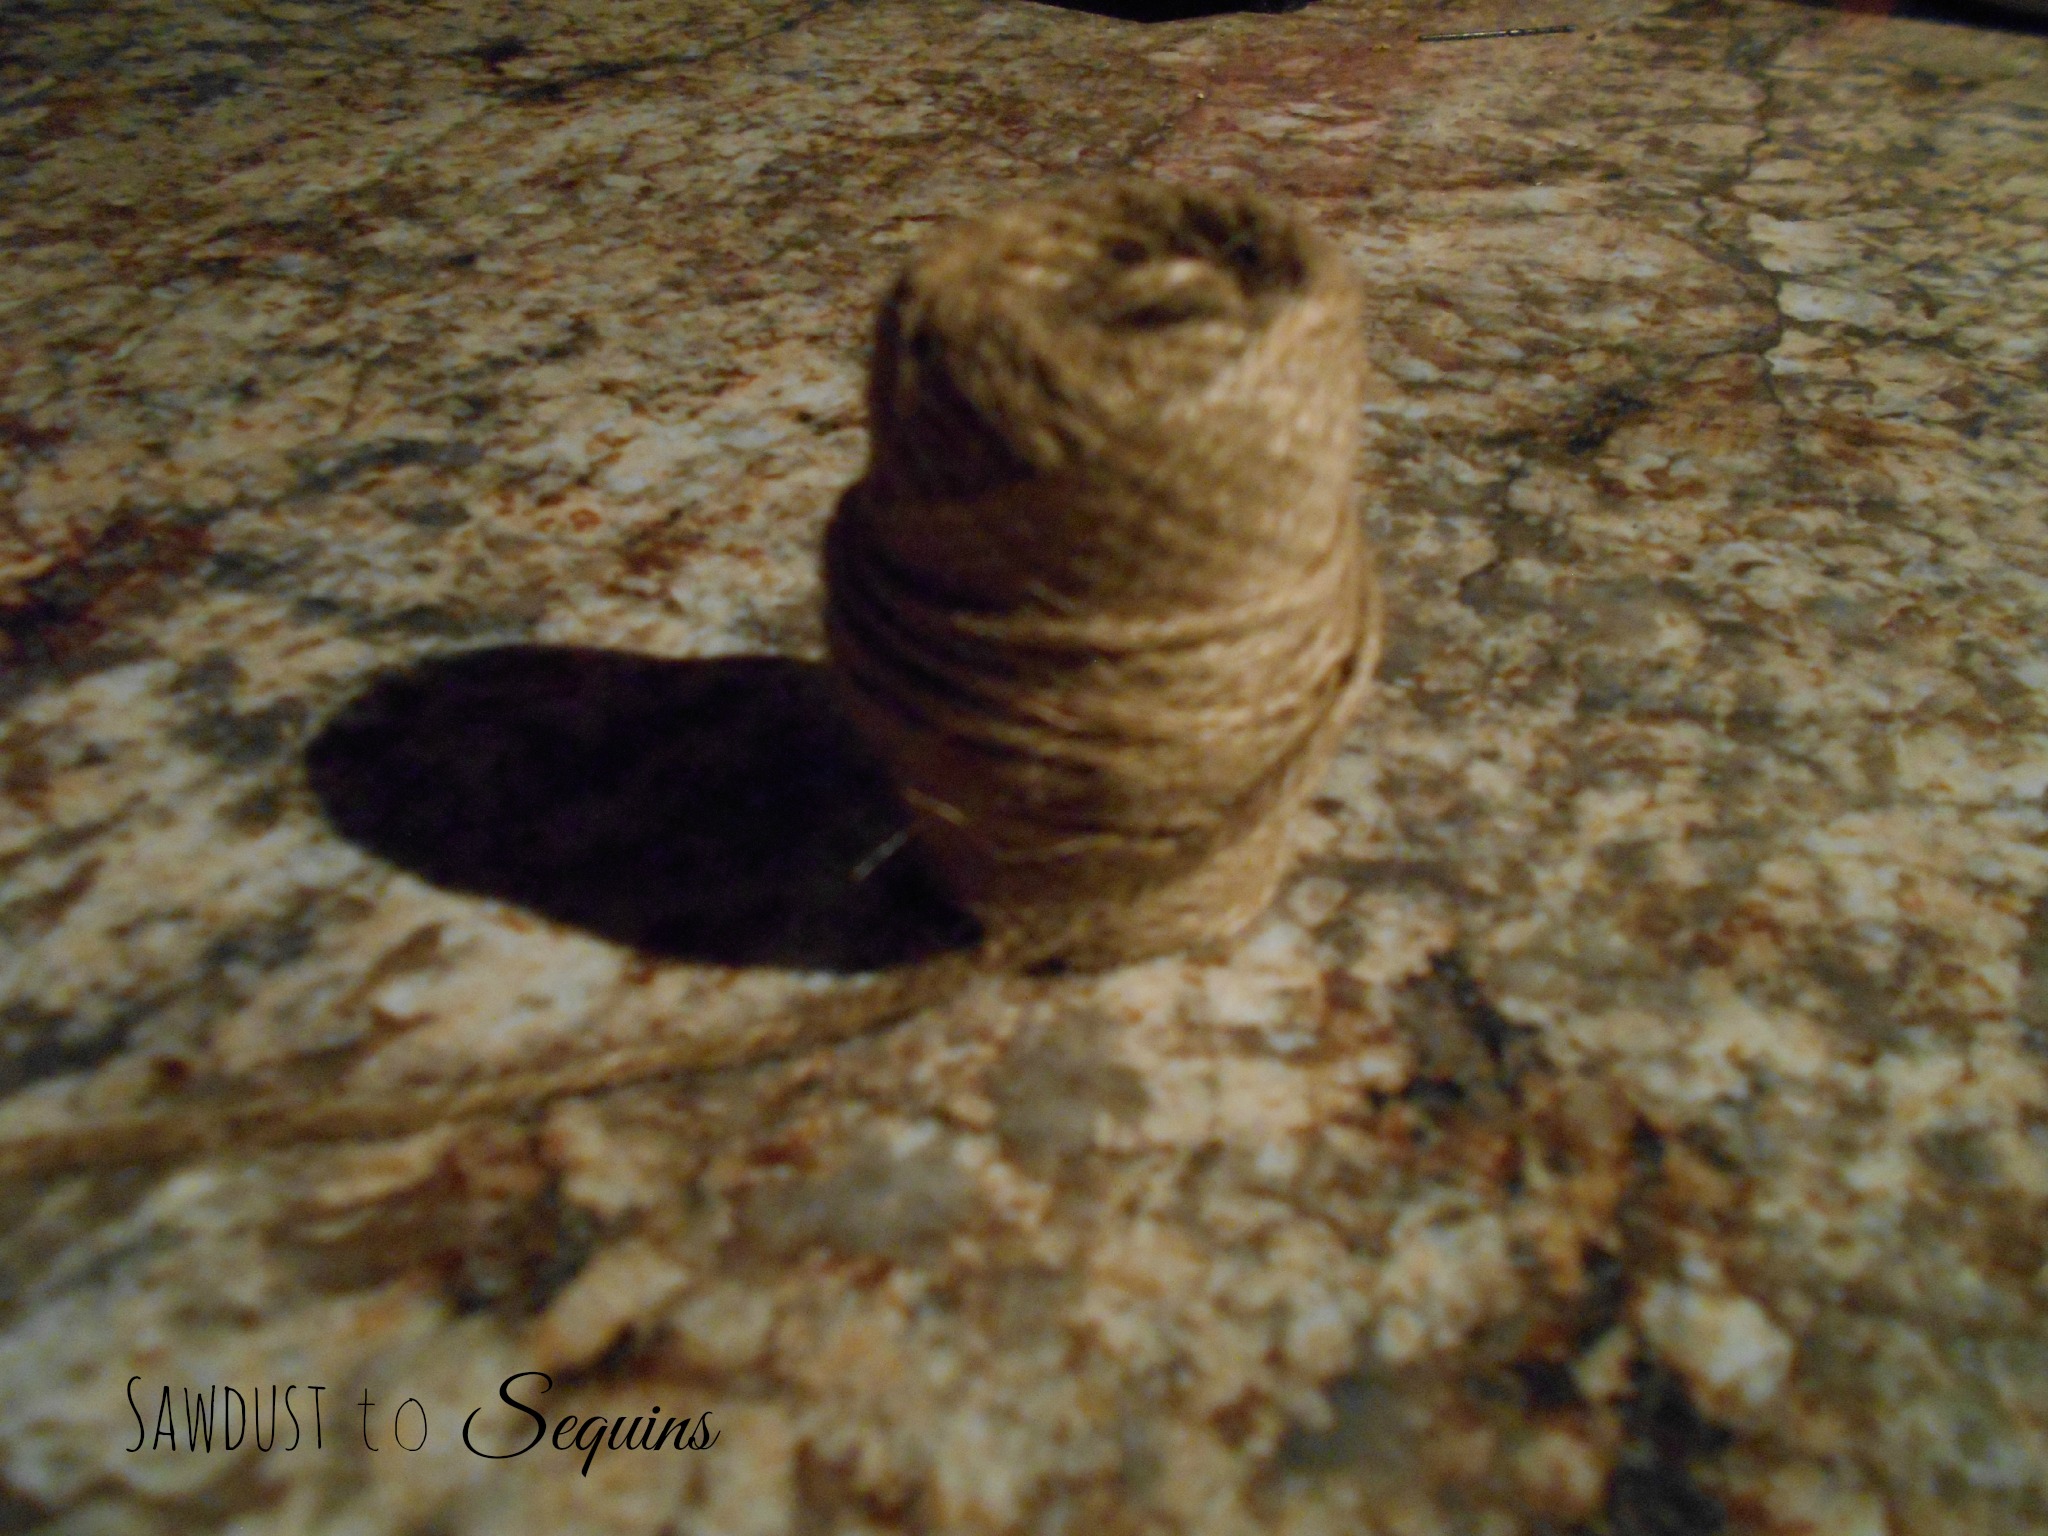
- Twine
- Picture Hanger
- Chalk
Tools Needed:
- Miter Saw or Miter Box
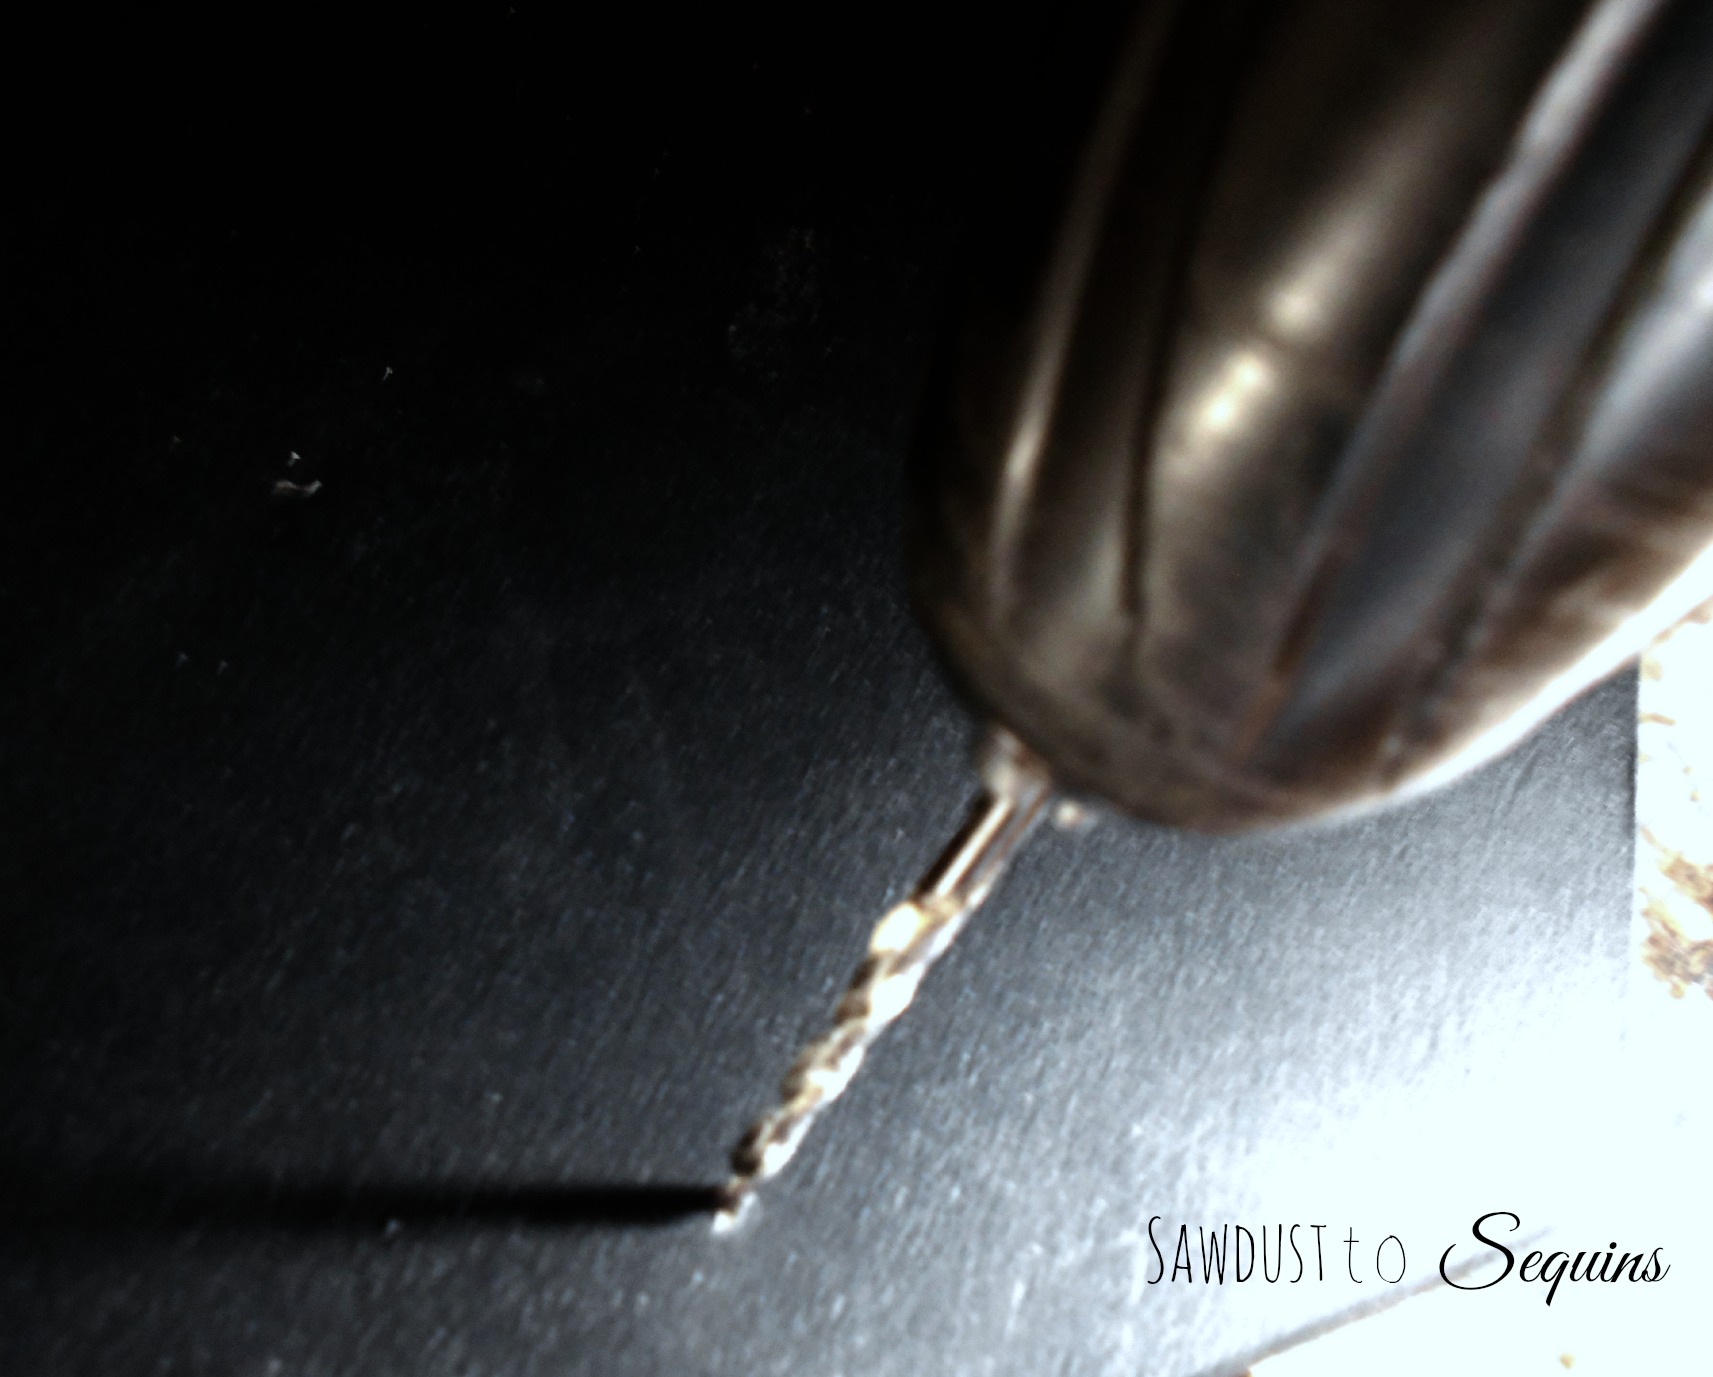
- Drill
- Tape Measure
- Hammer
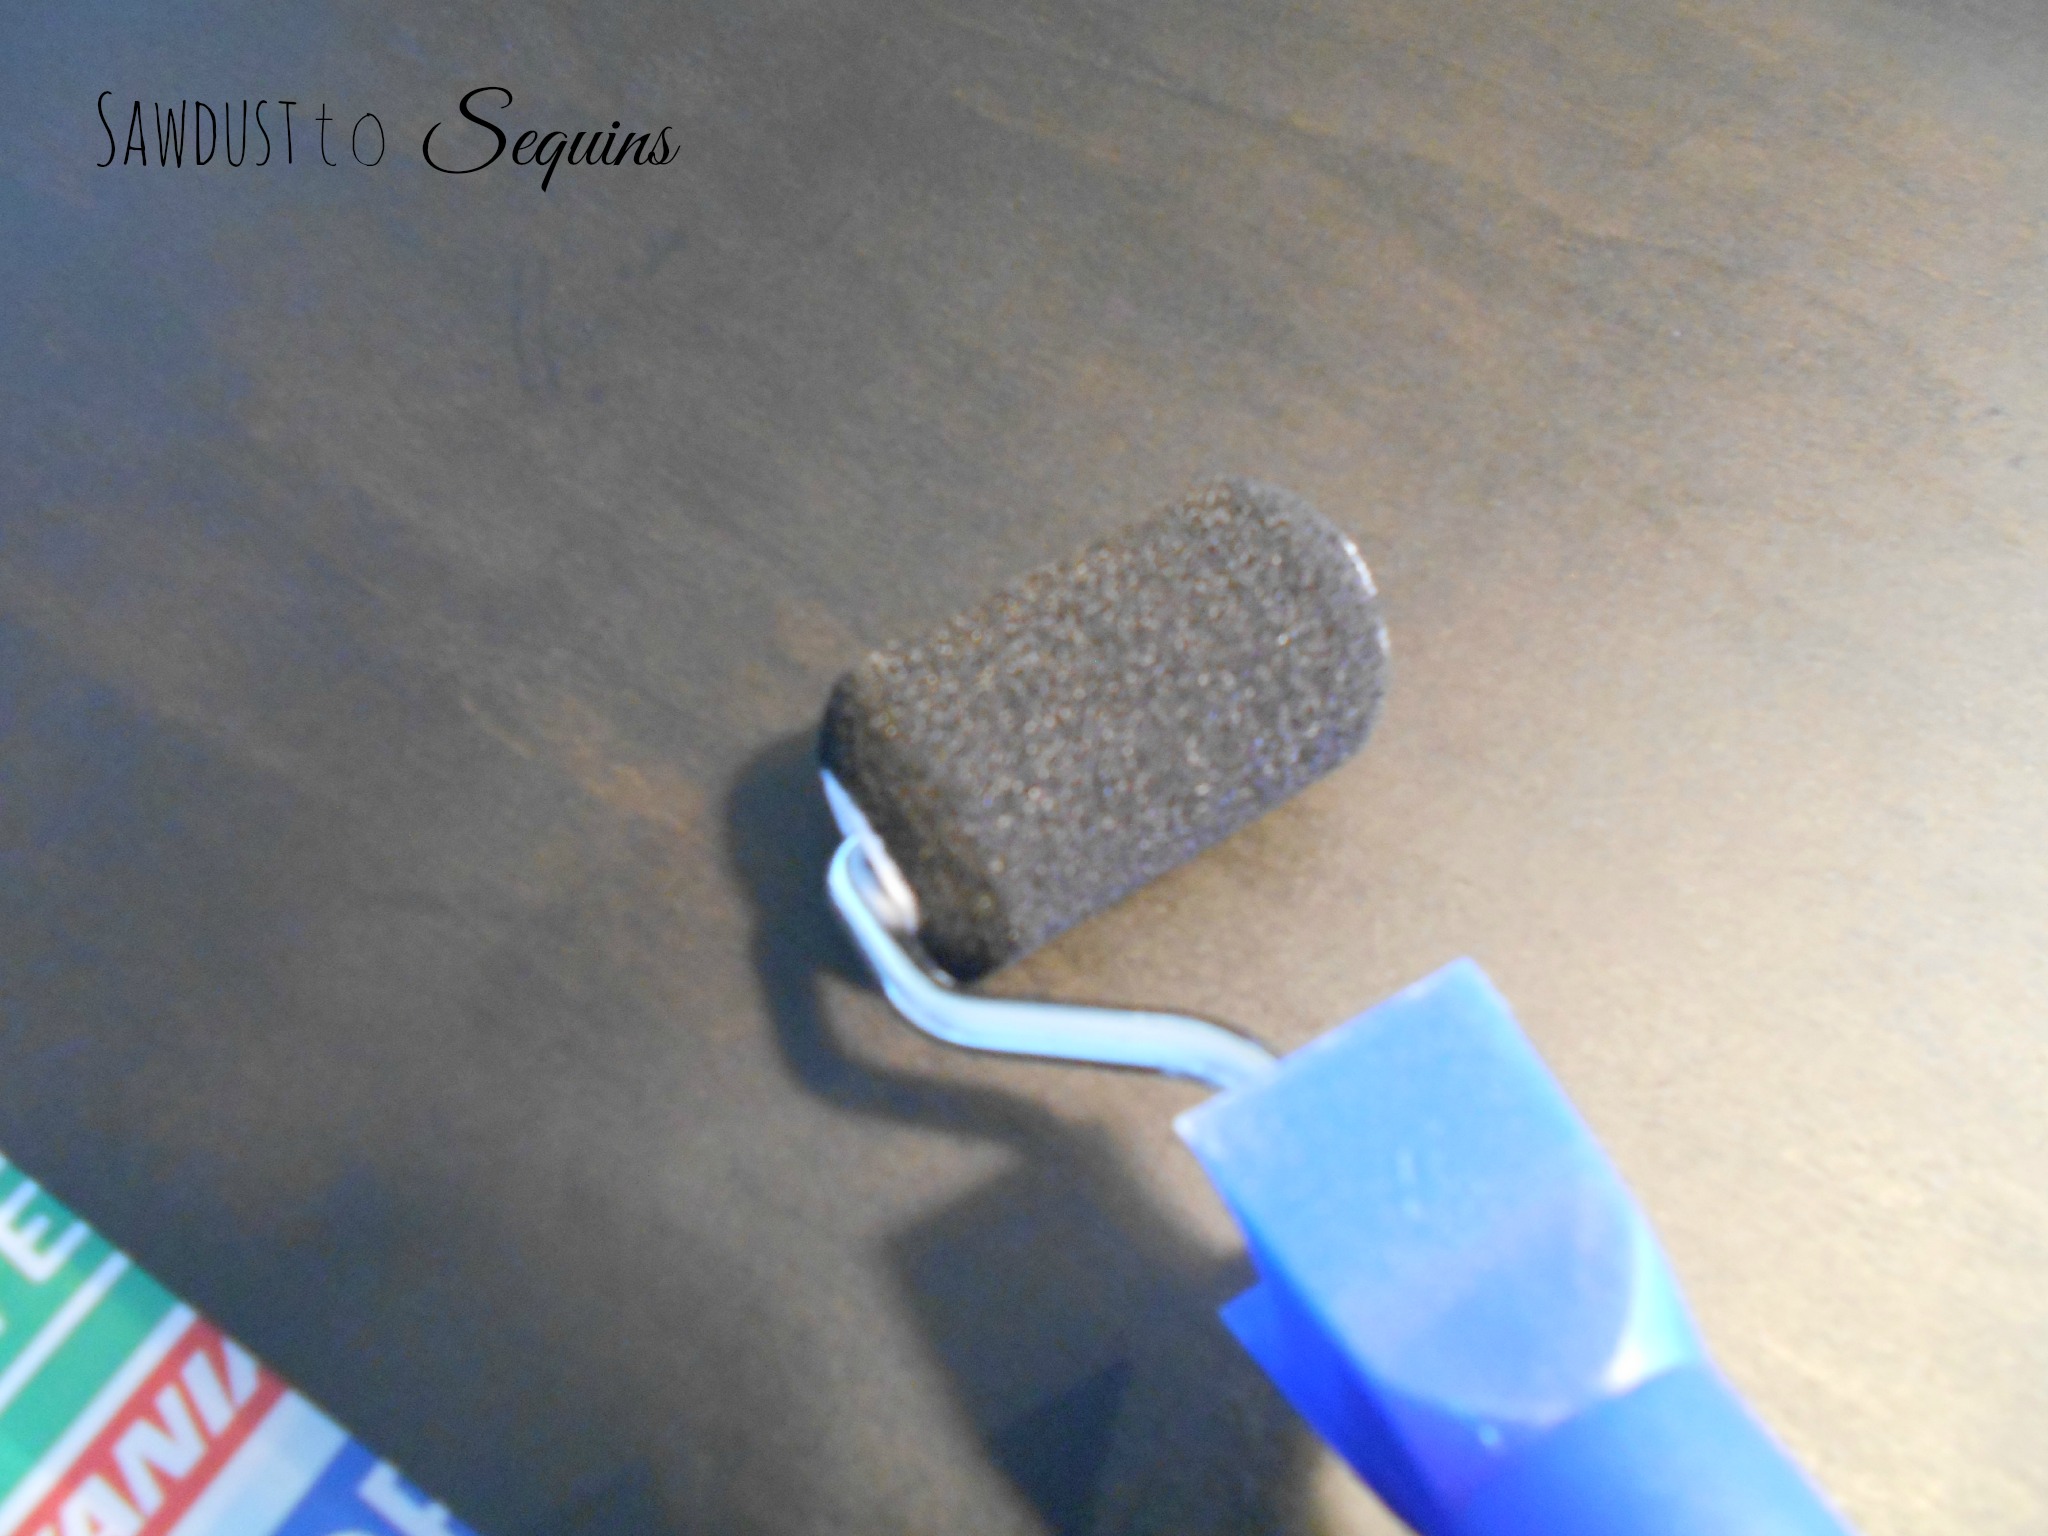
- Paint Roller and tray
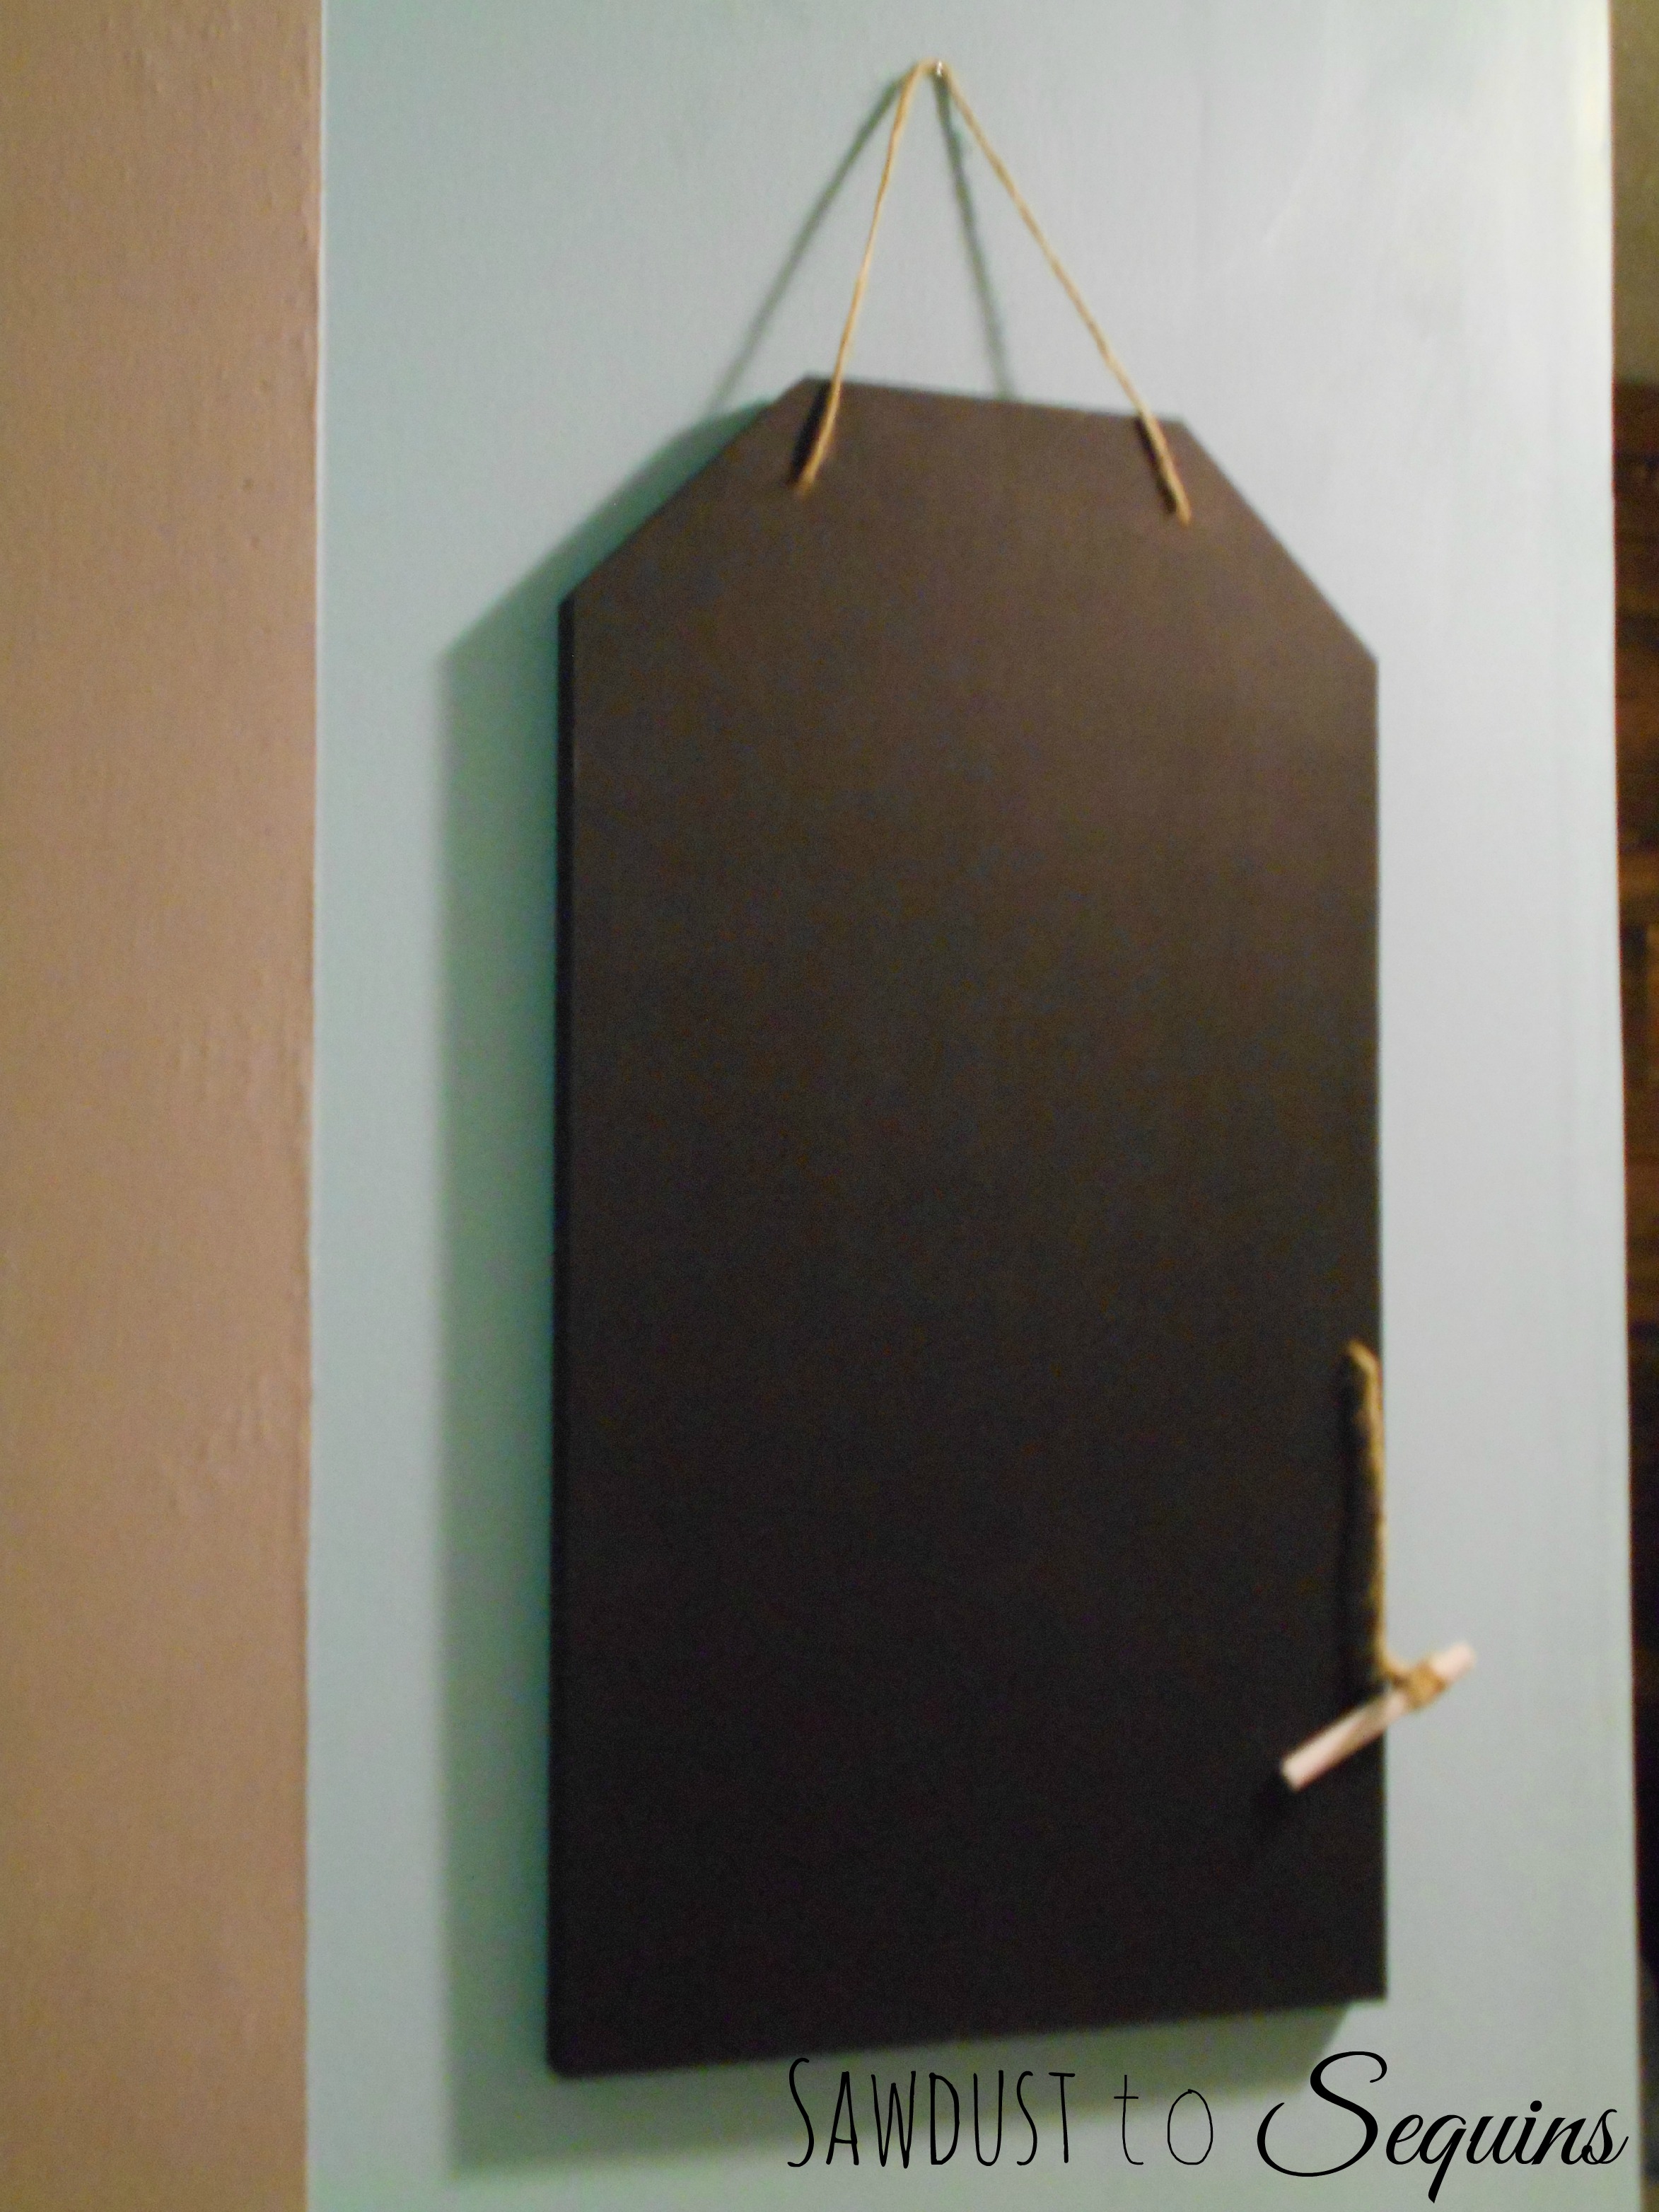
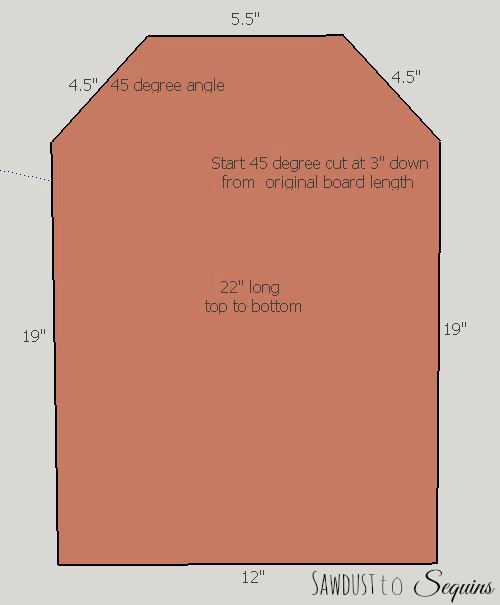
First of all, you need to cut the tag to the right size. Here are the dimensions it will need to be:
Here is a picture of the wood once it has been cut:
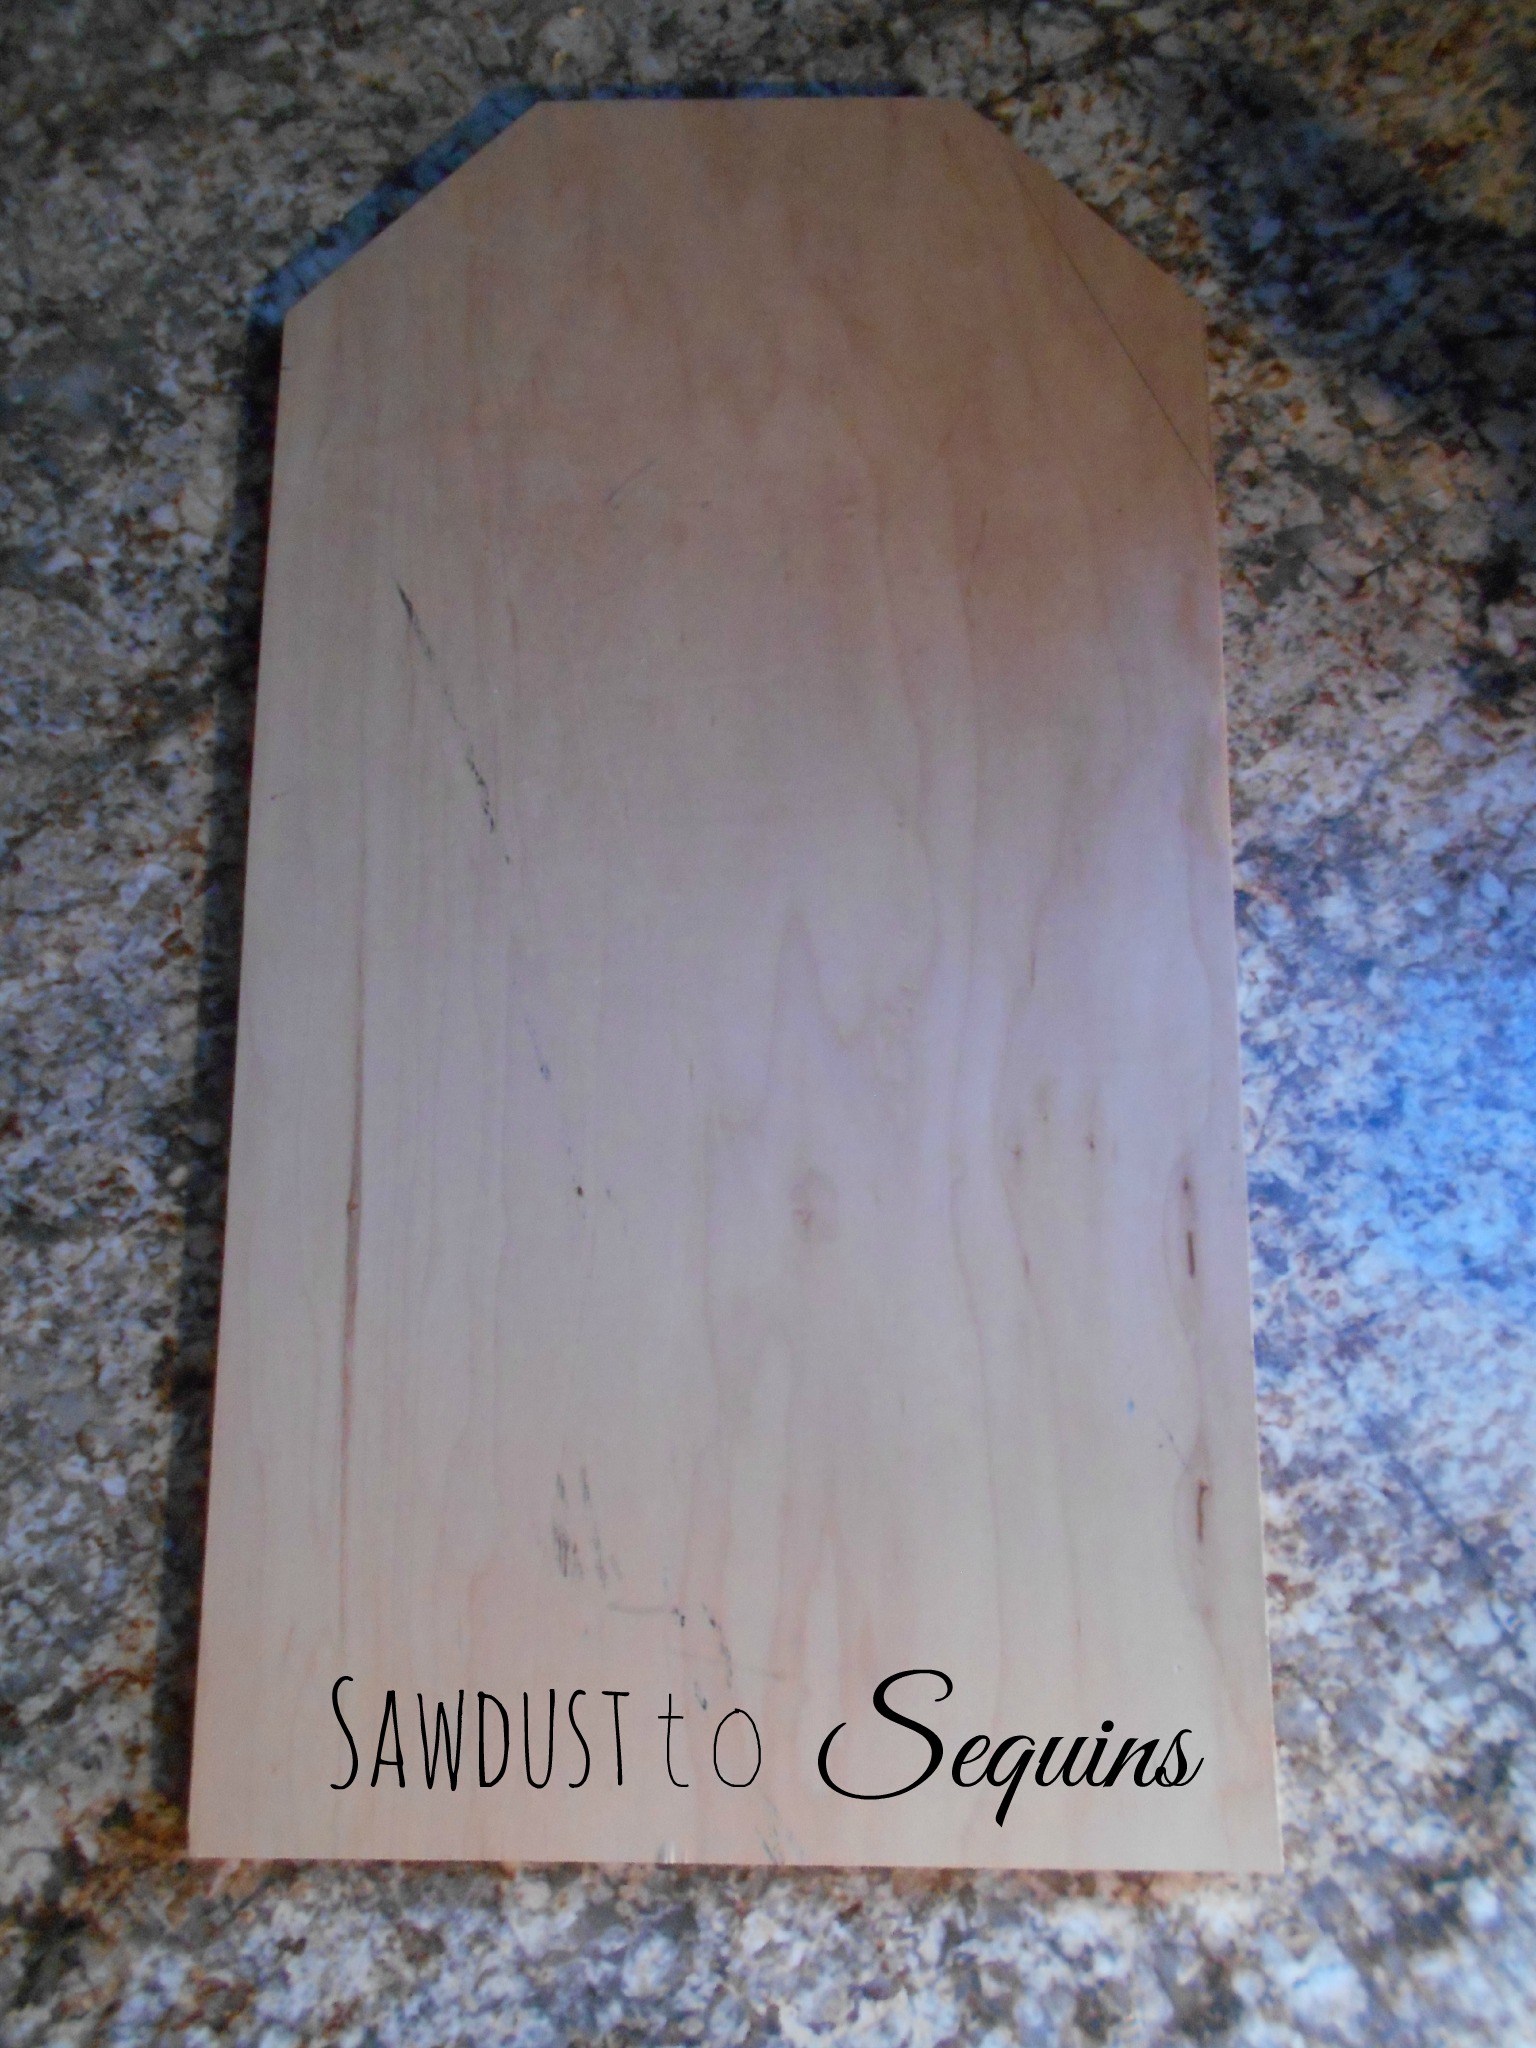
After cutting, you may want to sand just to give the project a more smooth look, I didn’t, it was a pretty good piece of wood, so it wasn’t needed (personal preference really).
Then on to the painting. I used a roller on this project instead of a brush to prevent brush strokes. 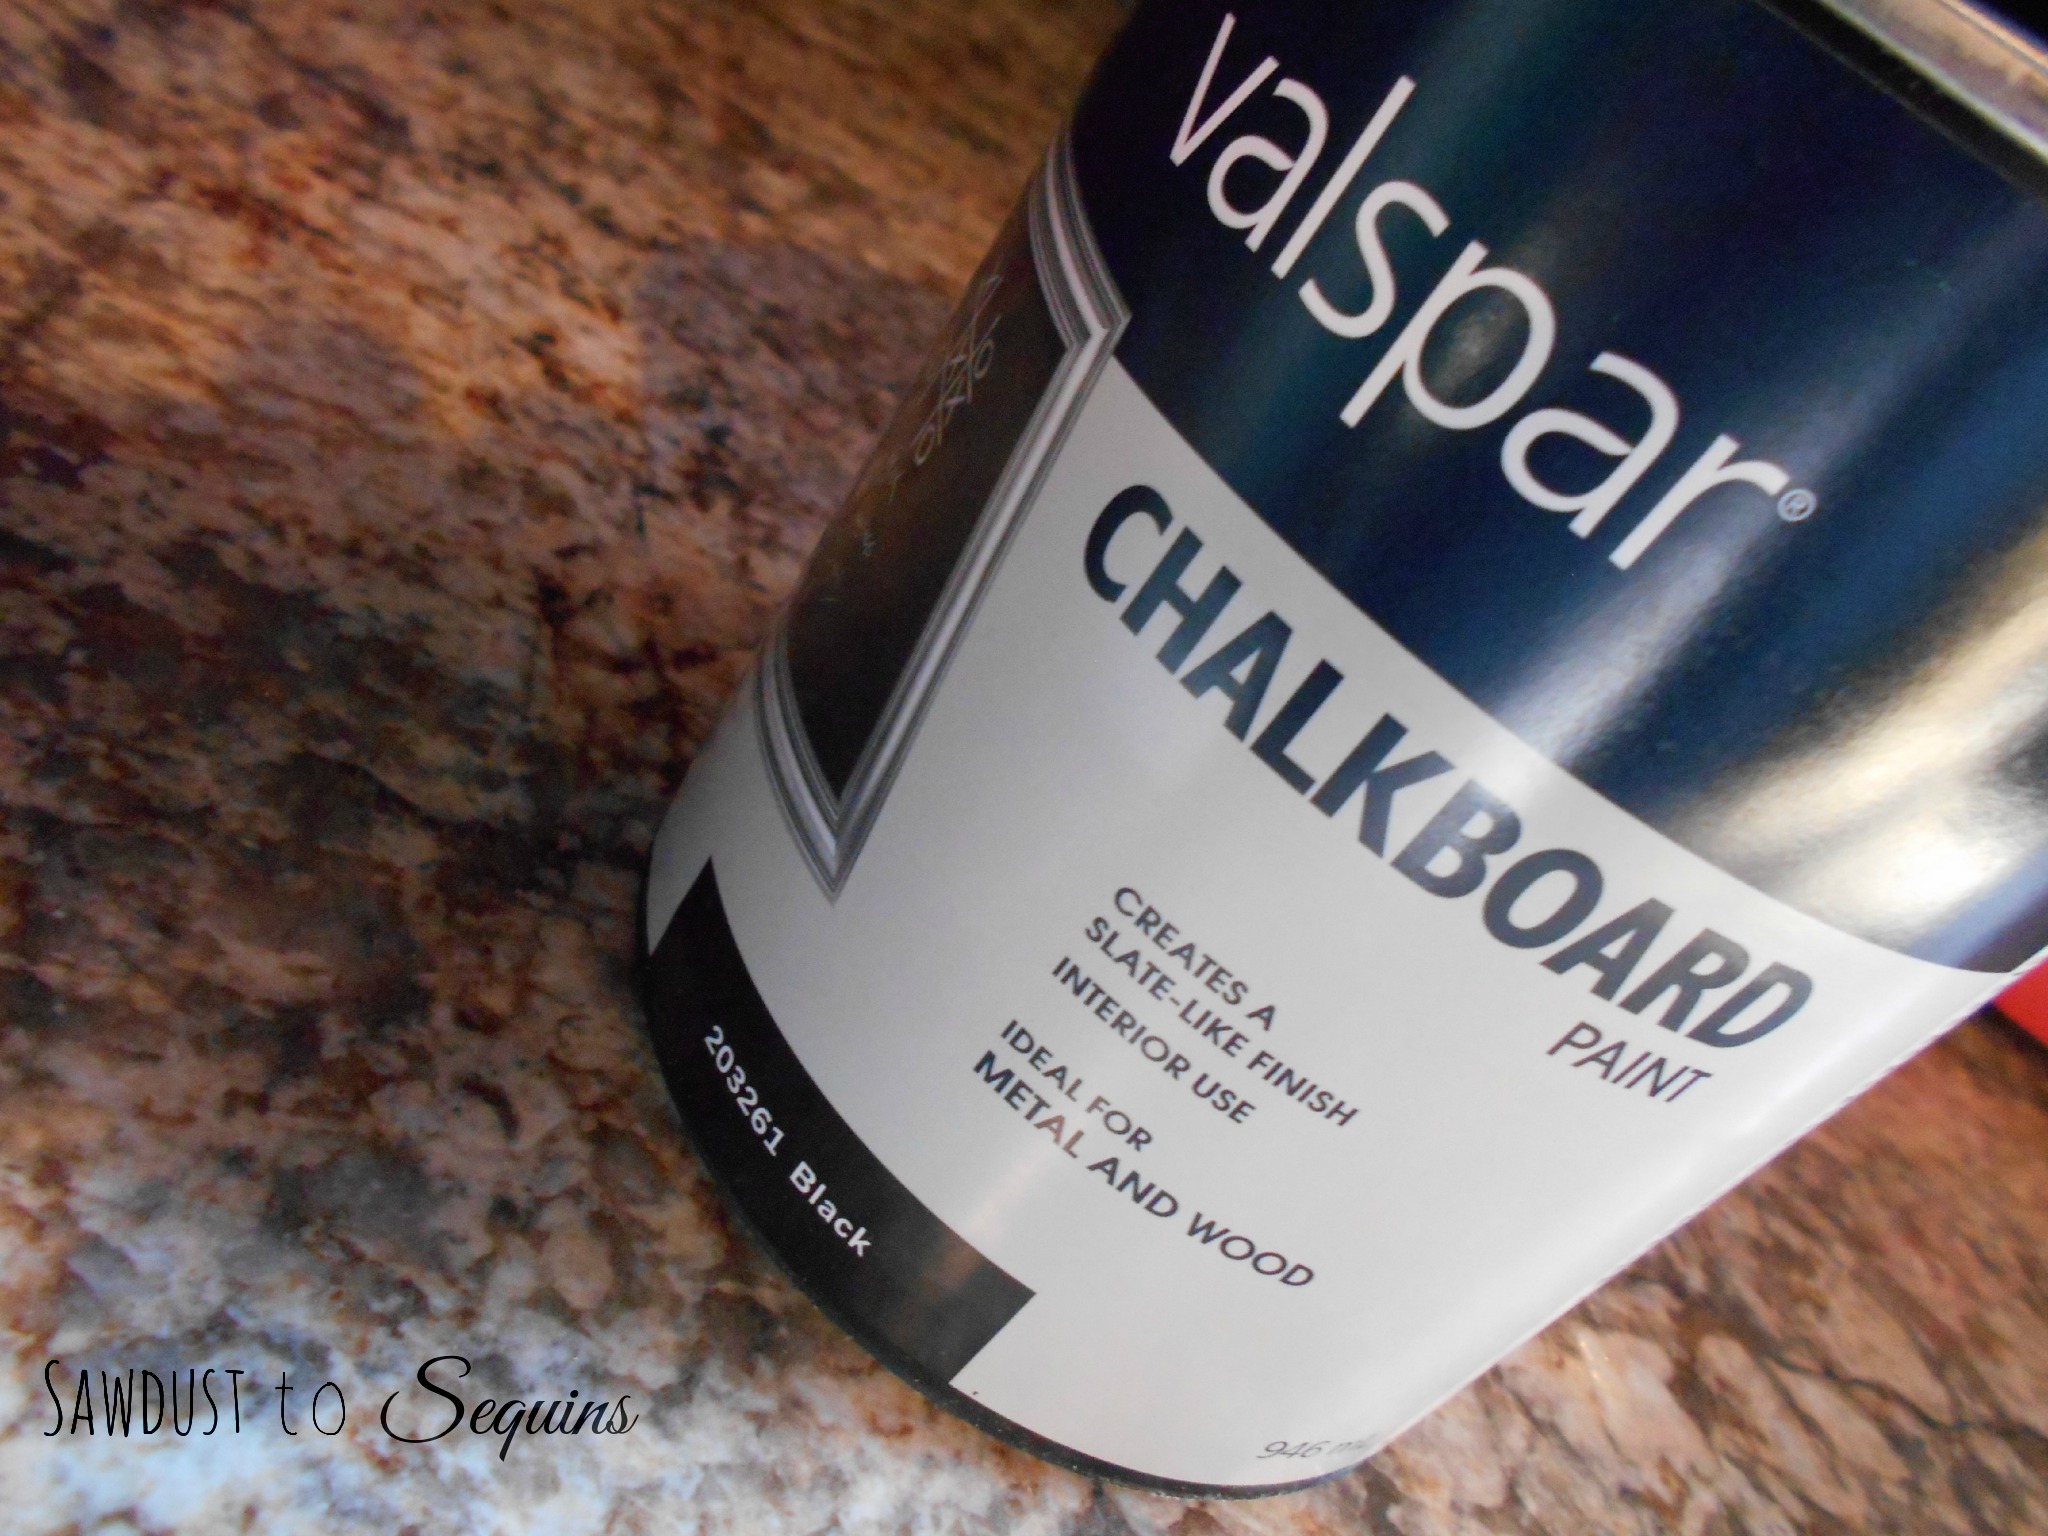
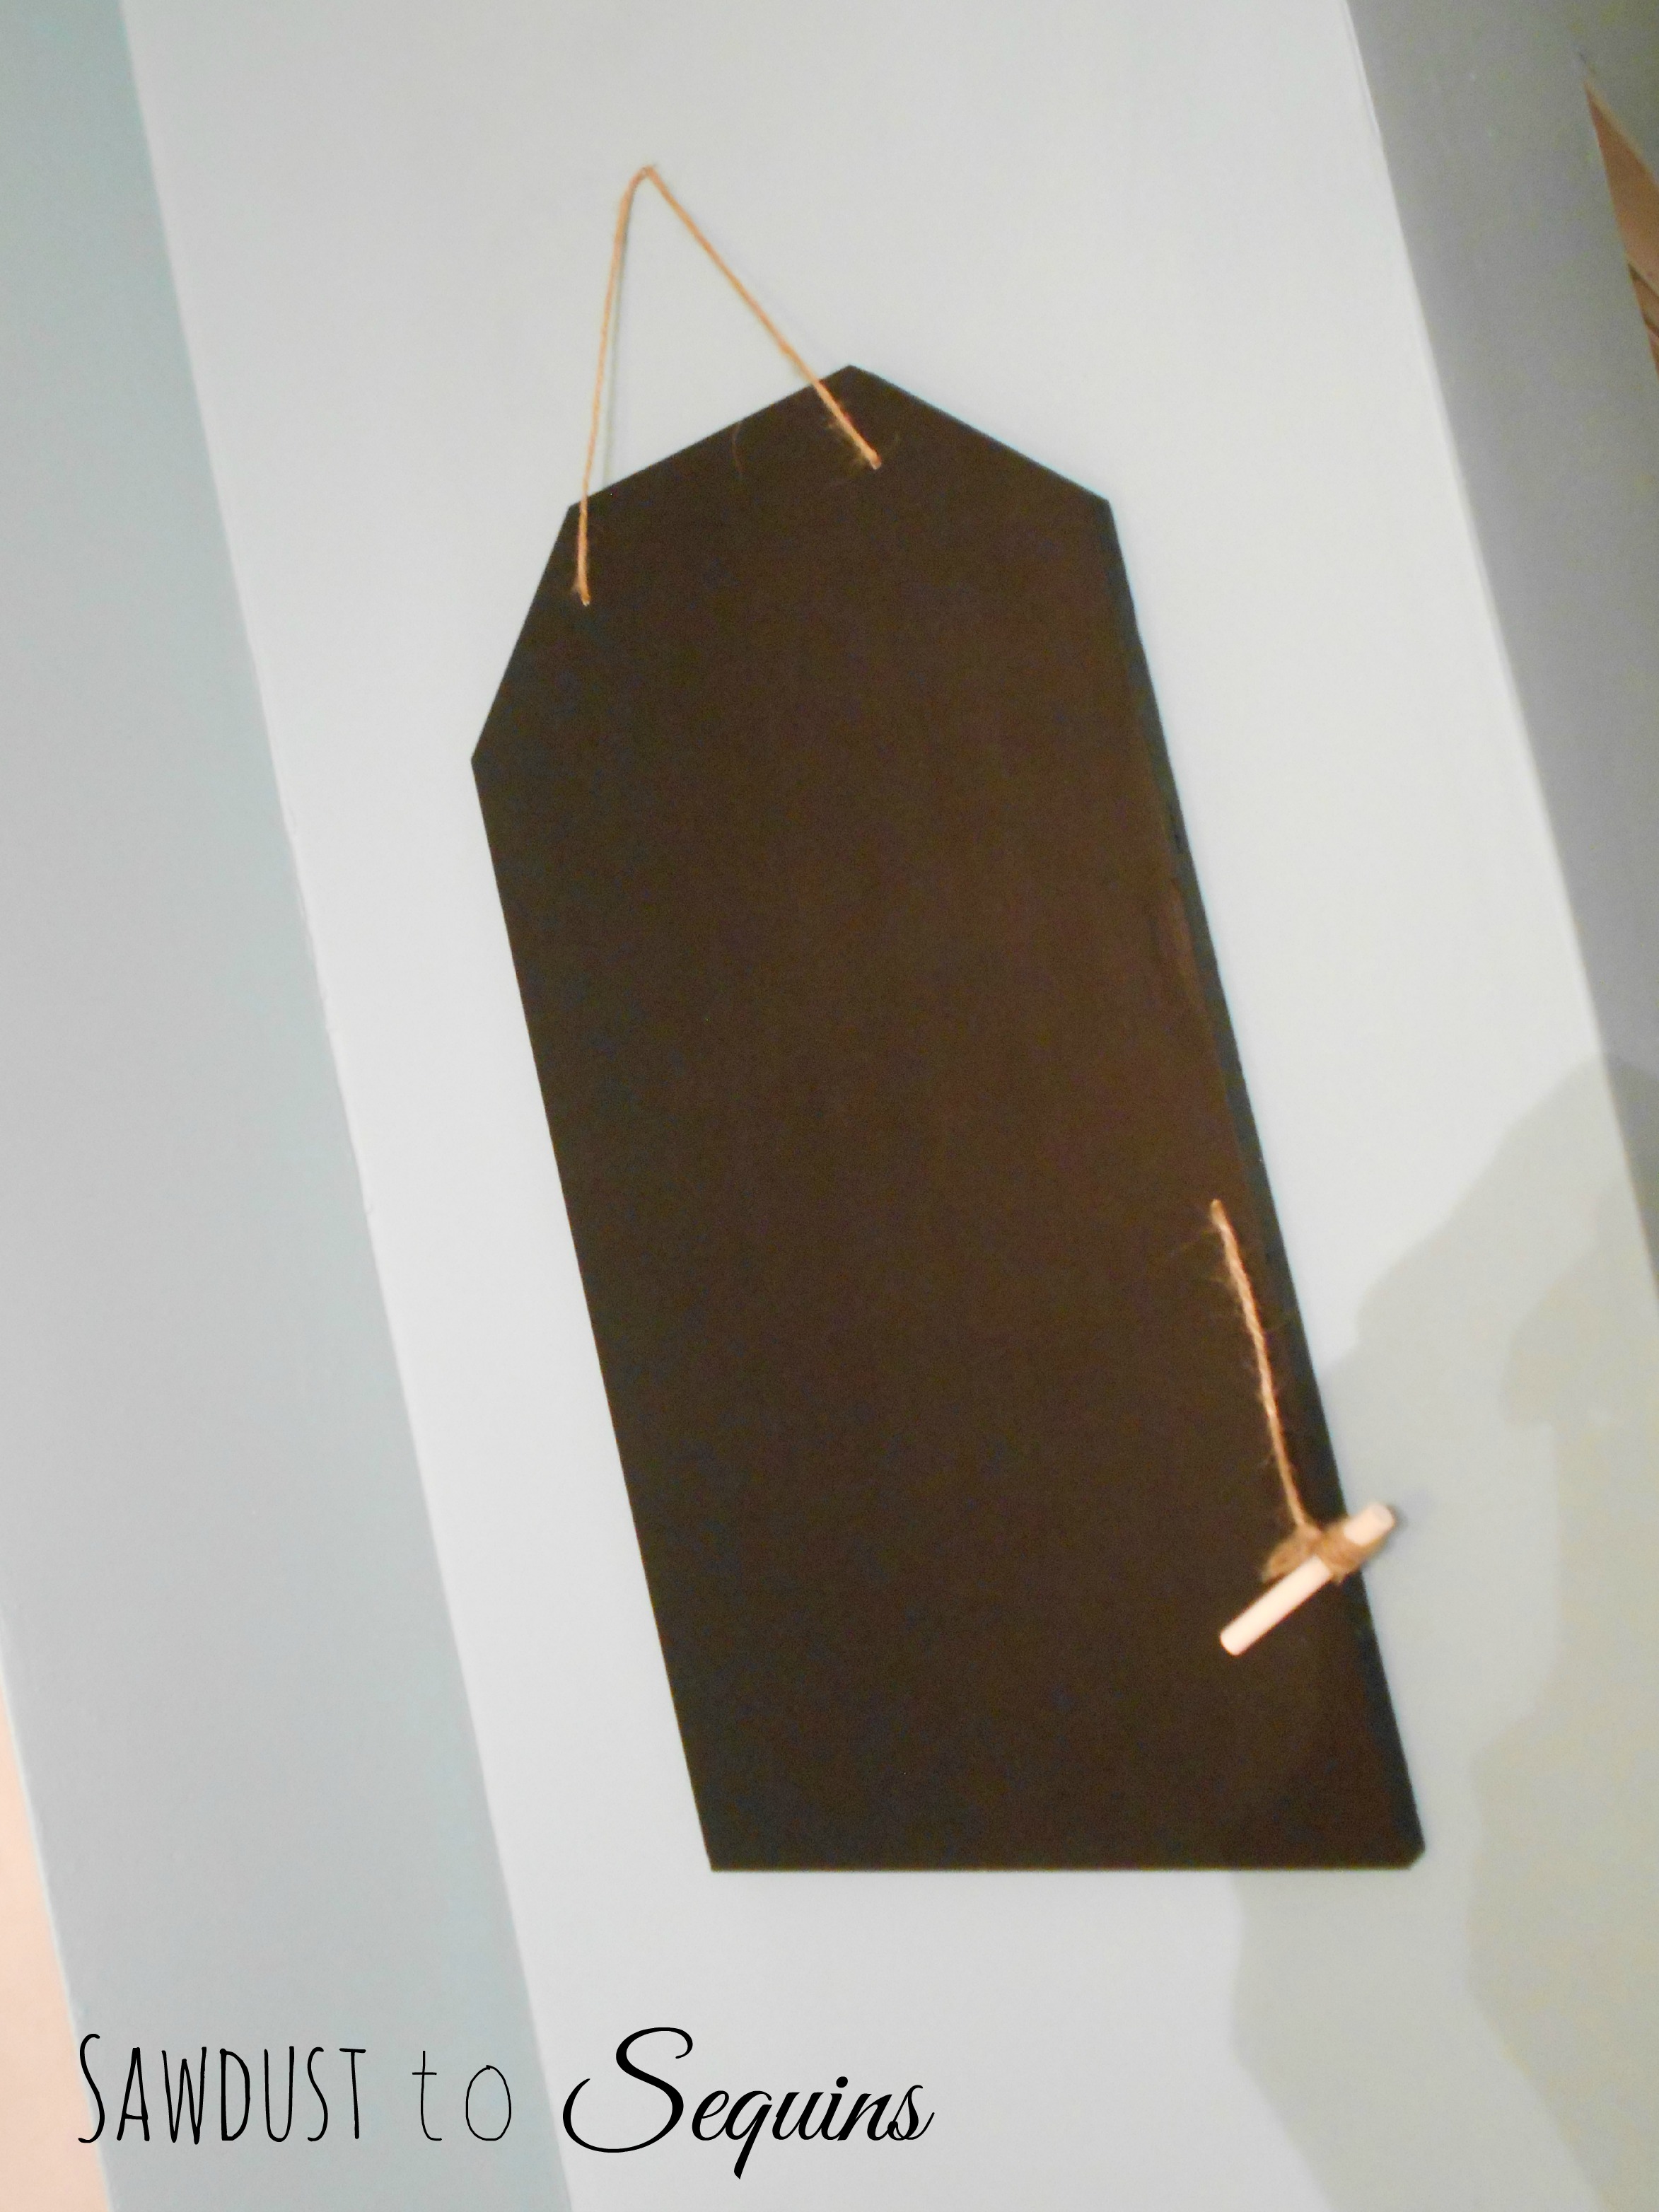
Once the paint is dry, decide where you want the holes for the twine to go. I placed mine 1.5″ below the top part of the miter cut on both the right and left sides on the front of the board.
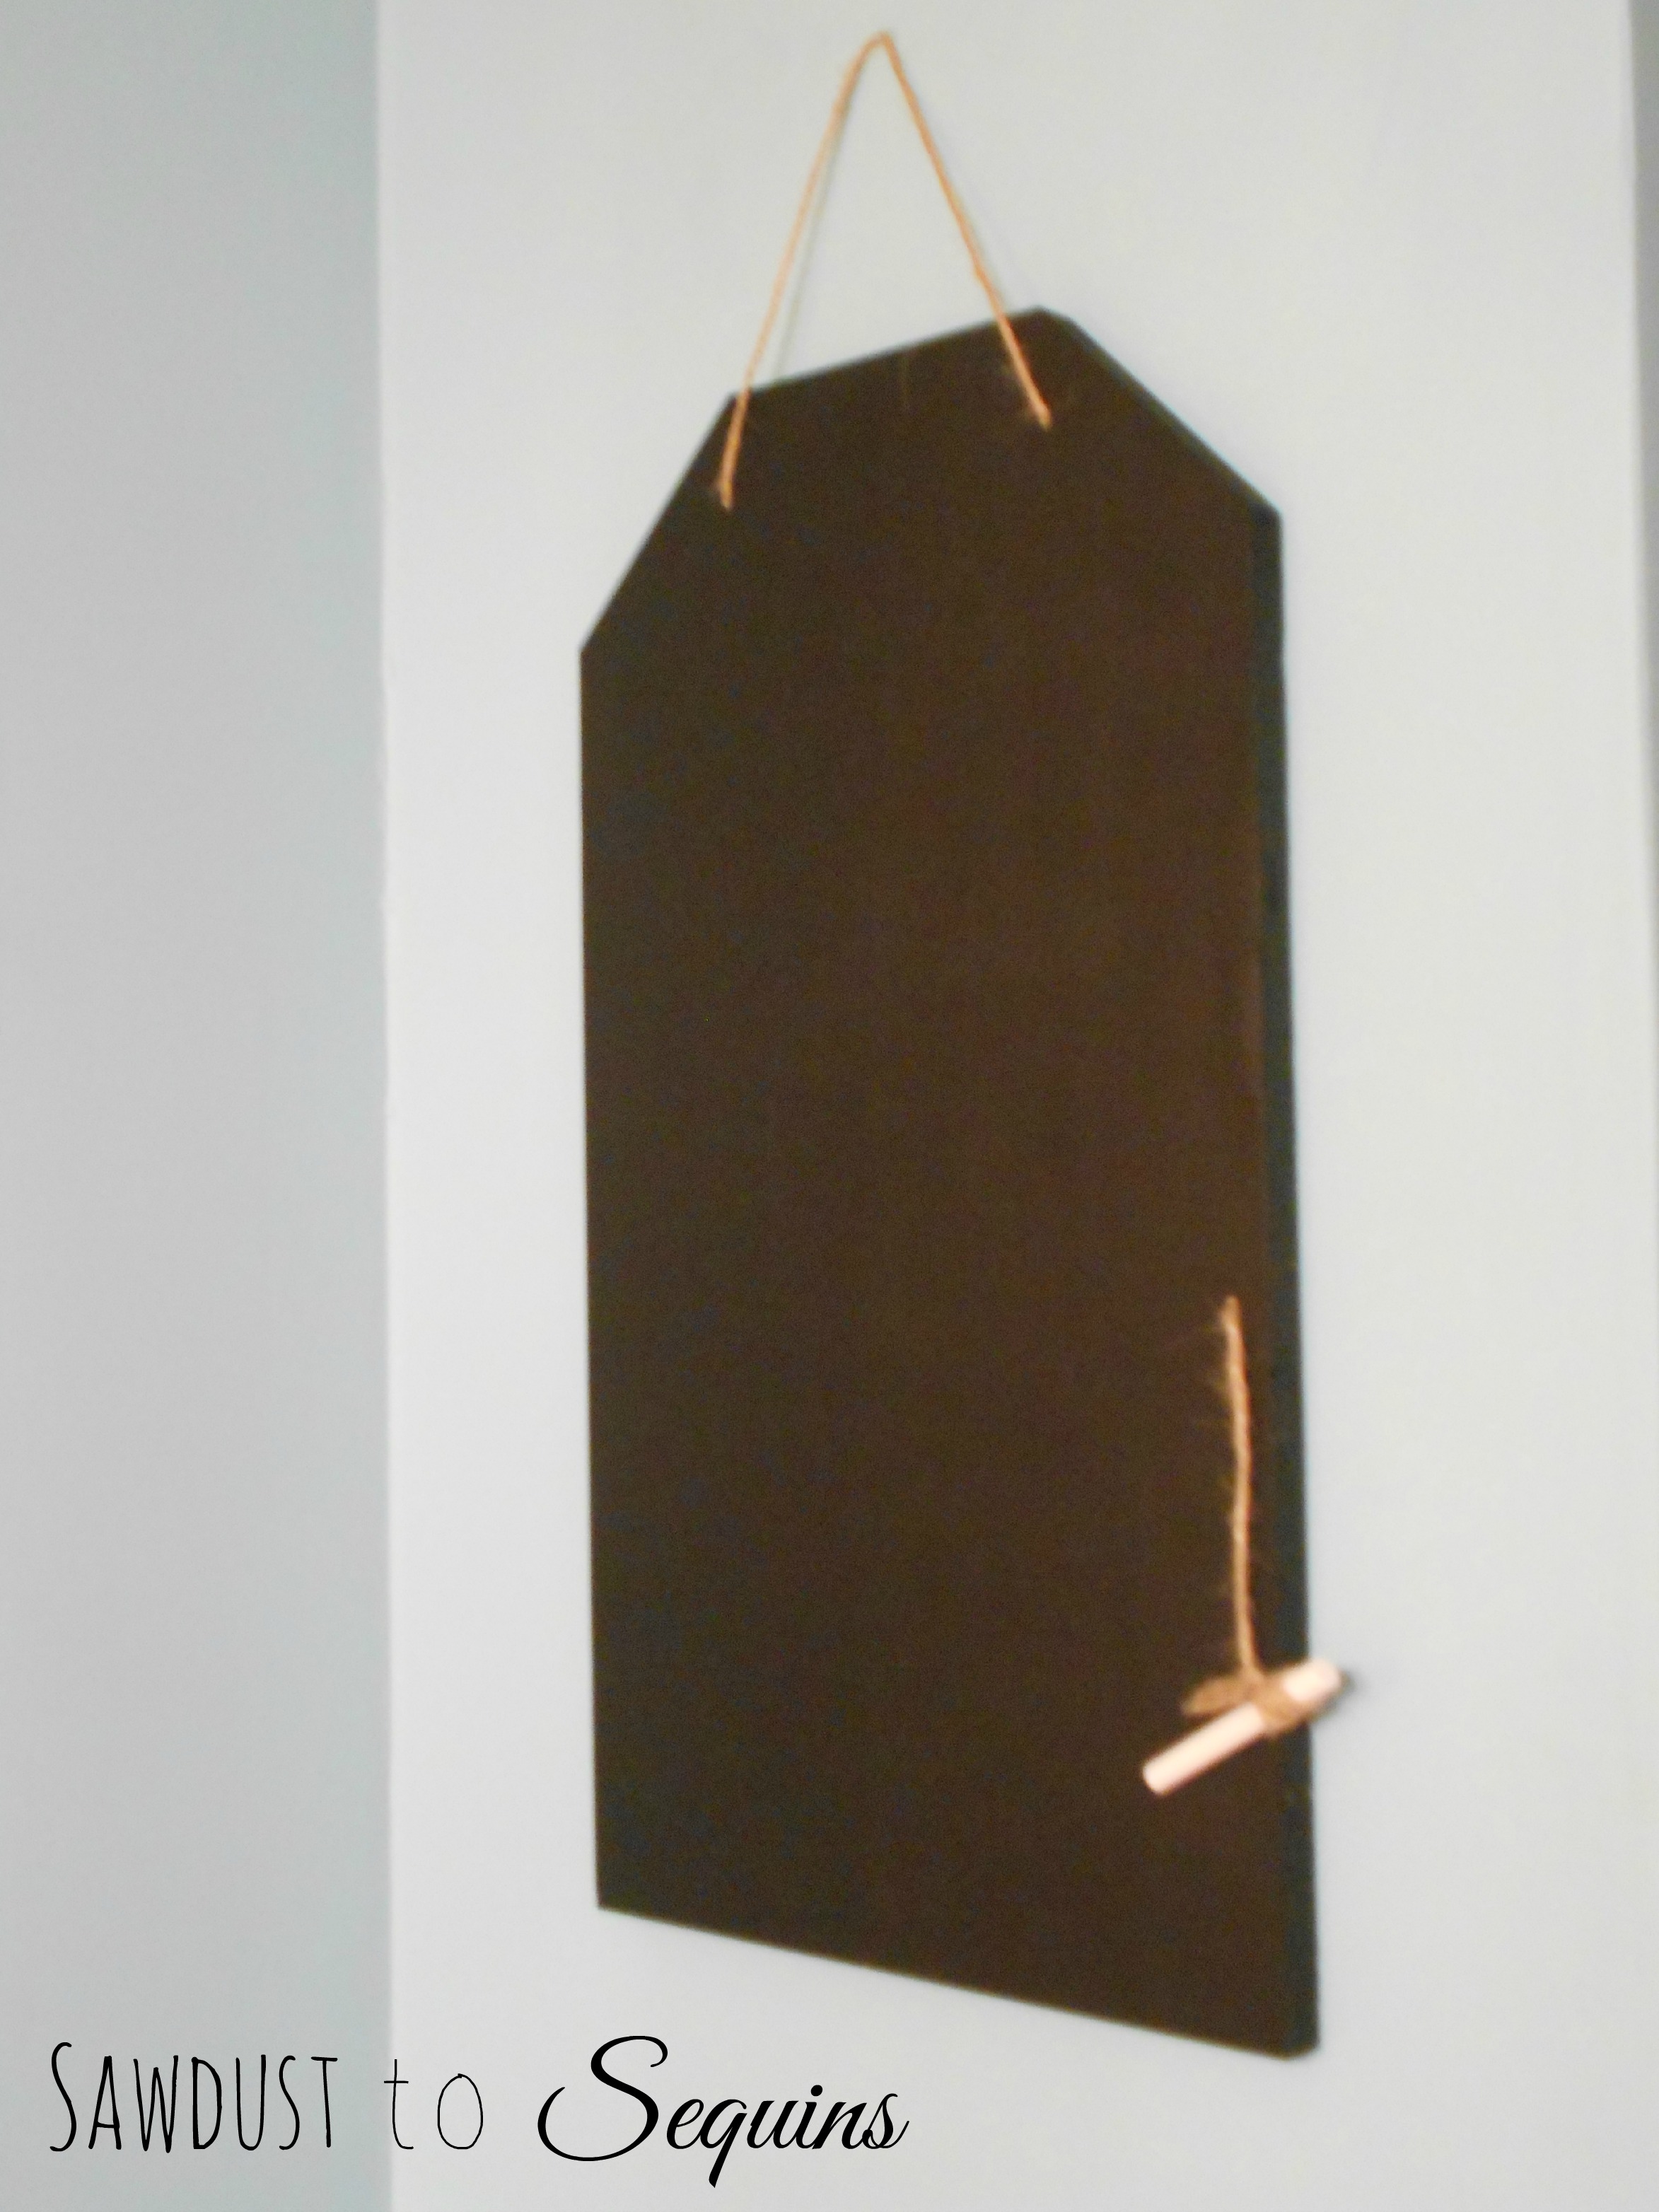
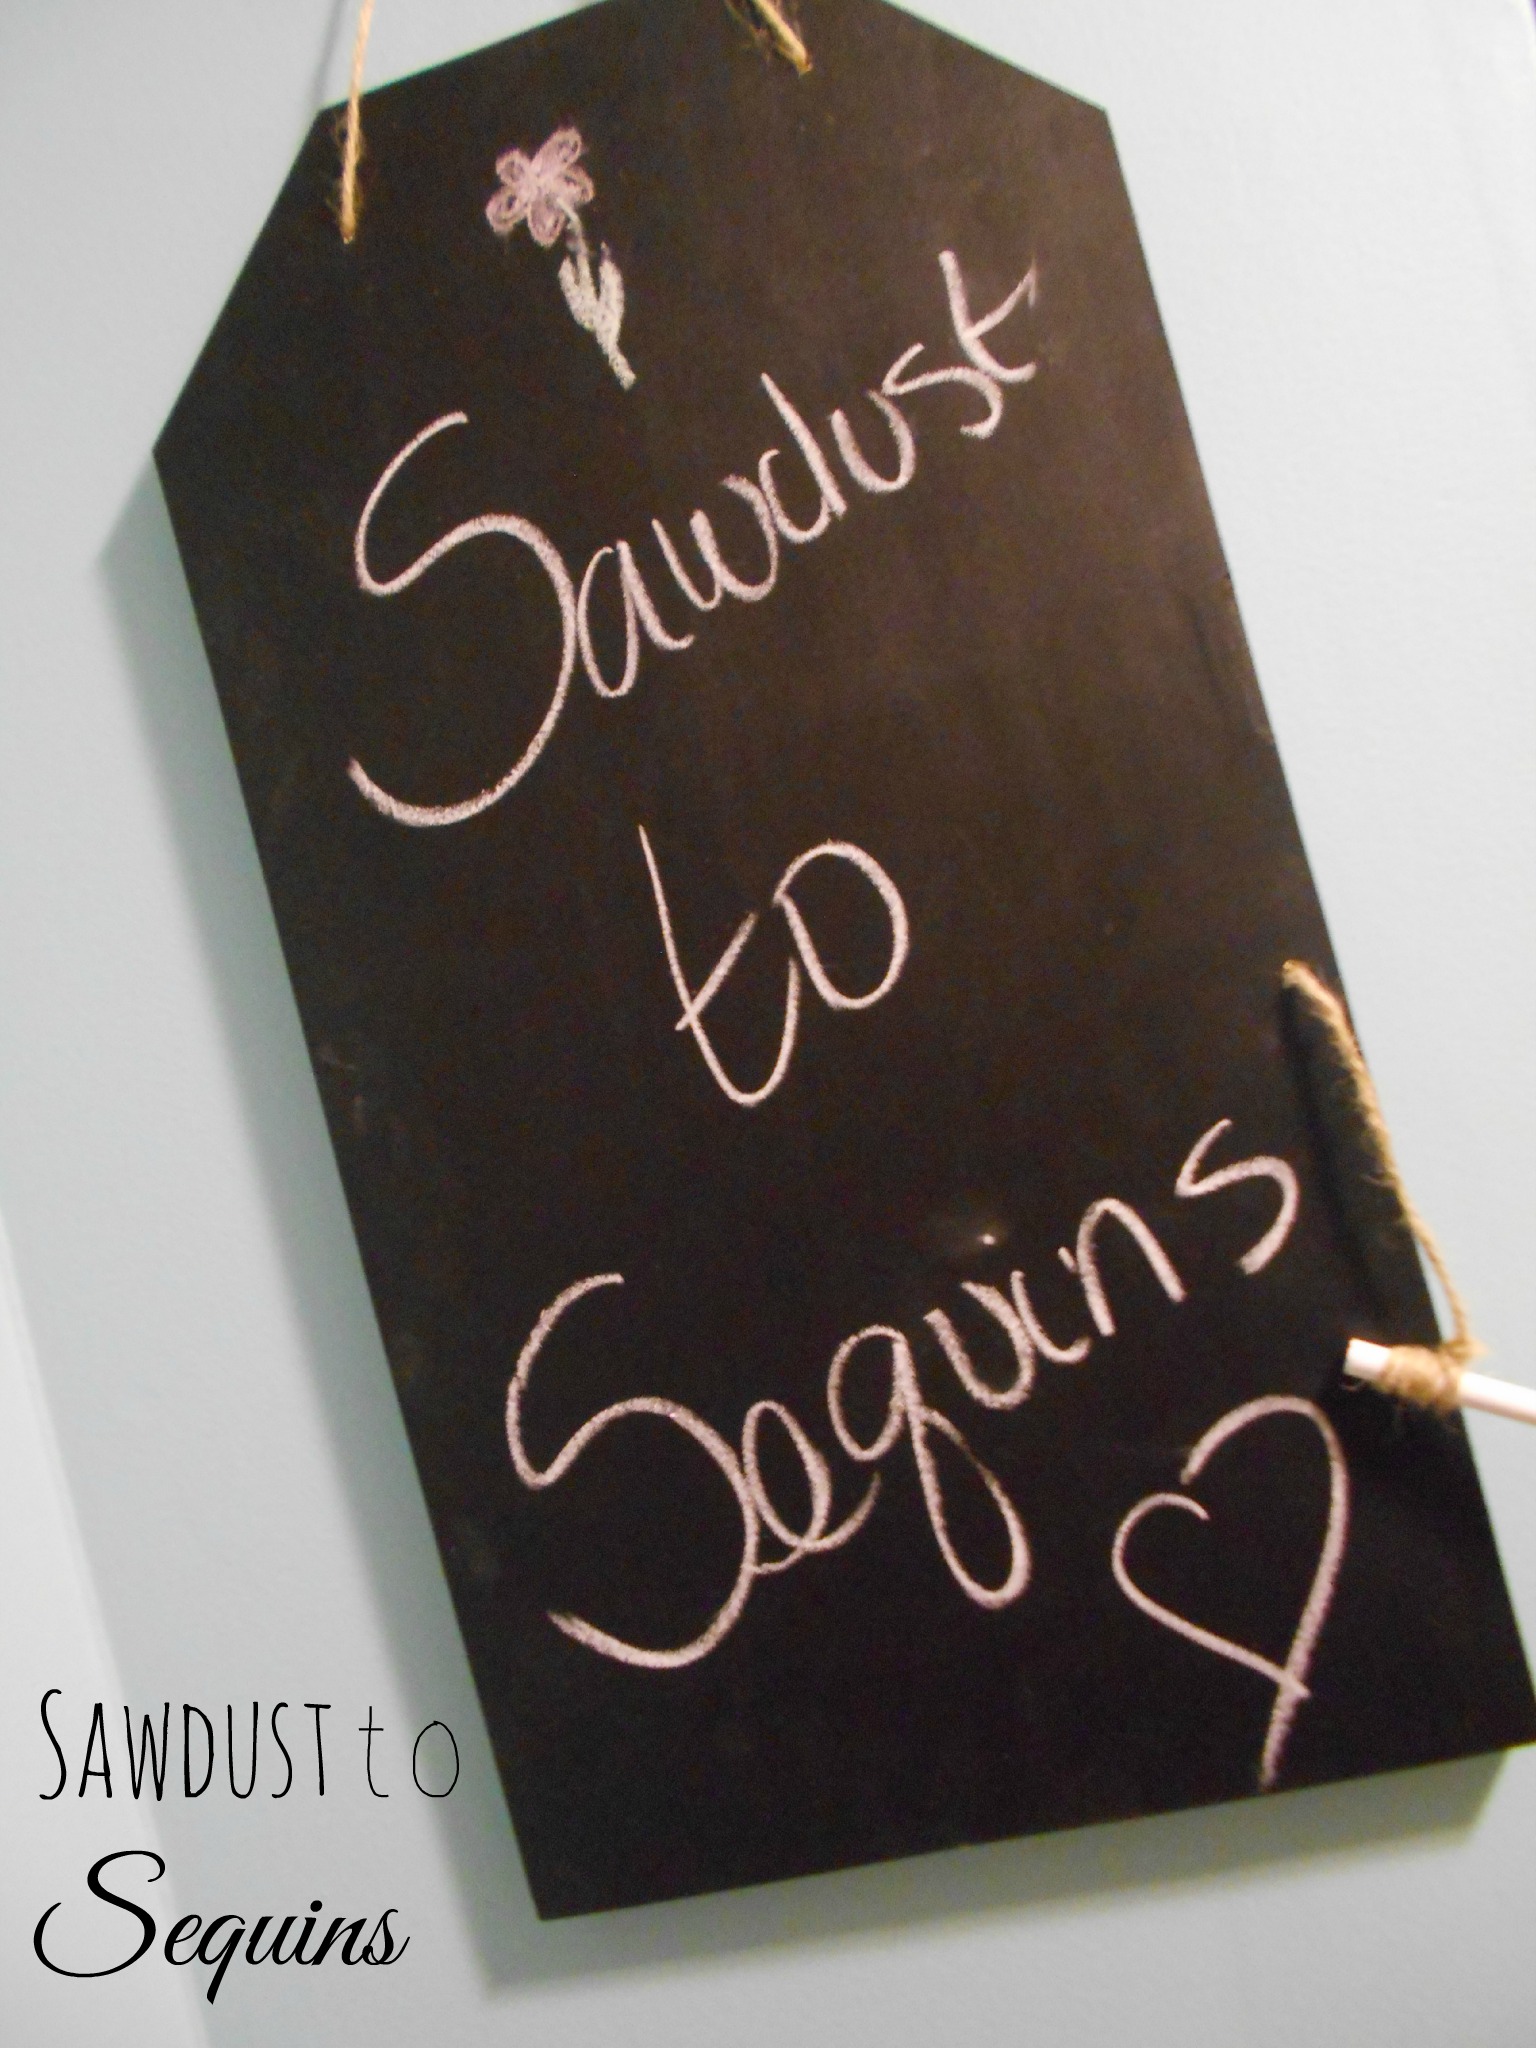
Now on to the last step, just run the twine through the holes at the desired length. The twine is just for decoration and not support so the length is totally up to you. I did end up drilling another small hole on the right side of the board 9″ from the bottom to act as a chalk holder. Totally last minute decision. Originally I wanted to make a wood tray at the bottom that would act as a chalk holder, but the twine is sooo much cuter. If it’s not cute, whats the point, right!?!?
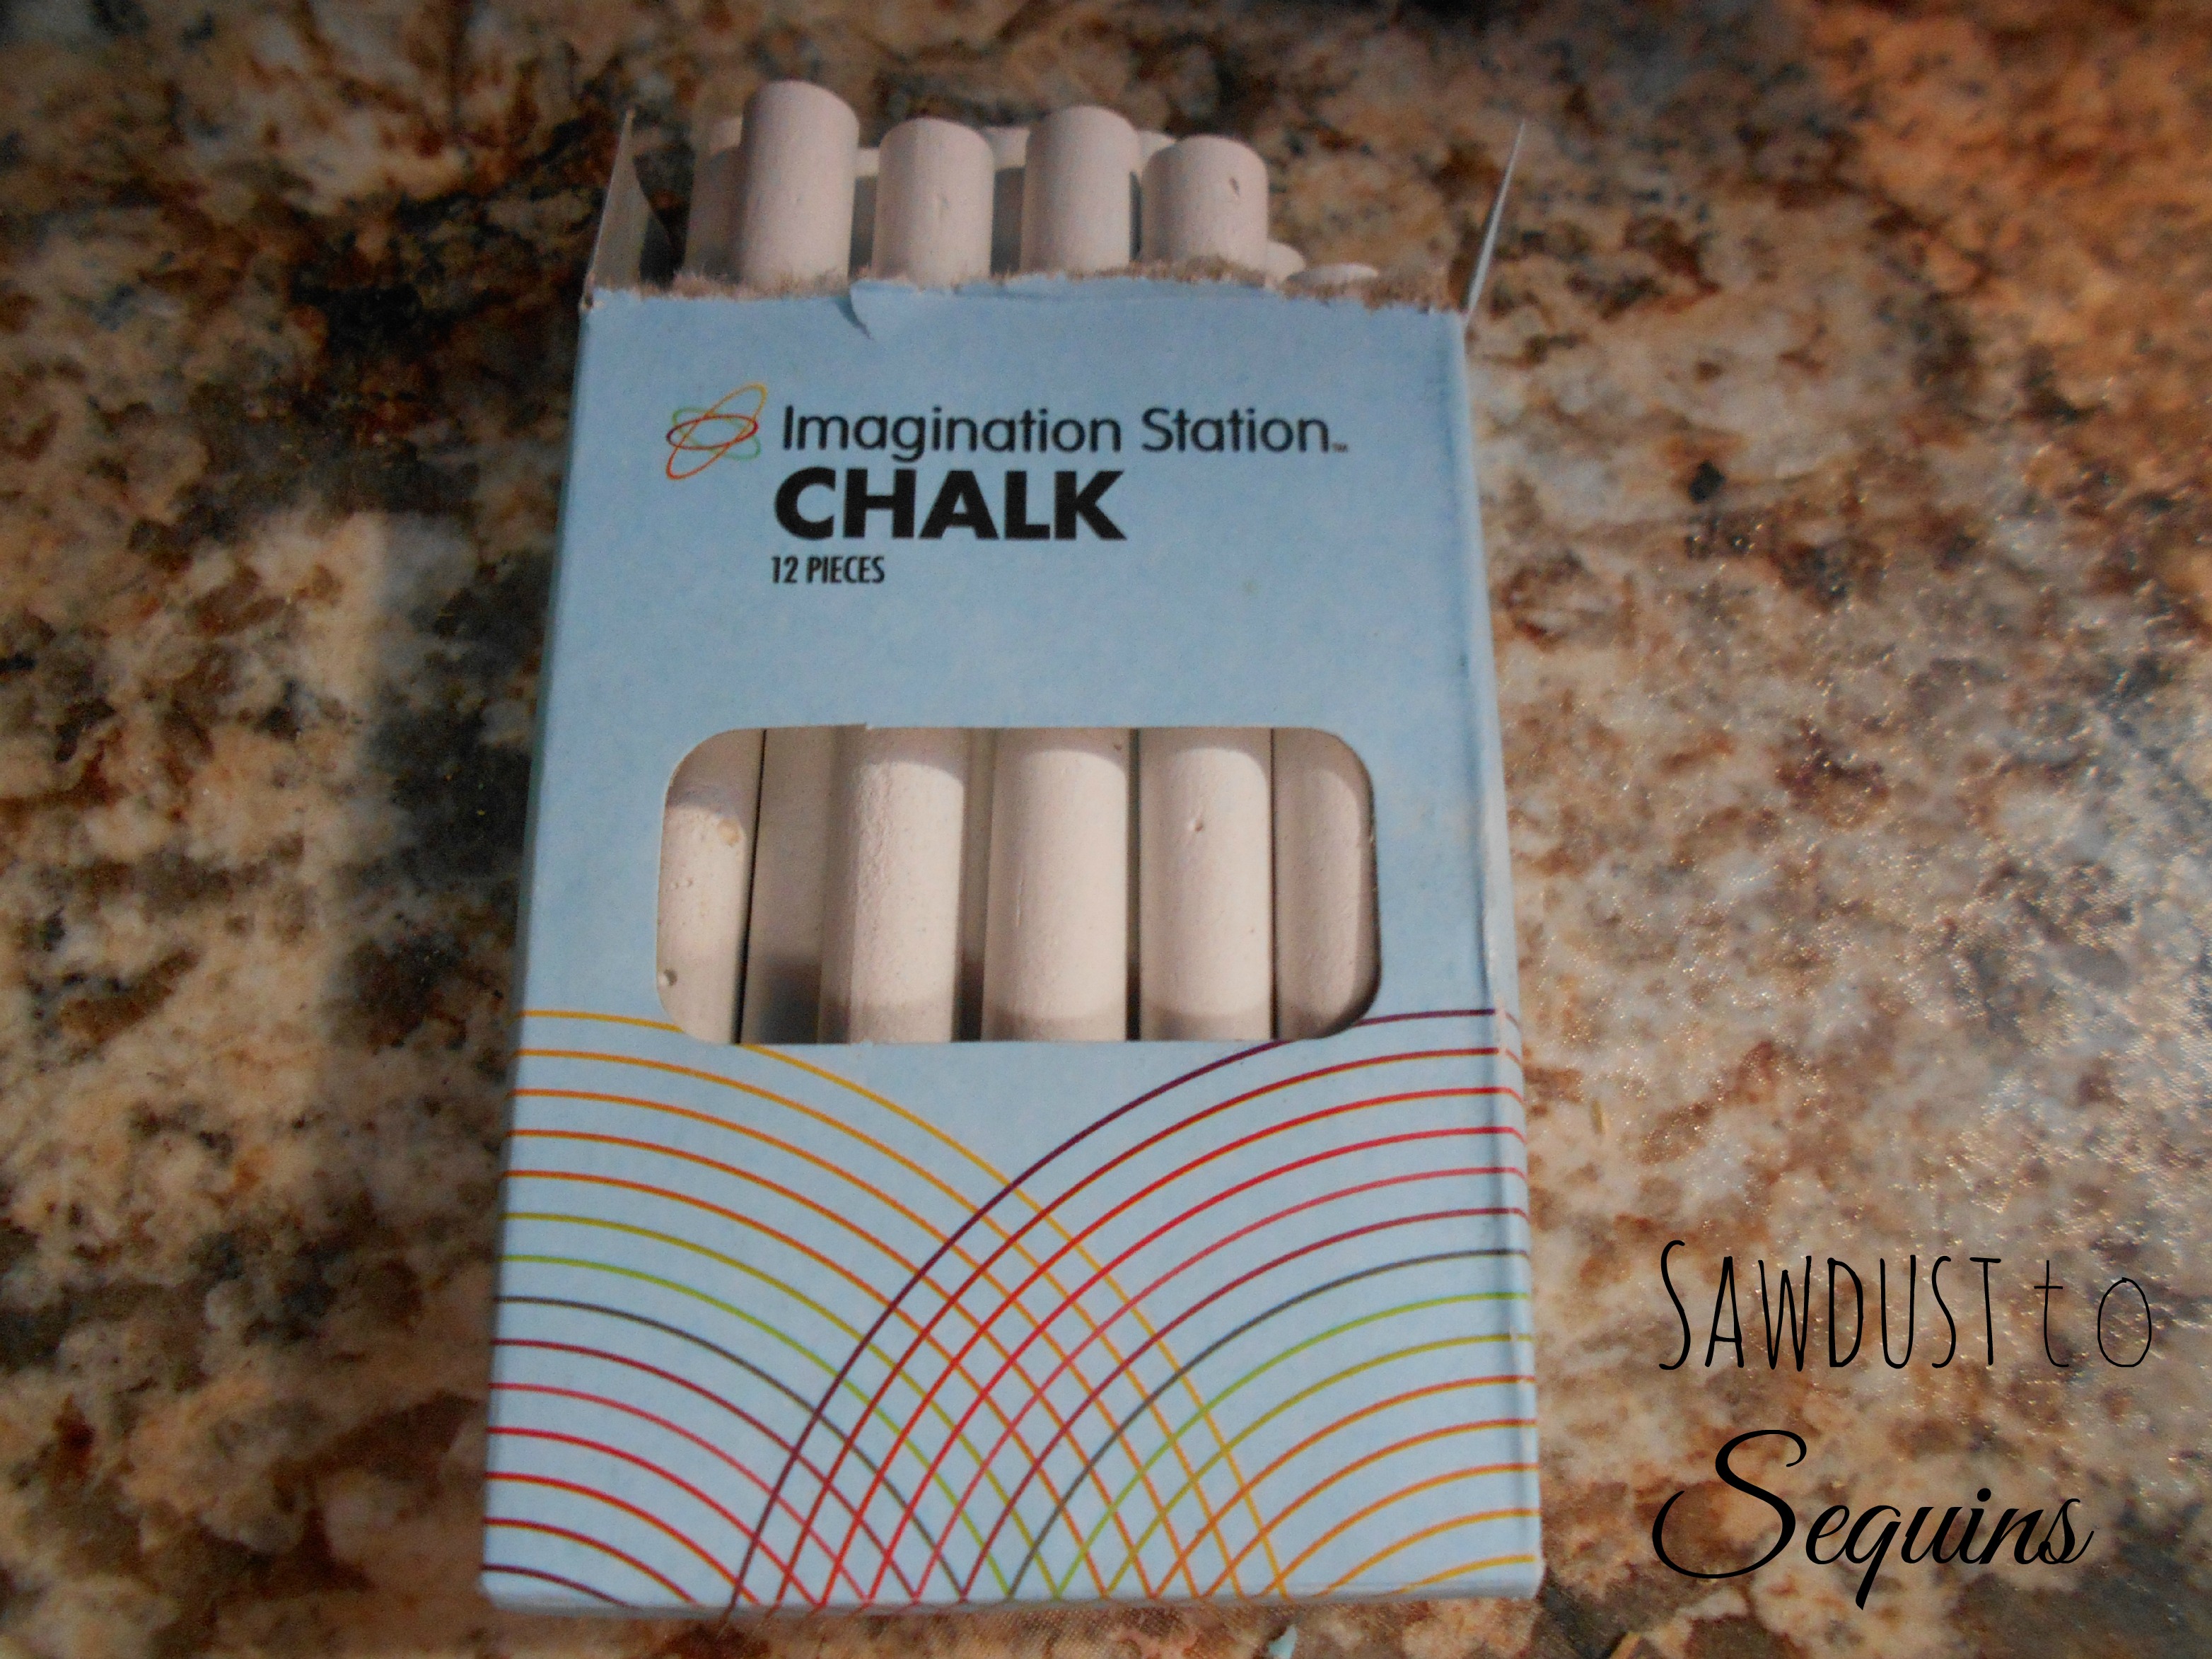
After your twine is in place flip that beauty over and attach a picture hanger to it, add a piece of chalk, and hang. There you have it. Super cute huh? I hope you have fun making yours. Here are some pictures of the final project.
Thanks for stopping by to spend a little time with me. Be sure to check me out on Instagram and Pinterest. Until next time…
Crissie