Hey there! I hope this Tuesday morning is treating you well. I’m back today with a super simple and cute idea for your desk. It is a DIY desk calendar. I used some rather unexpected items to build this, which makes it that much more fun. I have been wanting, for quite some time, a simple to use but cute calendar. I didn’t want a wall hanging calendar so I came up with this project.
This is a pretty easy project to do so lets get to building.
Items you will need
- 1×4 cut to 7″
- 1×3 cut to 7″
- Metal tin tabs (unexpected item I was talking about!)
- Numbered stickers
- Black spray paint
- Clear spray topcoat
- 5″ binder spine
- 3/4″ Wood Screws
- Pocket Hole Screws
- Stain color of choice
- Stain applicator ( I usually use an old rag)
Tools I used
- Miter Saw
- Tape Measure
- Kreg Jig
- Drill
- Drill Bit
First, cut 1×4 and 1×3 boards to 7″.

Now time to drill pocket holes!! My favorite part.
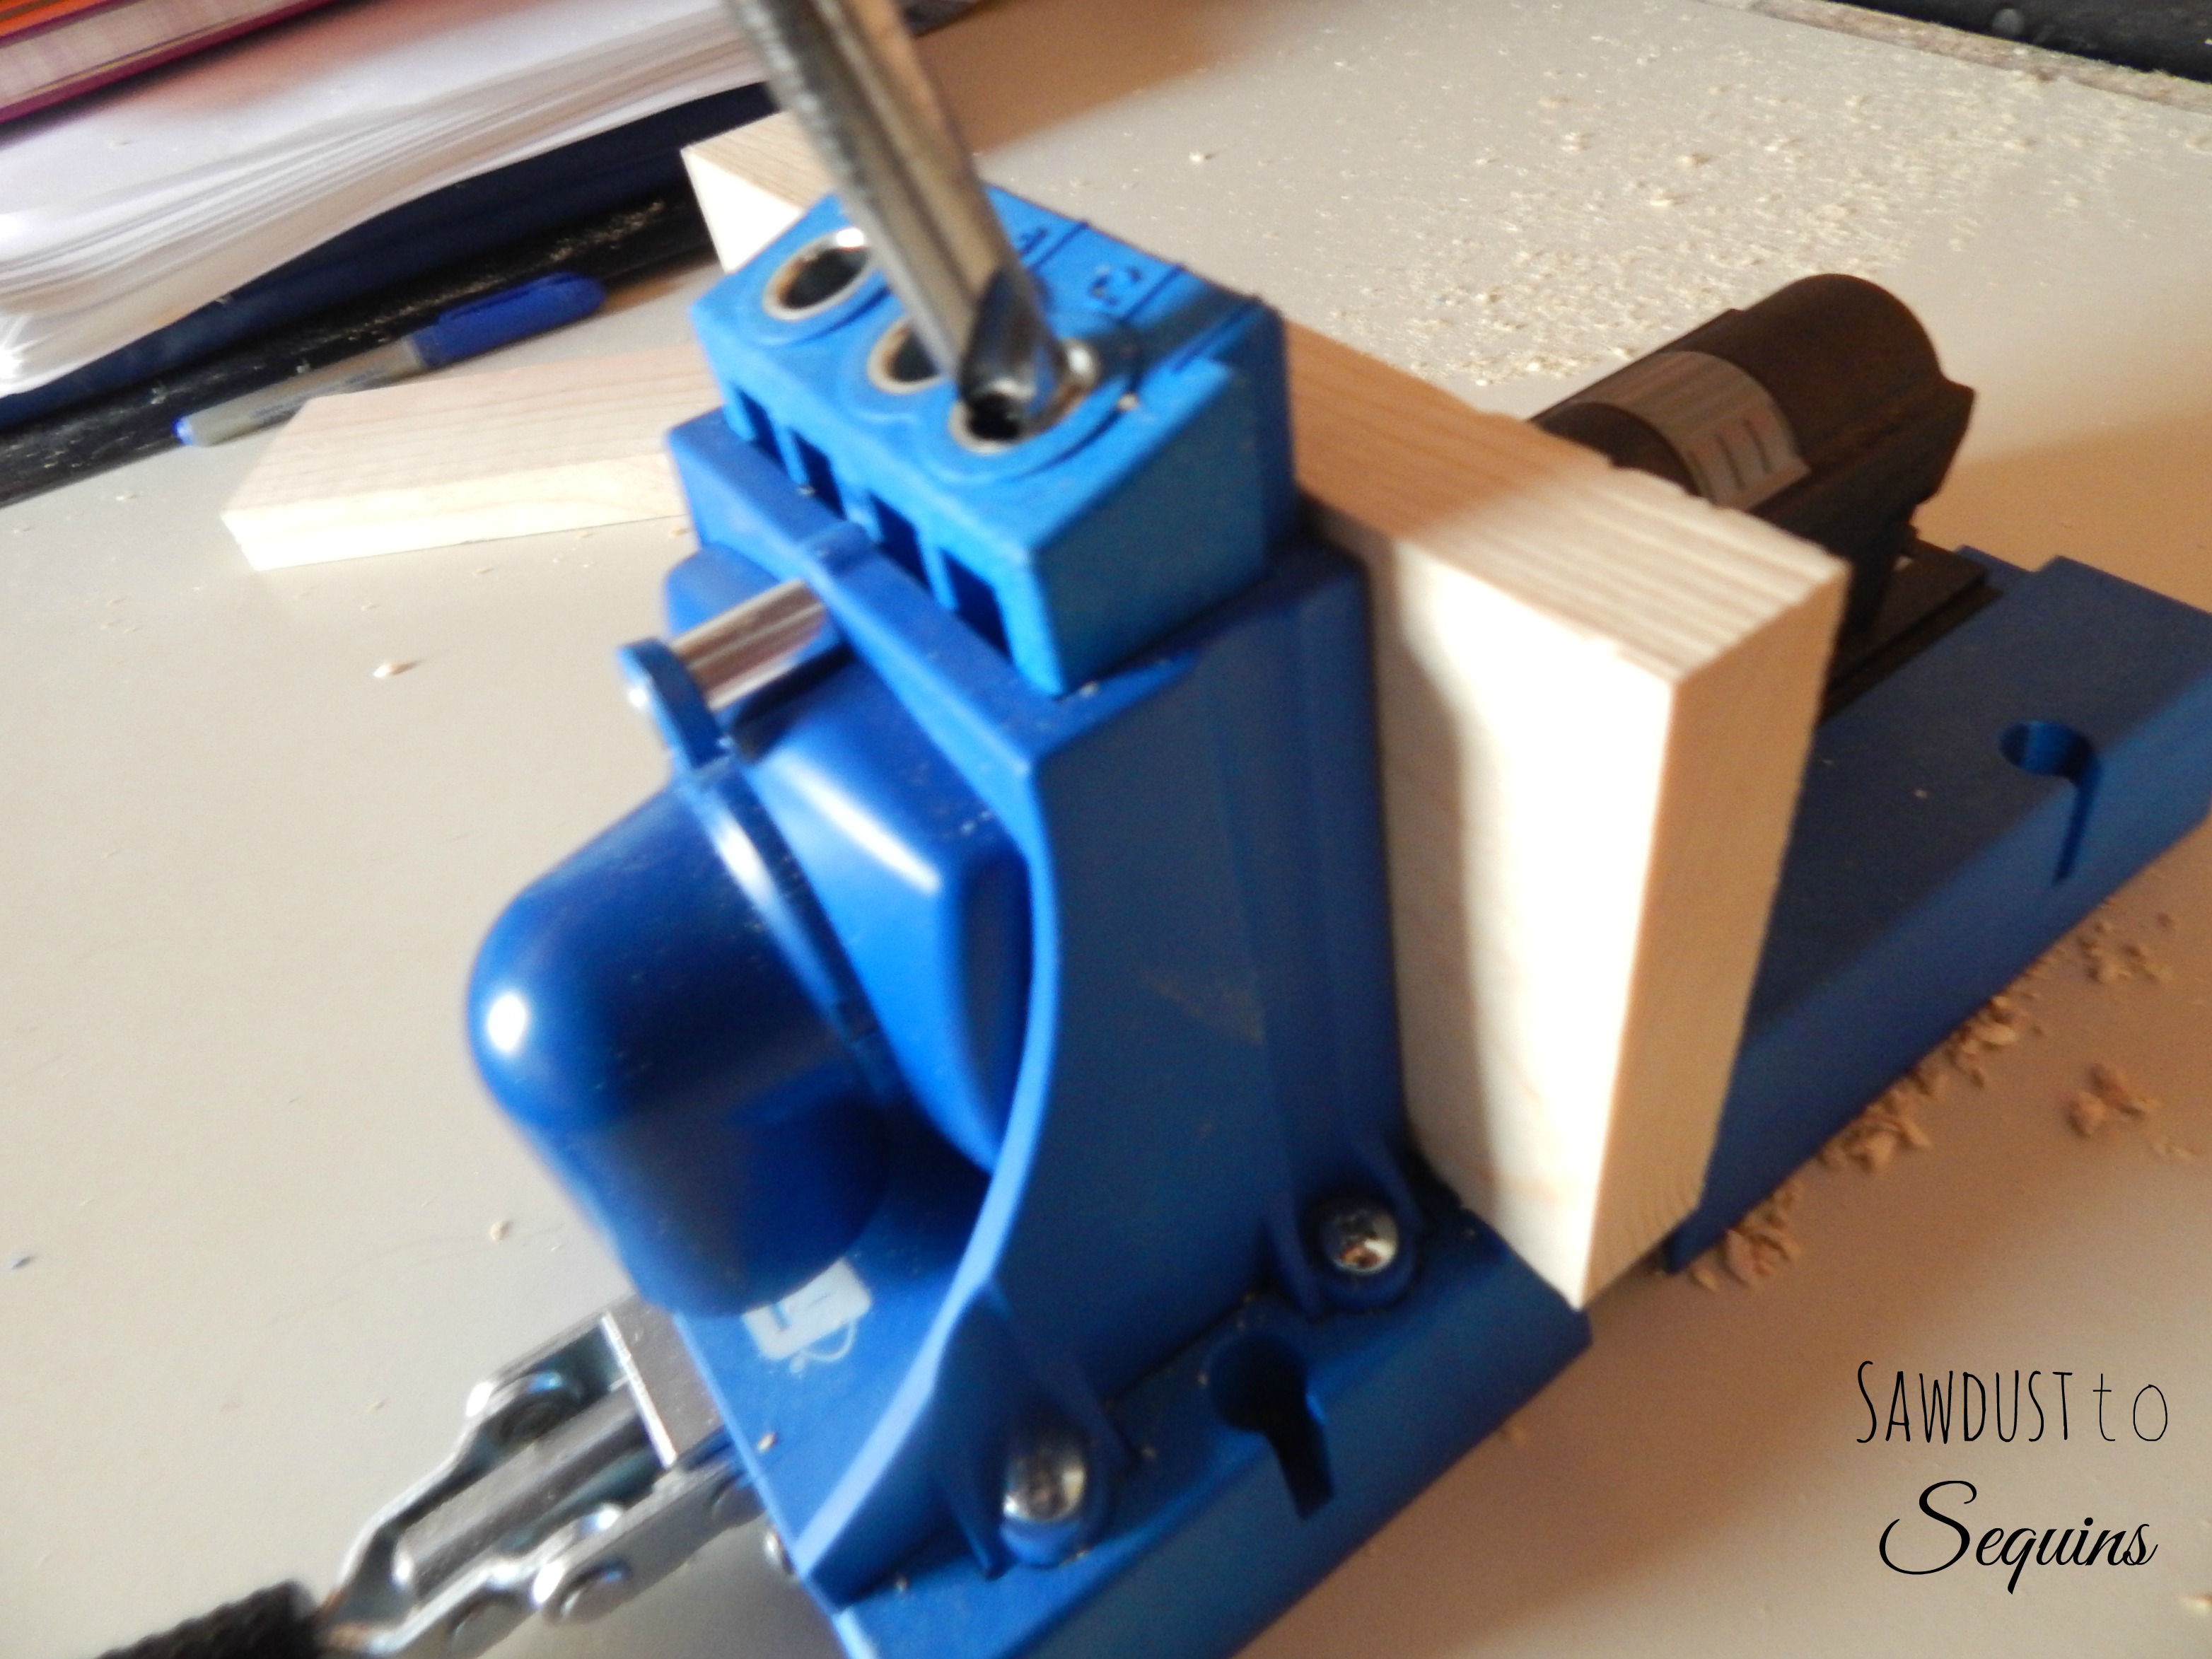
Here is a picture to show you the placement of the pocket holes.

Now that those bad boys are drilled, time to assemble the pieces together.
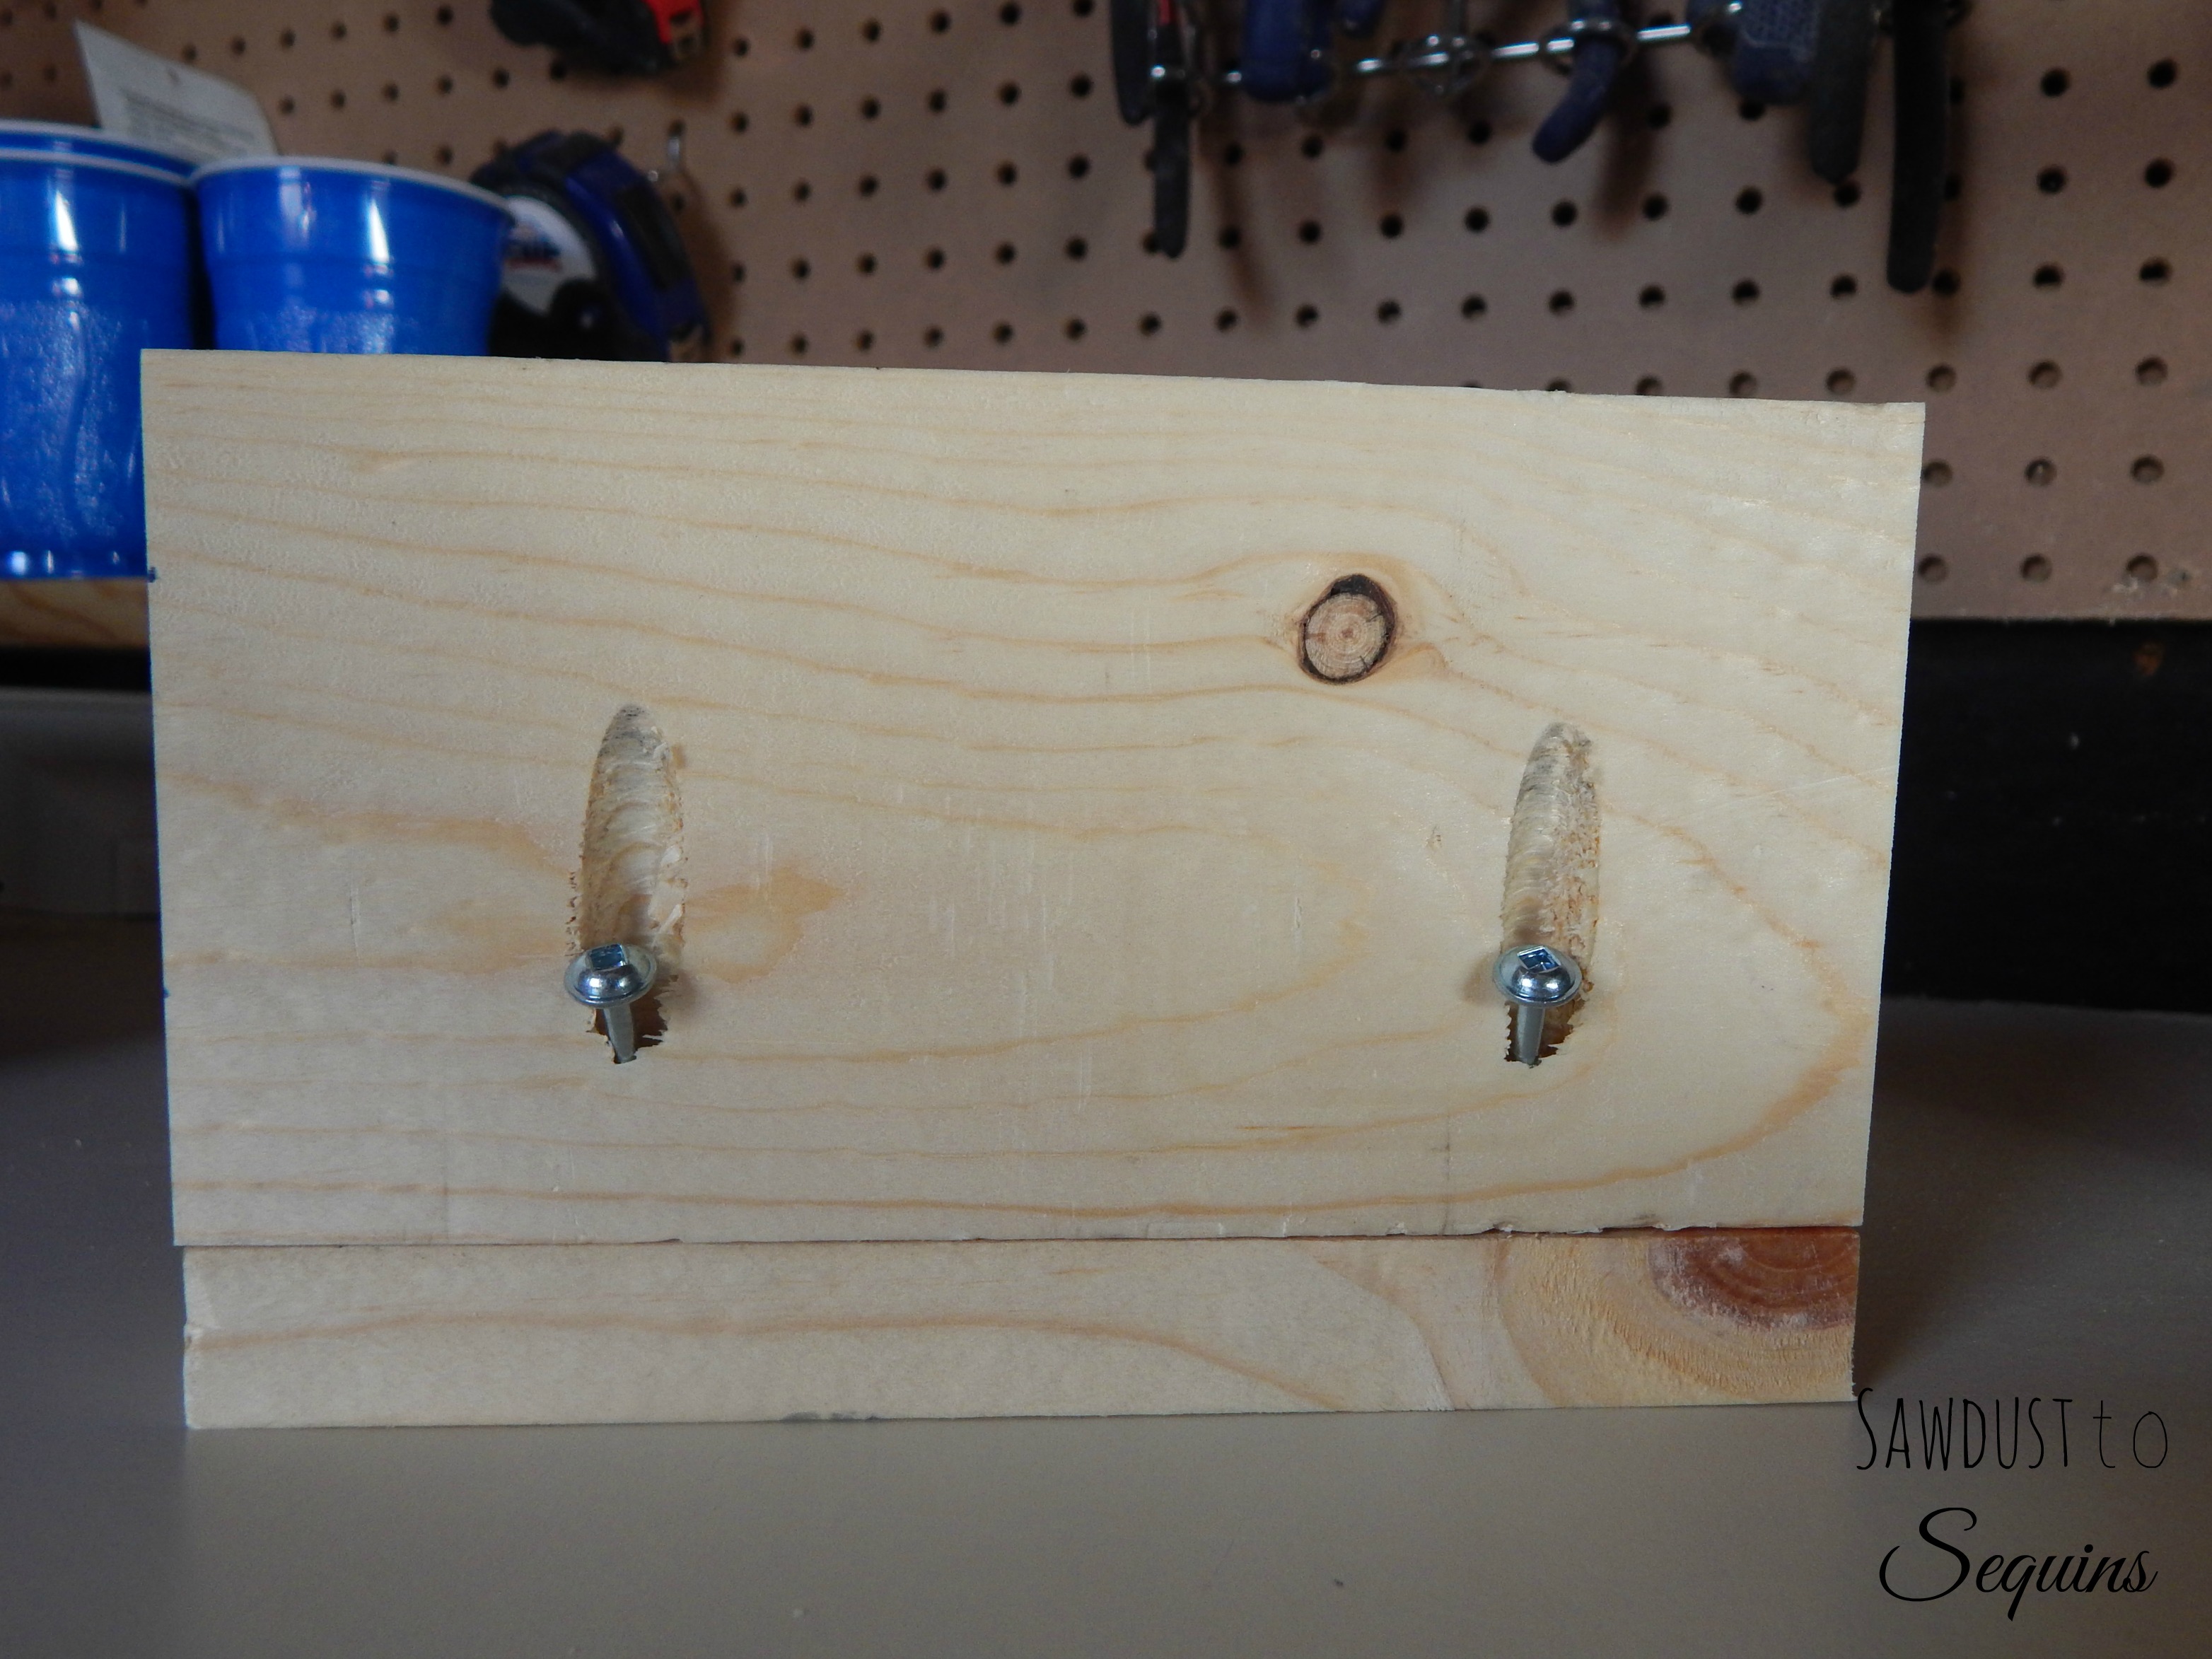
Lets make this pretty!! I chose to use wood stain in Kona (my all time fave) for this calendar.

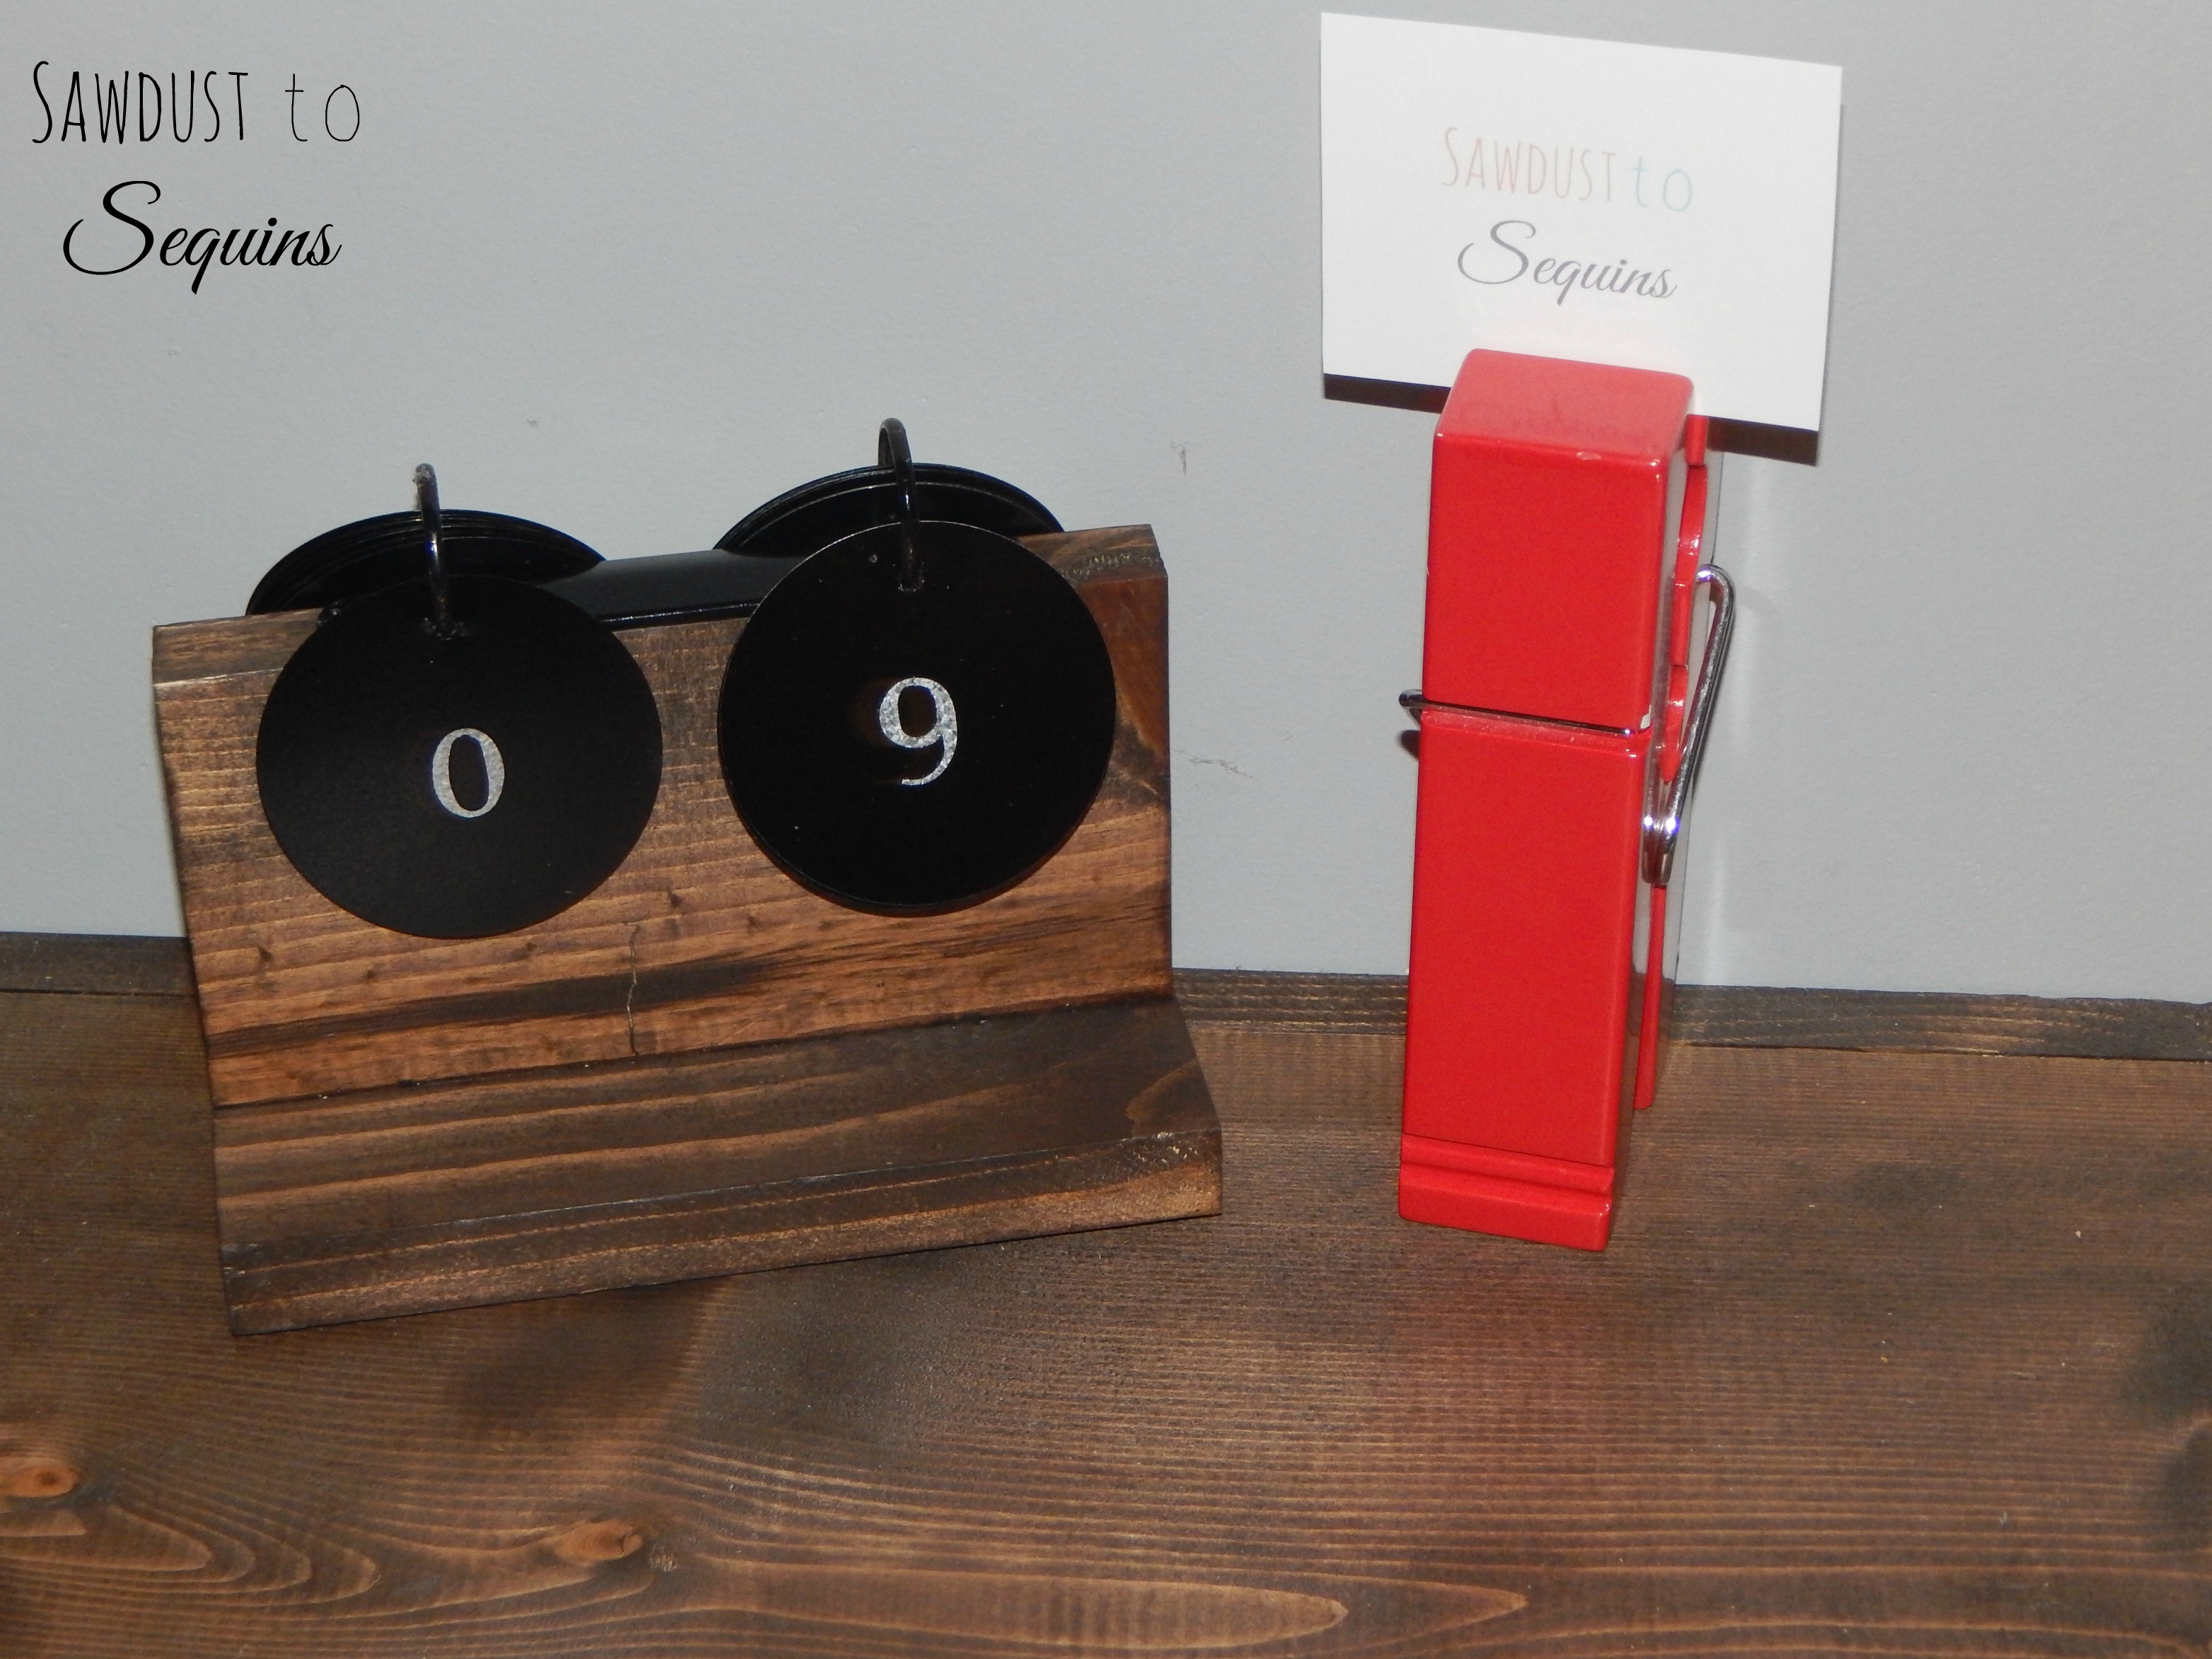
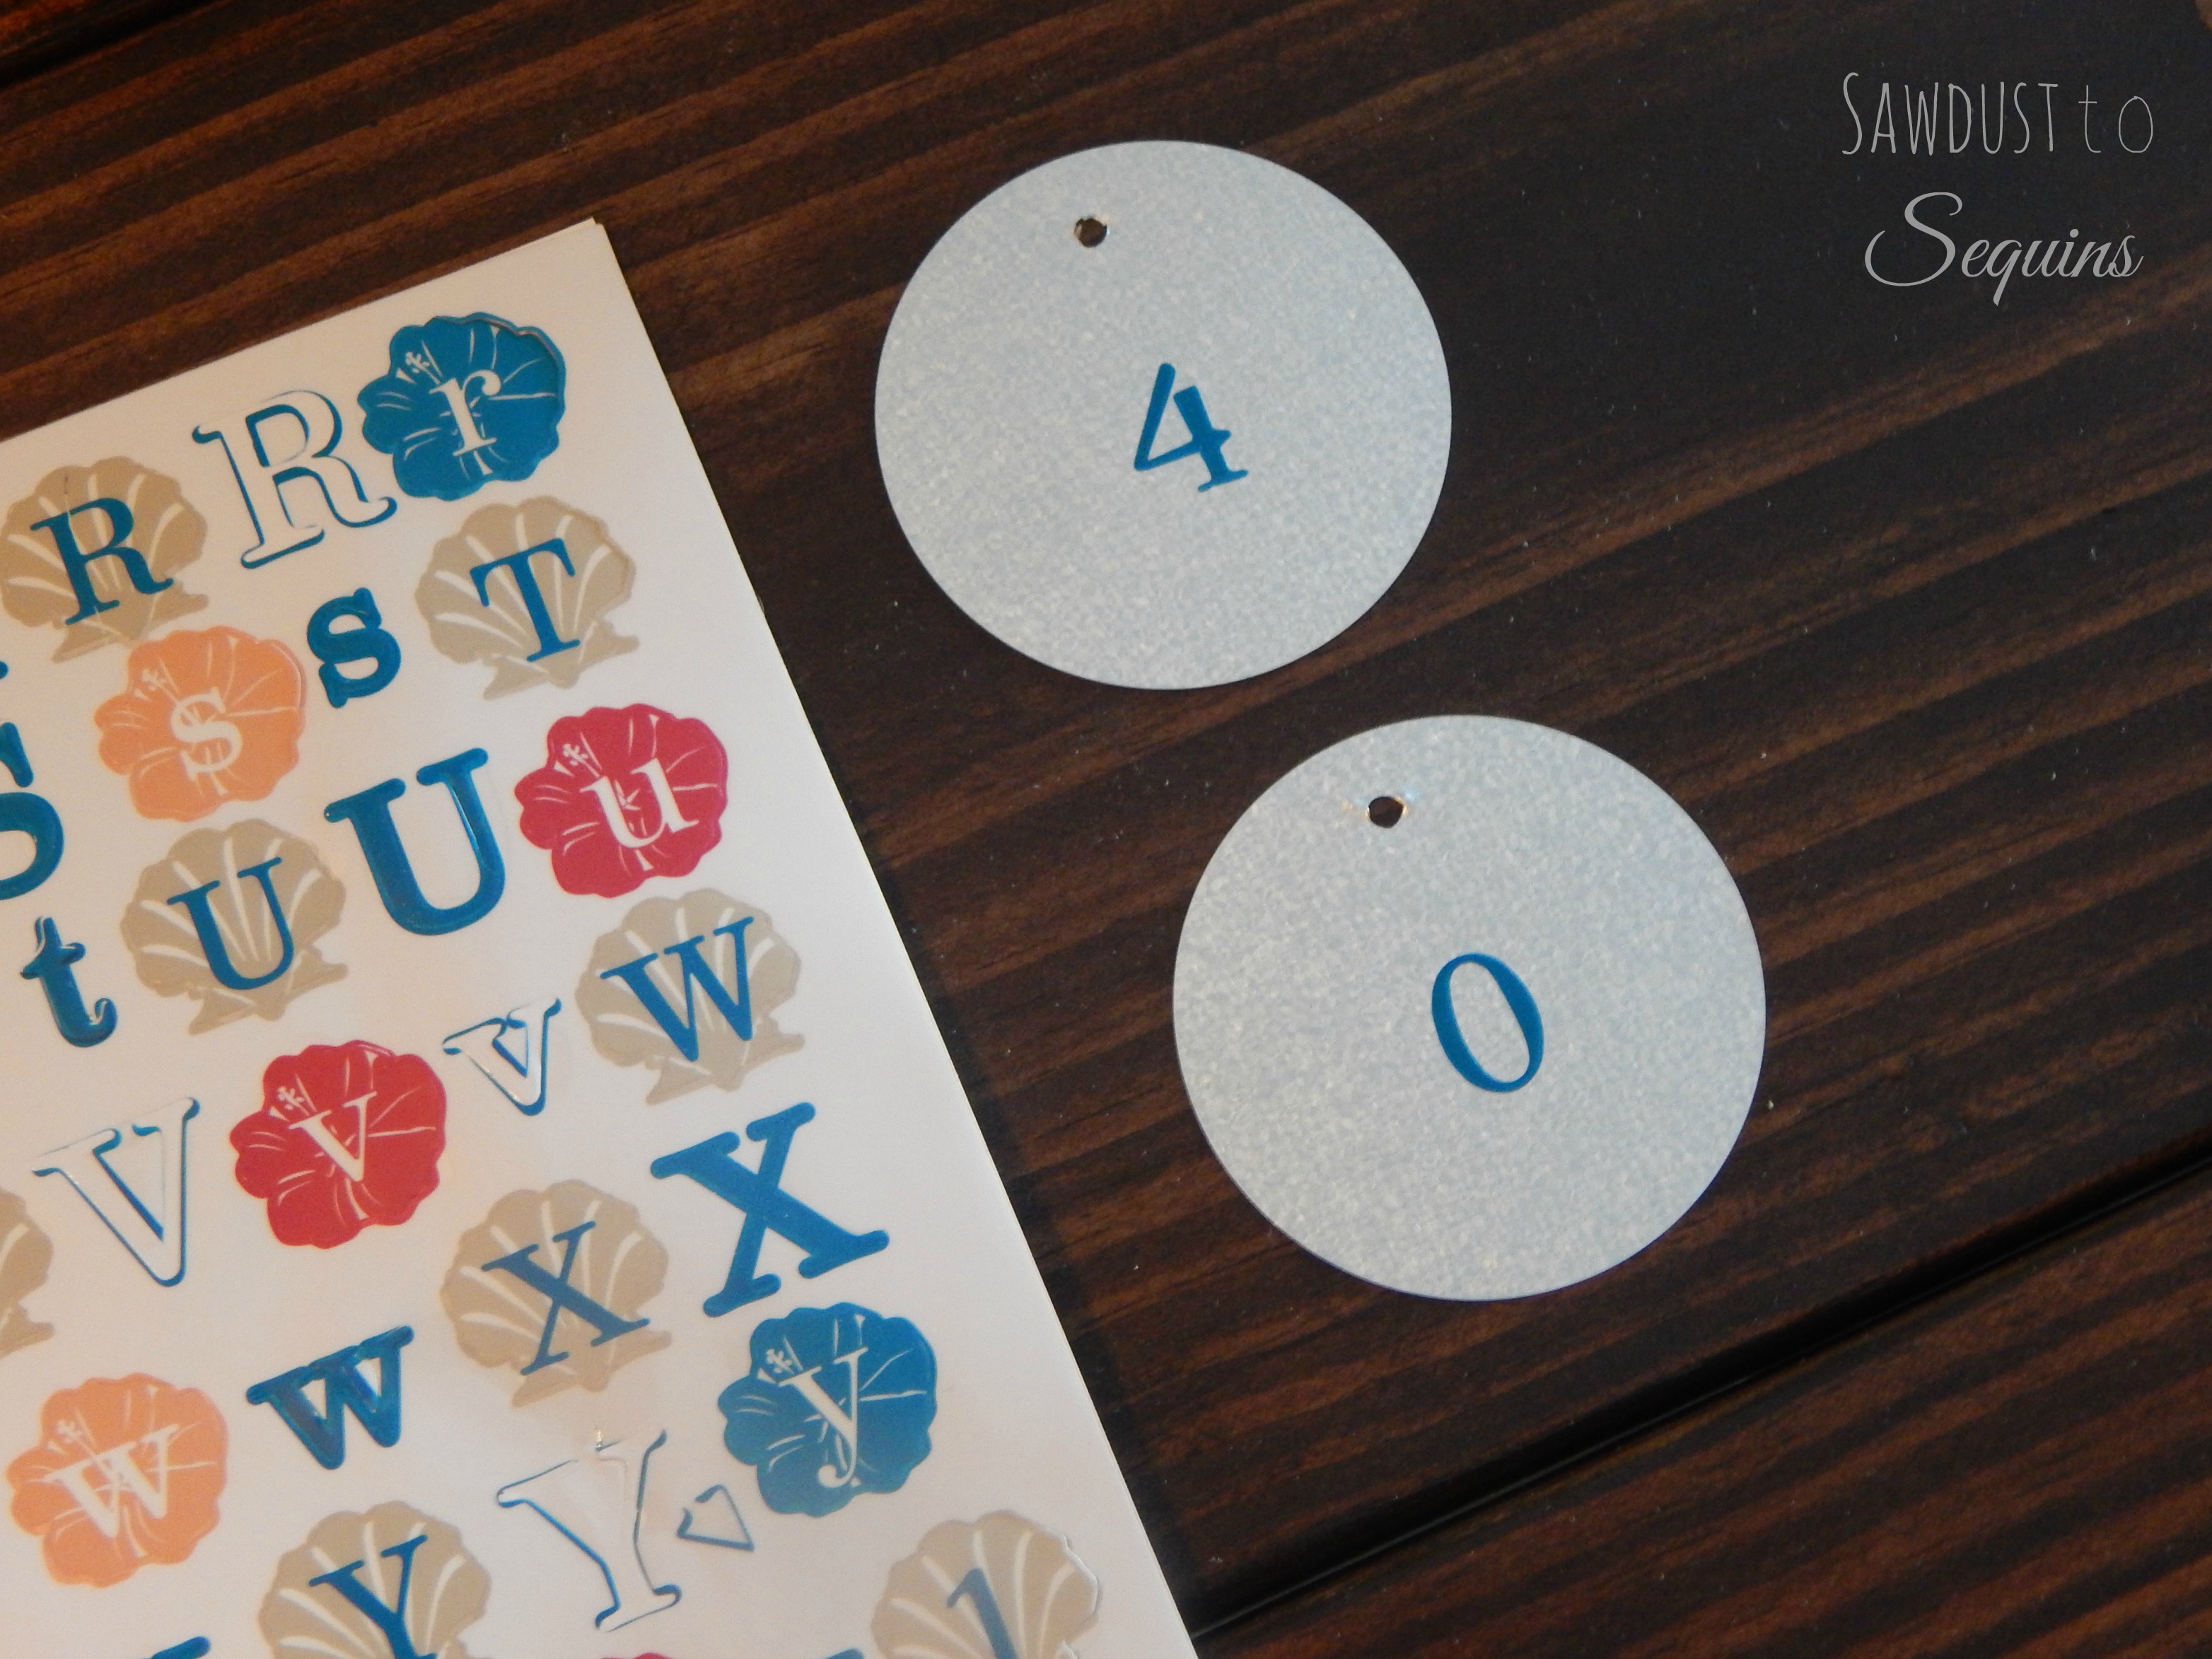
Since the body of the calendar is now assembled, lets move on to the numbered tin tabs. You will need to drill holes in the tops of 20 tin tabs which will be the numbers 0-9 on each side of the calendar. Since these are metal, go very slow and don’t let them get away from you. It would be smart to wear gloves on this step they can be very sharp.

Here is a picture of what the tin tabs will look like in the box. They can be found in the hardware section next to the nails and screws in most hardware stores.

Once all the holes are drilled, its time to use put on the numbered stickers. I used some old scrapbook stickers I had, but you can use whatever you have on hand. Place each number on the tin tabs where you want your numbers to show. I went with the middle of the tin tabs.
Now lay all of your tabs and your hardware on some cardboard and spray paint black. I used two coats on mine.
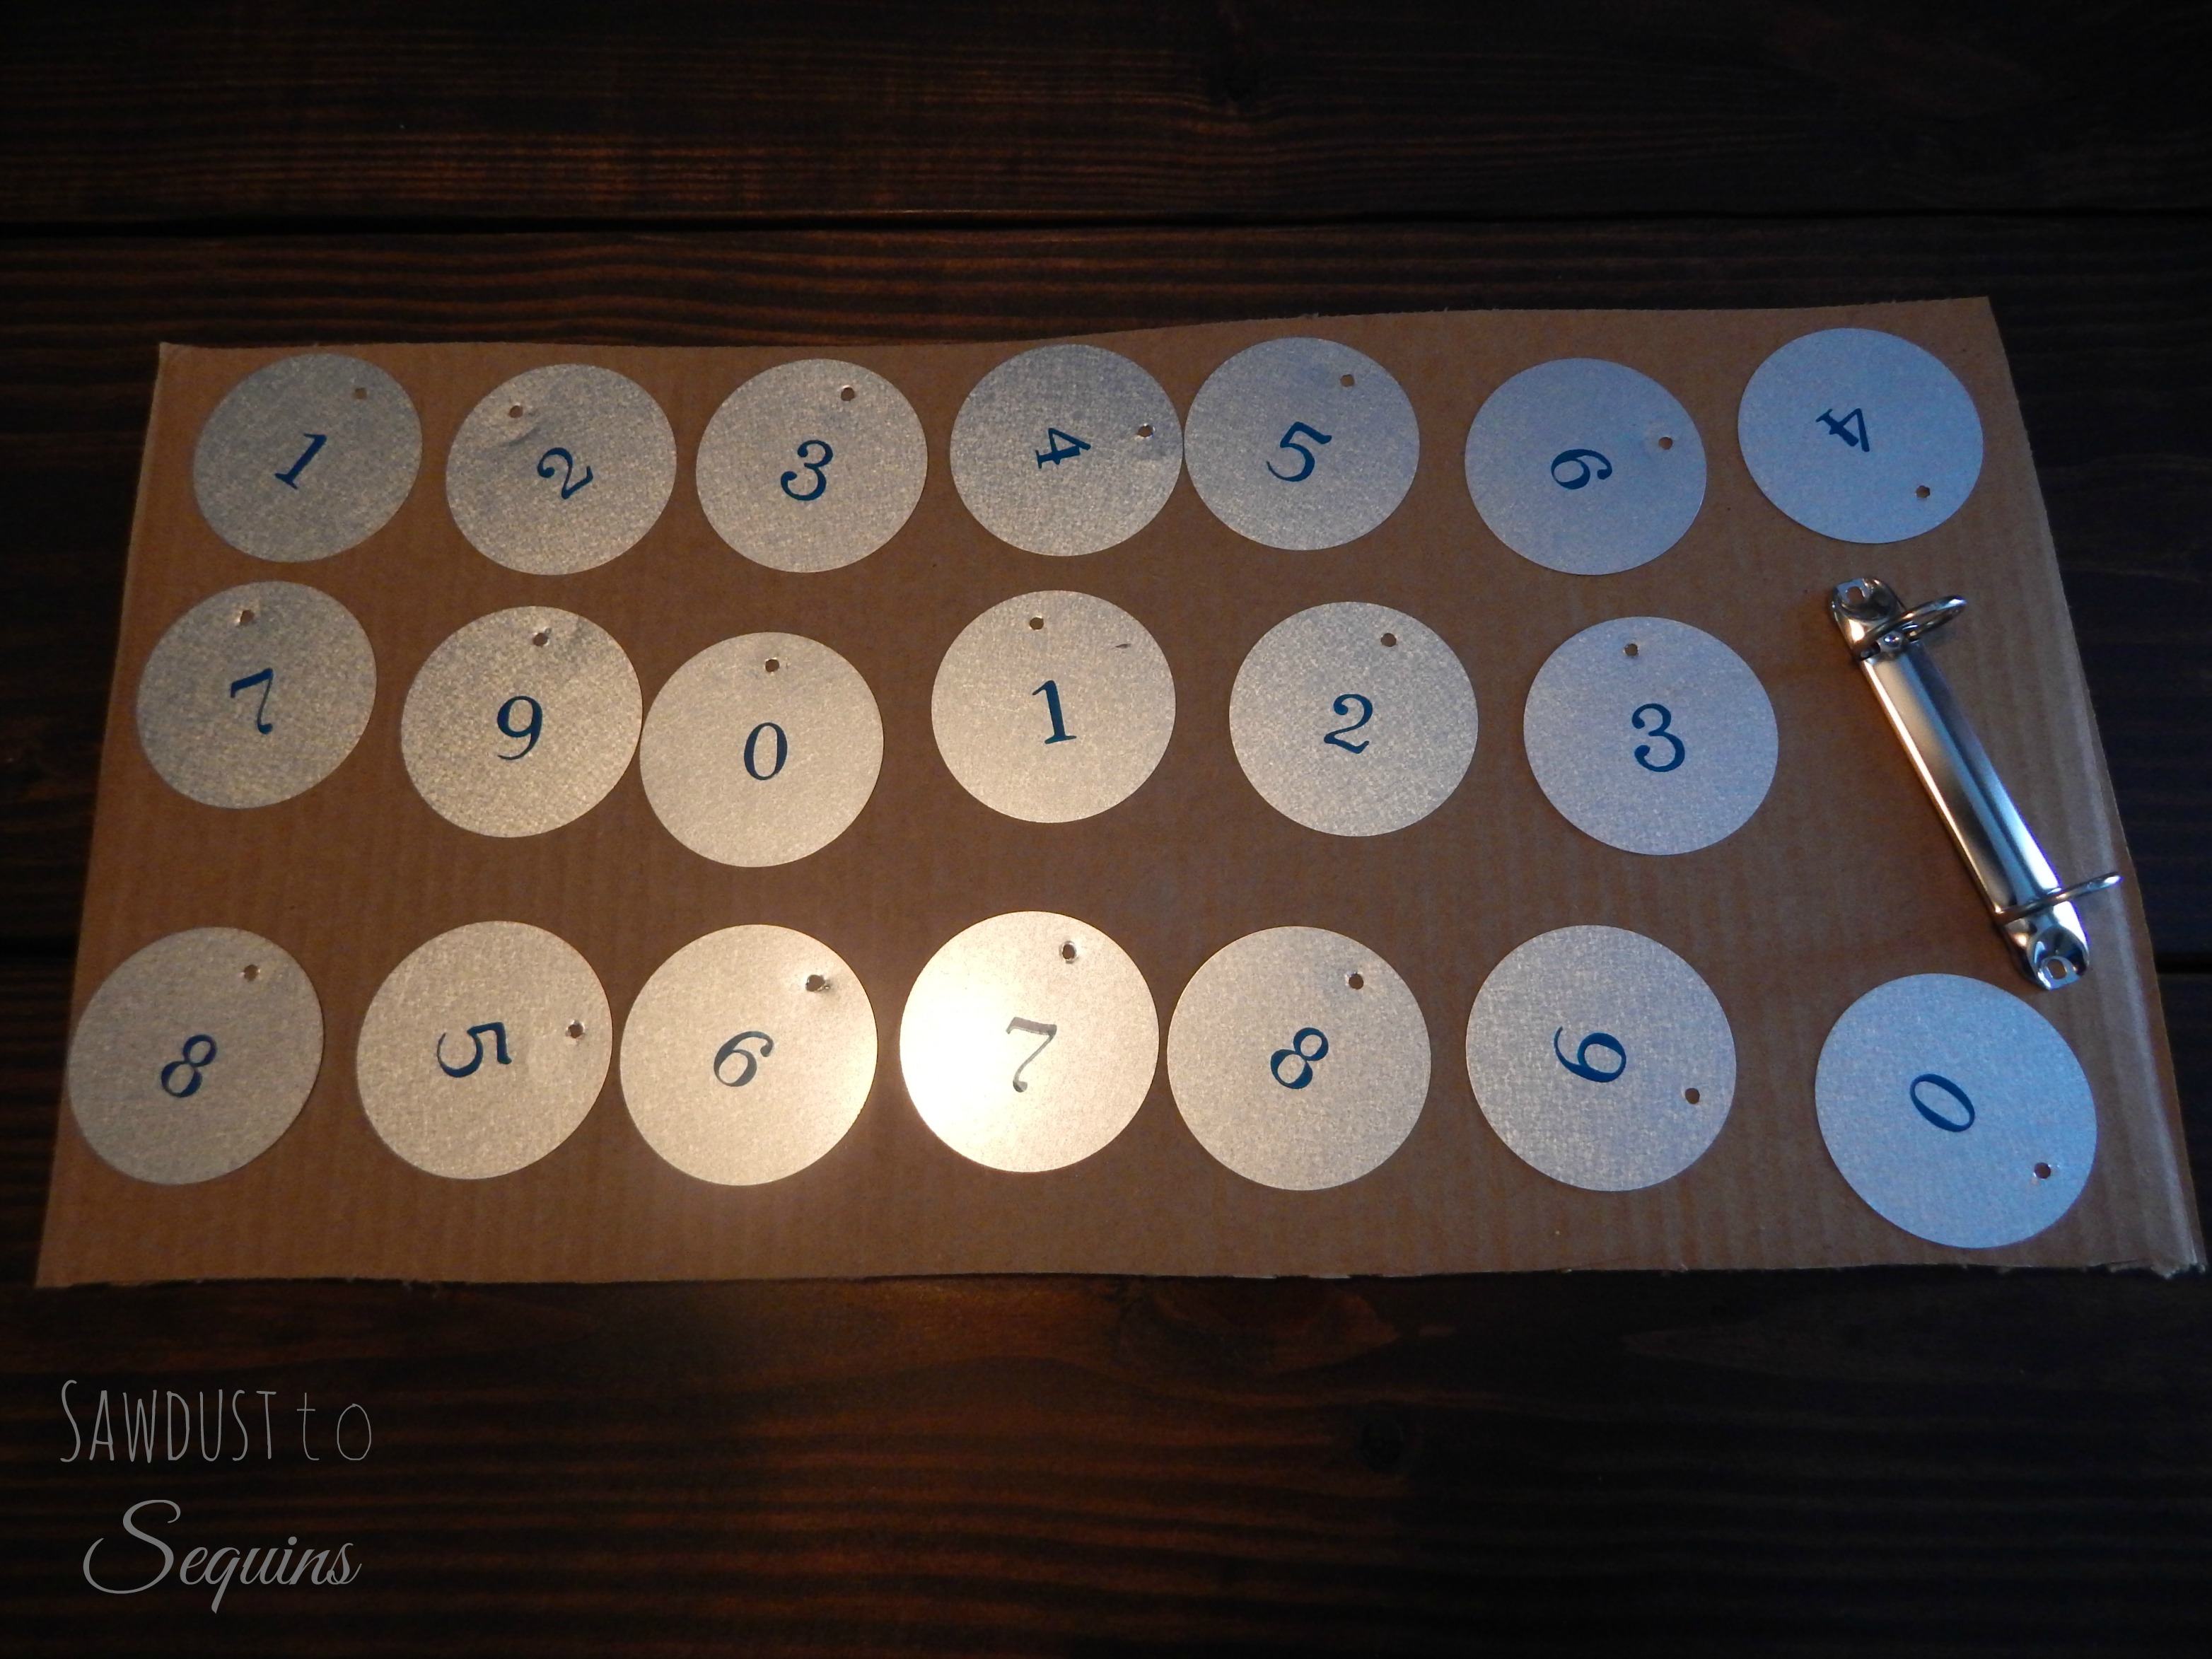
Let that dry for the time recommended by your paint brand. After they are dry, gently peel the stickers off of the tin tabs. Go very slowly. Once they are all removed, spray a clear coat on the tin tabs to seal the paint.


Now lets put this all together.
The binder spine will go on the top of the wood 1″ from both sides. I am using one from Hobby Lobby. They are located in the scrapbook section for around $4, before the coupon. You have to love those 40% off coupons… I attached it with 3/4″ wood screws.

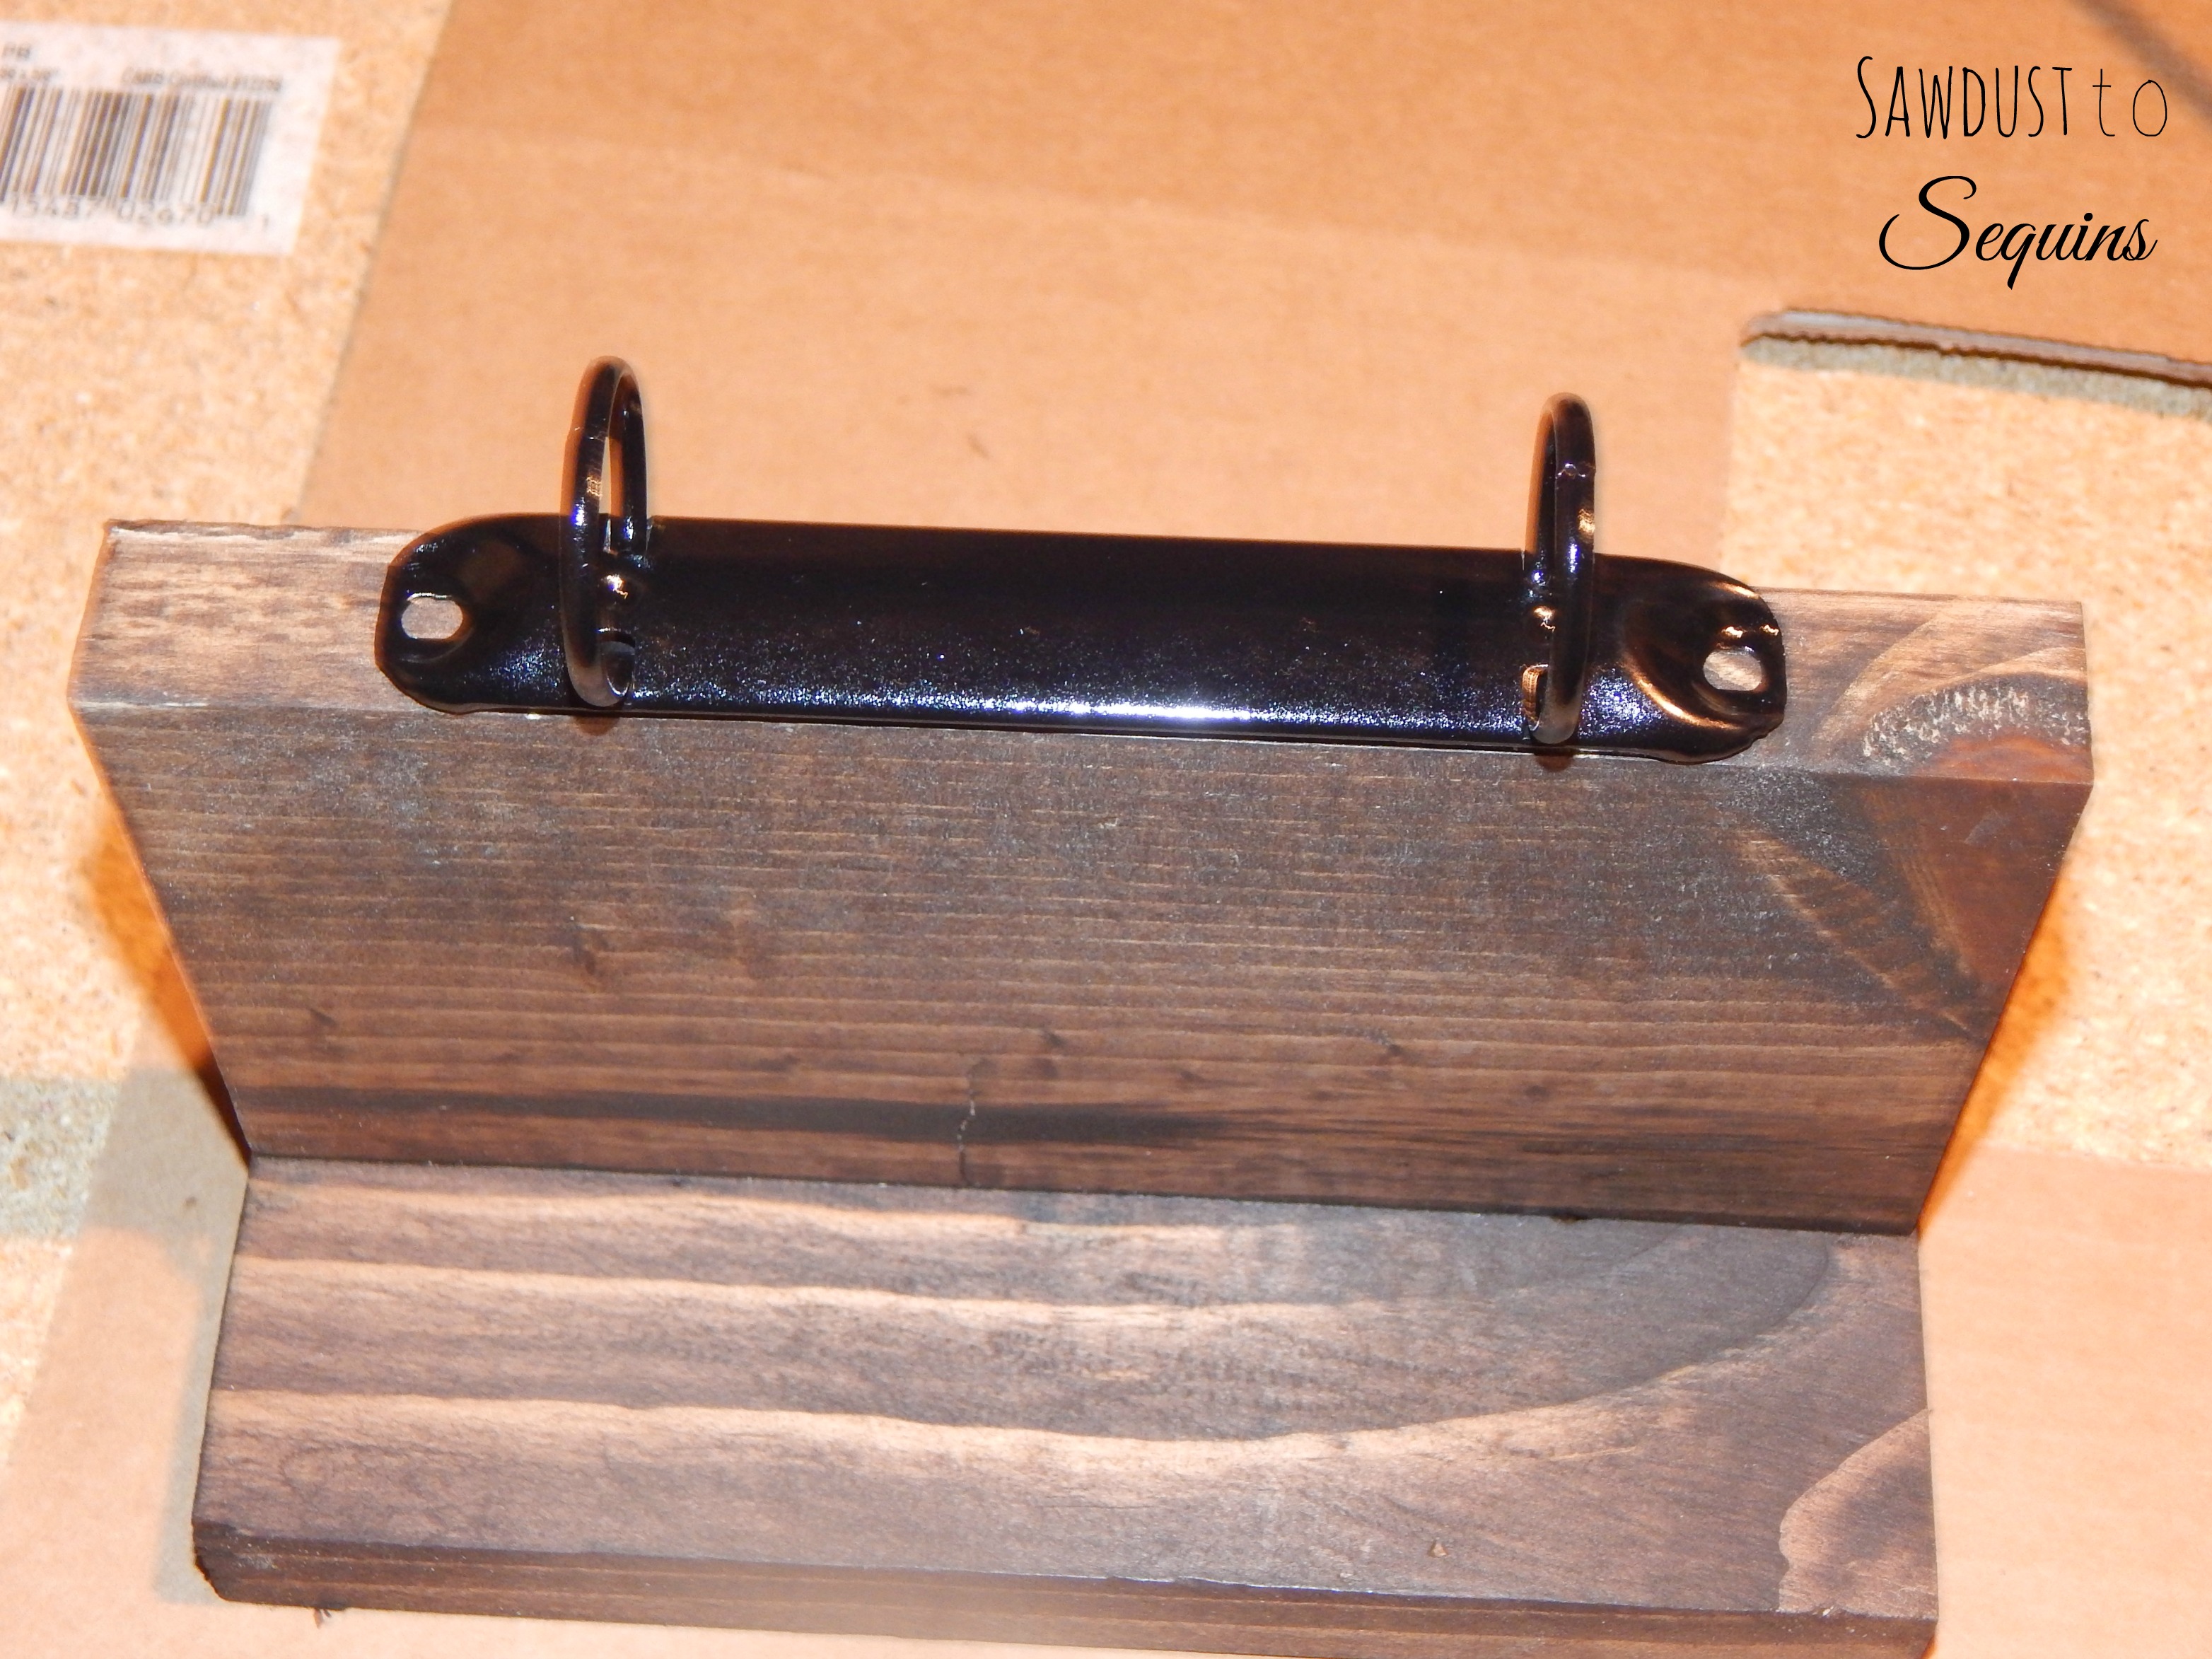
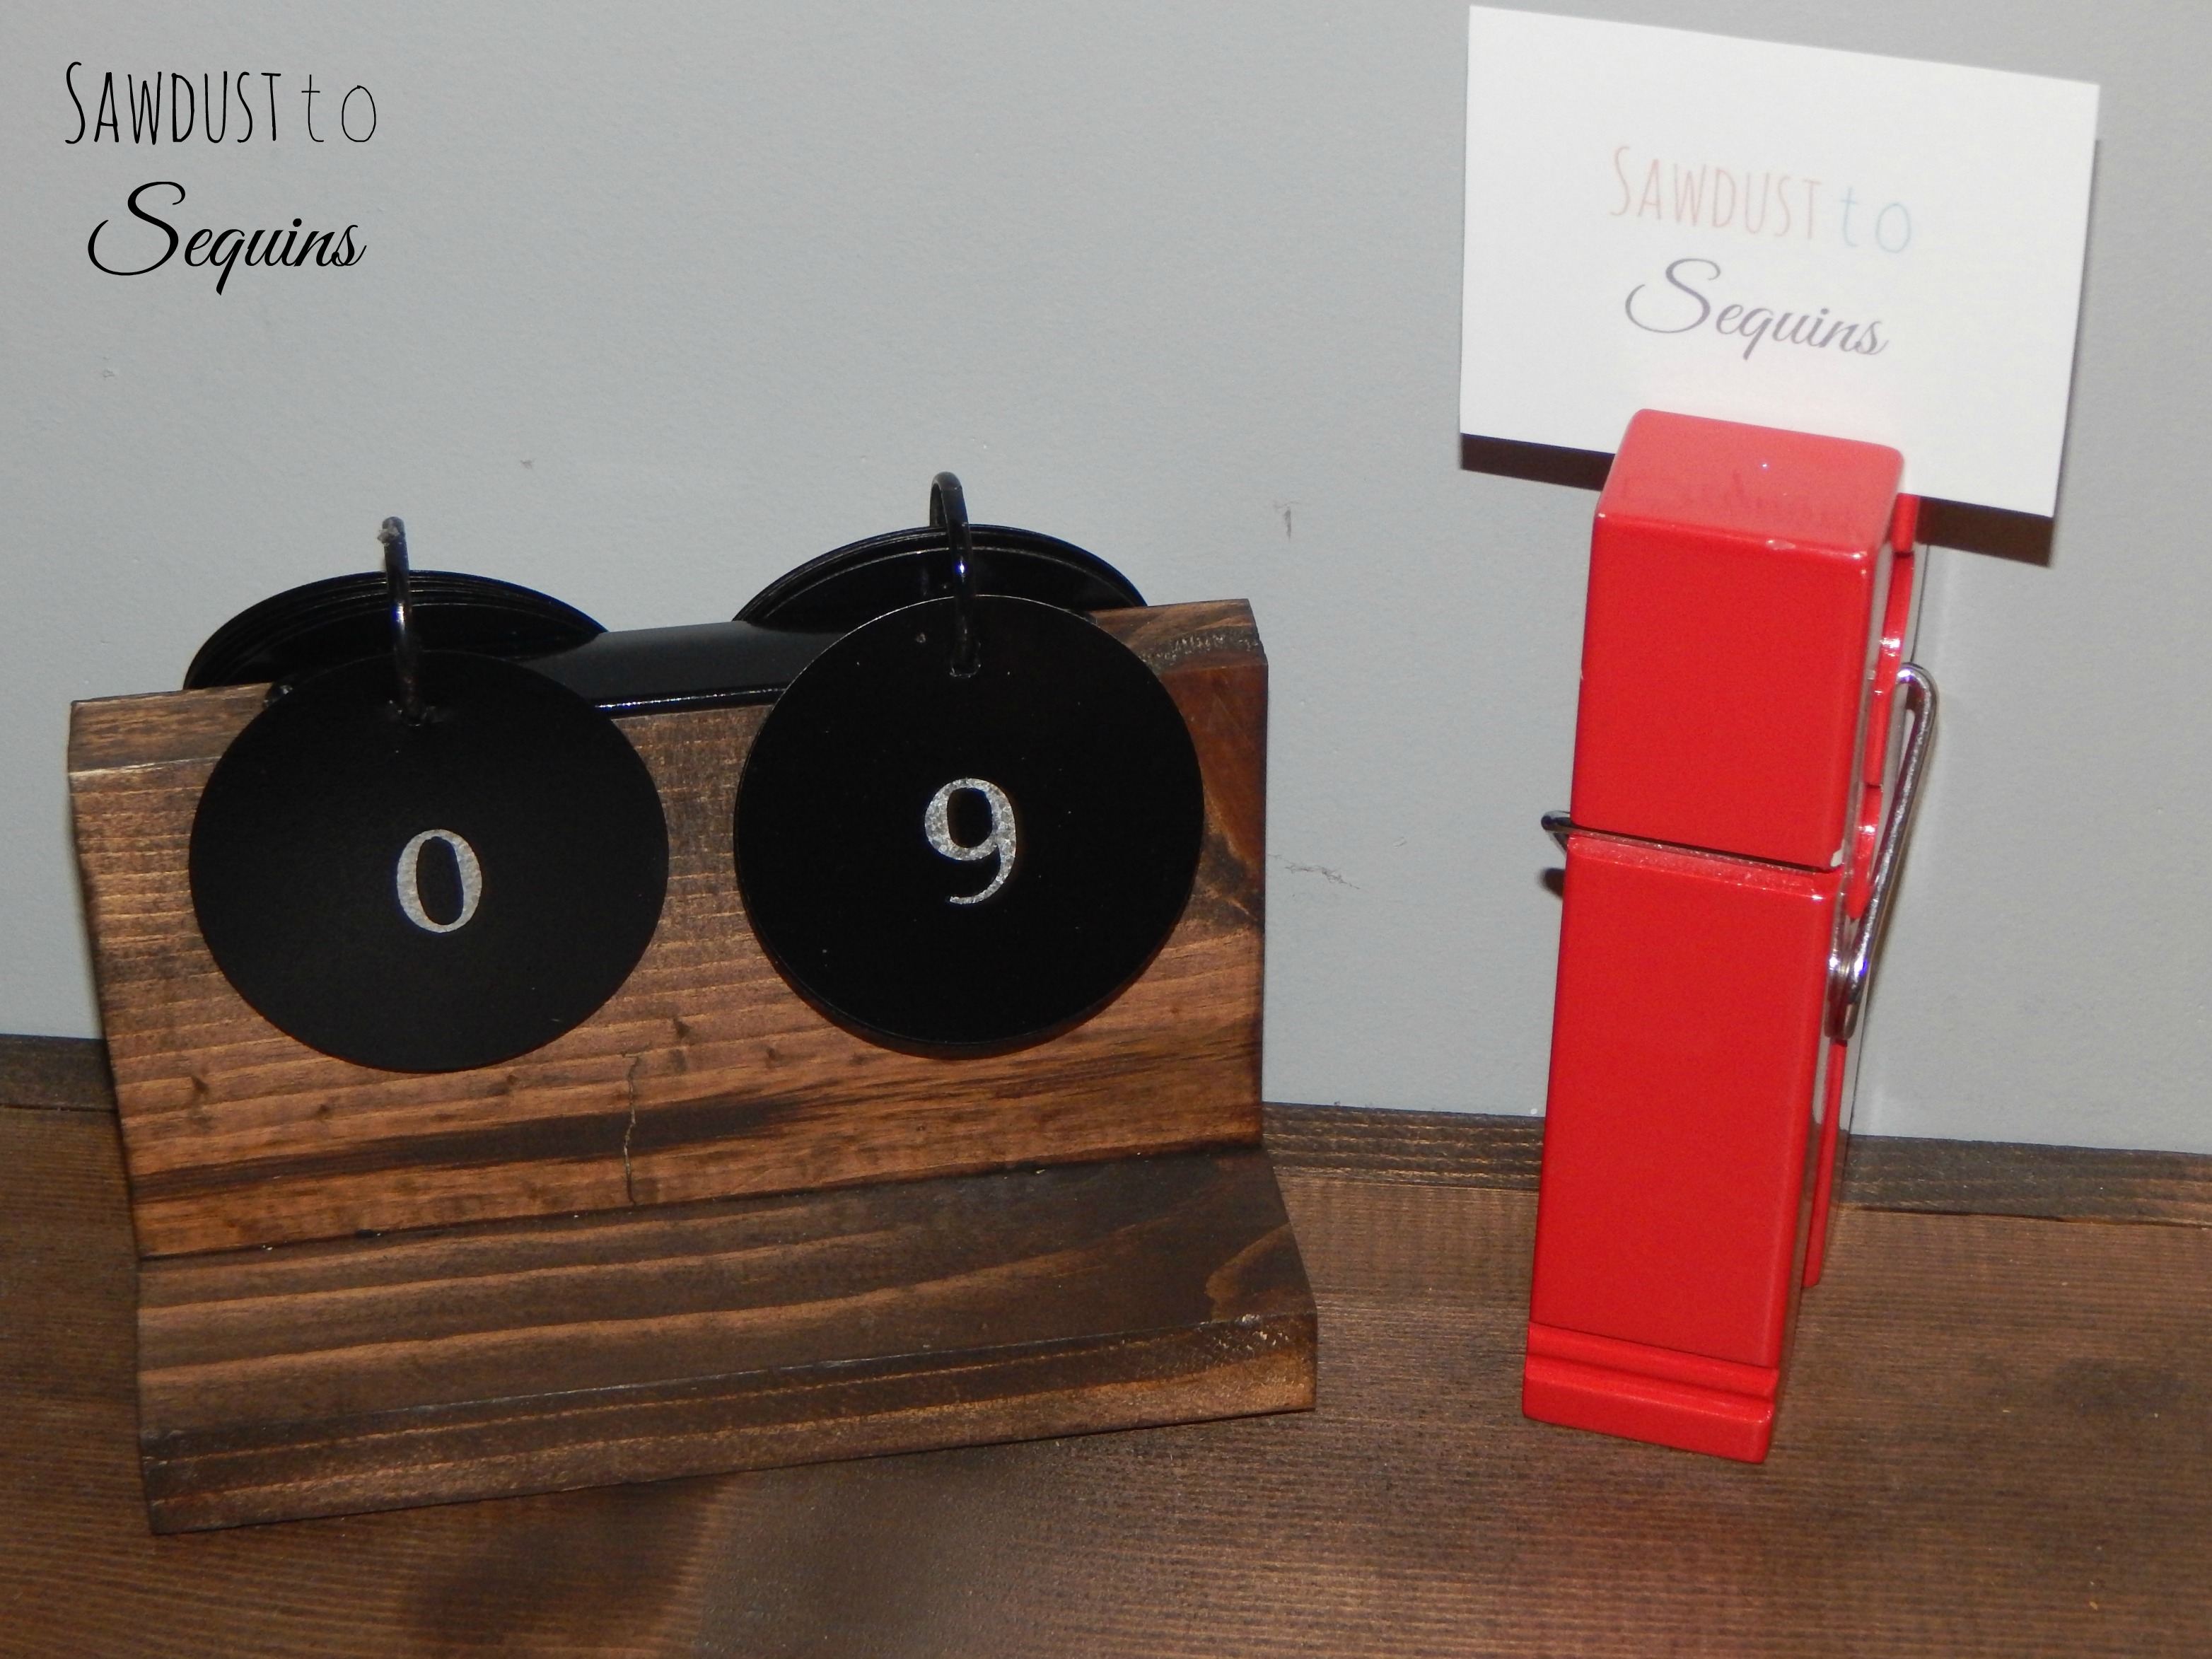
Almost done!! Open the top of the binder clips and place the tin tabs on. I chose to start with 0 on mine, but that is completely up to you. Here are some after pics..
Well that is all I have for today. Thanks for stopping by to spend a little time with me. Make sure to follow me on Instagram and Pinterest to see what new and exciting projects I’m working on!!
Until next time,
Crissie