Hey all, let’s talk about jewelry! I love it and I’m sure you do too. Jewelry is something every girl has and it deserves to have a pretty place to be displayed, so I decided to make this project. It’s super simple to make and it can be customized to anyone’s personality. This can be made in about 15 minutes with very little supplies. Let’s get started.
Supply List:
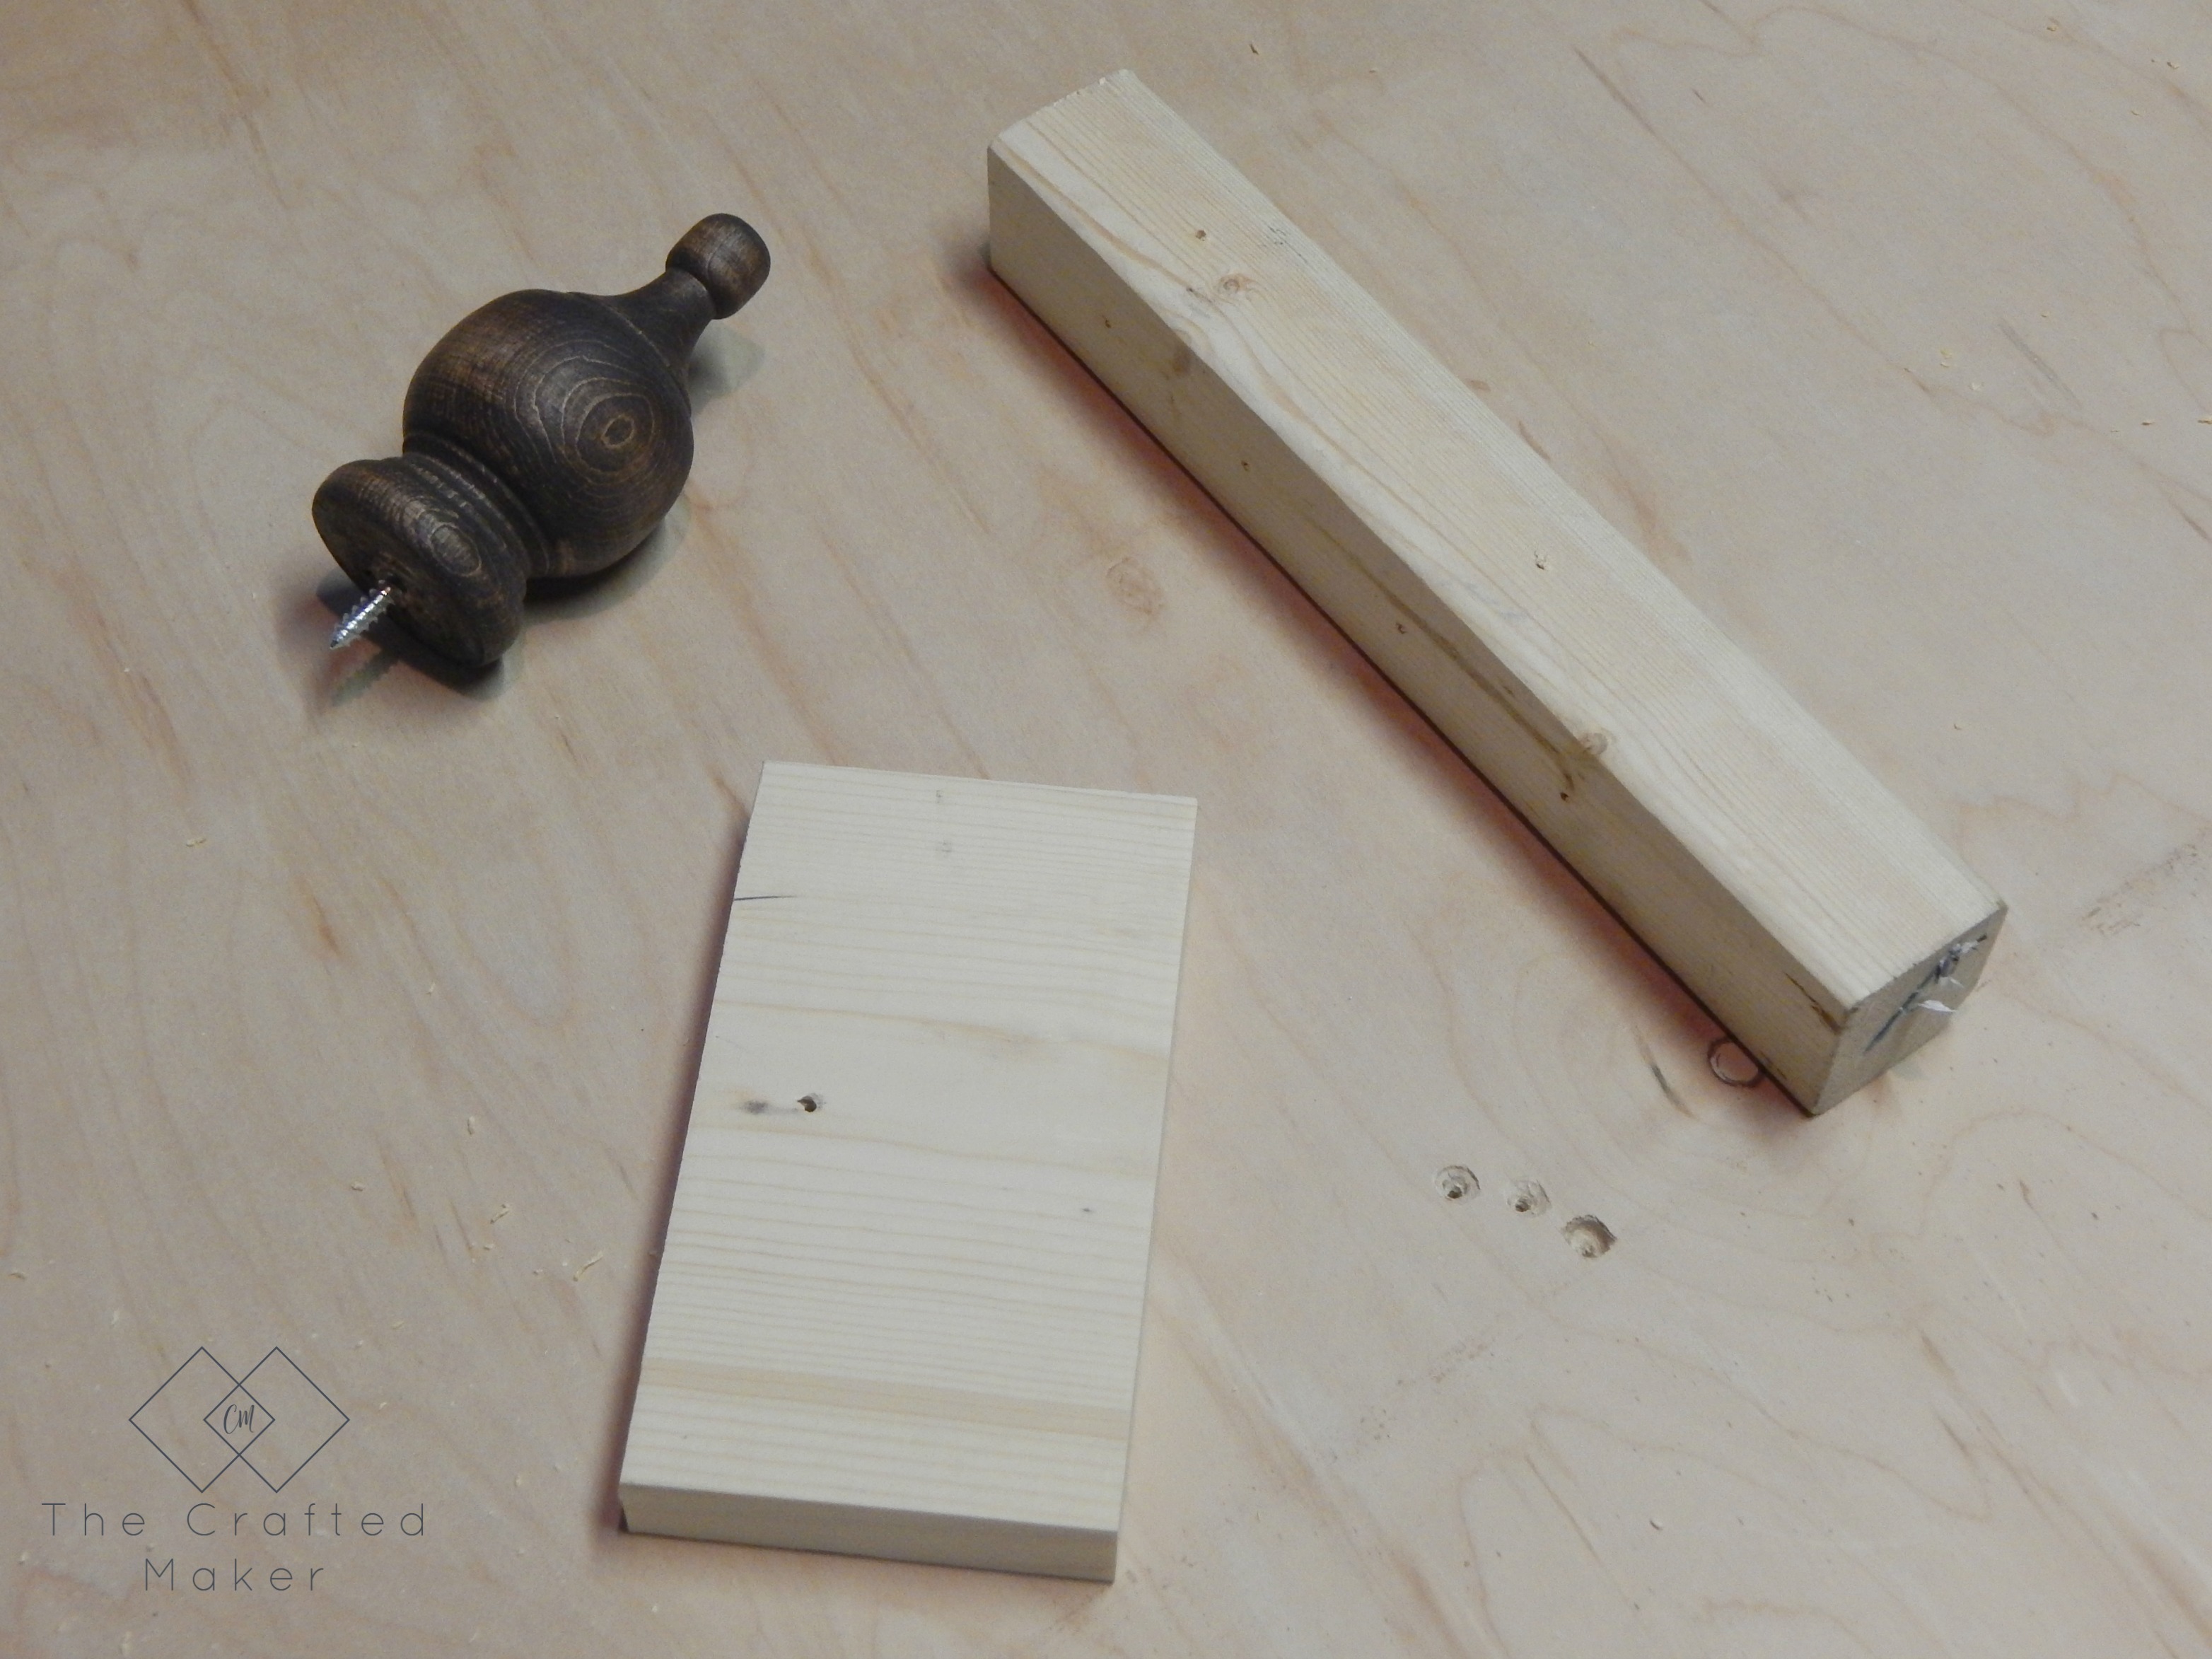
- 1×6 cut to 3″
- 2×2 cut to 10″
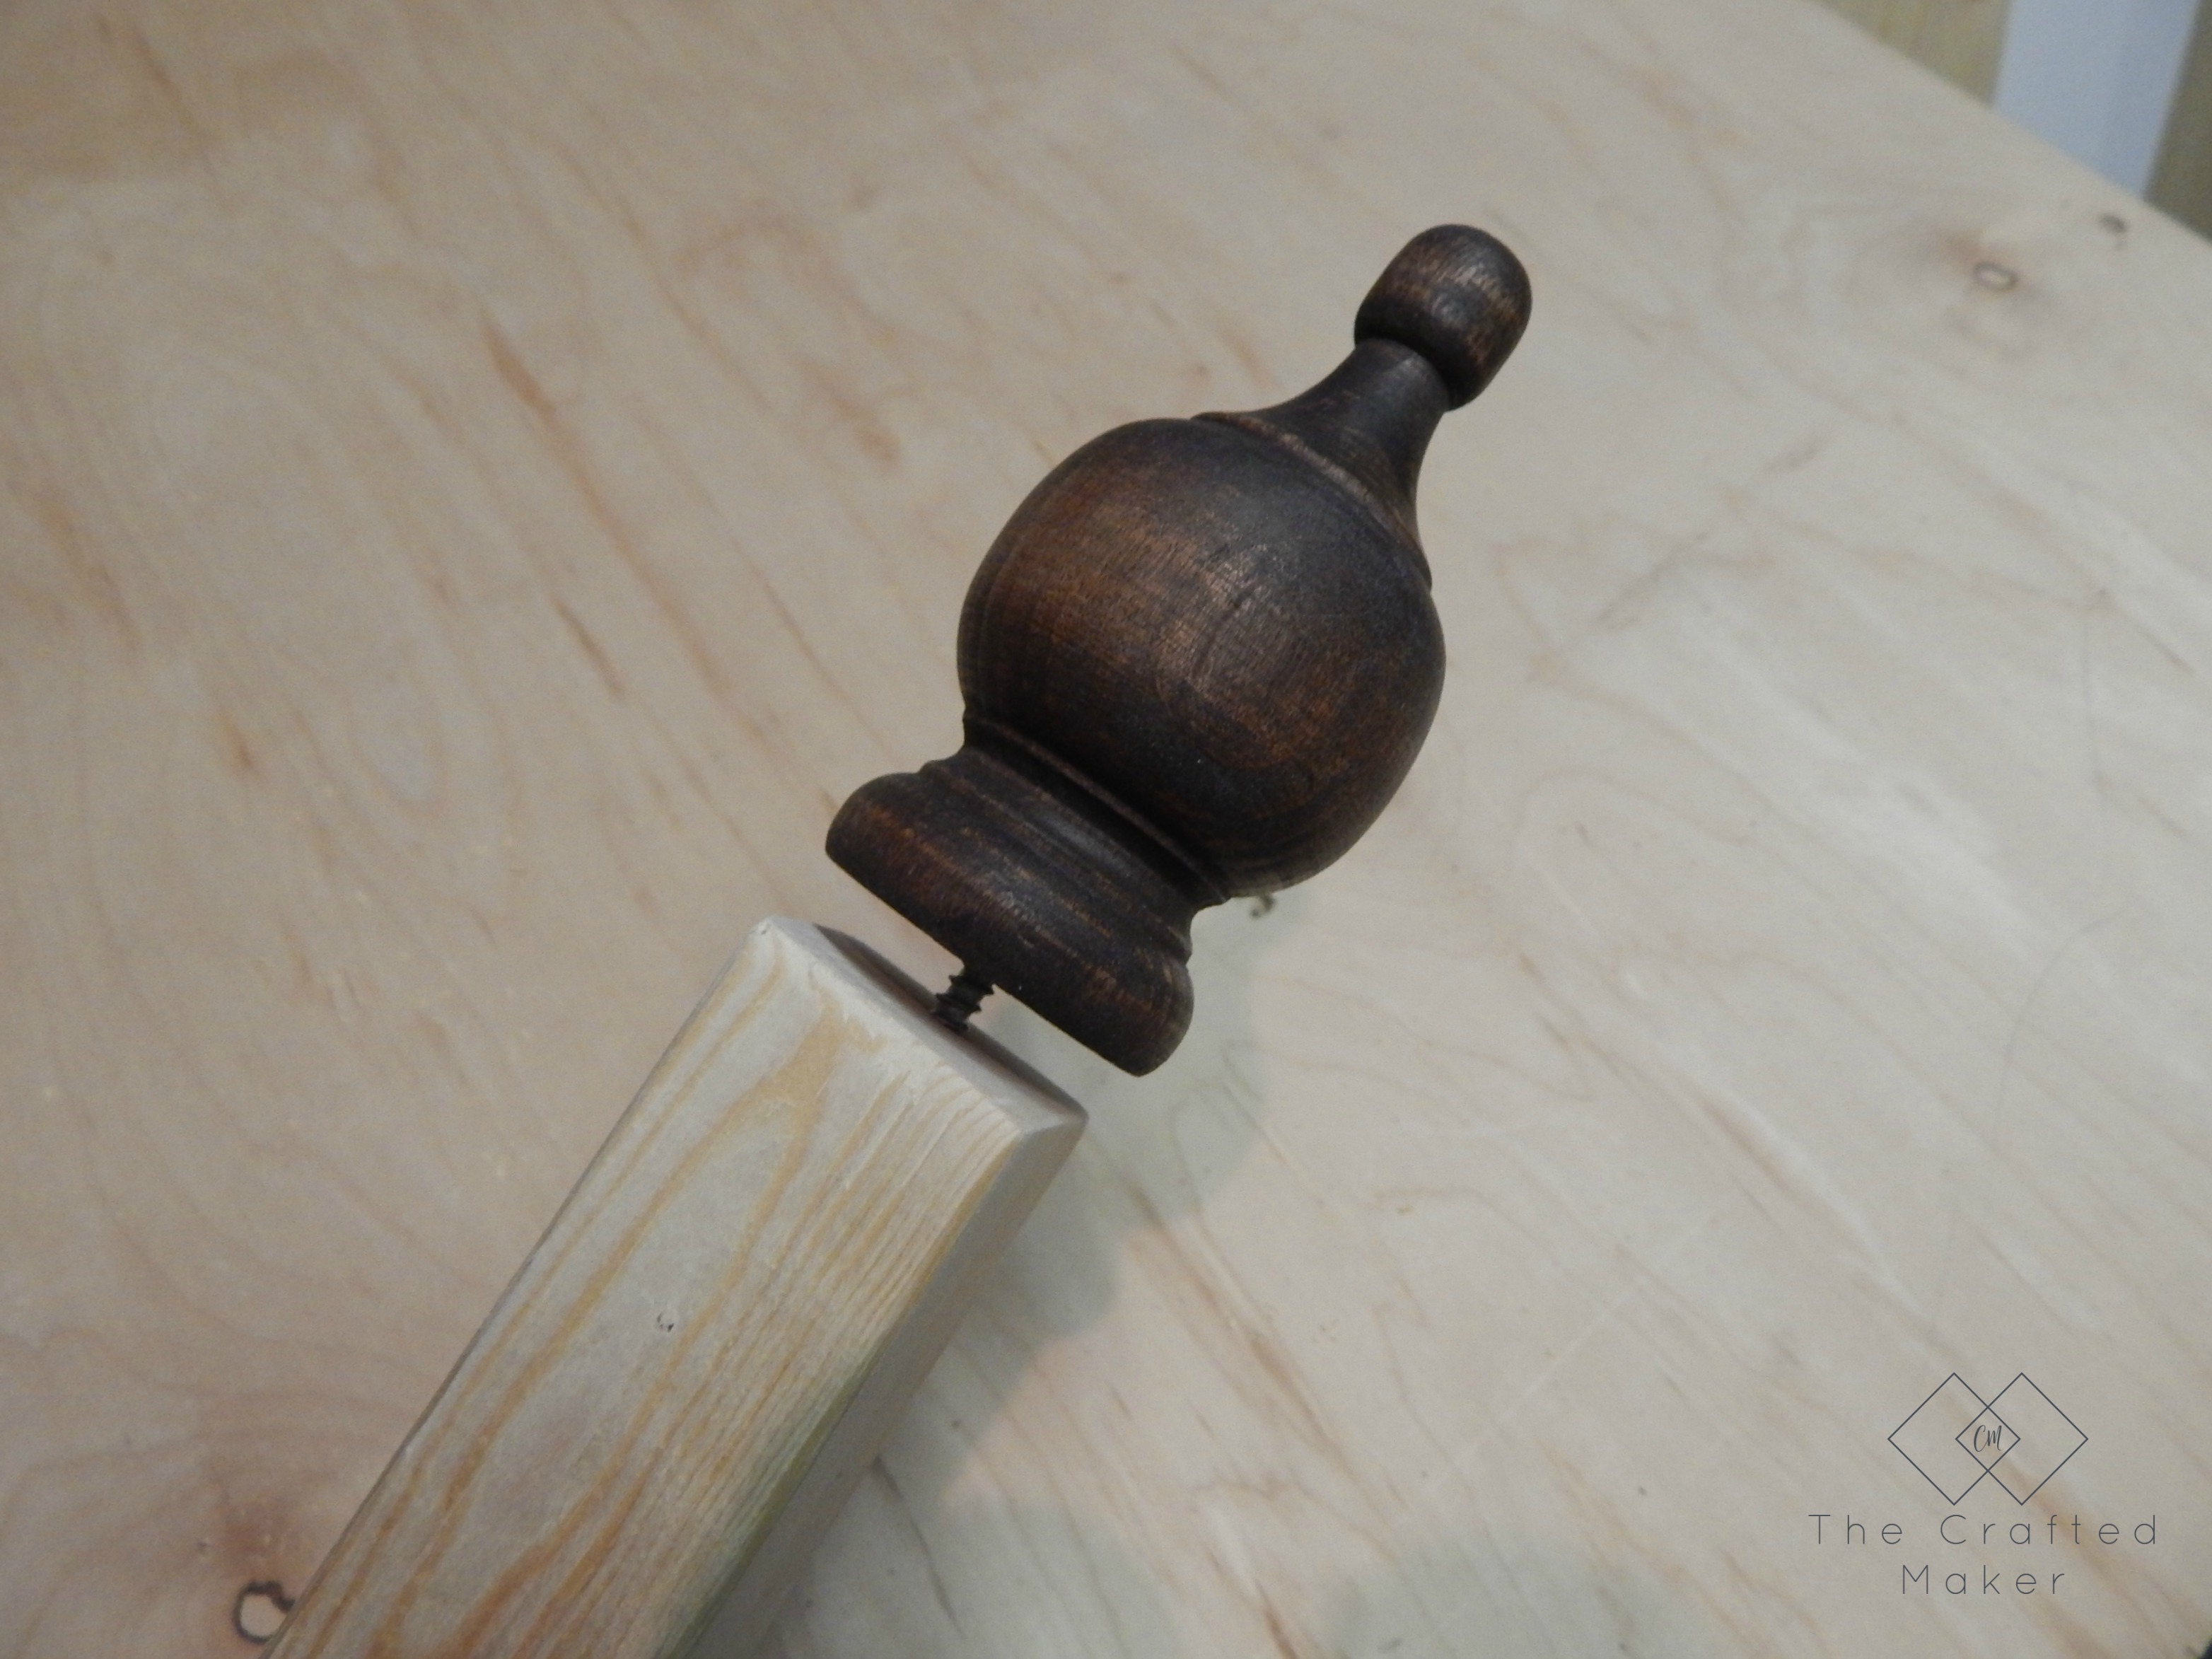
- Wood finial
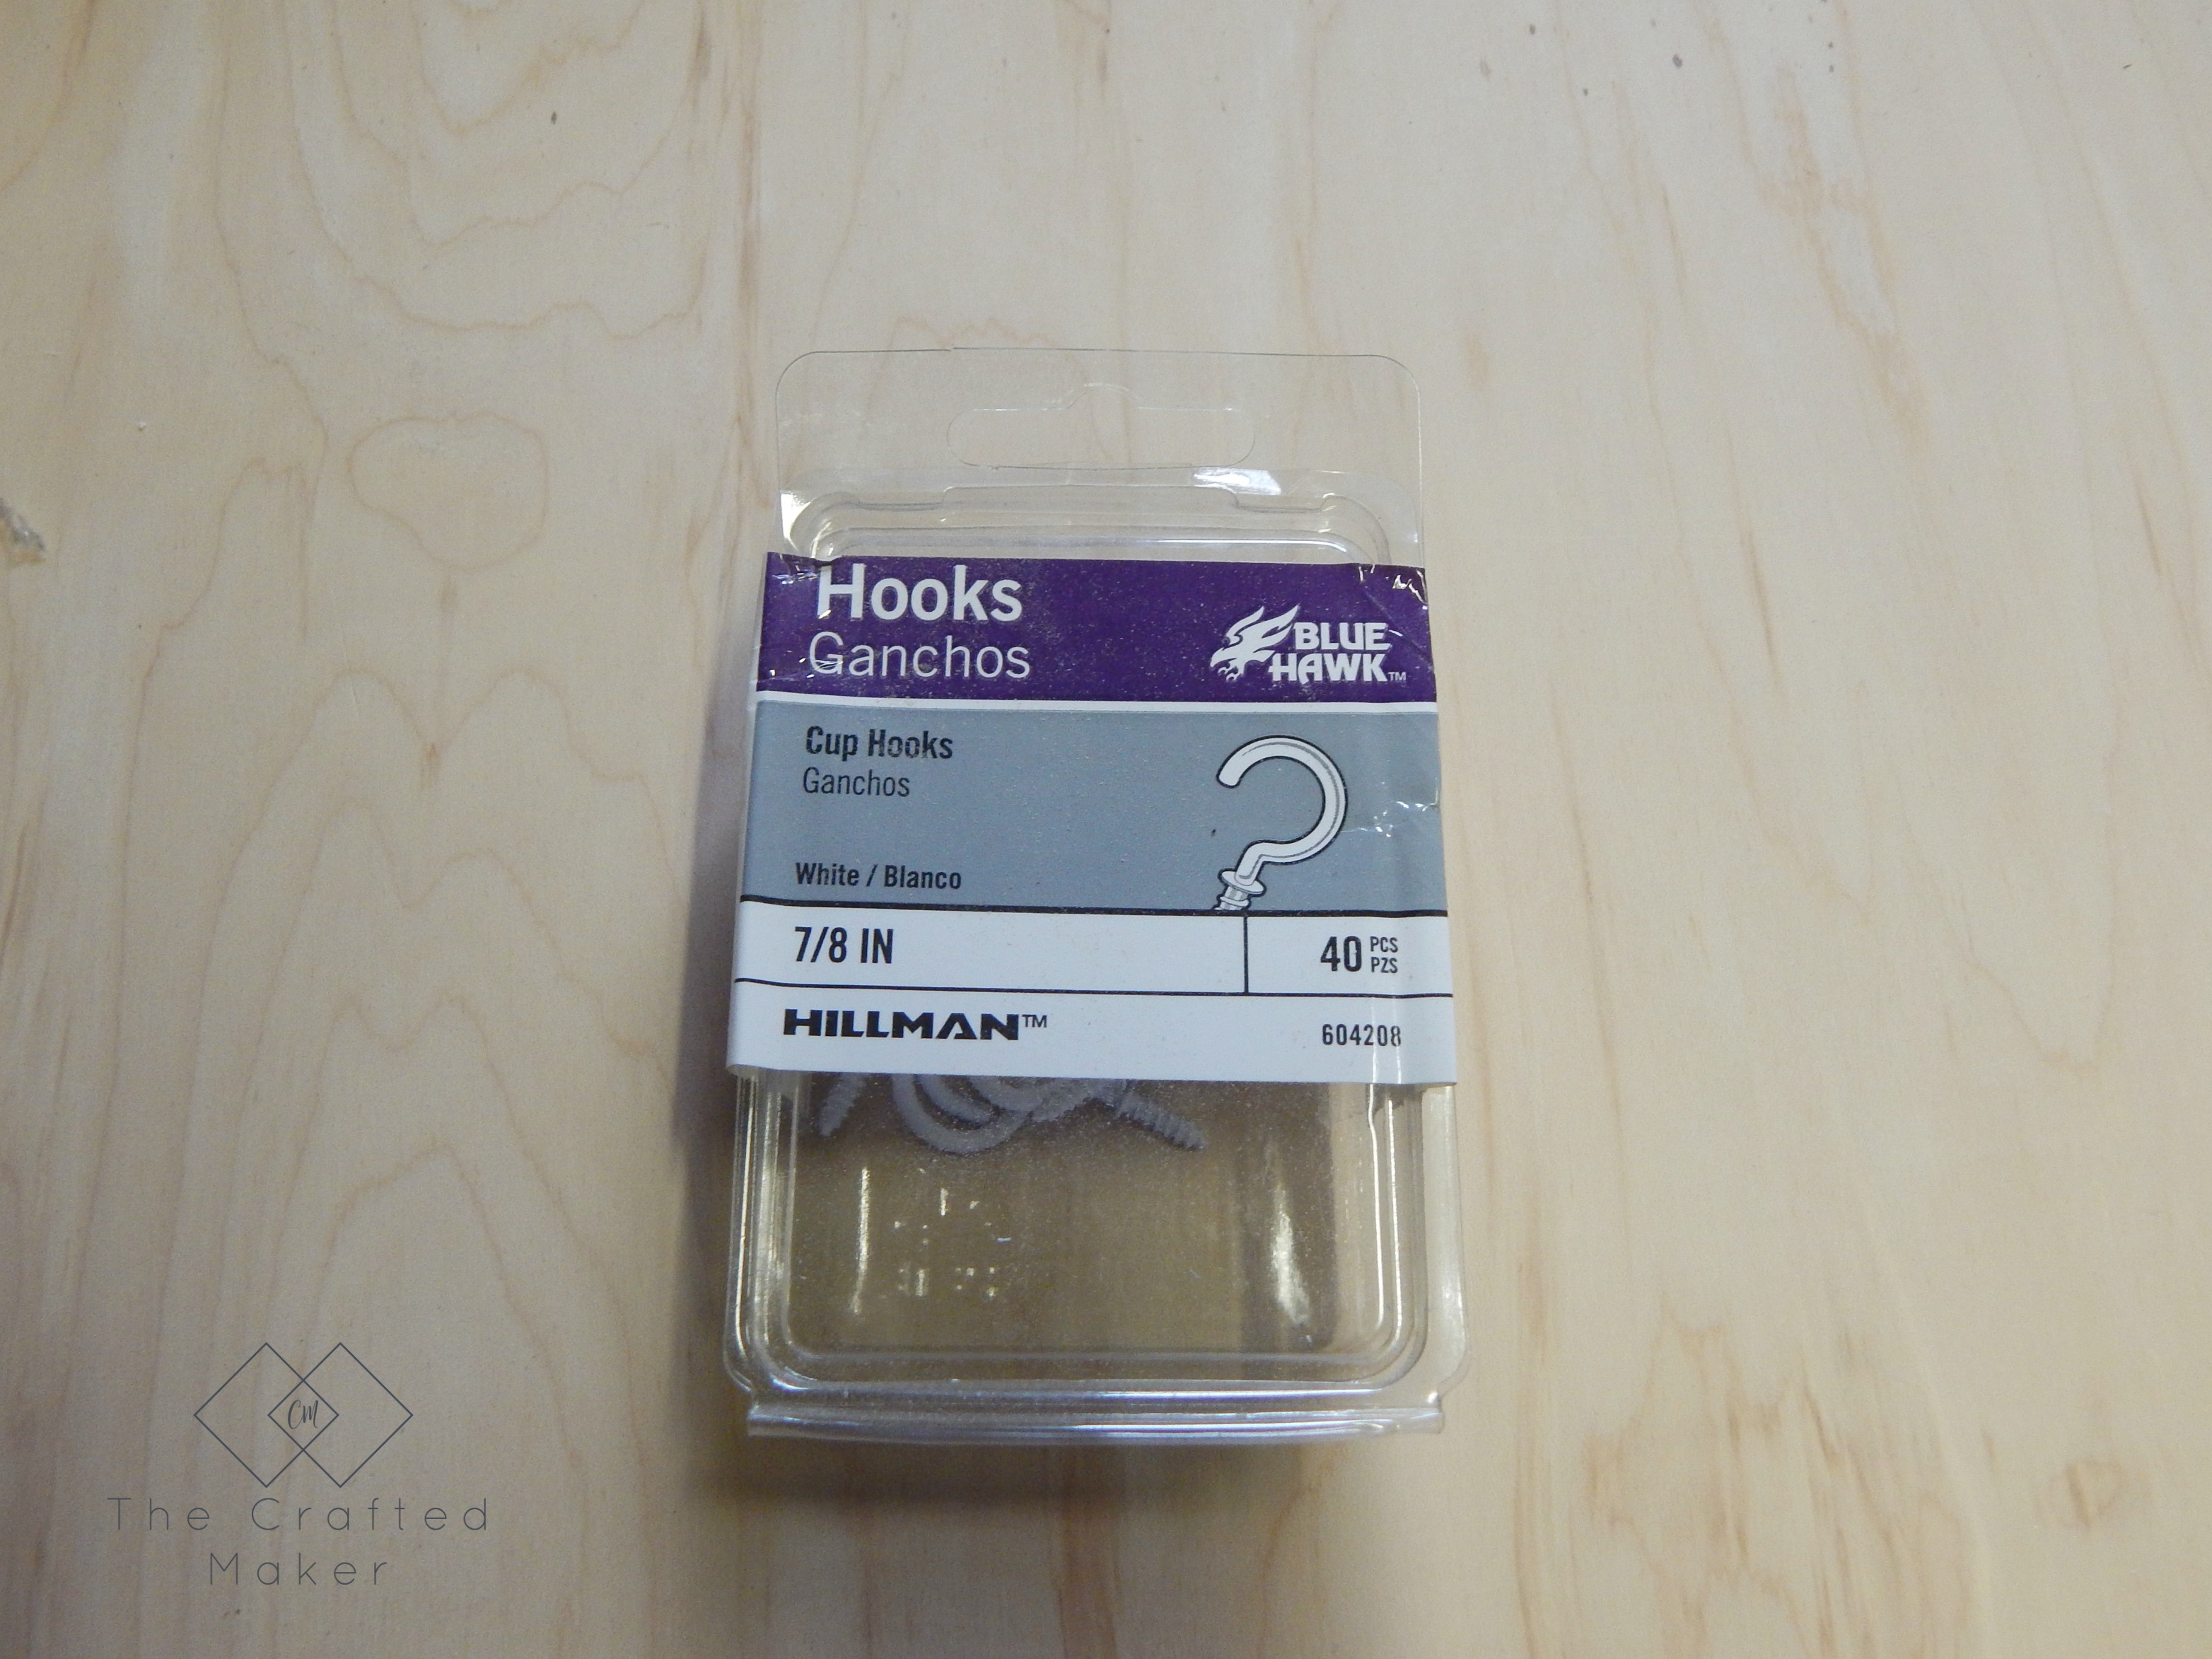
- Cup hooks
- Drill bits
- Wood Screw
- Sandpaper
- Paint or stain of choice
Tools List:
- Saw to cut wood to size
- Drill
- Sander if not sanding by hand
- Tape Measure
All of these products can be found at your local hardware store.
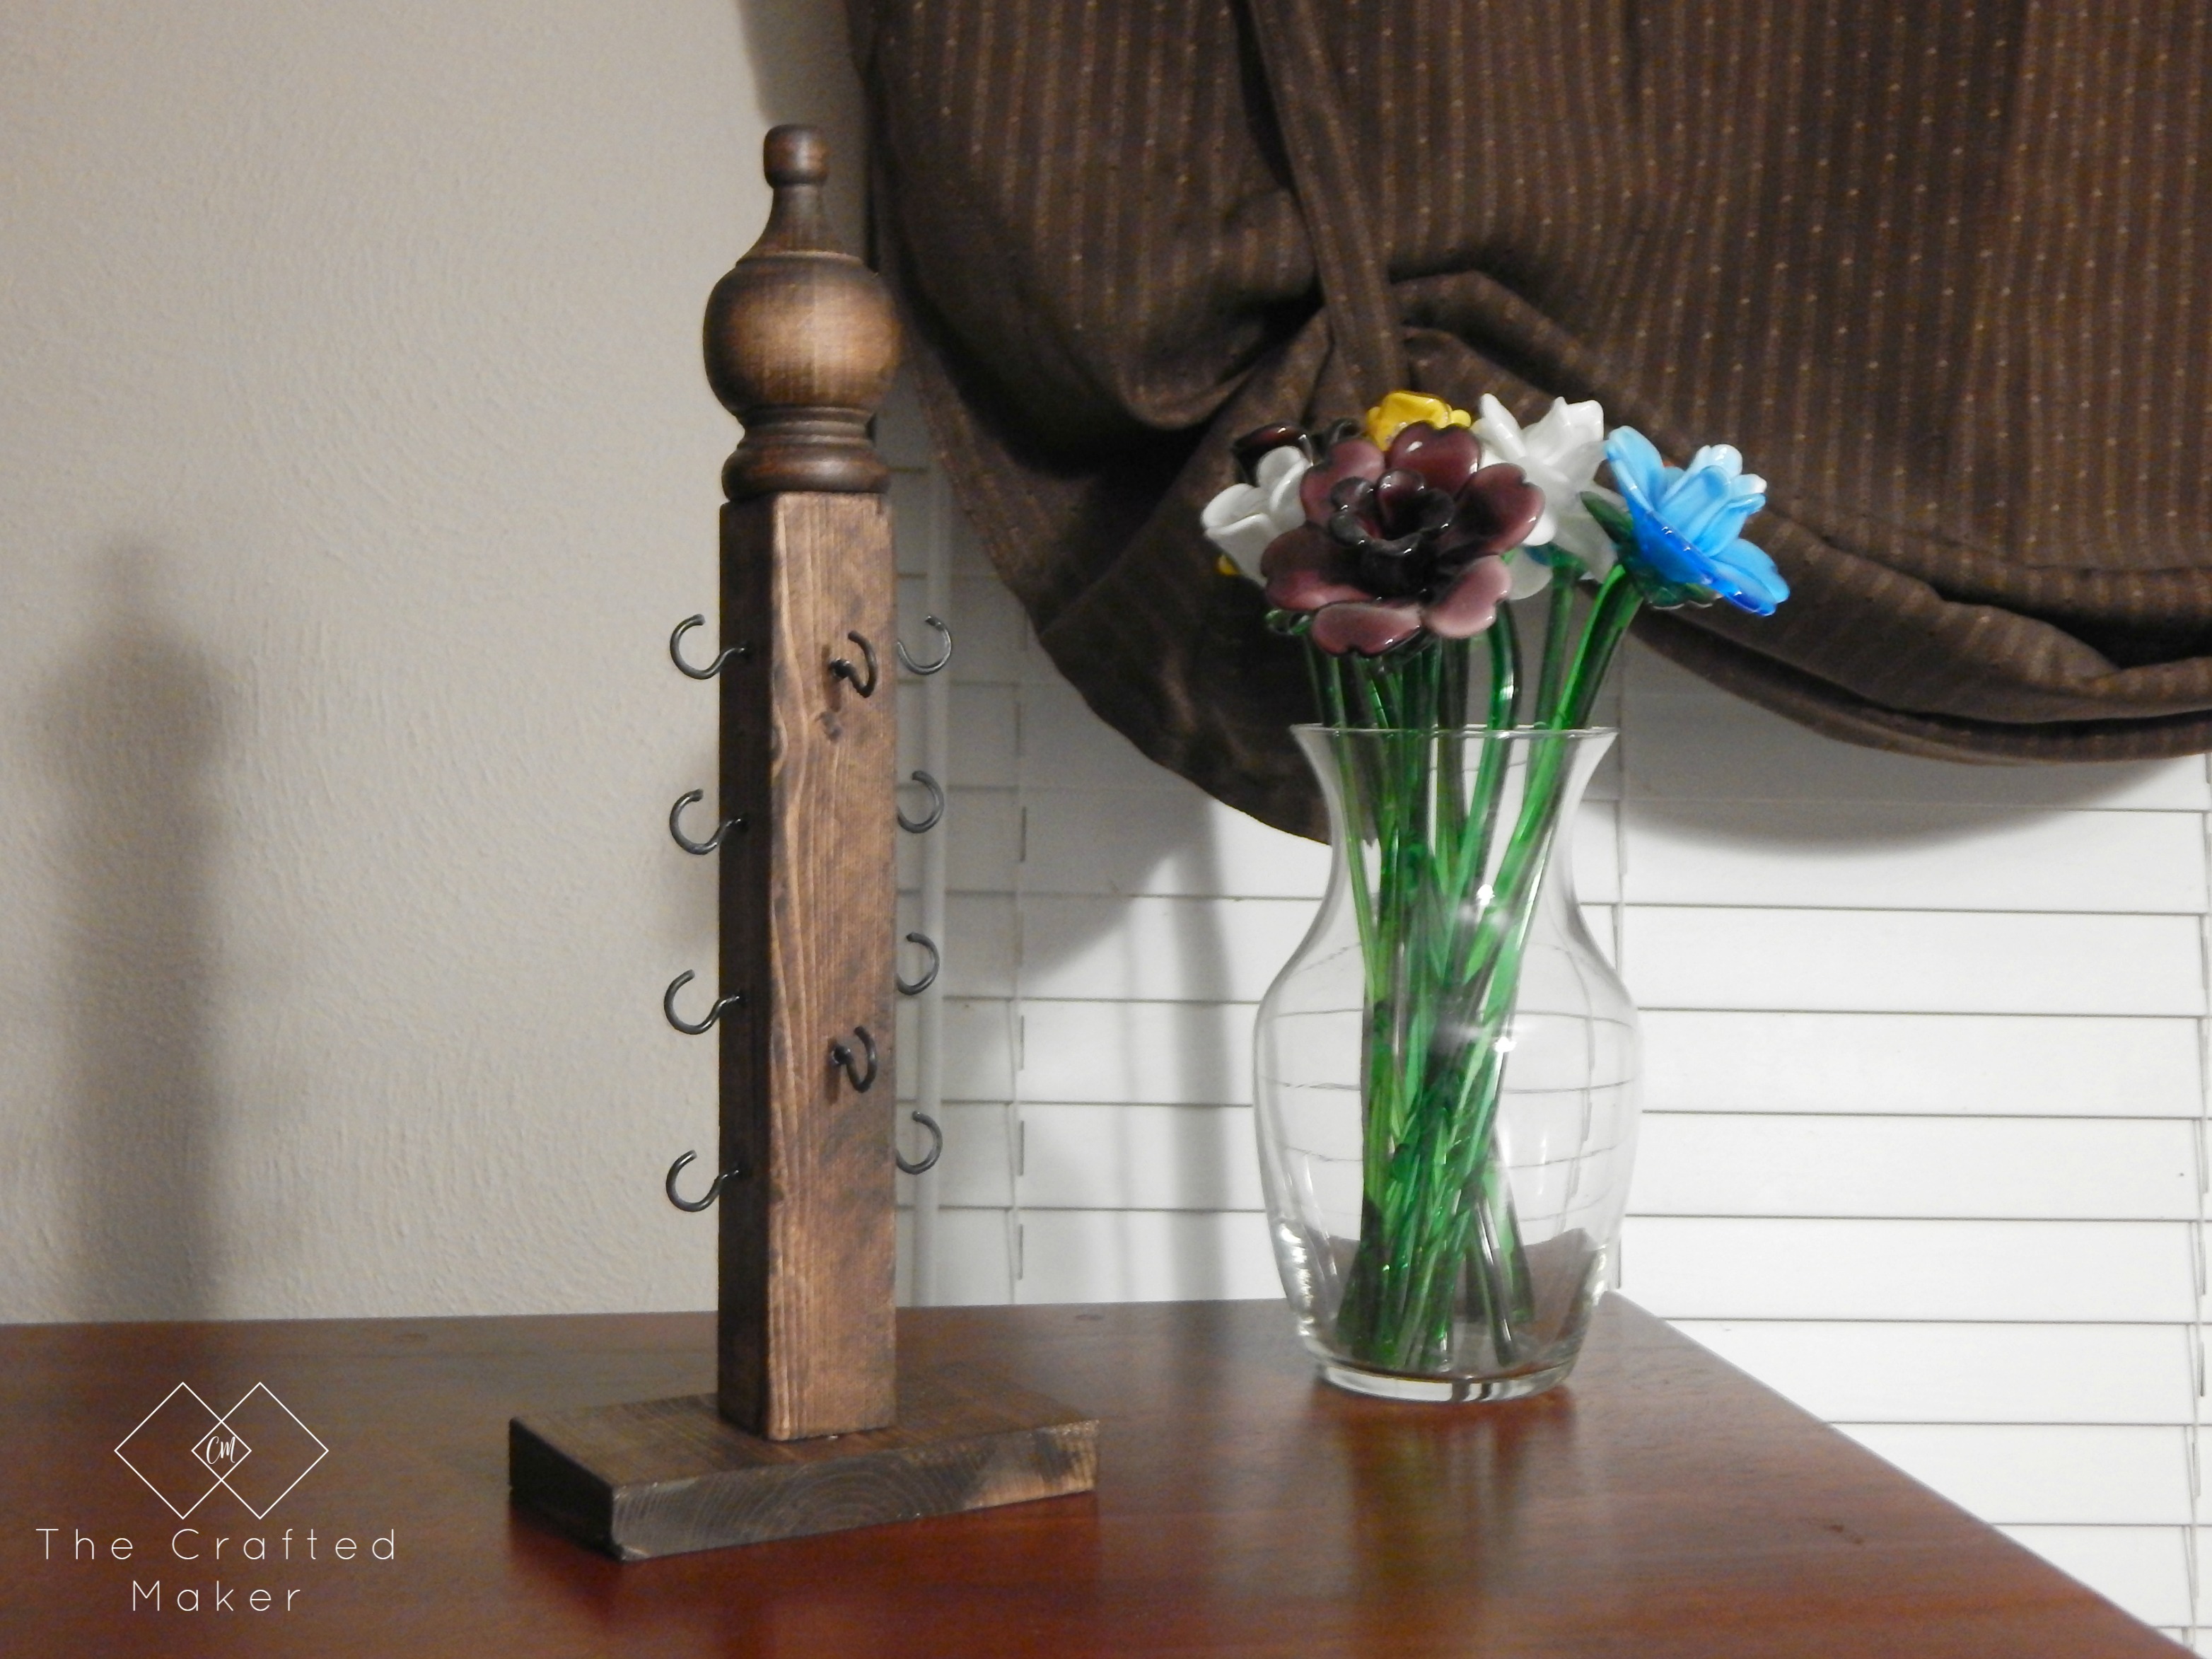
The first thing to do is cut the wood to size. The 1×6 is cut to 3″. The 2×2 is cut at 10″.
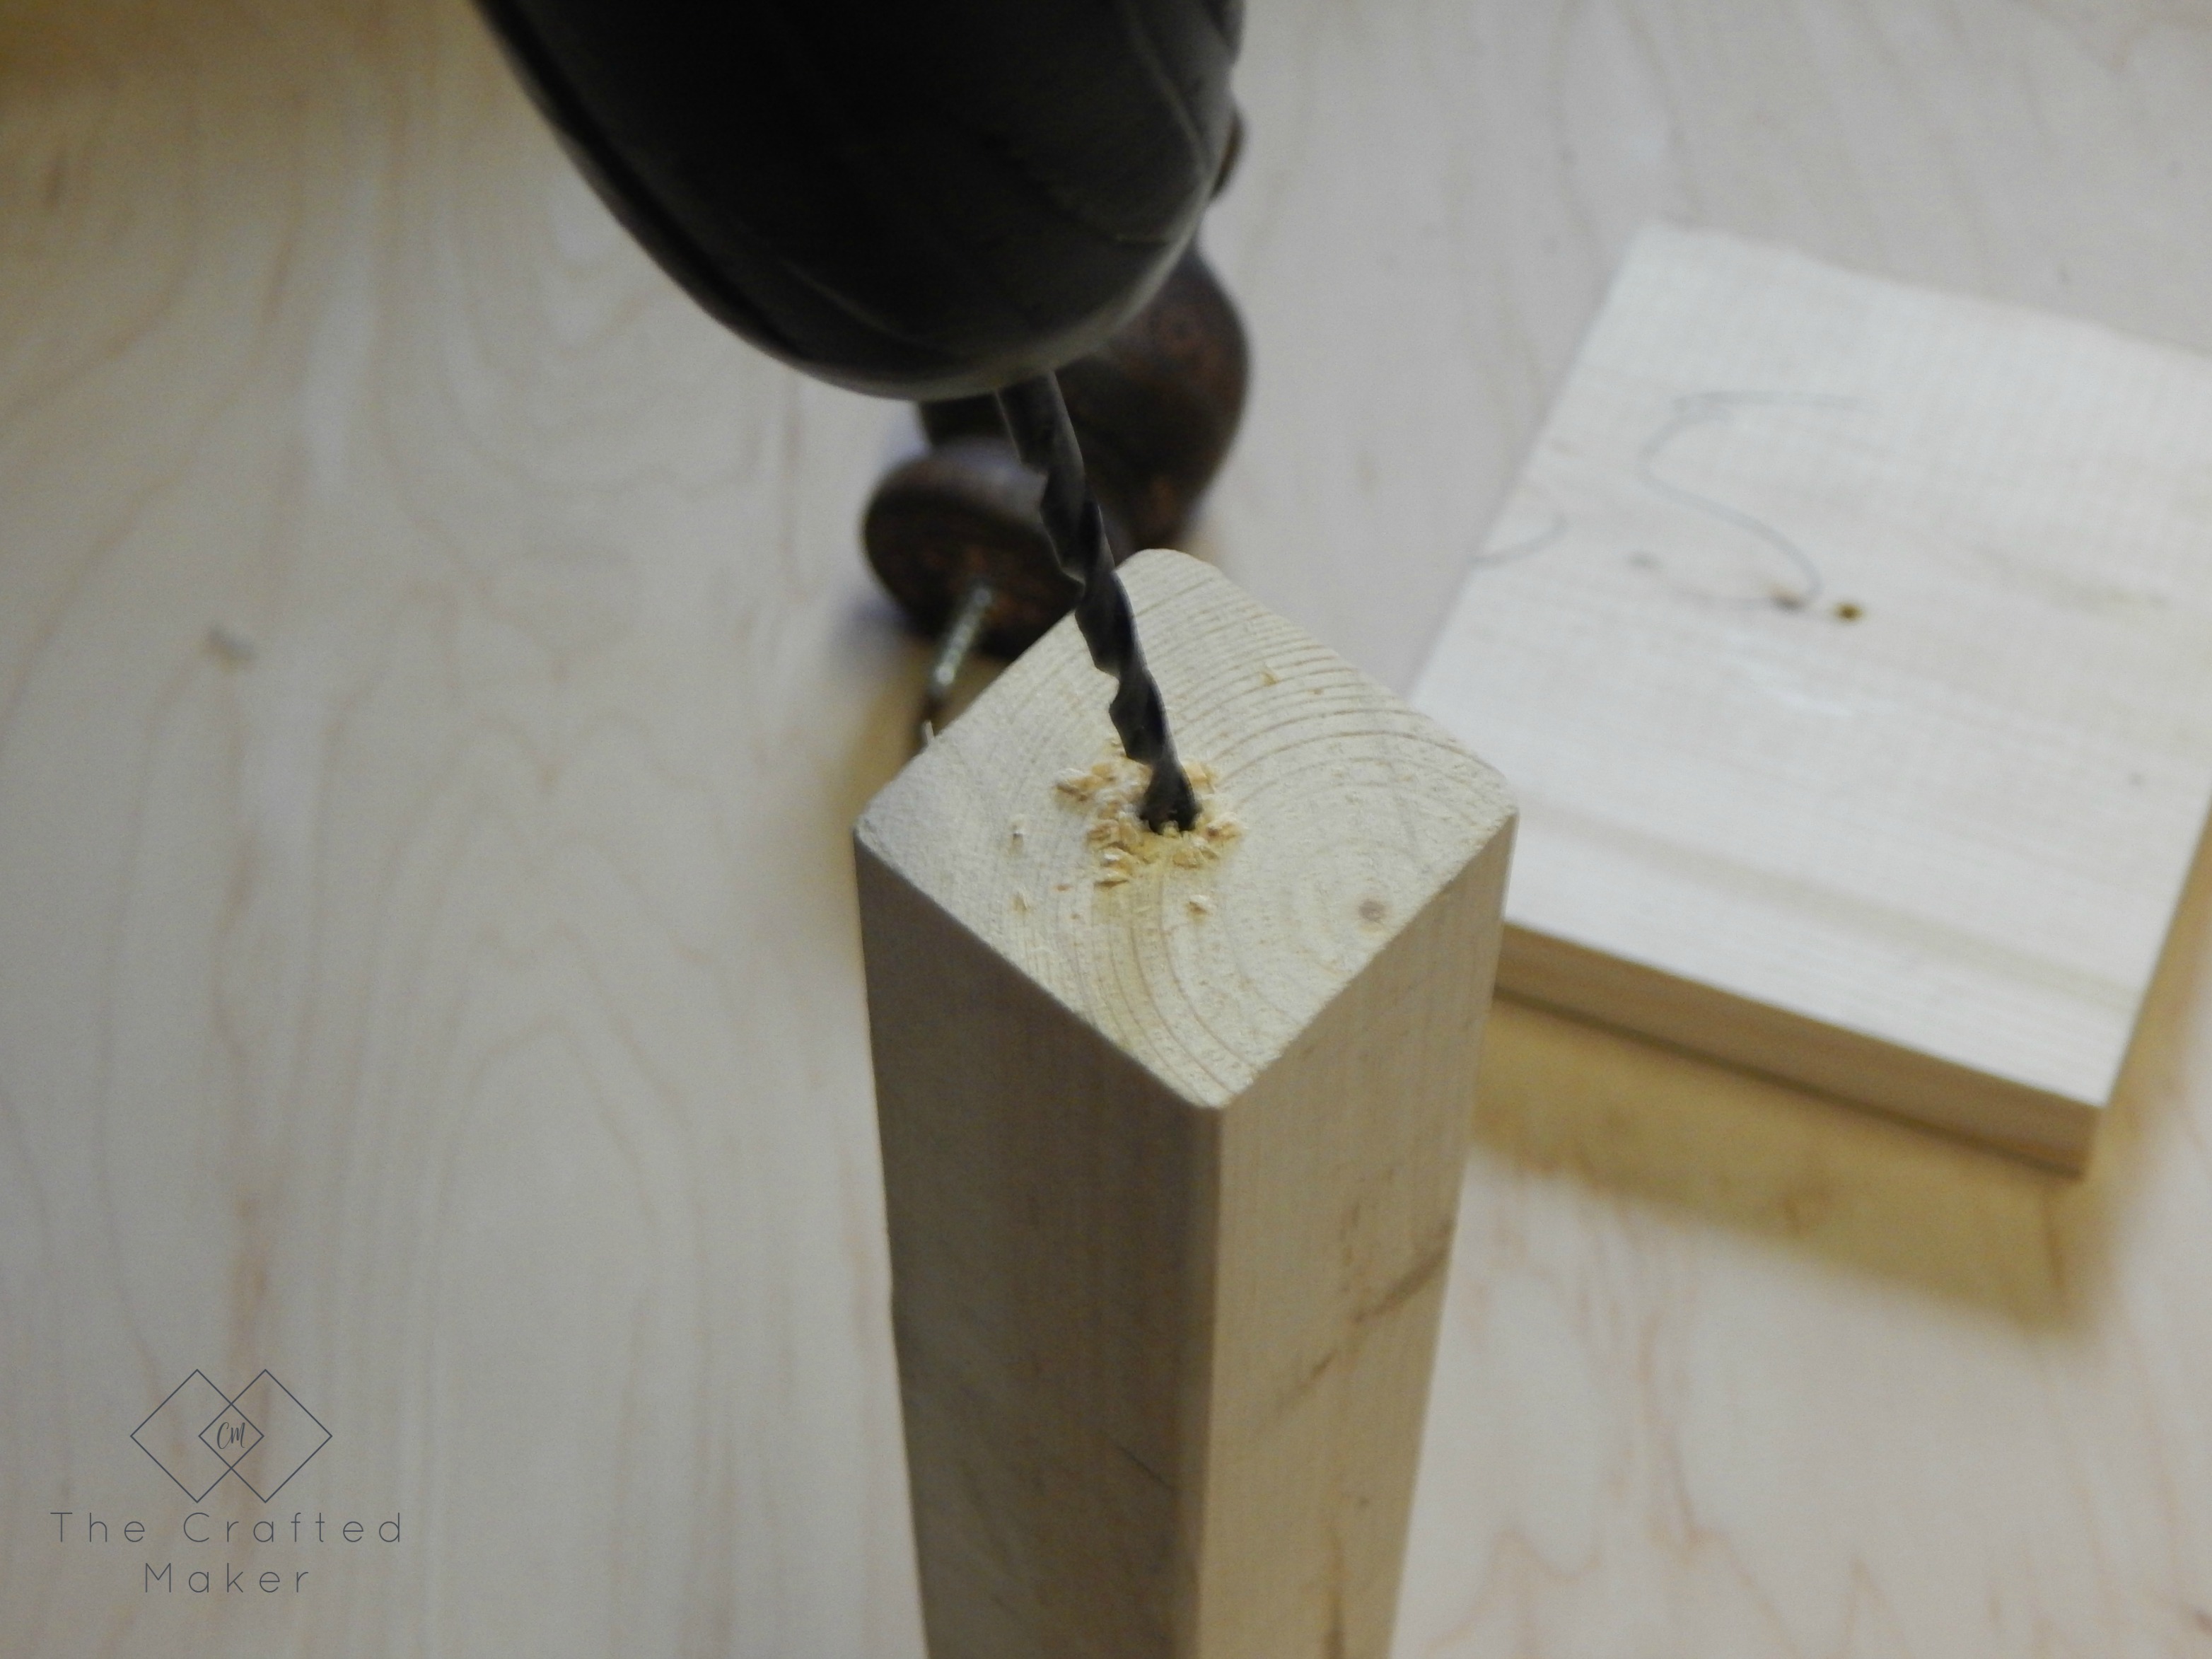
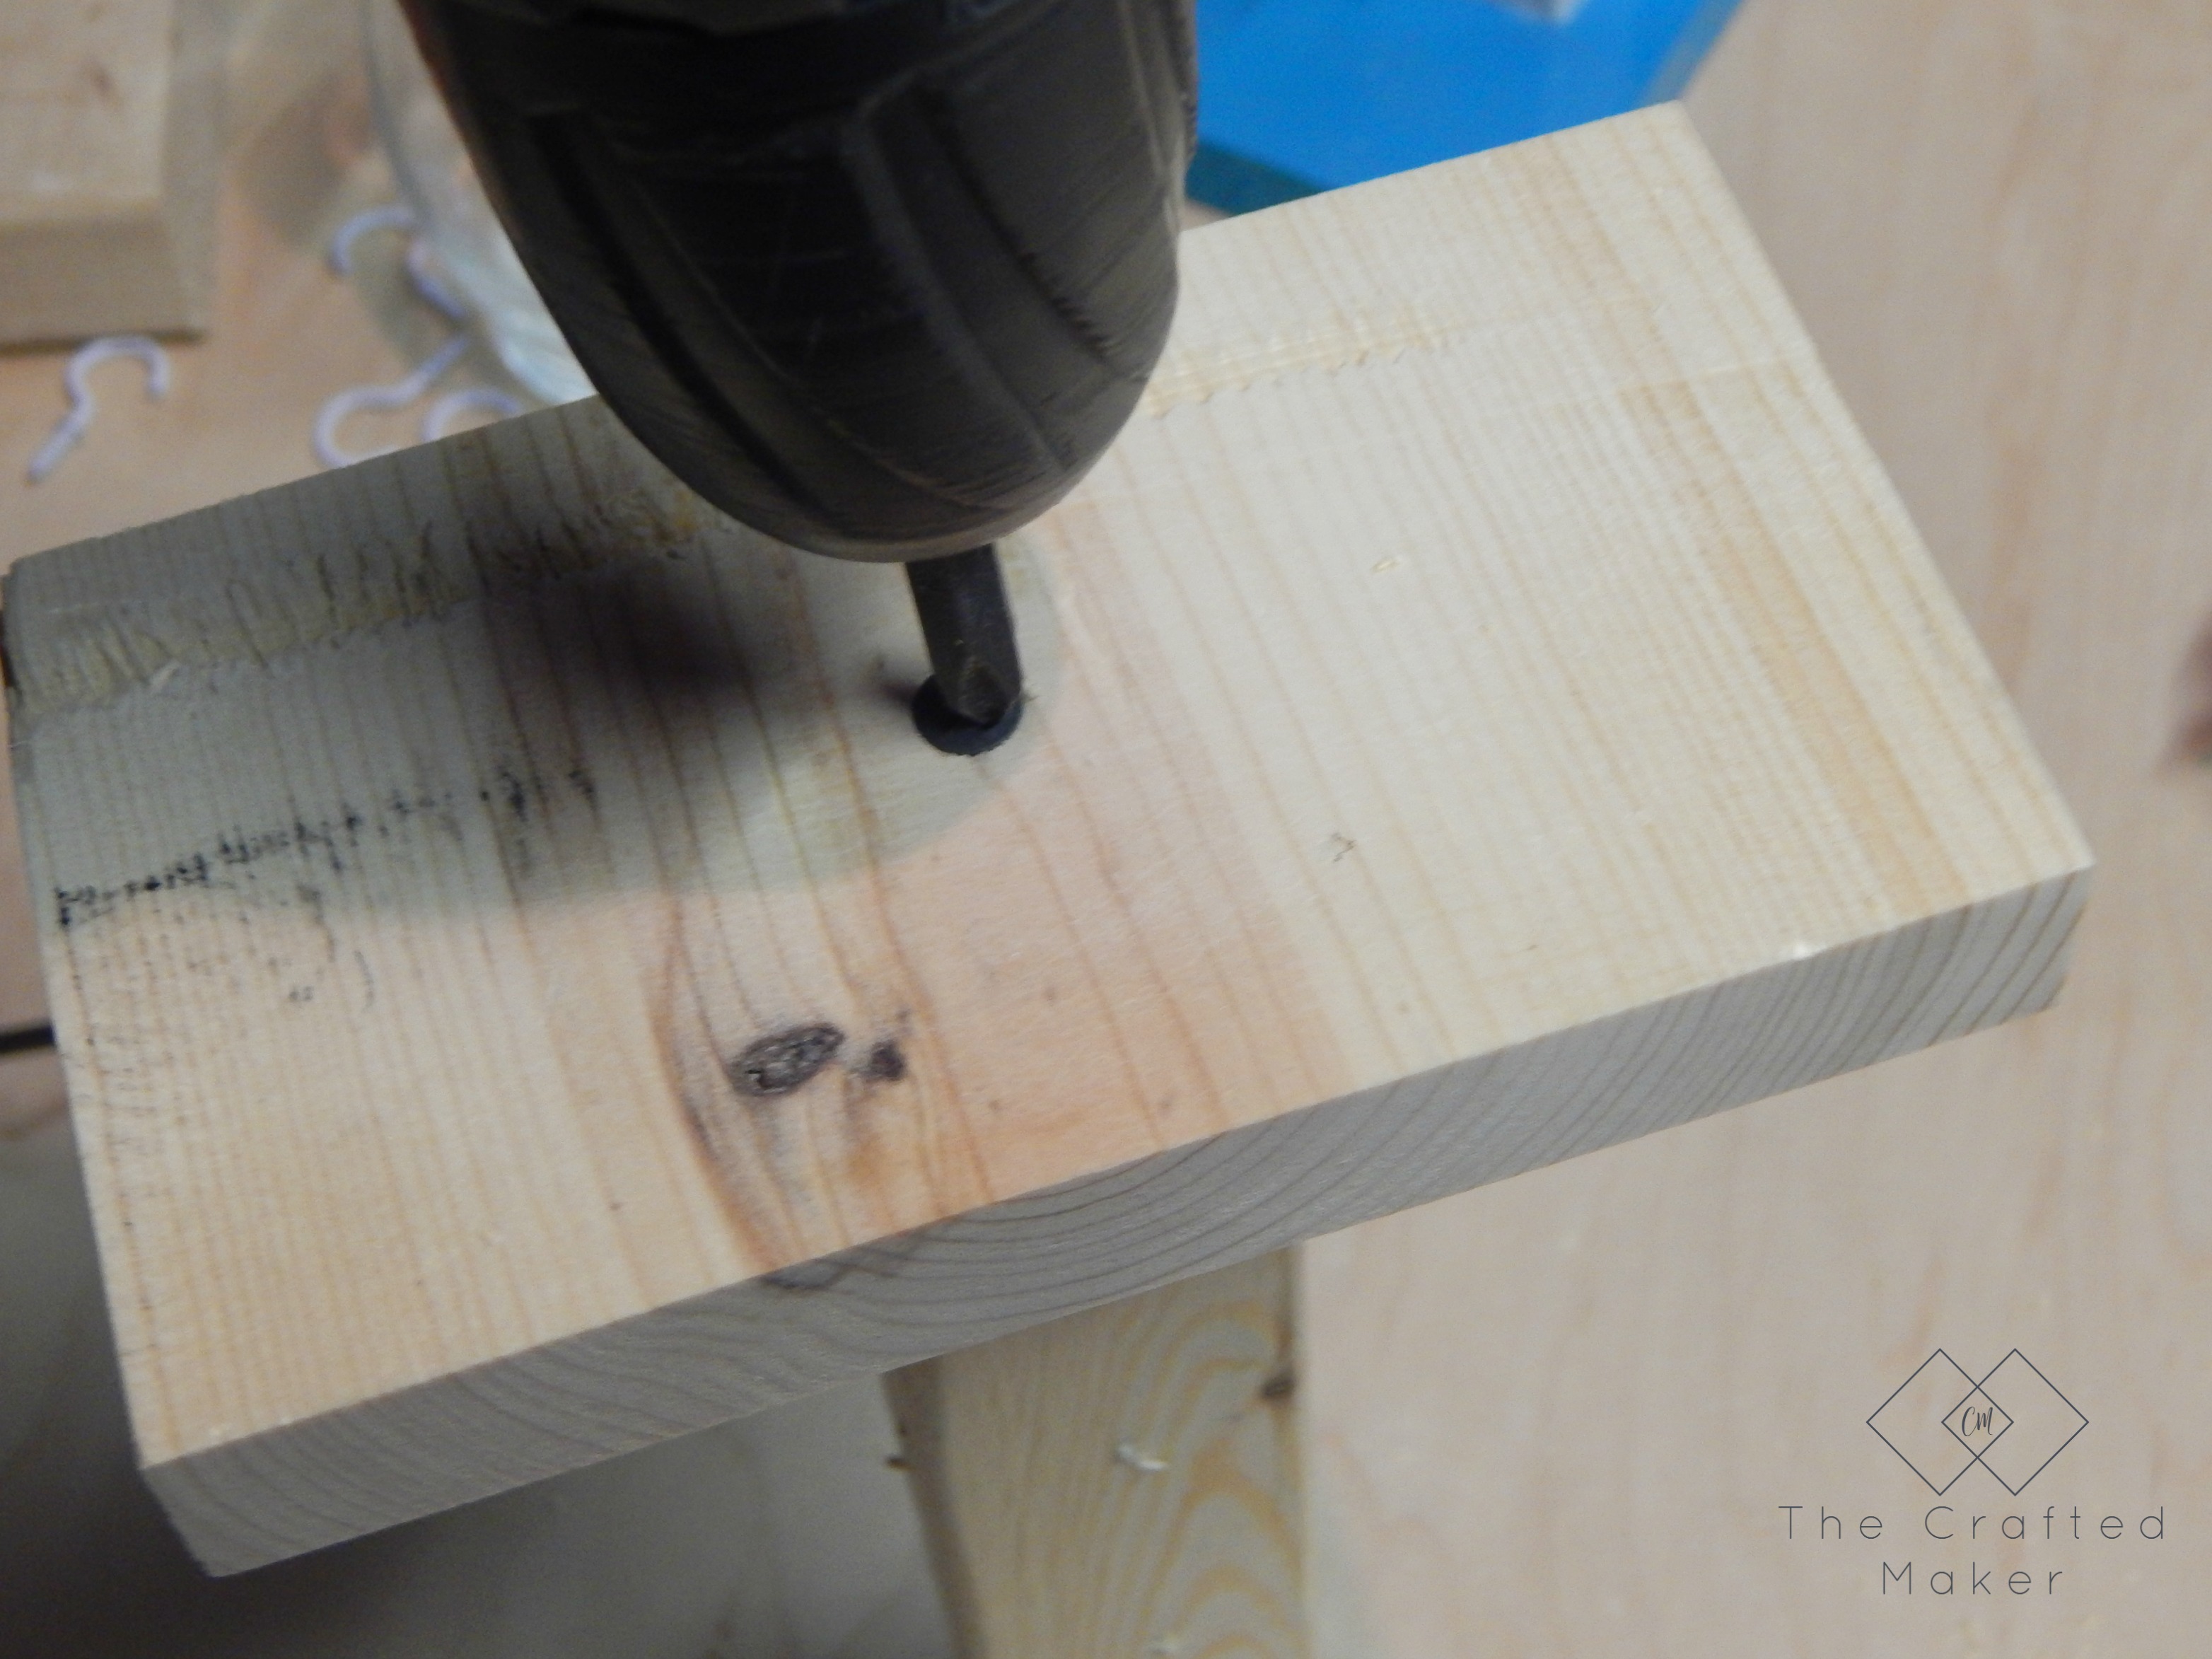
Then, drill a hole in the top of the 2×2 for the finial to screw into.
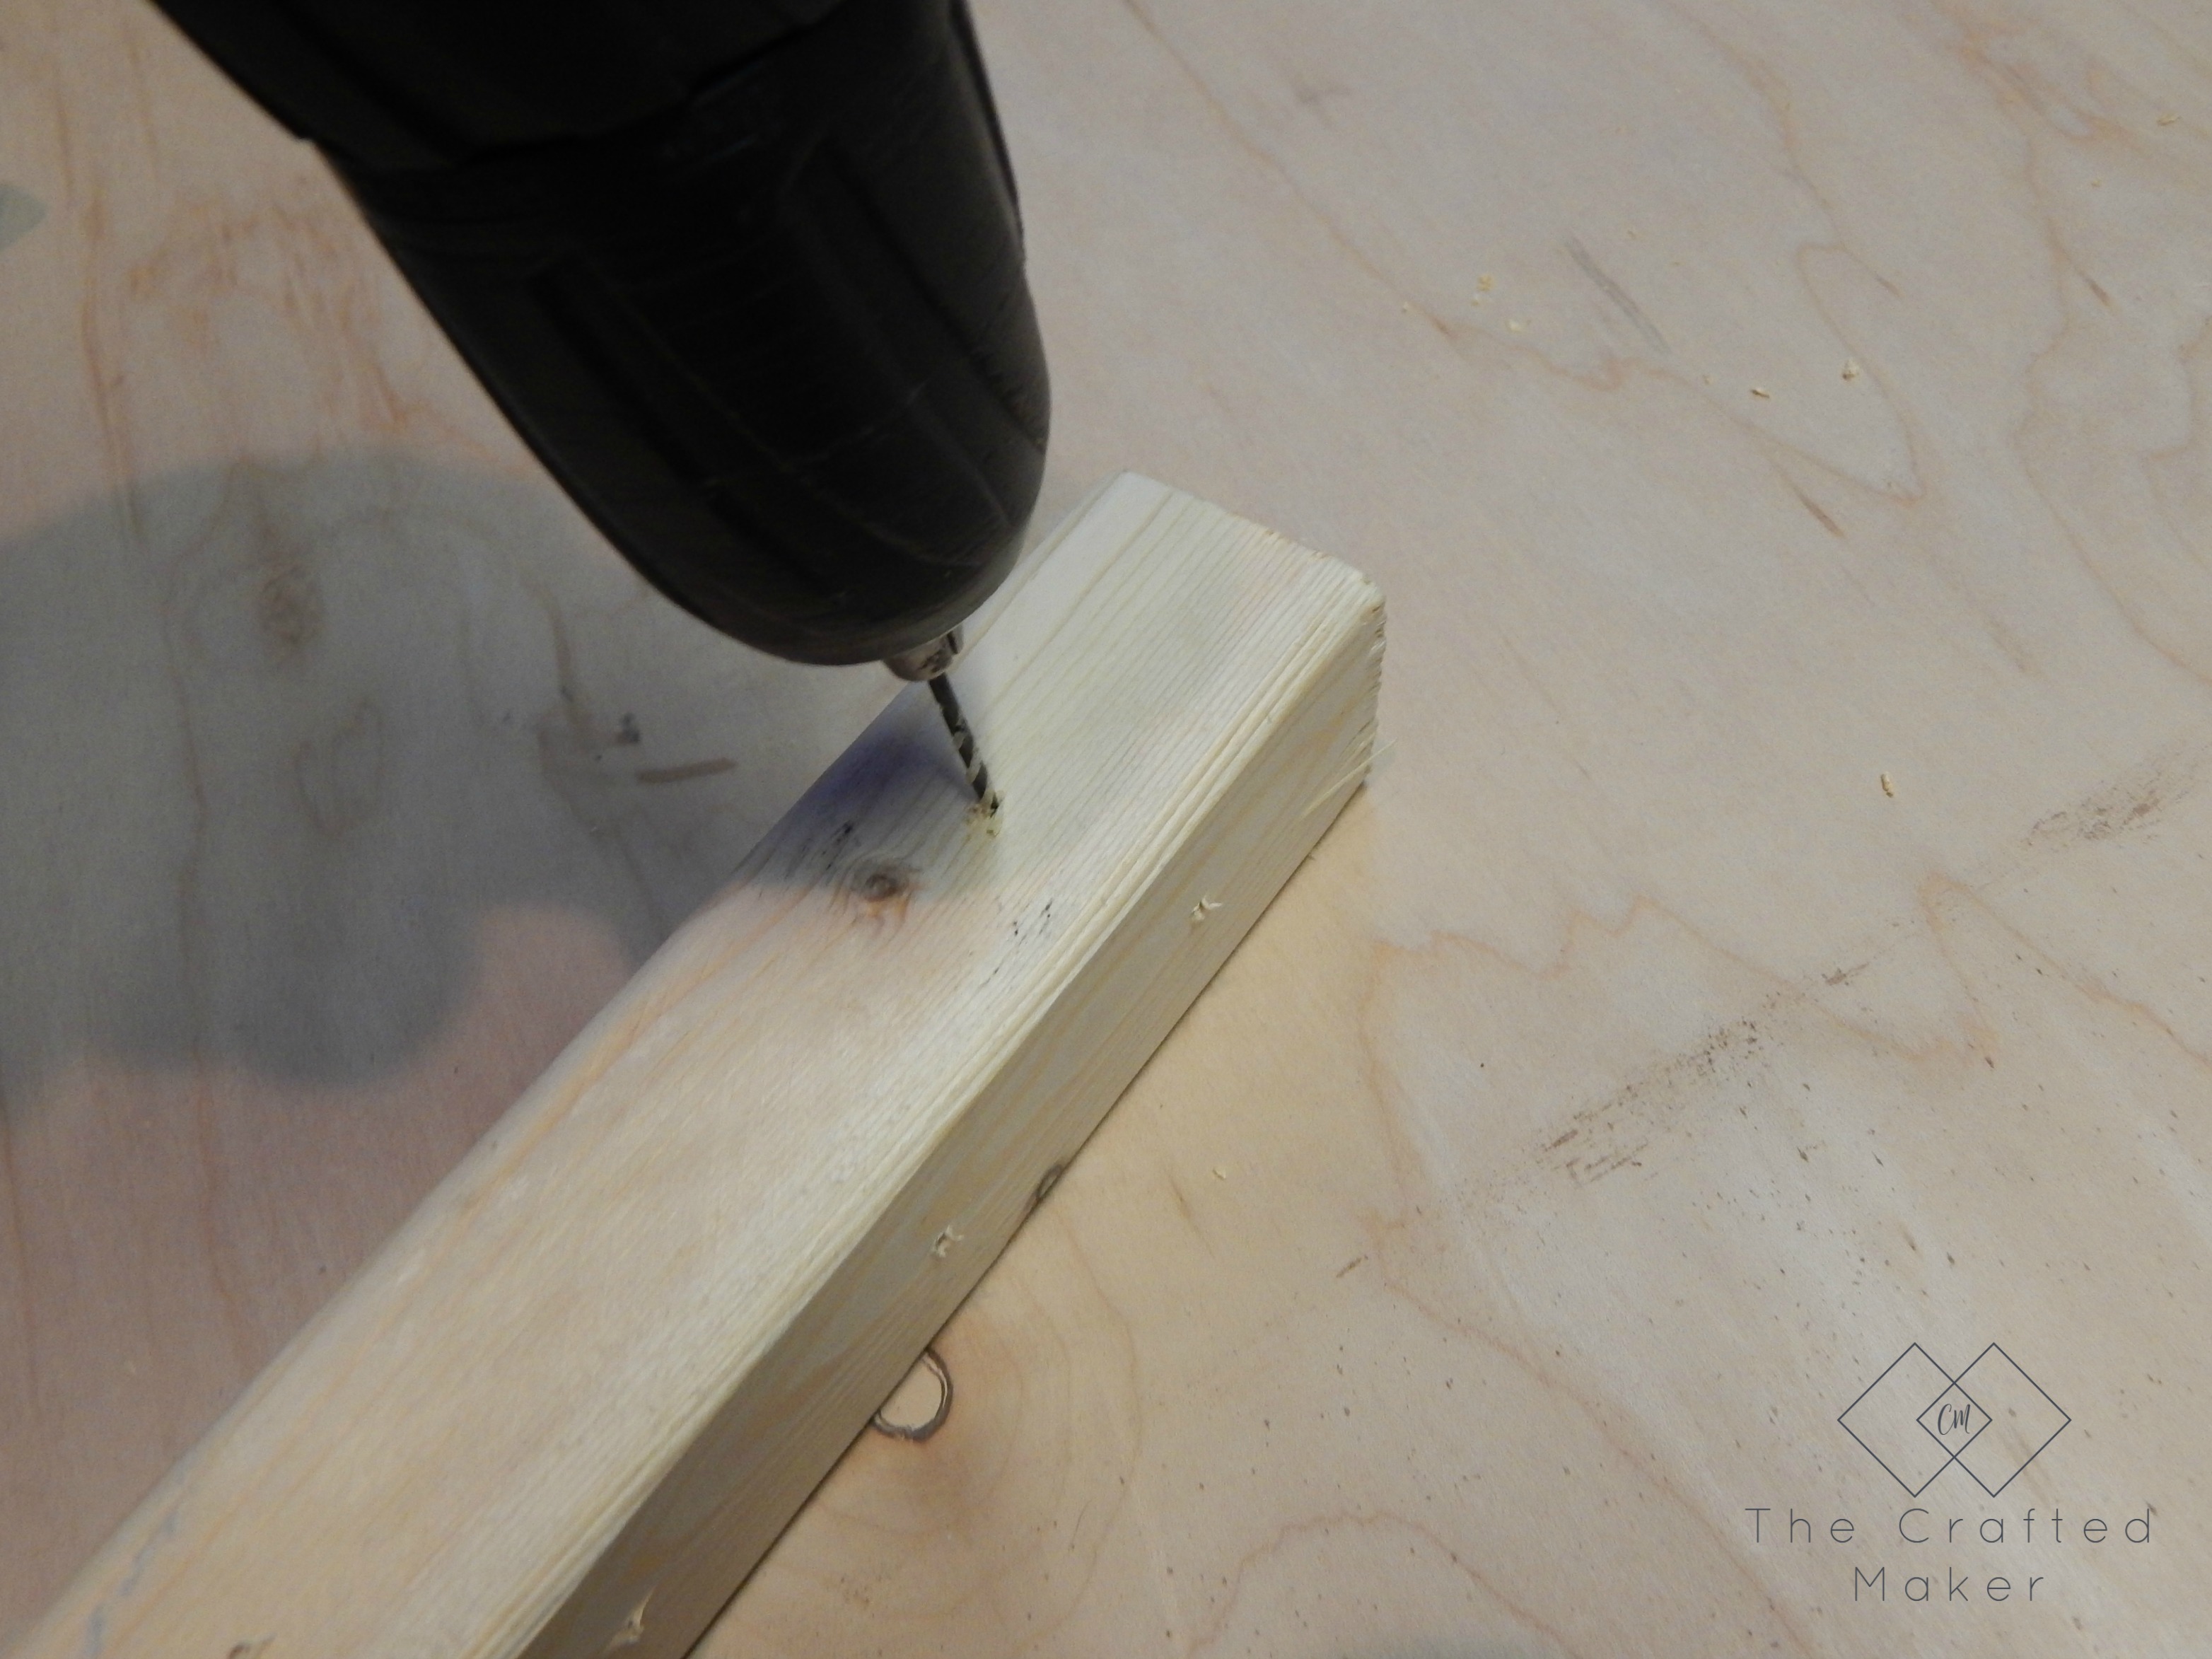
Now, pick where you would like your cup hooks to be placed and drill into the wood at the desired locations.
Time to assemble! Screw the finial into the top of the 2×2.
Then, screw the 1×6 into the 2×2 through the bottom. This should only take one screw.
This project is starting to come together now. Completely sand your jewelry stand to get rid of rough edges or markings on the wood.
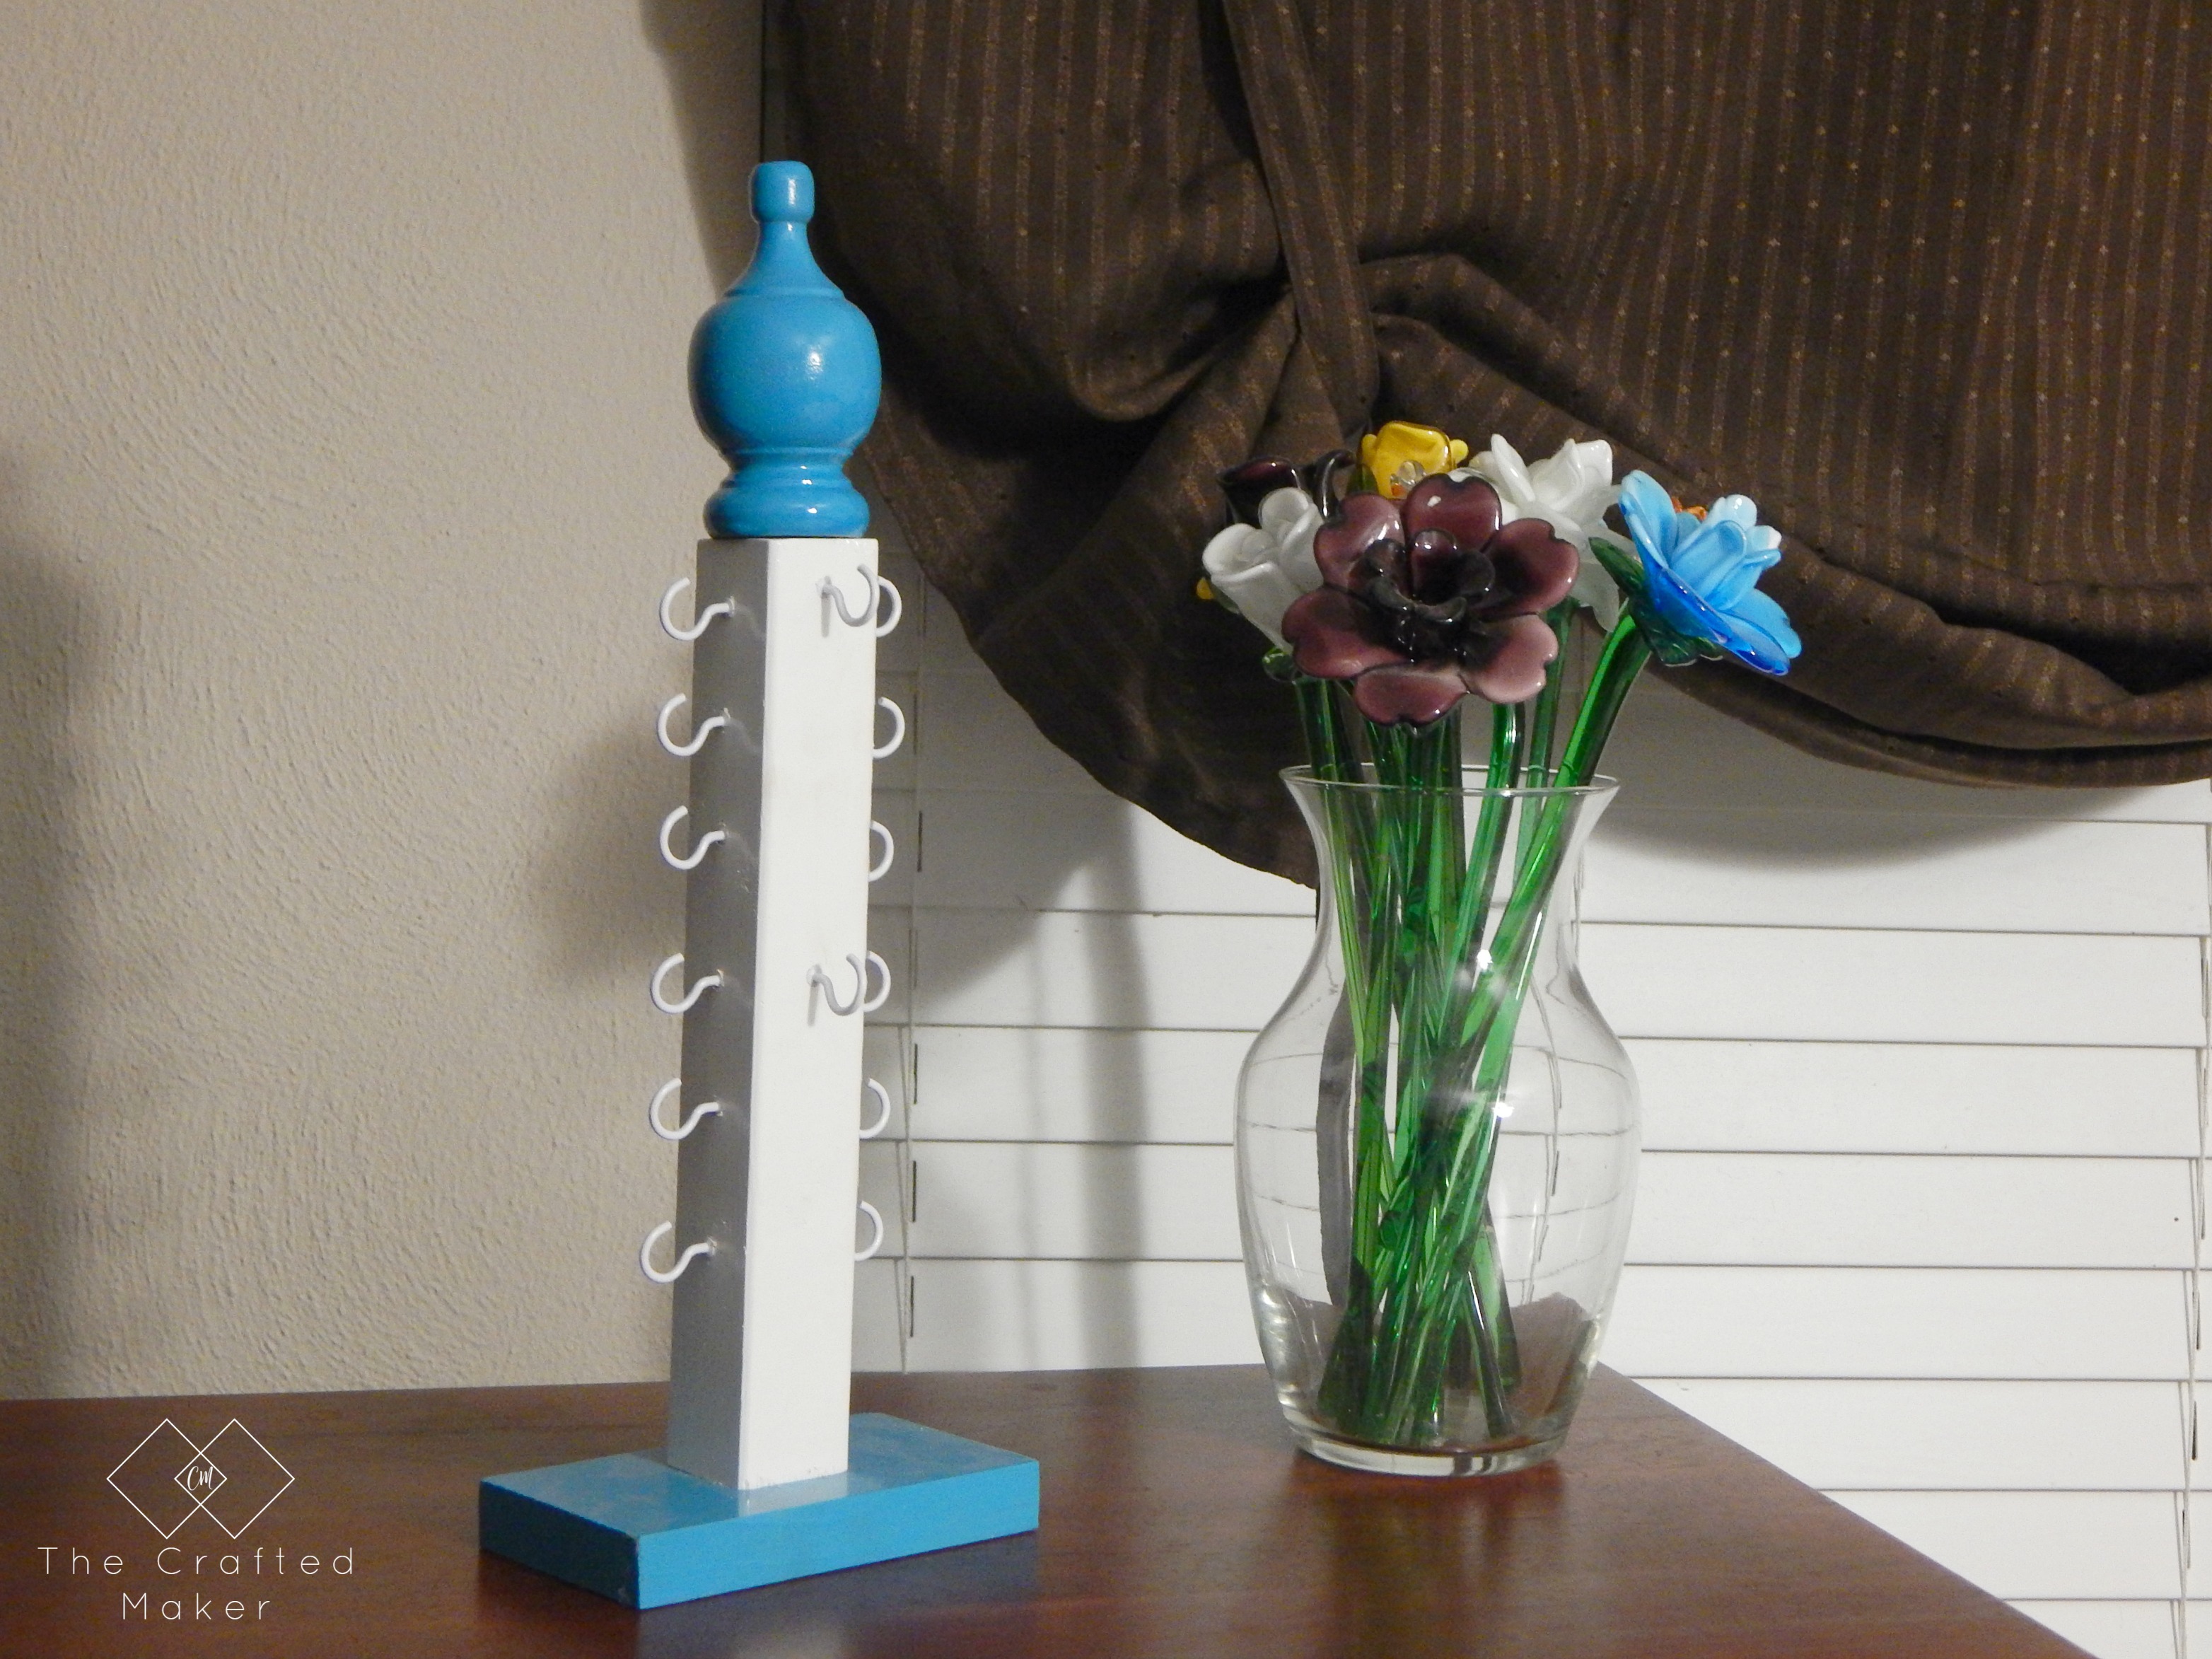
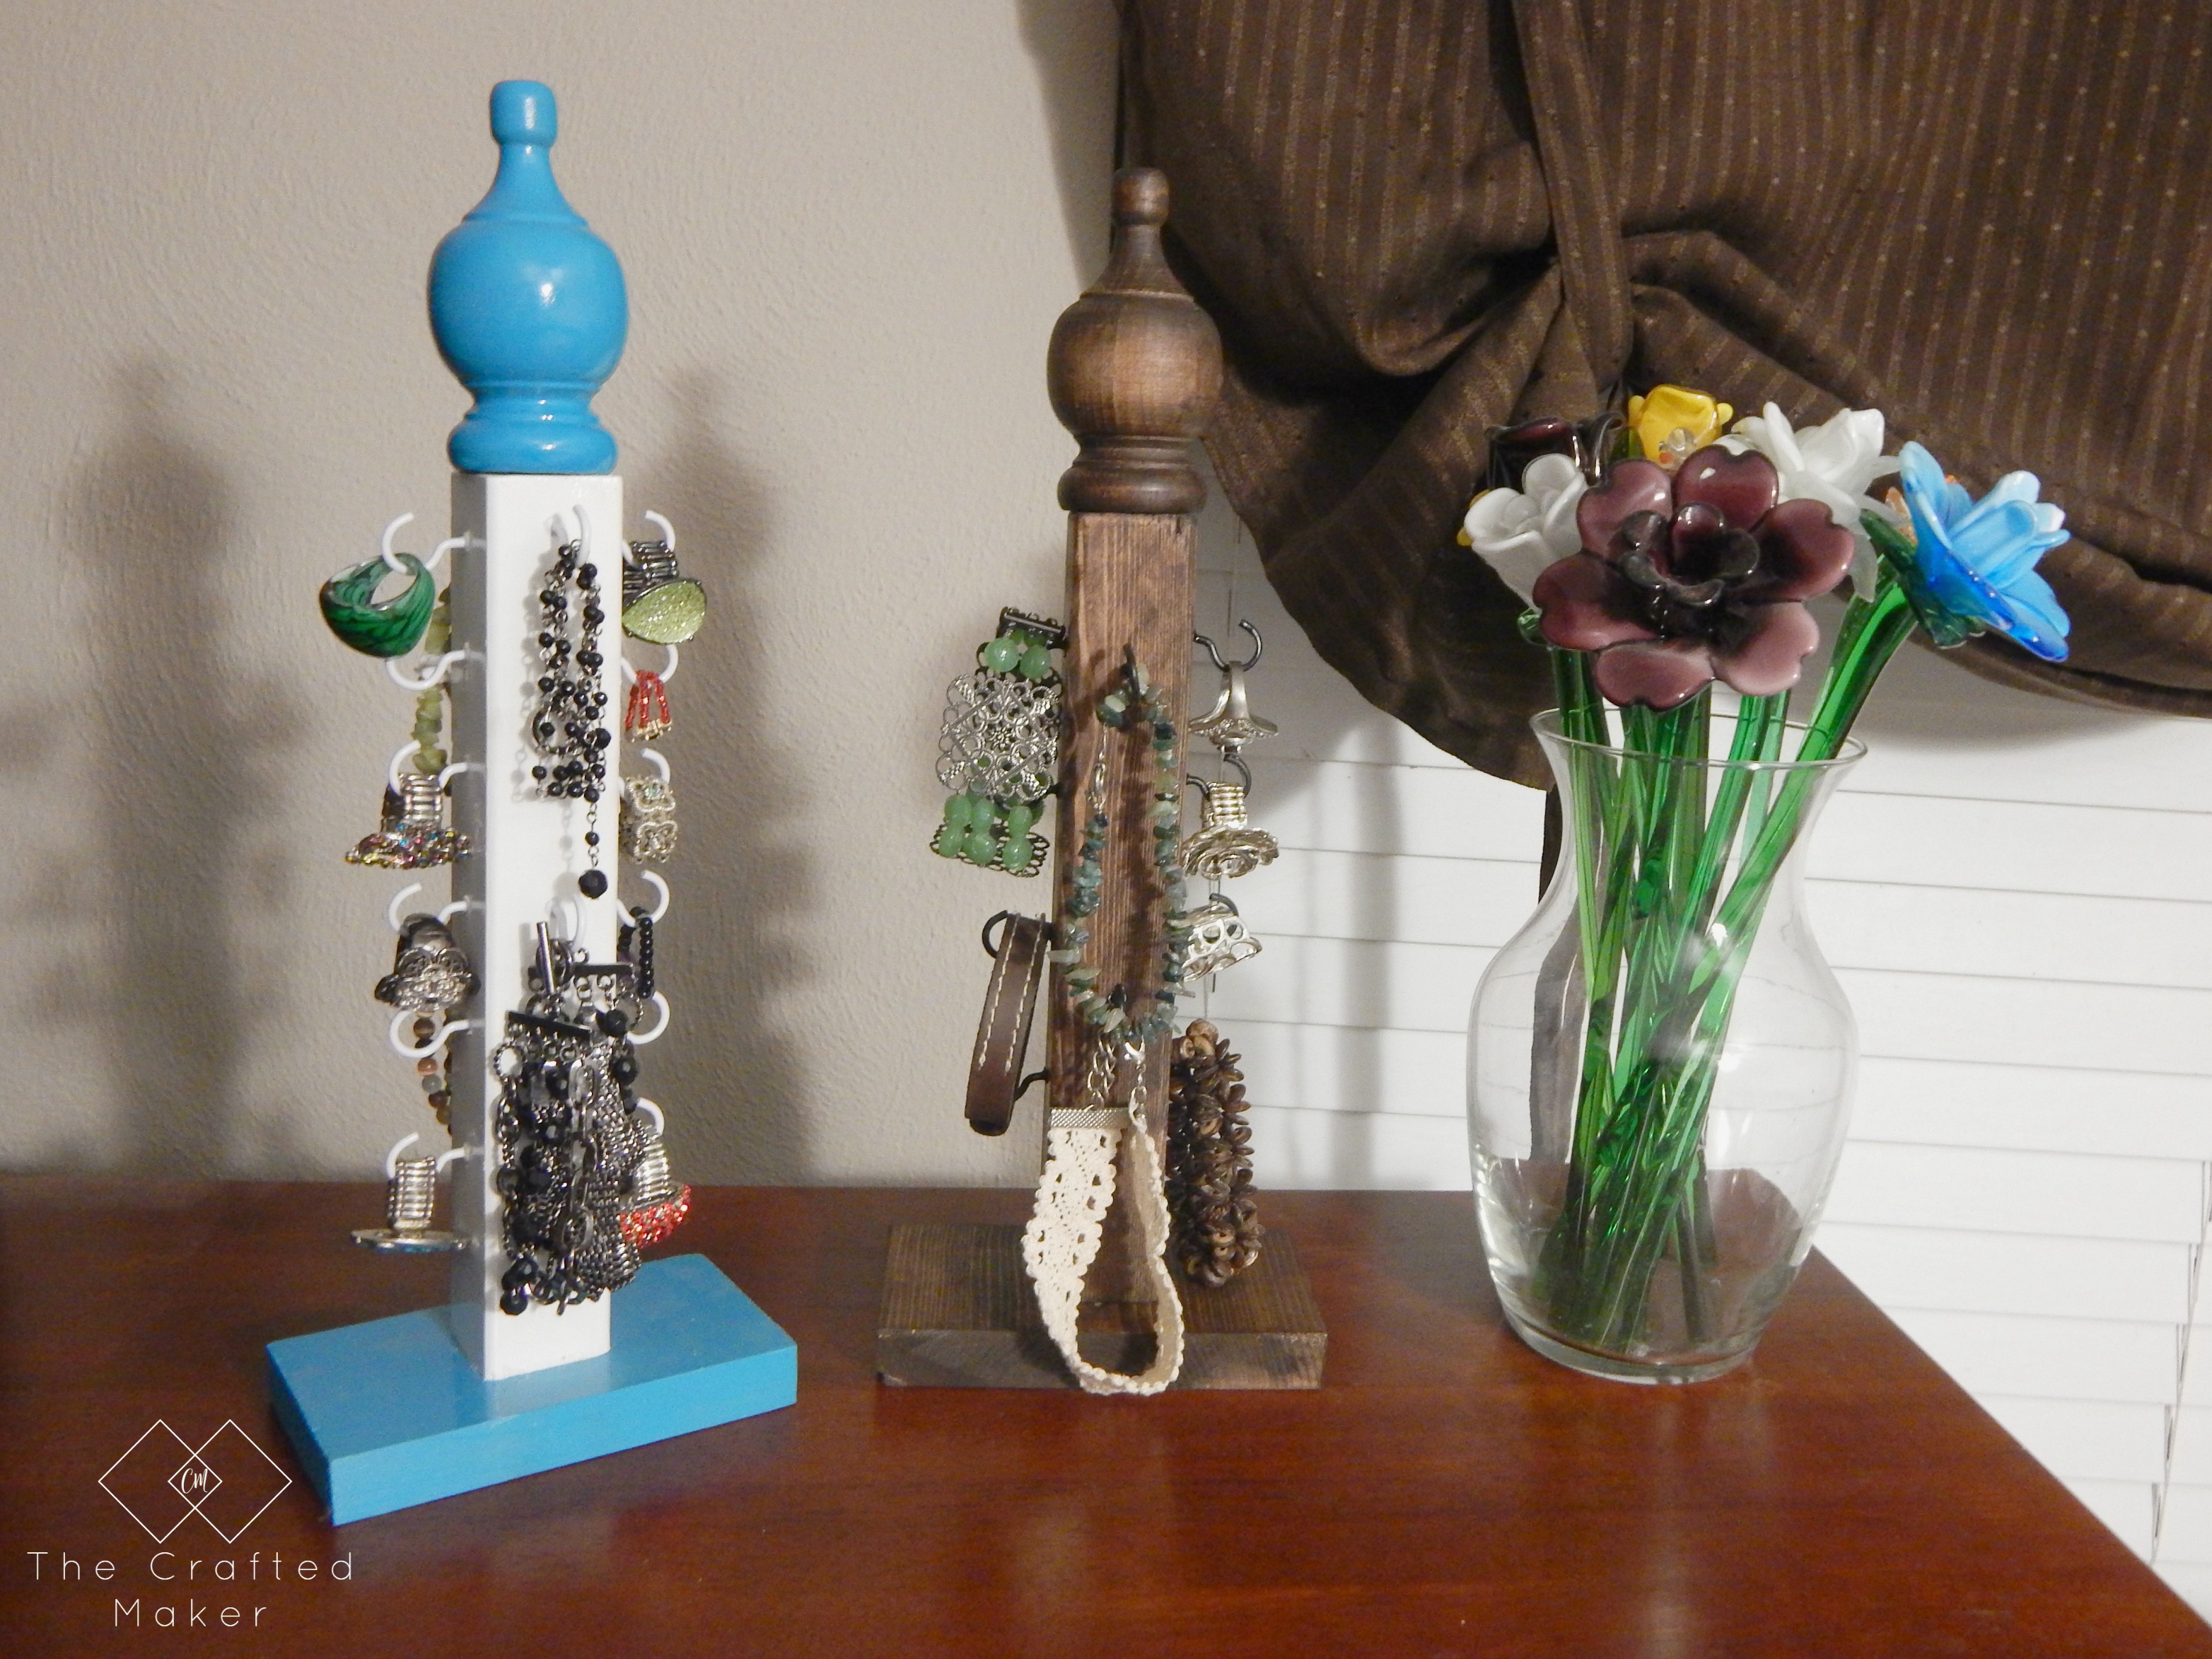
Now is the really fun part. You get to decide if you want to stain or paint. The color combinations are endless when it comes to this project.
When the stain or paint is dry, add your cup hooks to the predrilled holes in your wood.
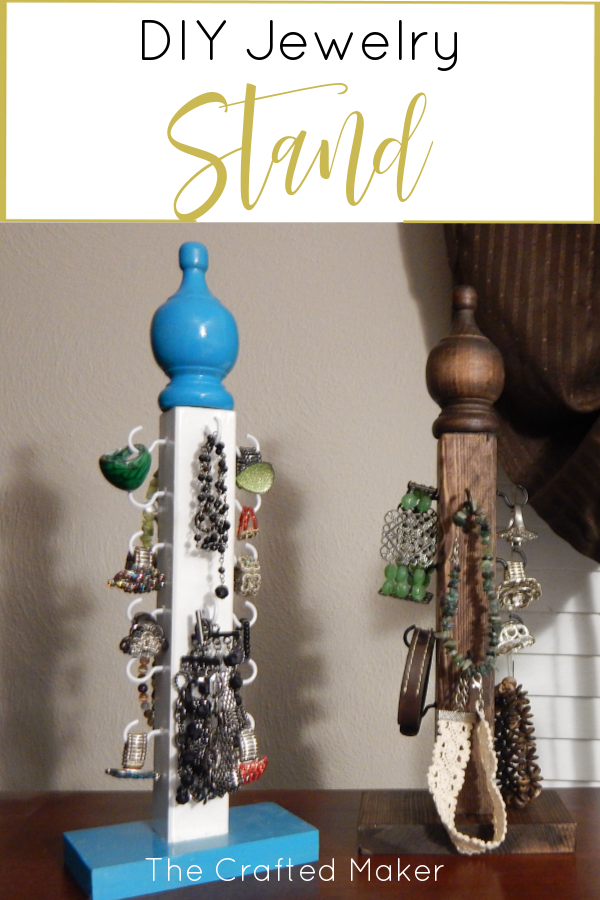
Here are some pics of the finished project. I finished one with stain and one with paint to show you how you can customize this jewelry stand to your tastes and home décor.
I really hope you have enjoyed this project and have fun making it your own. Make some for yourself and some as gifts for friends and family.
Thanks for spending some time with me today. Hope to see you soon! To keep up with more fun projects, check me out on Pinterest and Instagram.
Until next time…
Pinning is Appreciated!!