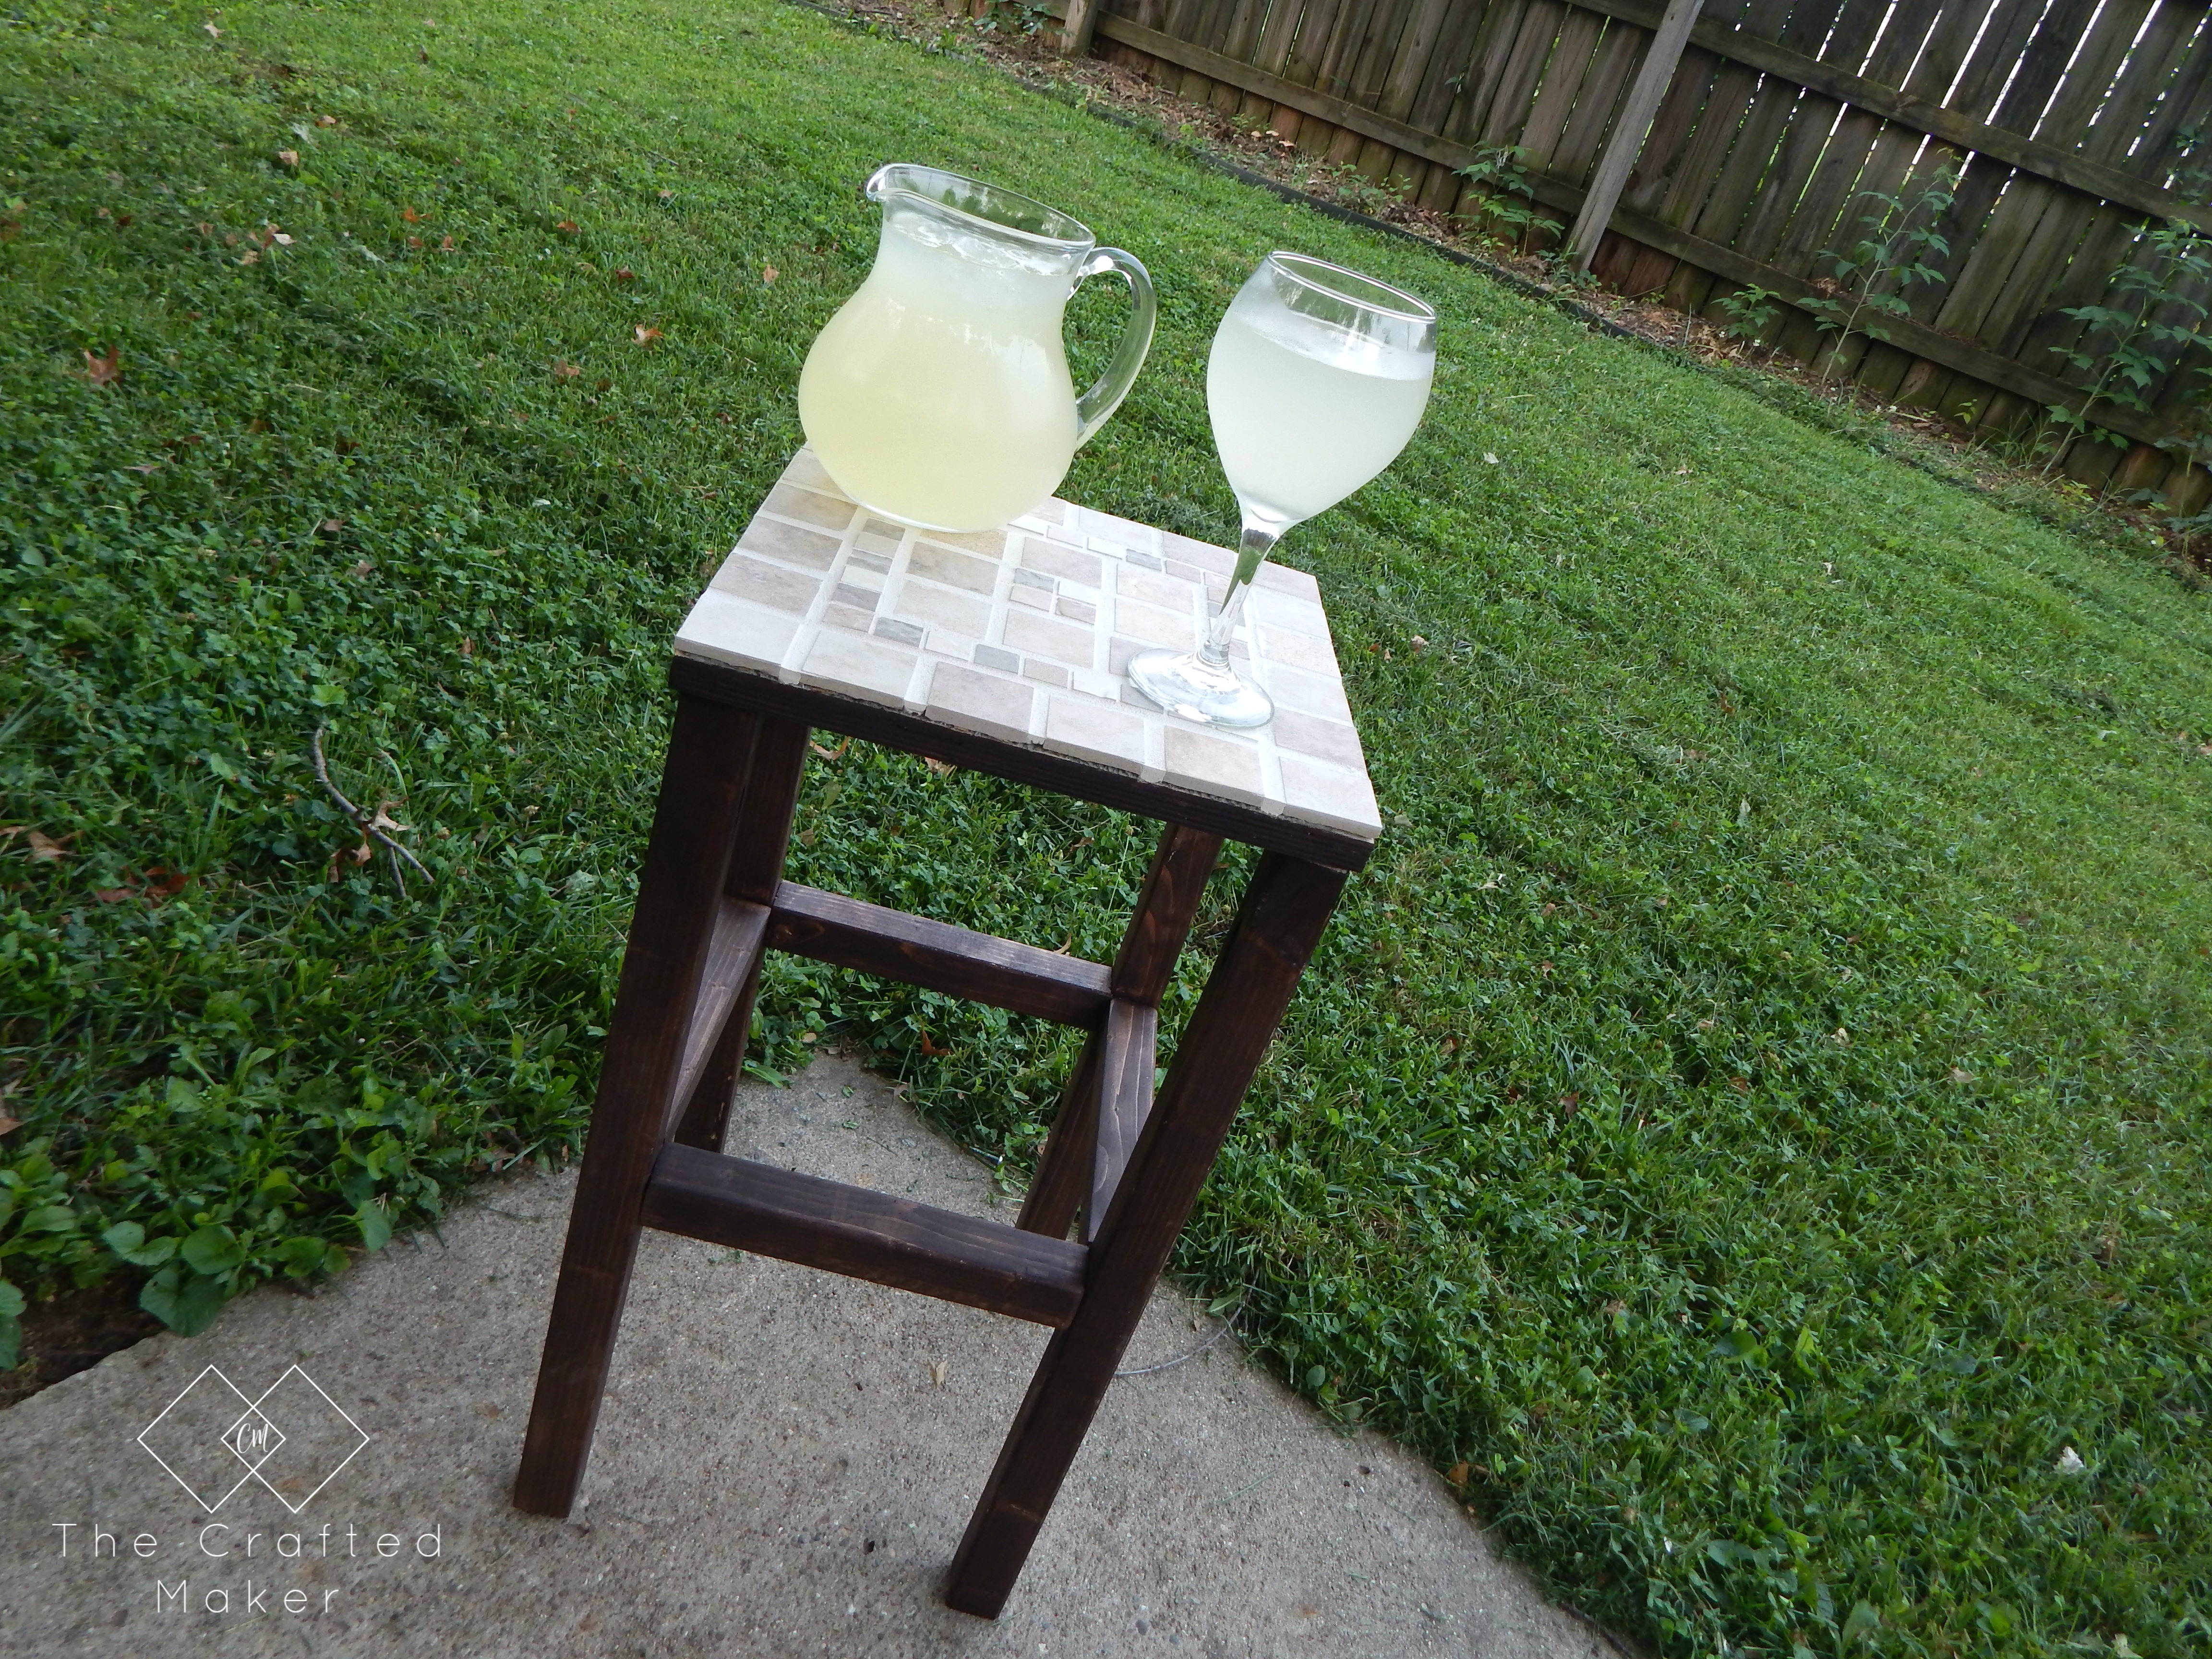
Hey guys and gals, to keep up with my latest projects come follow along with me on Pinterest and Instagram.
On my last post, I shared a DIY tiled end table. I didn’t really go into that much detail about the tiling part. So today I’m sharing with you how to install tile. I am by no means an expert when it comes to this, but I have done several floors and various projects around my home and my parents home. Let’s get to it, shall we…
*This post contains affiliate links which help keep the content of this site free with no cost to you. Thanks for your support!!
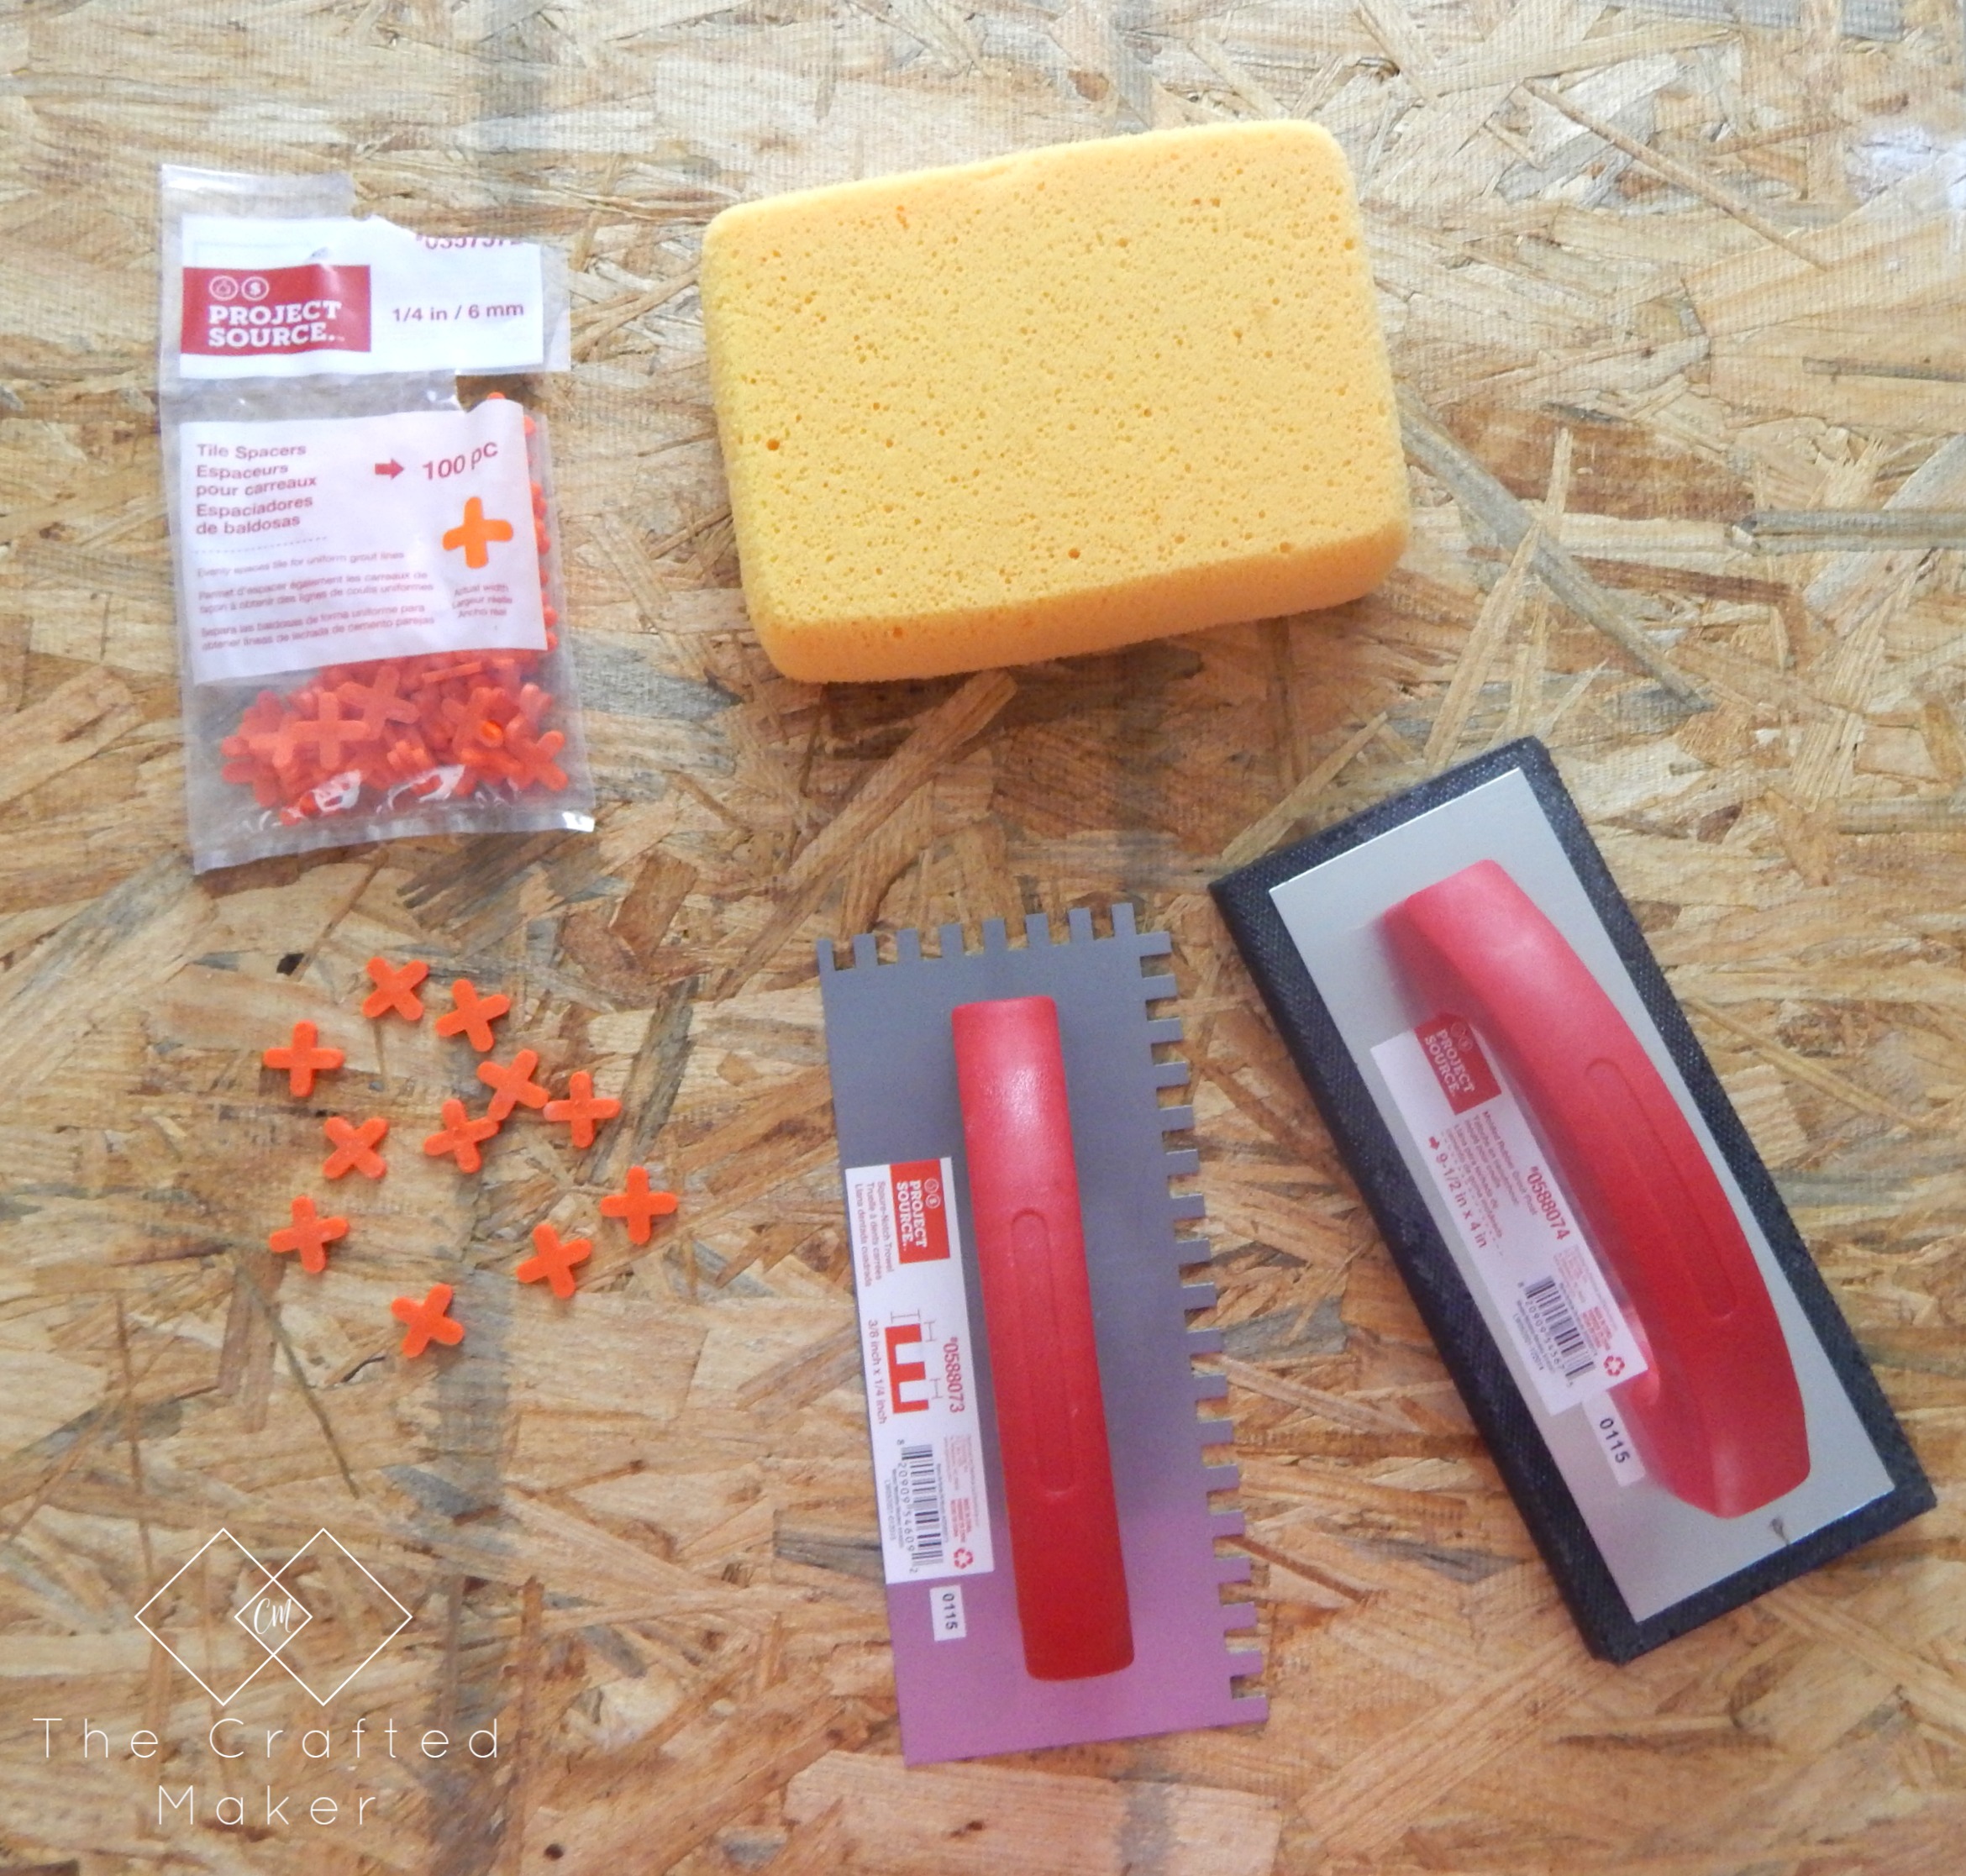
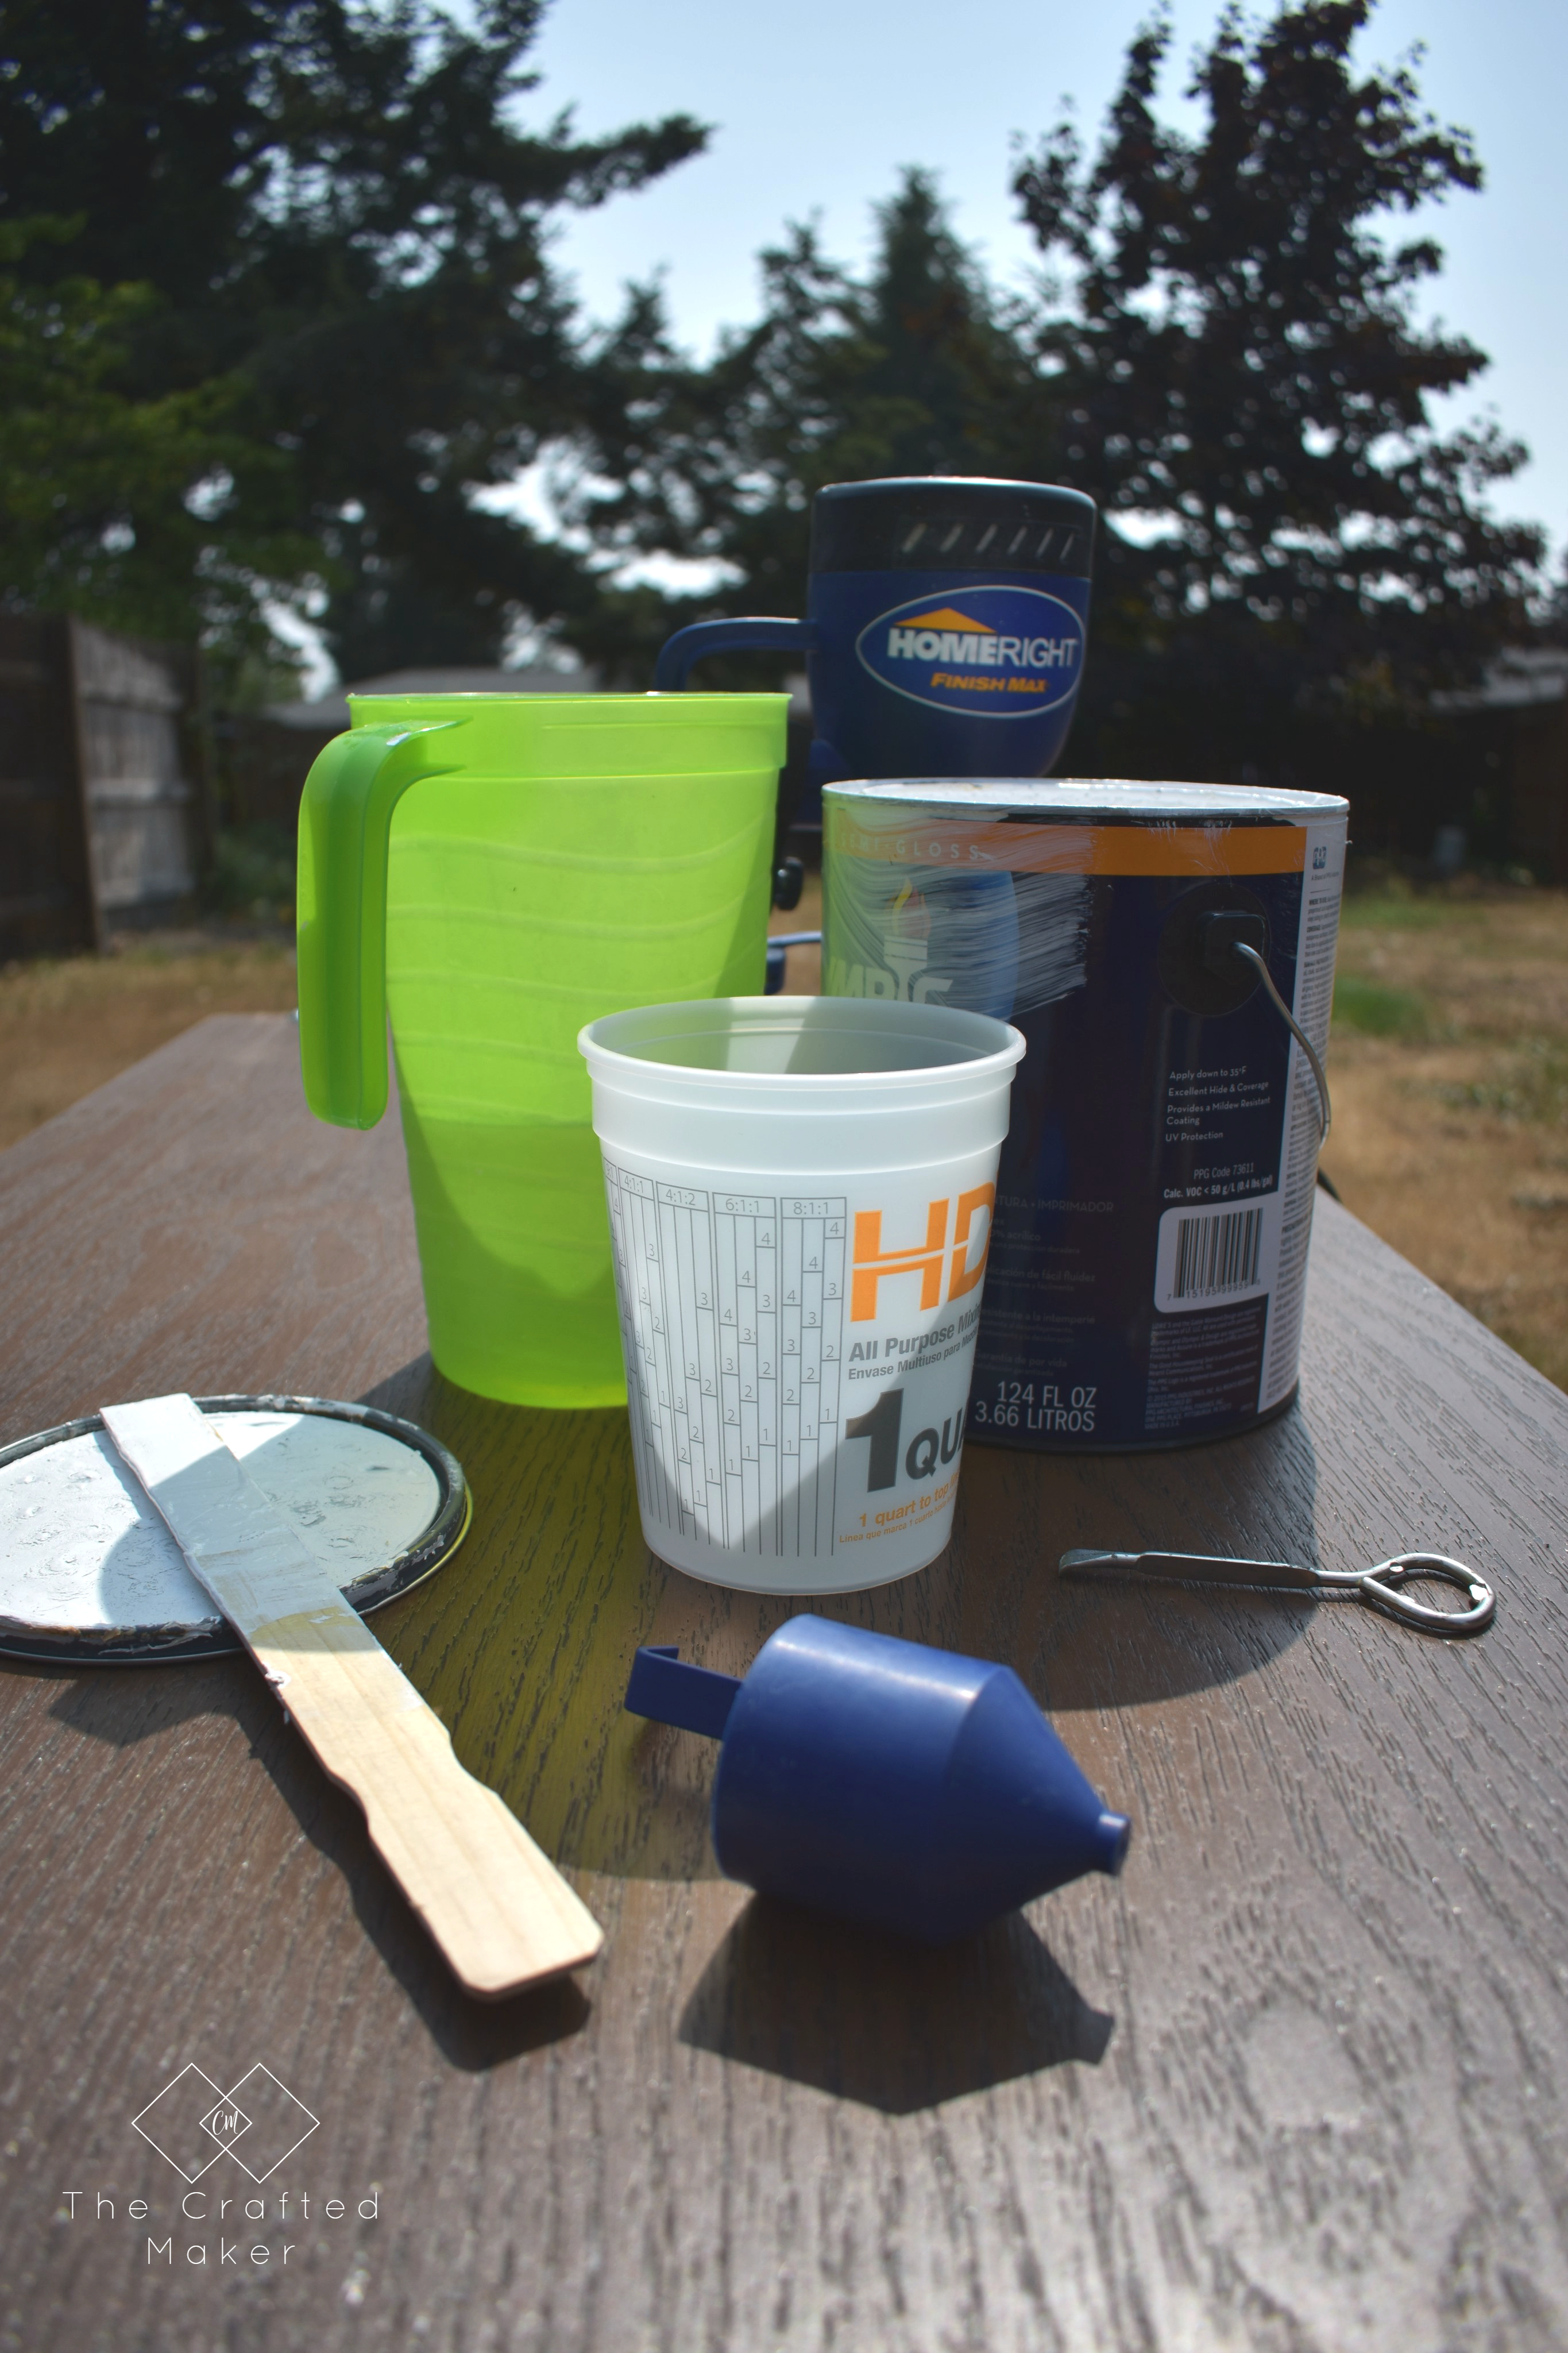
Some of the main tools you will need to lay tile is a mortar trowel, grout float, tile spacers, and a sponge.
First things first, the subfloor you are laying the tile on needs to be level. This will prevent the tile from cracking when you walk on it. From personal experience, having to hammer out and replace a piece of tile is no fun! If you’re working on a wood subfloor, I would recommend laying down some backer board. You can get this at any home improvement store. It is made of concrete material and gives the tile a good solid floor to lay on. Just for demonstration purposes, I am laying tile on a piece of plywood, but I would not recommend using just plywood for a tile floor.
Once the floor is level, you need to decide what you want your tile pattern to look like. There are all sorts of ways to pattern tile, but it is much easier if you have planned this out ahead of time. It will save you loads of time when starting to lay your tile.
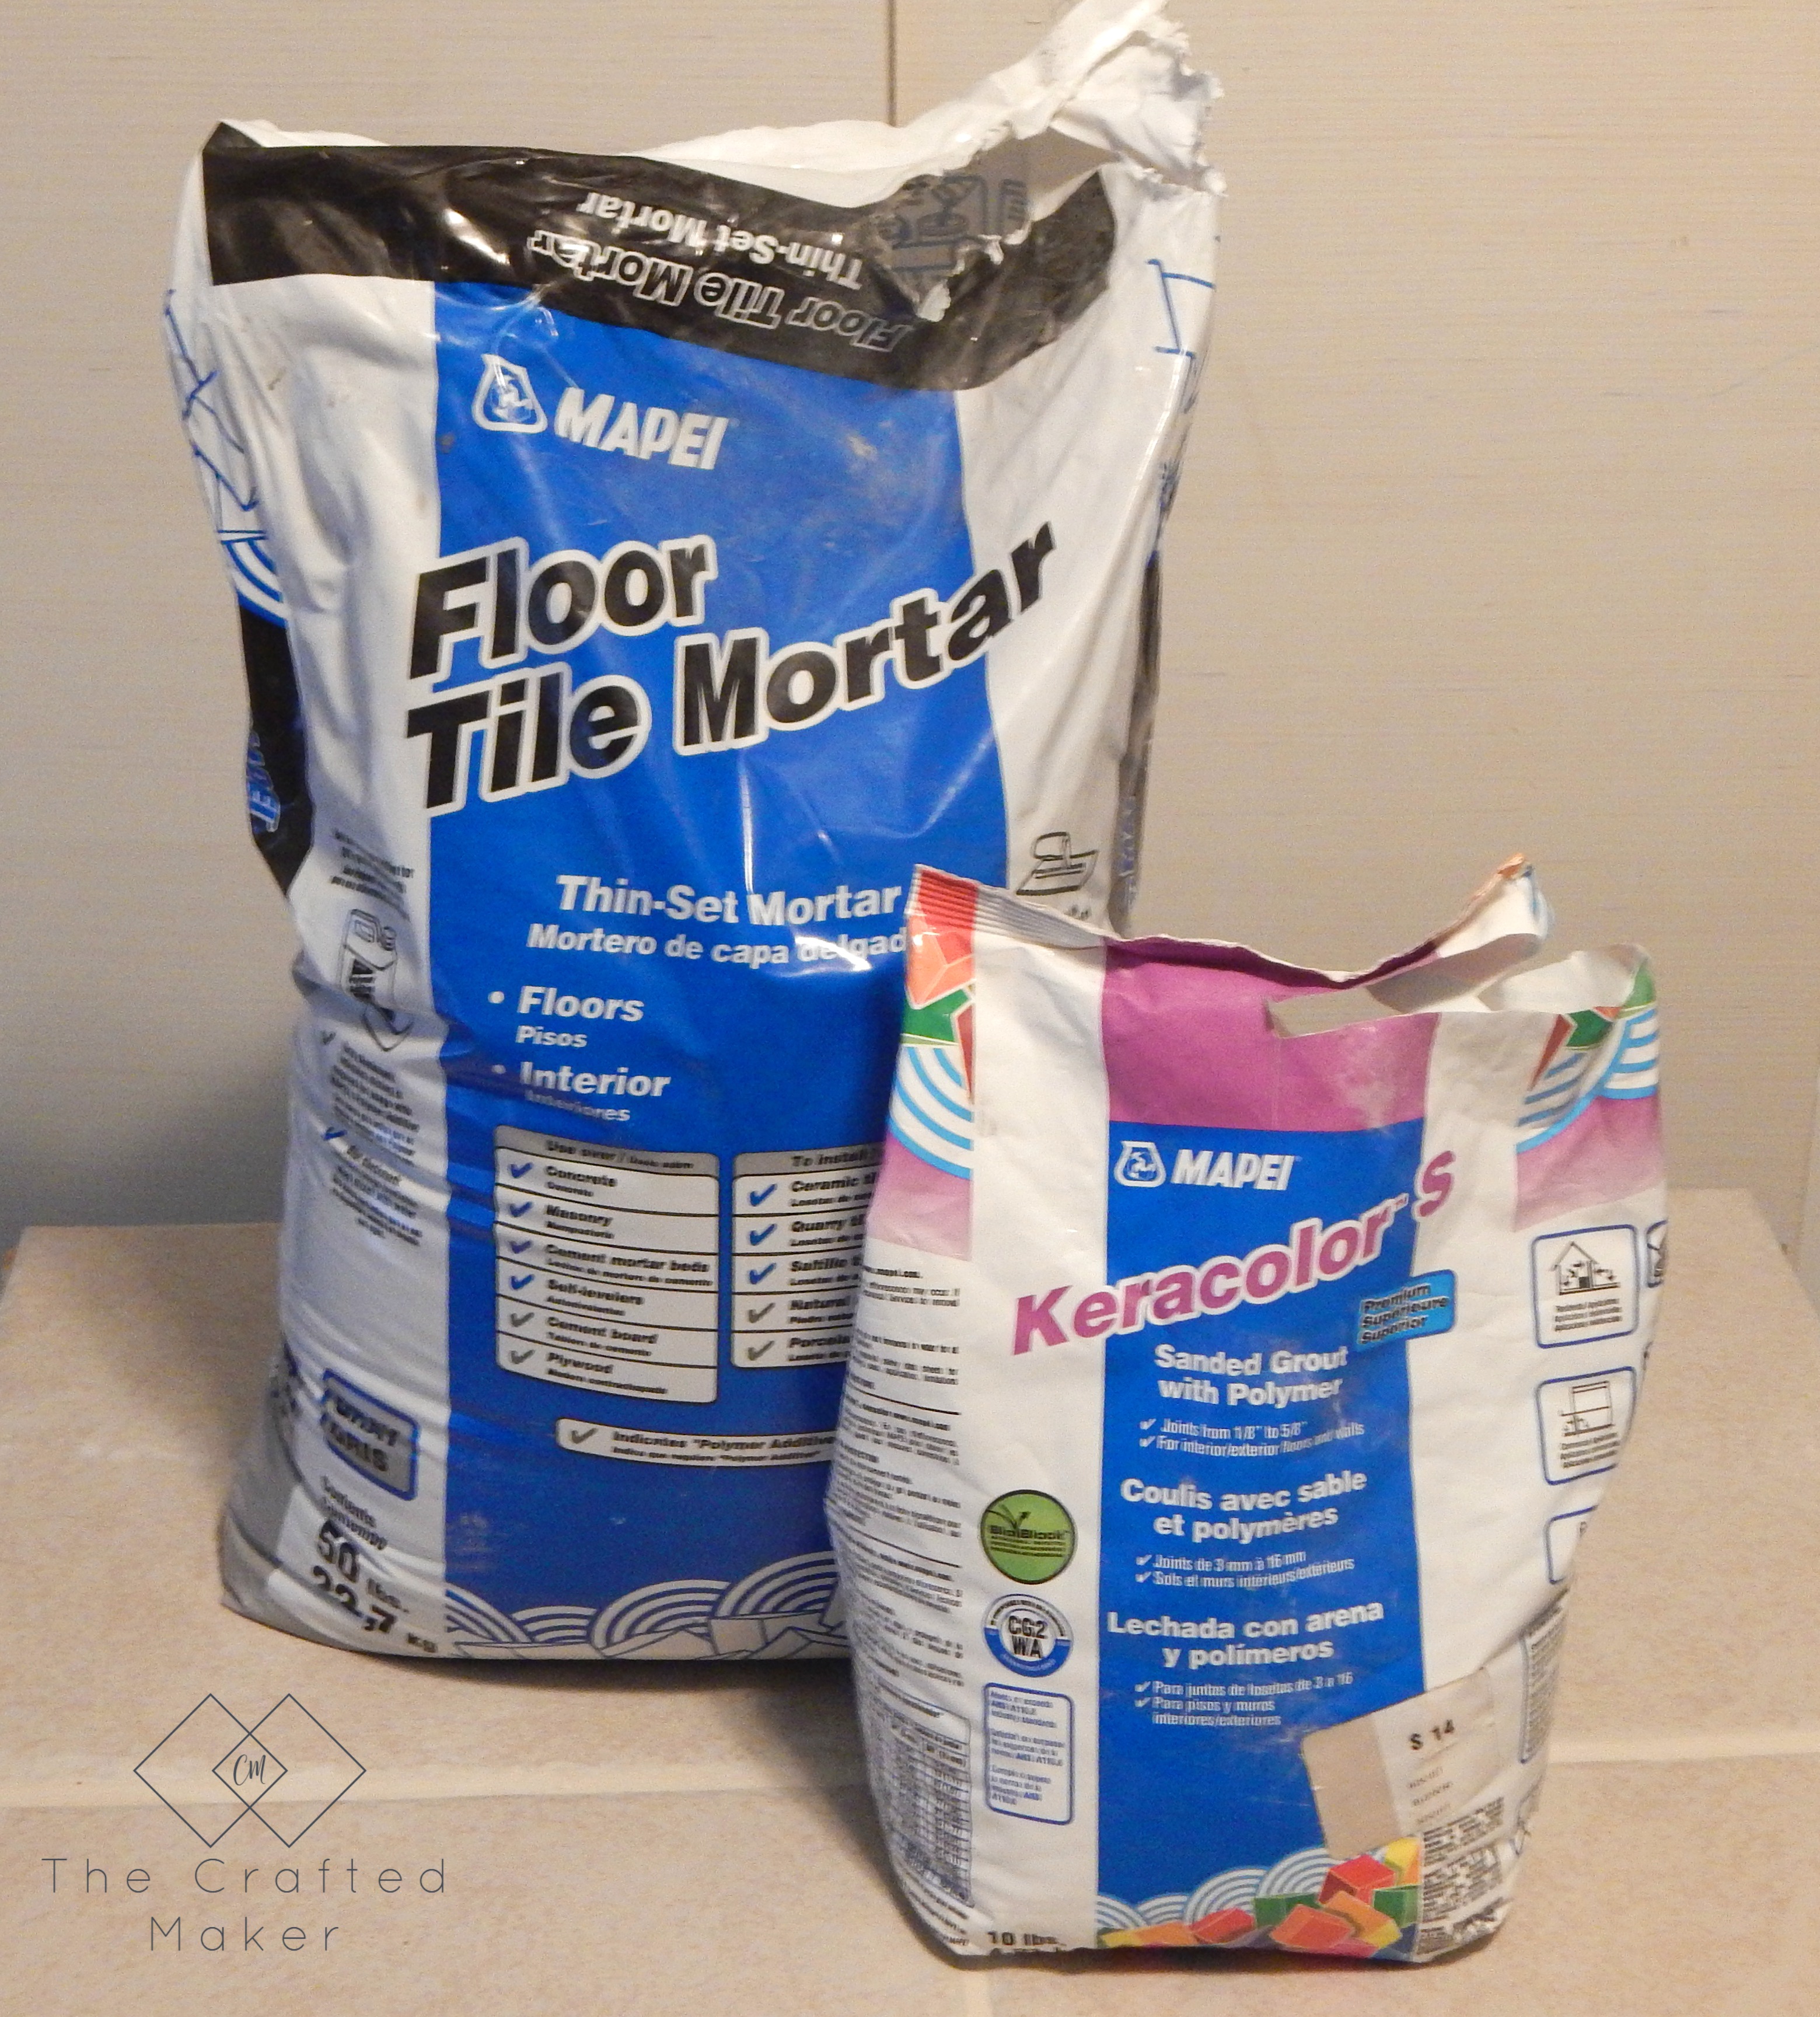
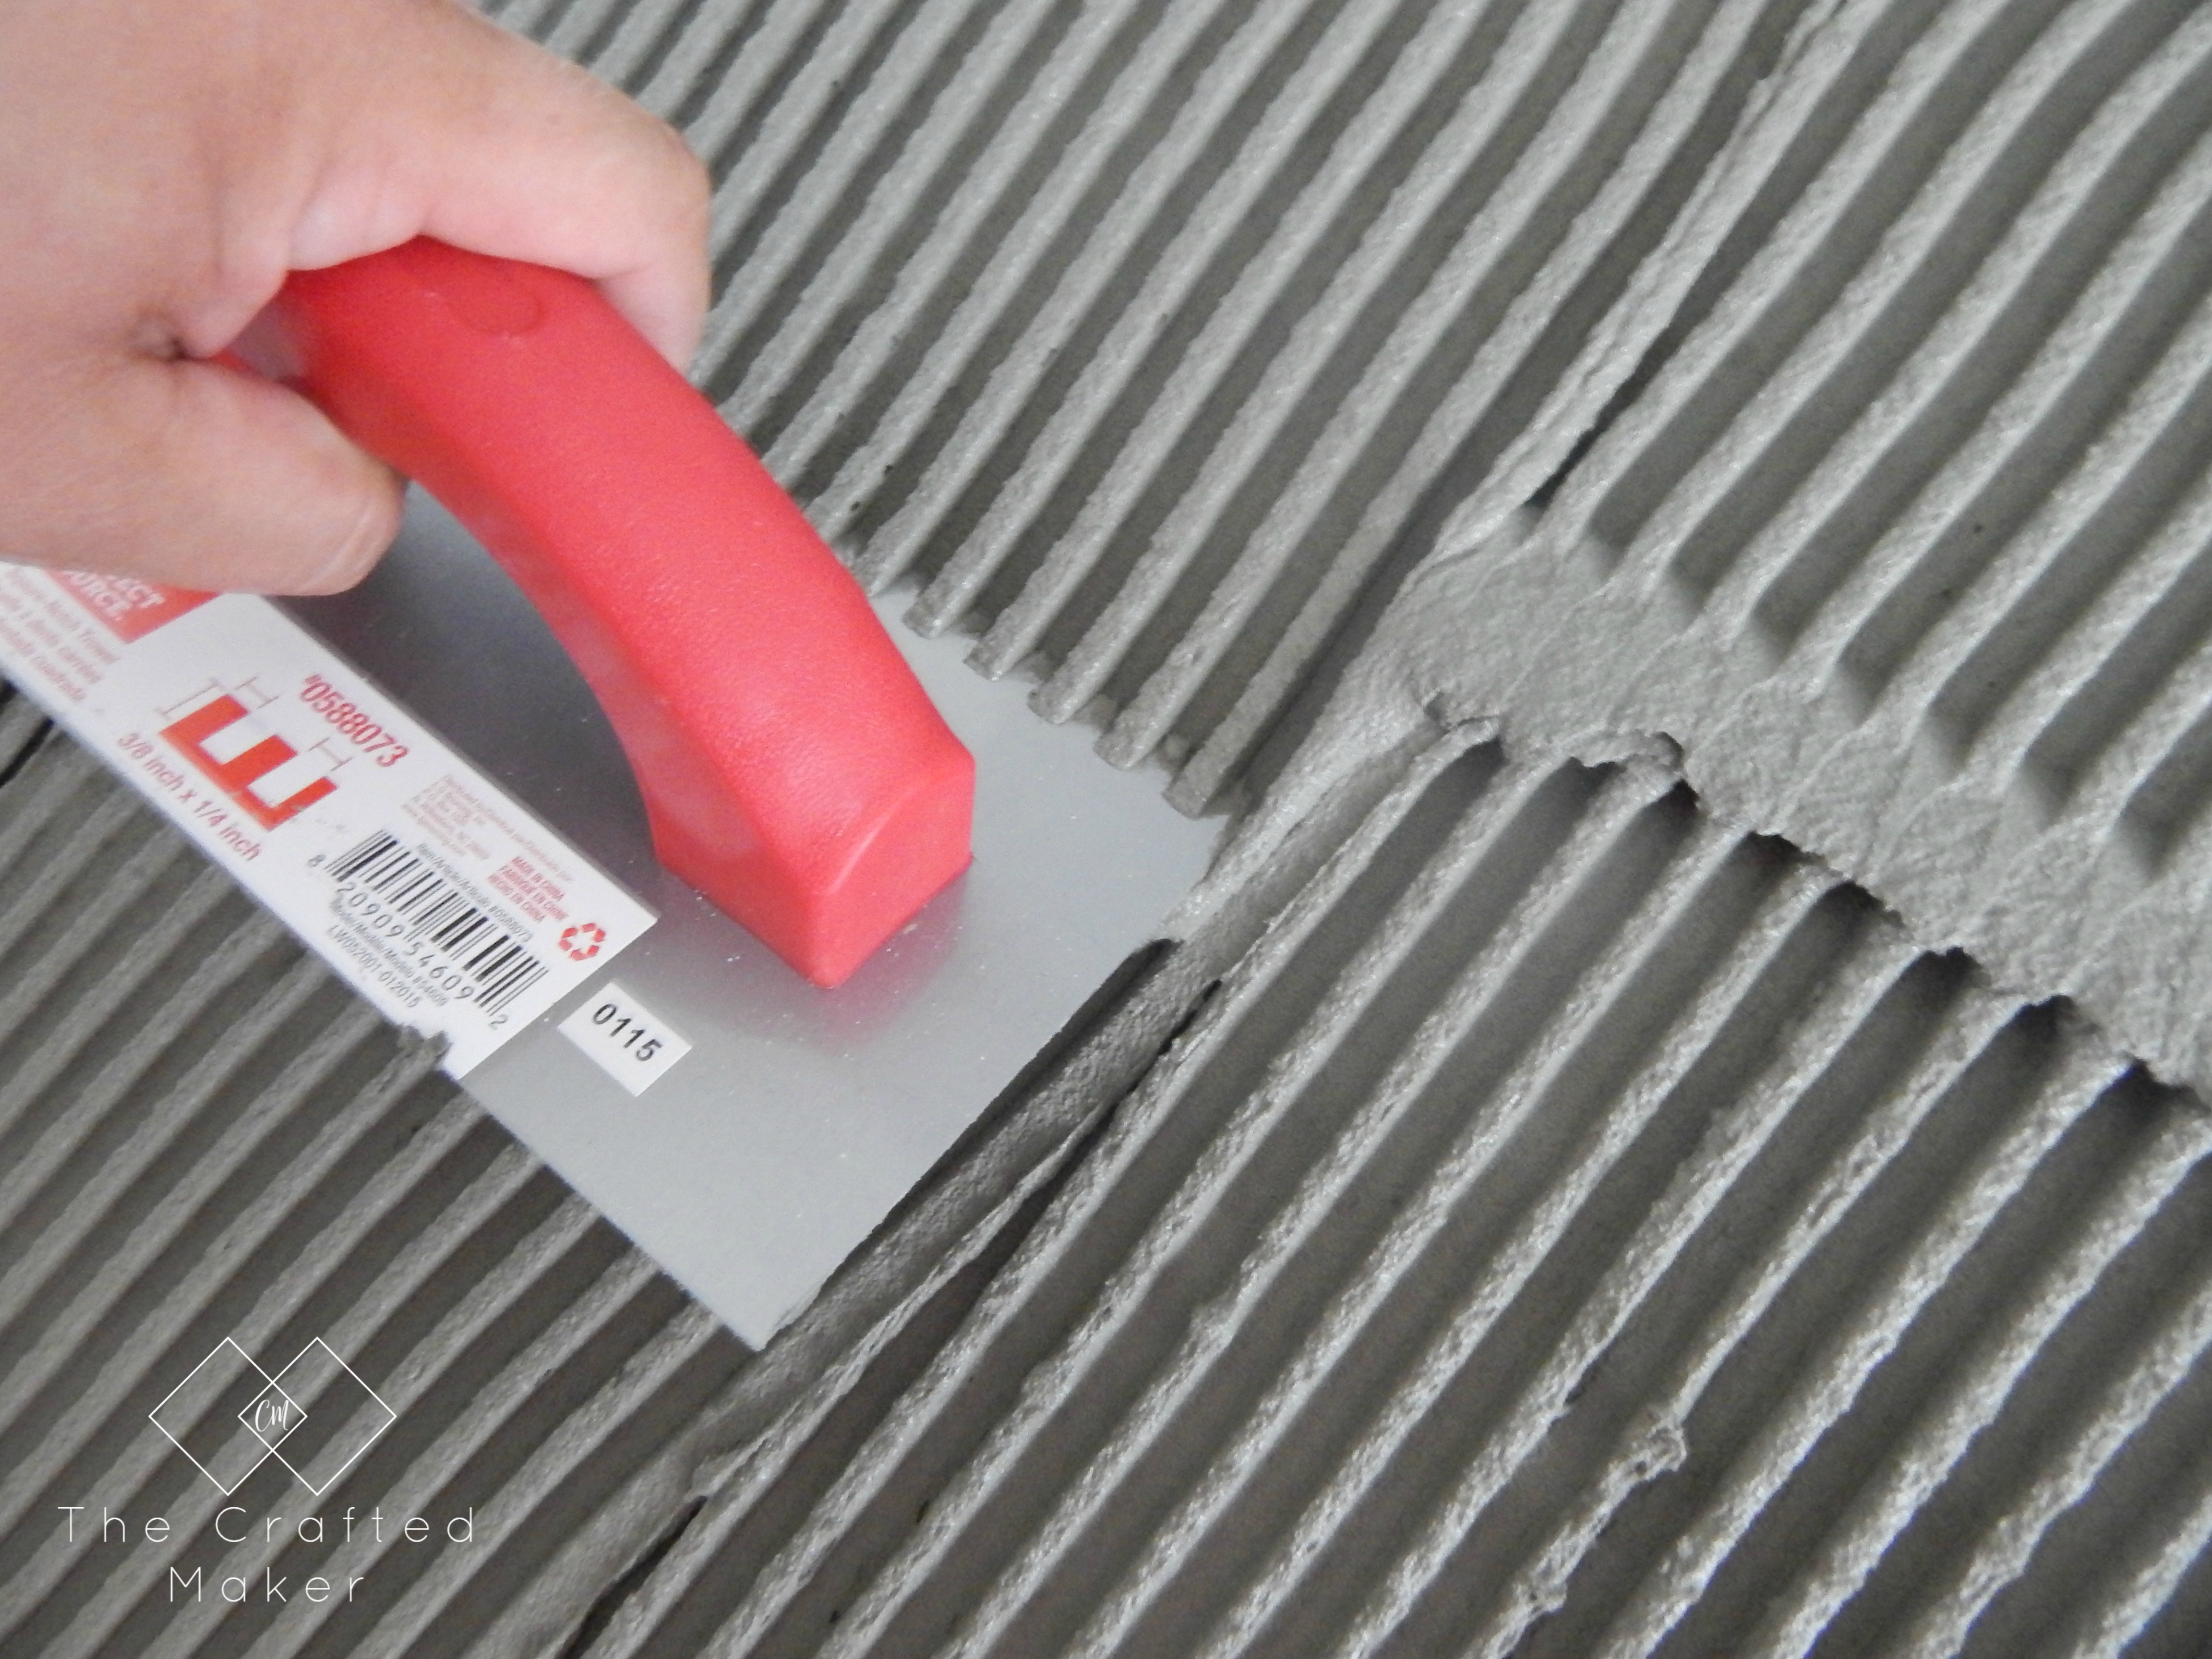
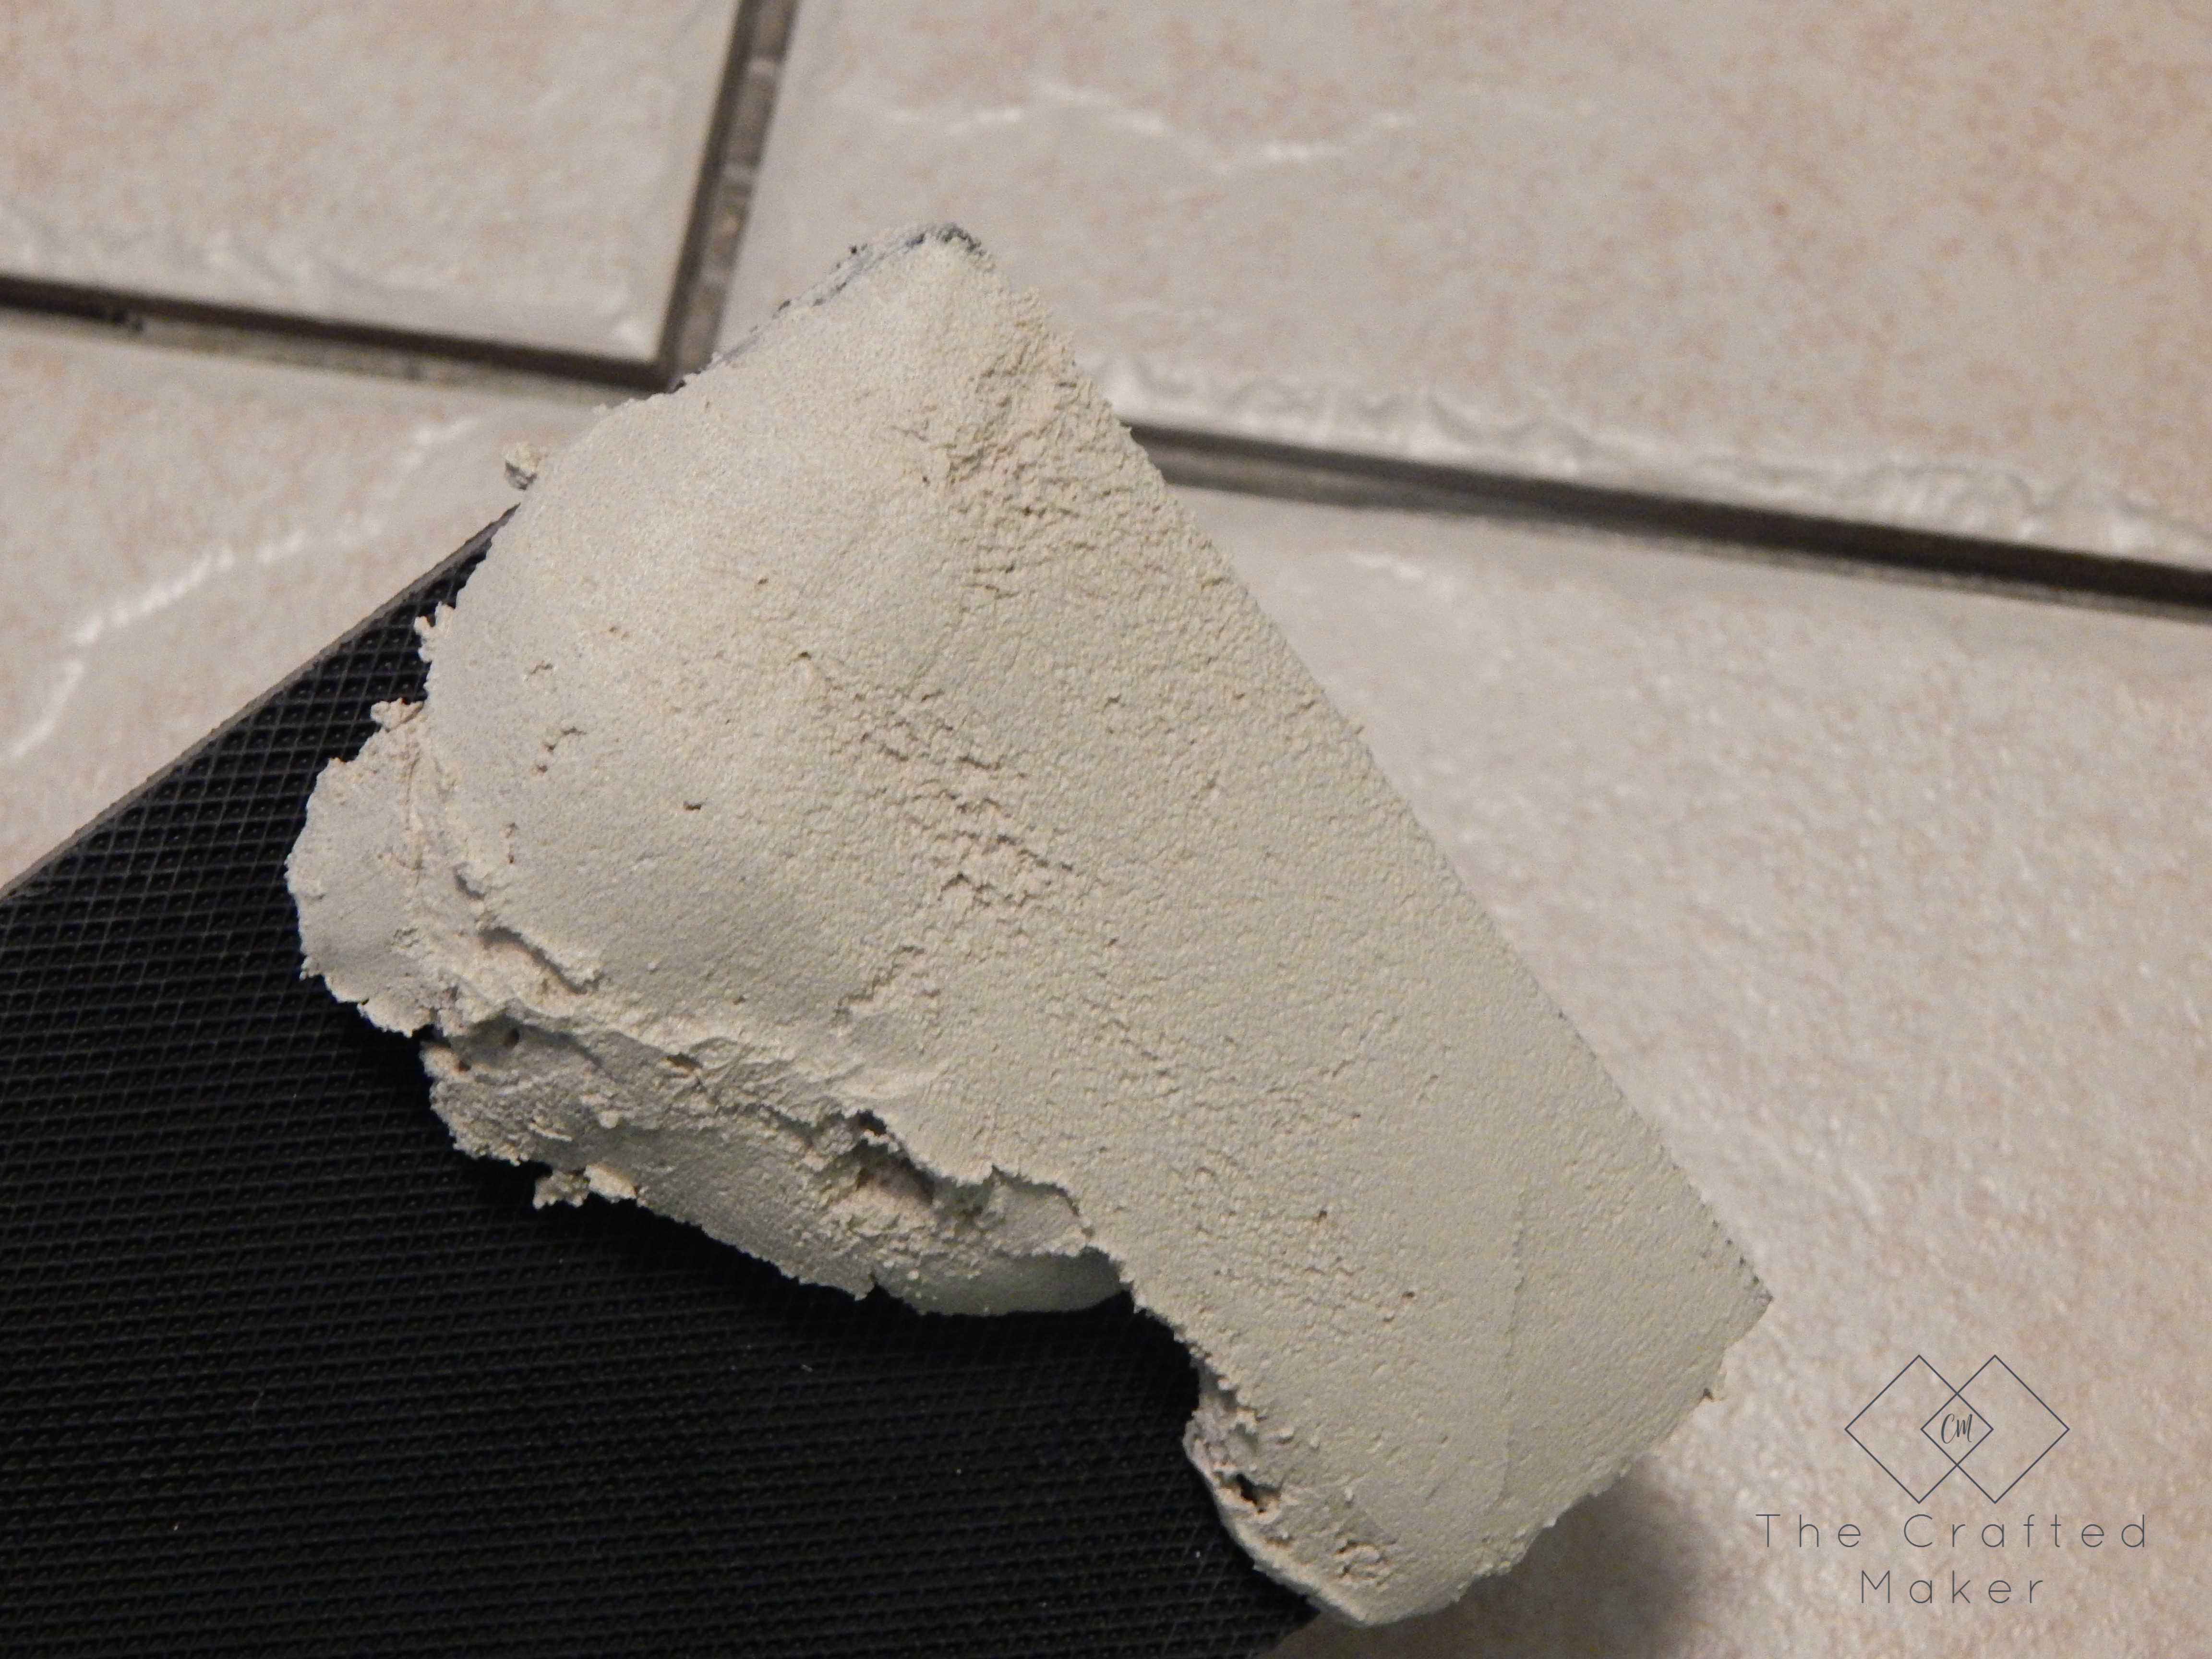
The first layer of your tiling process is applying a layer of mortar. There are different types of mortar that can be used based on the material of your tile. Any associate in the flooring section of a home improvement store should be able to tell you which kind to purchase. Most mortar comes in powder form and water is added.
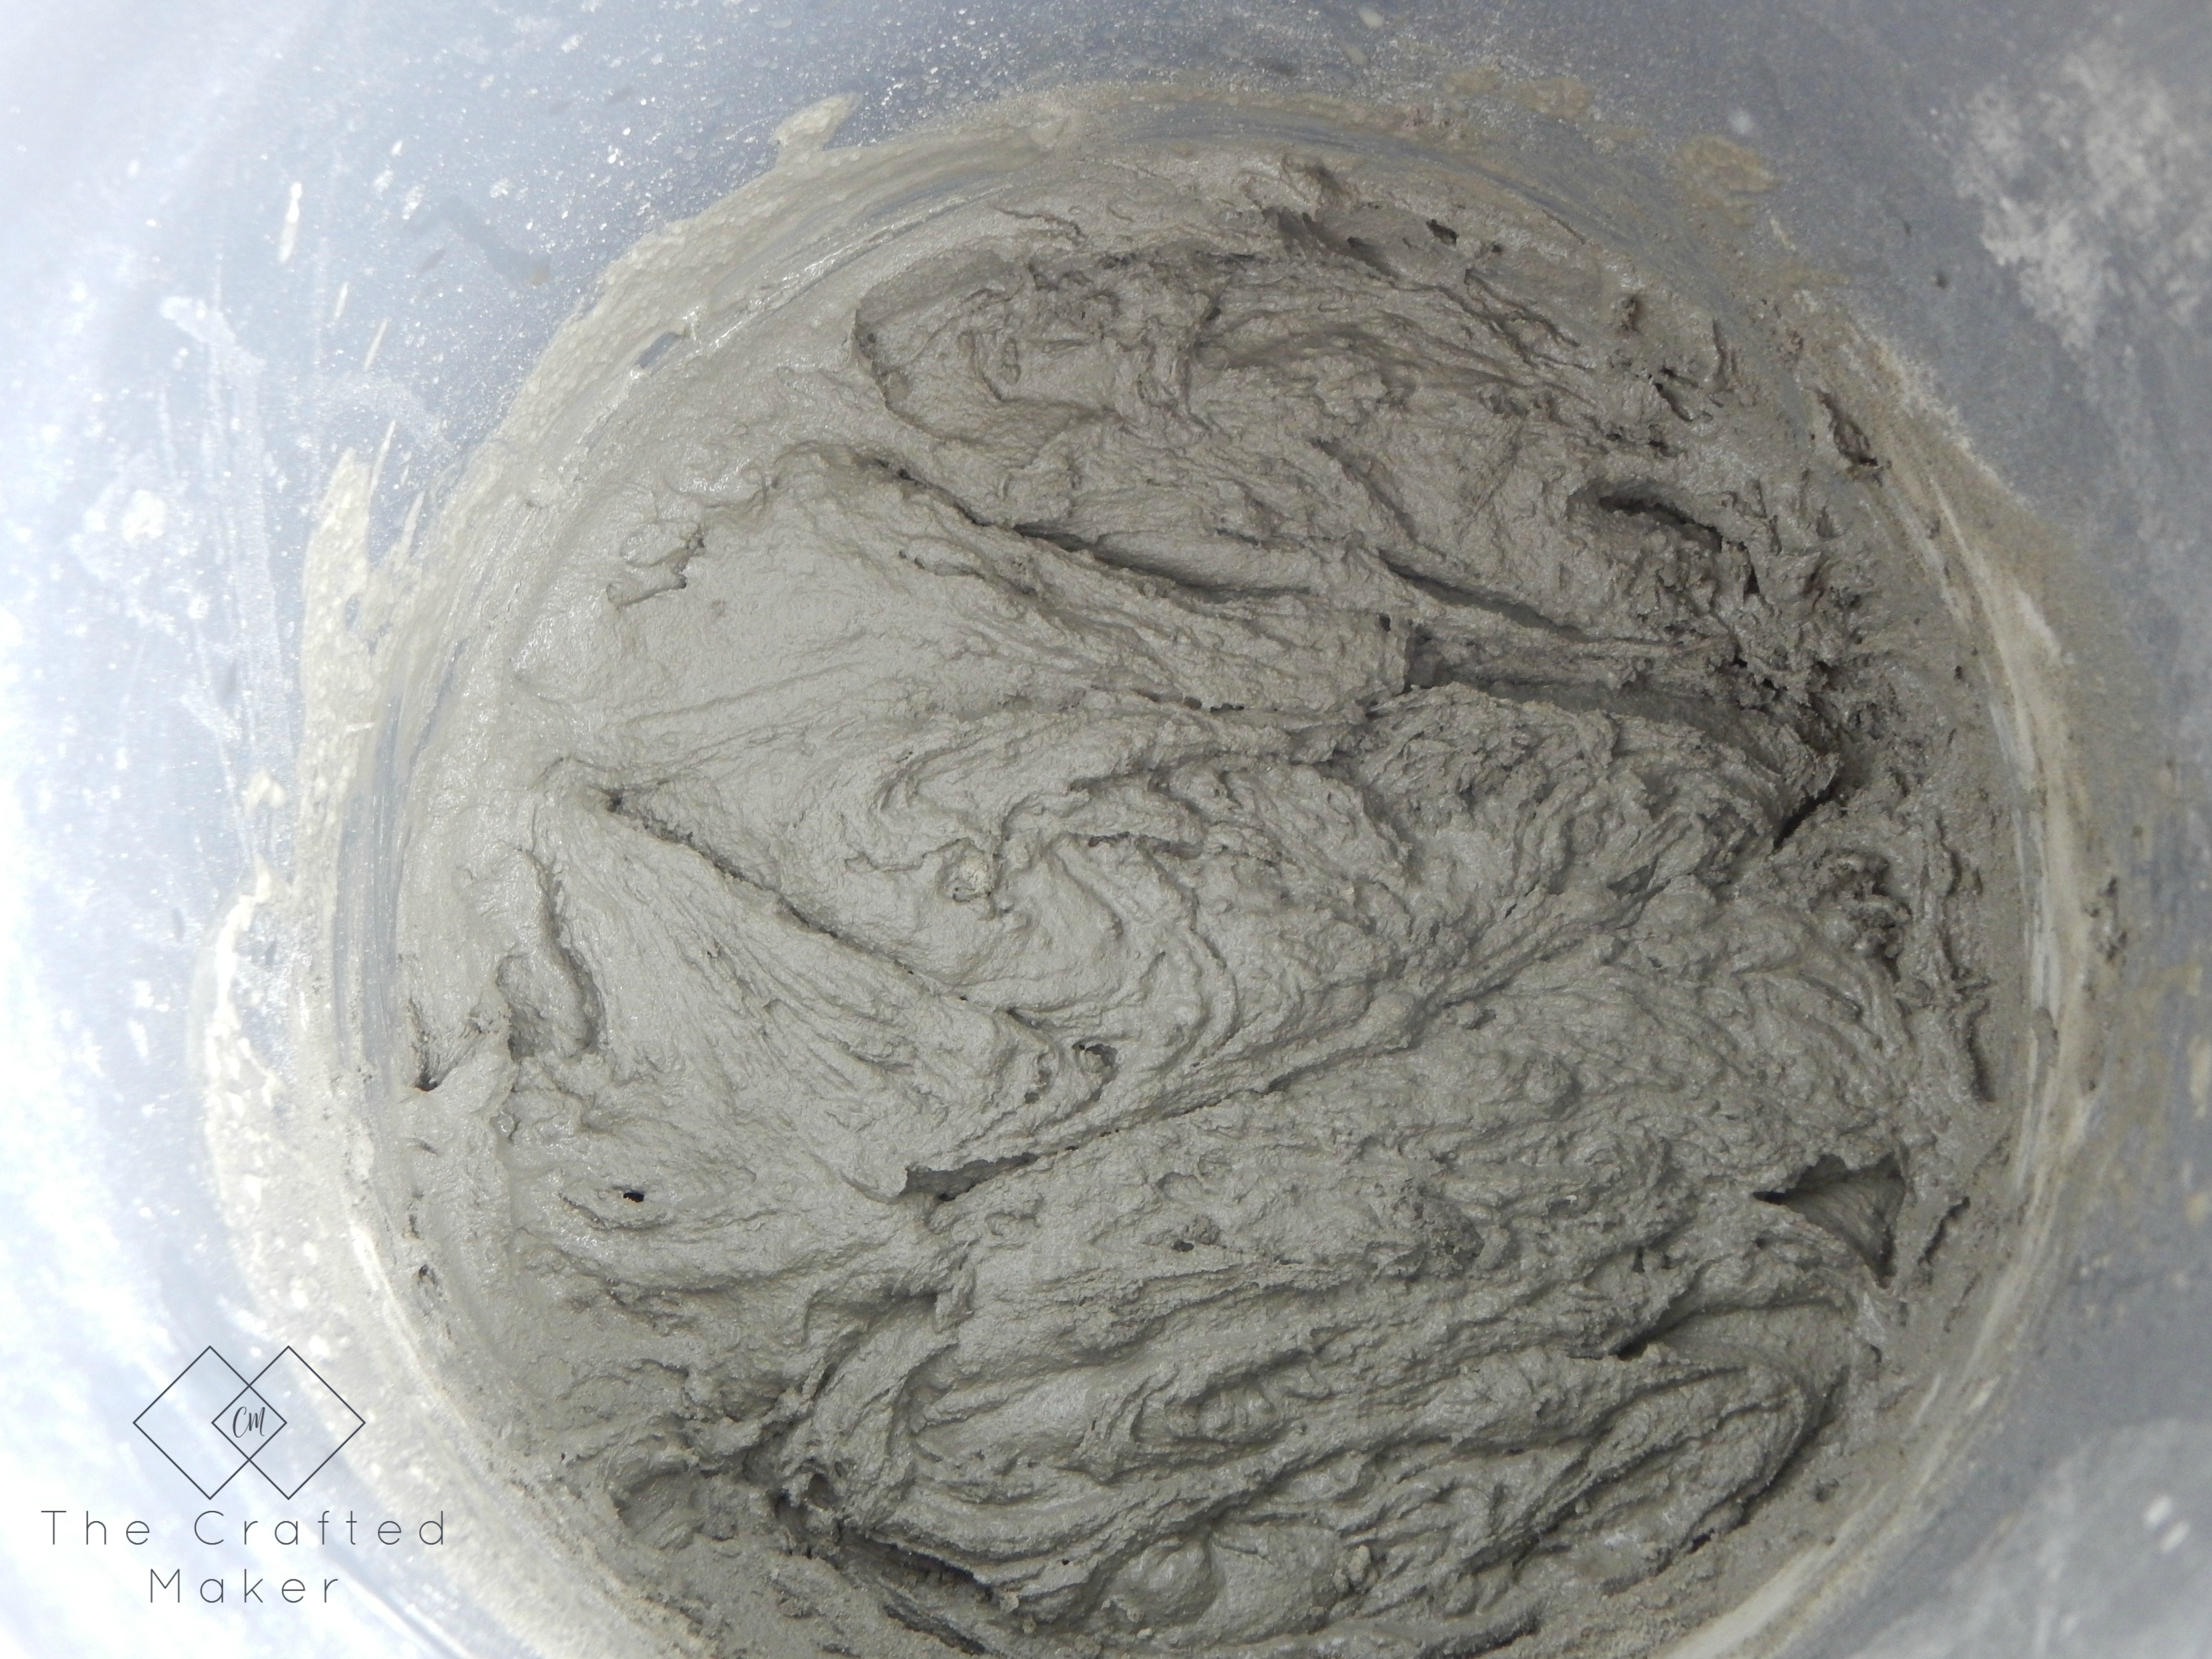
The mortar needs to have the right consistency to effectively work. I try to get mine as close to peanut butter as possible. This allows the mortar to be troweled on smoothly and not run. There should be enough mortar for the tile to lay in, but not so much that it comes up over the tile through the cracks. Mix enough to lay a small amount tile until you are comfortable with the process. Mixing too much can cause it to dry in the bucket.
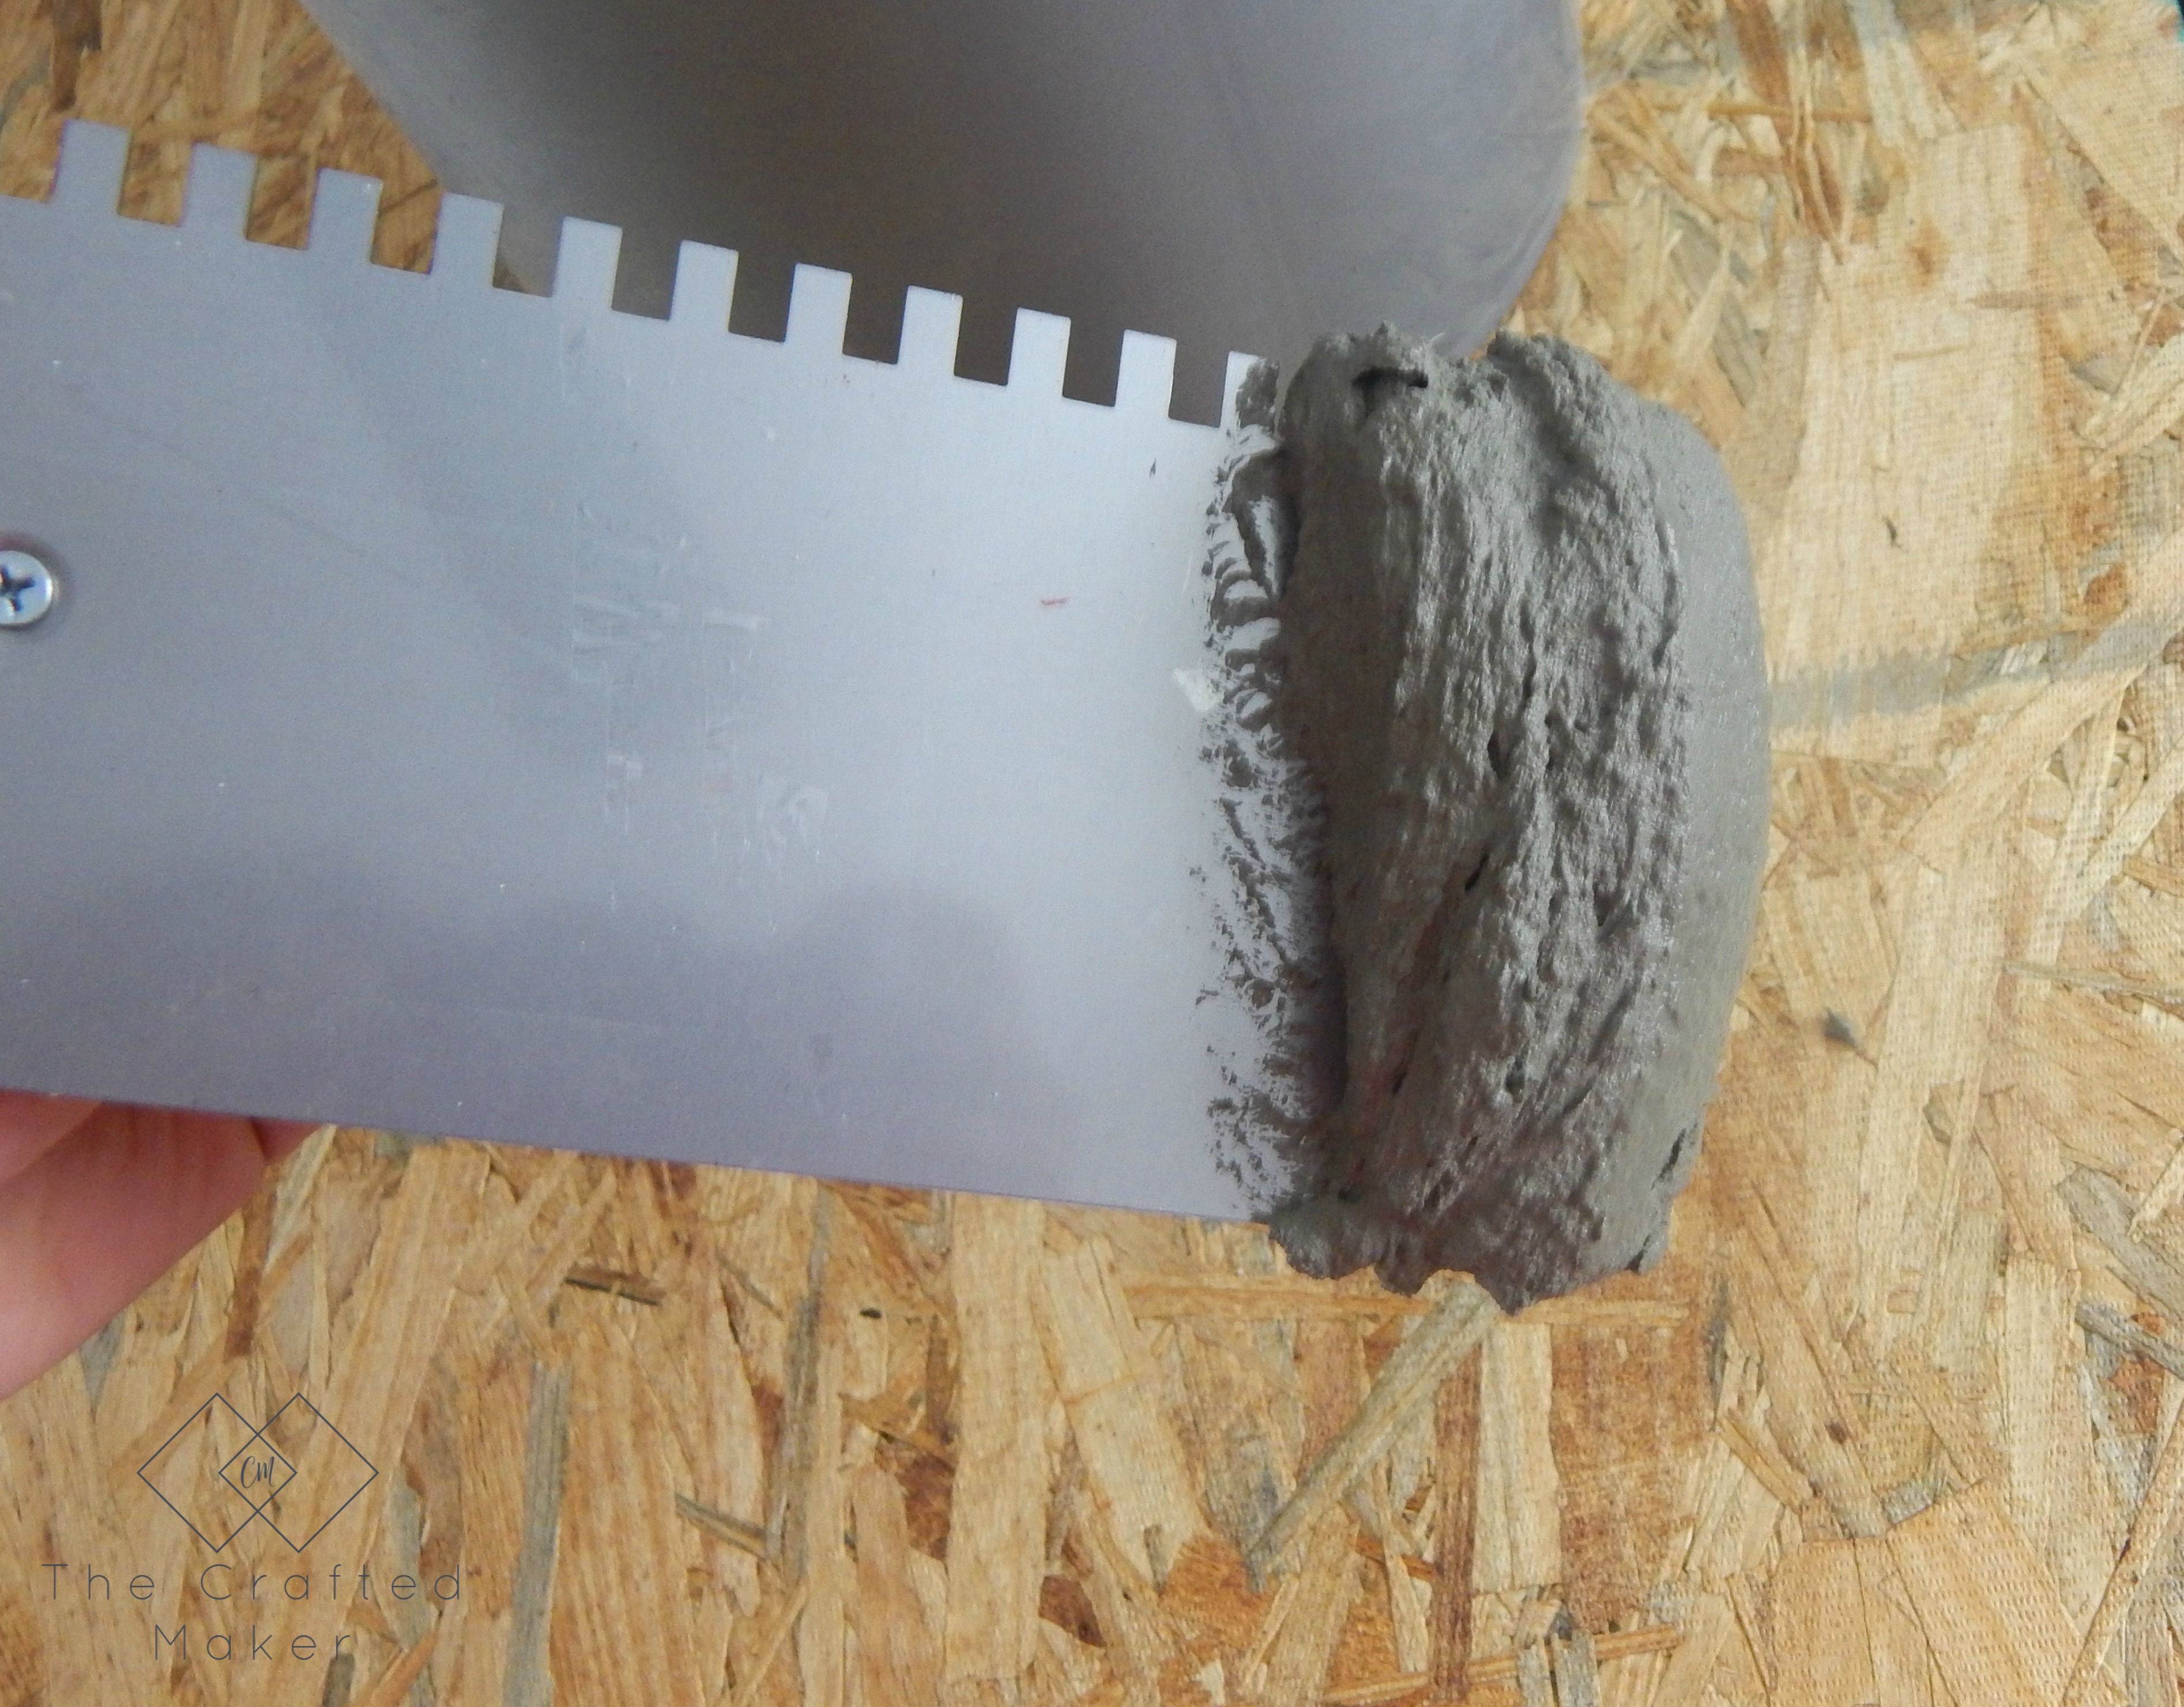
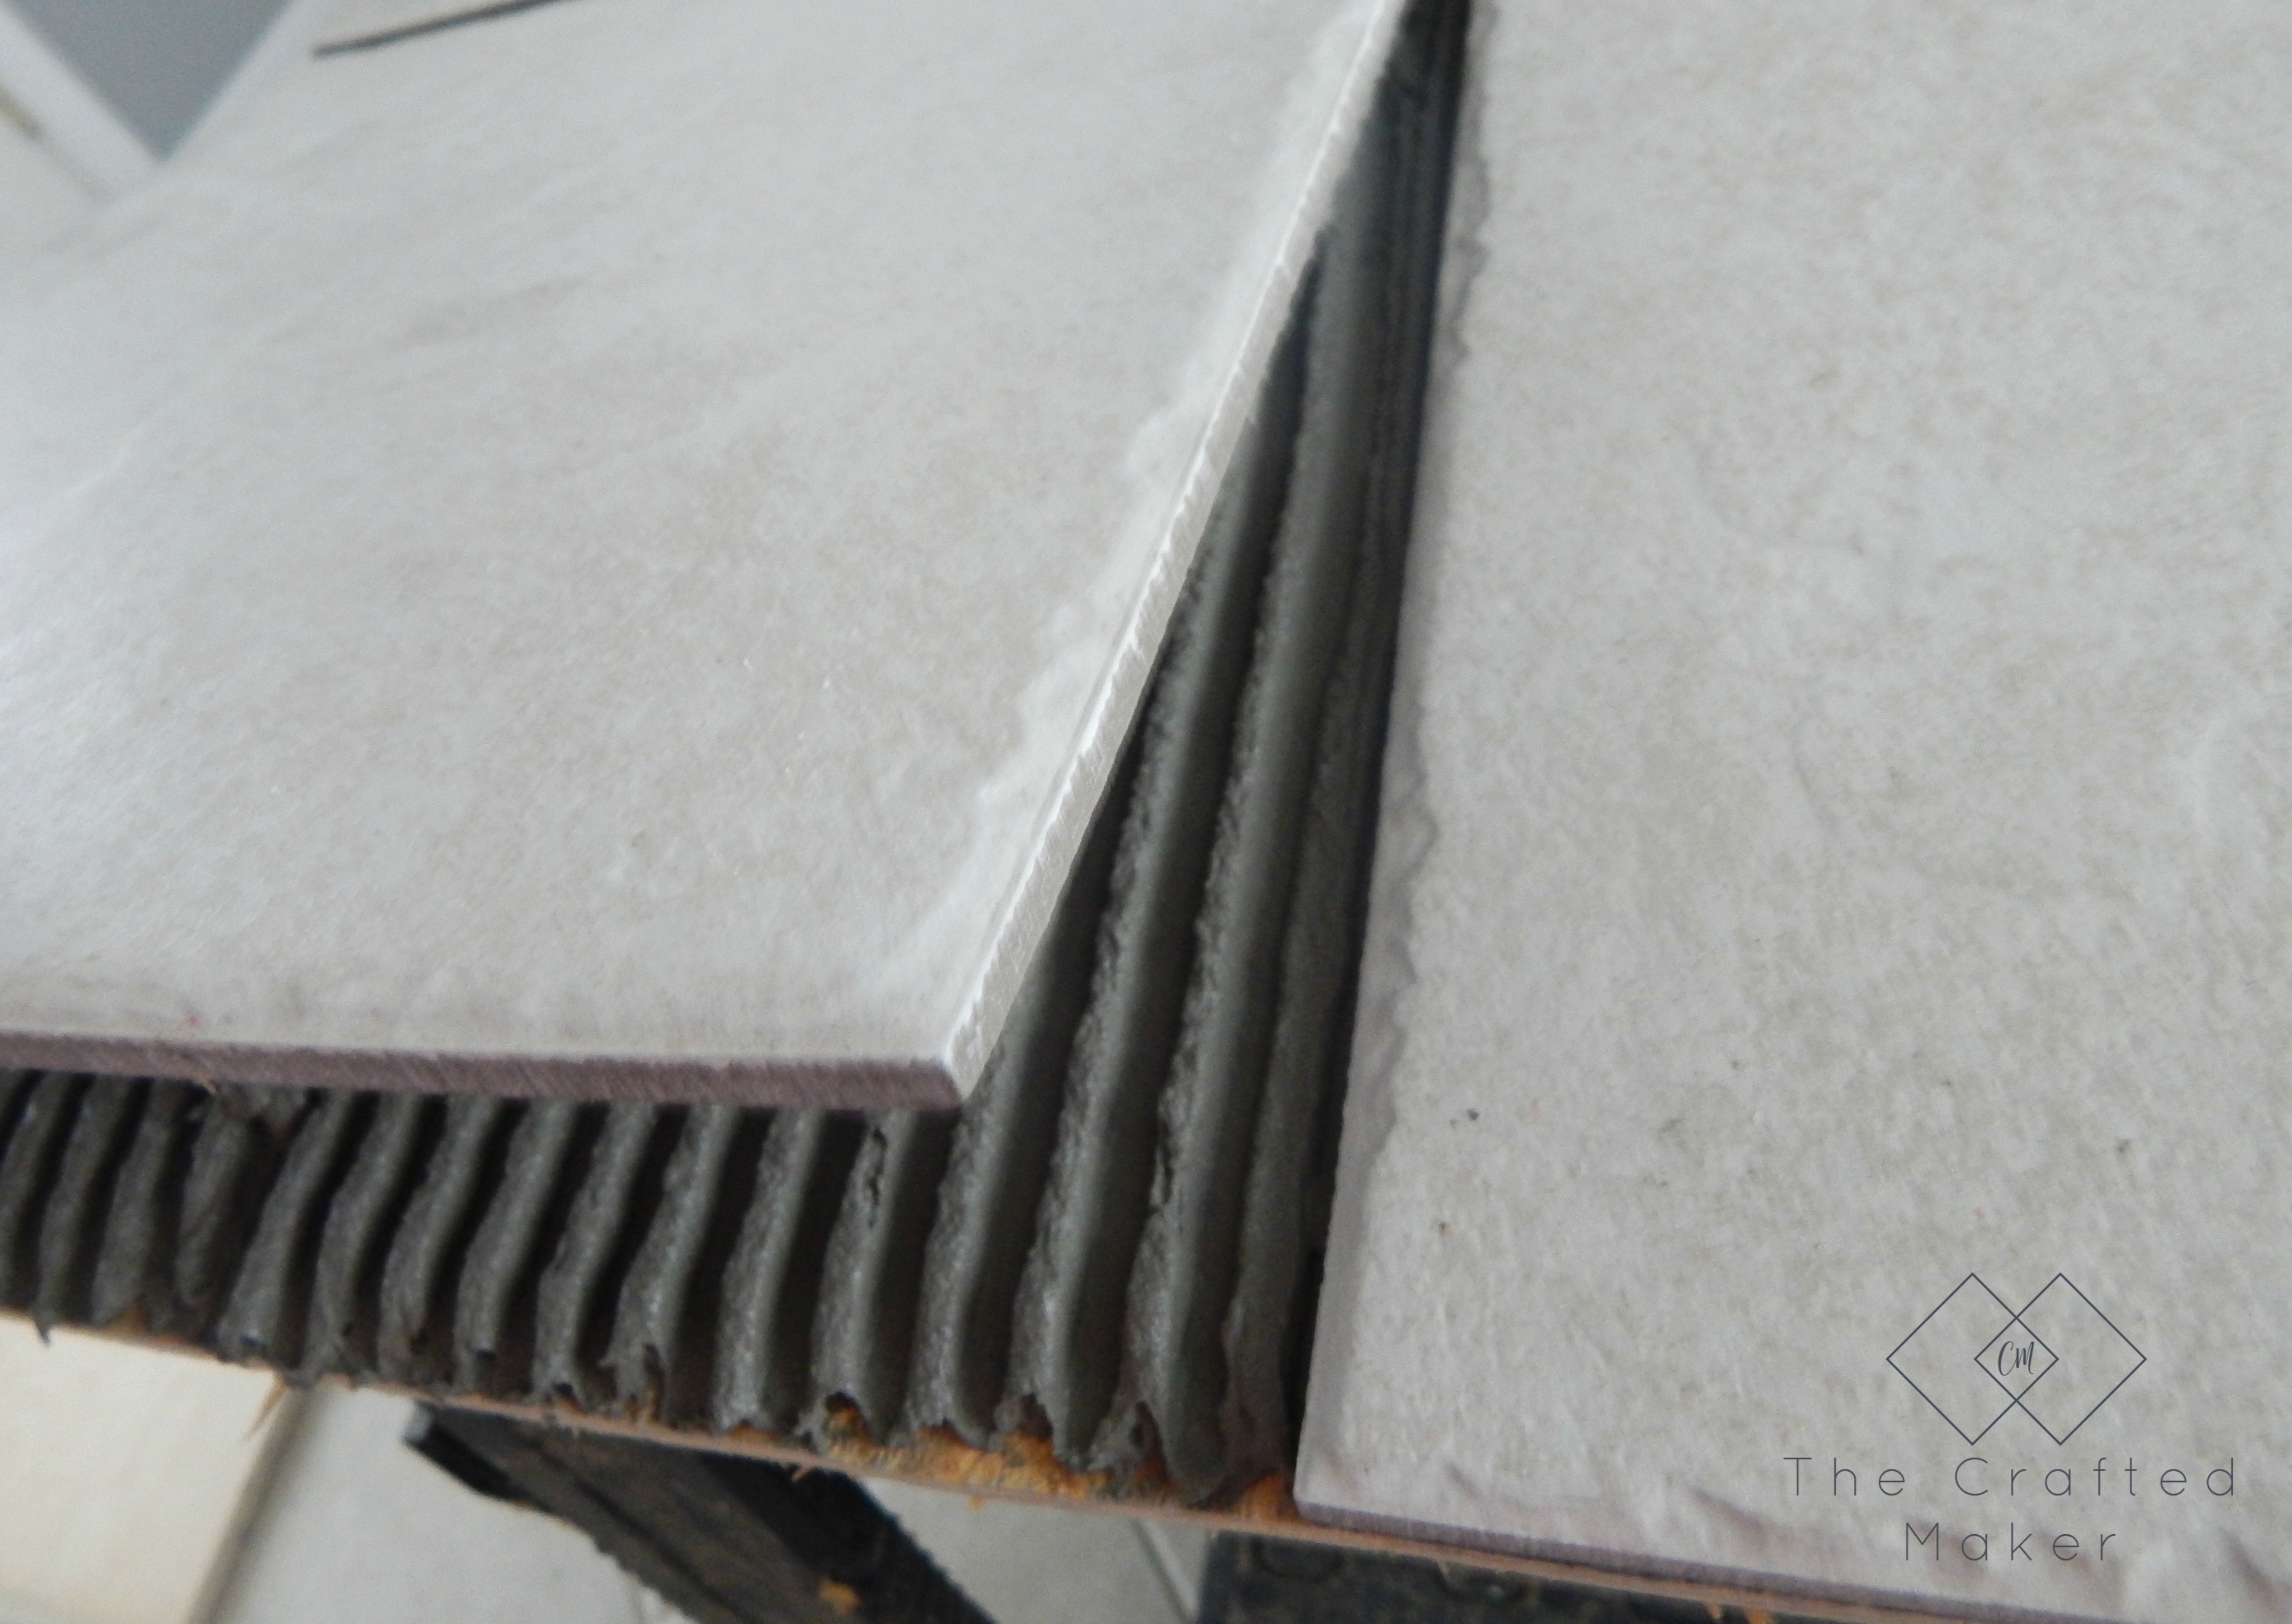
A tool called a trowel is used to apply the mortar. It has notched edges on three sides which allow the mortar to form a pattern. When the tile is placed on this pattern, it will form a suction to hold the tile in place, but still, allow the mortar to dry at the same time.
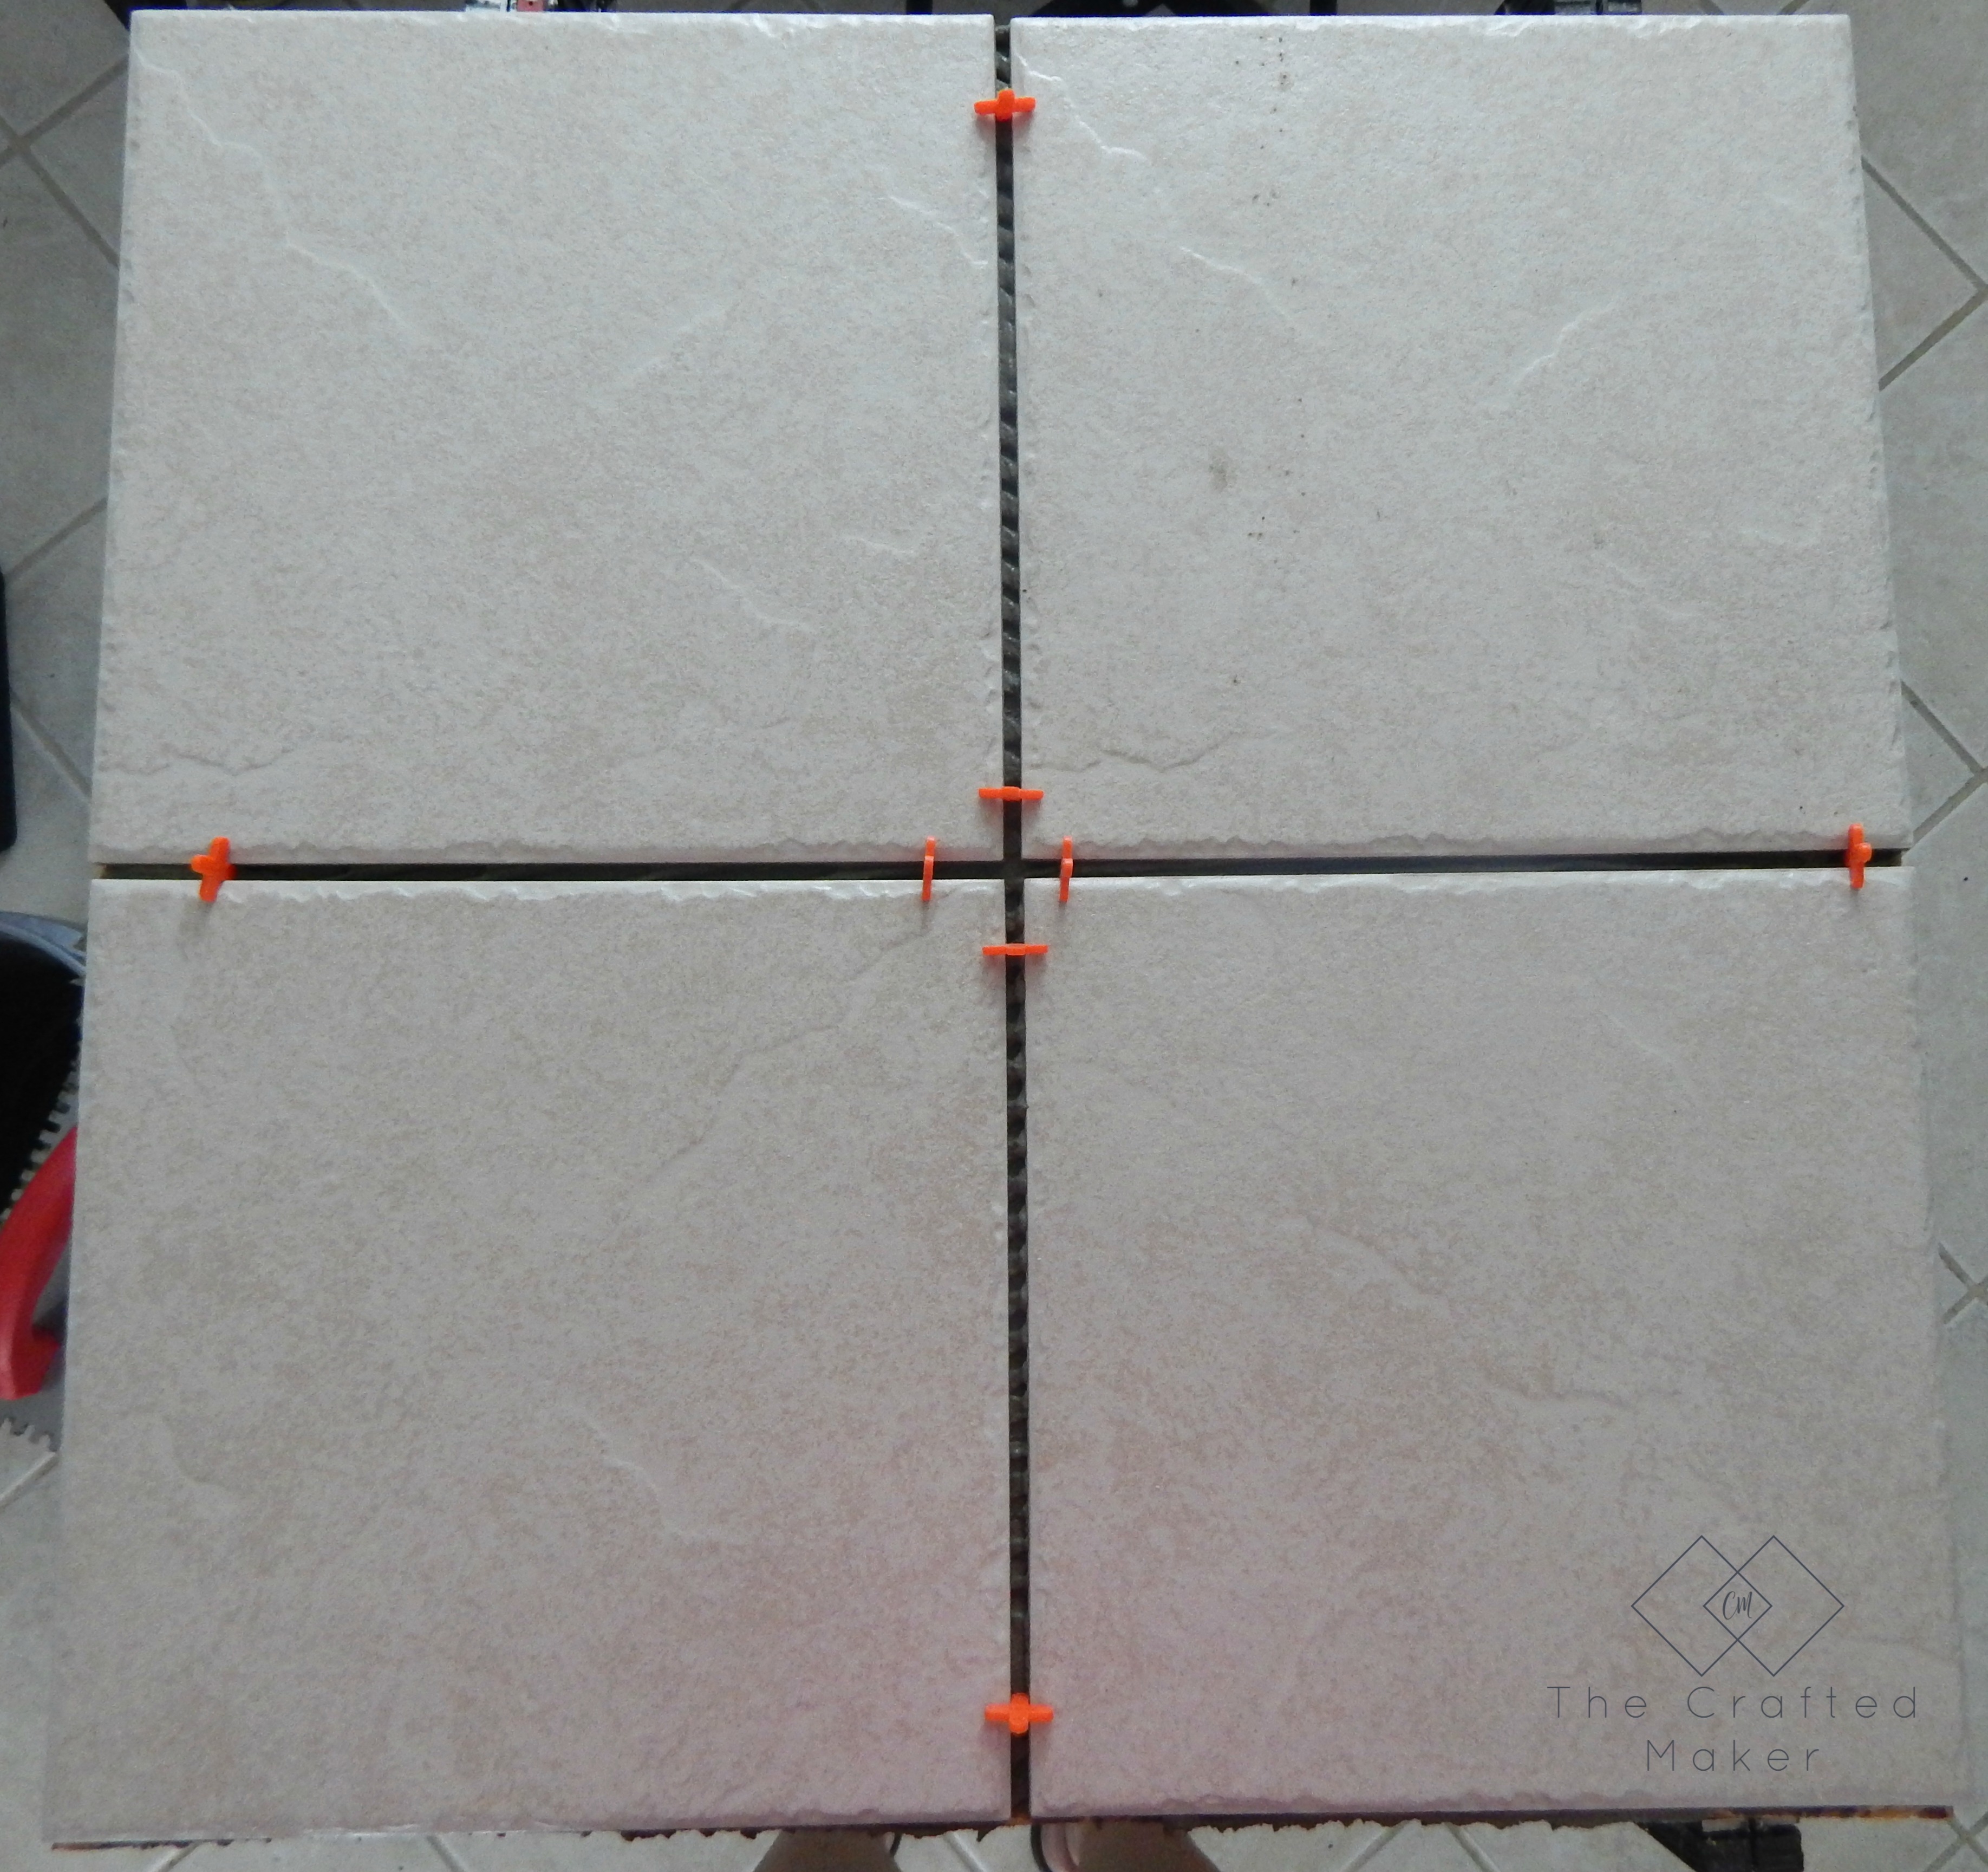
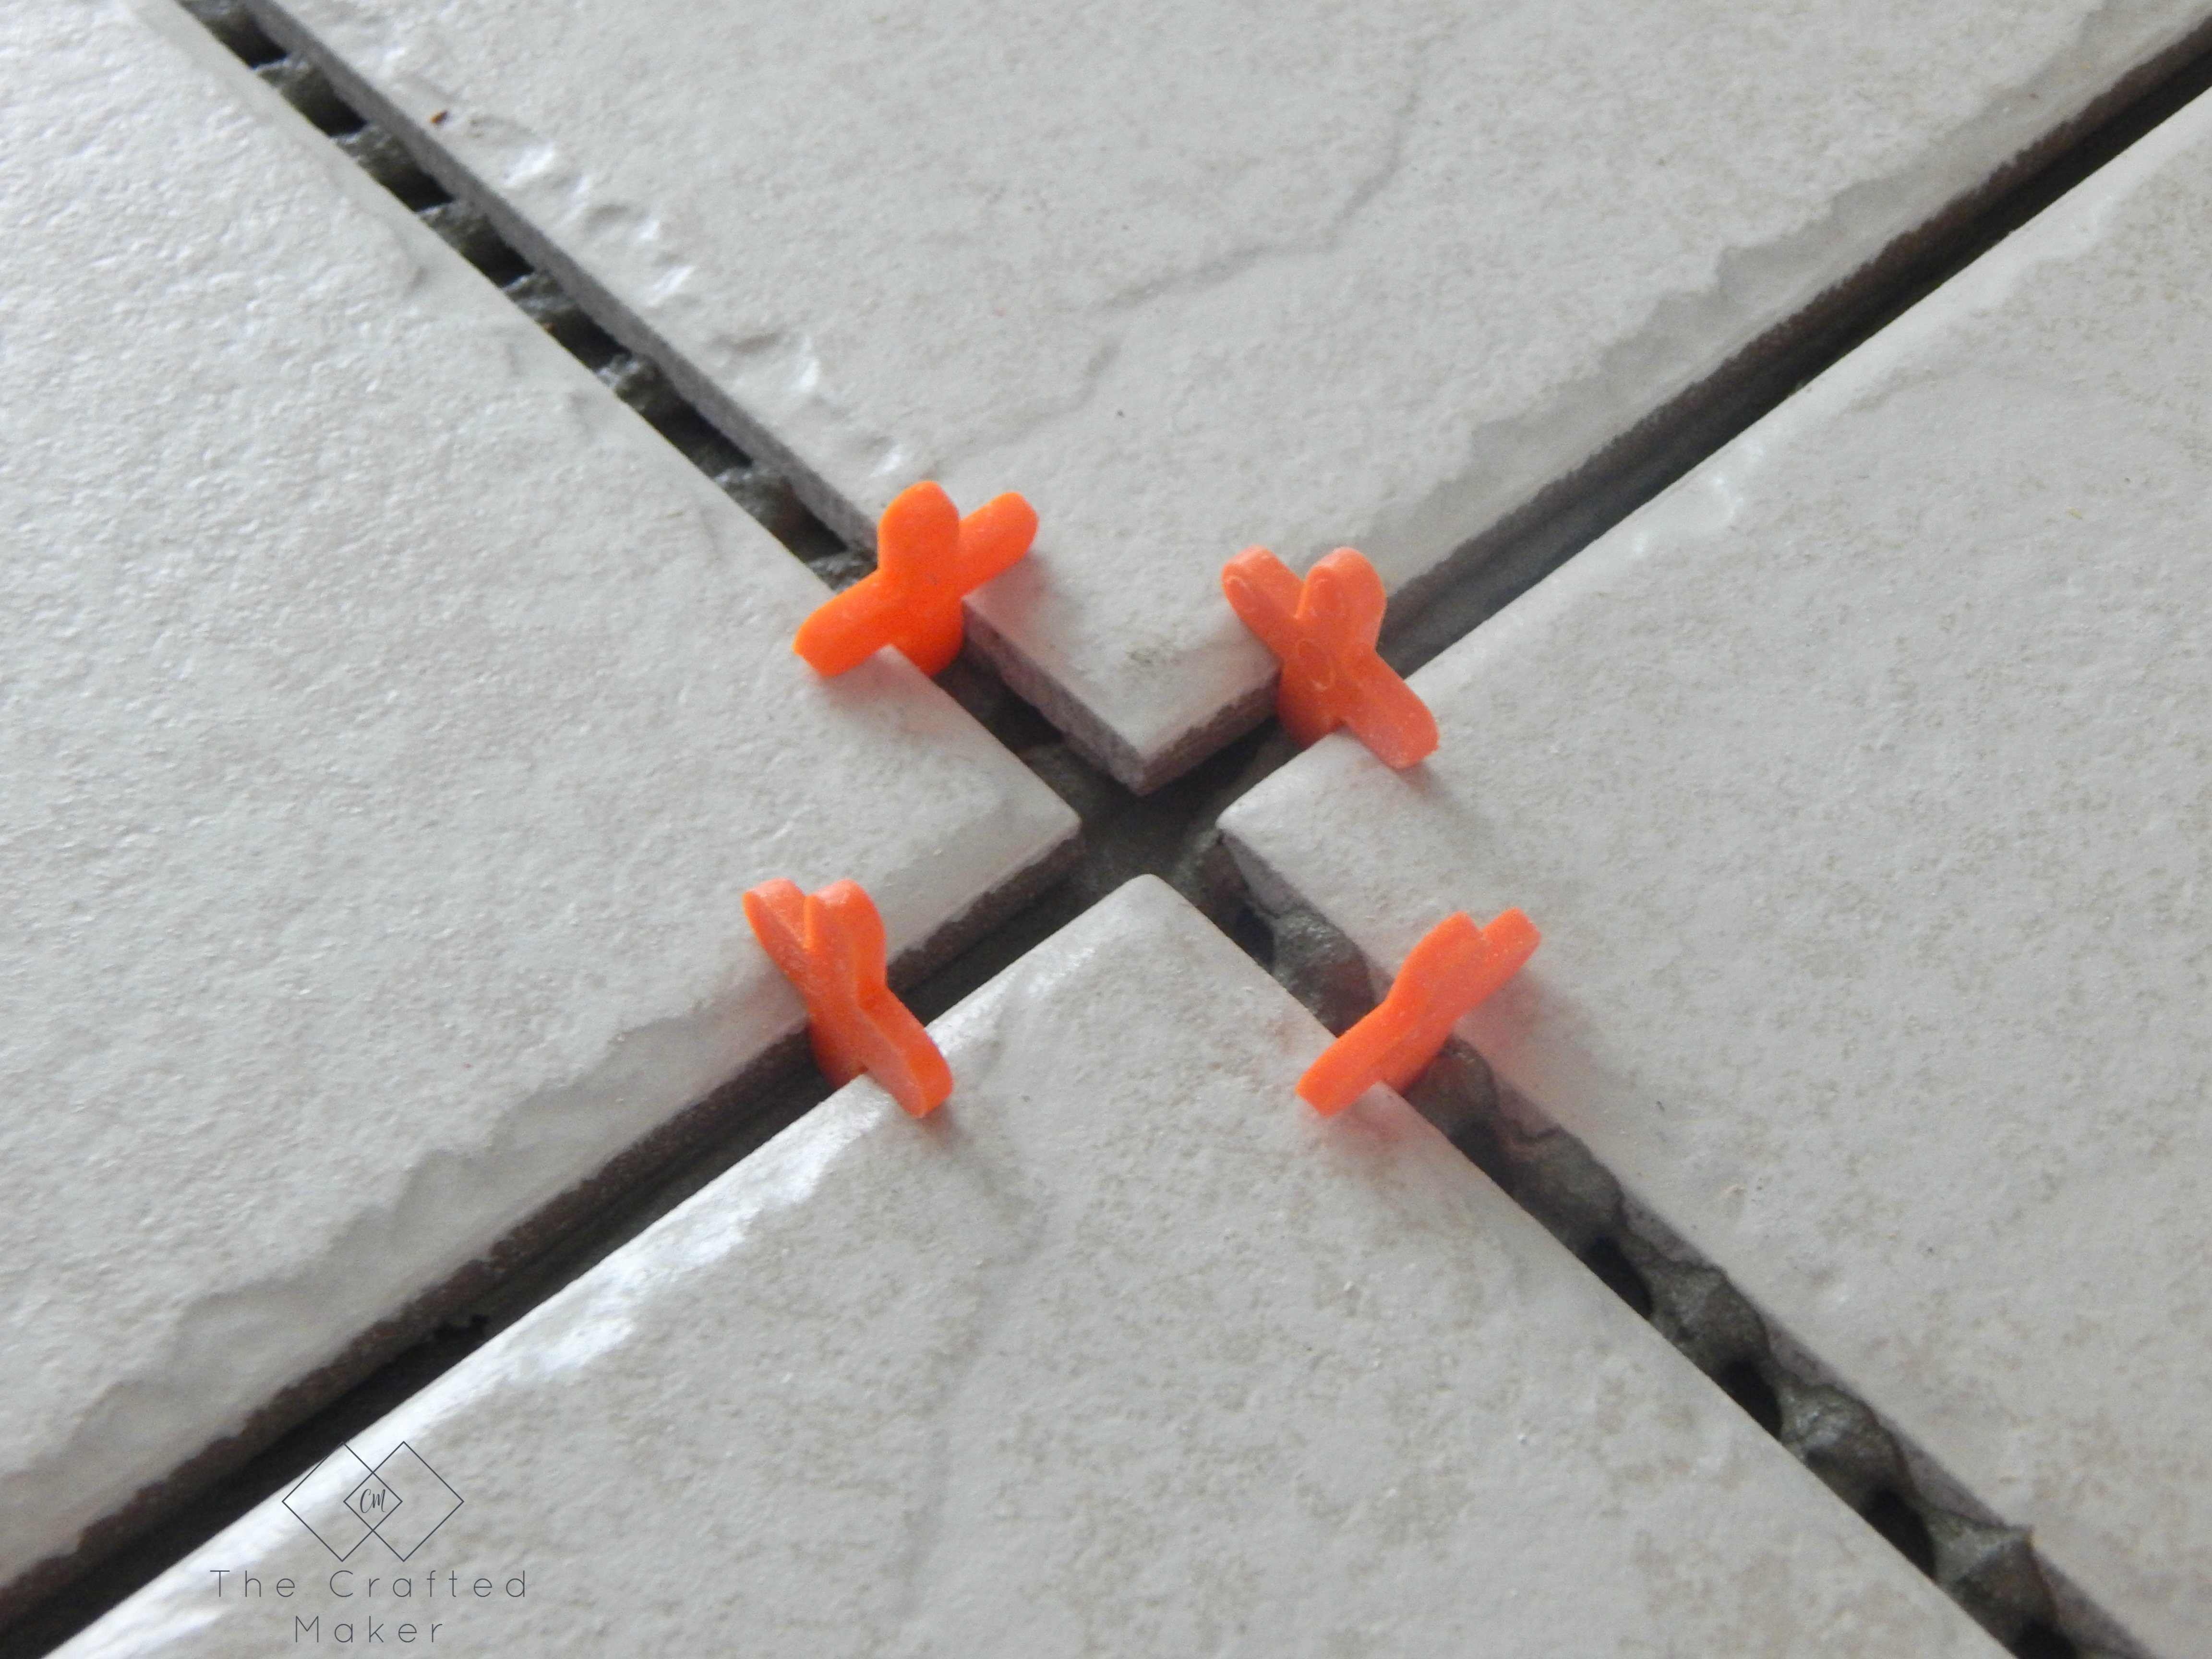
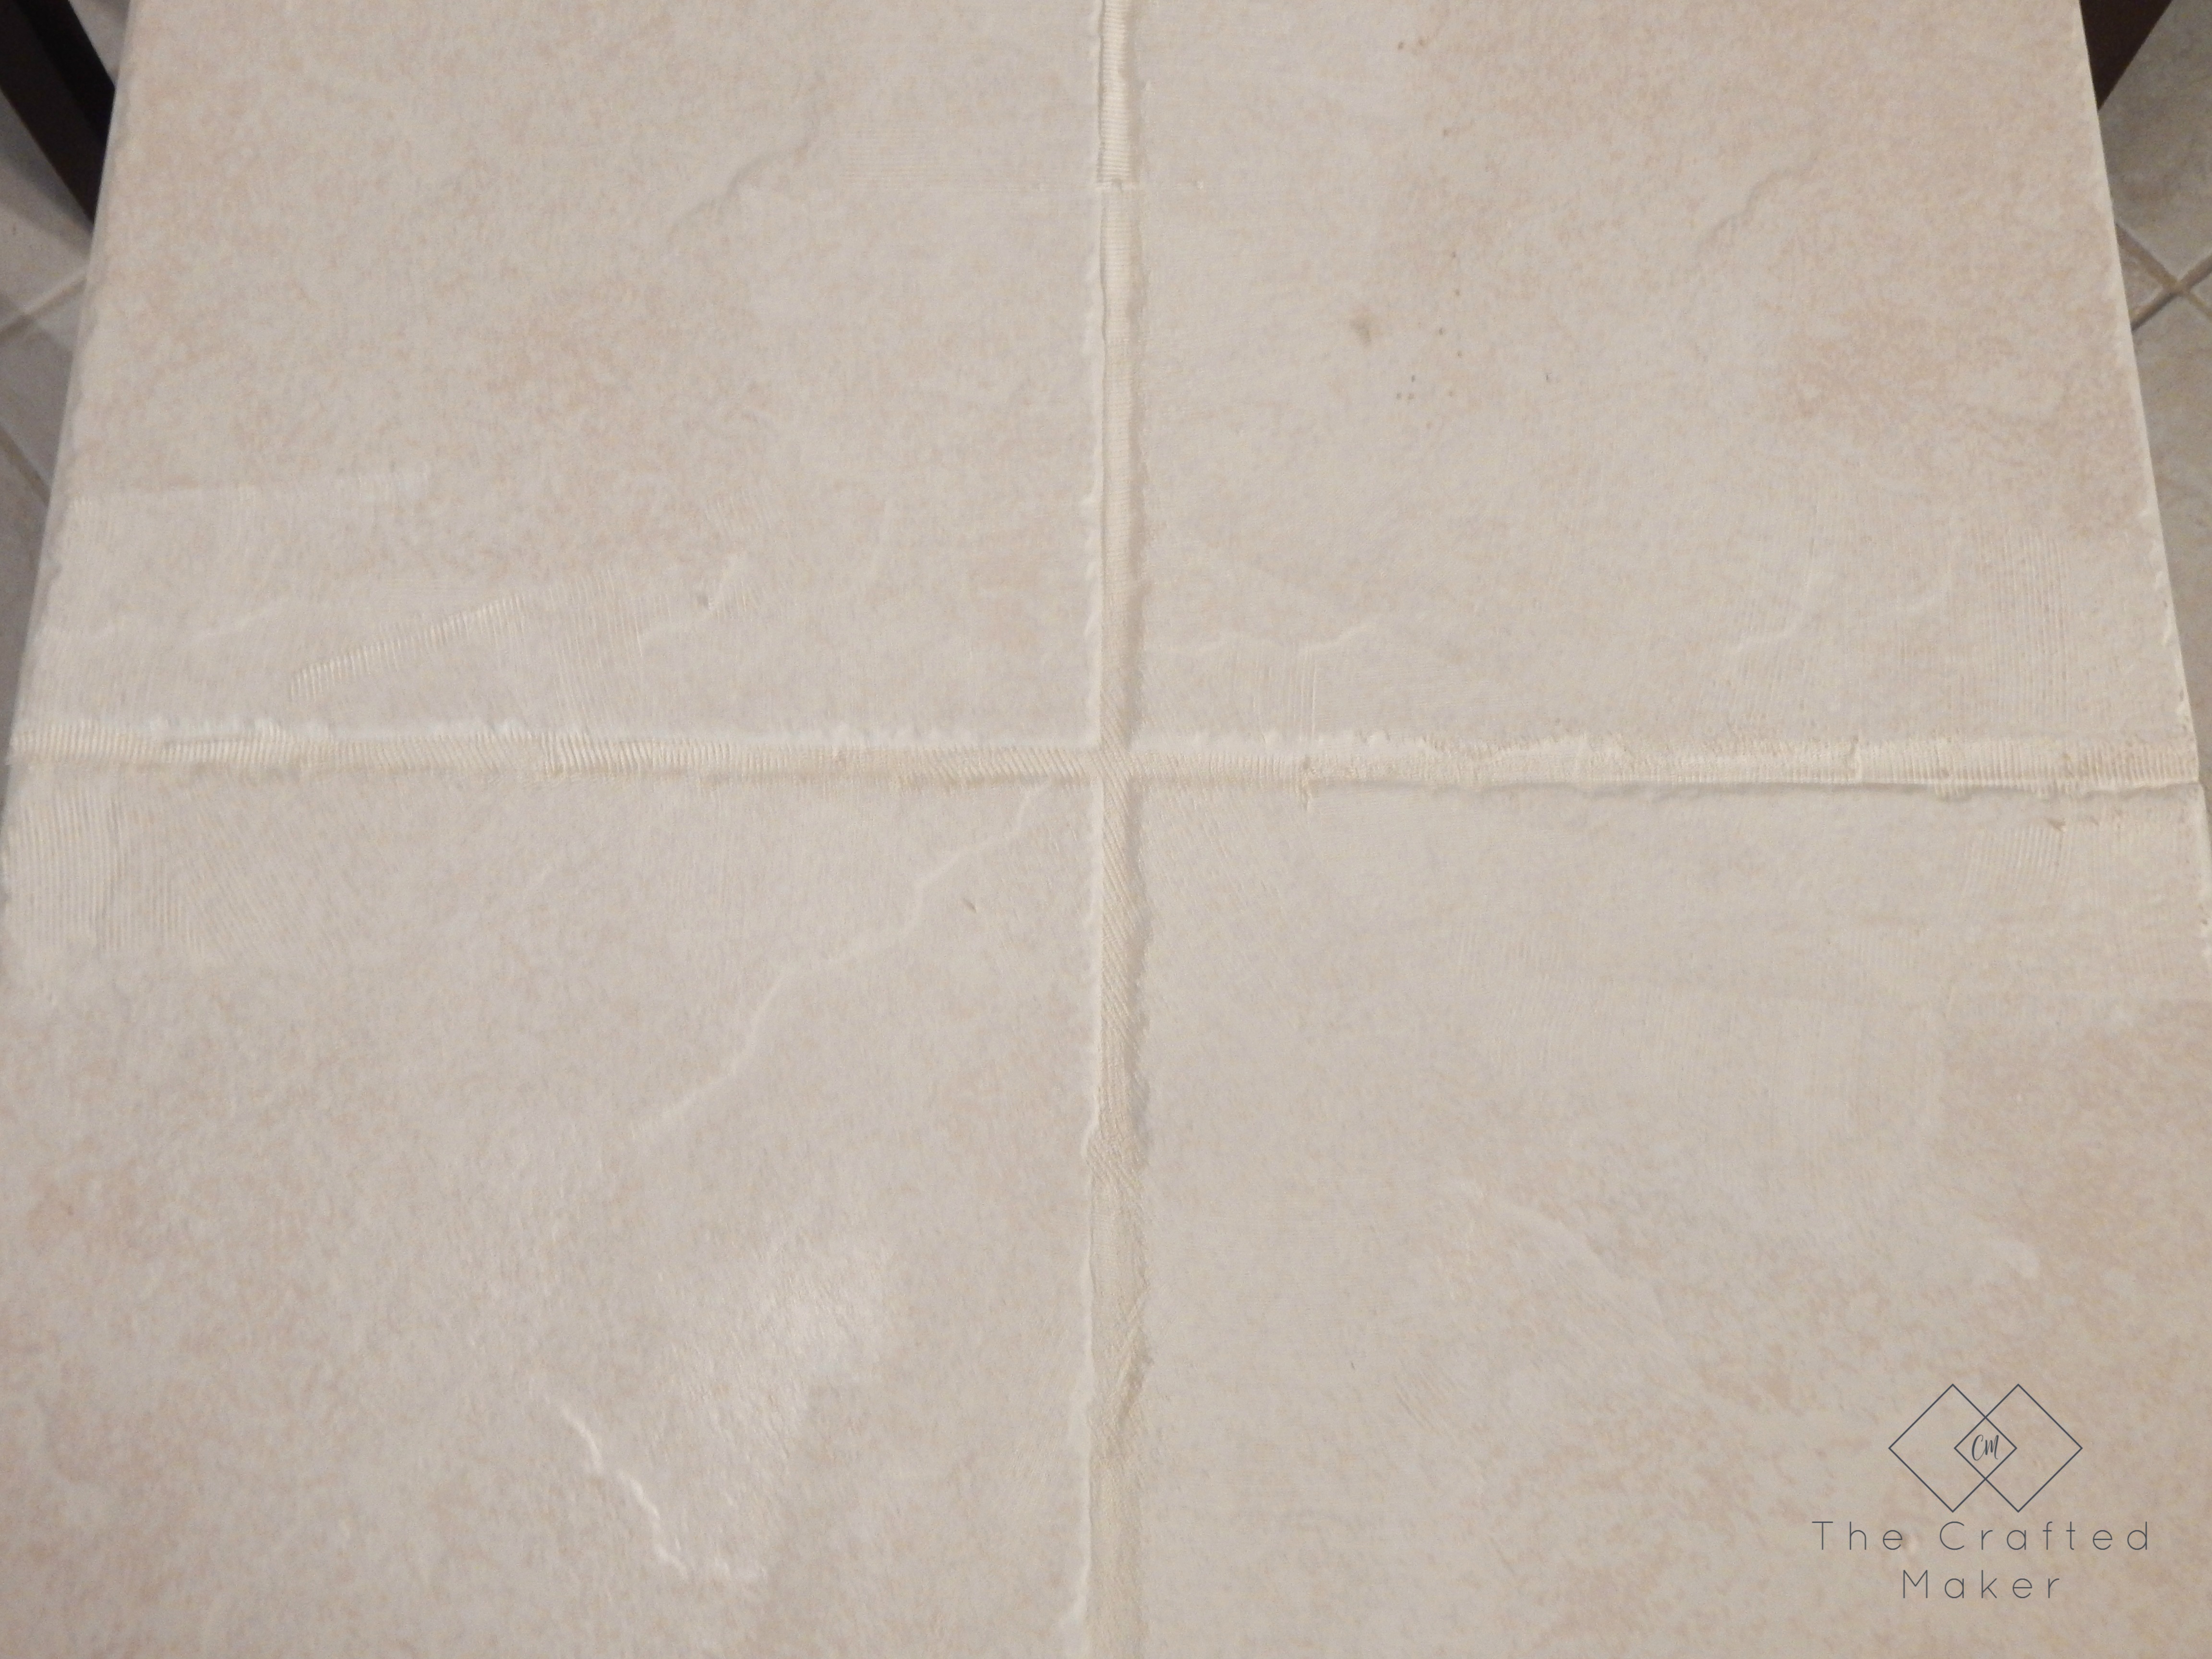
When laying the tile, there are spacers which can be purchased in different sizes. These are what determine the thickness of the grout line. Some people like to have a very thin line and others like a thick one. It is really whatever you prefer. Grout lines can have a huge impact on the way tile looks. I recommend doing research on the grout line thickness. Home improvement stores have display boards of finished tile. This might give you an idea of what your preference is.
Some mortars have different recommended drying times. The package should tell you the exact amount of time you should wait before beginning to grout your tile.
Since we don’t live in a perfect world and every room is going to have weird angles, door frames, and walls where a whole piece of tile doesn’t fit, there will need to be cuts made. This is where a wet tile saw comes in handy. The saw shoots a stream of water on the blade as you cut your tile. It is designed to use water to help with tile cracking, the heat of the blade, and dust suppression. I would not recommend using a wet tile saw without the water!!
Click here to check out tile saws on Amazon!
Some of the cuts, especially around door frames can be tricky at first, but once you get some practice under your belt you should be fine.
Now that all of the cuts are made, your tile is down, and the mortar is dry, time to grout. There are loads of different color choices for grout. Pick the one that complements your tile the most.
The process of mixing the grout is along the same lines as the mortar. It starts out as a powder and water is mixed until you reach the consistency of peanut butter. Also, just like the mortar, mix just the amount you plan to use right away. You can not use the grout if it dries in the bucket.
A tool called a grout float is used to apply the grout. Most floats have a thick rubber pad on the bottom. This allows you to apply pressure, but it won’t damage the tile. Scoop some grout on the end of the float and move the grout along the lines in between the tile. You don’t have to press super hard on the float, but make sure you apply enough to get the grout evenly distributed in the lines. If there are areas not filled with grout, this can cause the grout to crack later as pressure is applied to the floor.
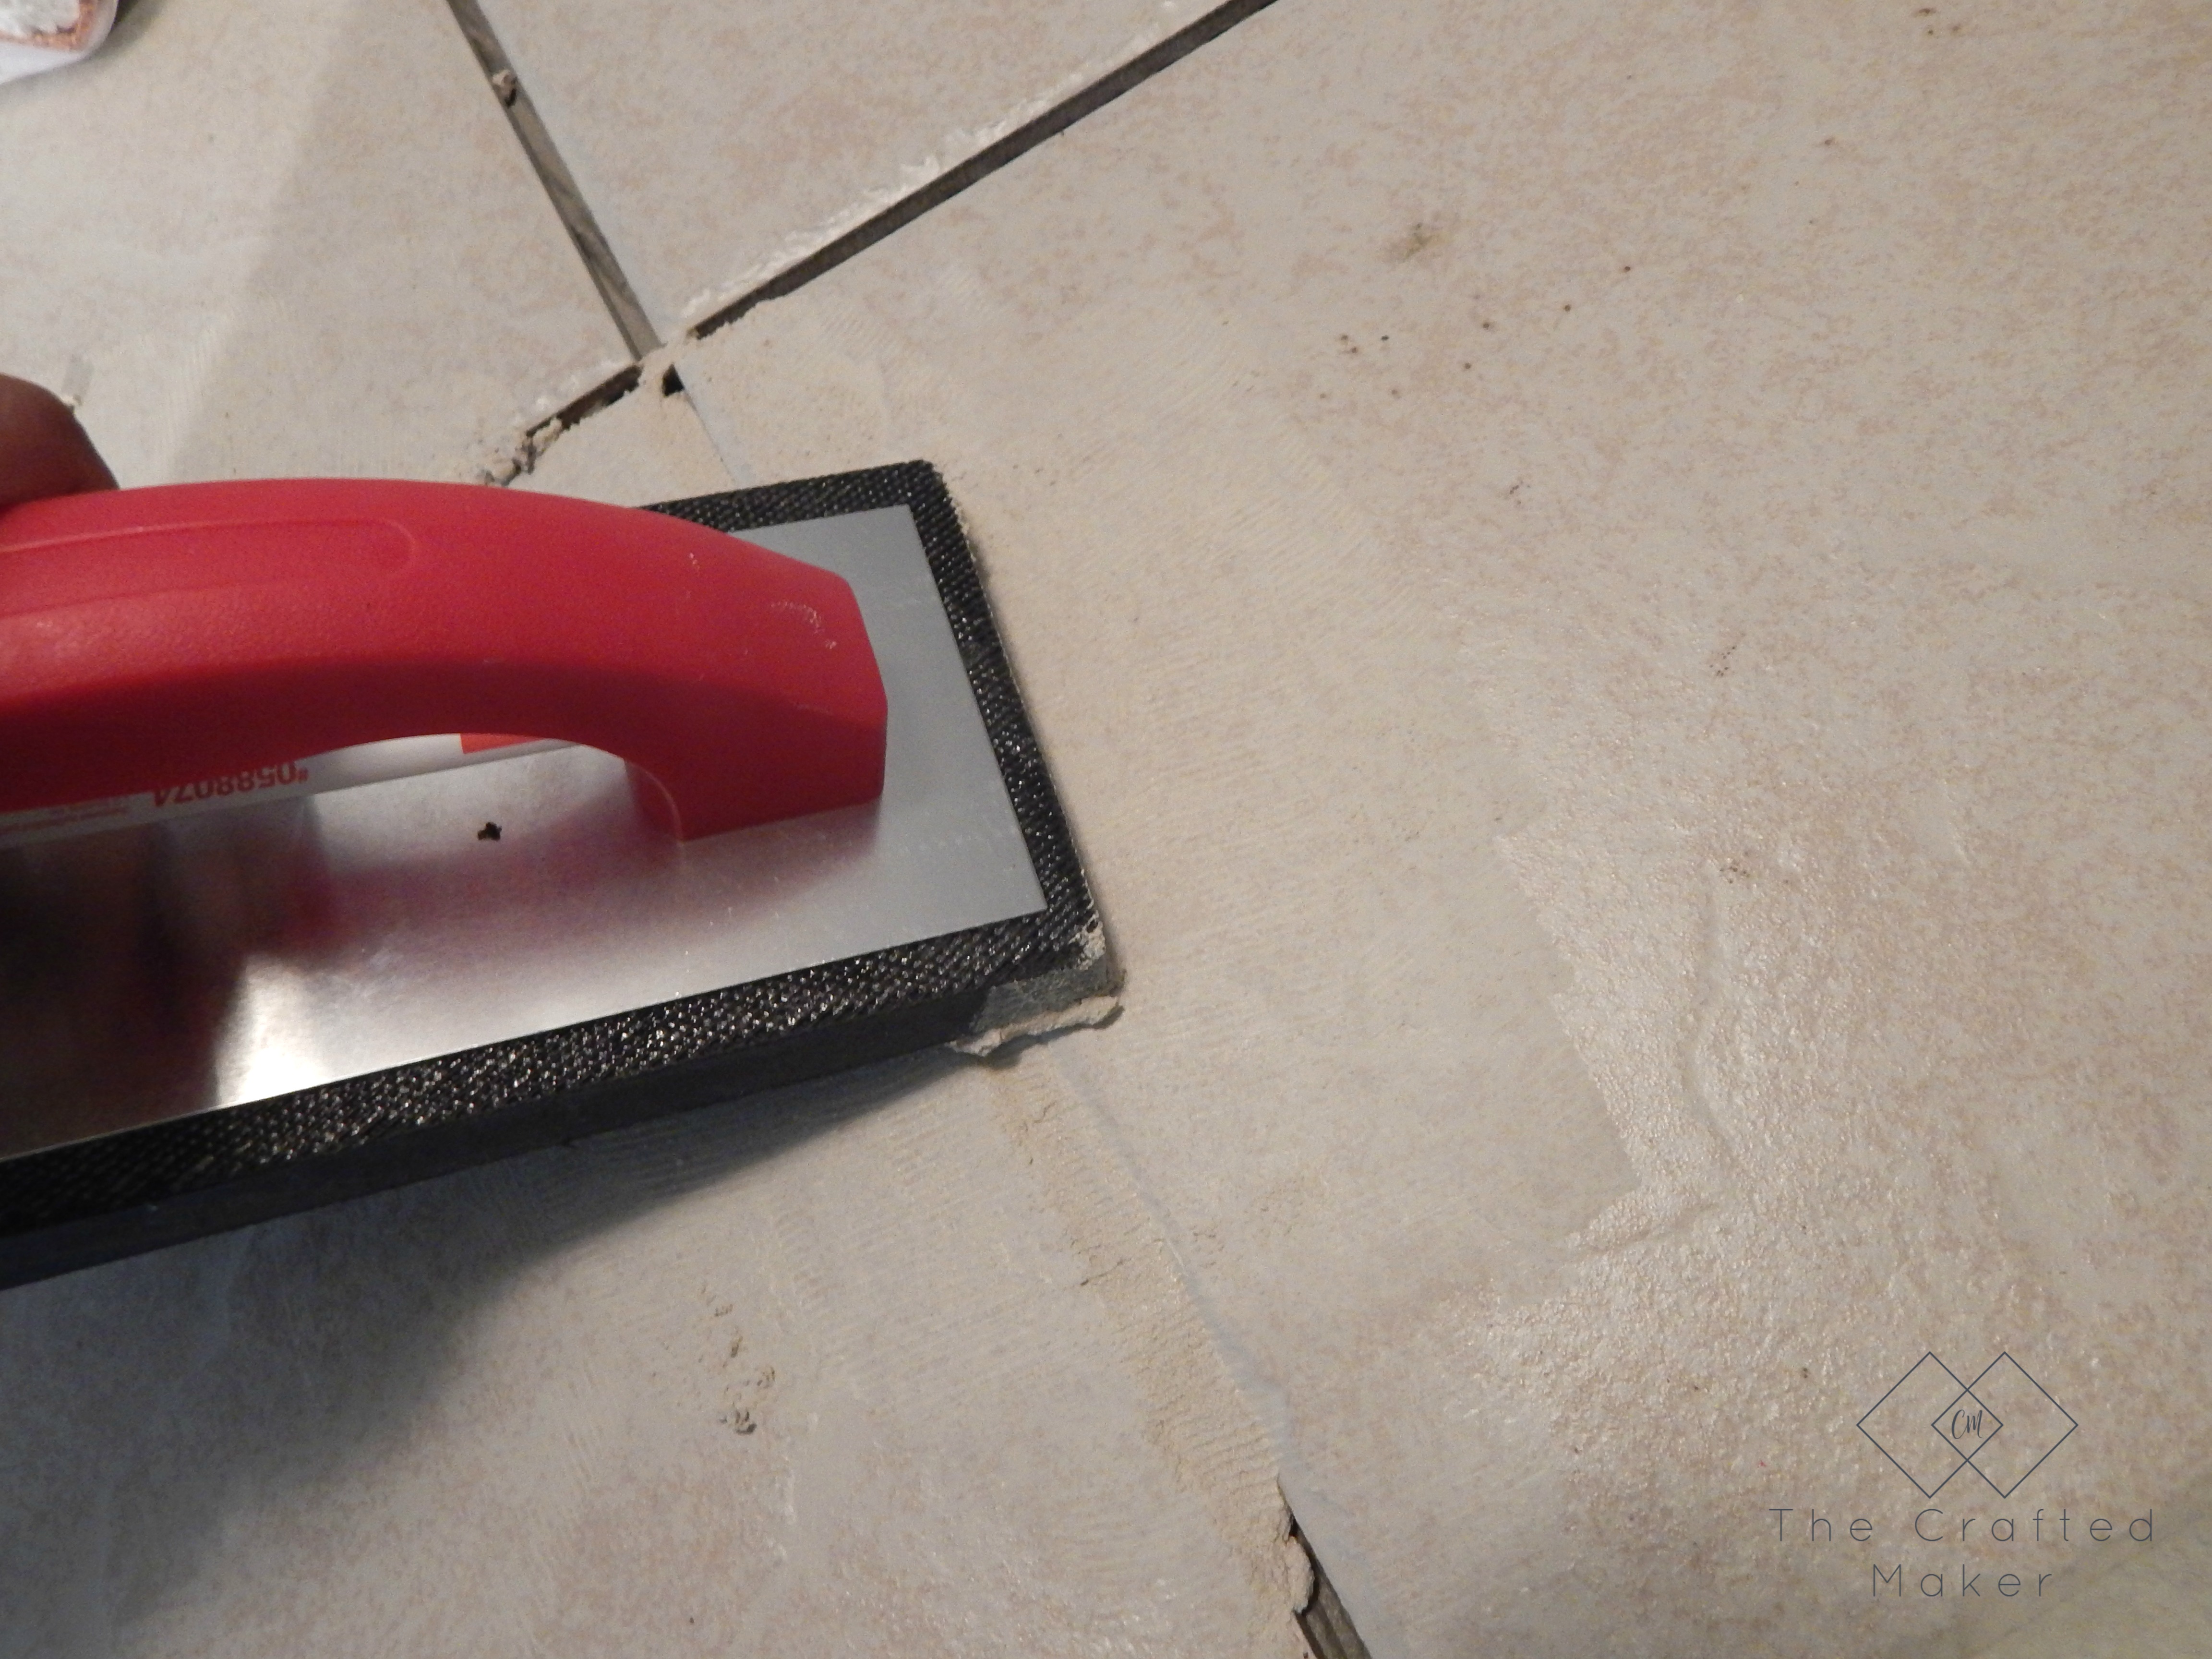
Start in small sections. Once you have a section done, you will need to take a damp flooring sponge and remove the excess grout from the surface of the tile. This grout that dries on the tile is called haze. If the haze is not removed as you are grouting, the floor will have to be cleaned with haze remover once the grout is dry. Not really a fun thing to have to do!!

Keep moving along your floor in sections until all of the grout is applied and the excess is cleaned off with your sponge. I would recommend keeping a bucket of water near you when using the sponge. It will need to be rinsed out A LOT. You will need to change your water out often. If the water gets to cloudy, you will just be wiping more grout over your tile that will need to be cleaned up.
Give your grout the recommended amount of time to dry. The grout package will tell you exactly how long that should be. Once your grout is dry, its time to seal your floor. There are different types of sealers depending on which tile material you chose.
The sealer can be applied with a foam brush, small roller, or a great tool specifically for this job. This tool has a bottle to store the liquid, but what makes it so neat is the applicator. It has a rolling wheel on the top which allows the sealer to come out. The wheel is the width of a common grout line. It is definitely my tool of choice when applying the sealer. Read the directions on your sealer bottle for the recommended drying time.

Now that the sealer has dried, it is time to stand back and look at the beautiful job you just did laying your own tile.
I hope this tutorial has been helpful for you all. Tiling is a pretty easy process, it can be time-consuming when you factor in the drying time, but I think it is totally worth it in the end.
If you have any questions at all about anything in this tutorial, or you want to share your tiling projects with me, feel free to contact me. I would love to hear from you!!
Thanks for spending some time with me today.
Until next time…

Pinning is always appreciated!!


Great tutorial!!! I’m about to put it to the test in a few short weeks! Thanks so much 🙂
Awesome! I’m glad it helped you out. Have fun with your project!!