Hey everyone! I’m really excited about today’s project! I have been wanting to make a hanging wine rack for the longest time, but I couldn’t decide on how I wanted to build it. After much debate, with myself, (yes sometimes I debate even myself!)
I decided to make one out of a 2×4. Sounds crazy right?? You might be thinking to yourself, “how in the world is she going to make a hanging wine rack out of one 2×4 board”. Well, let me show you!
Tools Needed
- Saw
- Drill
- Sander
- Stud Finder
- Level
Supplies Needed
- 1- 2 X 4 Board
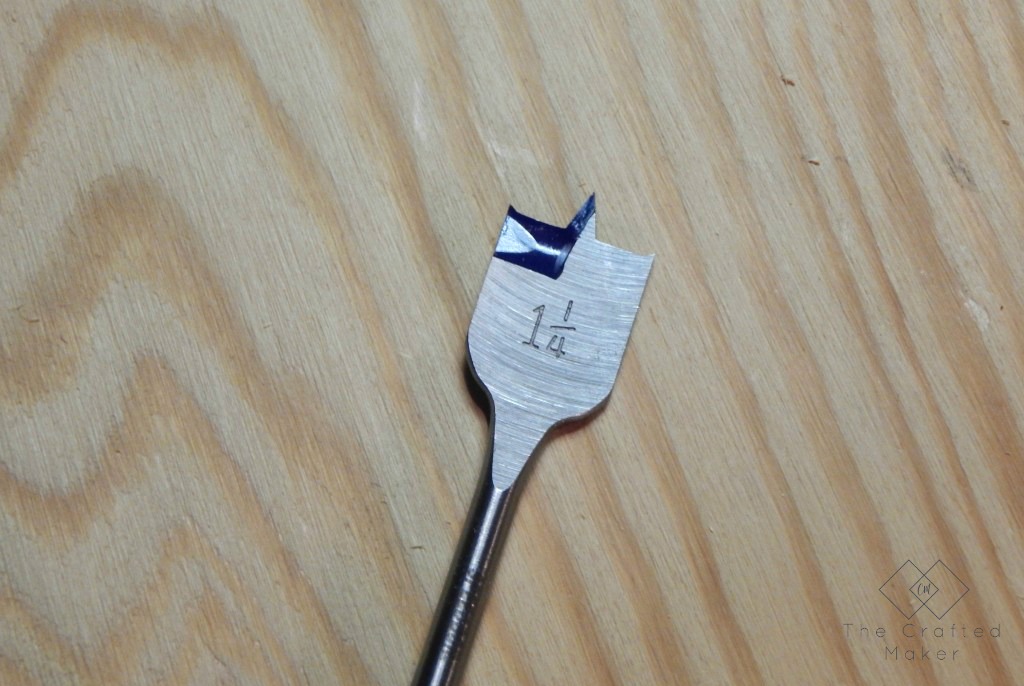
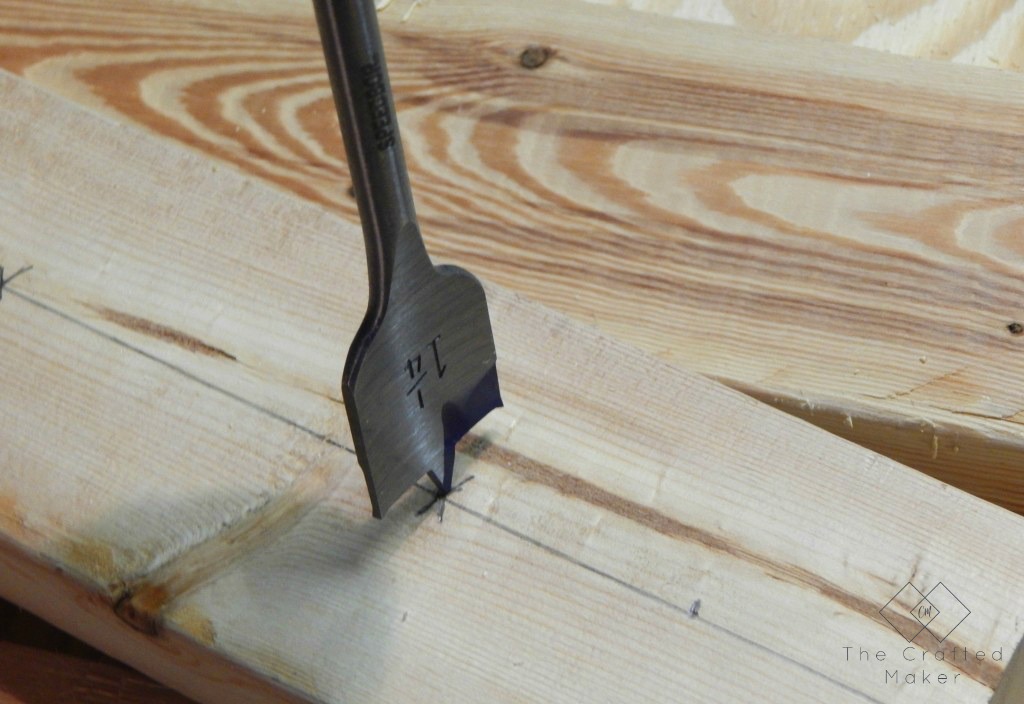
- 1 1/4″ Spade Bit
- Drill Bit for Pilot Holes
- Sandpaper
- Paint or Stain
- 2 Lag Screws
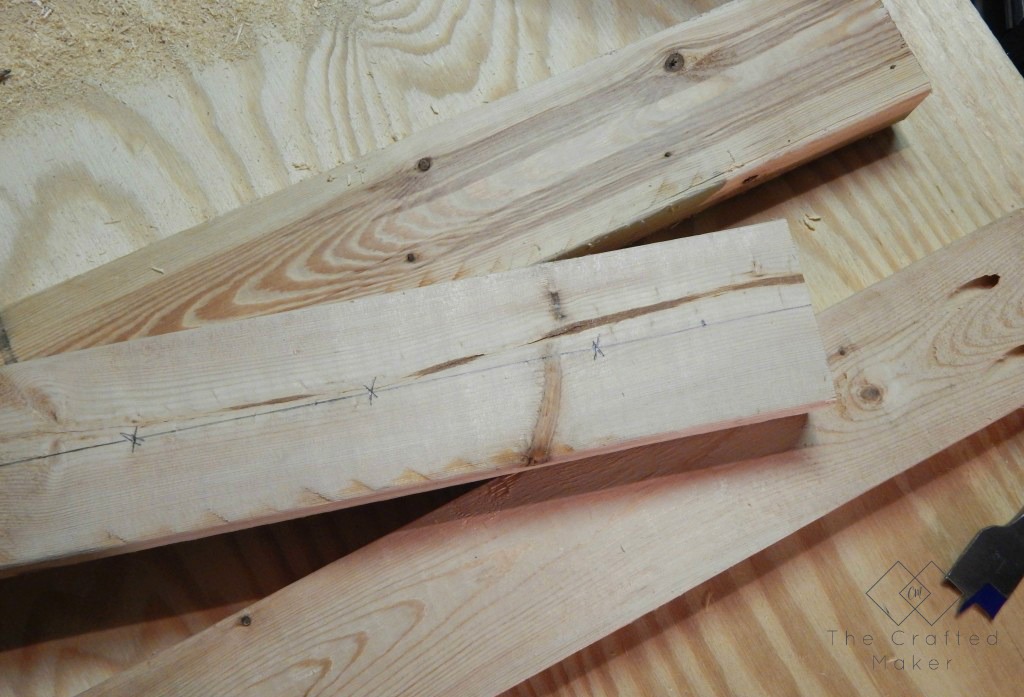
The very first, and most important thing that needs to be done is finding the best 2×4 possible. This can be a little difficult and will require digging through the massive pile of wood at the hardware store. Don’t worry, you will receive weird looks from people when you have a stack of 20-30 boards that just weren’t good enough, but you are making something great!

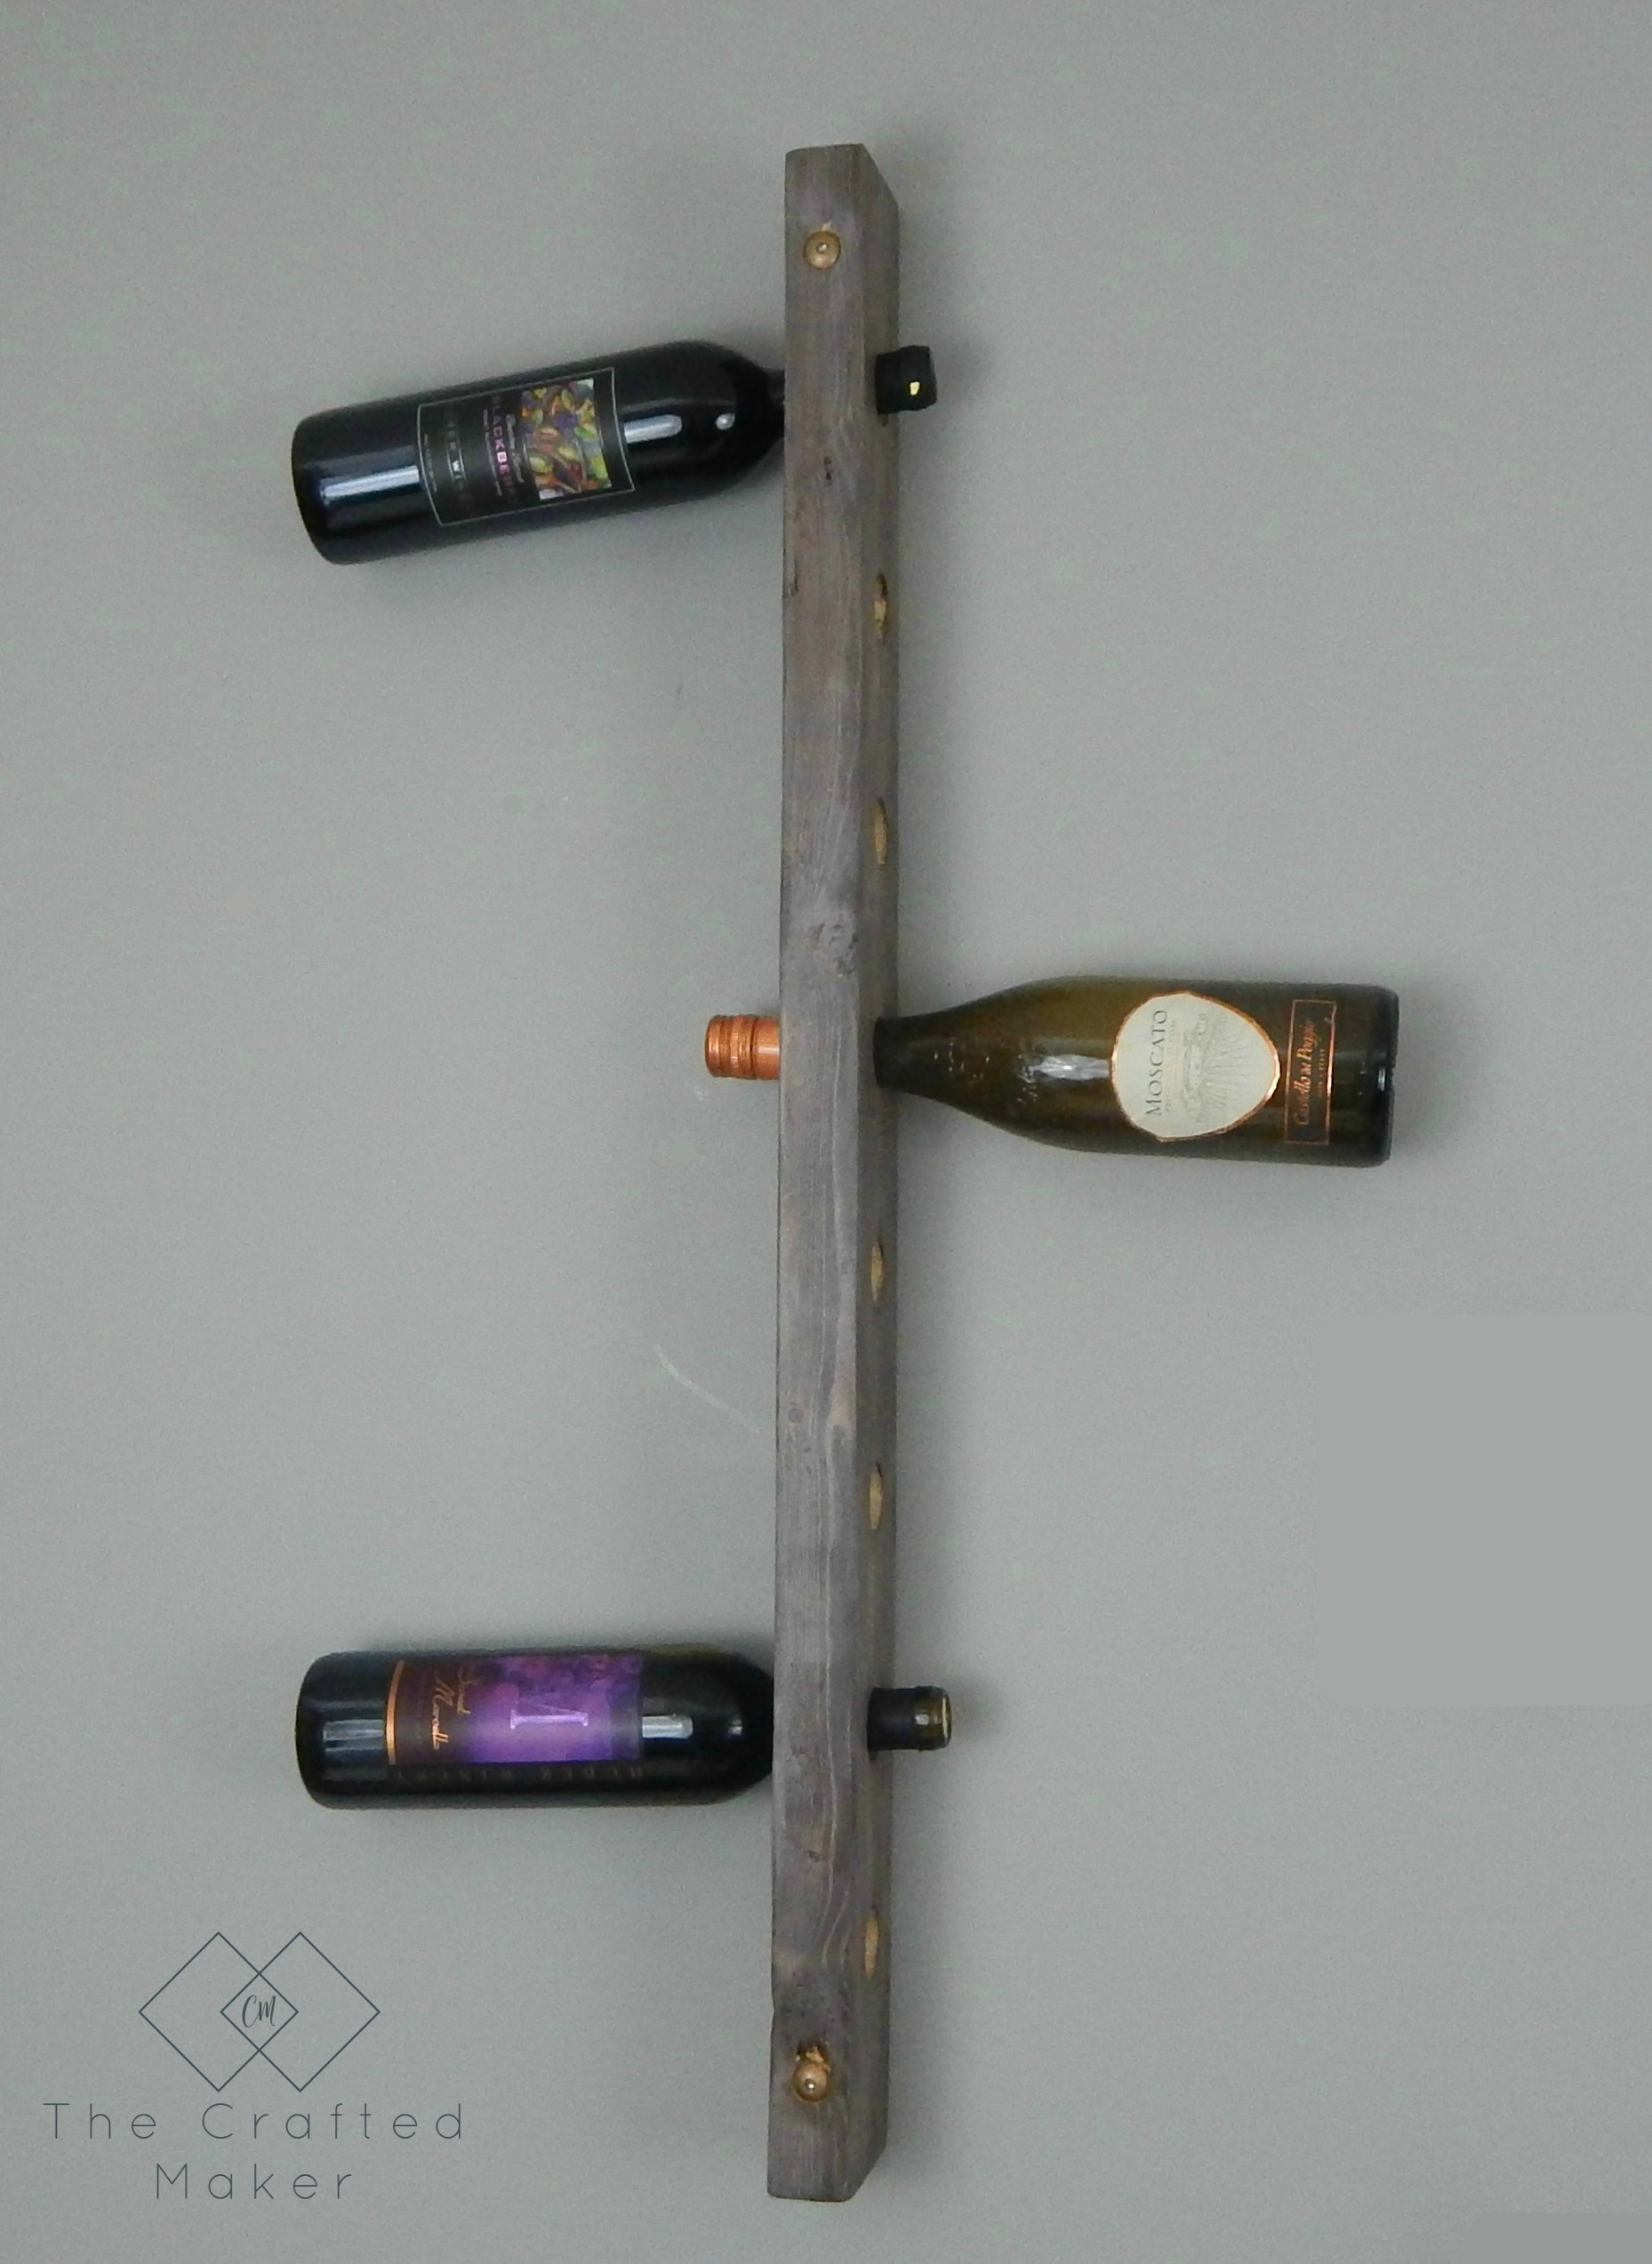
Now that you have the straightest and best looking 2×4 home with you, it’s time to decide on the length you want your wine rack to be. I chose to make mine 3ft. long, but you can make yours longer if you have the space. The hole placement I used is spaced out at equal lengths, so just continue the measurements if you decide to go longer.
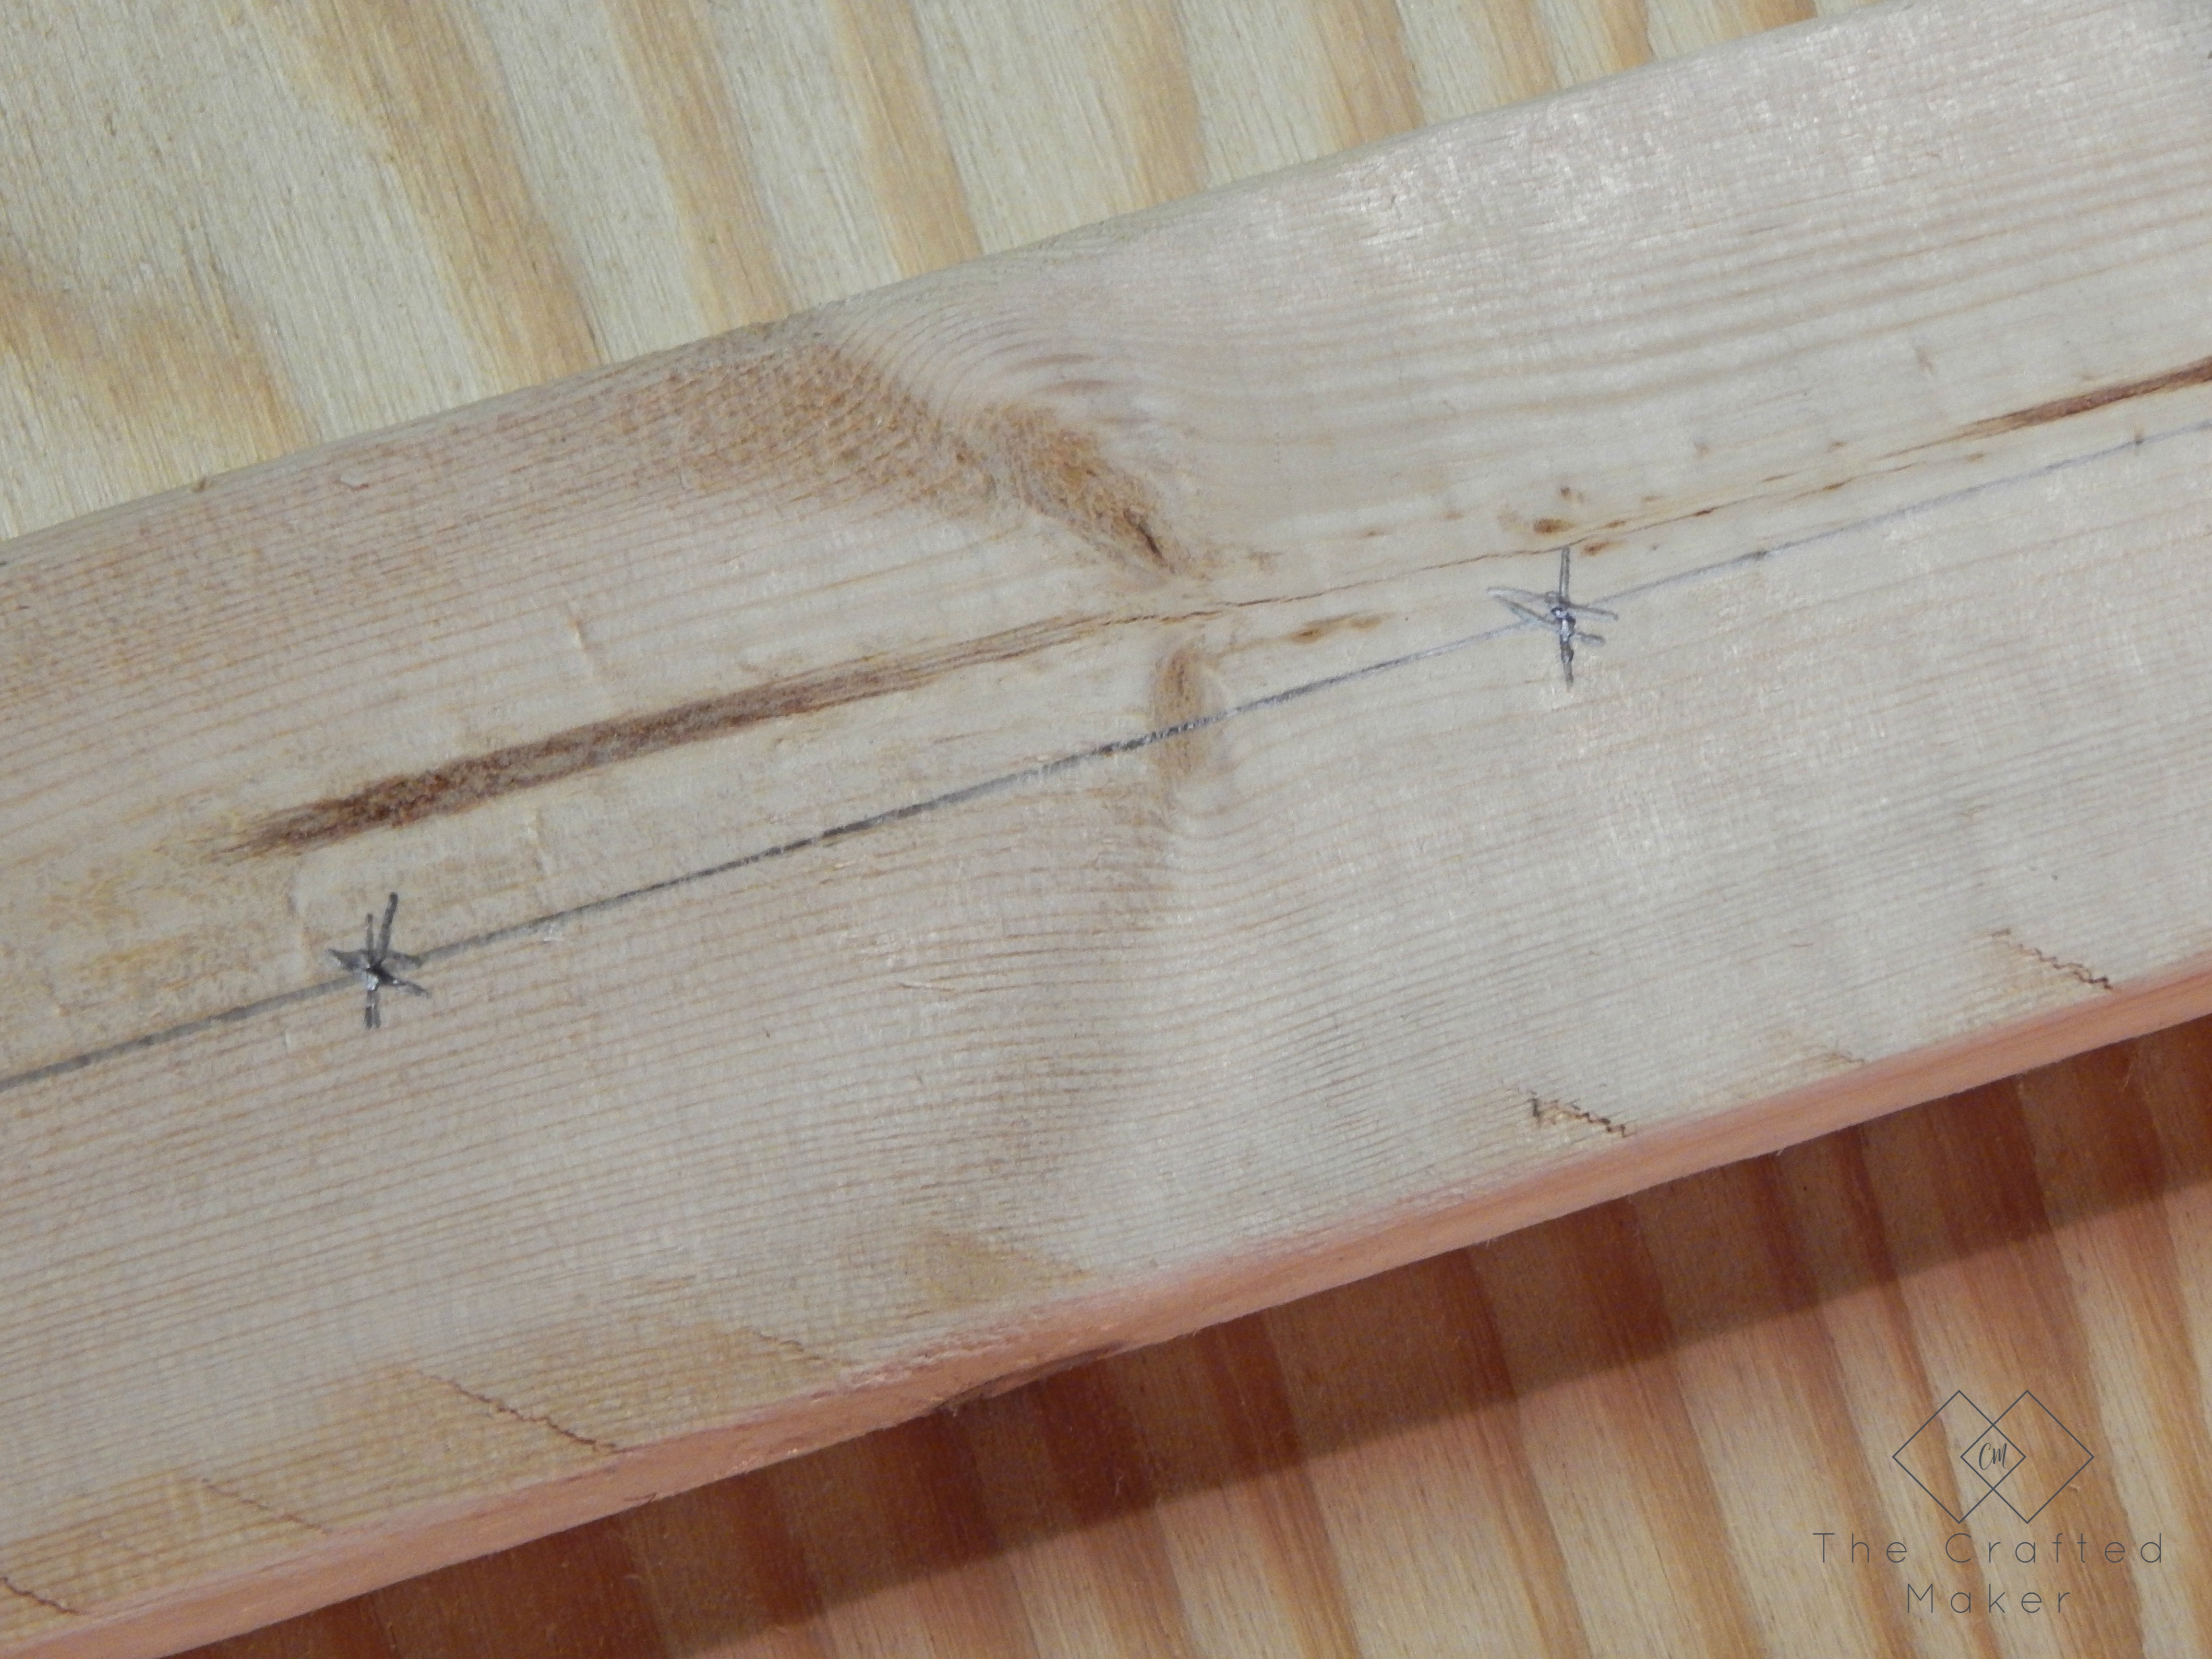
With the 2×4 laying with the 4″ (really 3.5″ if you want to get technical) measurement facing you, find the center and mark a line the length of the board. I would recommend using pencil for this. When the project is sanded the marks should come off easy.

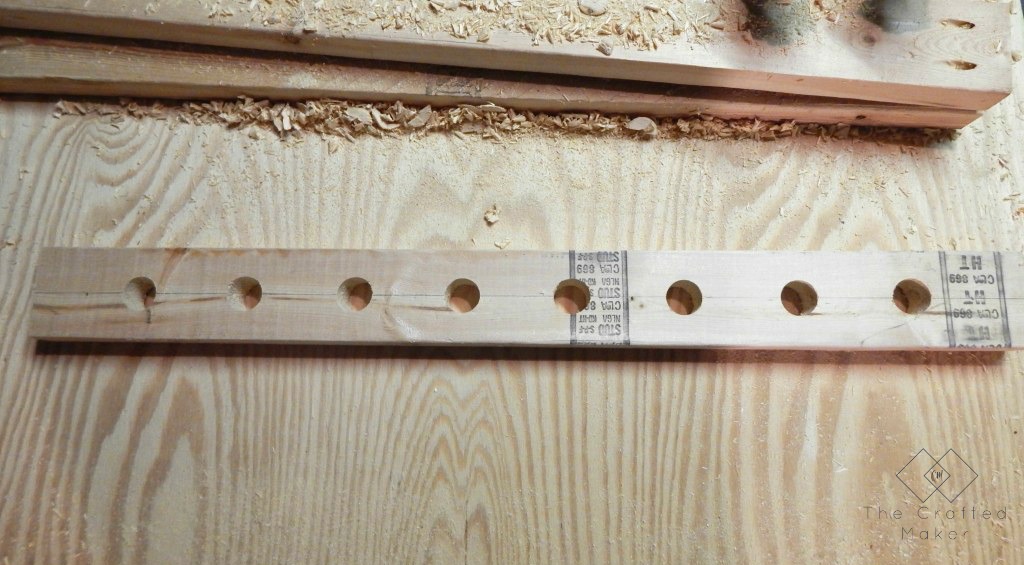
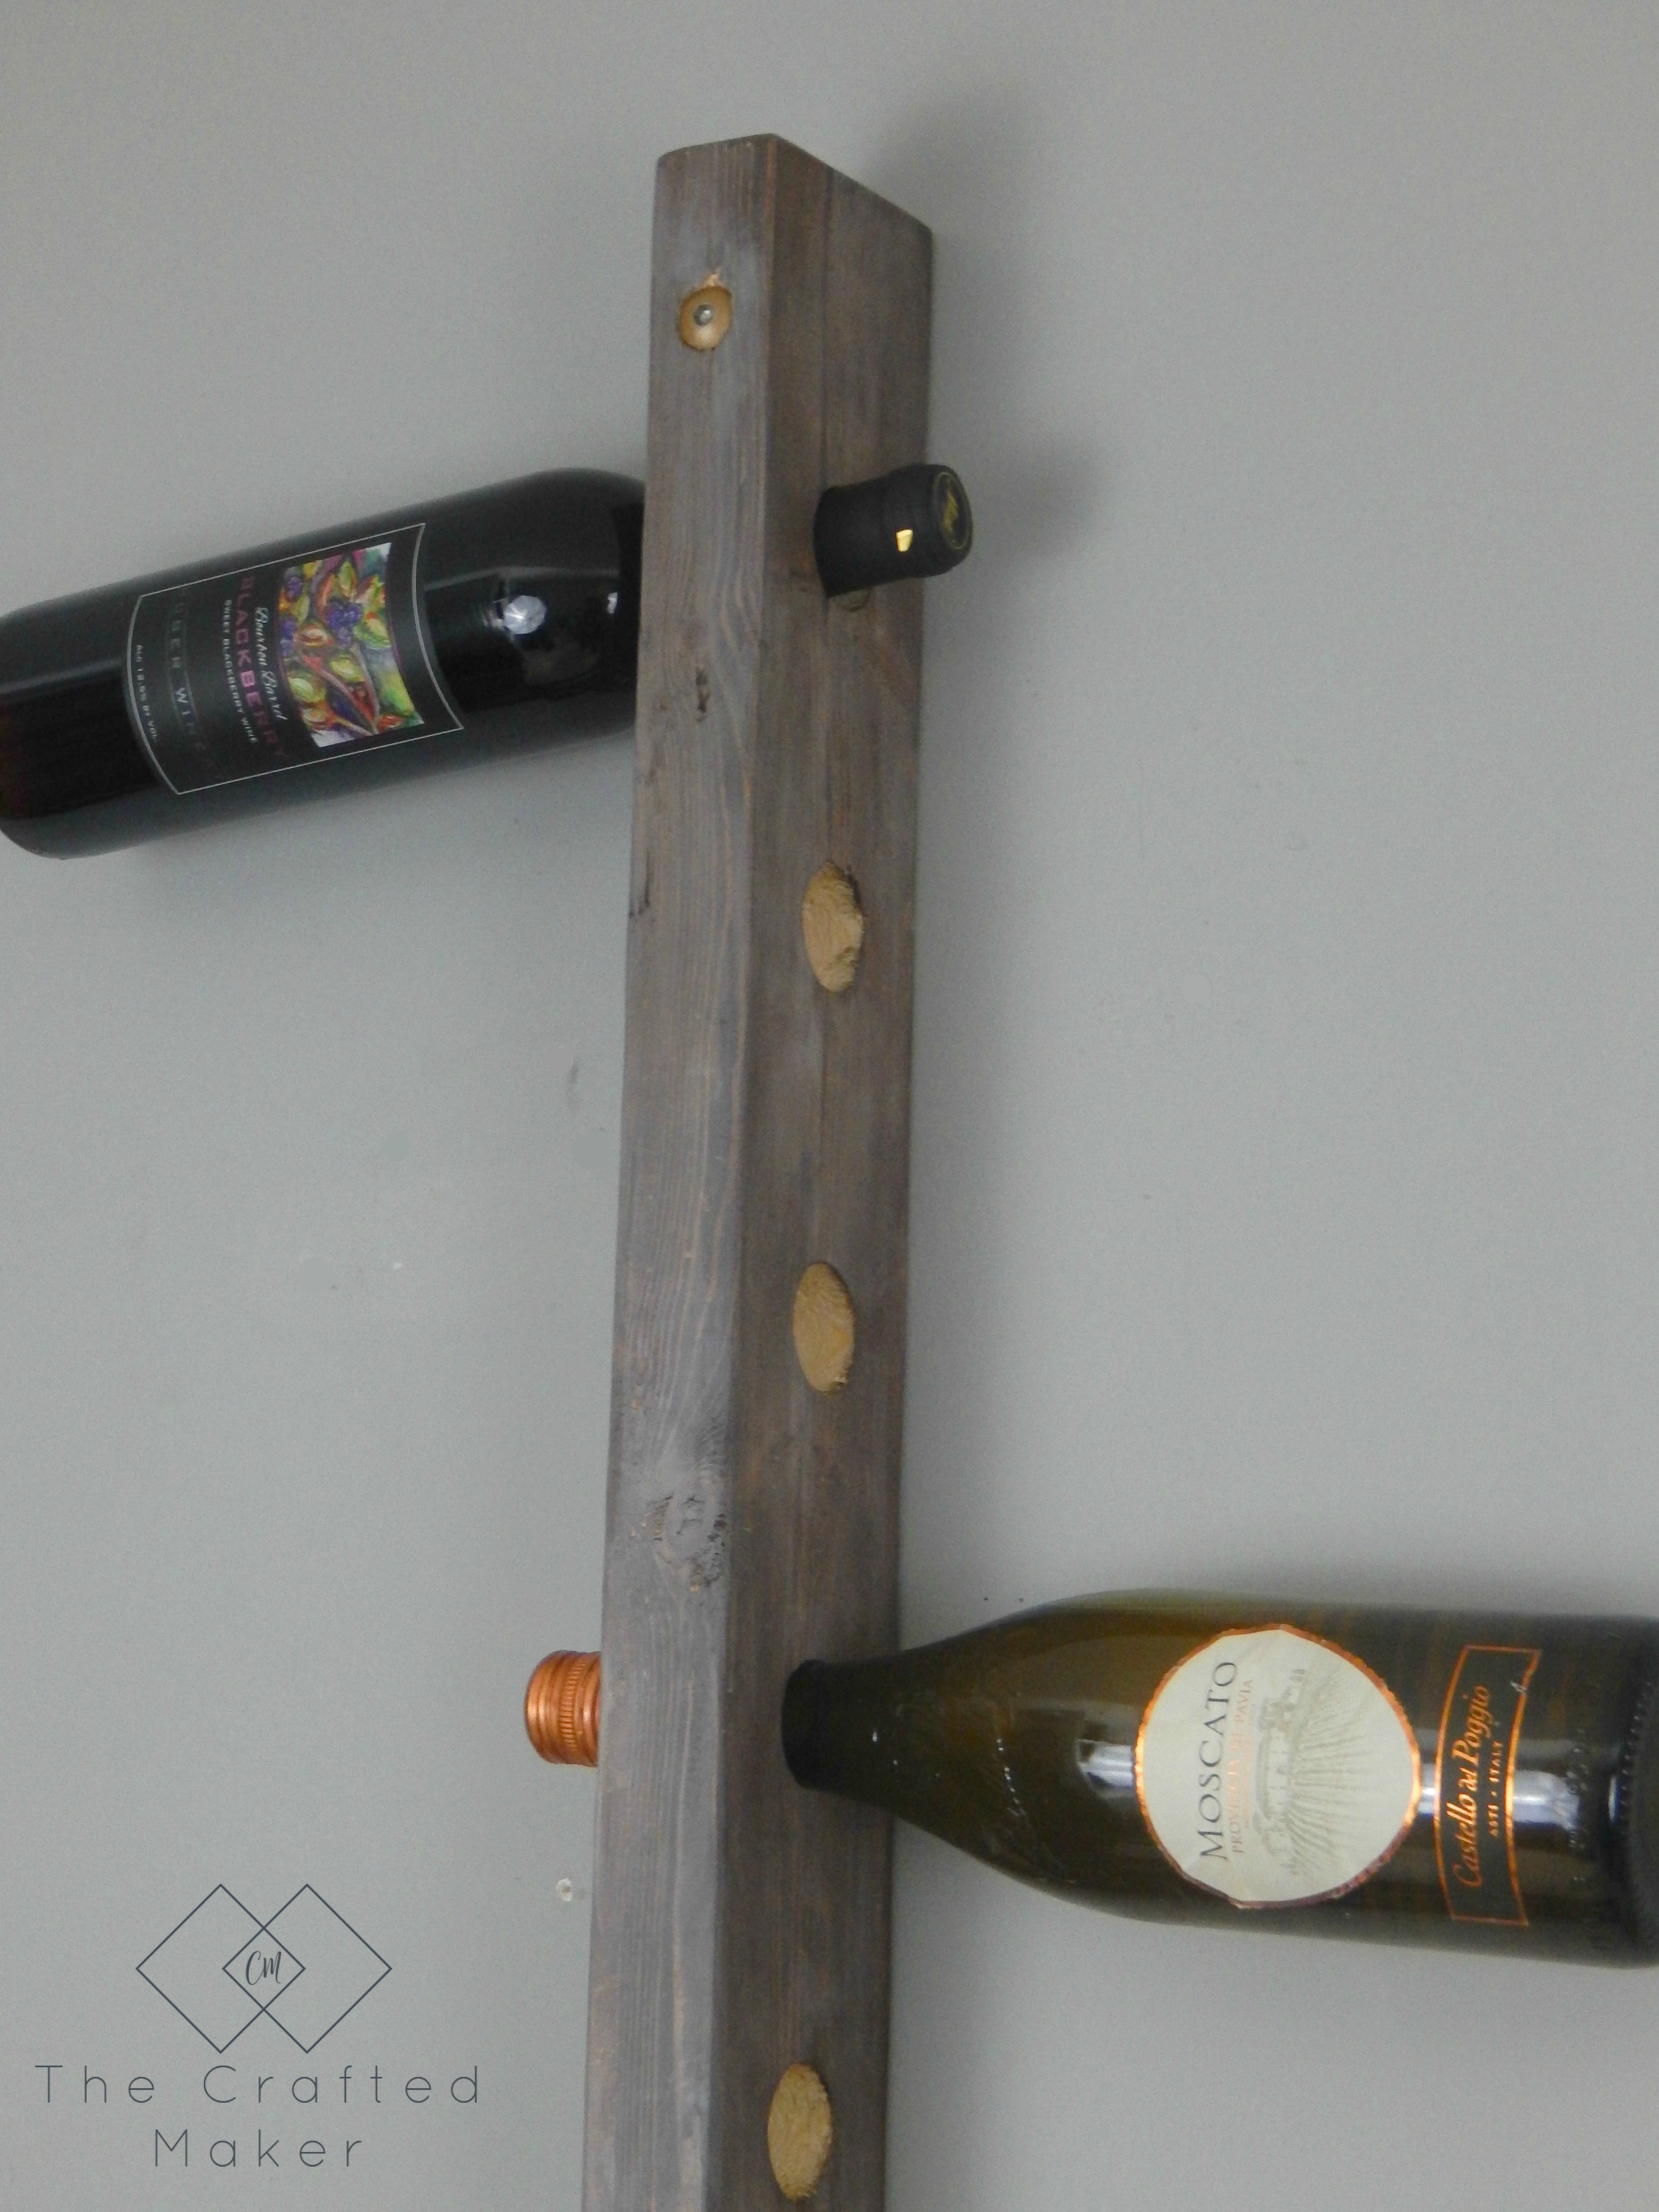
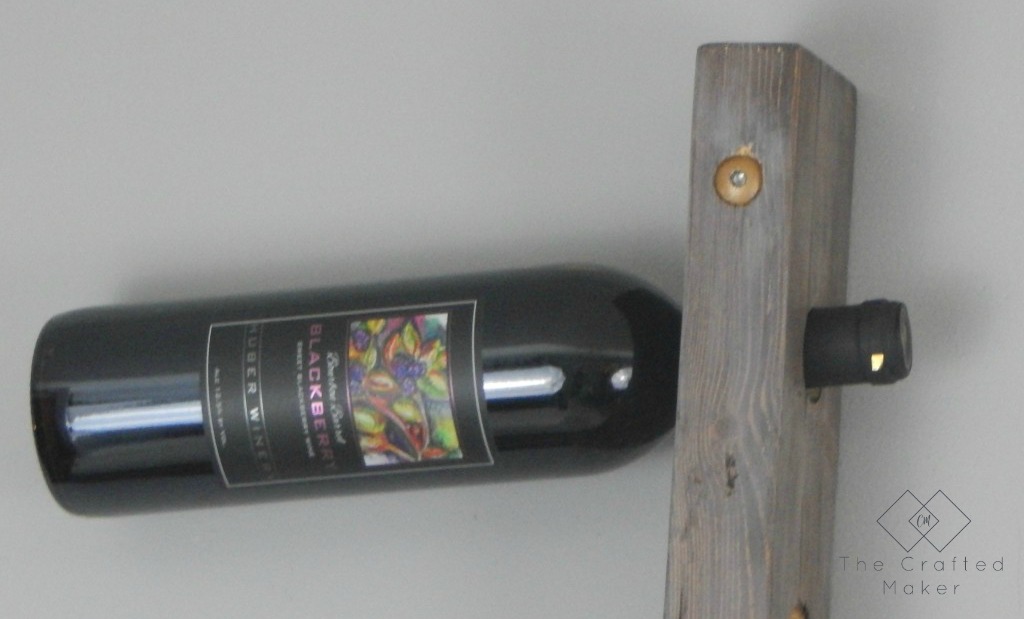
It’s now time to add the measurements for the holes. These will allow you to place your wine bottle in the wine rack on both sides of the boards. Make your first mark at 4″ from the top and every 4″ increment after that. Make sure your last hole is 4″ from the bottom also.
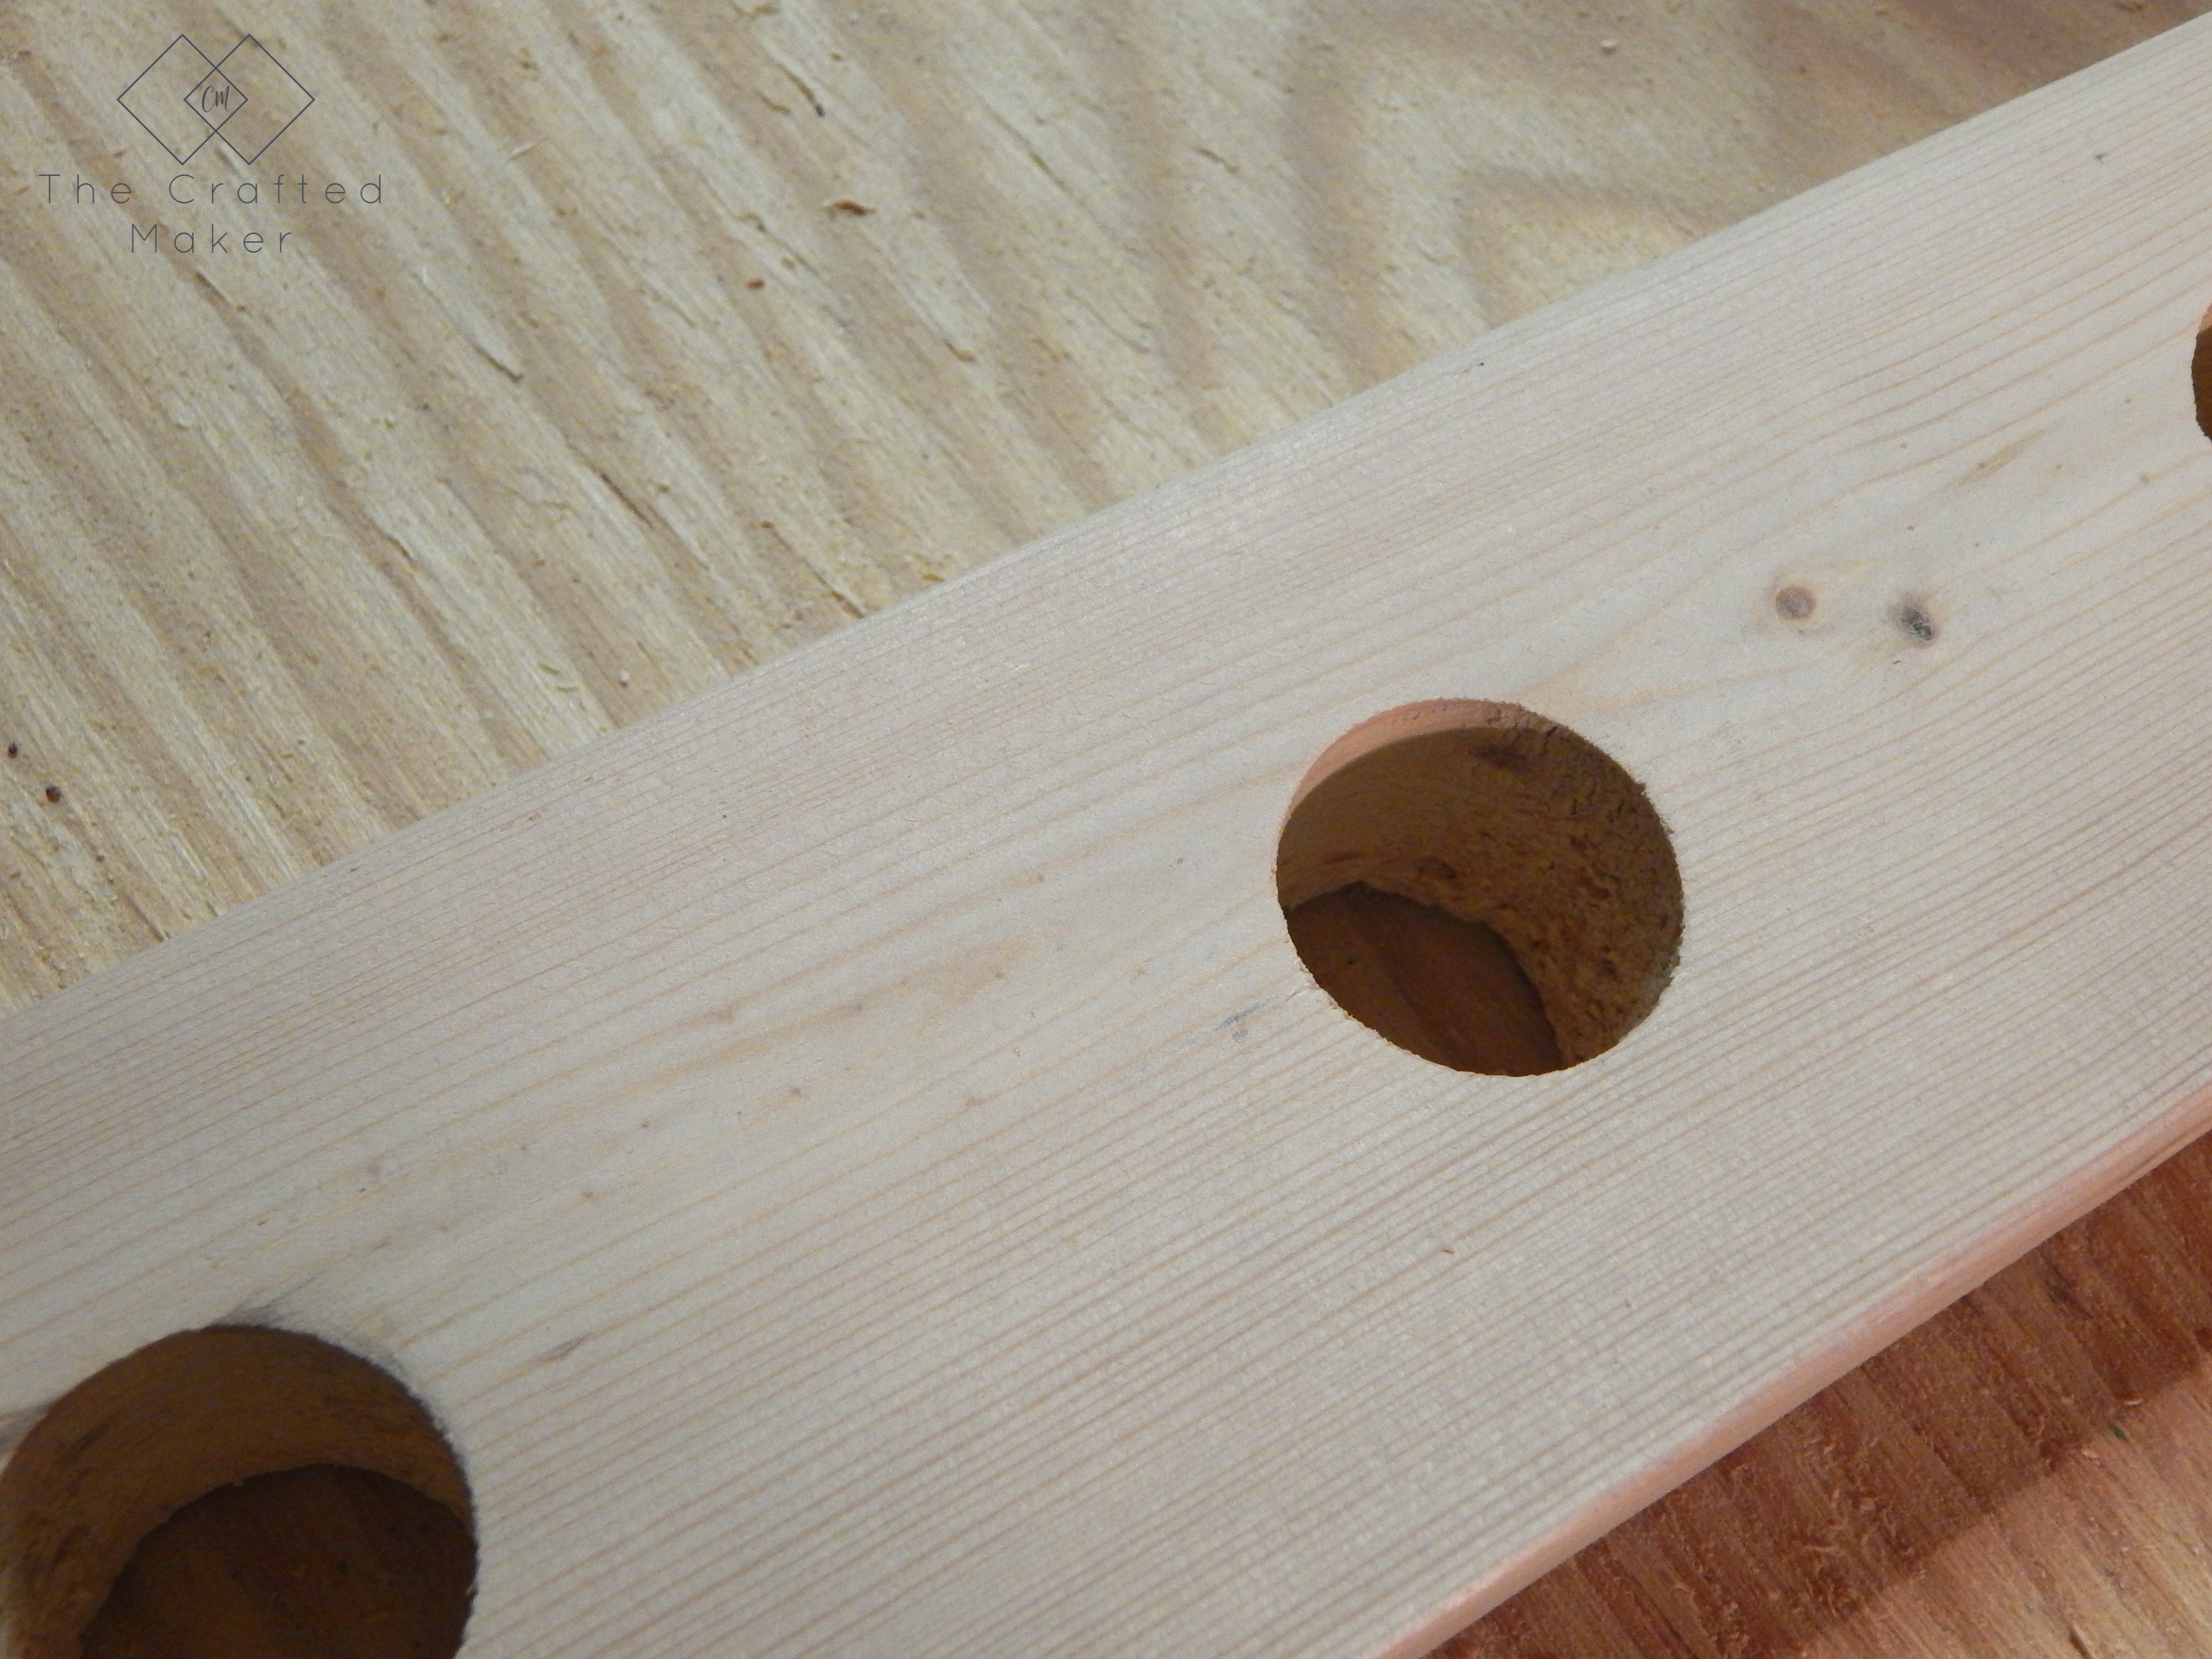
Using your spade bit, drill out the holes you just marked for your wine bottles to fit into. This might take some time, depending on how sharp your spade bit is. It’s best to start off slow and go at a steady pace so the wood won’t chip. I would recommend propping your board up with some scrap wood so the blade doesn’t damage your work surface when it comes through the other side.
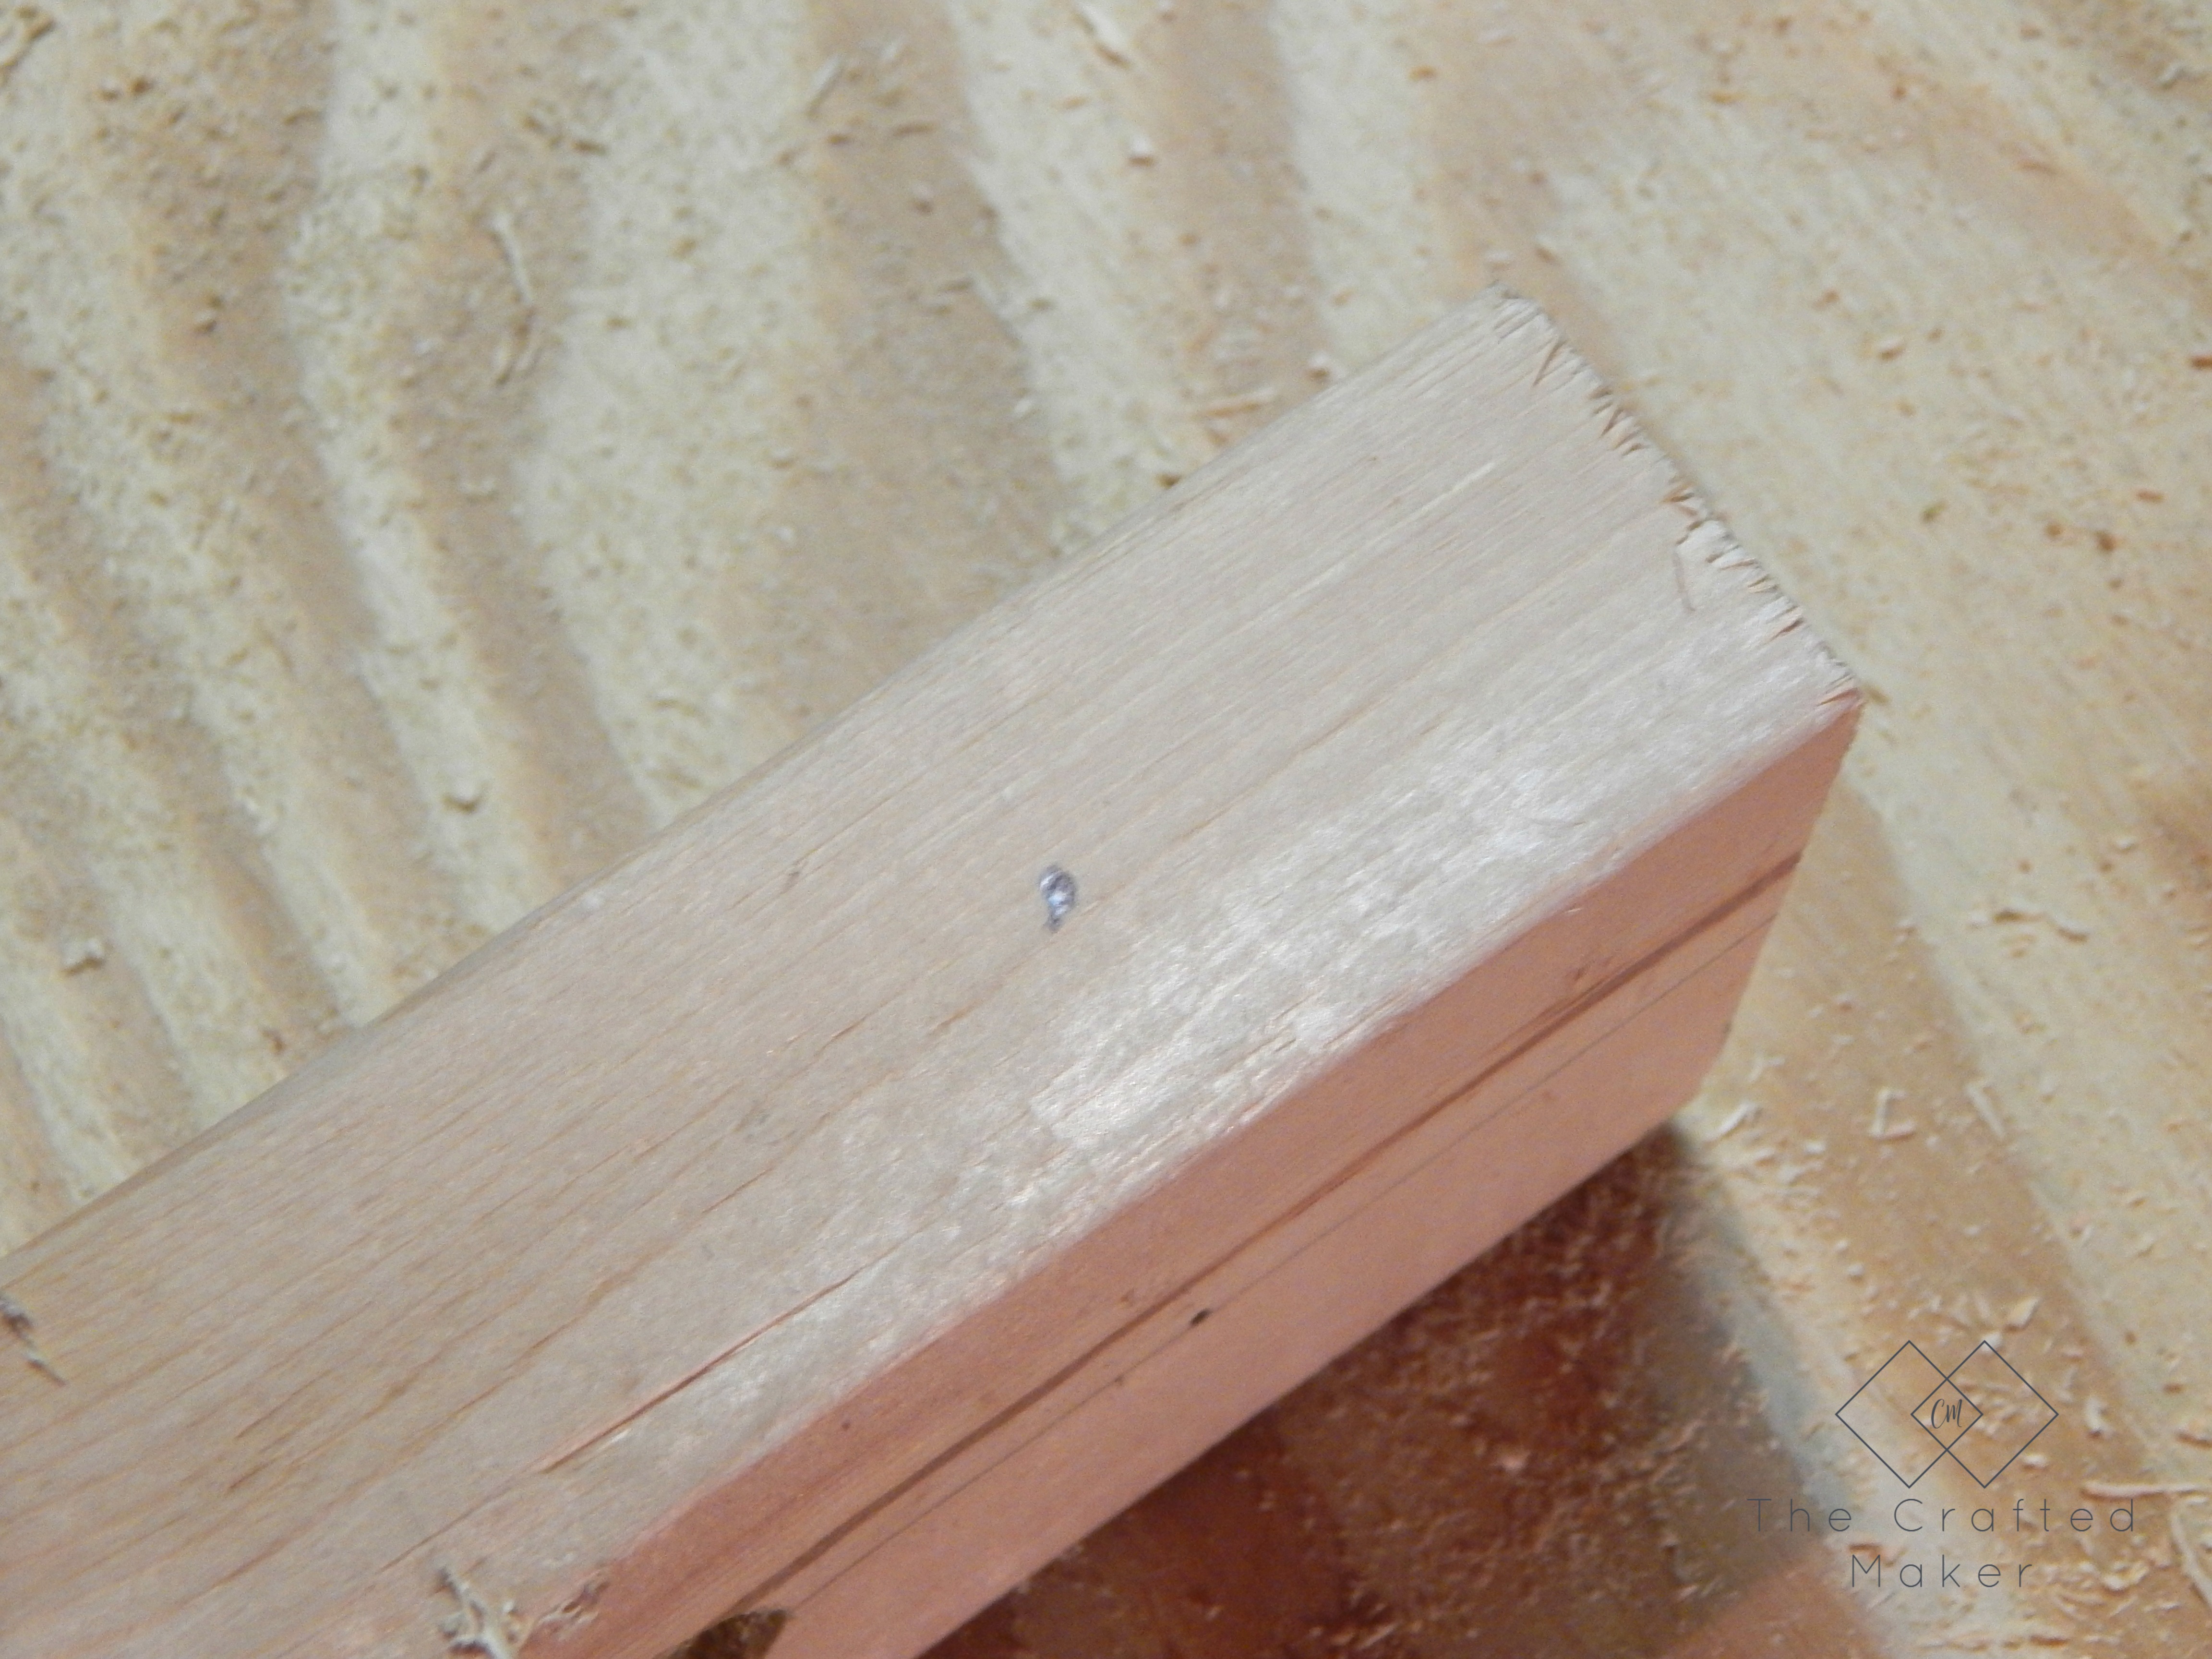
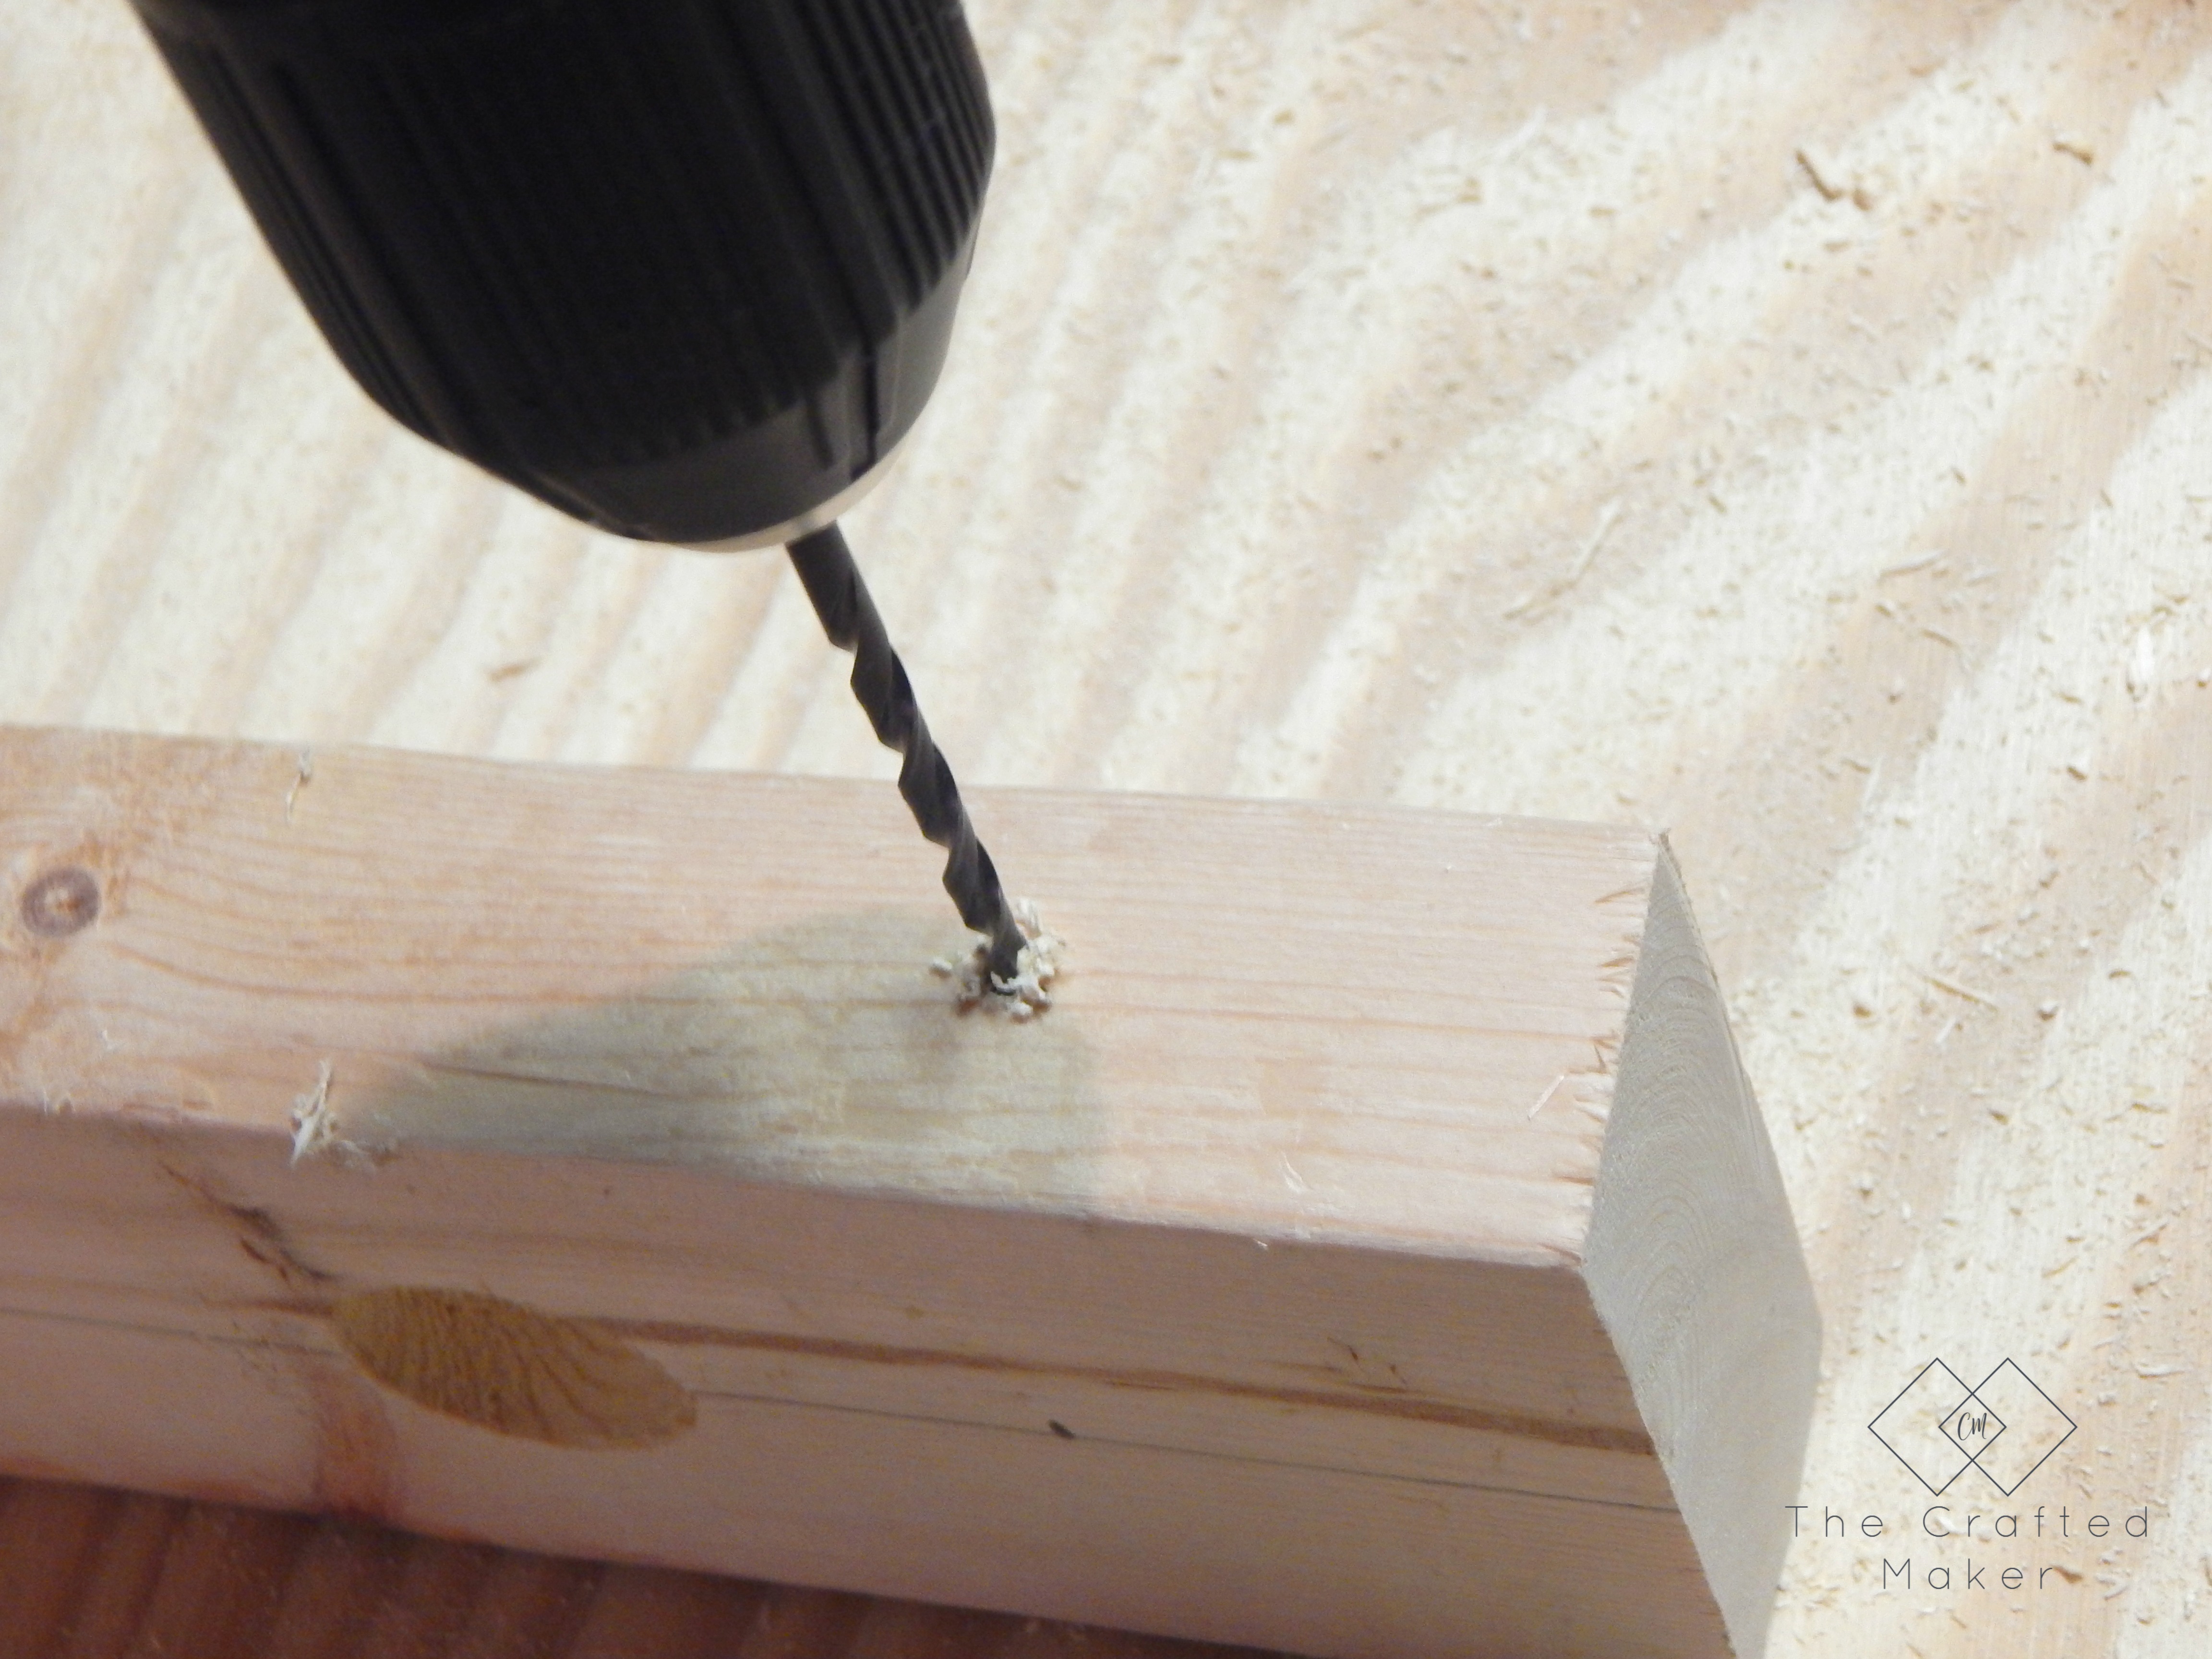
Don’t put your drill away just yet. Now we need to drill out the holes for the lag screws. These will attach the wine rack to the wall. Find the center of the 1.5″ side and mark at 2″ from the top and 2″ from the bottom. Drill a pilot hole completely through the board at both of your measurements. (If you are making a hanging wine rack that is over 6′ tall, I would recommend adding a third lag screw to the middle of the board for added strength.)
Once all of your holes are drilled, its time to sand this into beautiful. 2X4 boards start out rough, but with enough elbow grease (mainly on the part of the electric sander) they can turn into a thing of beauty. When you are sanding, pay special attention to where you drilled the holes and don’t forget to sand off the pencil markings.
Choosing a finish for this project is completely up to you. Have fun and pick something that is going to work well with the decor of your room. I am using a combination of Kona stain and a light gray paint. I didn’t want this wine rack to just be straight stain, so I applied the Kona stain, allowed this to dry, and applied the paint. As soon as the paint went on the board, I instantly wiped it back off. This leaves a little of the gray coloring but doesn’t completely hide the stain. I really like the way it turned out.
With the finish all dry, let’s hang our new wine rack! Using the stud finder, mark the studs where you want to hang your wine rack. It is very important that this wine rack goes into a stud. There will be too much weight once the wine bottles are added to be held up with just drywall anchors. Drill pilot holes in your stud. You can now hang your wine rack. Line up the holes and attach to the wall with the lag screws. If possible, countersink your lag screws.

At this point, you can choose to add something to cover up the screw holes. I didn’t cover mine up, but you could get a piece of cork to fit in there nicely!
Now its time to add the wine bottles!! I staggered my bottles from side to side. This was such an easy, fun, and inexpensive project to make. I hope you have fun with yours. Here are some shots of the finished project!
Thanks for stopping by…

Pinning is always appreciated!!

This is so cute!!! Great idea and yes, sometimes finding the best 2X4 is difficult!!
Thanks Sara! It can be difficult, but just dig through those boards like nobody is watching…
Clever, Crissie! A 2×4 with a very important job I must say… 🙂
Thank you Donna! Very important job indeed. 🙂