It’s VIRTUAL PARTY day!!!
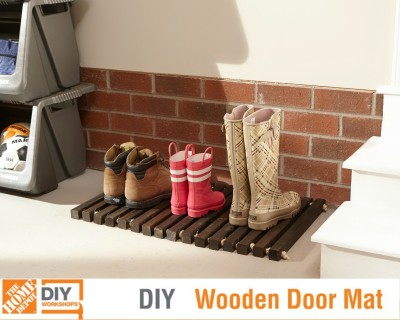
Hey everyone! If you read my post last Monday, I shared with you all about the DIY Workshop Virtual Party. Today myself and some fellow bloggers get to share with you our versions of the wooden door mat project. First, a little about the DIY Workshops at your local The Home Depot stores.
- Every location participates in these workshops. There are three different workshops to choose from: Do It Yourself Workshop (DIY), Do It Herself Workshop (DIH), and the Kids Workshop.
- There are many fun and exciting things to learn from these workshops. There are step by step instruction and demonstrations with power tools, home decor builds, and educational tips and tricks for home repair and maintenance.
- These workshops are for all ages and skill levels from experienced pros to DIY weekend warriors. There is something for everyone.
If you want to check out the time and location for your local DIY Workshop and to get signed up for the fun, click the picture below!!

Now it’s time for the virtual party!! I and some very talented bloggers are sharing our own version of the DIY Wooden Door Mat. Here is my take on the project:
Now let’s get to building!!
This post contains affiliate links. I may receive compensation when an item is purchased, at no additional cost to you.
Materials
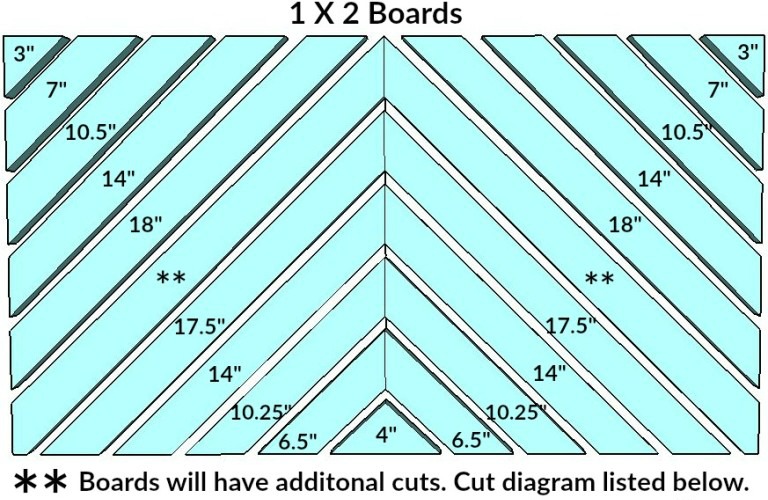
- 4 – 1X2X96 Pressure Treated Boards
- 1 – 2X2X96 Pressure Treated Board
Tools
- Miter Saw or Miter Box
- Nailer
- 2″ Brad Nails
- 1″ Brad Nails or 1″ Staples
- Tape Measure
- Pencil
- Eye Protection
- Ear Protection
- Sander or Sanding Block
- Waterproofing Wood Sealer
- Brush for sealer
- Wood Glue
Optional
- Paint or Stain
- Gloves
- Brush or Cloth for paint or stain application
Cut List
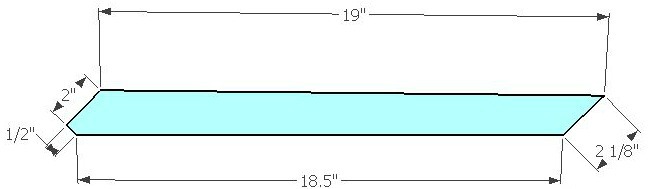
** Angled boards are cut at a 45-degree angle. Measurements are long end to long end.
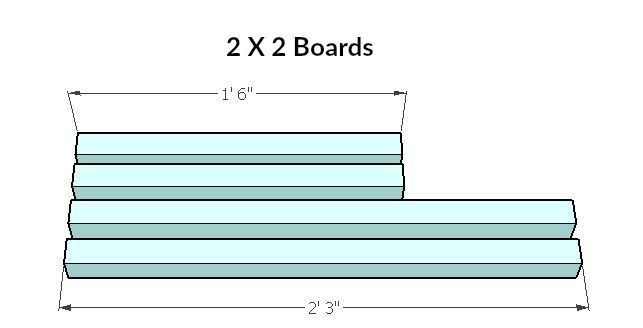

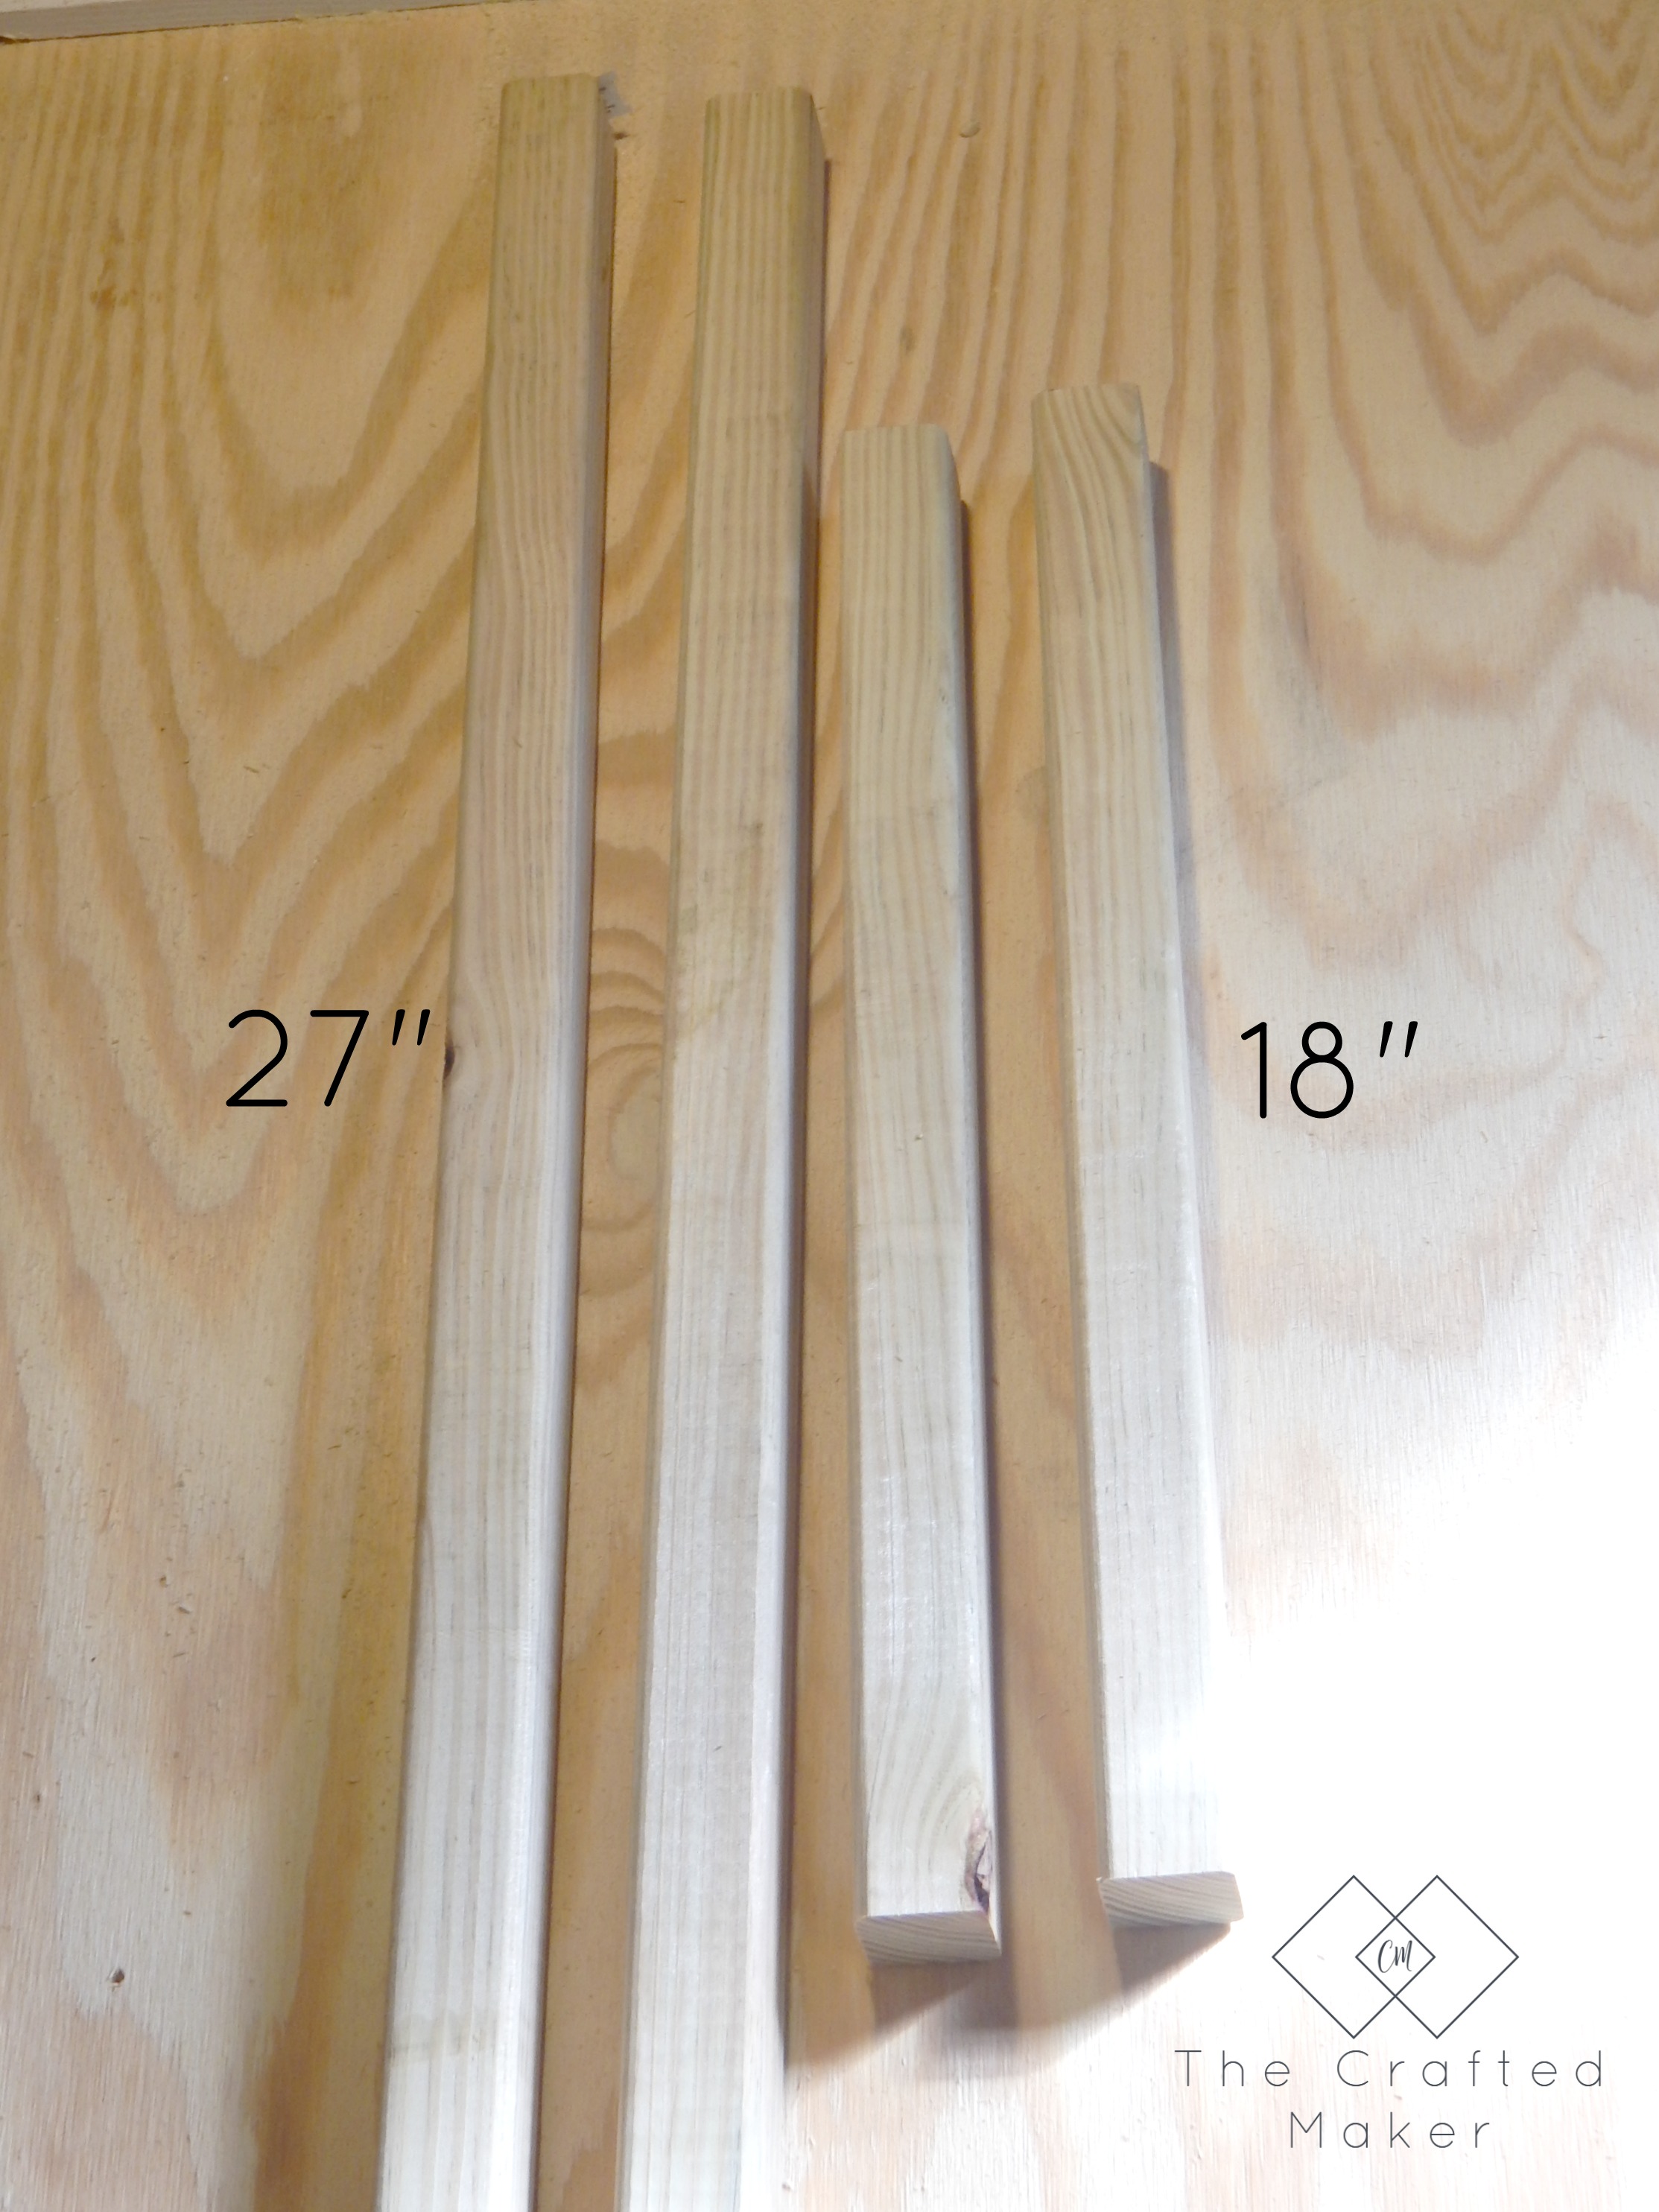
First things first, cut your boards for the frame and supports. Wait until the frame is done before making the angled cuts for the top. I’ll explain why in a bit. : )
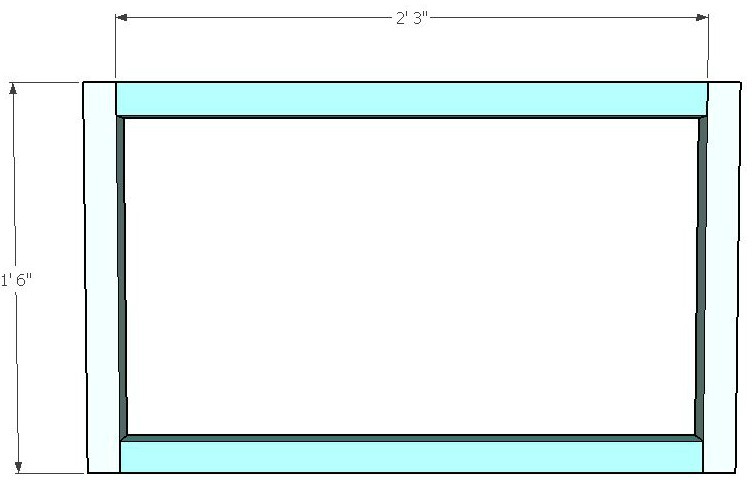
Next, I assembled the frame of the doormat with 2″ brad nails. The mat is 18X30 and the 27″ 2X2’s fit inside the 18″ 2X2’s.

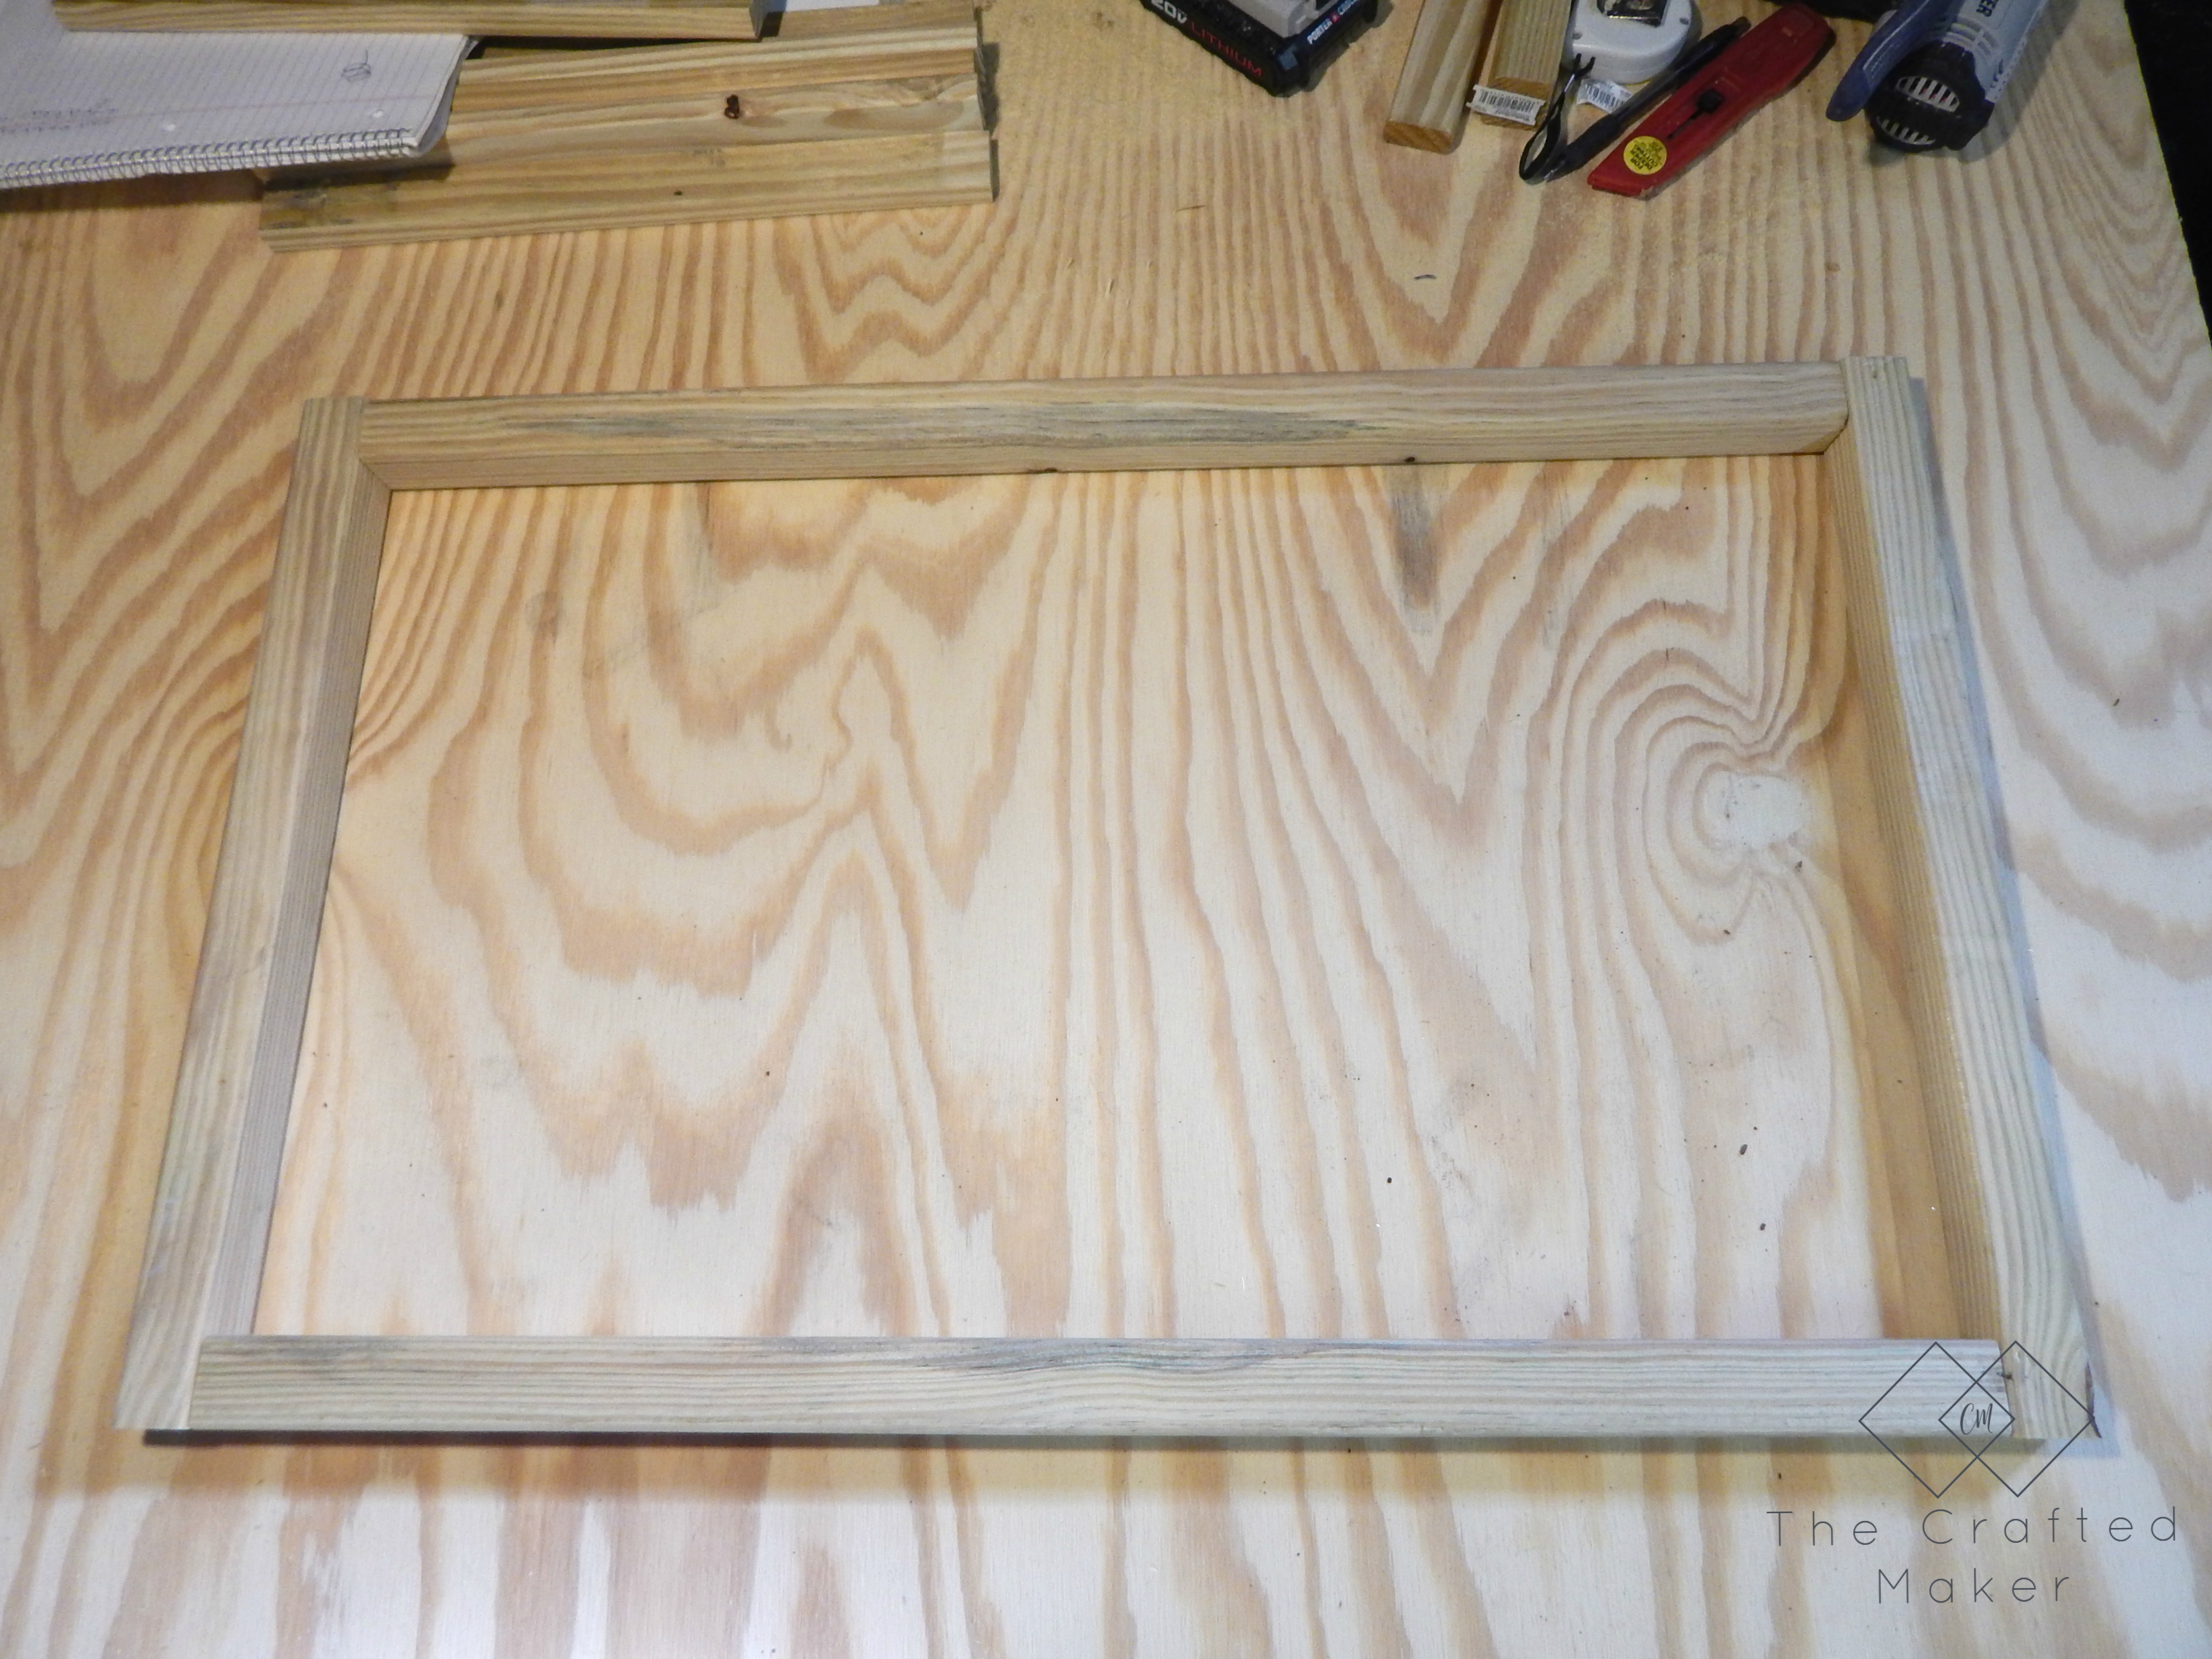 If you have never used an air nailer, don’t be intimidated. They are very easy to use and saves me tons of time. Have you ever tried to nail in about 50 trim nails all at once?? It’s no fun. Nailers can be purchased for a fairly inexpensive price. You probably know someone who has one, ask them to let you try it out. You won’t be sorry!
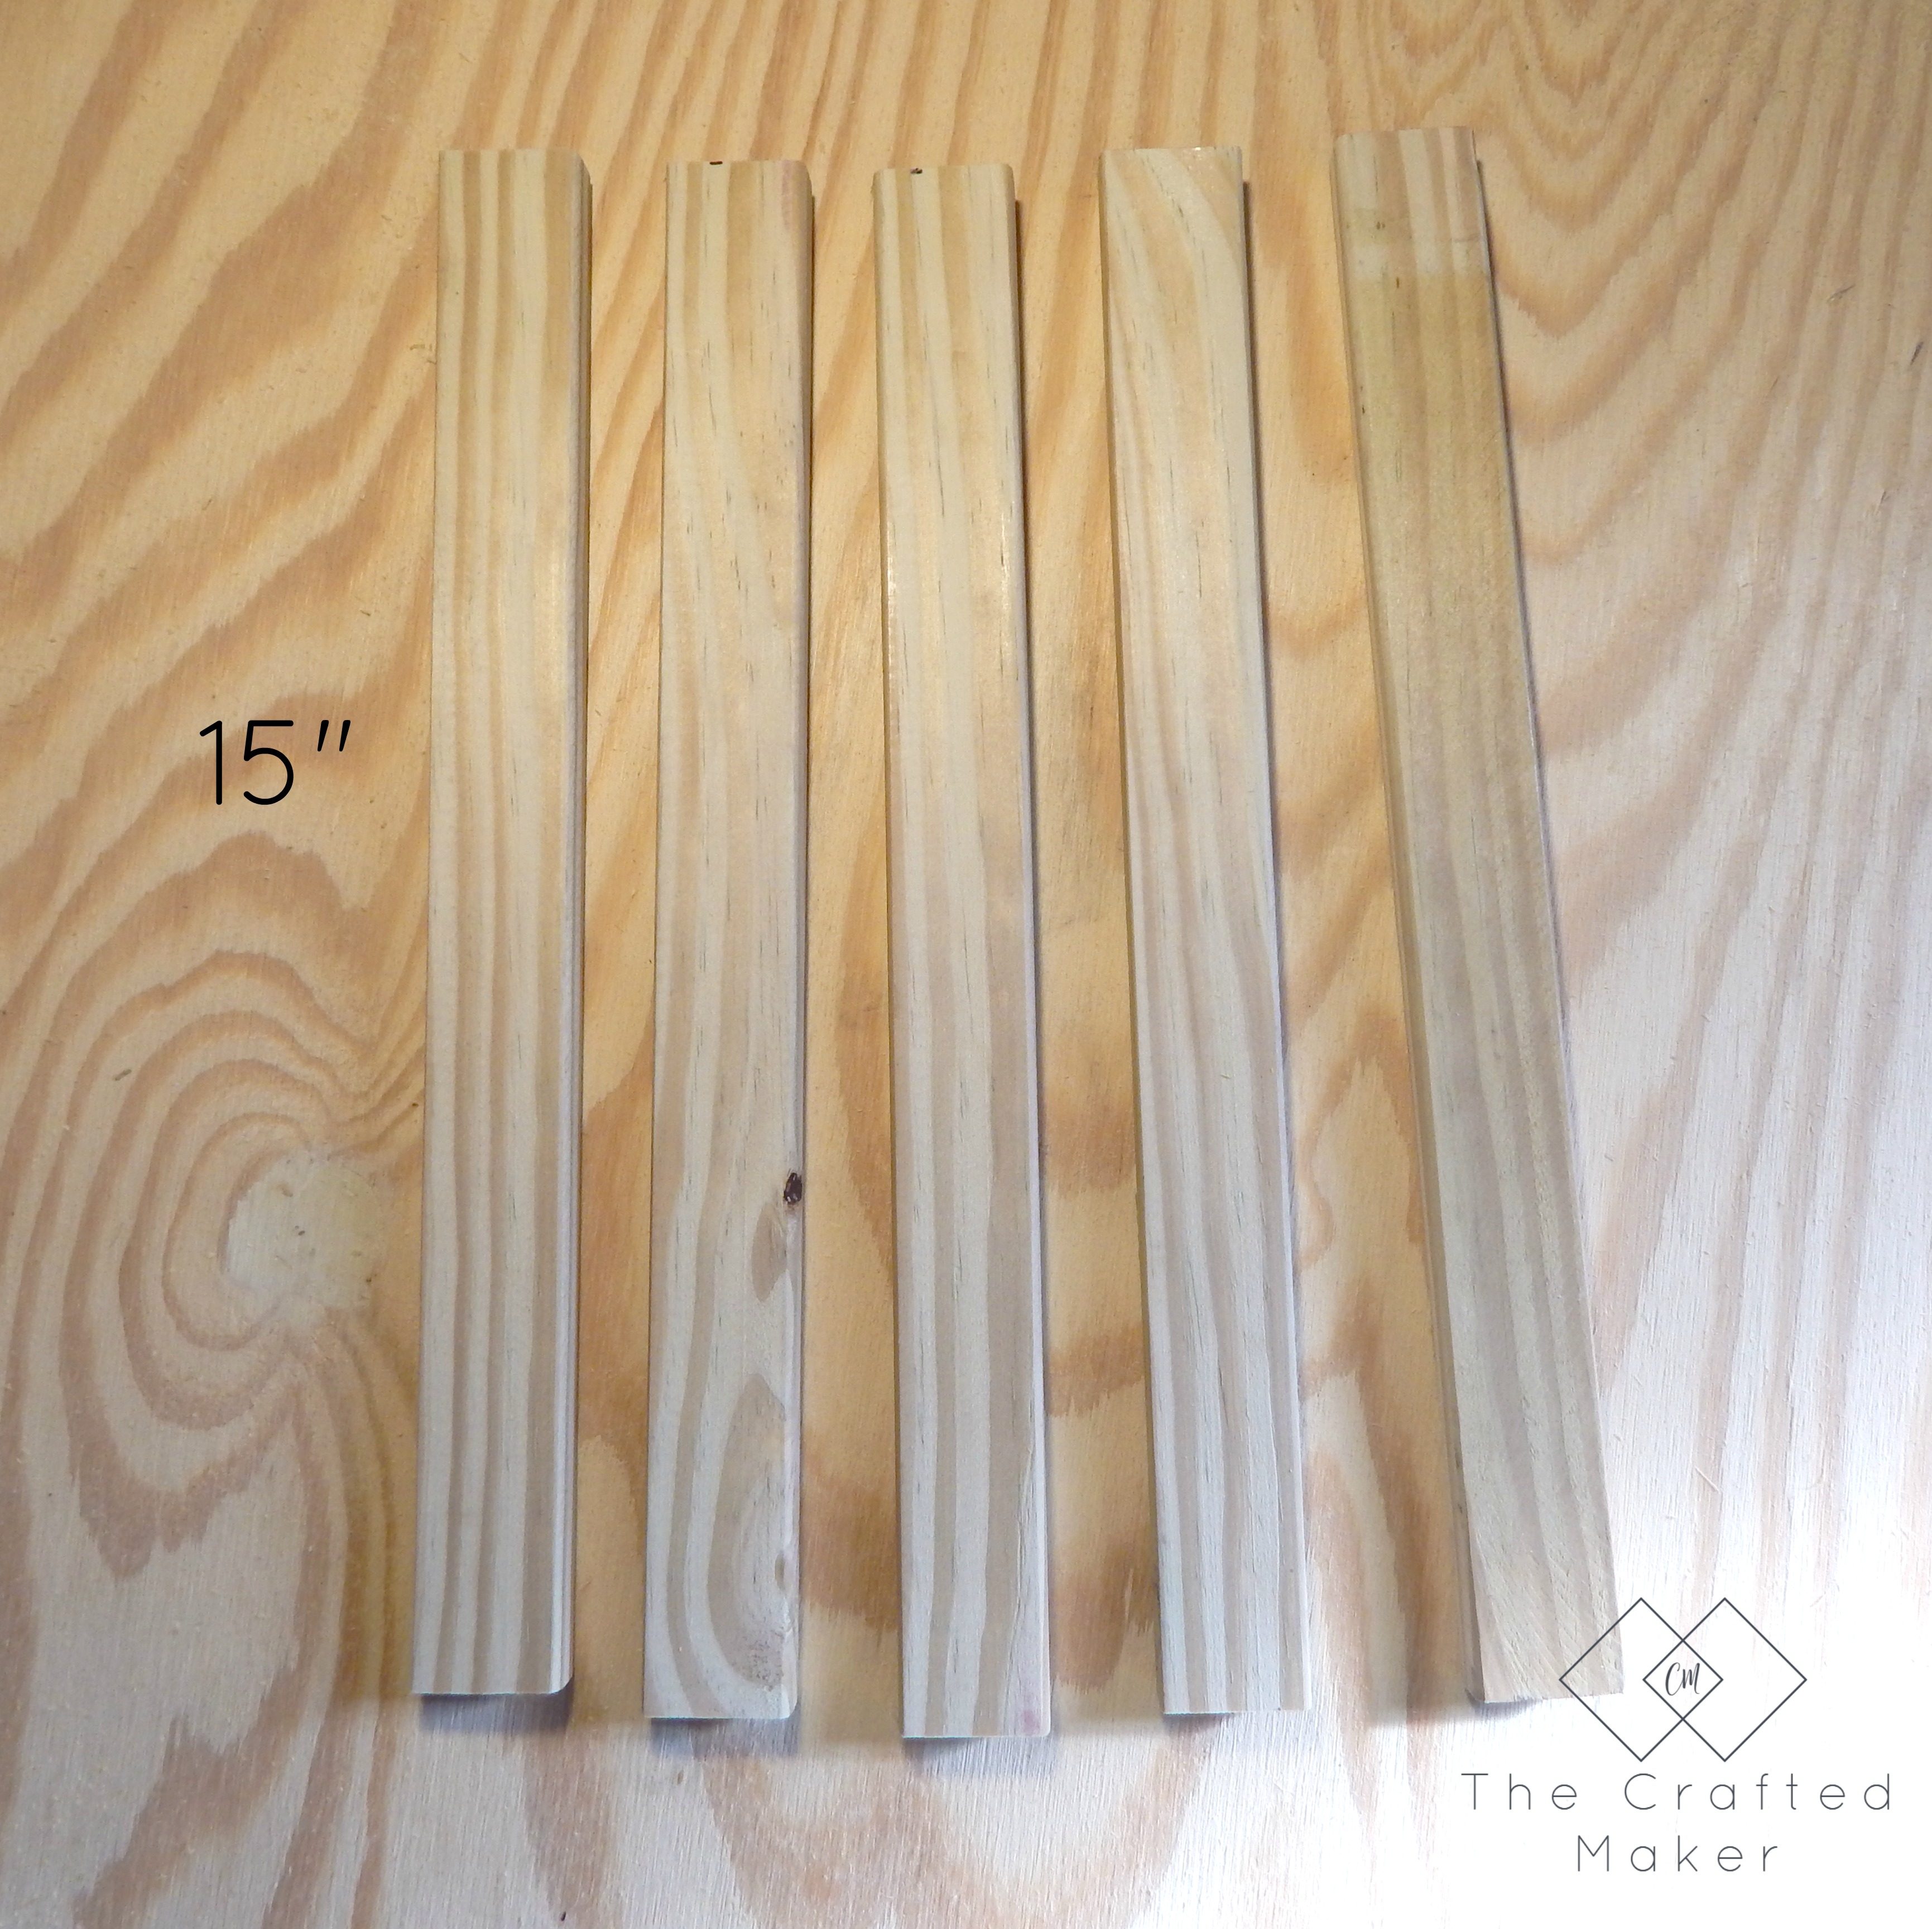
Since this is a doormat, I figured there needed to be some added support for the top angled boards. I cut 5-1X2 boards at 15″ and attached them to the bottom half of the frame. This was done with the 2″ and nails and wood glue just like the frame assembly. Below are the measurements for spacing inside of the frame.
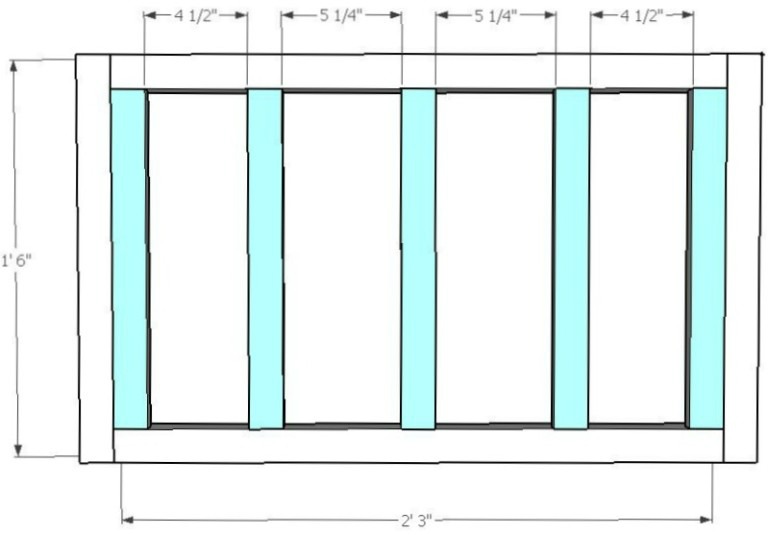

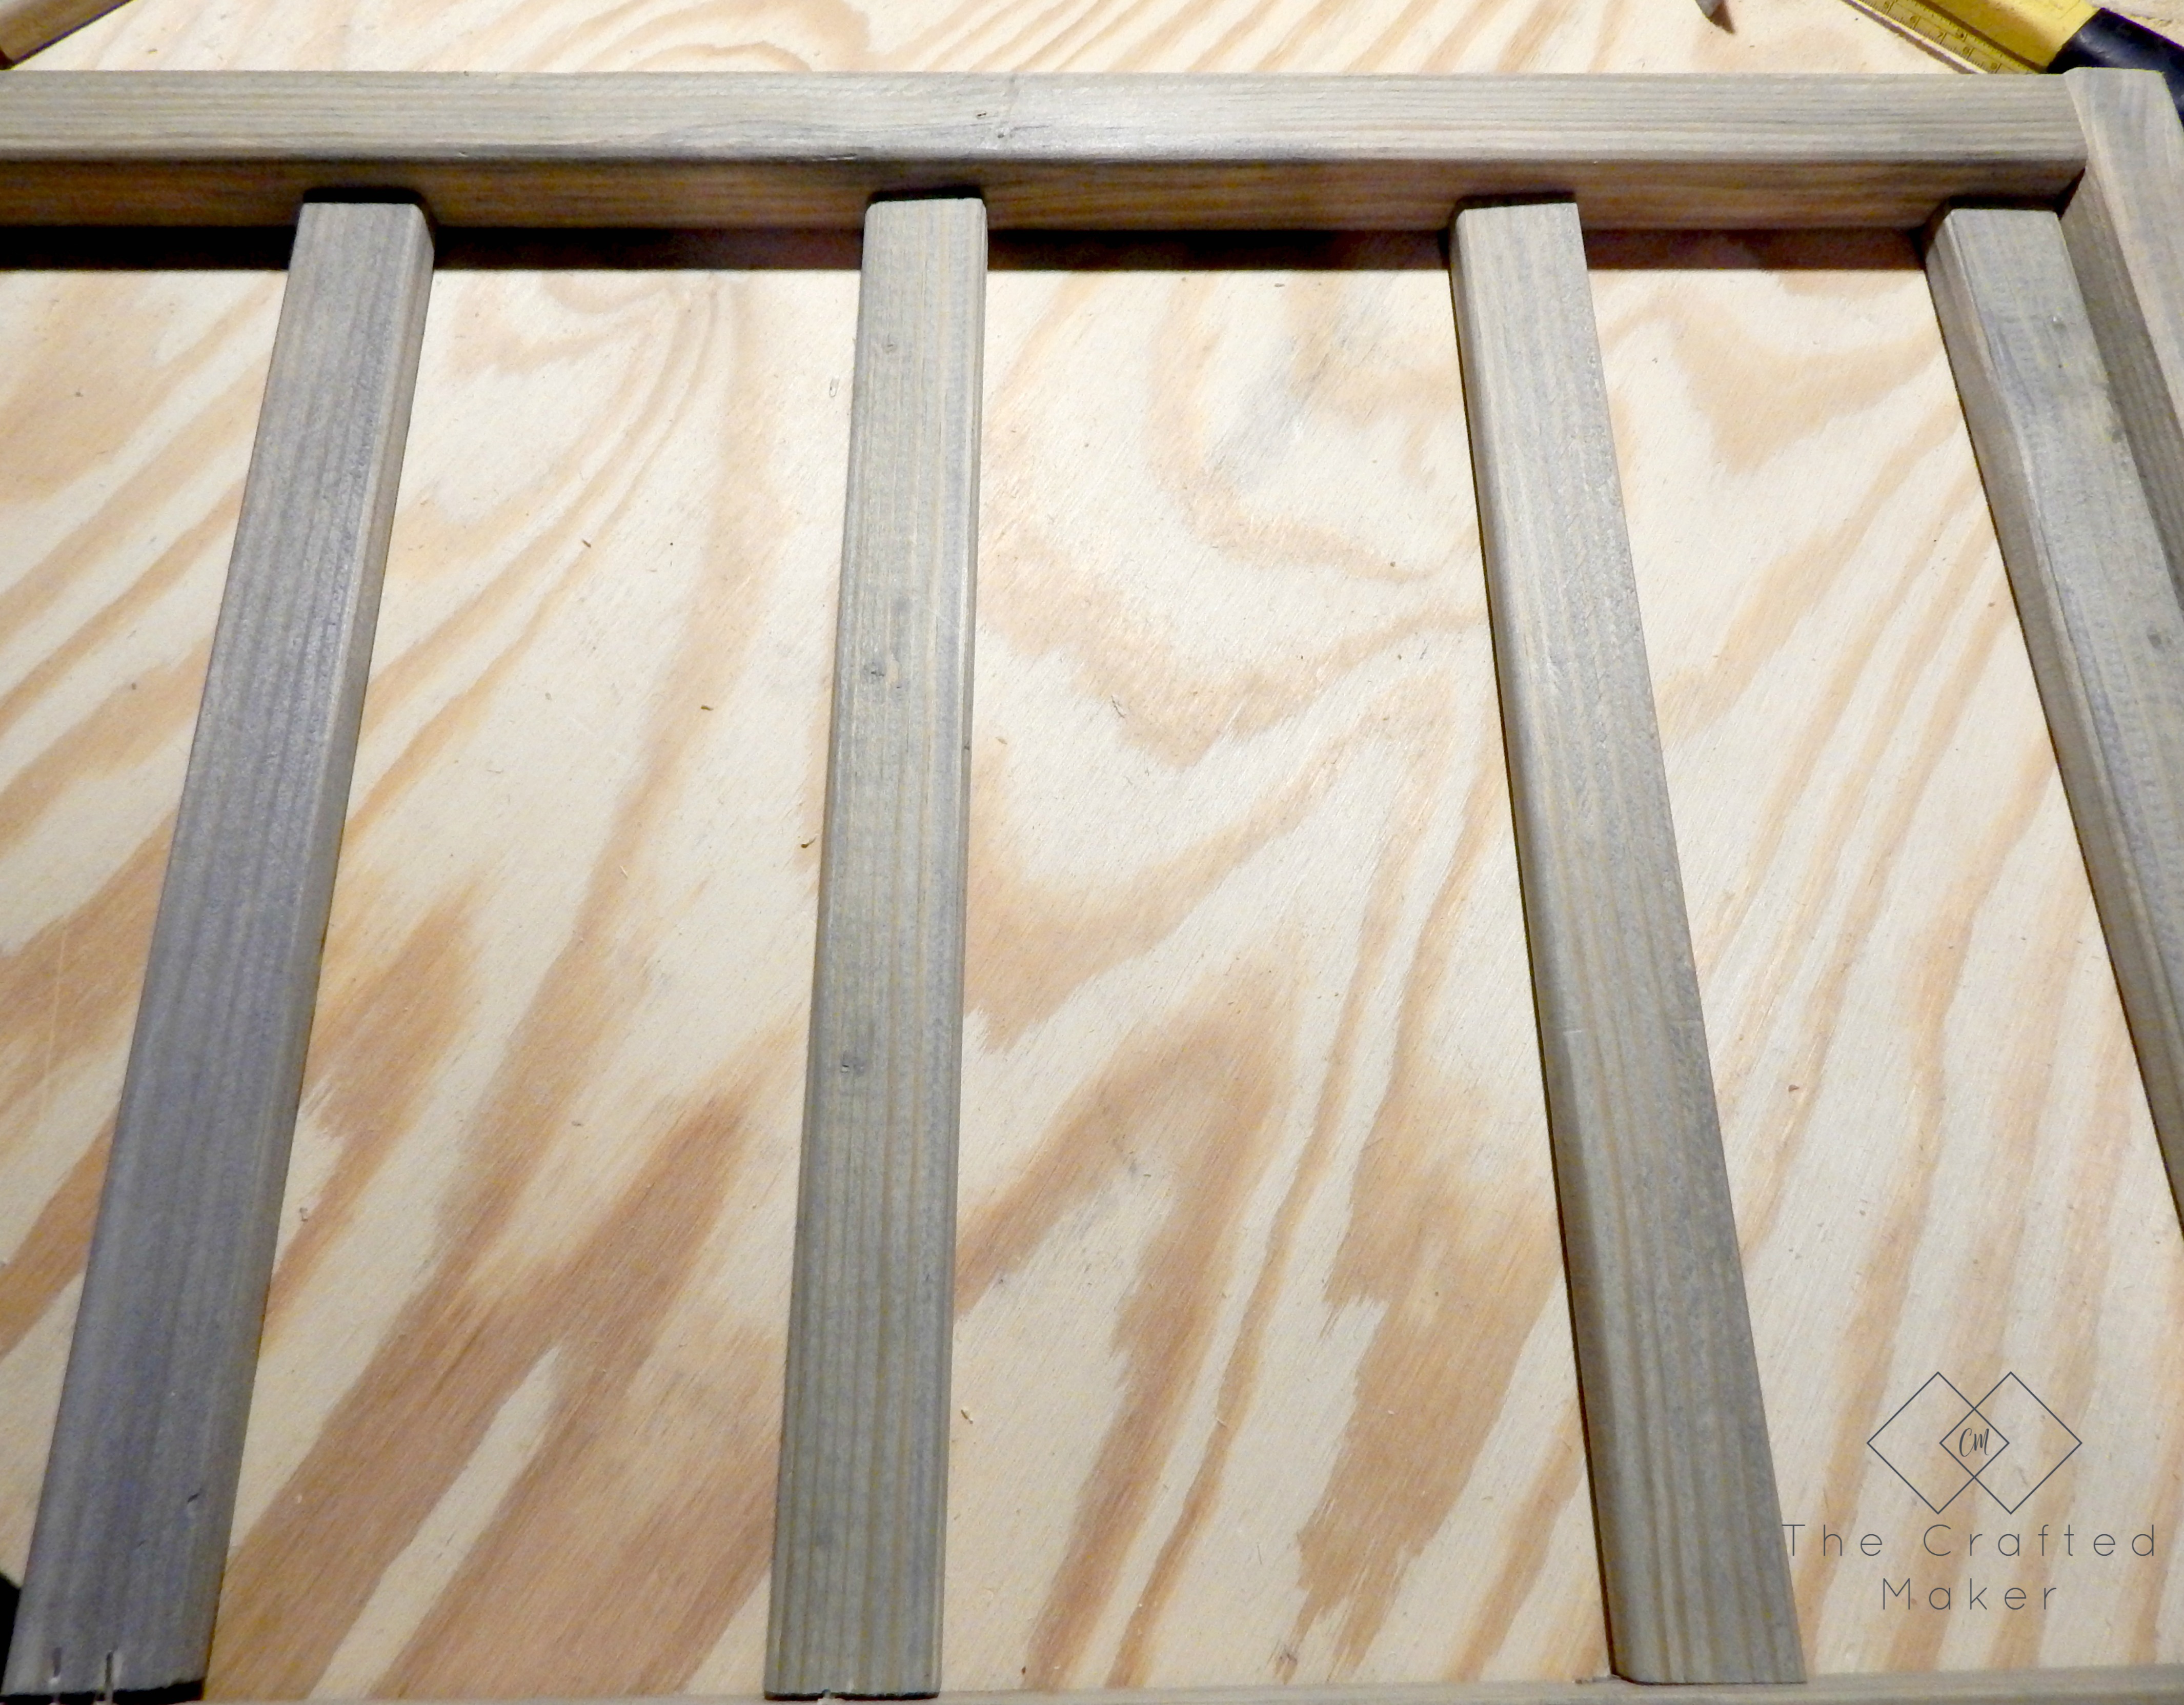
At this point, if you are using paint or stain, go ahead and stain these support boards. Once the angled boards go on the top, you won’t be able to reach them. Some of these boards will be visible through the gaps in the angled top boards.
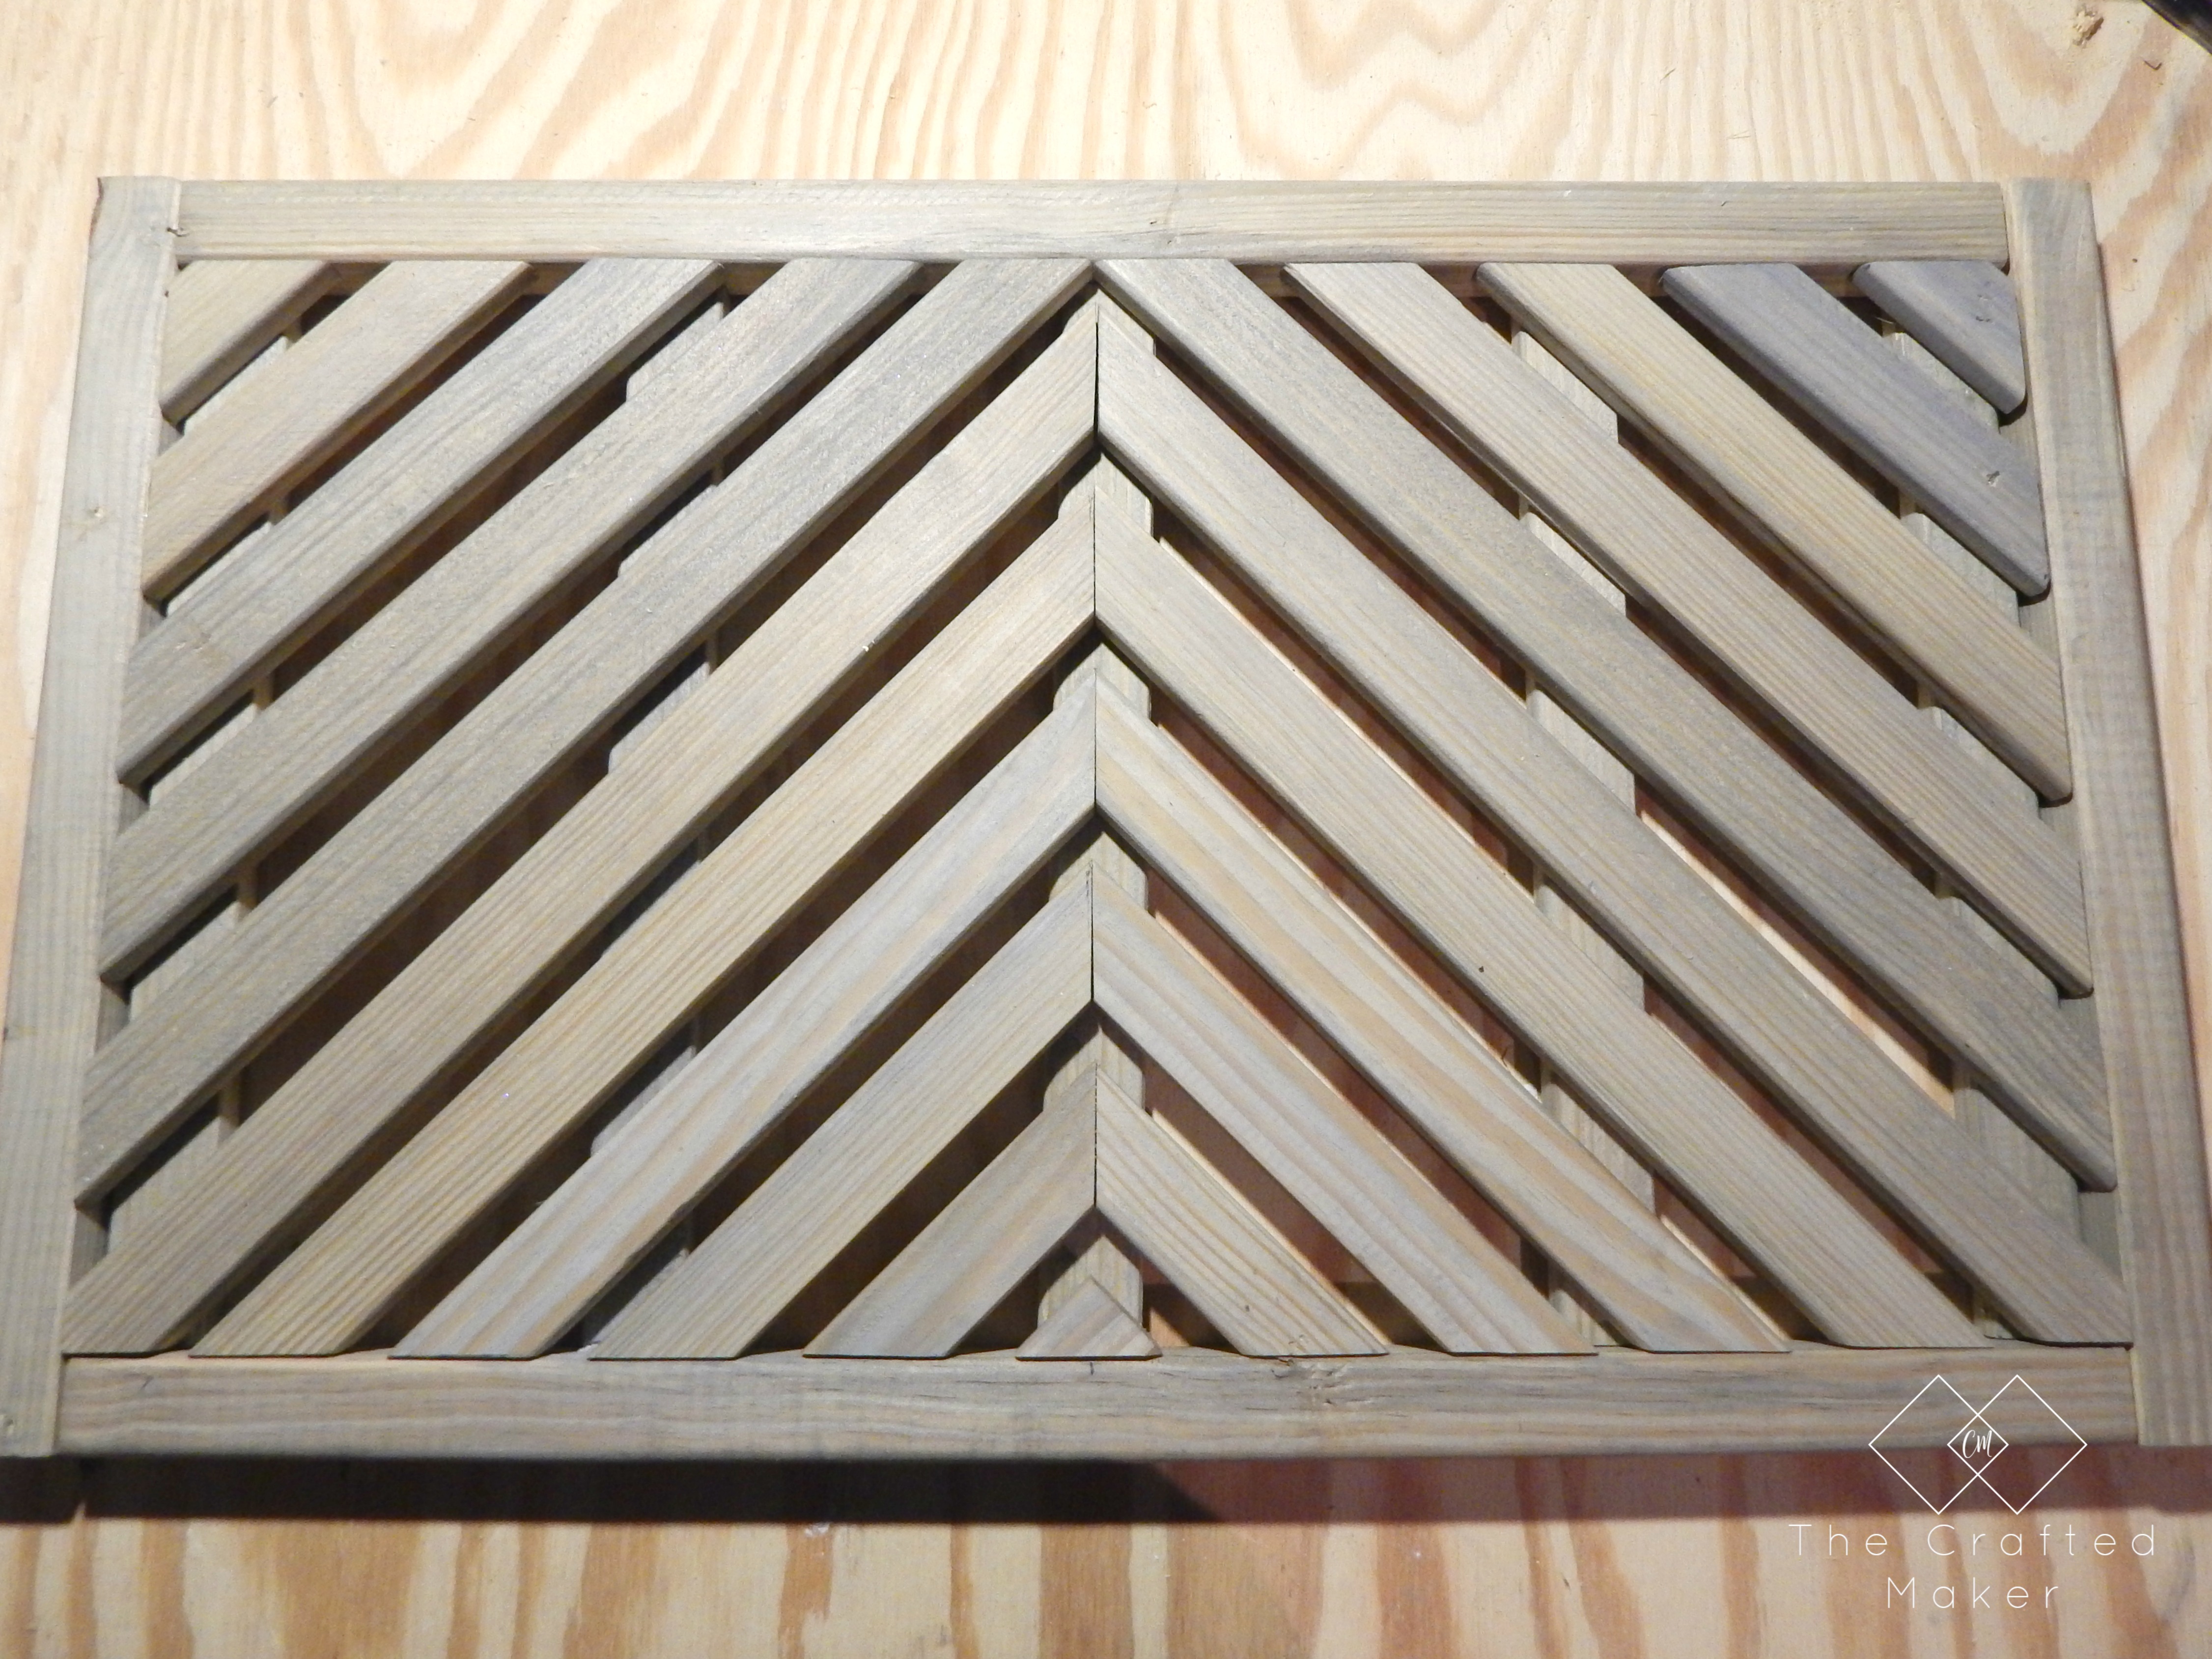
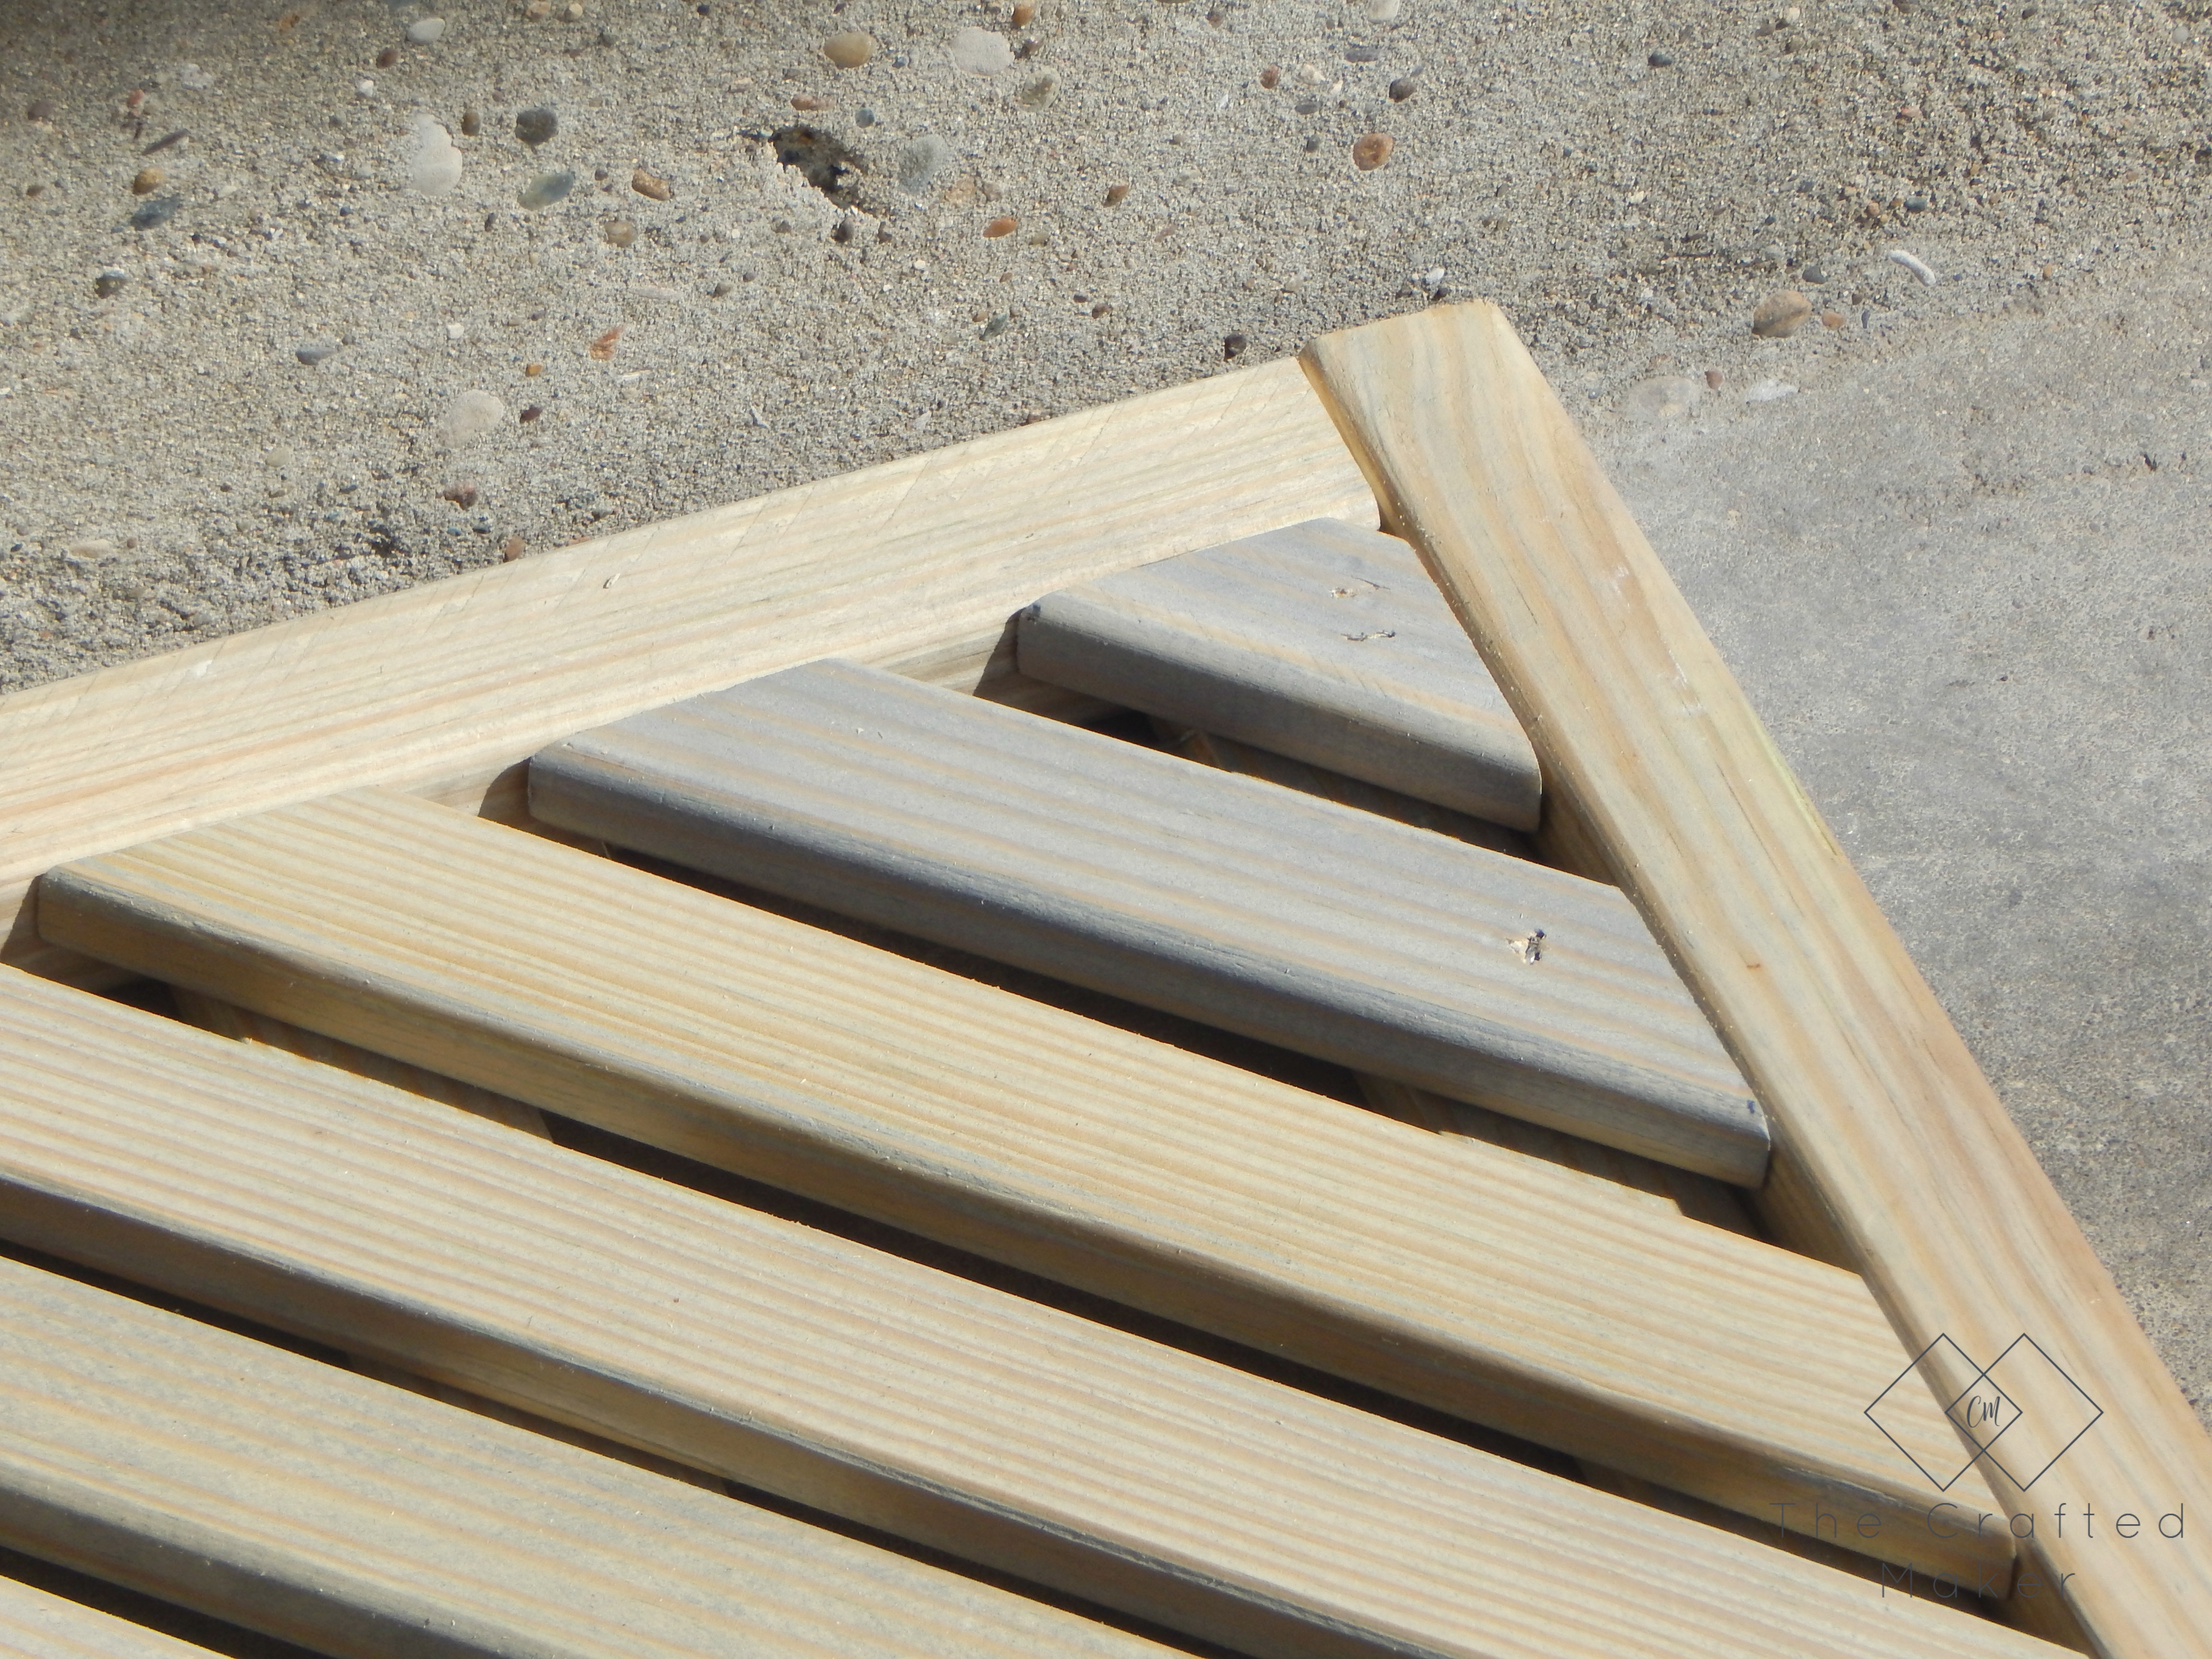
Now comes the fun part, attaching the top angled boards!! This just makes my heart happy….
Here is a look at what my boards looked like roughly put together after I cut them. If I am being completely honest here, I had to go back and make some additional angle cuts. As much as I love working with wood, it is not always perfect and the measurements can be off. For example, a 2X2 board may not really be the 1.5X1.5 that it is supposed to be. So, in saying that, don’t make the same mistake I did, measure each piece before you start making your angled cuts. This could save you some time.

I started attaching the boards in the pattern shown above. Where the top boards fell on the support boards, I held the board in place, flipped the mat over and attached with 1″ wood staples. This will save you a lot of ugly marks on the top of your mat.
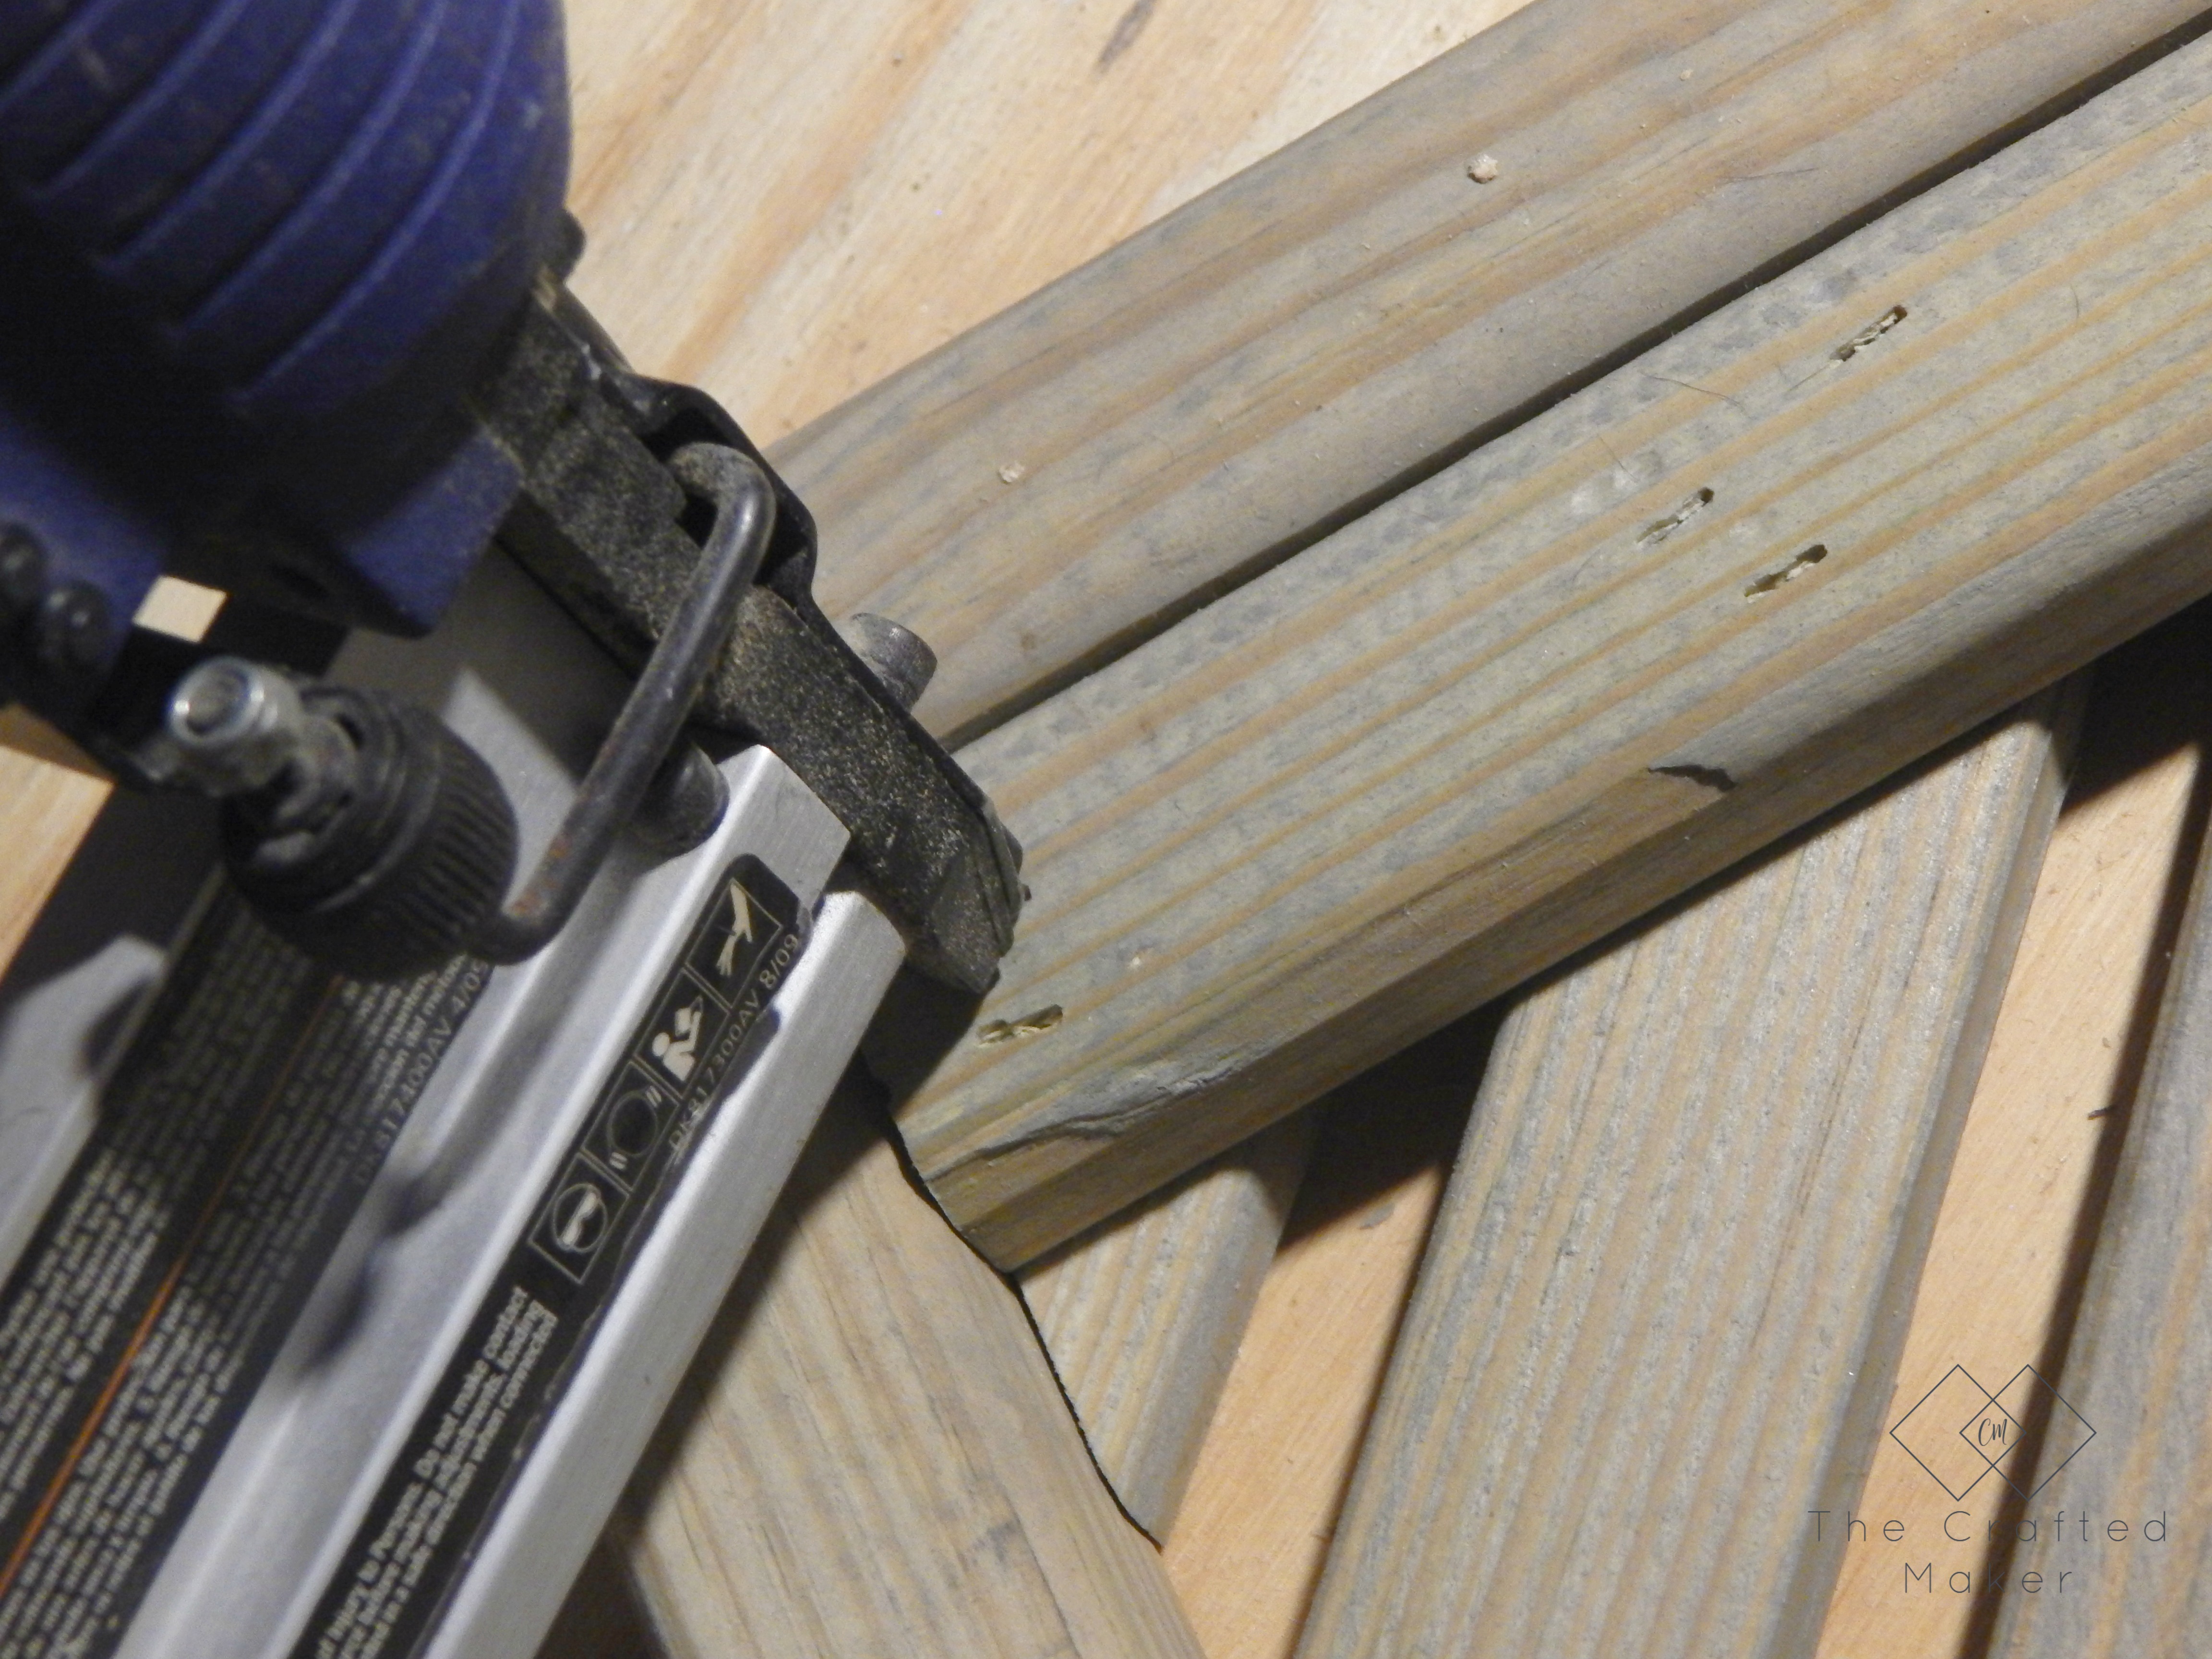
Where the angled boards didn’t have a place to attach to the support boards, I used wood glue and 2″ nails and nailed it in through the frame.
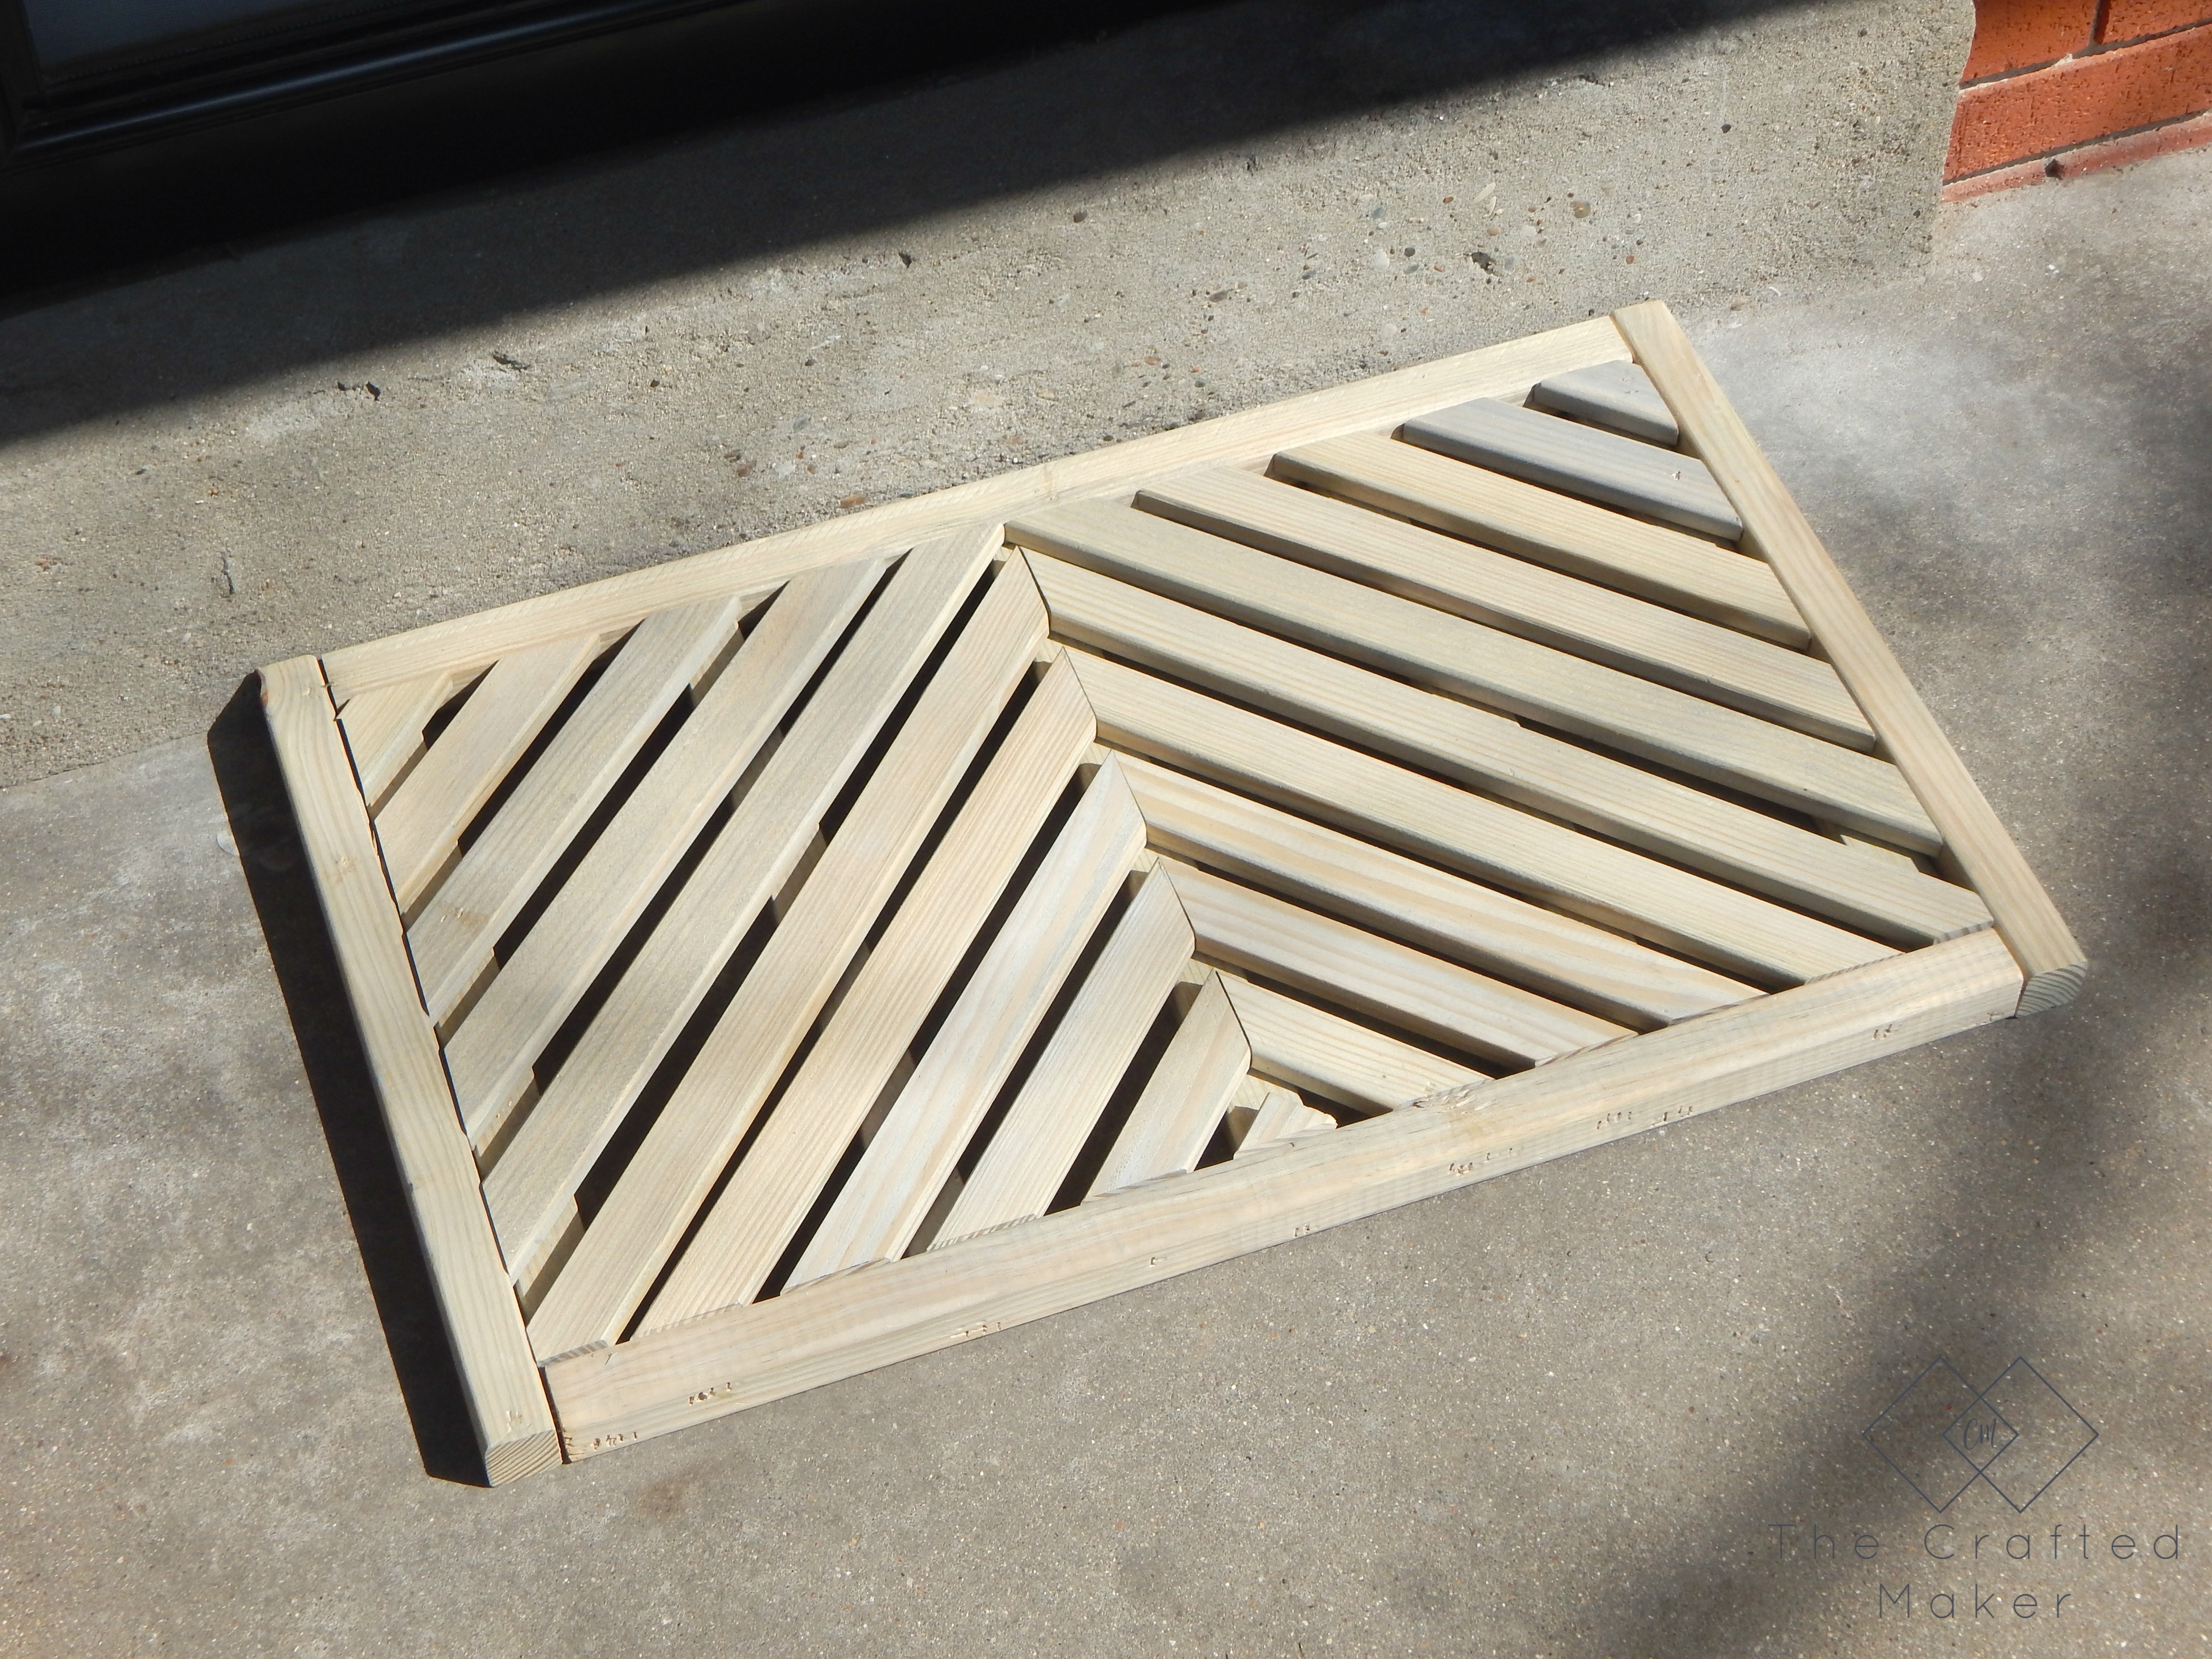
Keep going with your pattern until your wooden doormat is fully assembled. Stand back and look at that beauty you just made!!!
I lightly sanded the entire doormat and gave it a coat of Minwax Classic Gray Stain. Since I used pressure treated wood, some of the boards took the stain, and some didn’t. I loved the way it turned out though, it looks a little like older wood with the stain lighter in some spots and darker in others.
If your doormat is going outside, I would recommend giving it a coat of waterproofing wood finish after your stain has dried. This will give you doormat a longer life, and make it a lot easier to keep clean!!
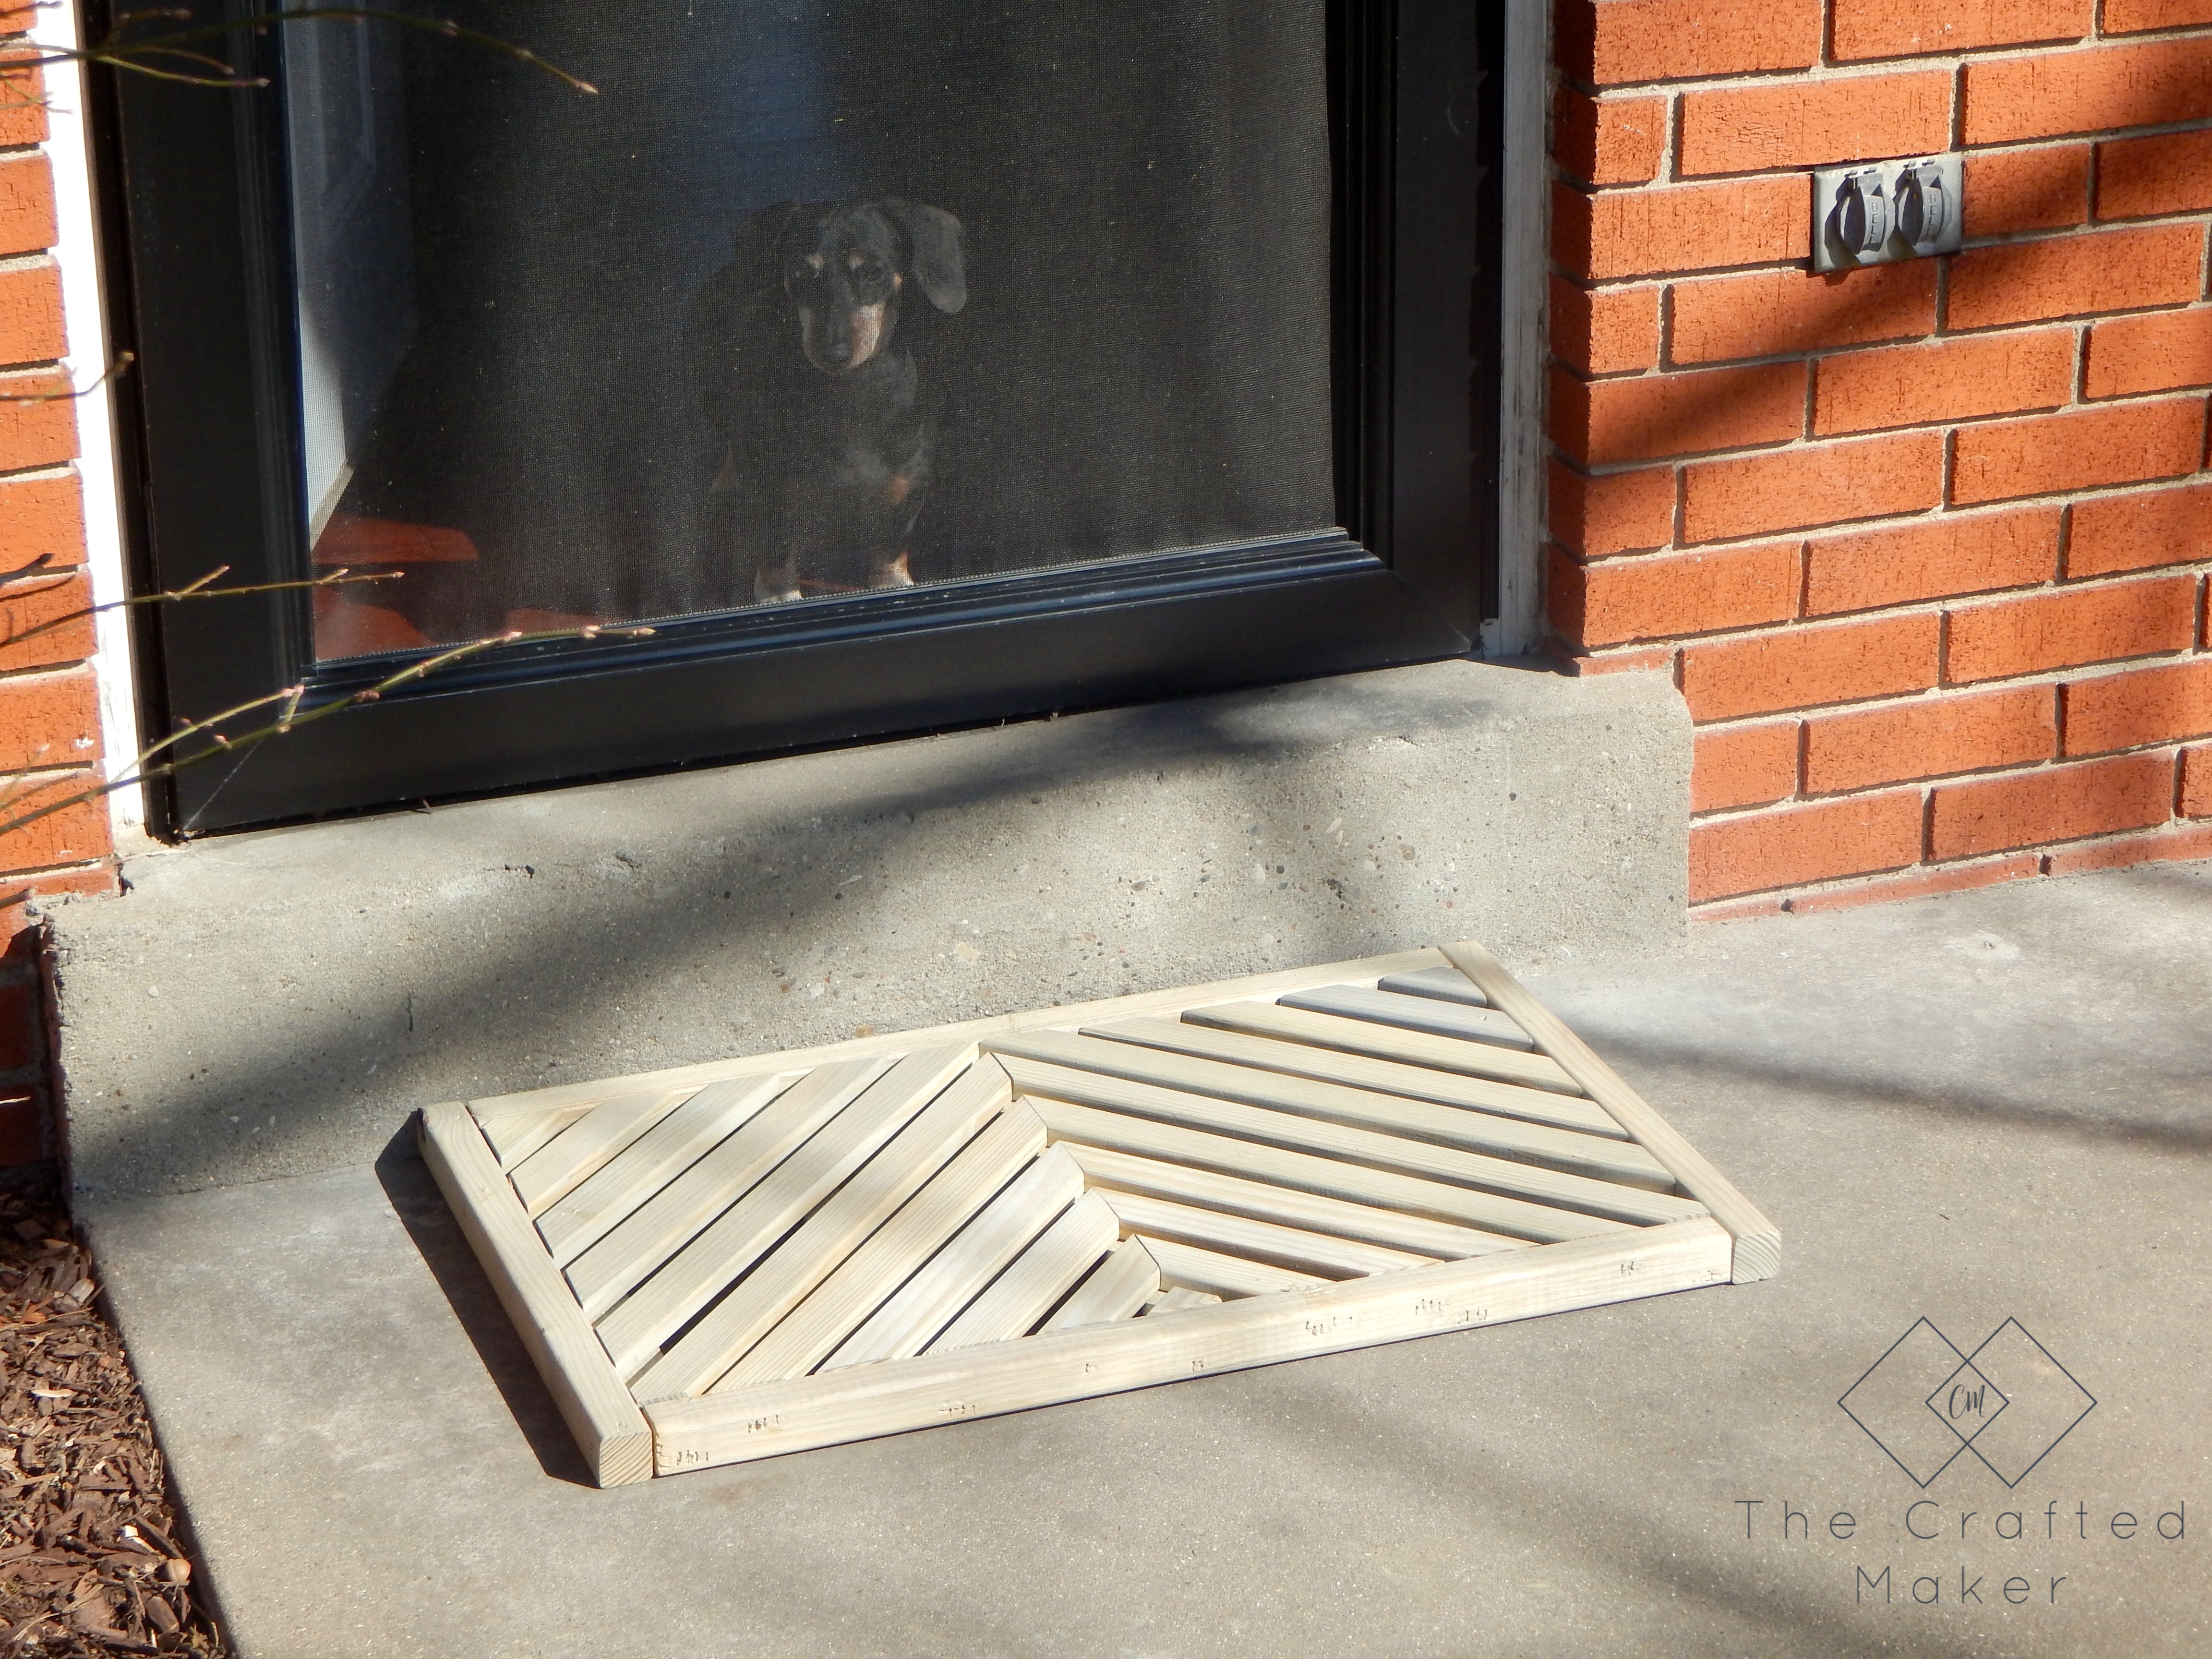
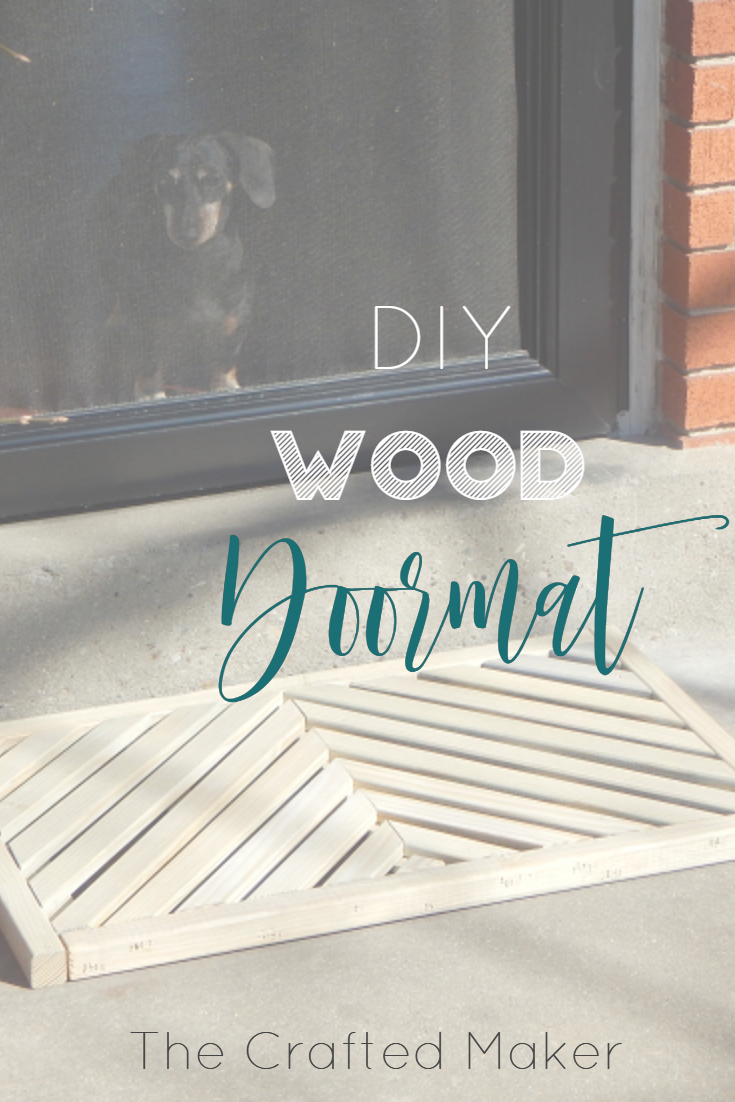
Here are some photos of my finished DIY wooden doormat. I hope you enjoy!

Now you might be thinking if this is a party where are all the people at?!? I have them for you right here. Below are links to some amazing bloggers who have created their own version of the DIY wooden doormat. Go check them out and be prepared to be amazed!!
House of Wood
Shades of Blue Interiors
Place of My Taste
Bower Power Blog
Making Home Base
Build Basic
Sawdust 2 Stitches
My Love 2 Create
Her Toolbelt
Addicted 2 DIY
That’s My Letter
Ciburbanity
Brooklyn Limestone
Wills Casa
The Bold Abode
Fix This Build That
Build It, Craft It, Love It
DIY Huntress
Sawdust To Sequins
Remodelando La Casa
The Batchelor Way
The Kim Six Fix
Heathered Nest
Creatively Living
Thanks so much for stopping by today,

Pinning is always appreciated!!
*This post is sponsored by The Home Depot. Compensation or materials may have been given to me, but the thoughts, opinions, and sawdust covered hair are all my own!
Love the chevron look!
Thank you Ronda!
What a great pattern for your door mat! I love the natural wood too!
Thanks Amber! I usually stain everything dark, this time I just wanted something different.
Turned out beautifully. Super cool design.
Thanks Heather!
Love that design! It’s so sleek!
xo – kb
Thank you Katie!
Gorgeous and unique…never would have thought to create this. Thanks for the inspiration! Visiting from the BlogFuel FB Community!
Thank you Natalie! I’m glad you stopped by!!
Looks awesome, Chrissie! Love the chevron and light wood!
Thanks so much Jen! It was a really fun project to be part of!!