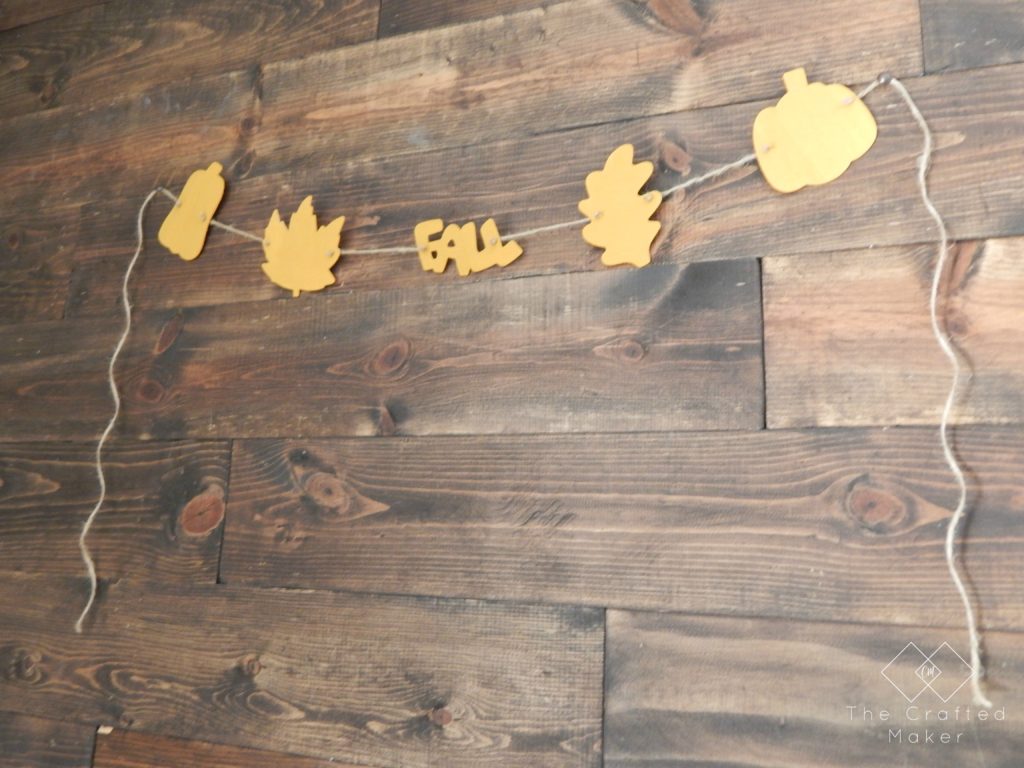
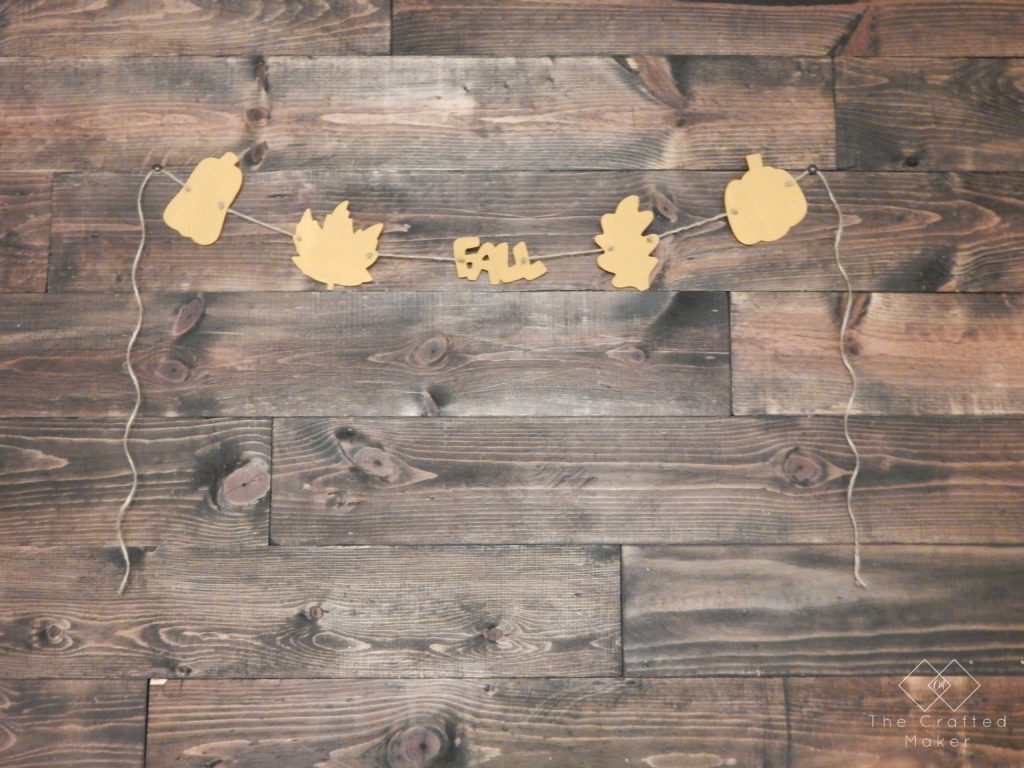
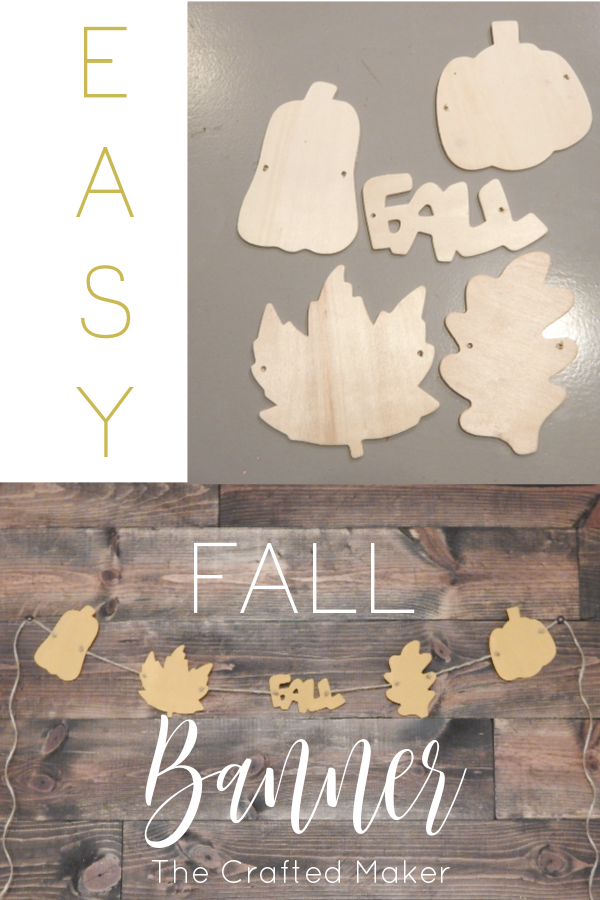
I know that winter is just around the corner, but I am not ready to let fall go just yet. It’s by far my favorite season so I have decided to make a banner to celebrate this season.
For this project, you will not need to cut anything or use a plan, it’s that easy!! I can always use some easy projects around this time of the year how about you all???
Supplies and Materials
Wood cut out Fall shapes. (Hobby Lobby)
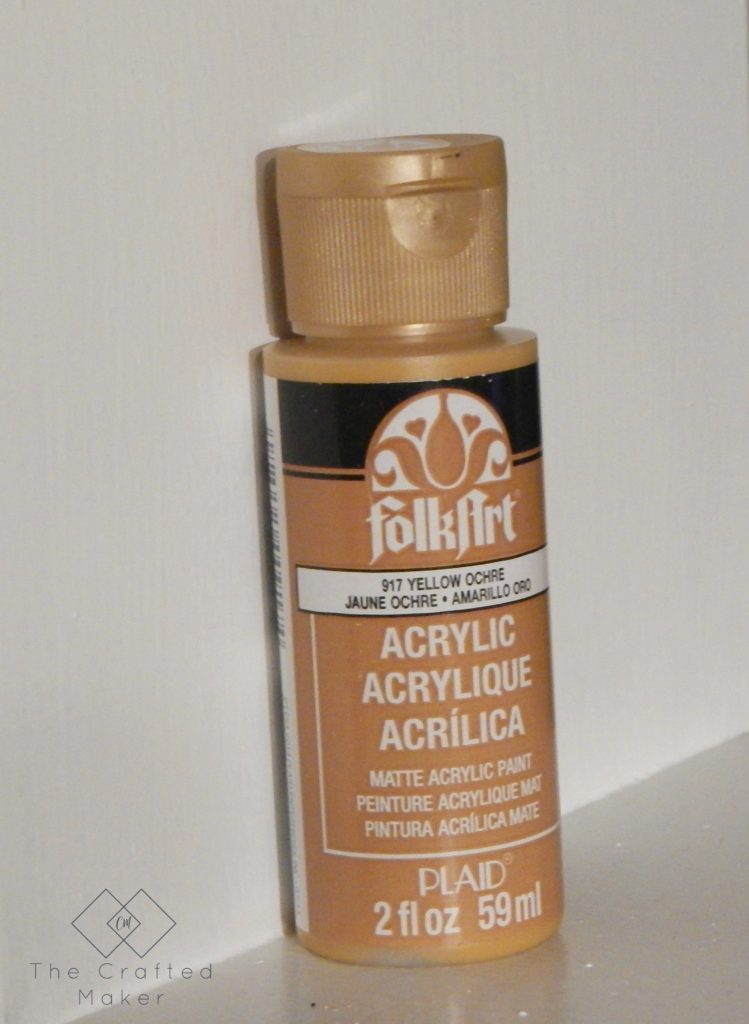
Craft Paint in a fall color. (I used Yellow Ochre from Folk Art)
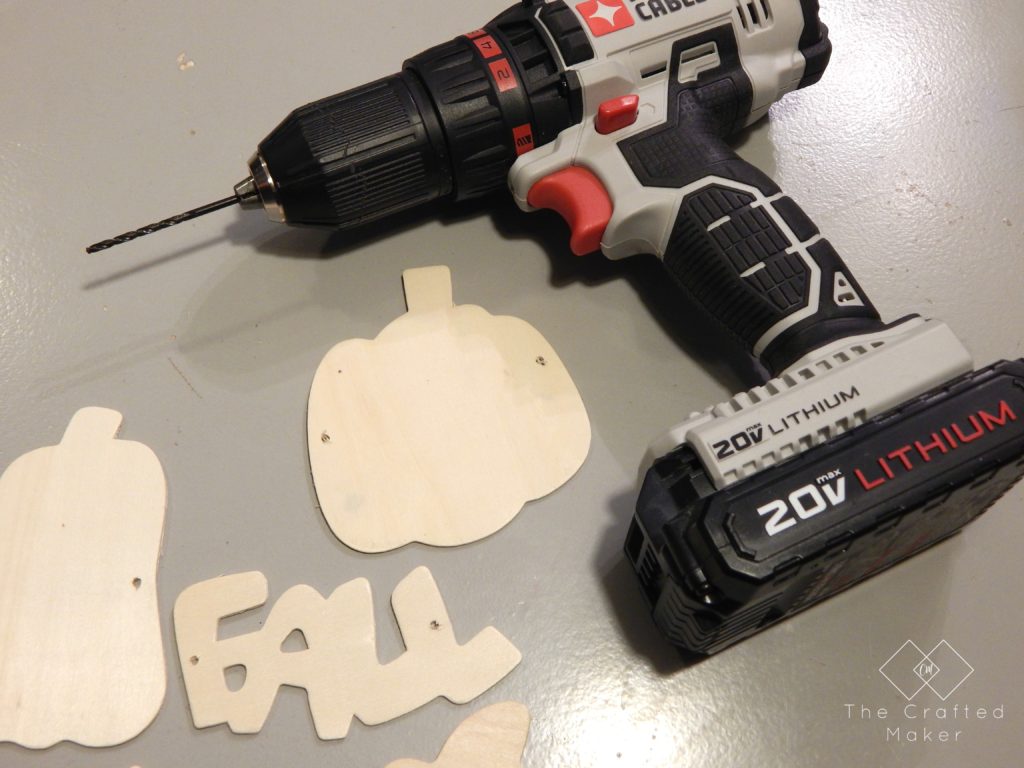
Drill and a small bit to make a hole big enough for twine to fit through
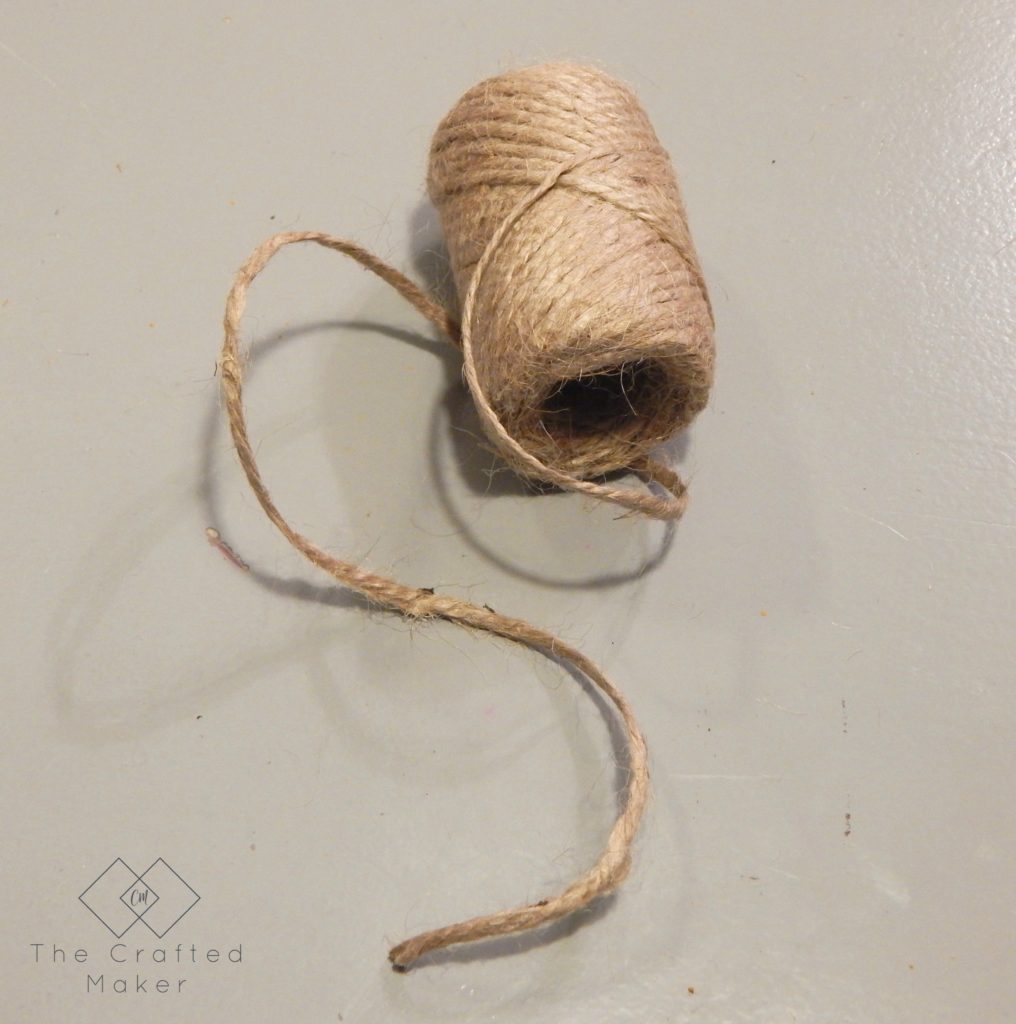
Twine
Pushpins or nails to hang your banner
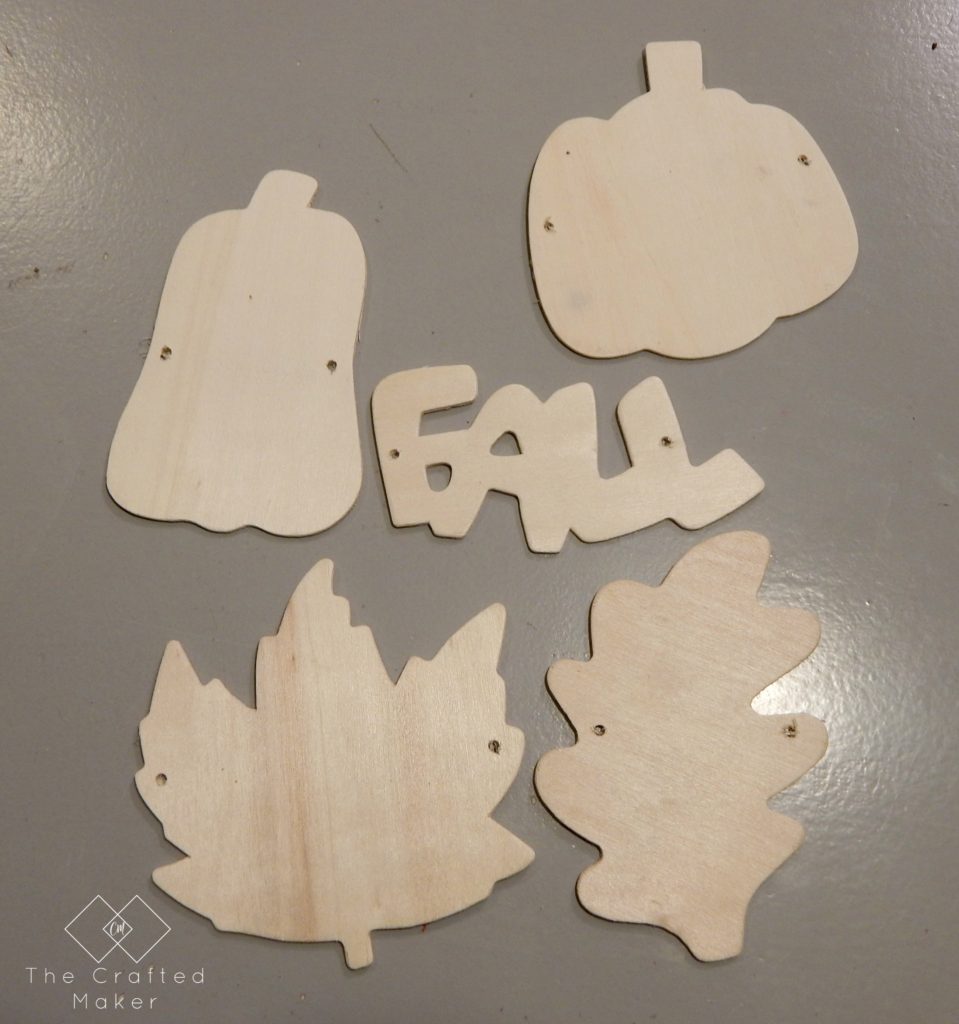
The package of cutouts comes with several different shapes. I chose the ones I wanted to use for my banner.
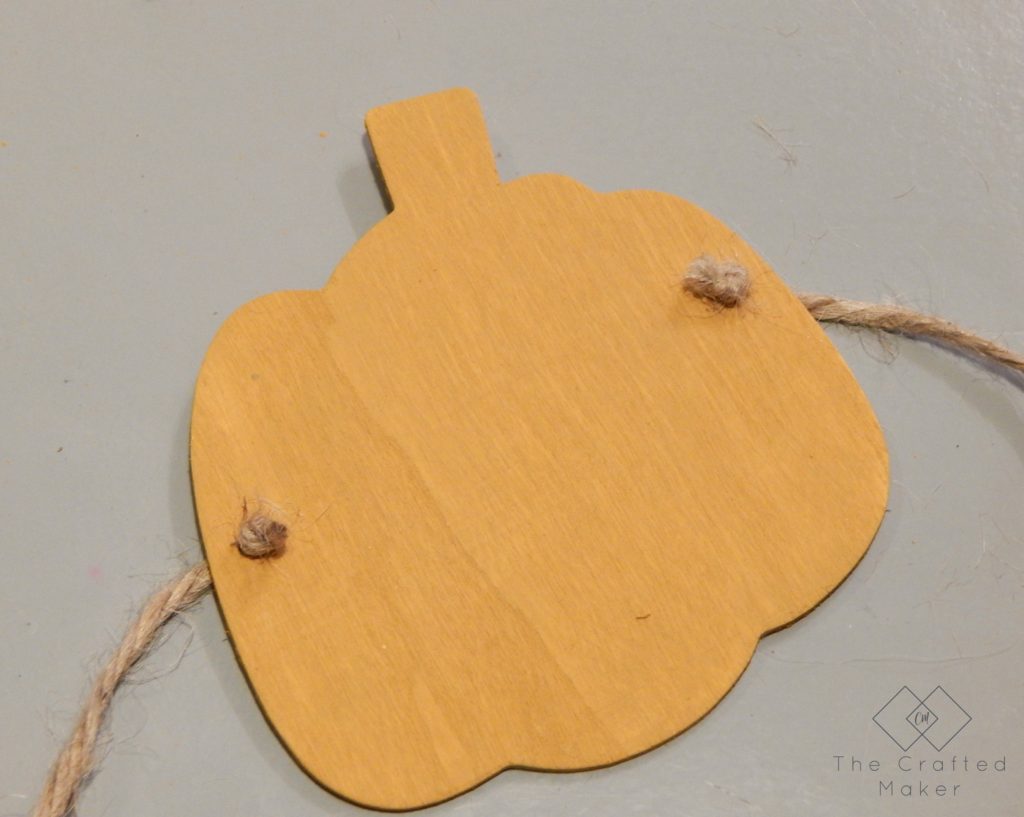
I used my drill to make holes for the twine on each side of the cutouts. These are very thin, so I tried to drill a little bit away from the edge. If you drill right on the edge, there is a chance of the cutouts breaking.
Now onto the painting. I used this yellow ochre from Folk Art. It is a good mix of Fall colors all rolled into one.
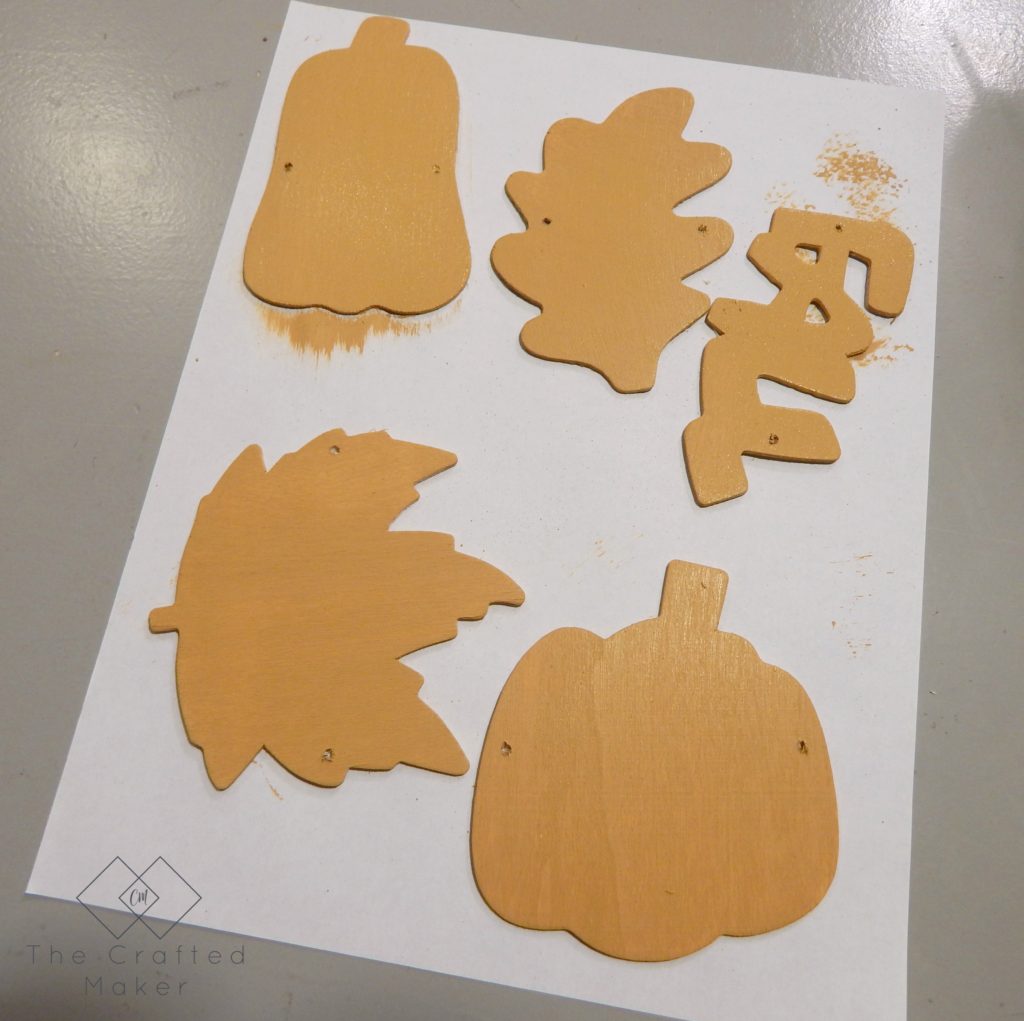
I placed the cutouts on a piece of printer paper and painted with the craft paint. These are very thin and like to soak up the paint, so keep that in mind when applying the paint.
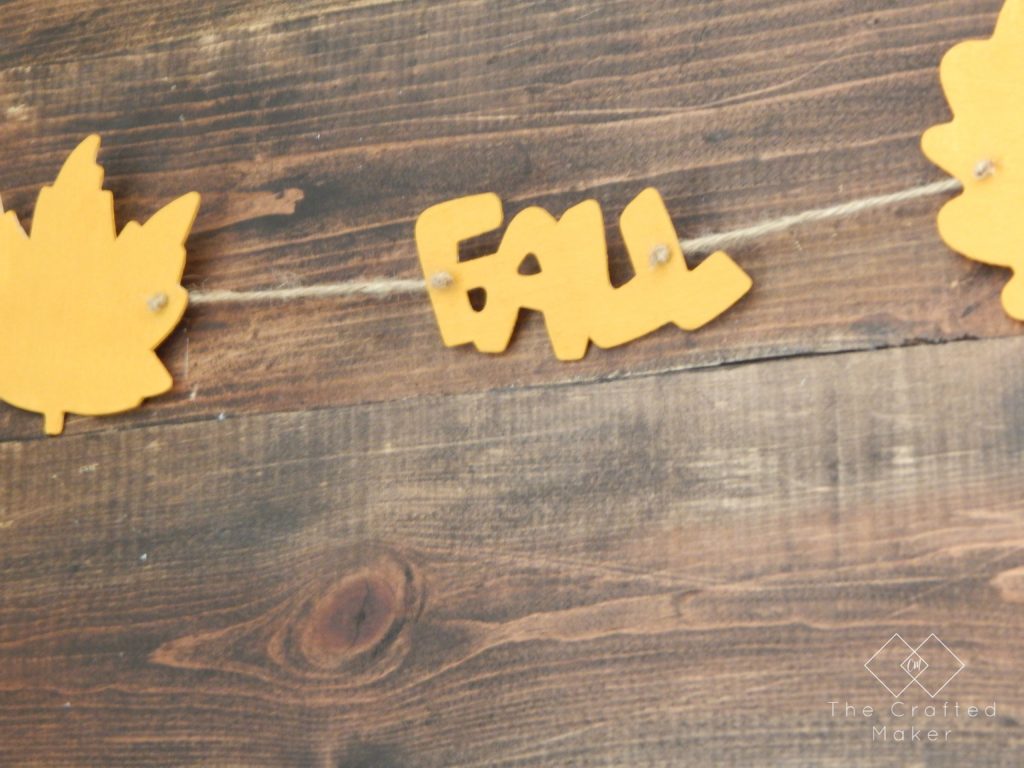
Once dry, I cut pieces of twine to attach each shape together. The length totally depends on what you want the banner to look like. My length between each shape was about 3.5″.
Tie a knot at the end of the twine and feed it through from the front. If you do not want to see the knots, just feed the twine in through the back.
Continue this process until your banner is completely assembled. Be sure to make the end pieces of twine longer so you have the length to hang your banner up.
This is such an easy project to complete if you need some last minute Fall decoration, or you just want to prolong this season (like I do) for as long as you can!!
Have fun making your own easy Fall banner!!
Thanks so much for stopping by. Until next time…
