• Home
  • About
  • PROJECTS
    • BUILD
      • FURNITURE
      • SCRAPPY SATURDAY
    • HOW TO
    • ORGANIZATION
    • HOME DECOR
    • TIPS AND TRICKS TUESDAY
    • HOME IMPROVEMENT
      • RENOVATION
    • SEASONAL
  • Resources
    • FAQ
  • Shop
    • Plans
  • Work With Us
  • DIY 101:Make Your House a Home One Project at a Time

The Crafted Maker

Crafting a Maker one project at a time

BUILD, FREE PLANS!, FURNITURE, HOME DECOR · March 30, 2015

$25 Console Table with Free Plans!

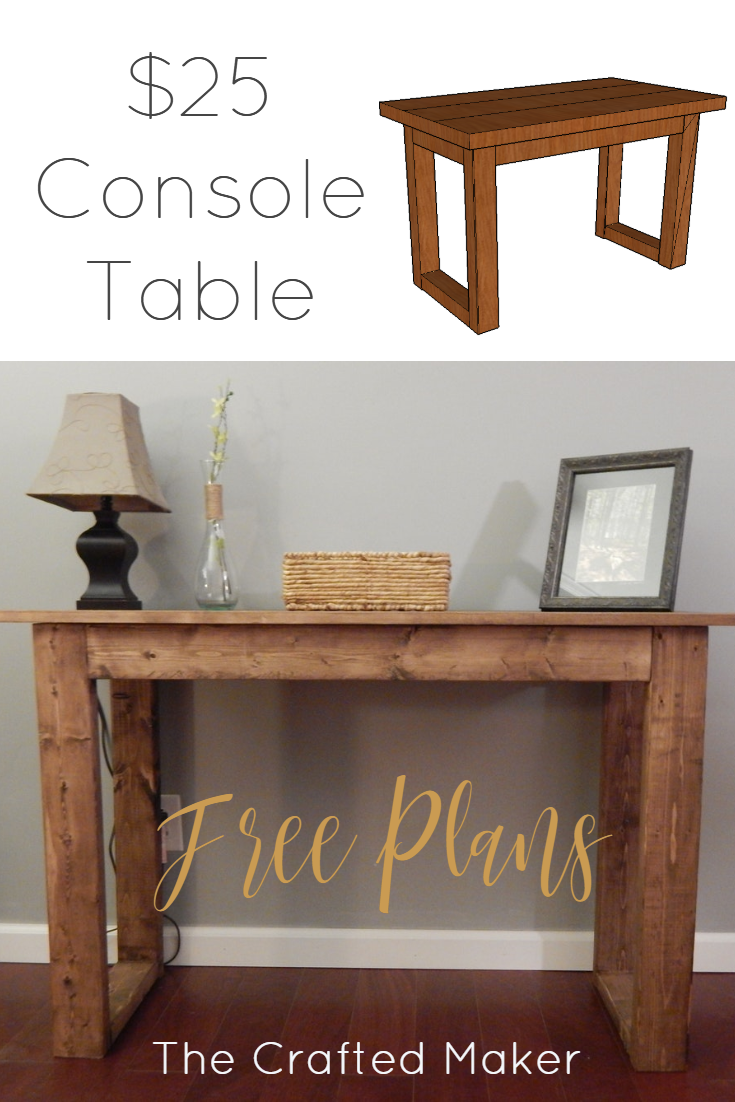
Hey guys and gals. Happy Monday to you! I have got something to share with you today that I think you are going to like. A $25 console table. Yeah, you read that right a console table for $25!!! I have wanted a new console table for quite some time now, but all the ones I found and fell in love with were in the $150-$350 price range. If the table is good quality, that is not too much to pay, but more than I was willing to pay for one, so I decided to come up with my own plan and design for waaaaaayyyyyy less. I have plans you can print out and build your own, but I will walk you through the build step by step. Pictures are more fun anyway don’t you think?  Let’s get to building.

Click on the picture or the link below to get the plans to build your own $25 console table!

Come check out how to build this $25 console table with very little supplies needed. Free PDF plans included along with a step by step build with pictures.

25 Dollar Console Table

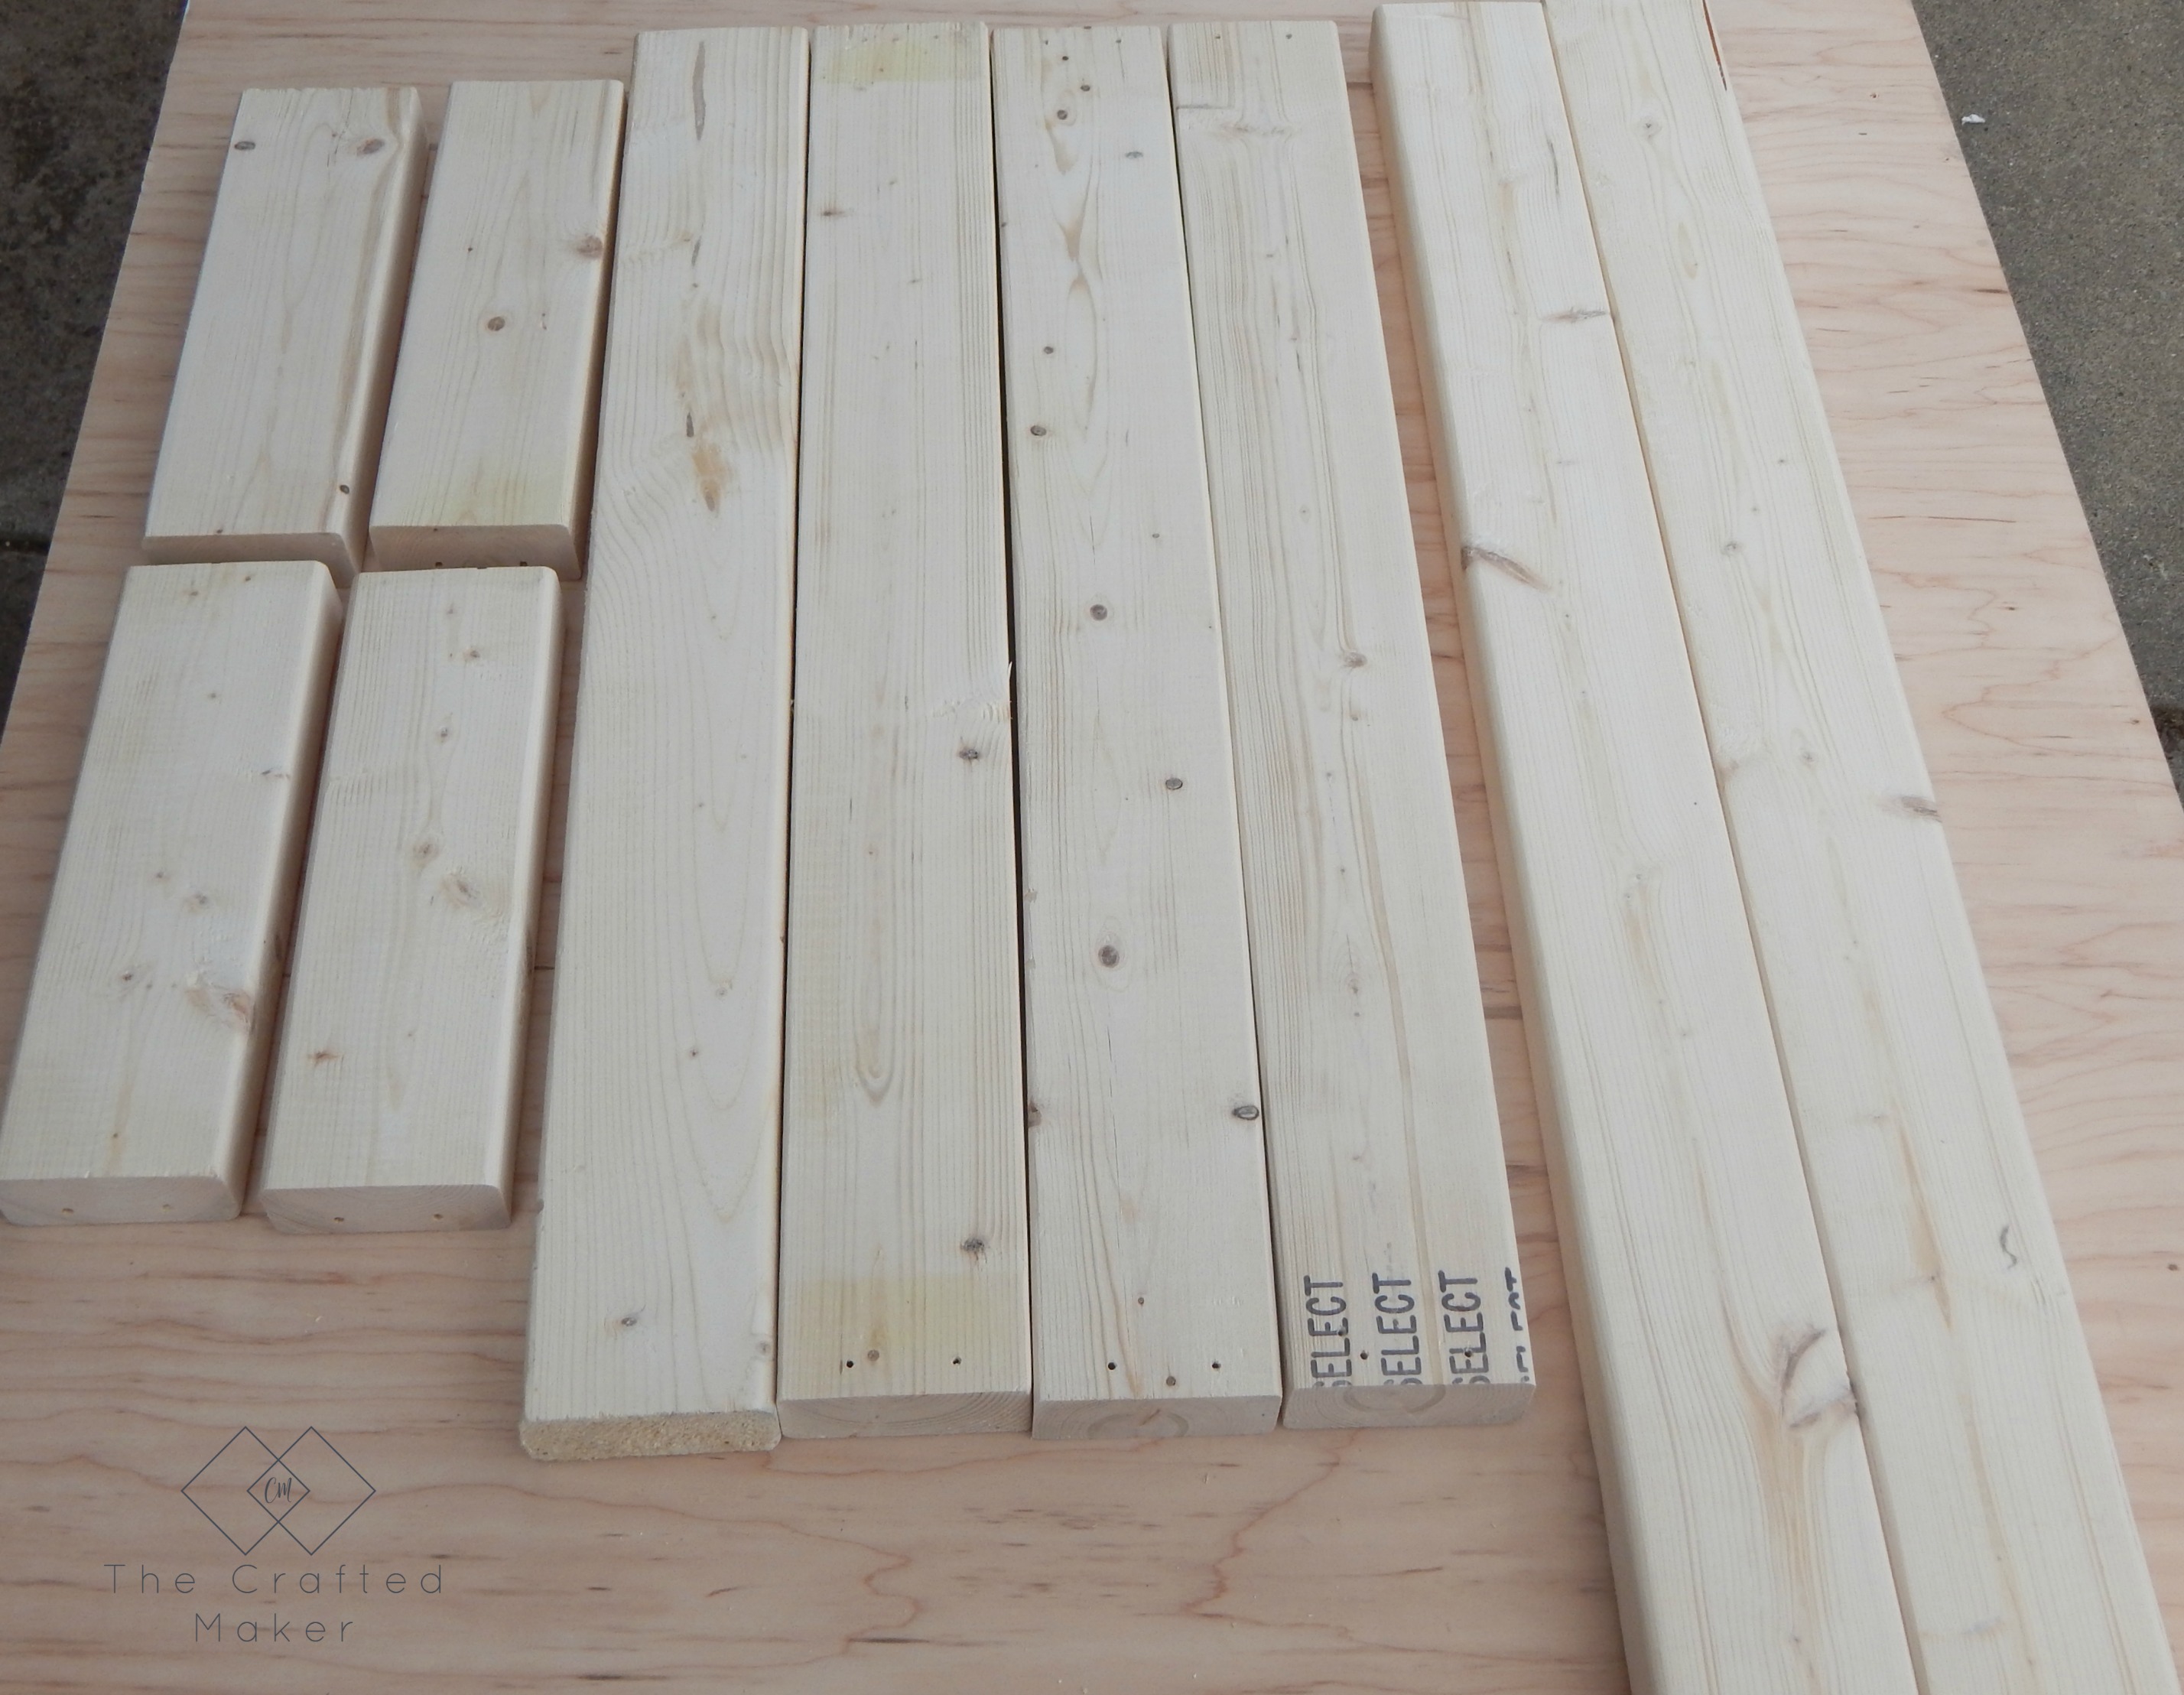
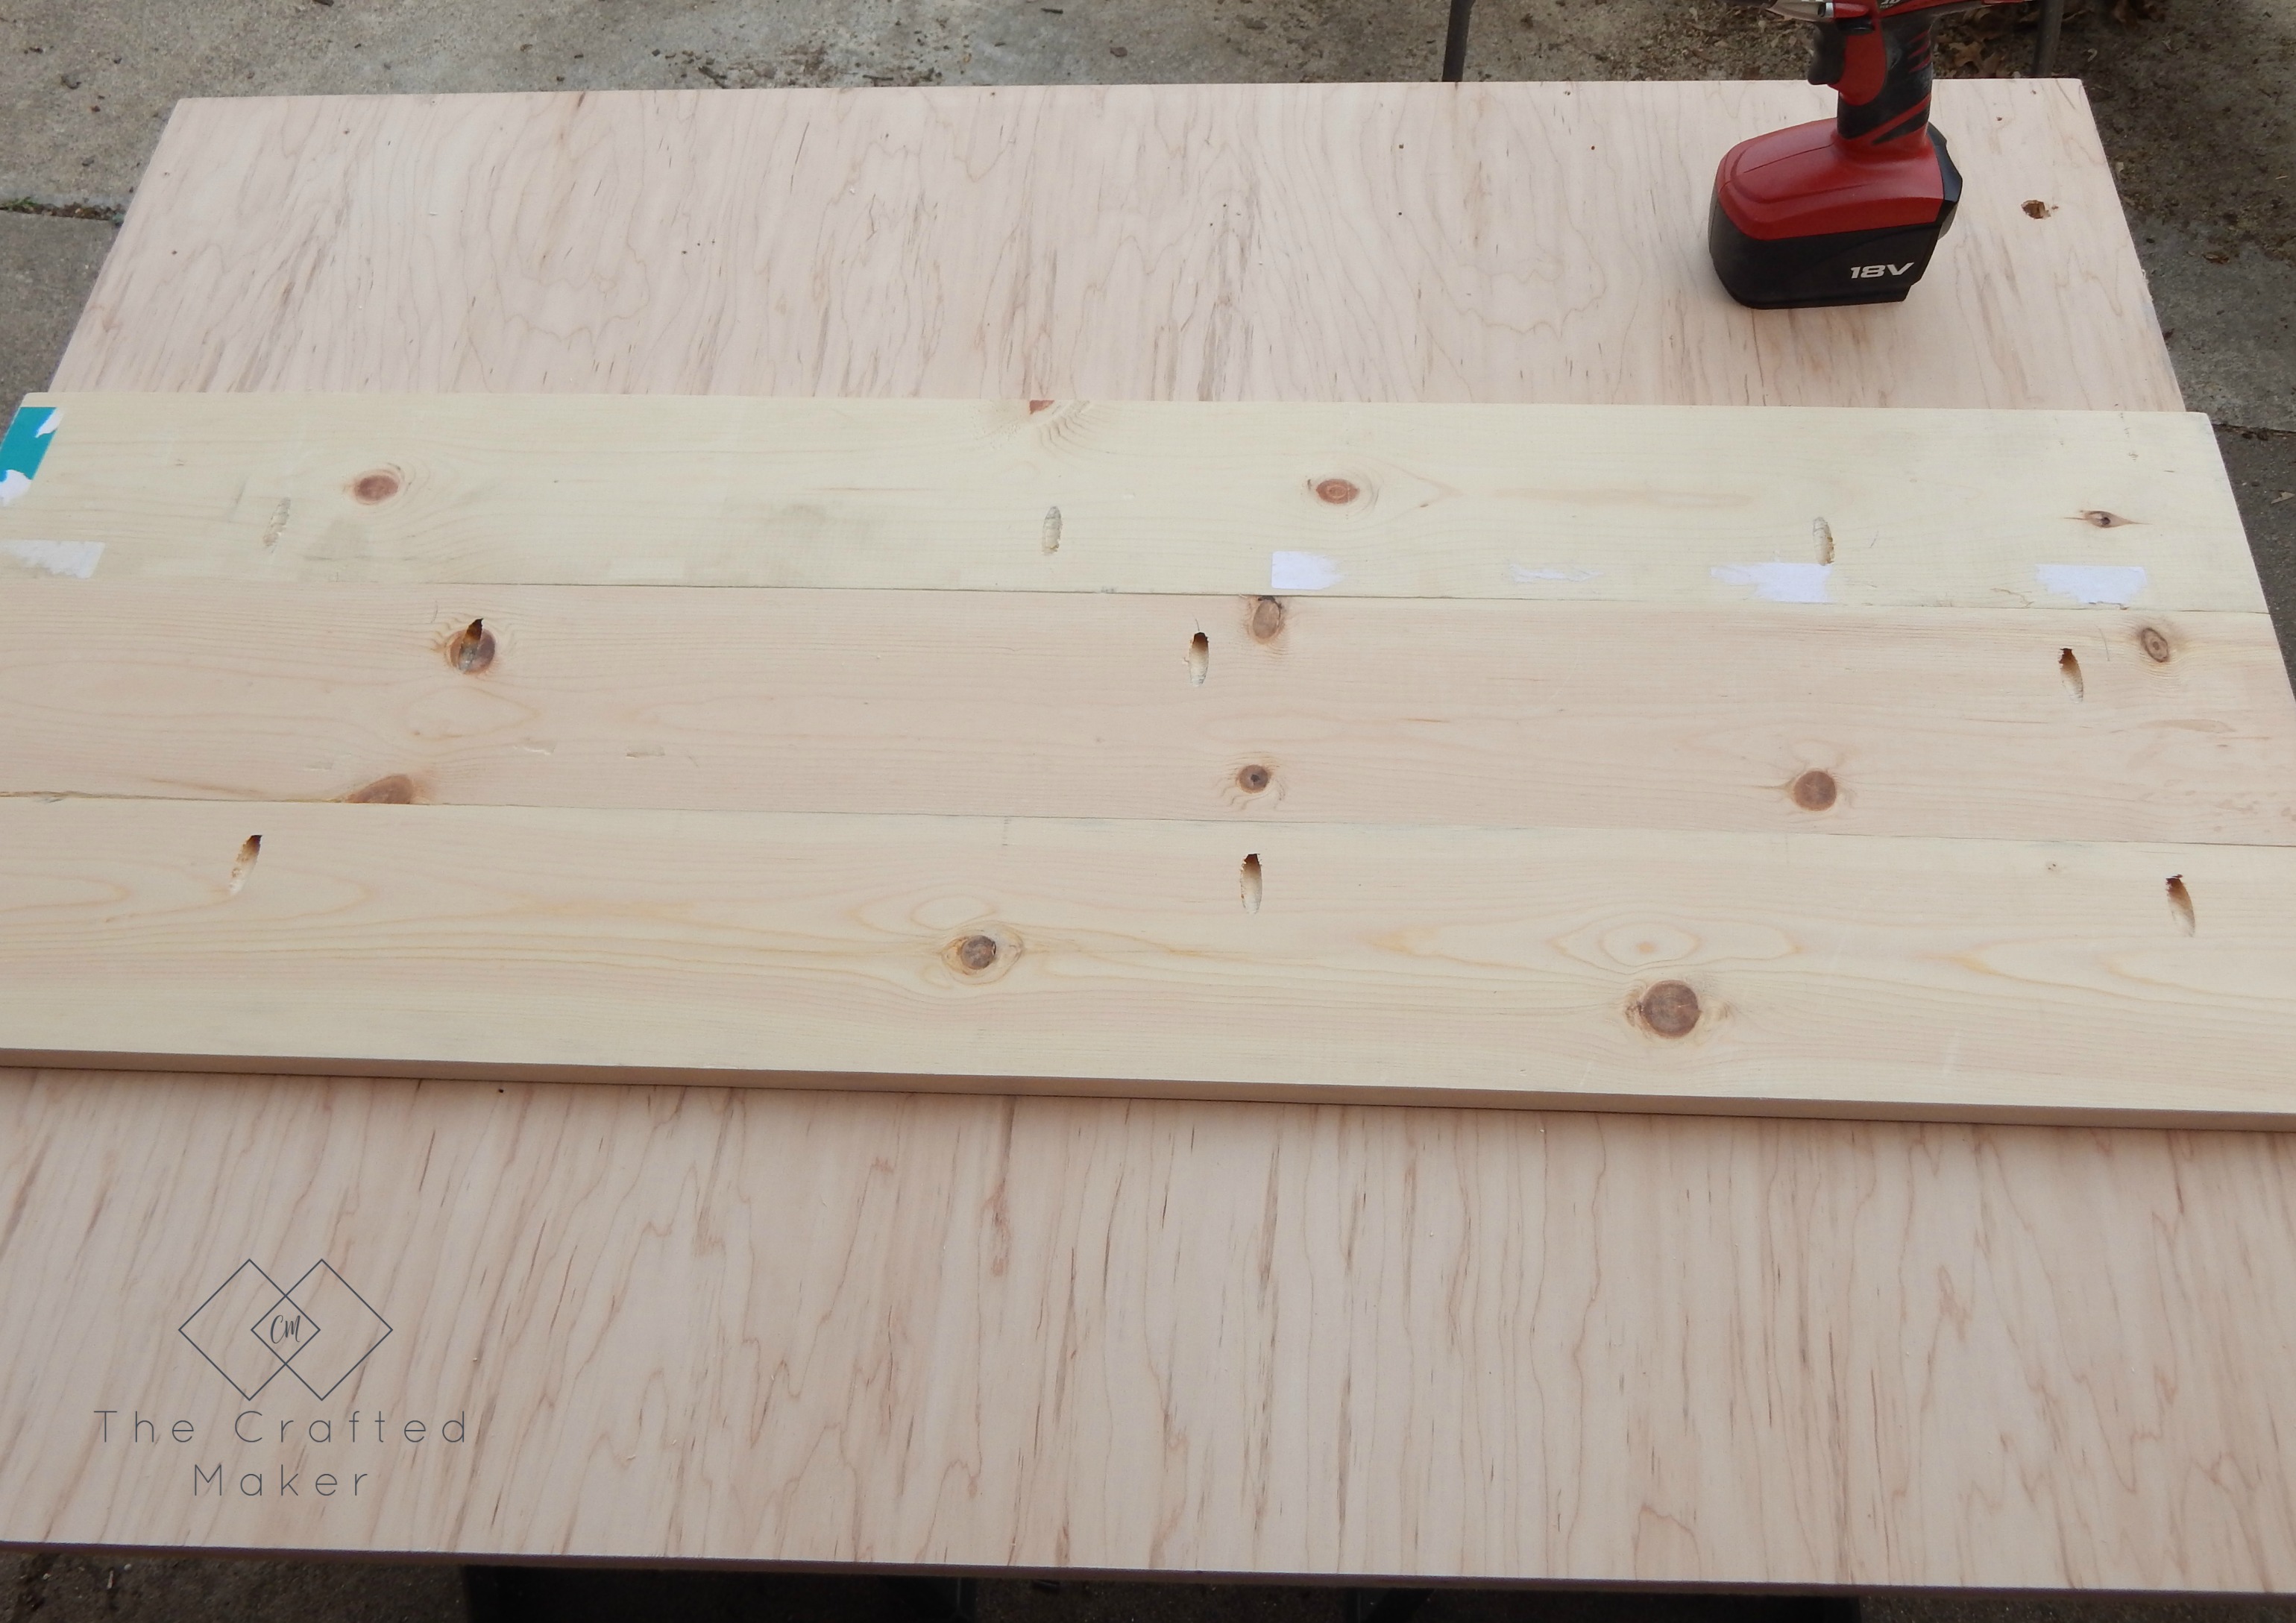
The first thing you will need to do is cut your boards to length. Cutting sizes are in the plans. Here is a pic of the boards you will need for this table.

Come check out how to build this $25 console table with very little supplies needed. Free PDF plans included along with a step by step build with pictures.

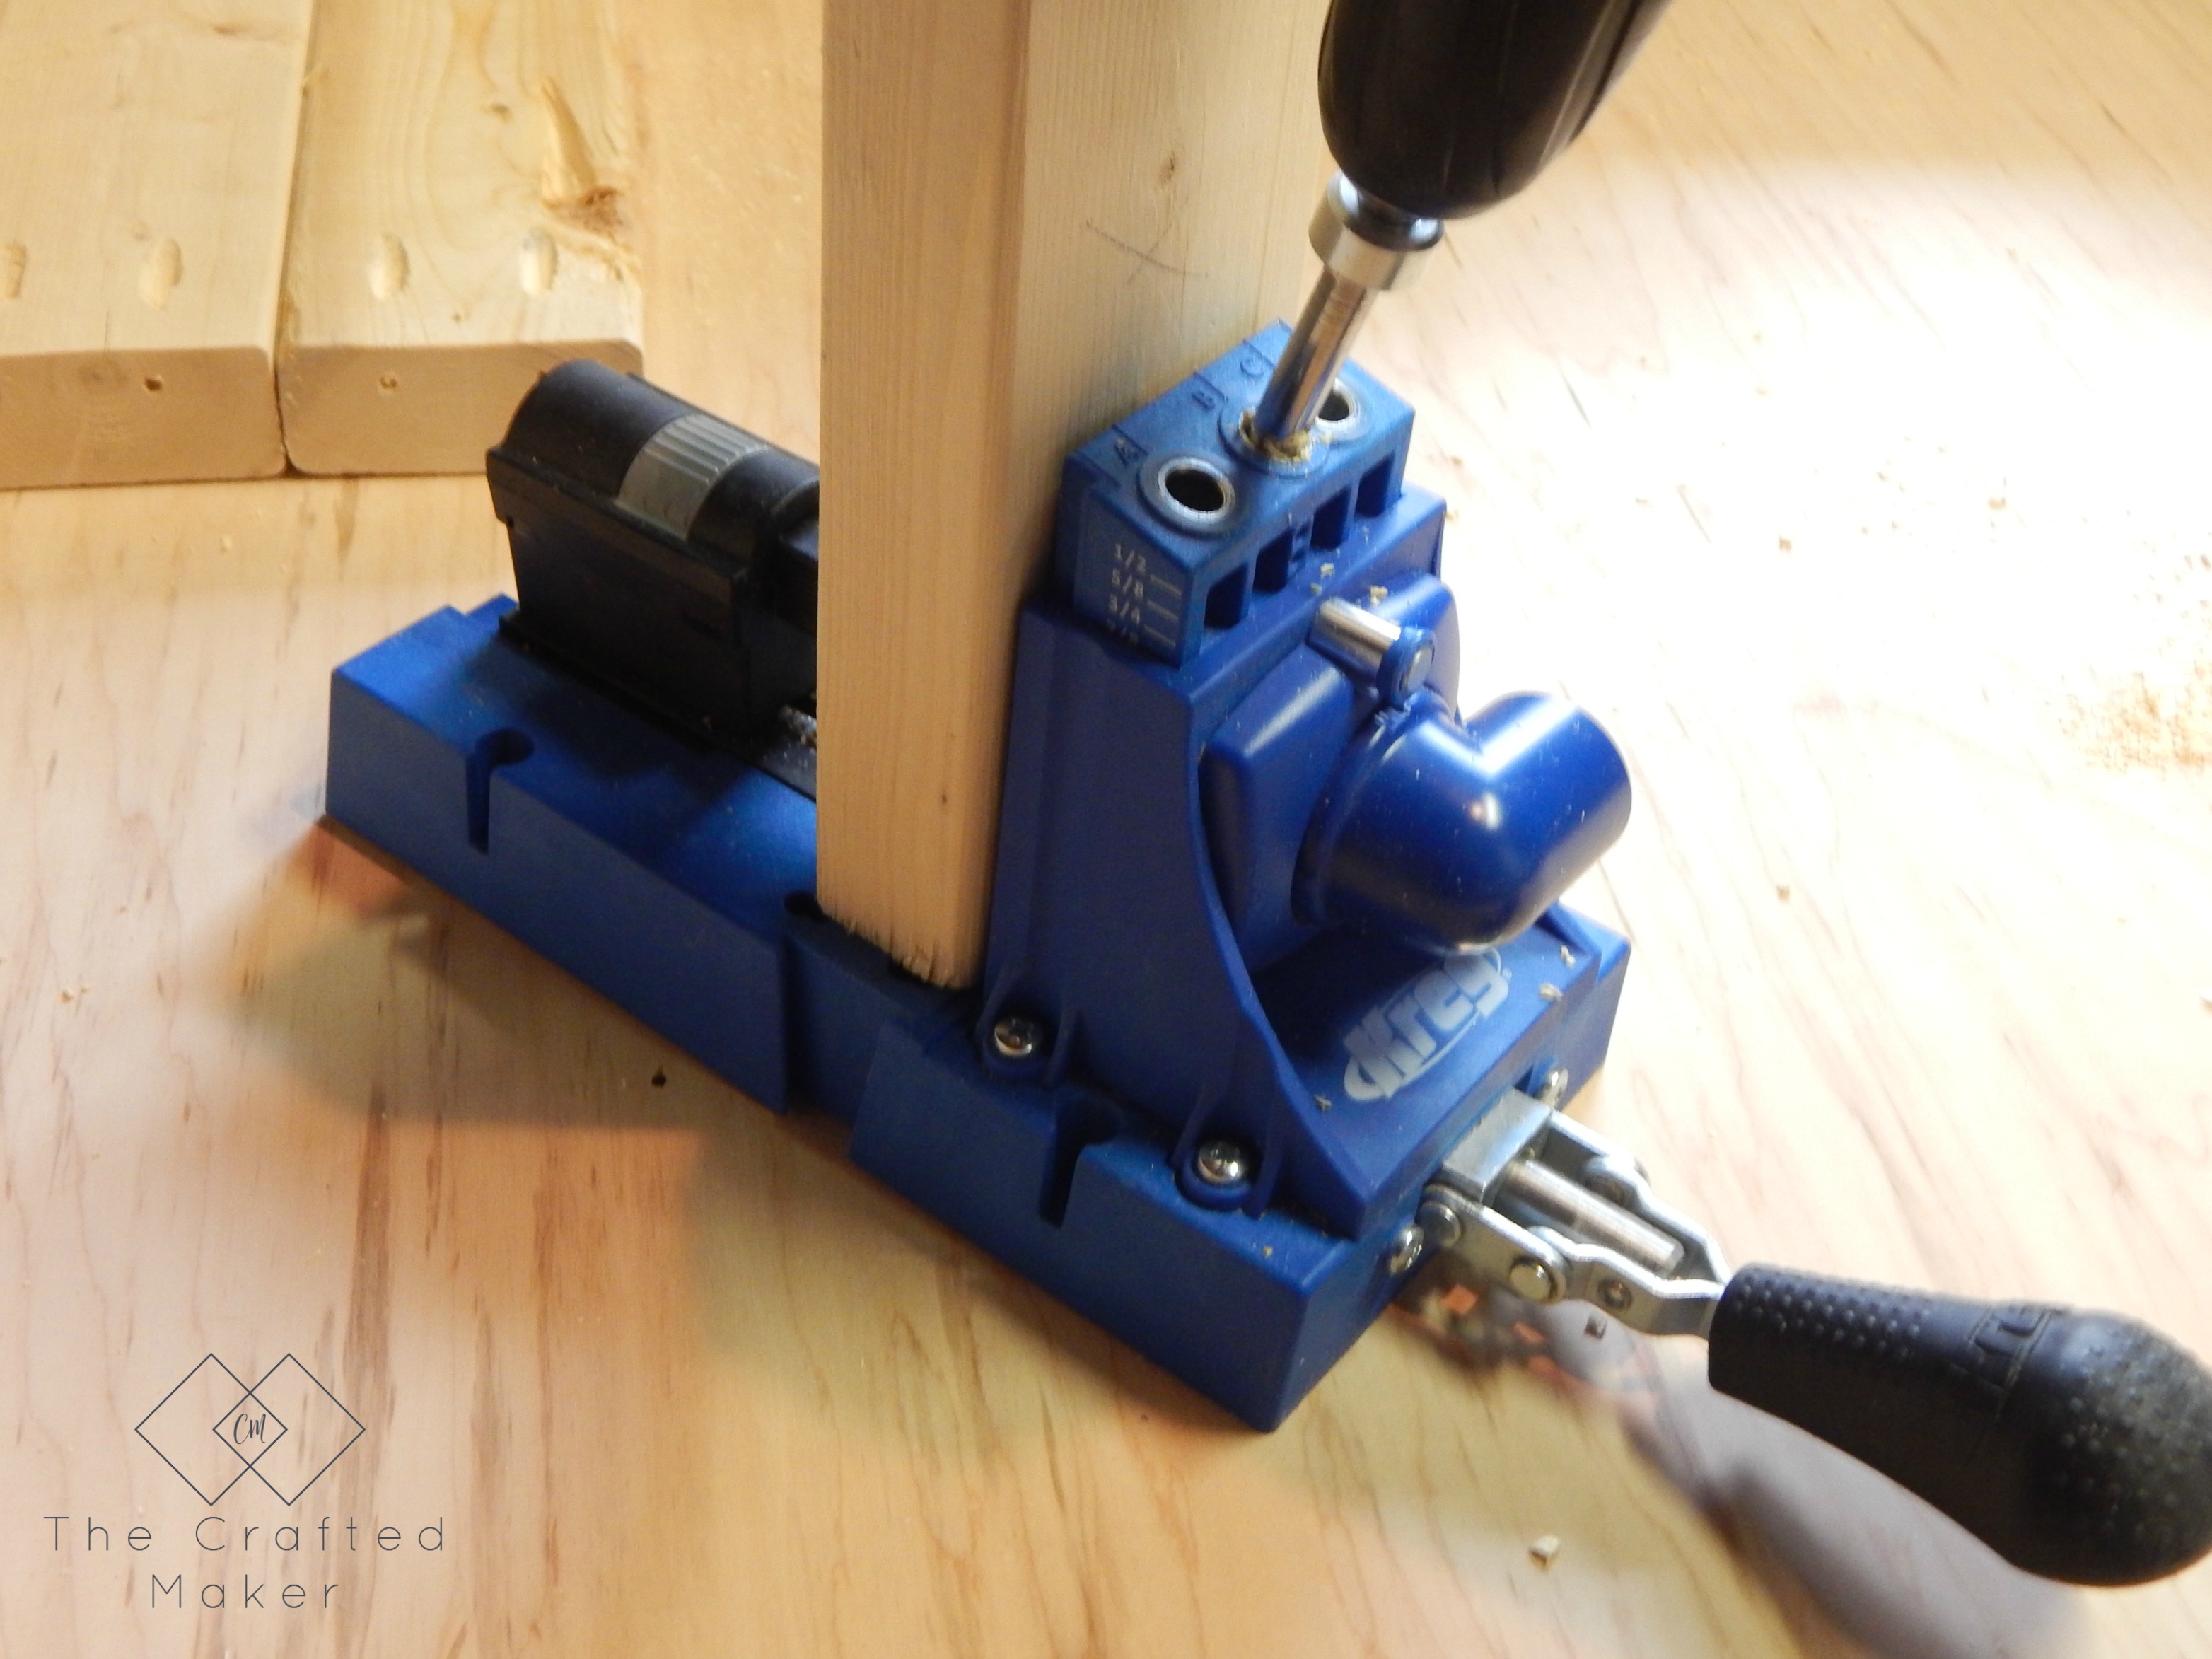
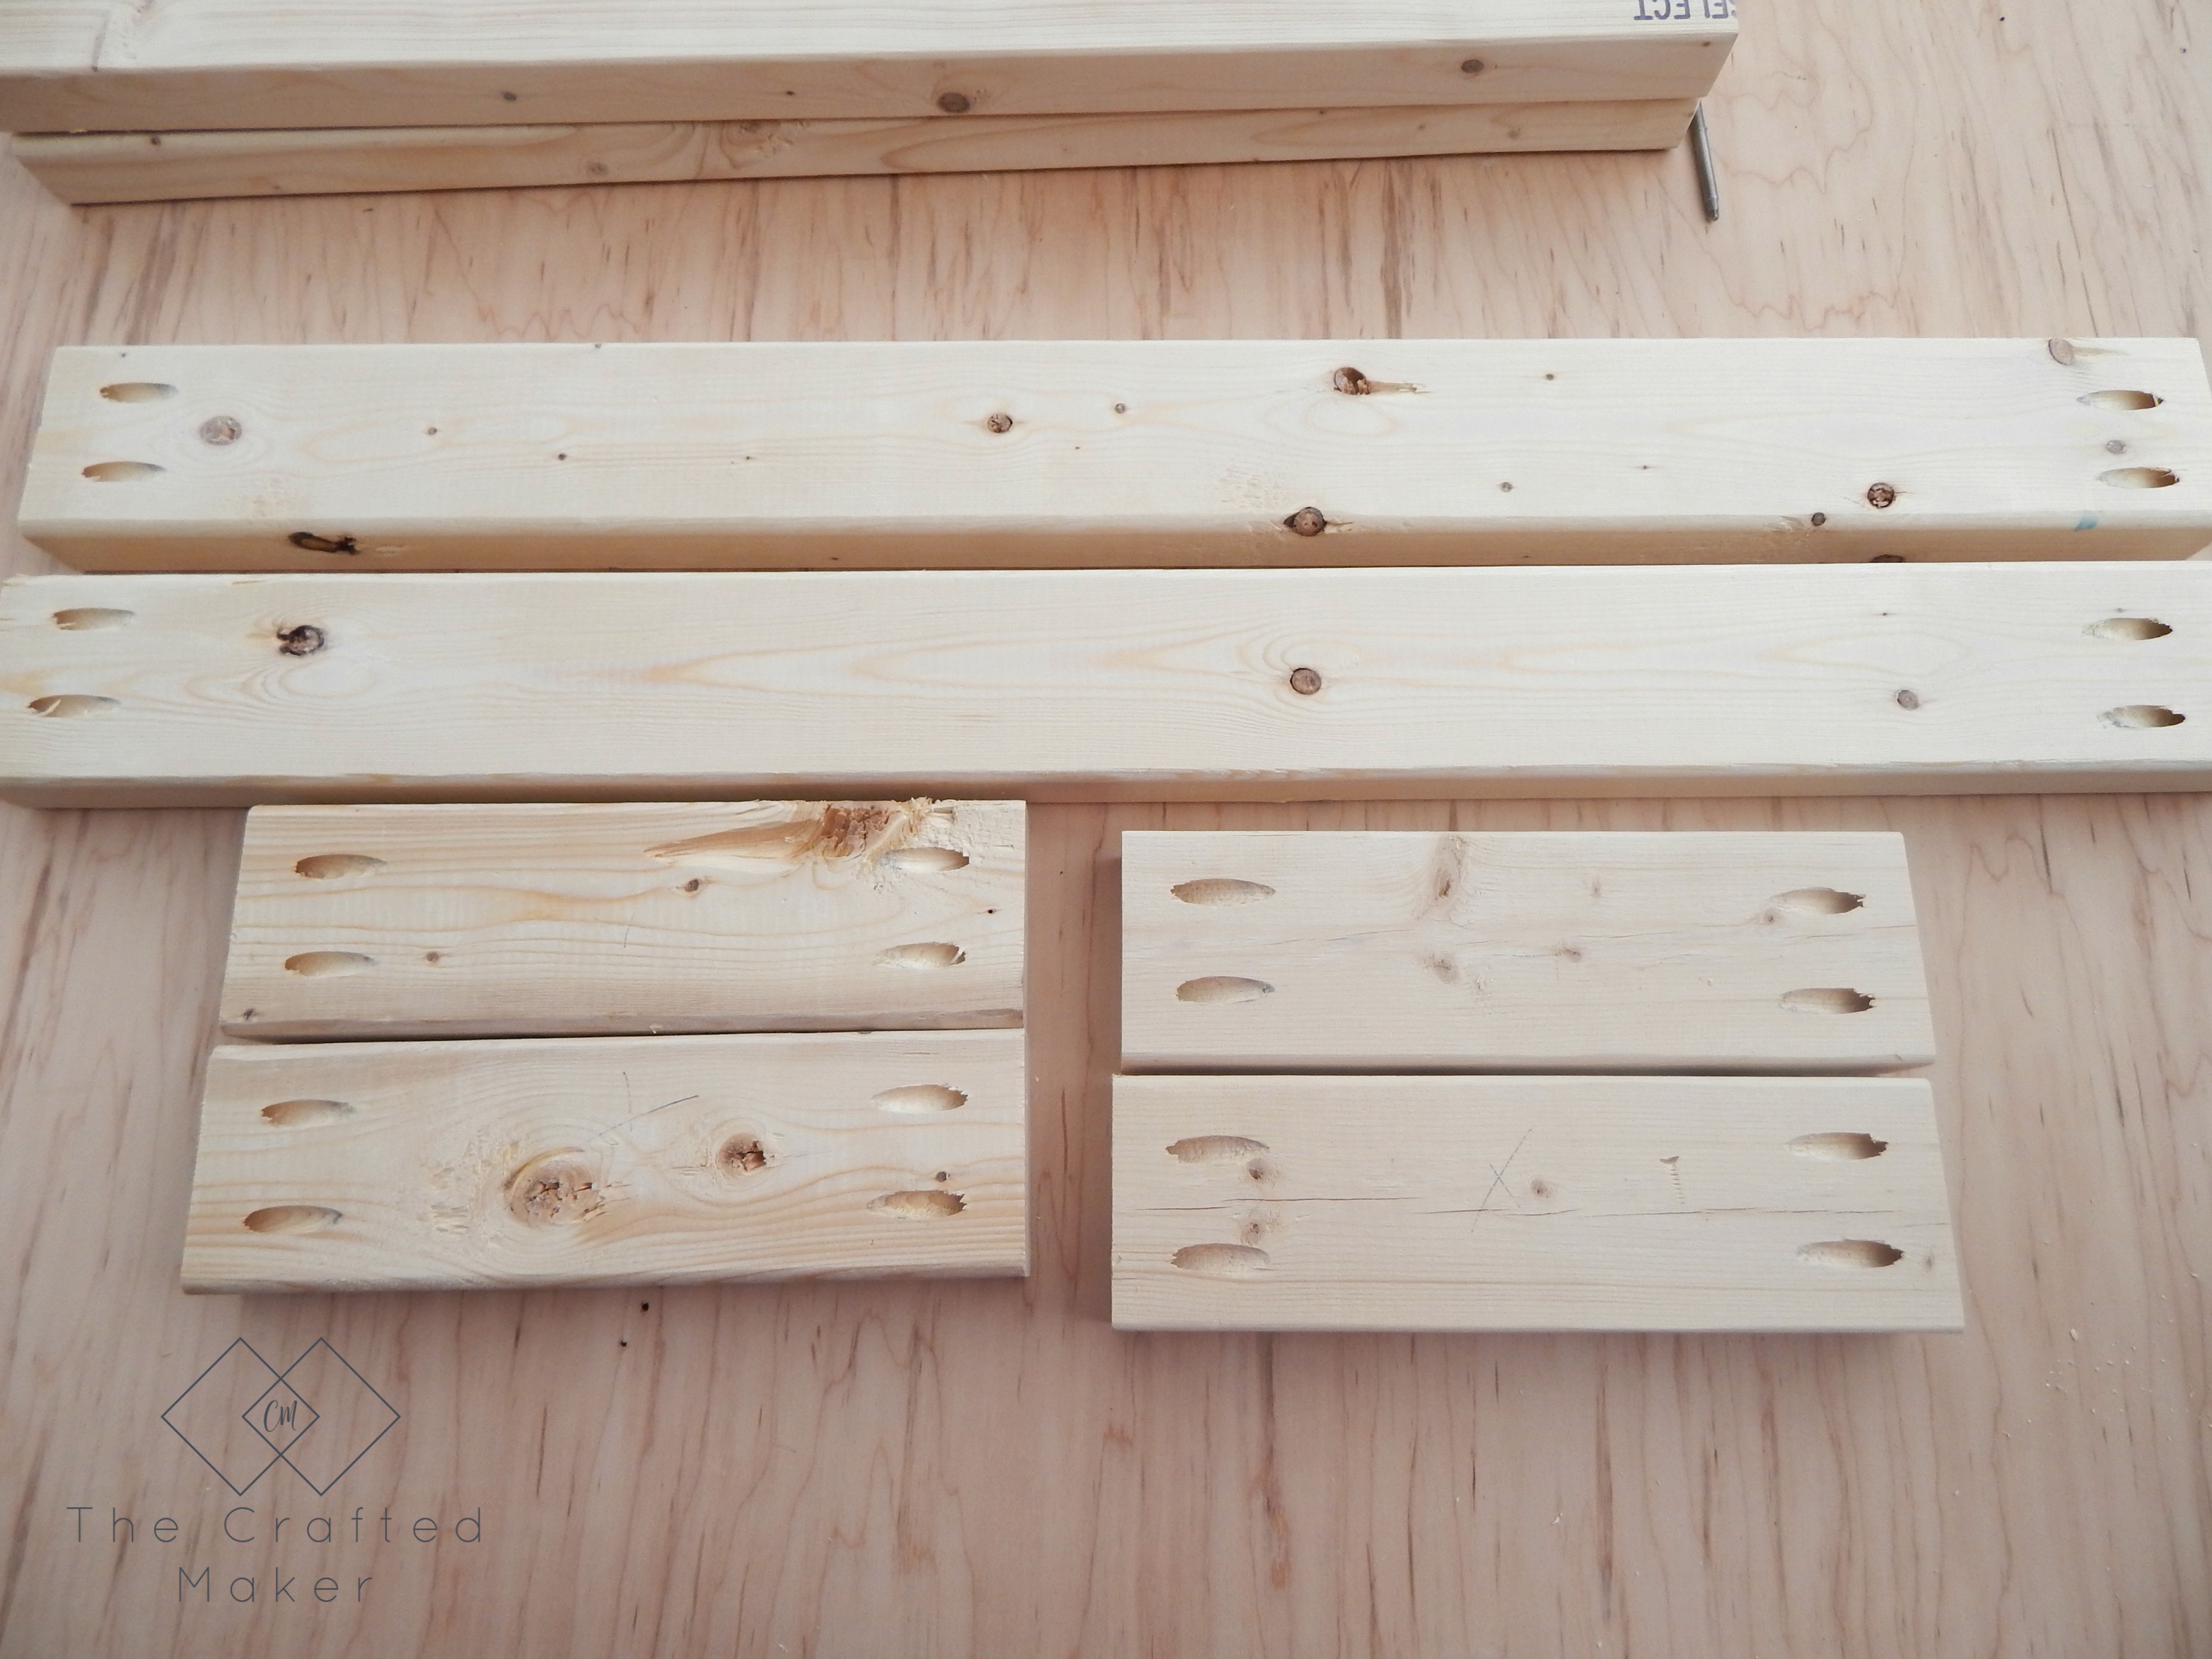
Next, drill your pocket holes which you will use to attach the table together. I use the Kreg pocket hole jig system. It is the fastest and strongest way I have found to attach furniture together. You can find them here on Amazon. Here is a pic of where the pocket holes need to be drilled.

Come check out how to build this $25 console table with very little supplies needed. Free PDF plans included along with a step by step build with pictures.

Come check out how to build this $25 console table with very little supplies needed. Free PDF plans included along with a step by step build with pictures.

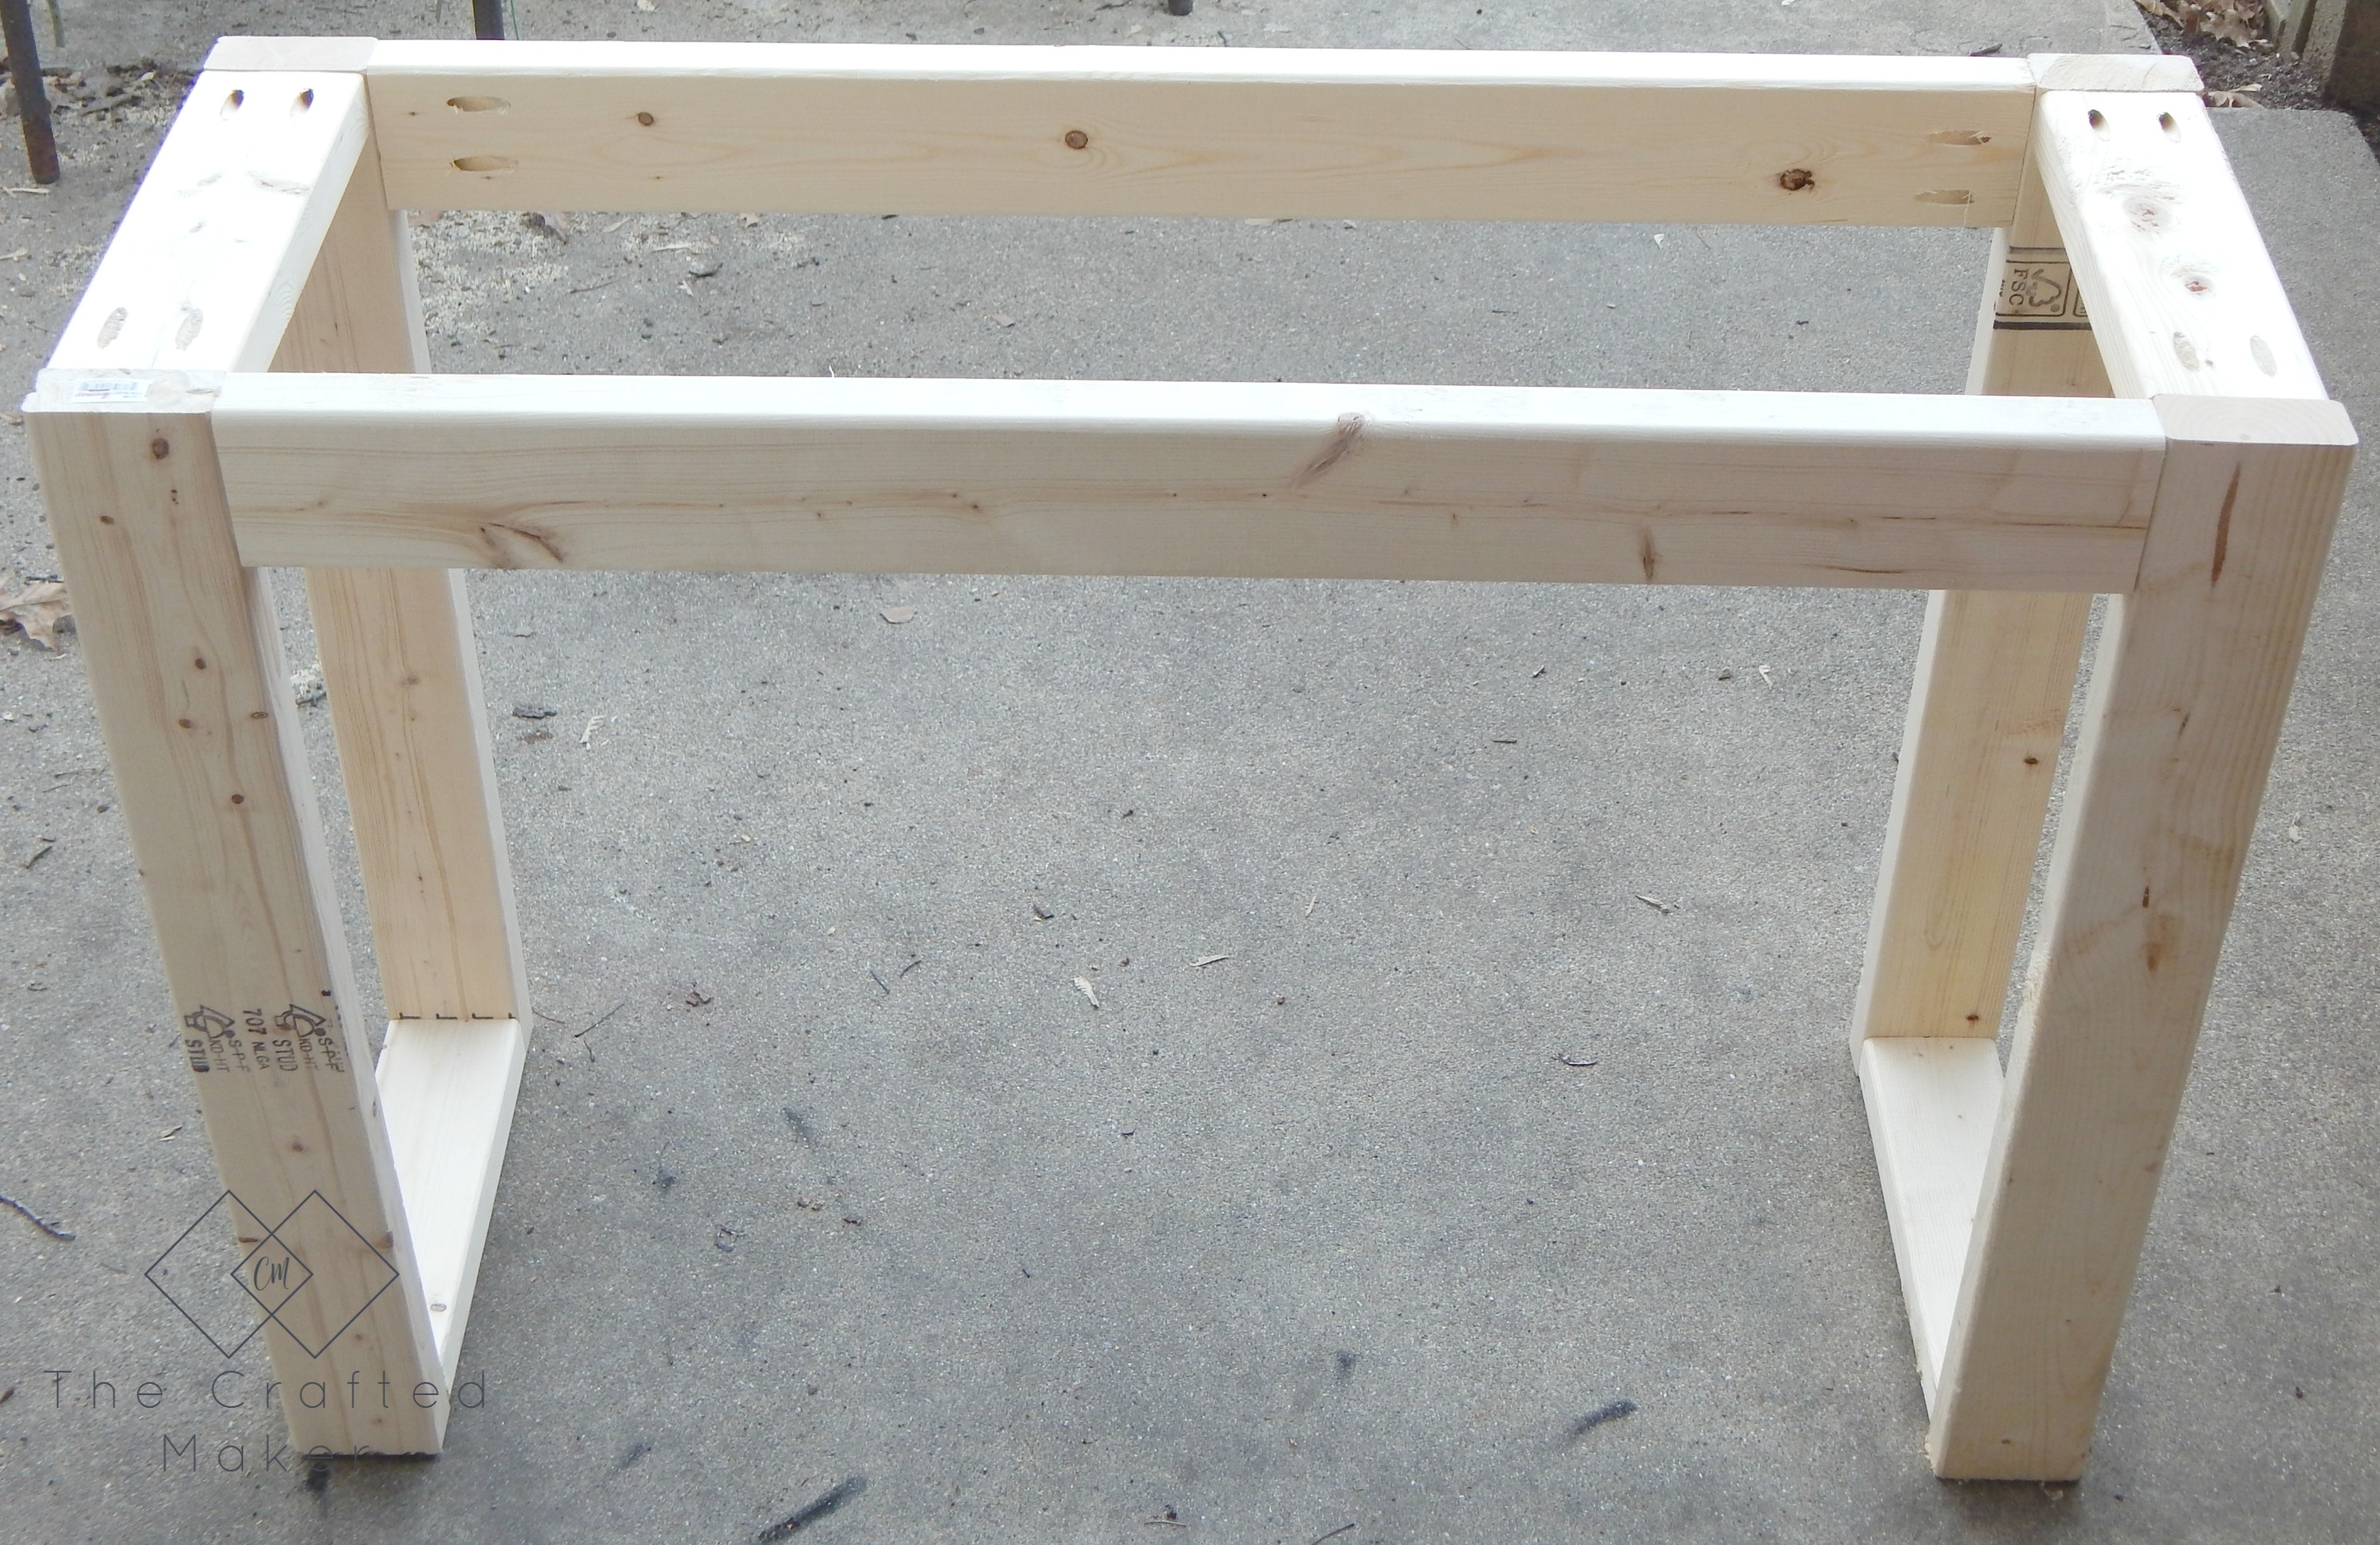
Now on to the assembly. First, attach the 11.5″ boards inside of the 29″ boards to form the table legs like this:

Come check out how to build this $25 console table with very little supplies needed. Free PDF plans included along with a step by step build with pictures.
Repeat for the other leg until both are fully assembled.

Come check out how to build this $25 console table with very little supplies needed. Free PDF plans included along with a step by step build with pictures.

Now, attach the middle support boards to the top on both the front and back of the desk.

Come check out how to build this $25 console table with very little supplies needed. Free PDF plans included along with a step by step build with pictures.

Here is what the table will look like at this point in the build:

Come check out how to build this $25 console table with very little supplies needed. Free PDF plans included along with a step by step build with pictures.


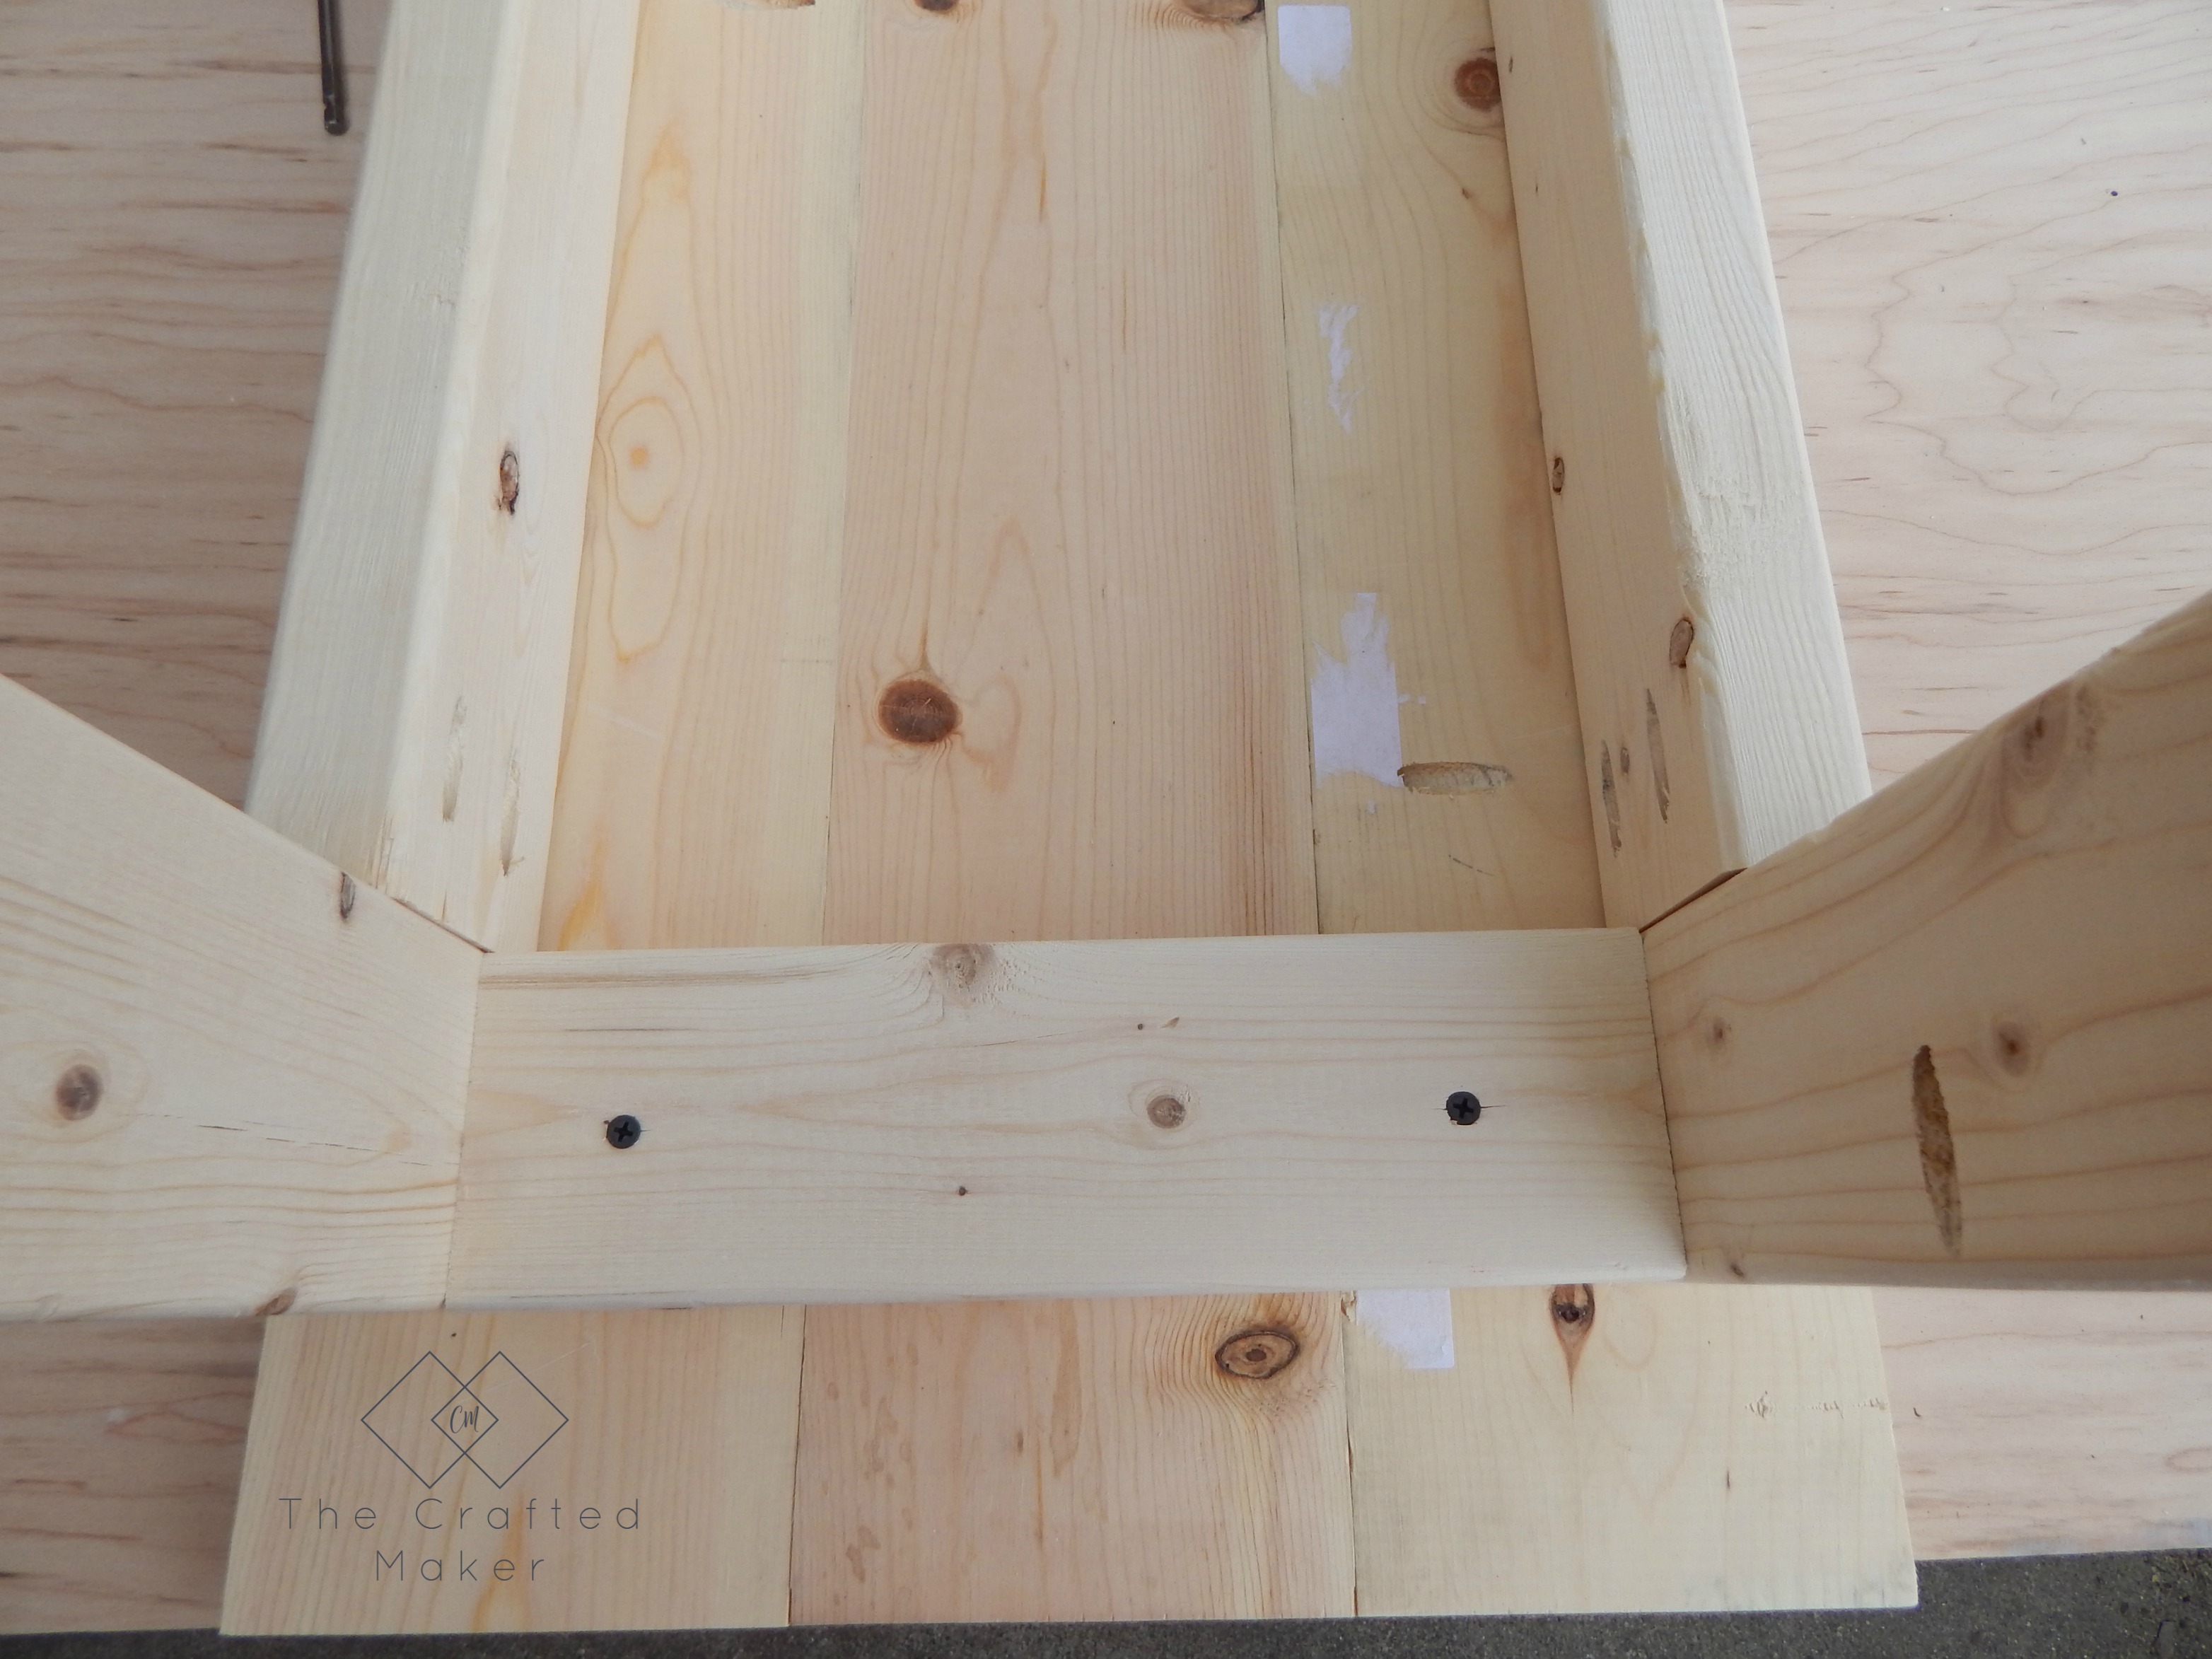
Now on to the tabletop. Attach your 1×6 boards together with pocket hole screws to make the top.

Come check out how to build this $25 console table with very little supplies needed. Free PDF plans included along with a step by step build with pictures.

Now attach the top to the base of the table.

Come check out how to build this $25 console table with very little supplies needed. Free PDF plans included along with a step by step build with pictures.

Come check out how to build this $25 console table with very little supplies needed. Free PDF plans included along with a step by step build with pictures.

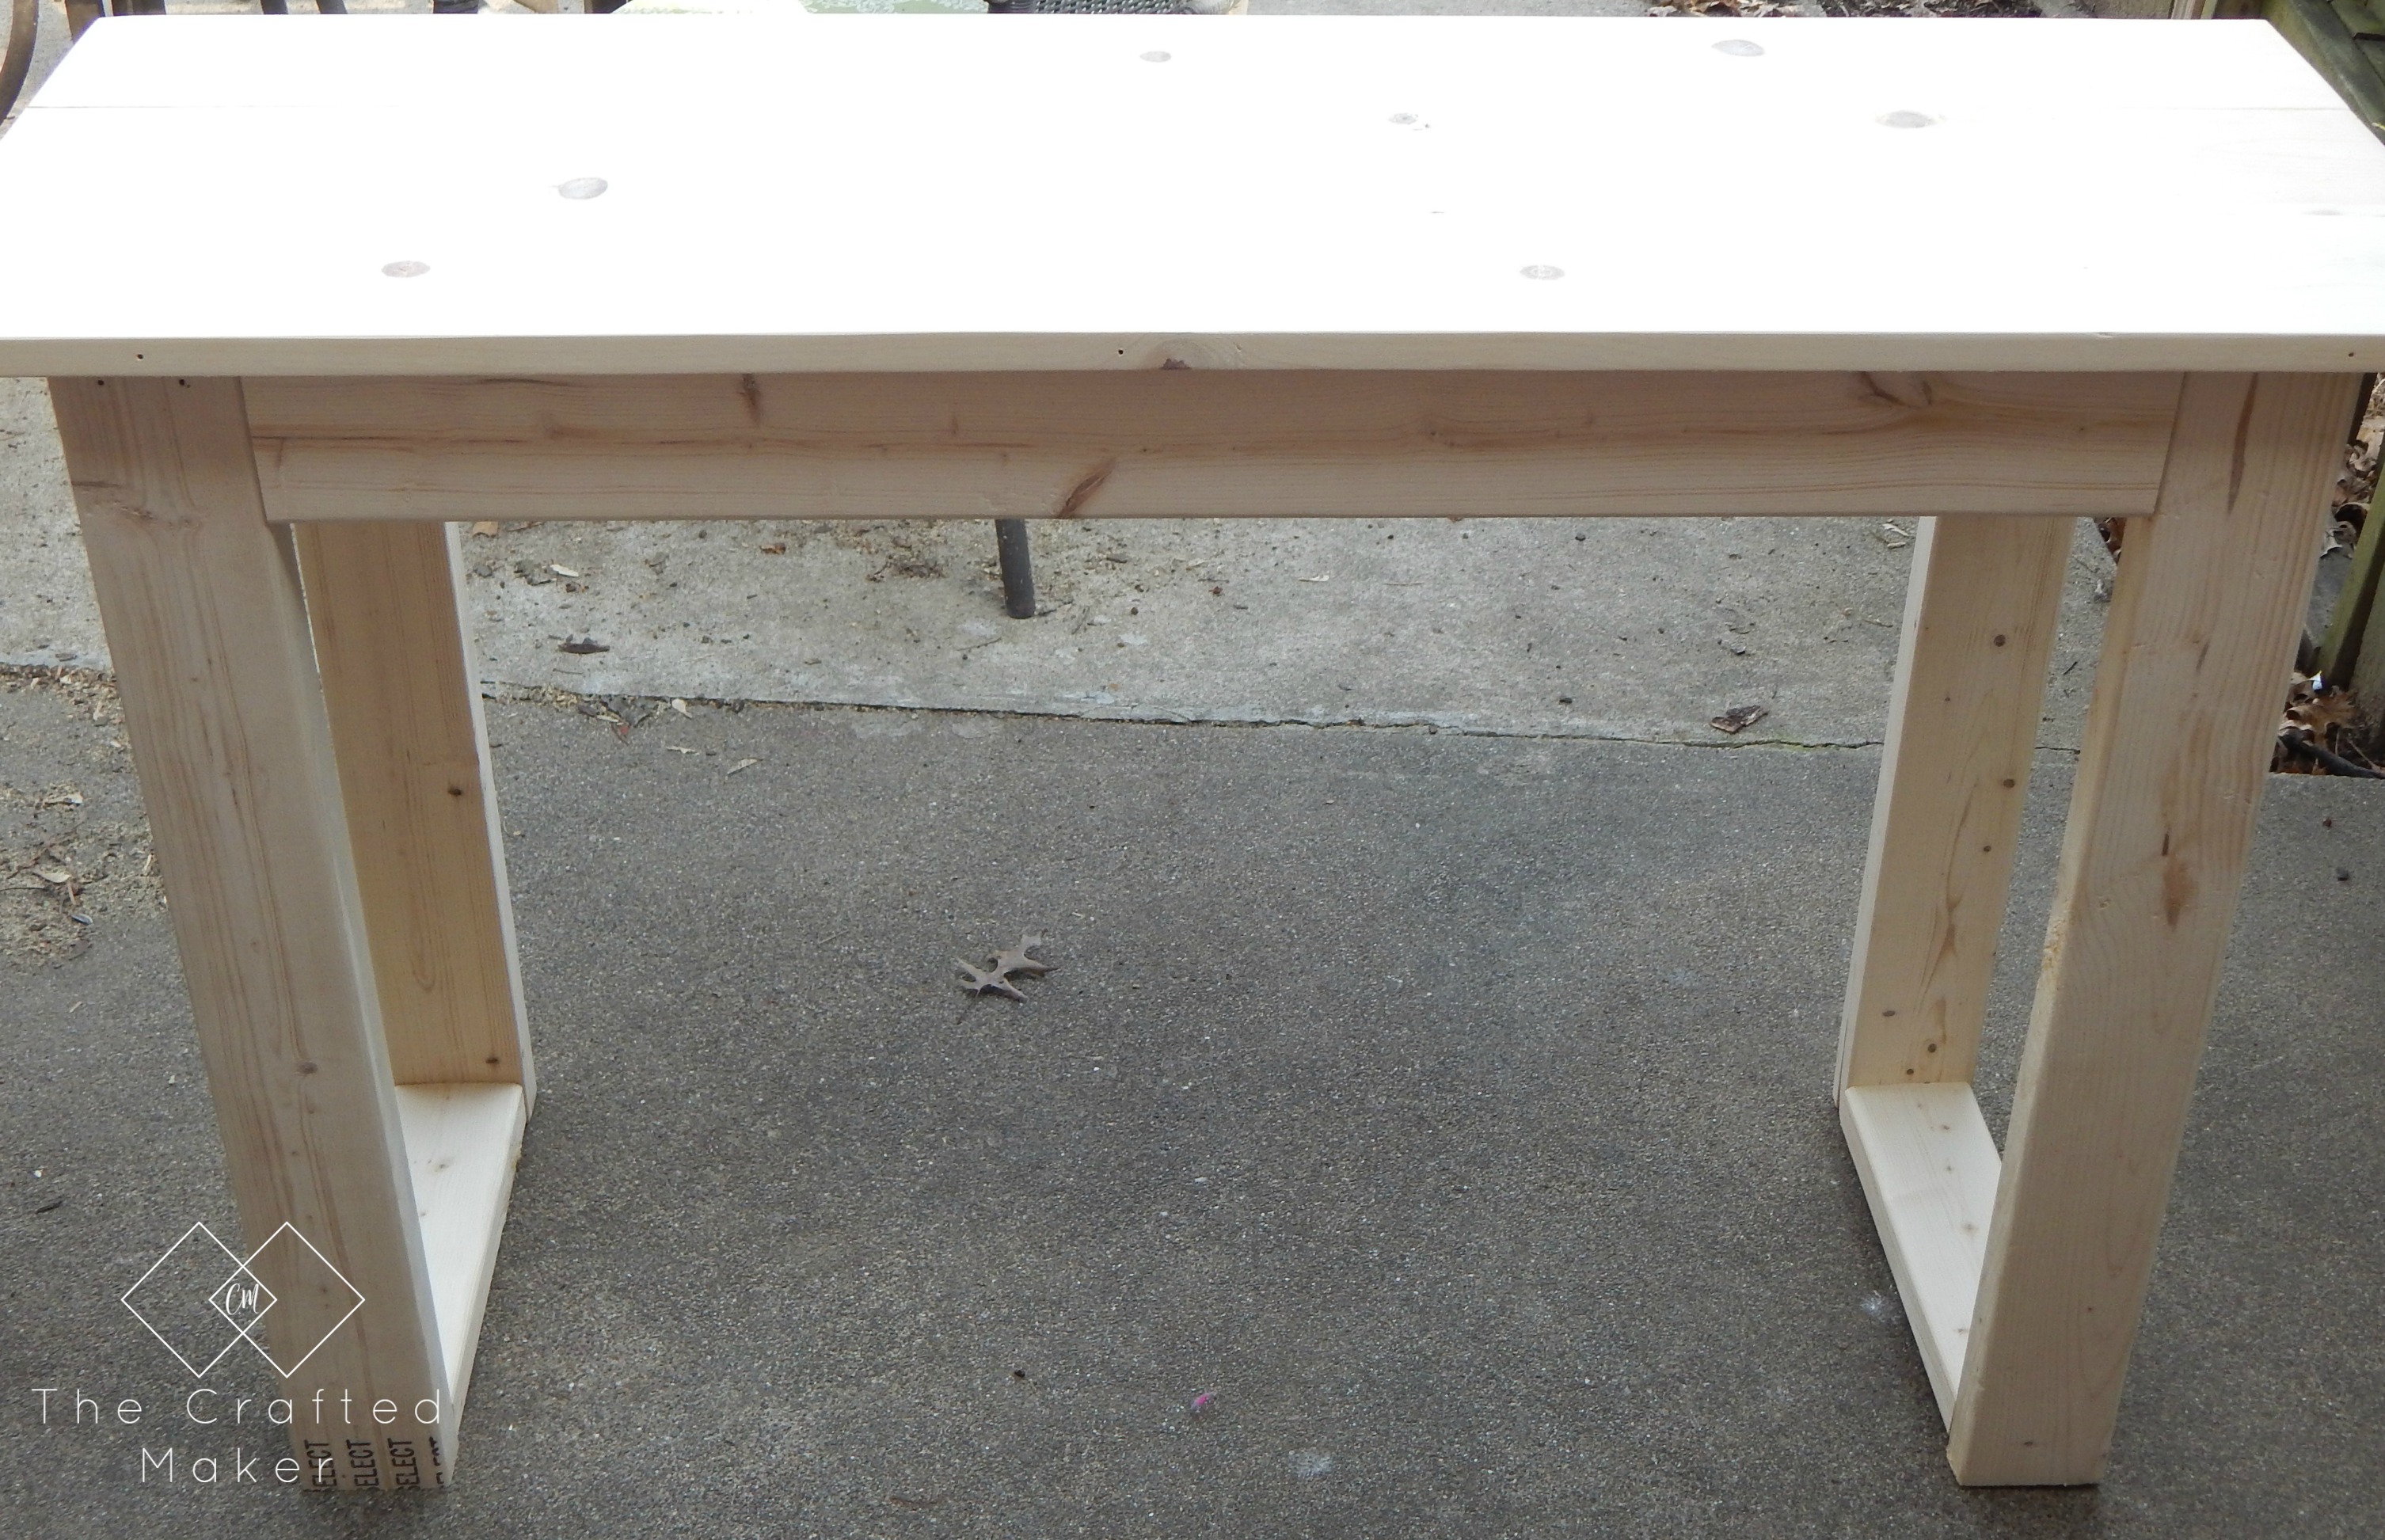
Almost done! Now time to finish. Sand table completely to remove all of the rough parts of the wood and any markings by the manufacturer. I chose to stain my table, but you could just as easily decide to paint your table. Once the stain was dry, I covered the table with a coat of polyurethane and let dry.

Here are some pics of the finished table.

Come check out how to build this $25 console table with very little supplies needed. Free PDF plans included along with a step by step build with pictures.


Come check out how to build this $25 console table with very little supplies needed. Free PDF plans included along with a step by step build with pictures.
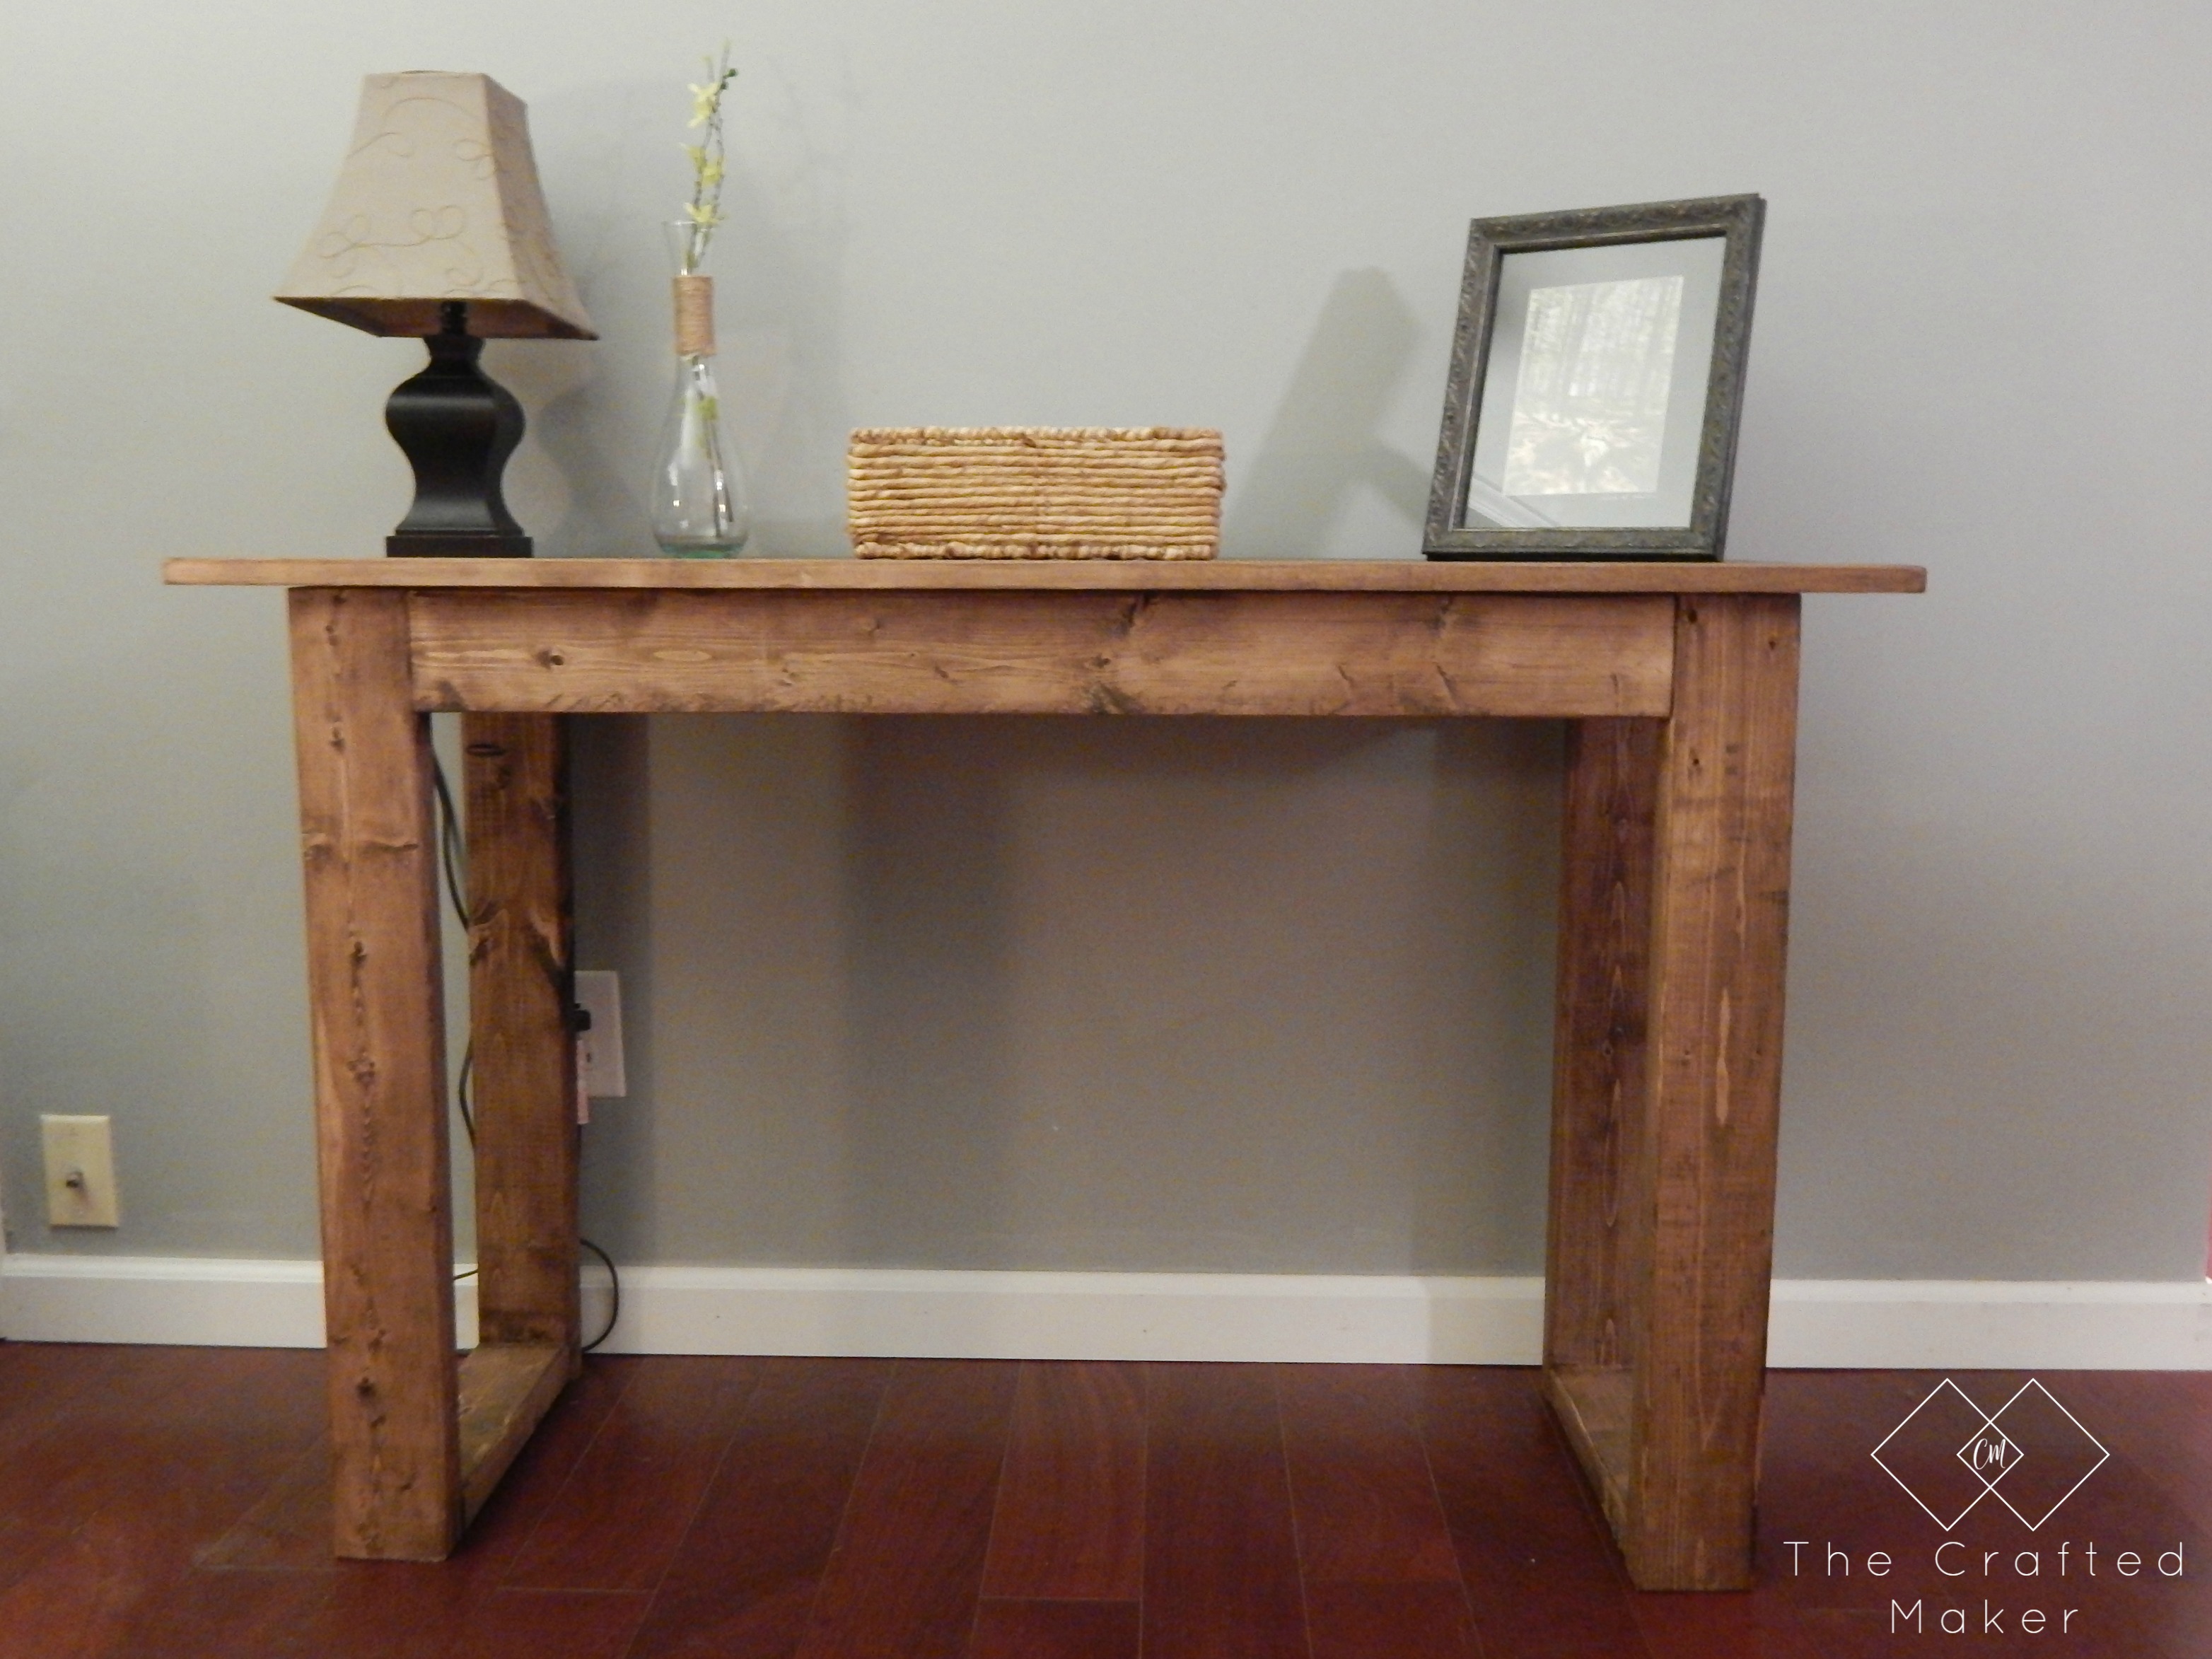
I still can’t believe this table only cost $25 in lumber, it just blows my mind. I hope you enjoyed following along with me on this build and now it’s your turn to try it! Thanks for spending some time with me. Be sure to find me on Instagram and Pinterest to see whats been going on and for more fun projects. Until next time…


Pinning is always appreciated!!

Come check out how to build this $25 console table with very little supplies needed. Free PDF plans included along with a step by step build with pictures.


Posted In: BUILD, FREE PLANS!, FURNITURE, HOME DECOR · Tagged: diy, table, woodworking

You’ll Also Love

Scrap wood is something most of us have more than enough of. Why not make this wooden Lazy Susan and put that scrap wood to good use!Wooden Lazy Susan from Scrap Wood
If you have ever wanted to make your own DIY wooden doormat, this is for you. With just a few boards, give your front porch a makeover.DIY WORKSHOP – WOODEN DOOR MAT
DIY WORKSHOP VIRTUAL PARTY

Comments

  1. Yanette says

    April 30, 2016 at 12:29 pm

    How many screws and what sizes did you use?

    • sawdusttosequins says

      August 15, 2016 at 3:47 pm

      Hi Yanette! I used 28 2.5″ pocket hole screws to build the table and the top and 4 2″ wood screws to attach the table top.

  2. Kelly says

    July 26, 2016 at 1:09 pm

    Hello! This is amazing! I am hoping to make a narrow table like this for my bar stools in my breakfast nook! Would you mind telling me the dimensions of this table? Thank you!

    • sawdusttosequins says

      August 15, 2016 at 3:31 pm

      Sure Kelly! This table is 4 ft. wide, 16.5″ deep, and 30″ tall. I hope this helps. Have fun building your table and thank you for the kind words!

  3. GRACE GATES says

    August 7, 2016 at 6:58 am

    Great table. I followed your directions and made one for my stairs landing. I accidentally purchased all 2×6’s, so mine is a bit chunkier, but I love it! Thanks for providing great plans directions!! If I knew how to attach a photo, I’d post one 🙂

    • sawdusttosequins says

      August 15, 2016 at 3:19 pm

      That’s awesome Grace! I’m glad you liked the plans. I bet your table looks amazing!

  4. Jesse says

    December 11, 2016 at 10:58 am

    Could I build this without drilling the pocket holes?

    • sawdusttosequins says

      December 16, 2016 at 8:00 pm

      Absolutely! Screws would work just fine. For a more finished look, just use wood filler to fill in the screw holes and finish with your favorite paint or stain.

Next Post >

DIY Wood Bookends

Hi, I’m Crissie!

Hello and welcome! I’m Crissie, the girl behind The Crafted Maker. This is my journey of DIY living where new skills are being learned, developed, and crafted one project at a time.


Follow Along!

  • Facebook
  • Instagram
  • Pinterest
  • Twitter

SEARCH THE BLOG

Join TCM Tribe!

If you want to keep in touch with us, this is the best way to do it! Just sign up below and receive all our posts in your inbox!


Free Project Planner!

  • About
  • Contact
  • Disclosure
  • Privacy Policy


Trending Now

  • 25 Dollar Console Table - The Crafted Maker $25 Console Table with Free Plans!
  • This Scrappy Saturday project is sliding bookends for open shelving. These sliding bookends are a great addition to any room with open shelving. This is a fun and quick project to complete! Sliding Bookends for Open Shelving
  • FIVE DOLLAR WINDOW BOX
  • Give the exterior of your home an upgrade with these simple DIY shutters. They take very little time to make and will add curb appeal to your home. SIMPLE DIY SHUTTERS

Copyright © 2023 The Crafted Maker · Theme by 17th Avenue