Hey all! To keep up with my latest projects, come follow along with me on Instagram and Pinterest.
I couldn’t think of a better way to welcome the fall season than to make a new wreath! I love this season and all of the wonderful earth tone colors it brings to nature. This DIY fall wreath is a super simple project that you can complete in about an hour with only a few supplies. Here is how I made mine.
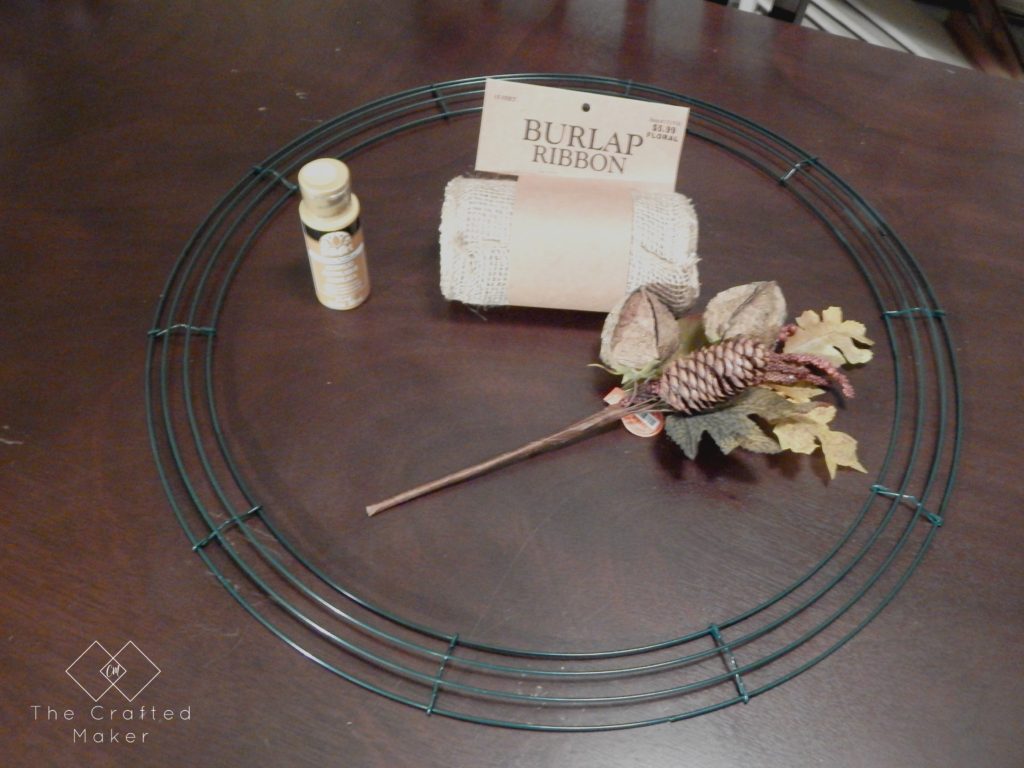
I started out with a trip to Hobby Lobby for supplies. I picked up a wreath ring, some burlap, and fall colored flowers. I had planned on using the paint on a central focal point, but I decided against it in the end.
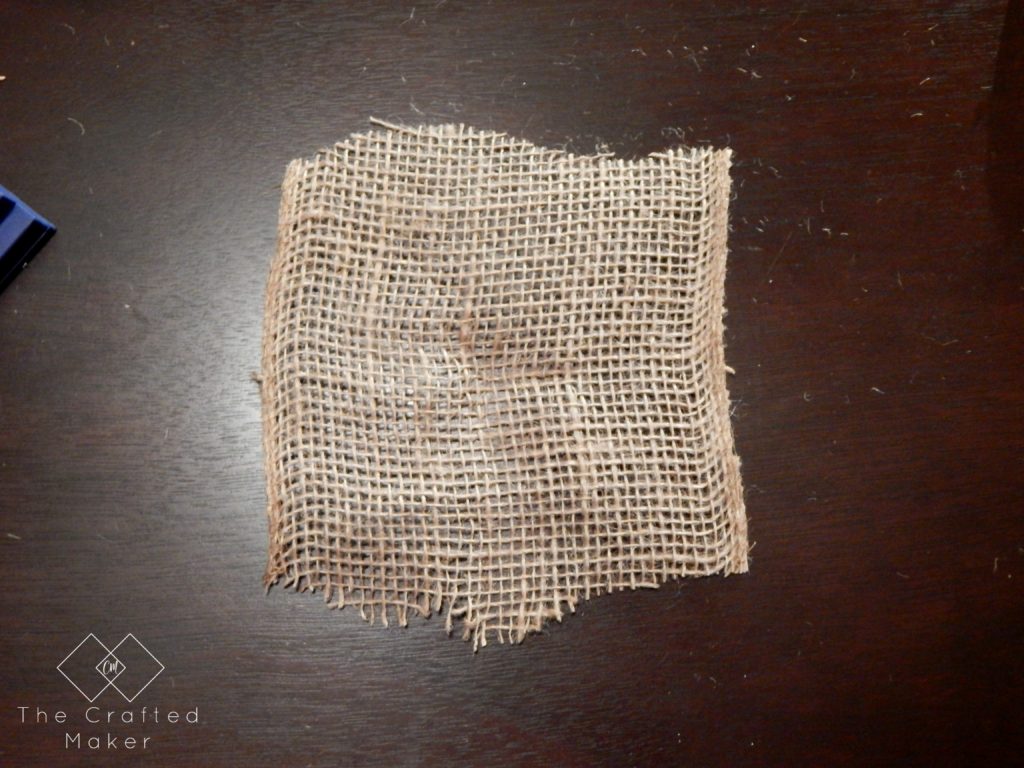
I cut up the roll of burlap ribbon into square sized pieces. They don’t have to be perfectly square.
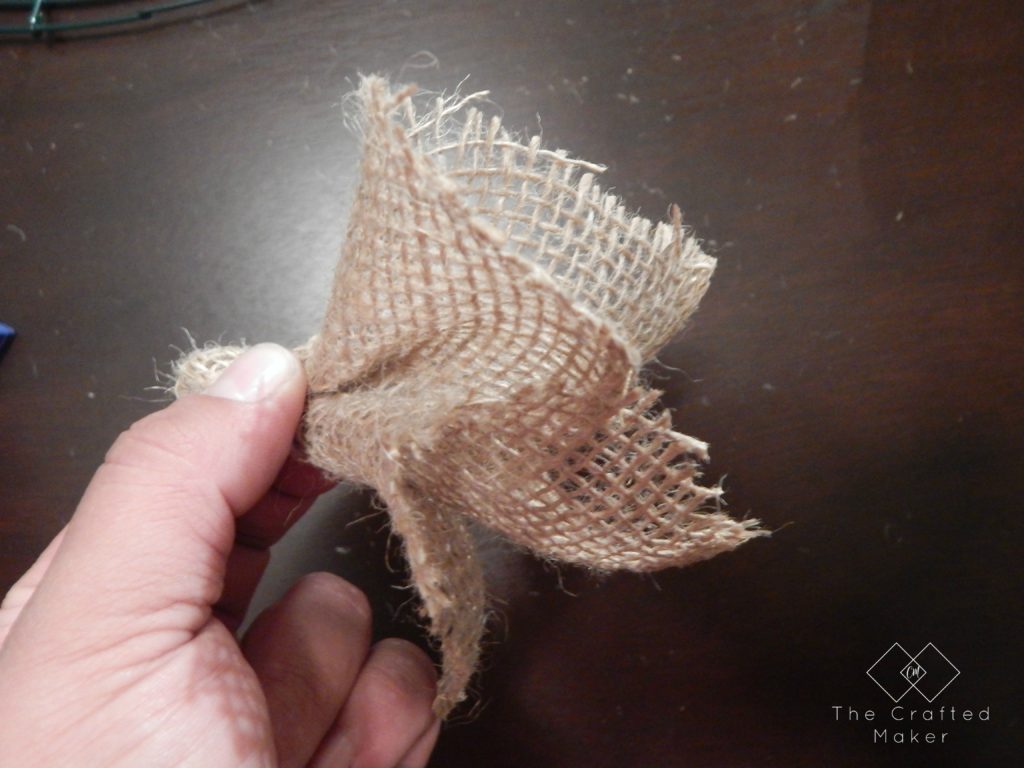
Then, I started to make the body of the wreath. I placed a finger in the middle of the squares and pushed down until I had a bunched up piece of the ribbon.
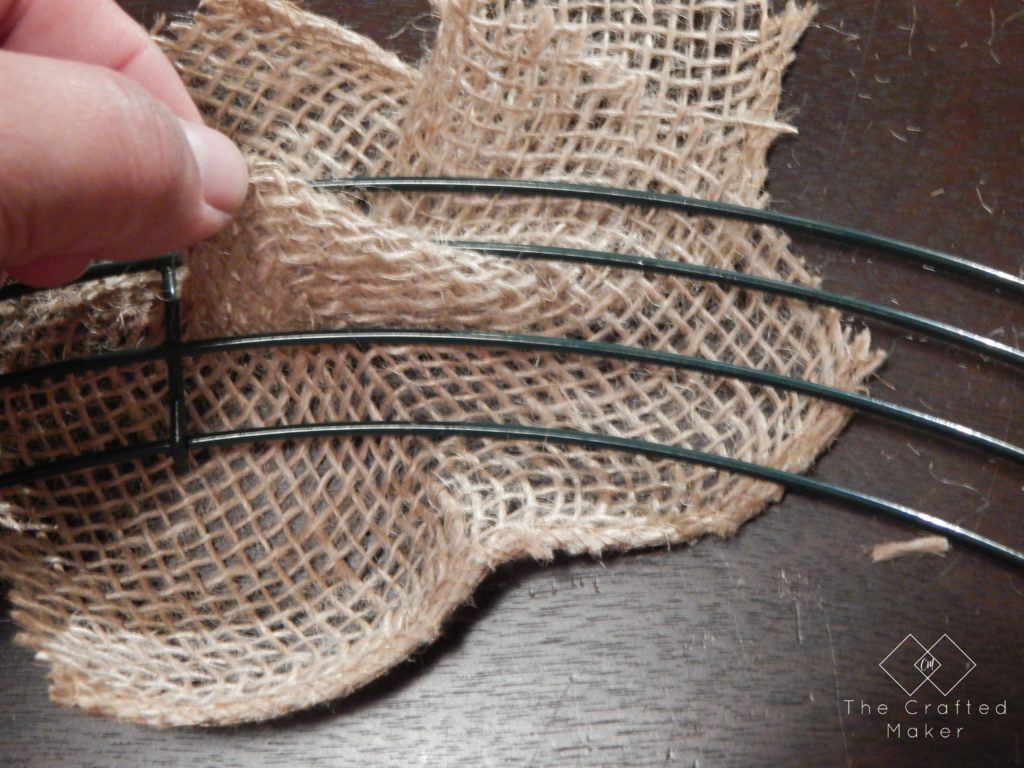
Holding onto the base of the burlap, I pushed the bunched up part through the middle hole in the wreath ring.
Once the burlap was through the metal, I placed a dab of hot glue and wrapped it around the metal to hold in place.
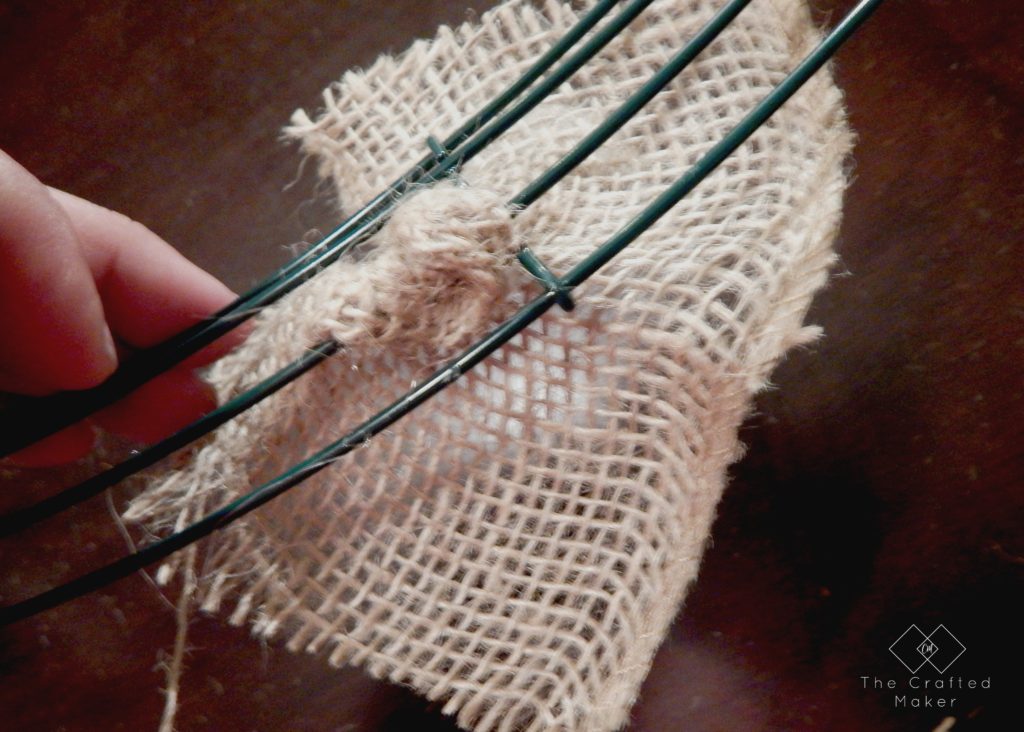
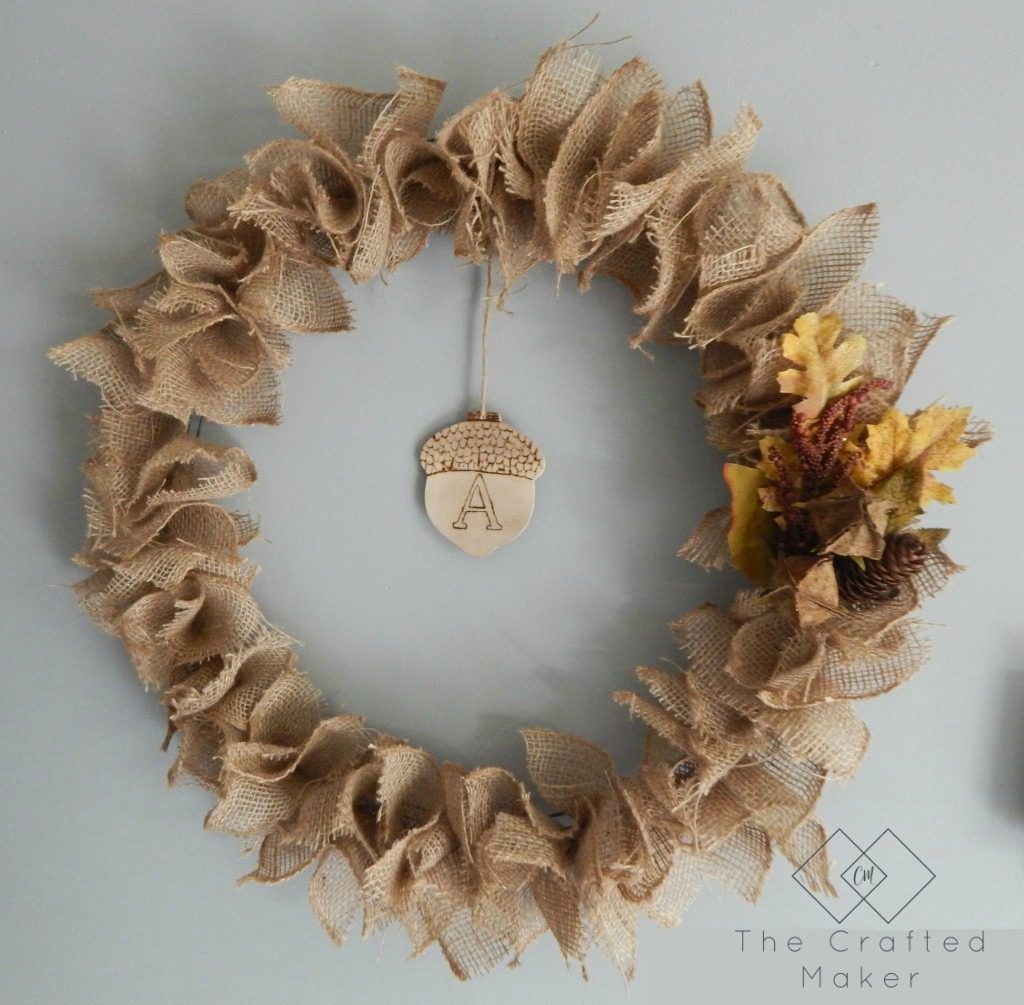
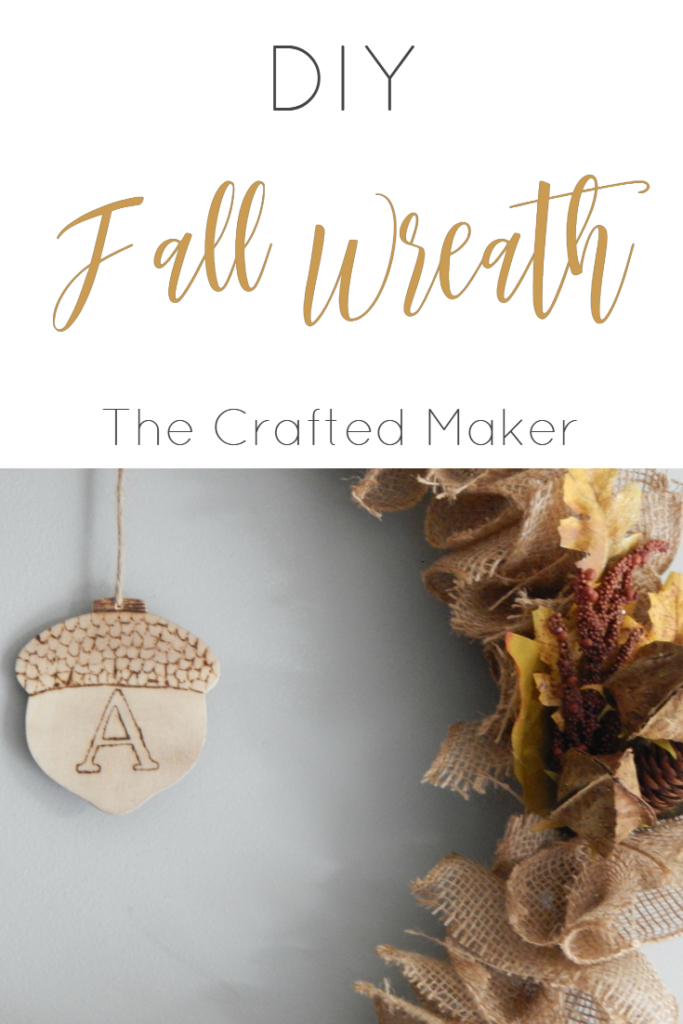
I repeated this step until I had made it all the way around the wreath ring and no metal was visible. I added the fall flowers to the side of the wreath for some color. The wreath was beautiful at this point, but I wanted to add a little personal touch.
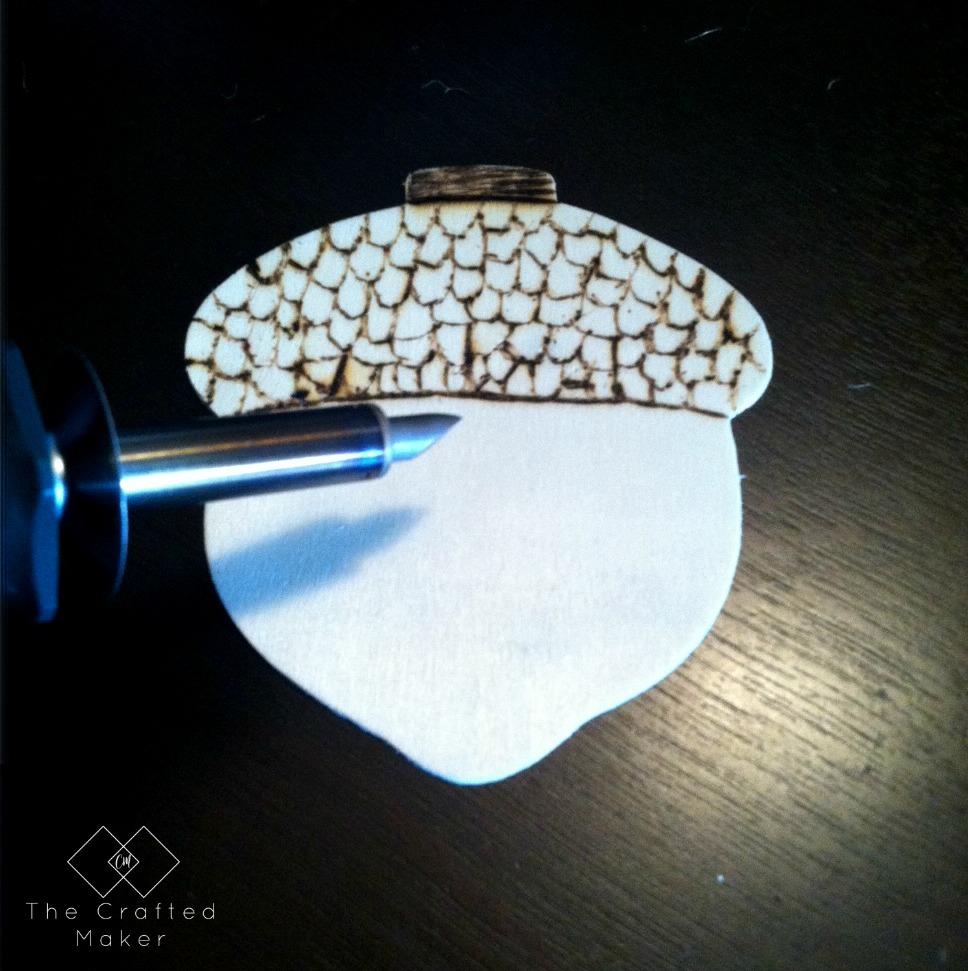
I found a bag of fall wood cut outs at Hobby Lobby for a couple of dollars and decided to use the acorn shape. I had recently purchased a wood burning pen, but I hadn’t used it yet. Now I had a reason!!
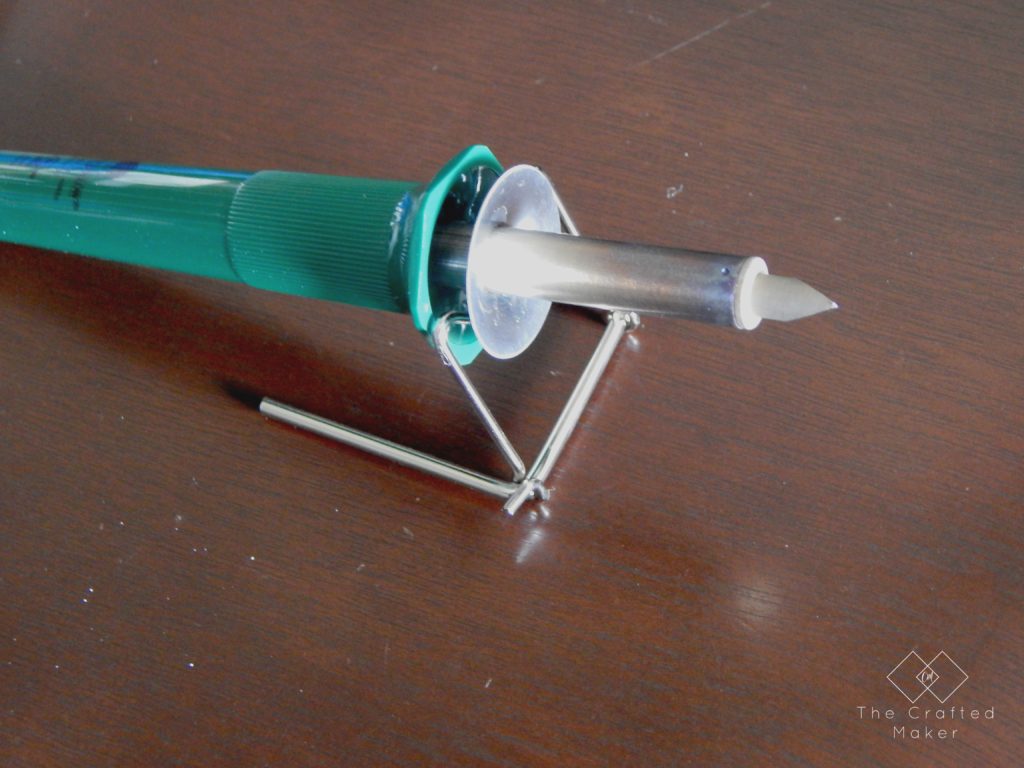
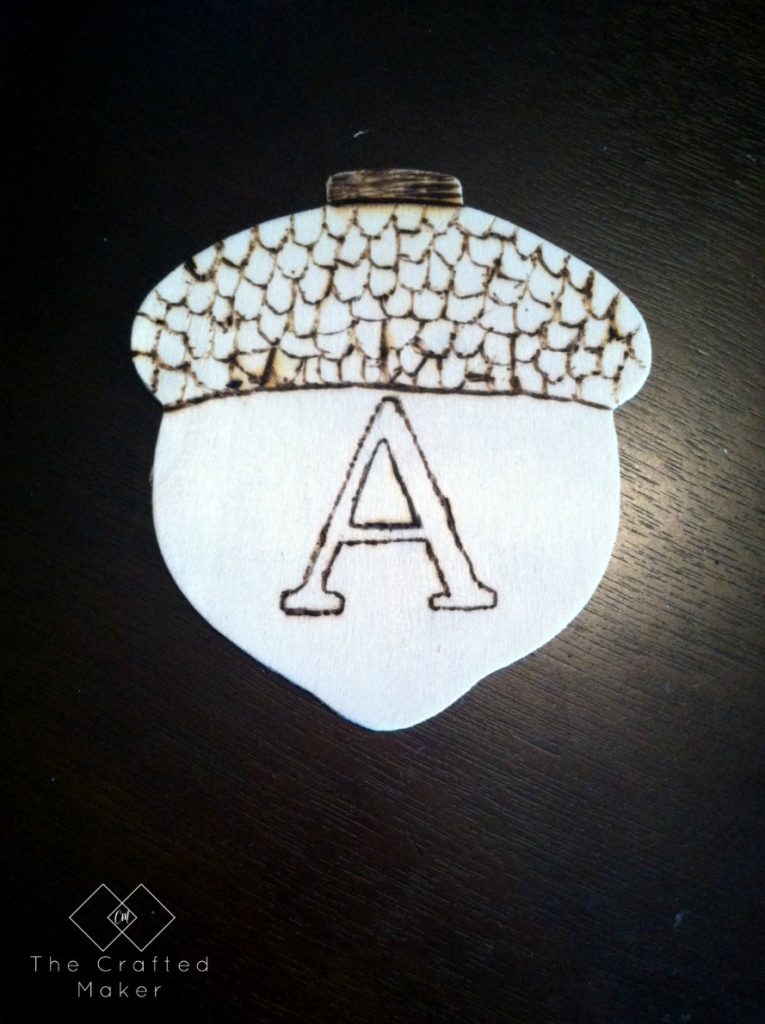
I am by no means a free hand artist, but I decided to give the acorn top a try. It turned out good enough, but I didn’t want to mess up the A, so I placed a stencil on the top of the wood, and traced it with a pencil. This gave me a good guide line for the wood burning pen.
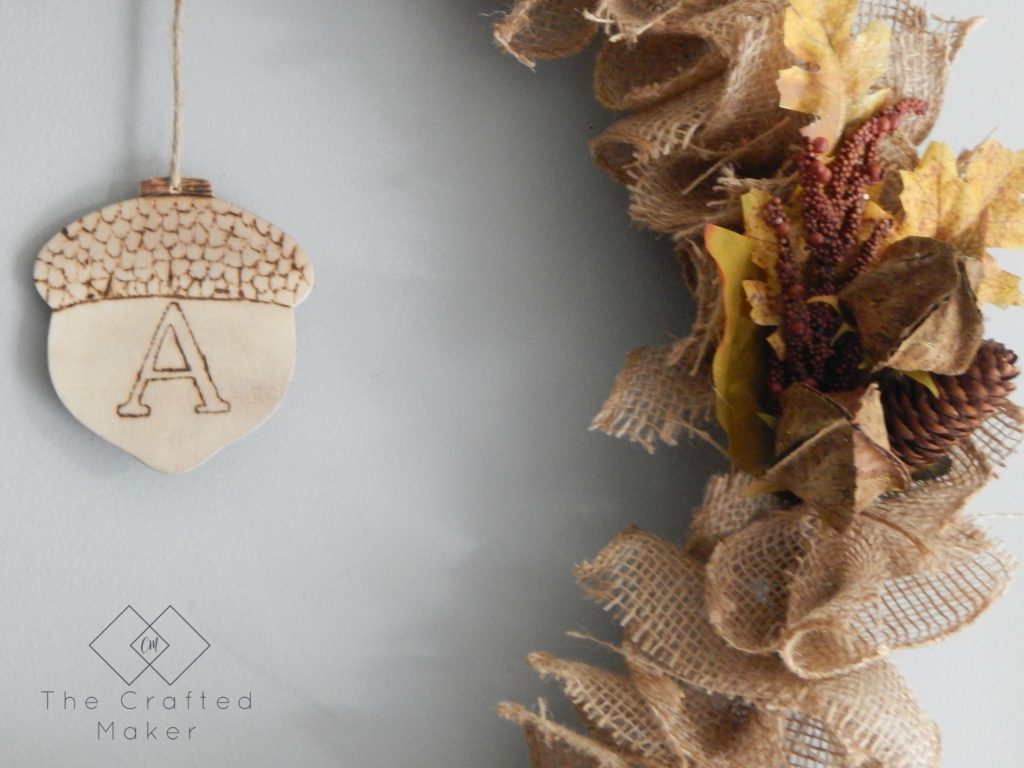
After the wood burning was done, (I’m hooked now!), I drilled a small hole in the top of the acorn and hung it in the center of the wreath with some twine.
This was a really fun and easy project to make. The best part is, you can customize it to fit whatever your style is. Just change the colors of your flowers or add a fun monogram of your own. Have fun with it!! Here are some pics of the finished project:
Well, that’s all I have for you guys today. Thanks for stopping by, until next time…
Pinning is always appreciated!!
