• Home
  • About
  • PROJECTS
    • BUILD
      • FURNITURE
      • SCRAPPY SATURDAY
    • HOW TO
    • ORGANIZATION
    • HOME DECOR
    • TIPS AND TRICKS TUESDAY
    • HOME IMPROVEMENT
      • RENOVATION
    • SEASONAL
  • Resources
    • FAQ
  • Shop
    • Plans
  • Work With Us
  • DIY 101:Make Your House a Home One Project at a Time

The Crafted Maker

Crafting a Maker one project at a time

BUILD, ORGANIZATION, SCRAPPY SATURDAY · October 6, 2018

DIY Desk Organizer

Happy Saturday friends! Do you ever feel like you need more organization on your desk or work area? I sure do, so for today’s Scrappy Saturday post, I’m sharing this easy to build DIY desk organizer.  Here is what you will need to get started making the organizer.

Affiliate links used. See disclosure here.

Supplies

  • Scrap Wood – This project can be whatever size you want it to be. I used 4 – 1 x 6 @ 8″ to make the box. The other parts are measure as you go.
  • Paint or Stain of choice
  • Paint or Stain Applicator
  • Sandpaper
  • Nails for nailer
  • Safety Gear (Eyes, Ears, Mouth)
  • Wood Putty

Tools

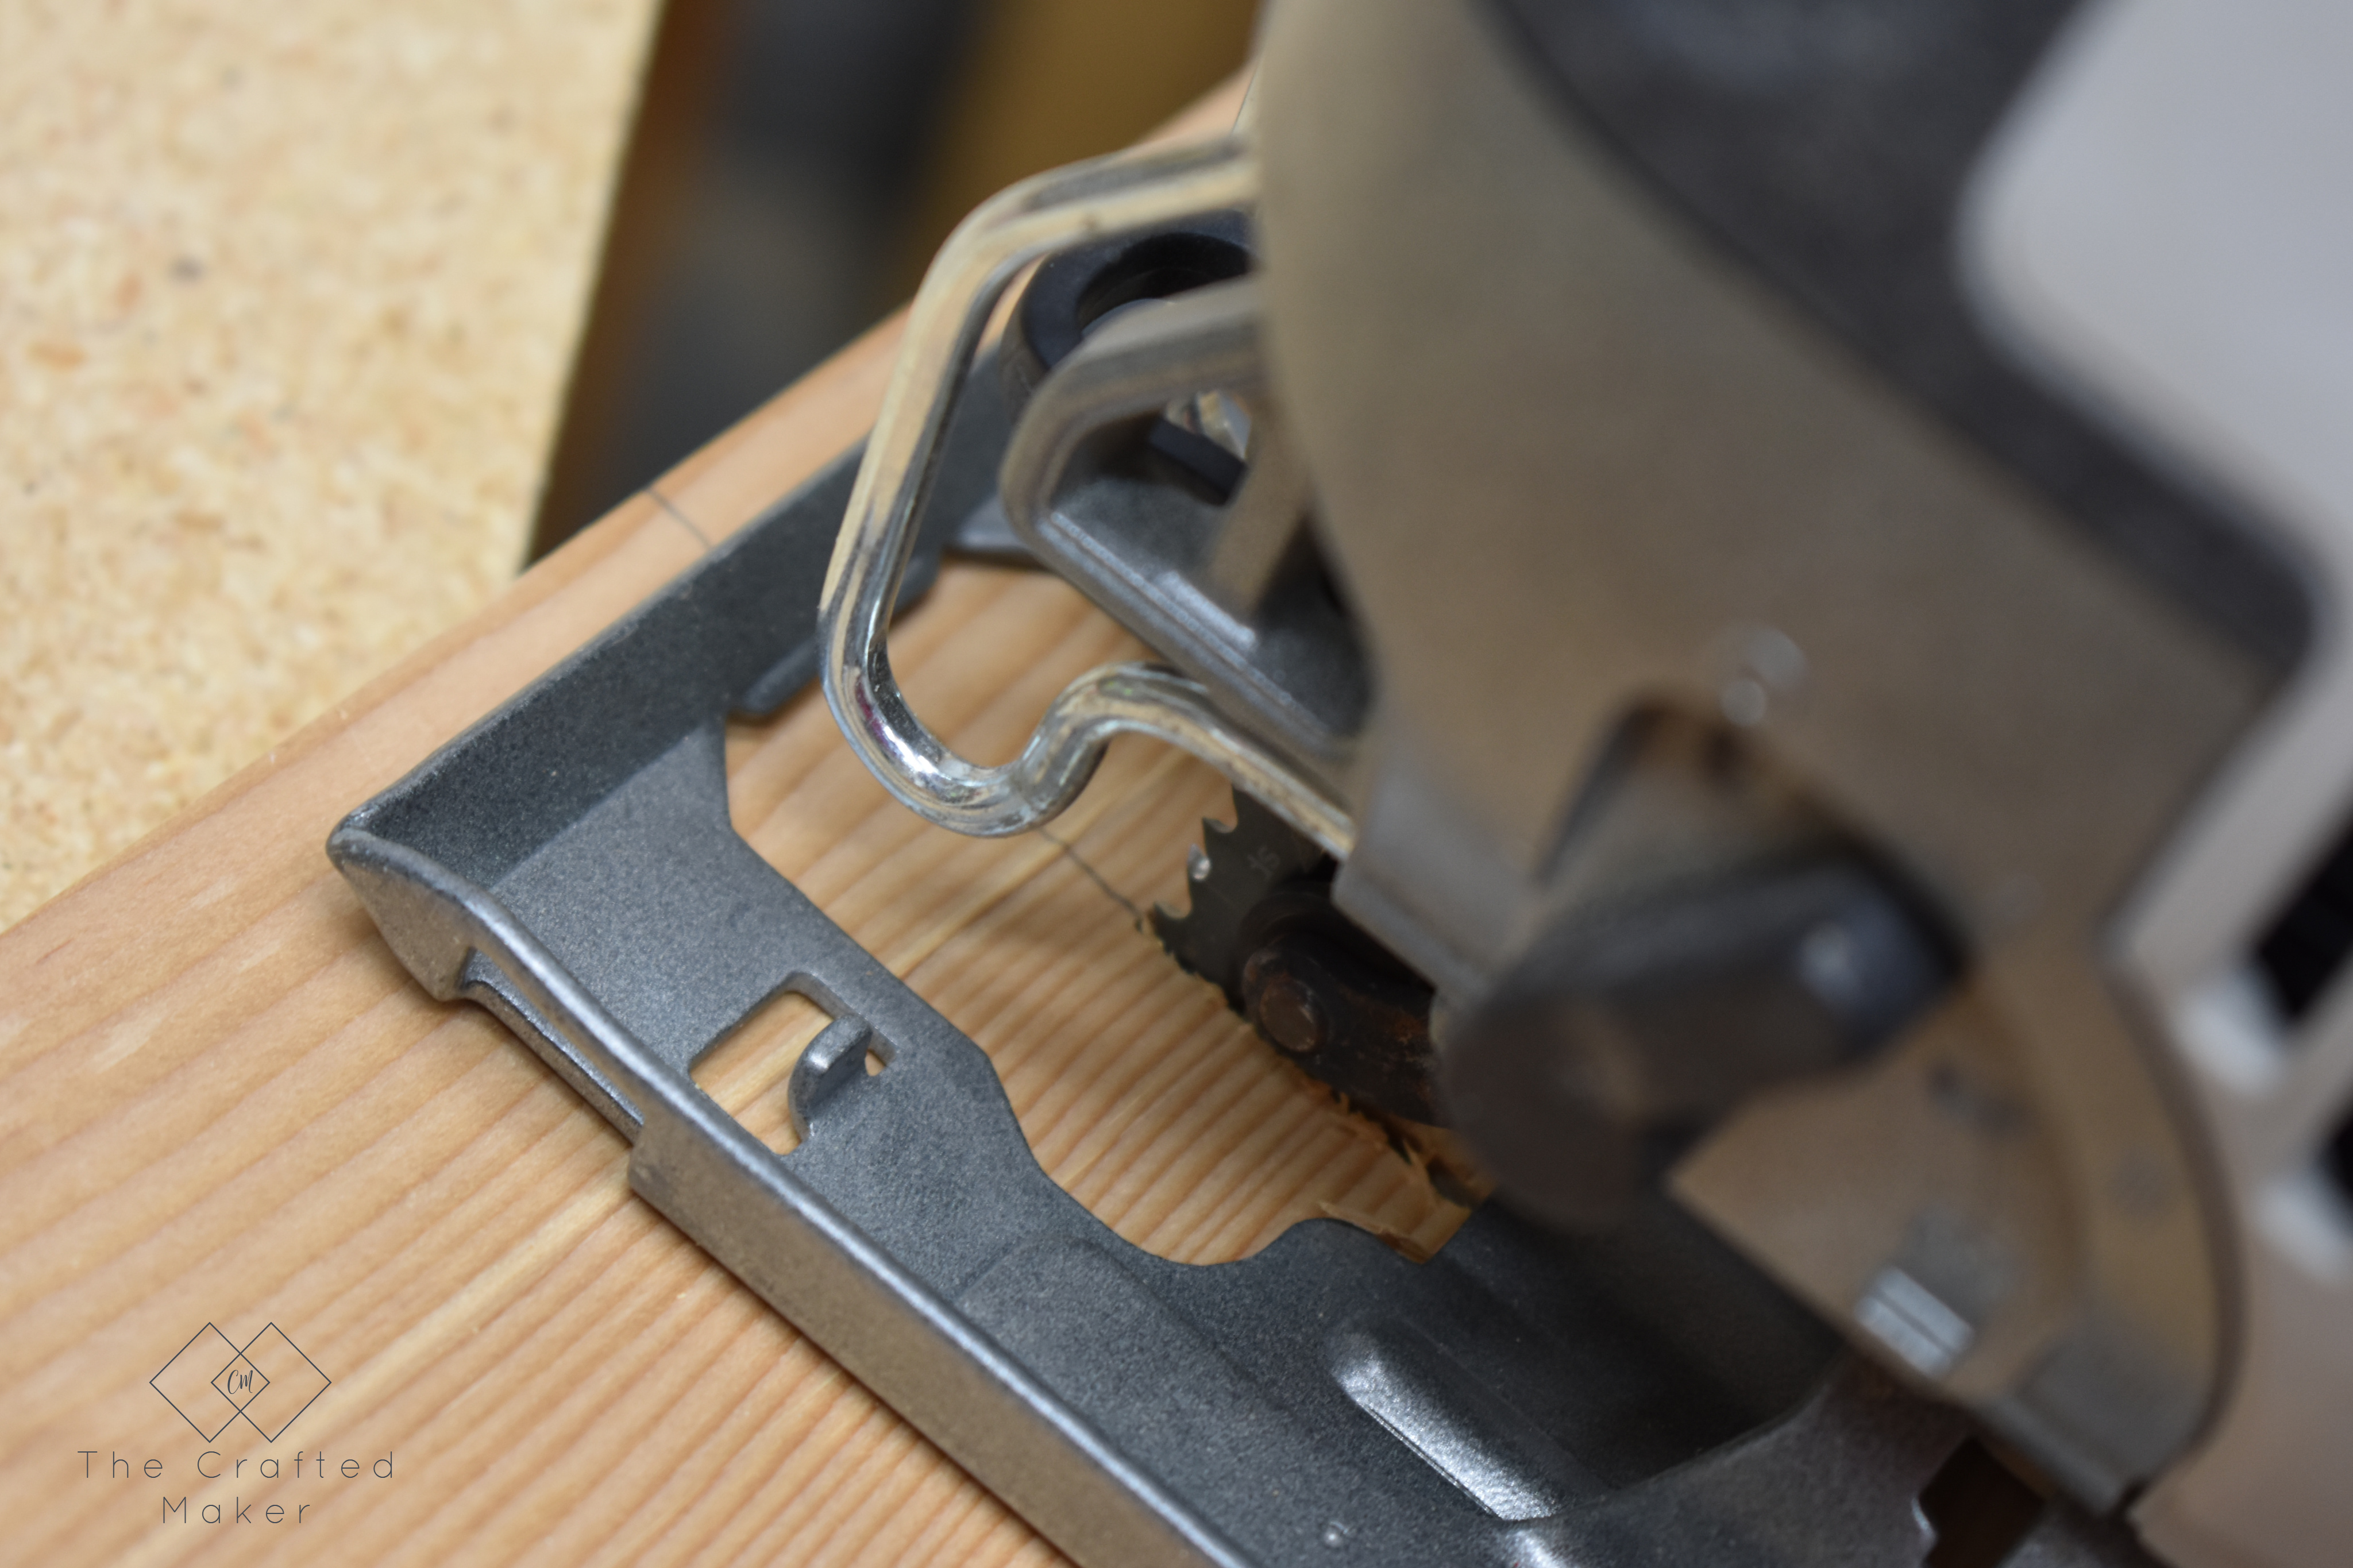
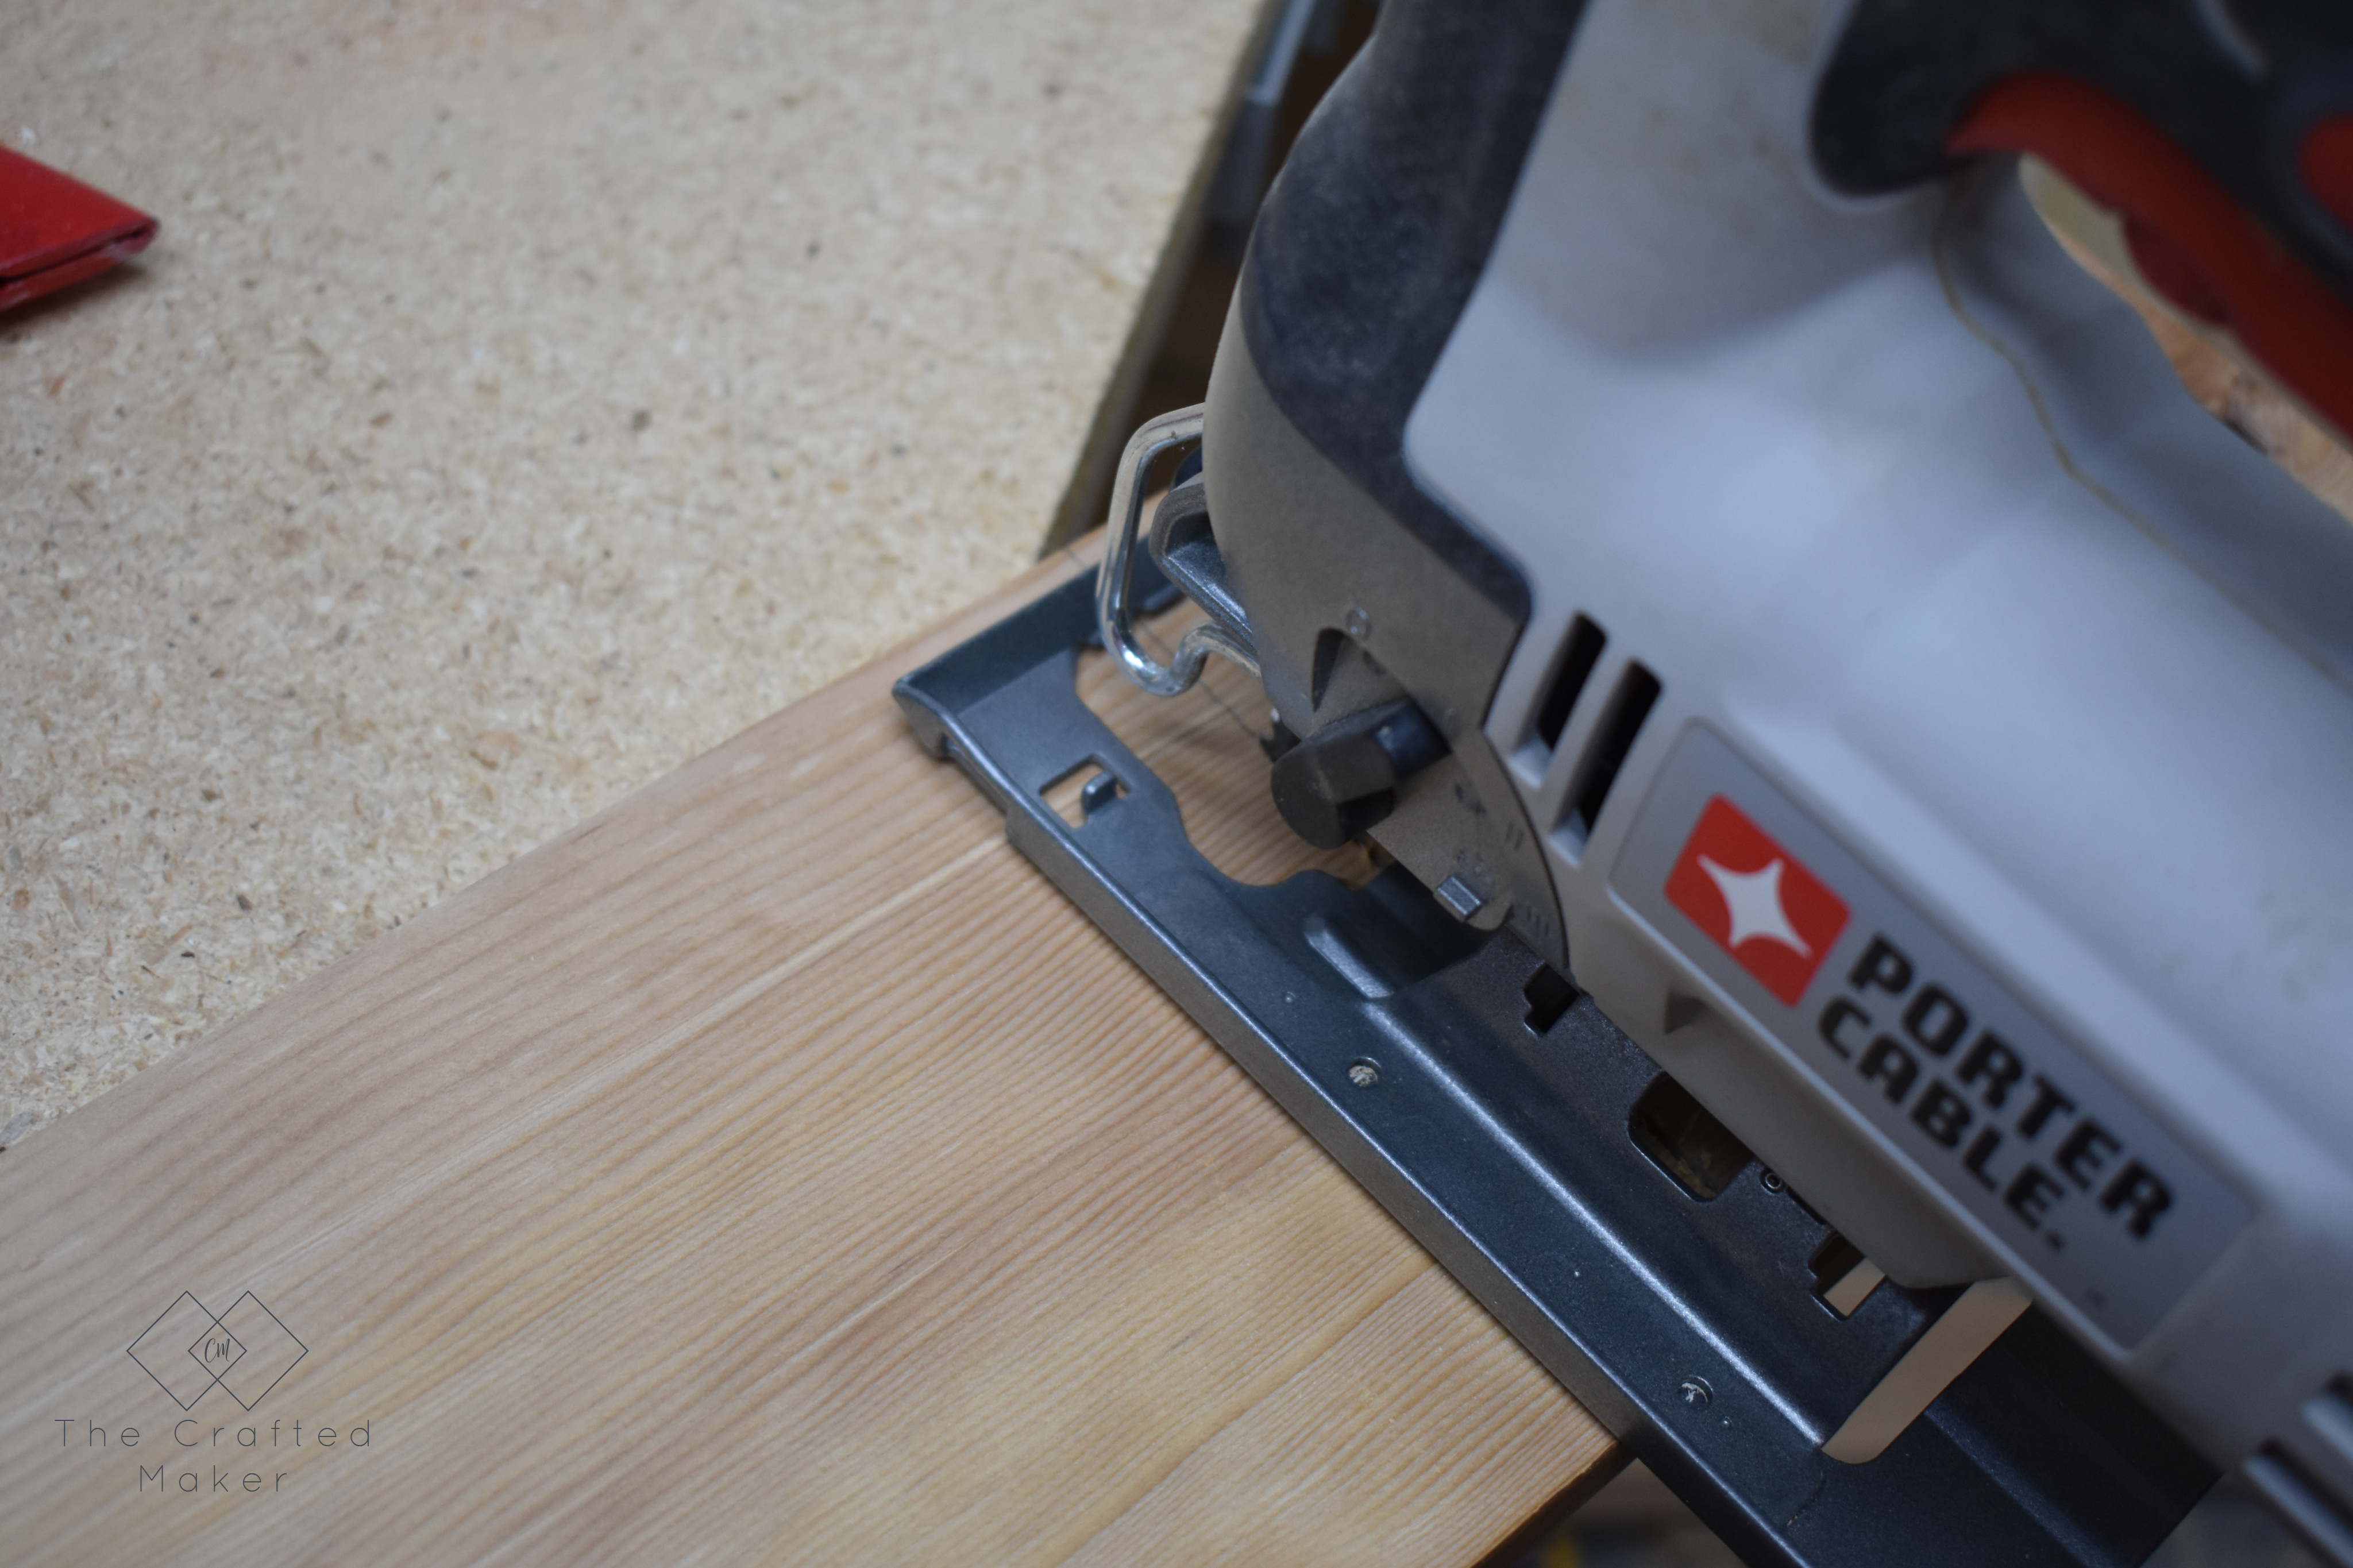
  • Saw to cut boards to length. I used a Jigsaw for this project
  • Nailer (if you don’t have one, a hammer and nails will work as well)
  • Sander

Assembling the DIY Desk Organizer

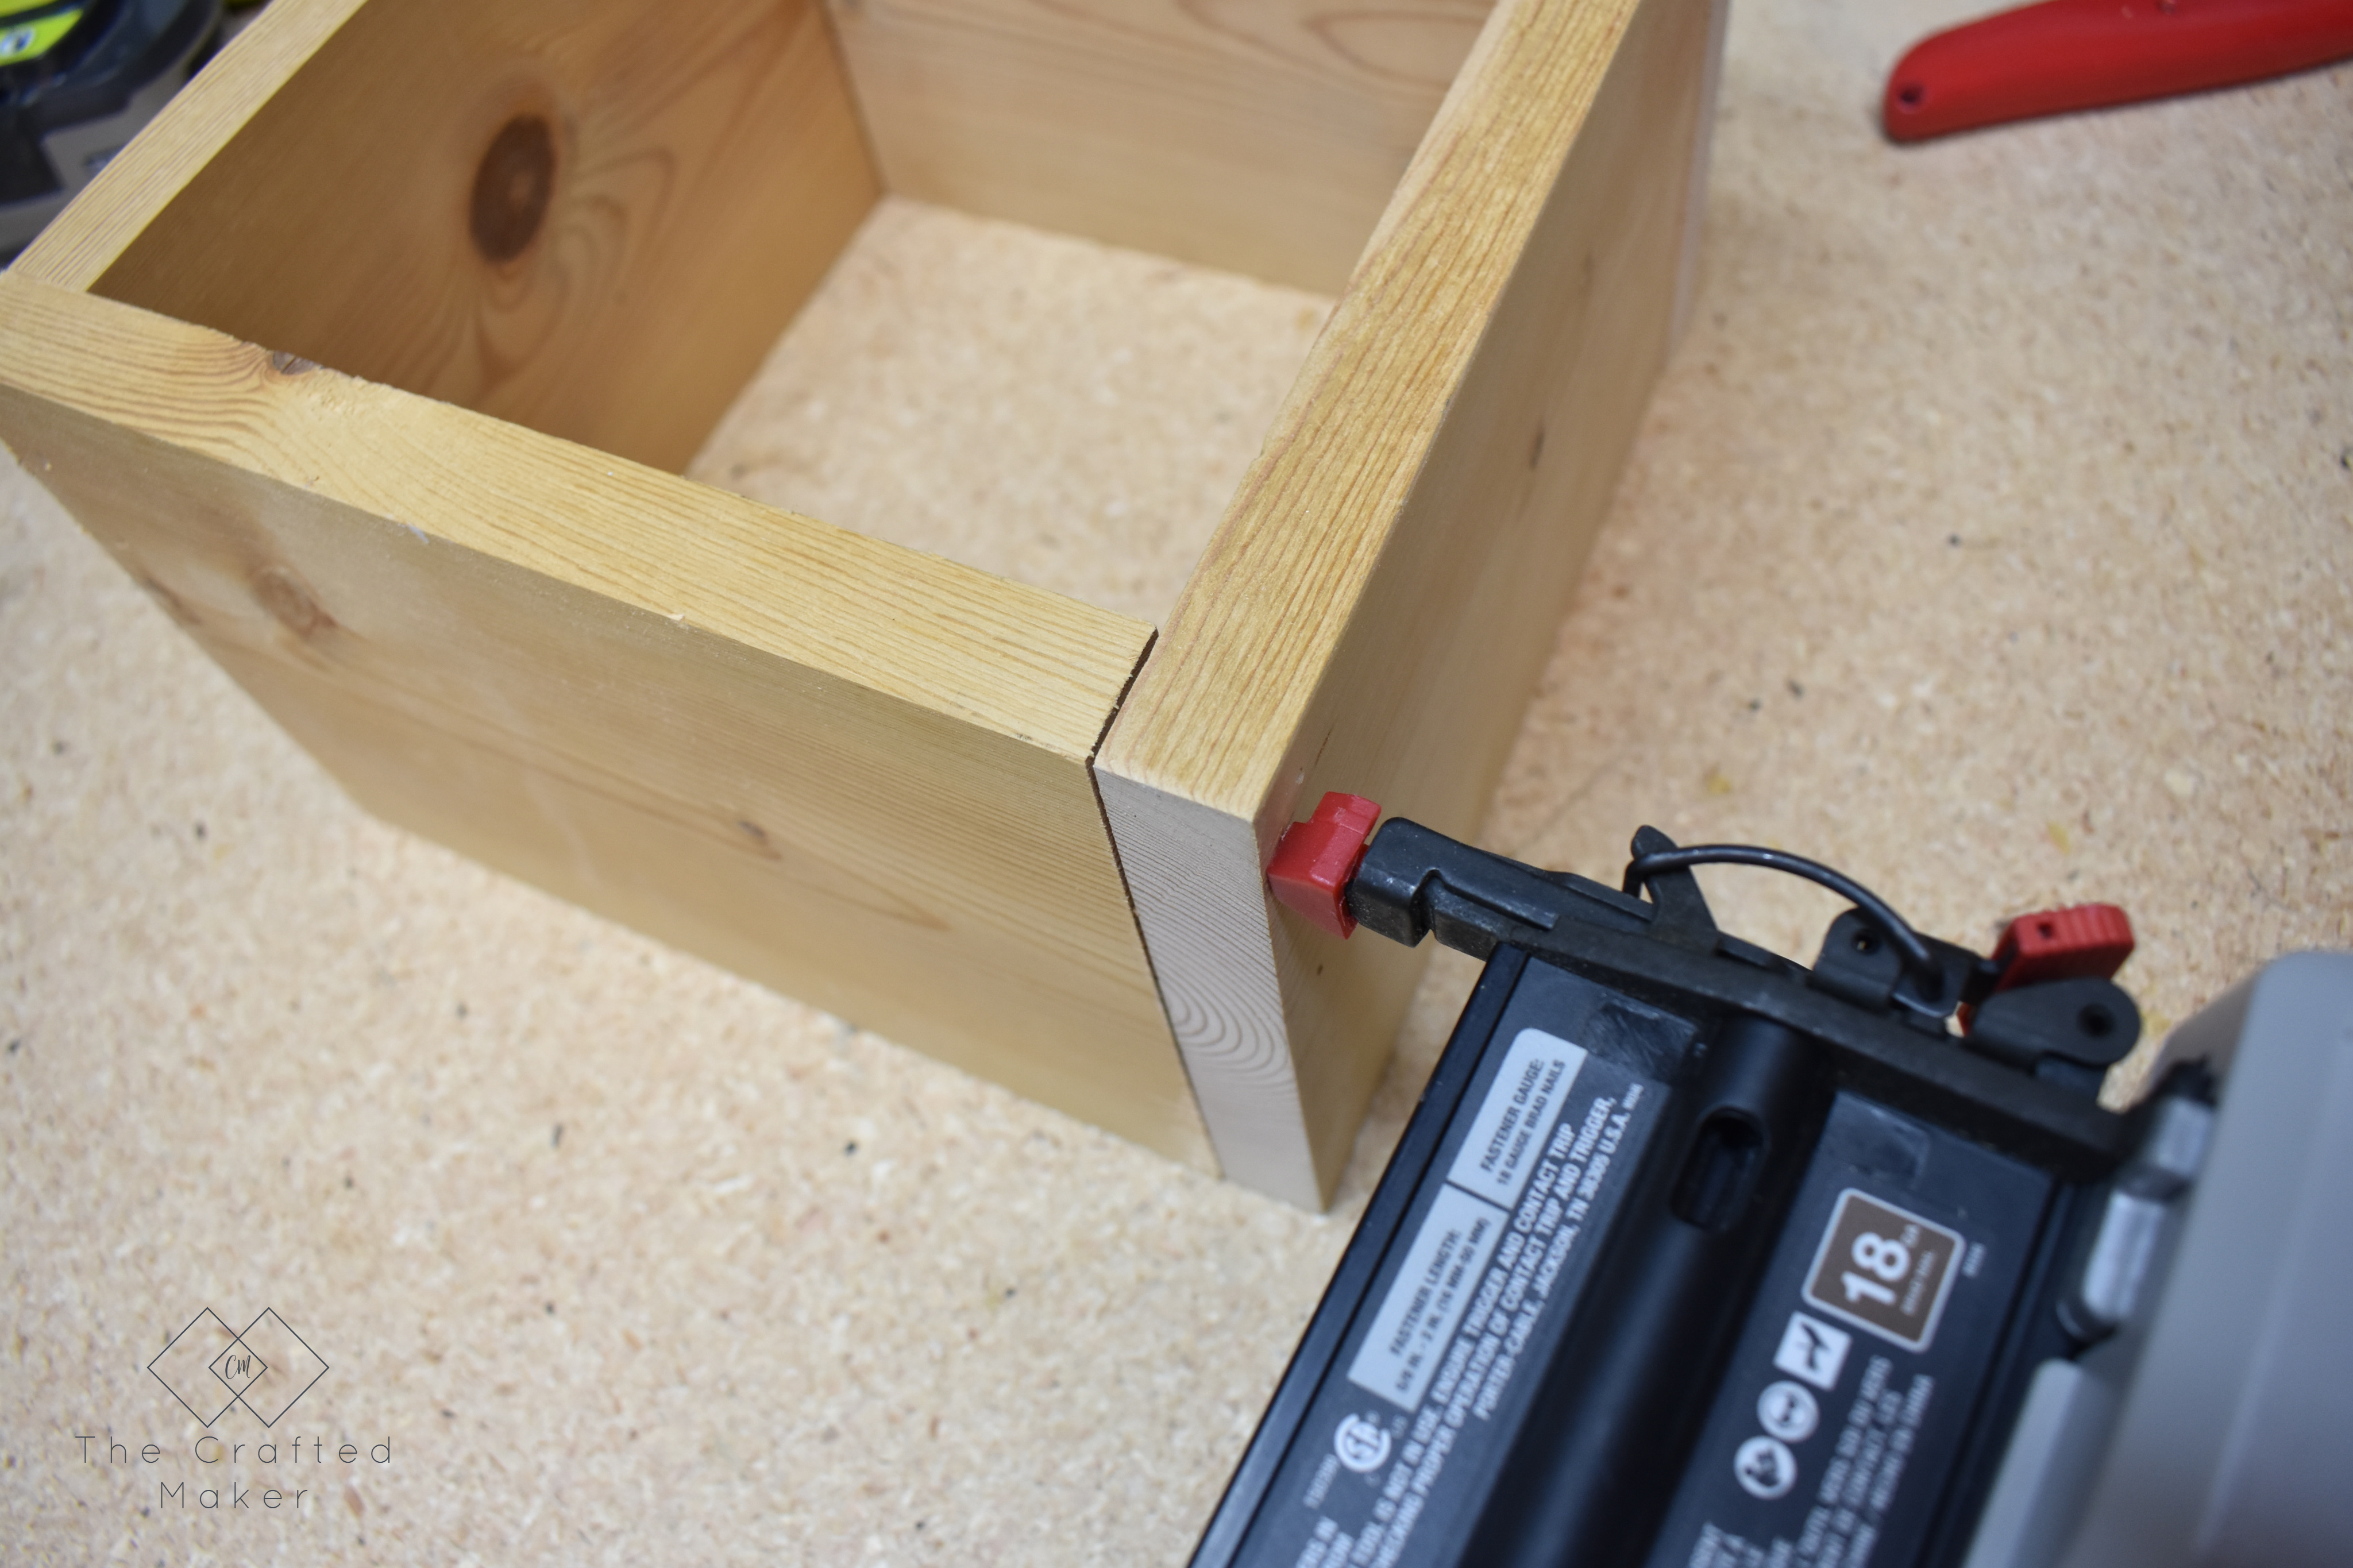
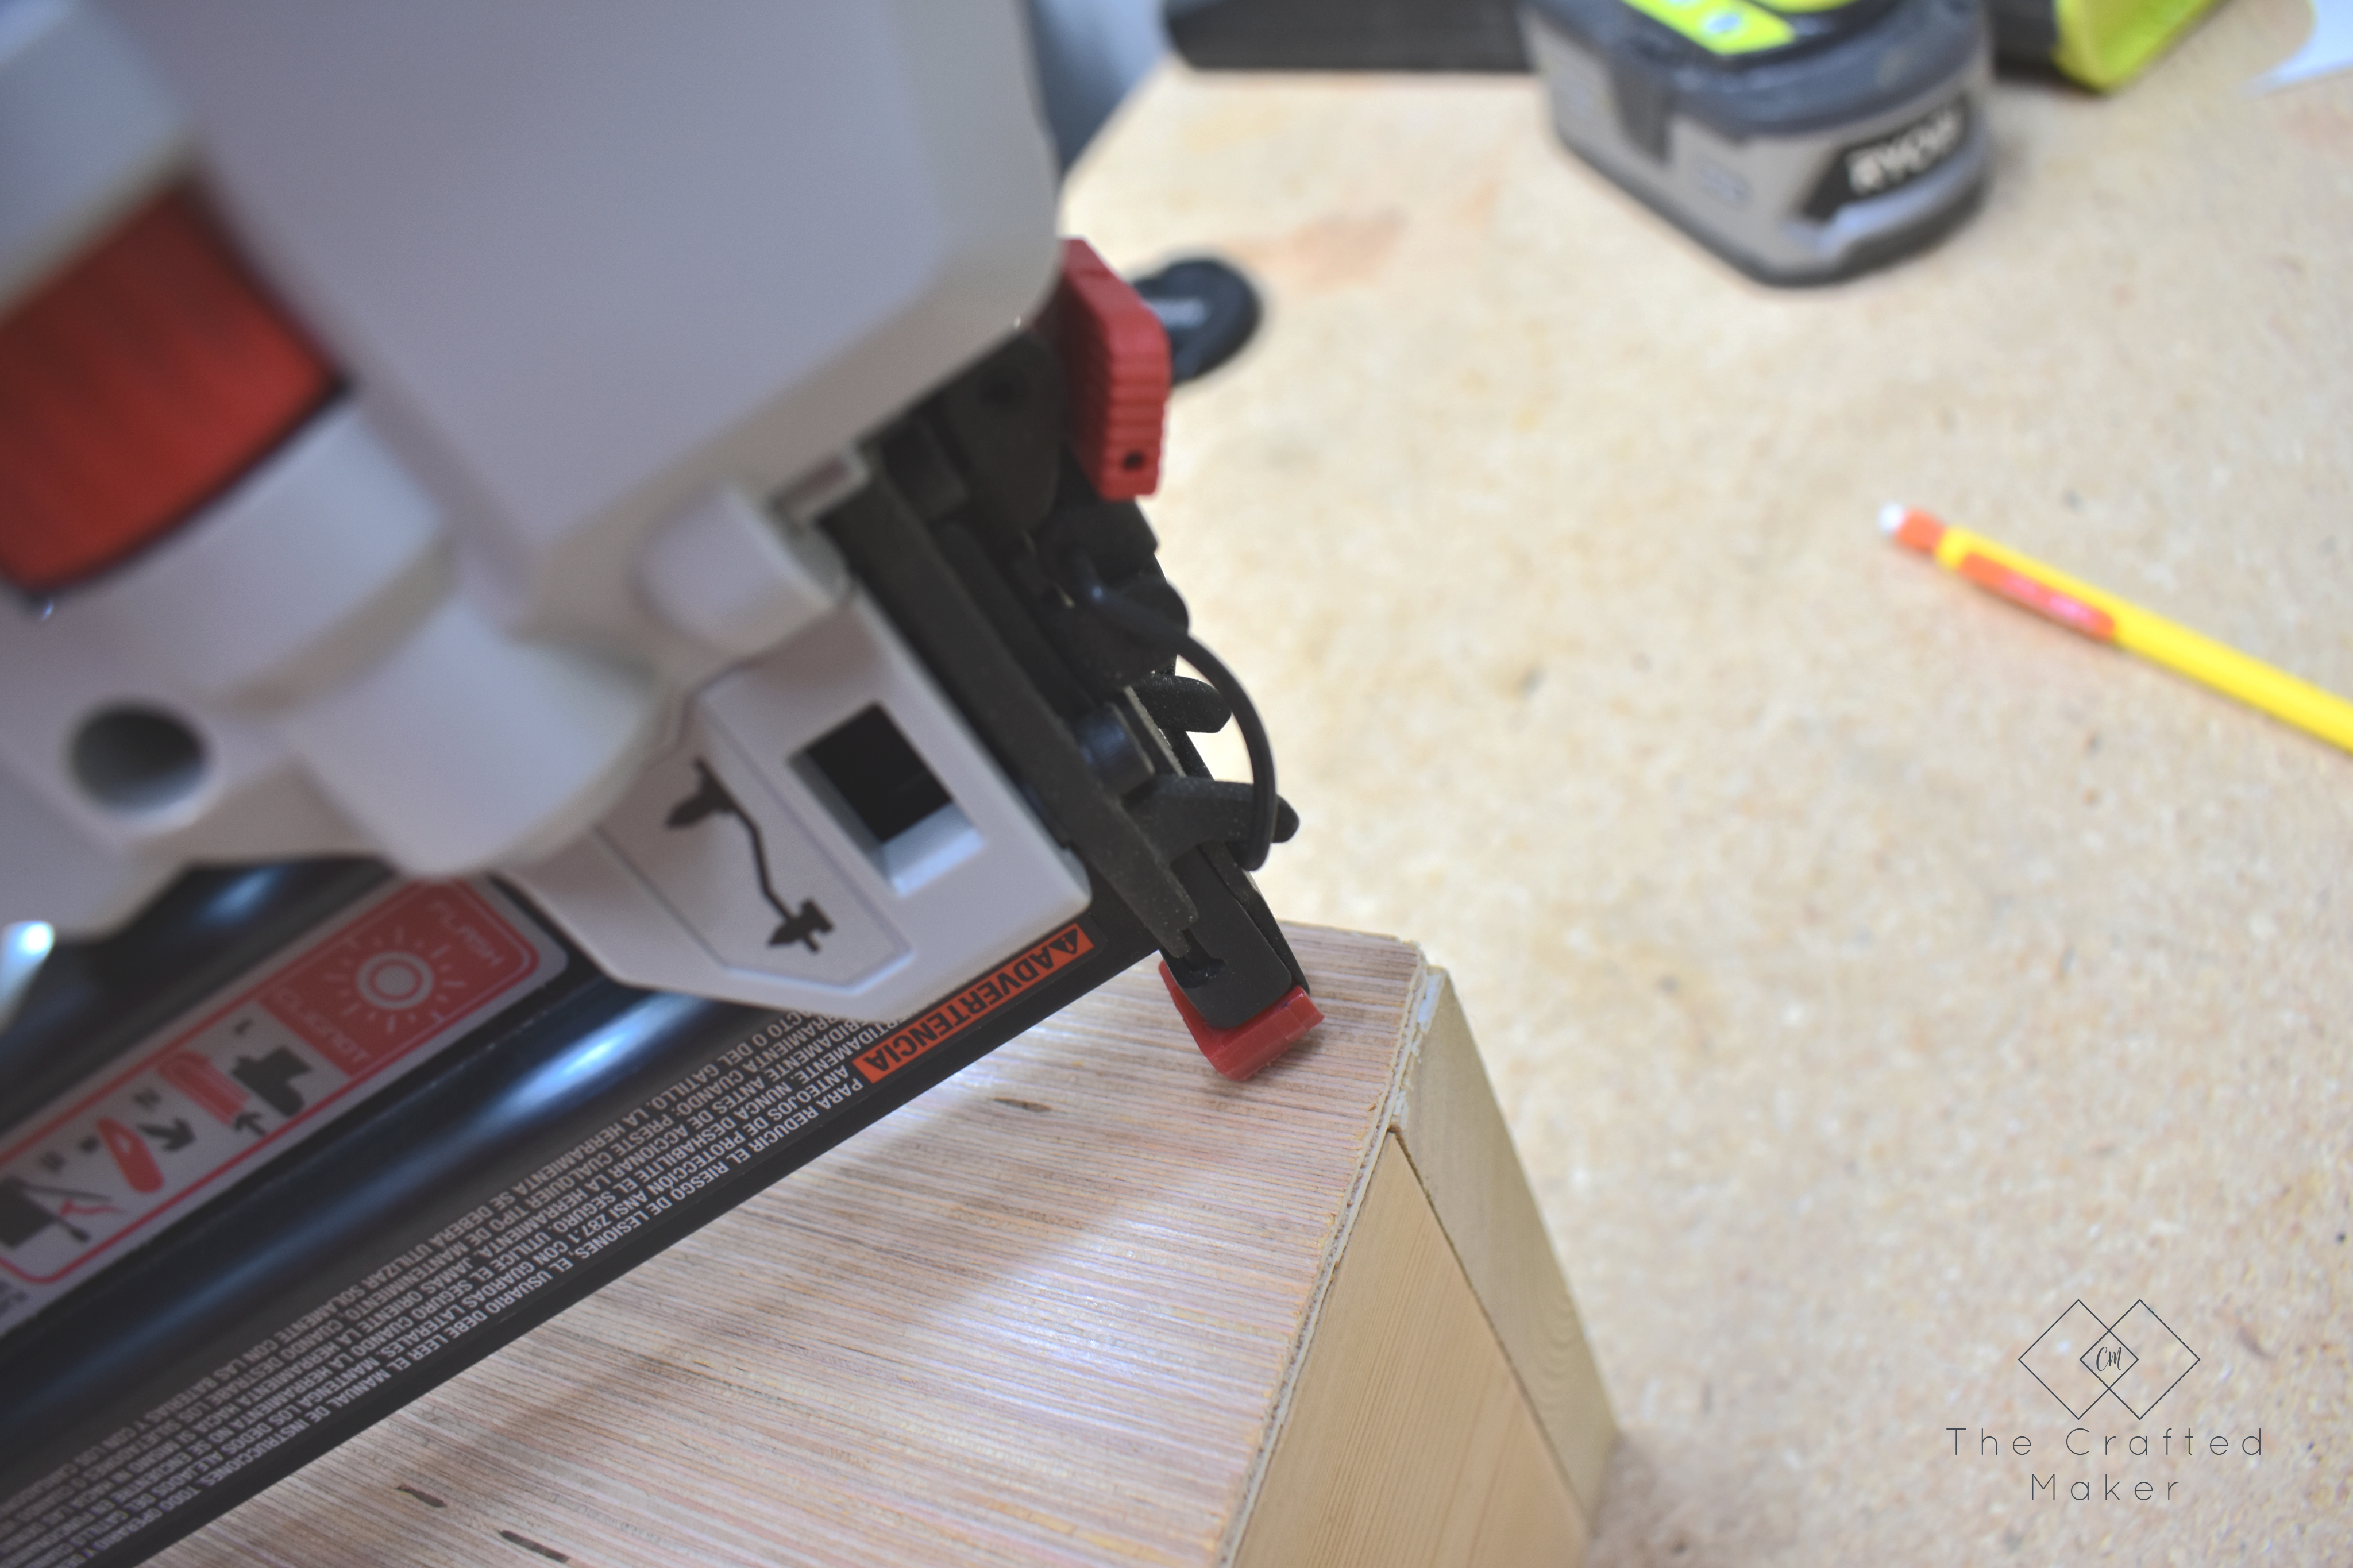
The first thing to do is make a box with your scrap wood. Attach the pieces together using 1 1/2″ 18g nails.

Do you ever feel like you need more organization on your desk or work area? Build this easy and simple DIY desk organizer in a couple of hours.

Once the box is completed, it’s time to give it a bottom. I used some 1/4″ plywood I had leftover from shiplap (tutorial for that coming soon!) for this.

Since it was cut into strips, I just measured what I needed and attached using the 1 1/2″ 18g nails and the nailer.

Do you ever feel like you need more organization on your desk or work area? Build this easy and simple DIY desk organizer in a couple of hours.

Do you ever feel like you need more organization on your desk or work area? Build this easy and simple DIY desk organizer in a couple of hours.

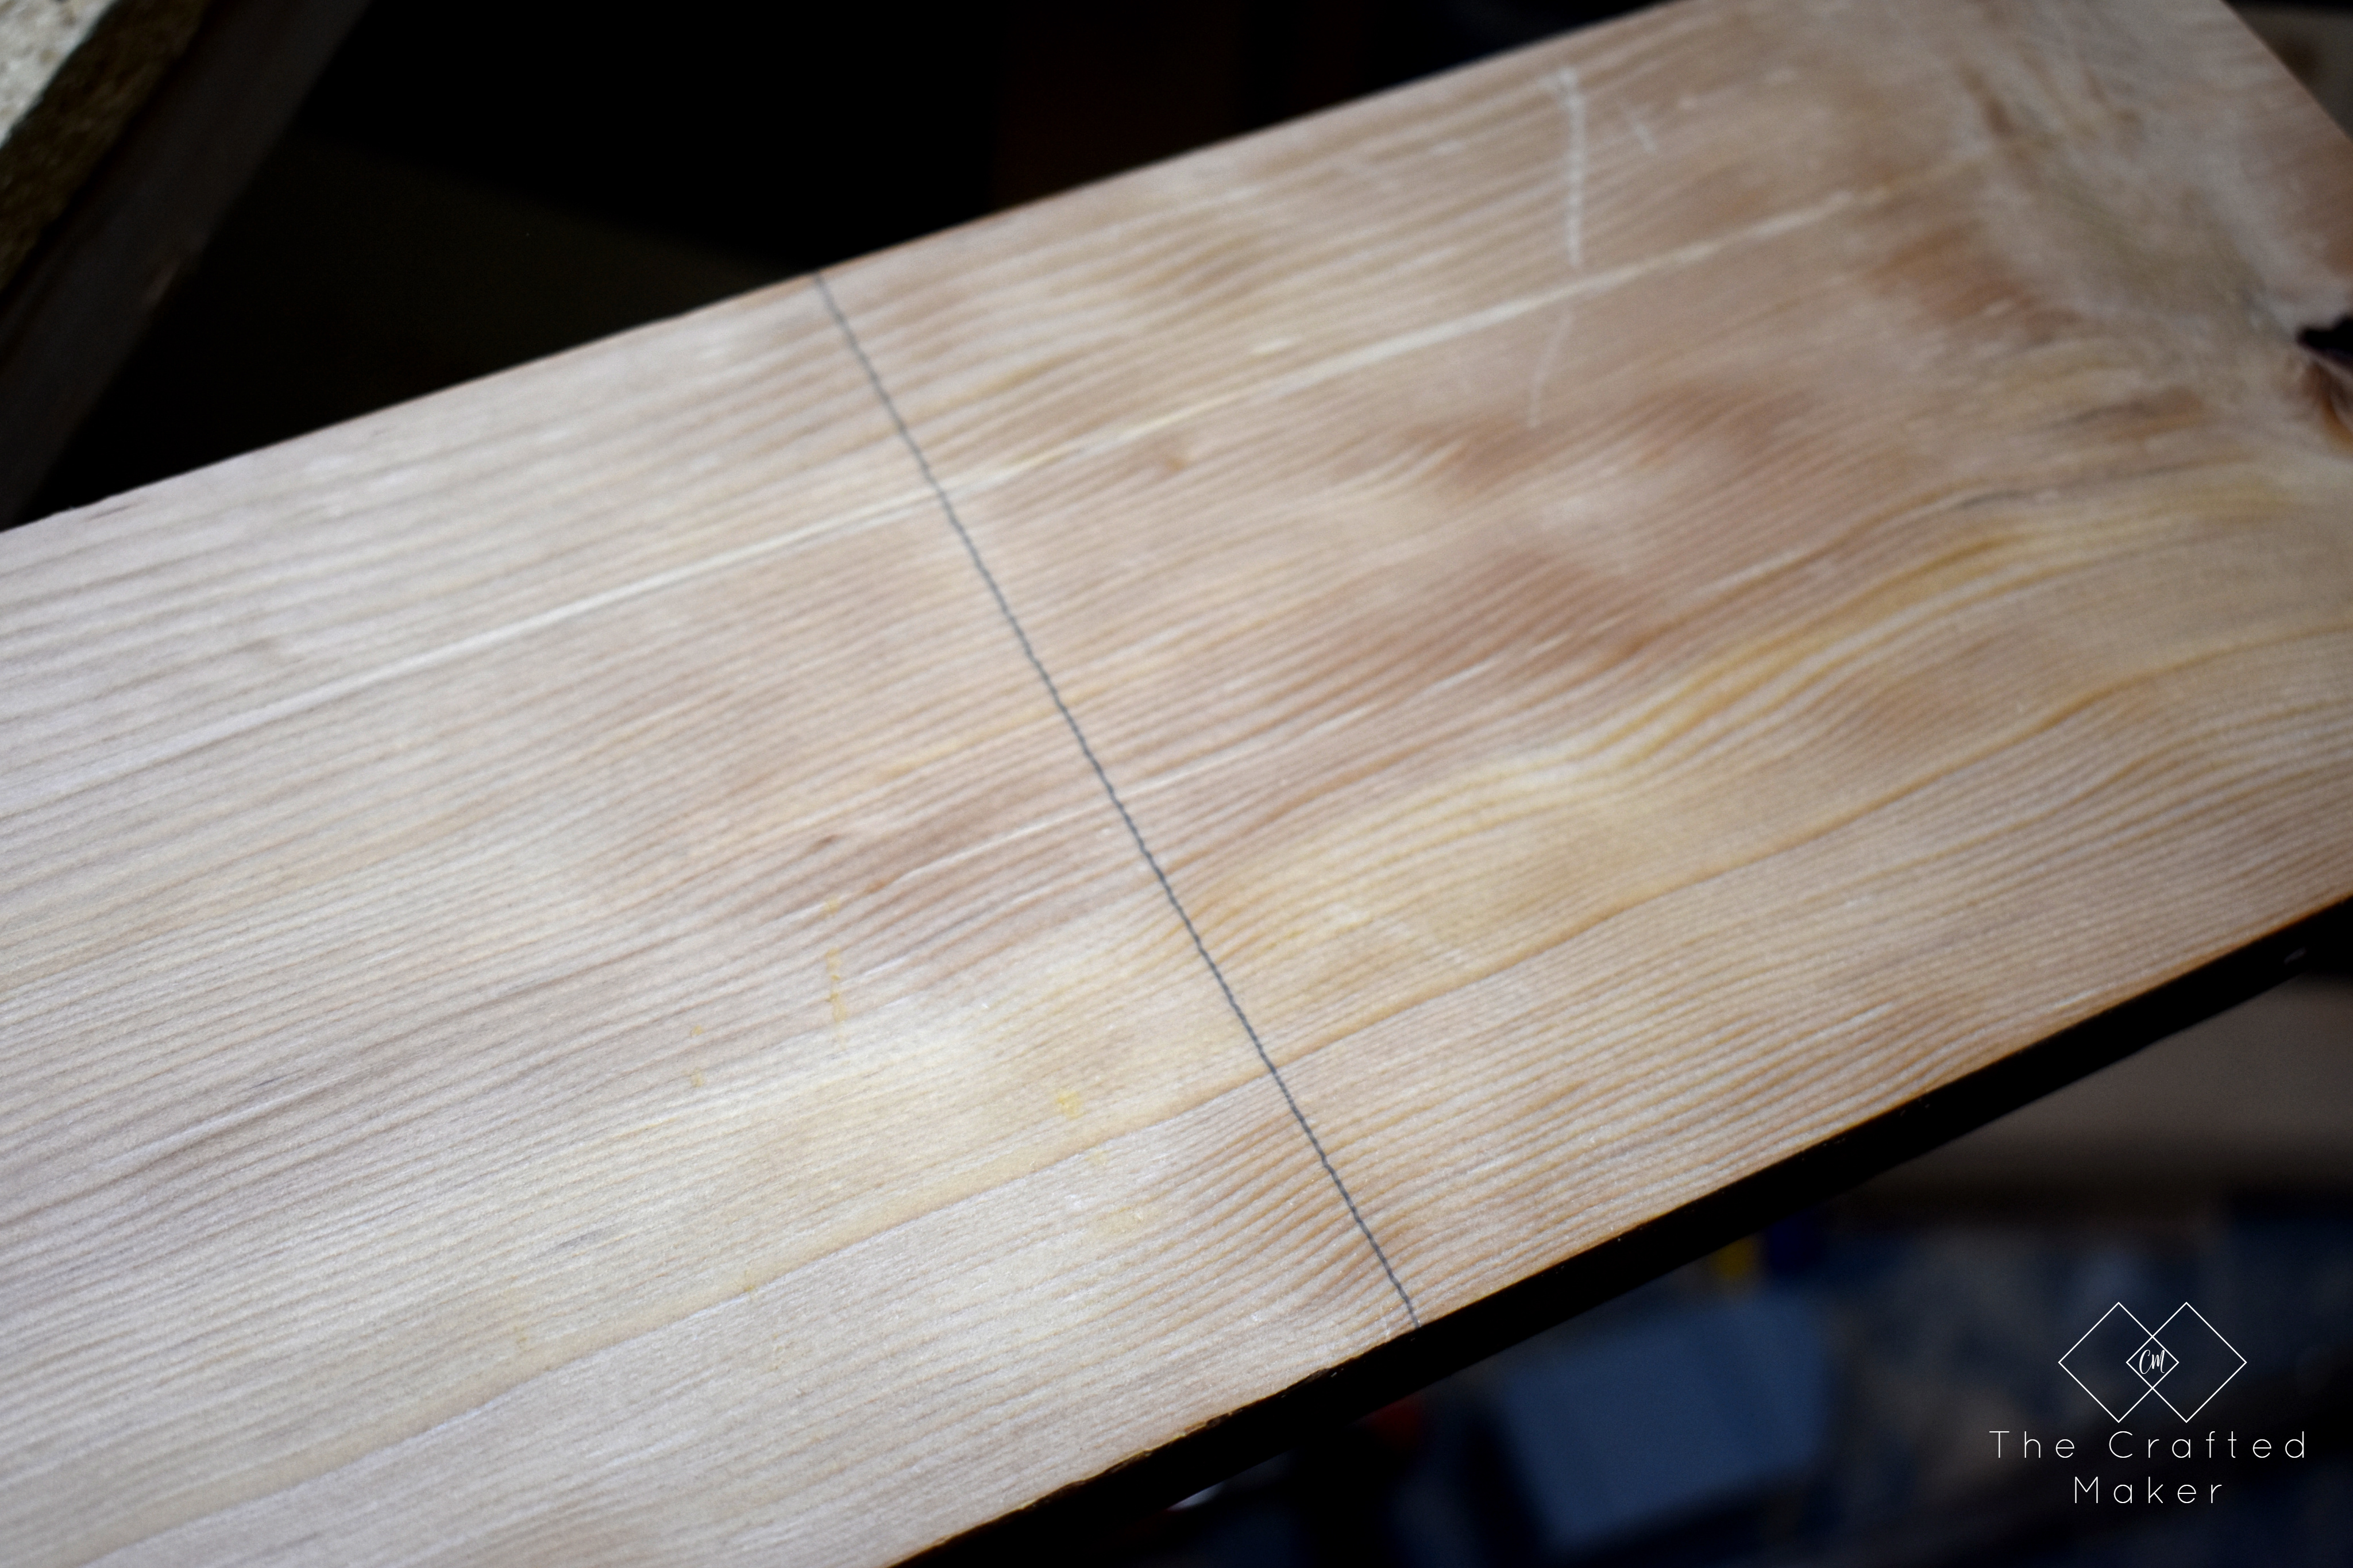
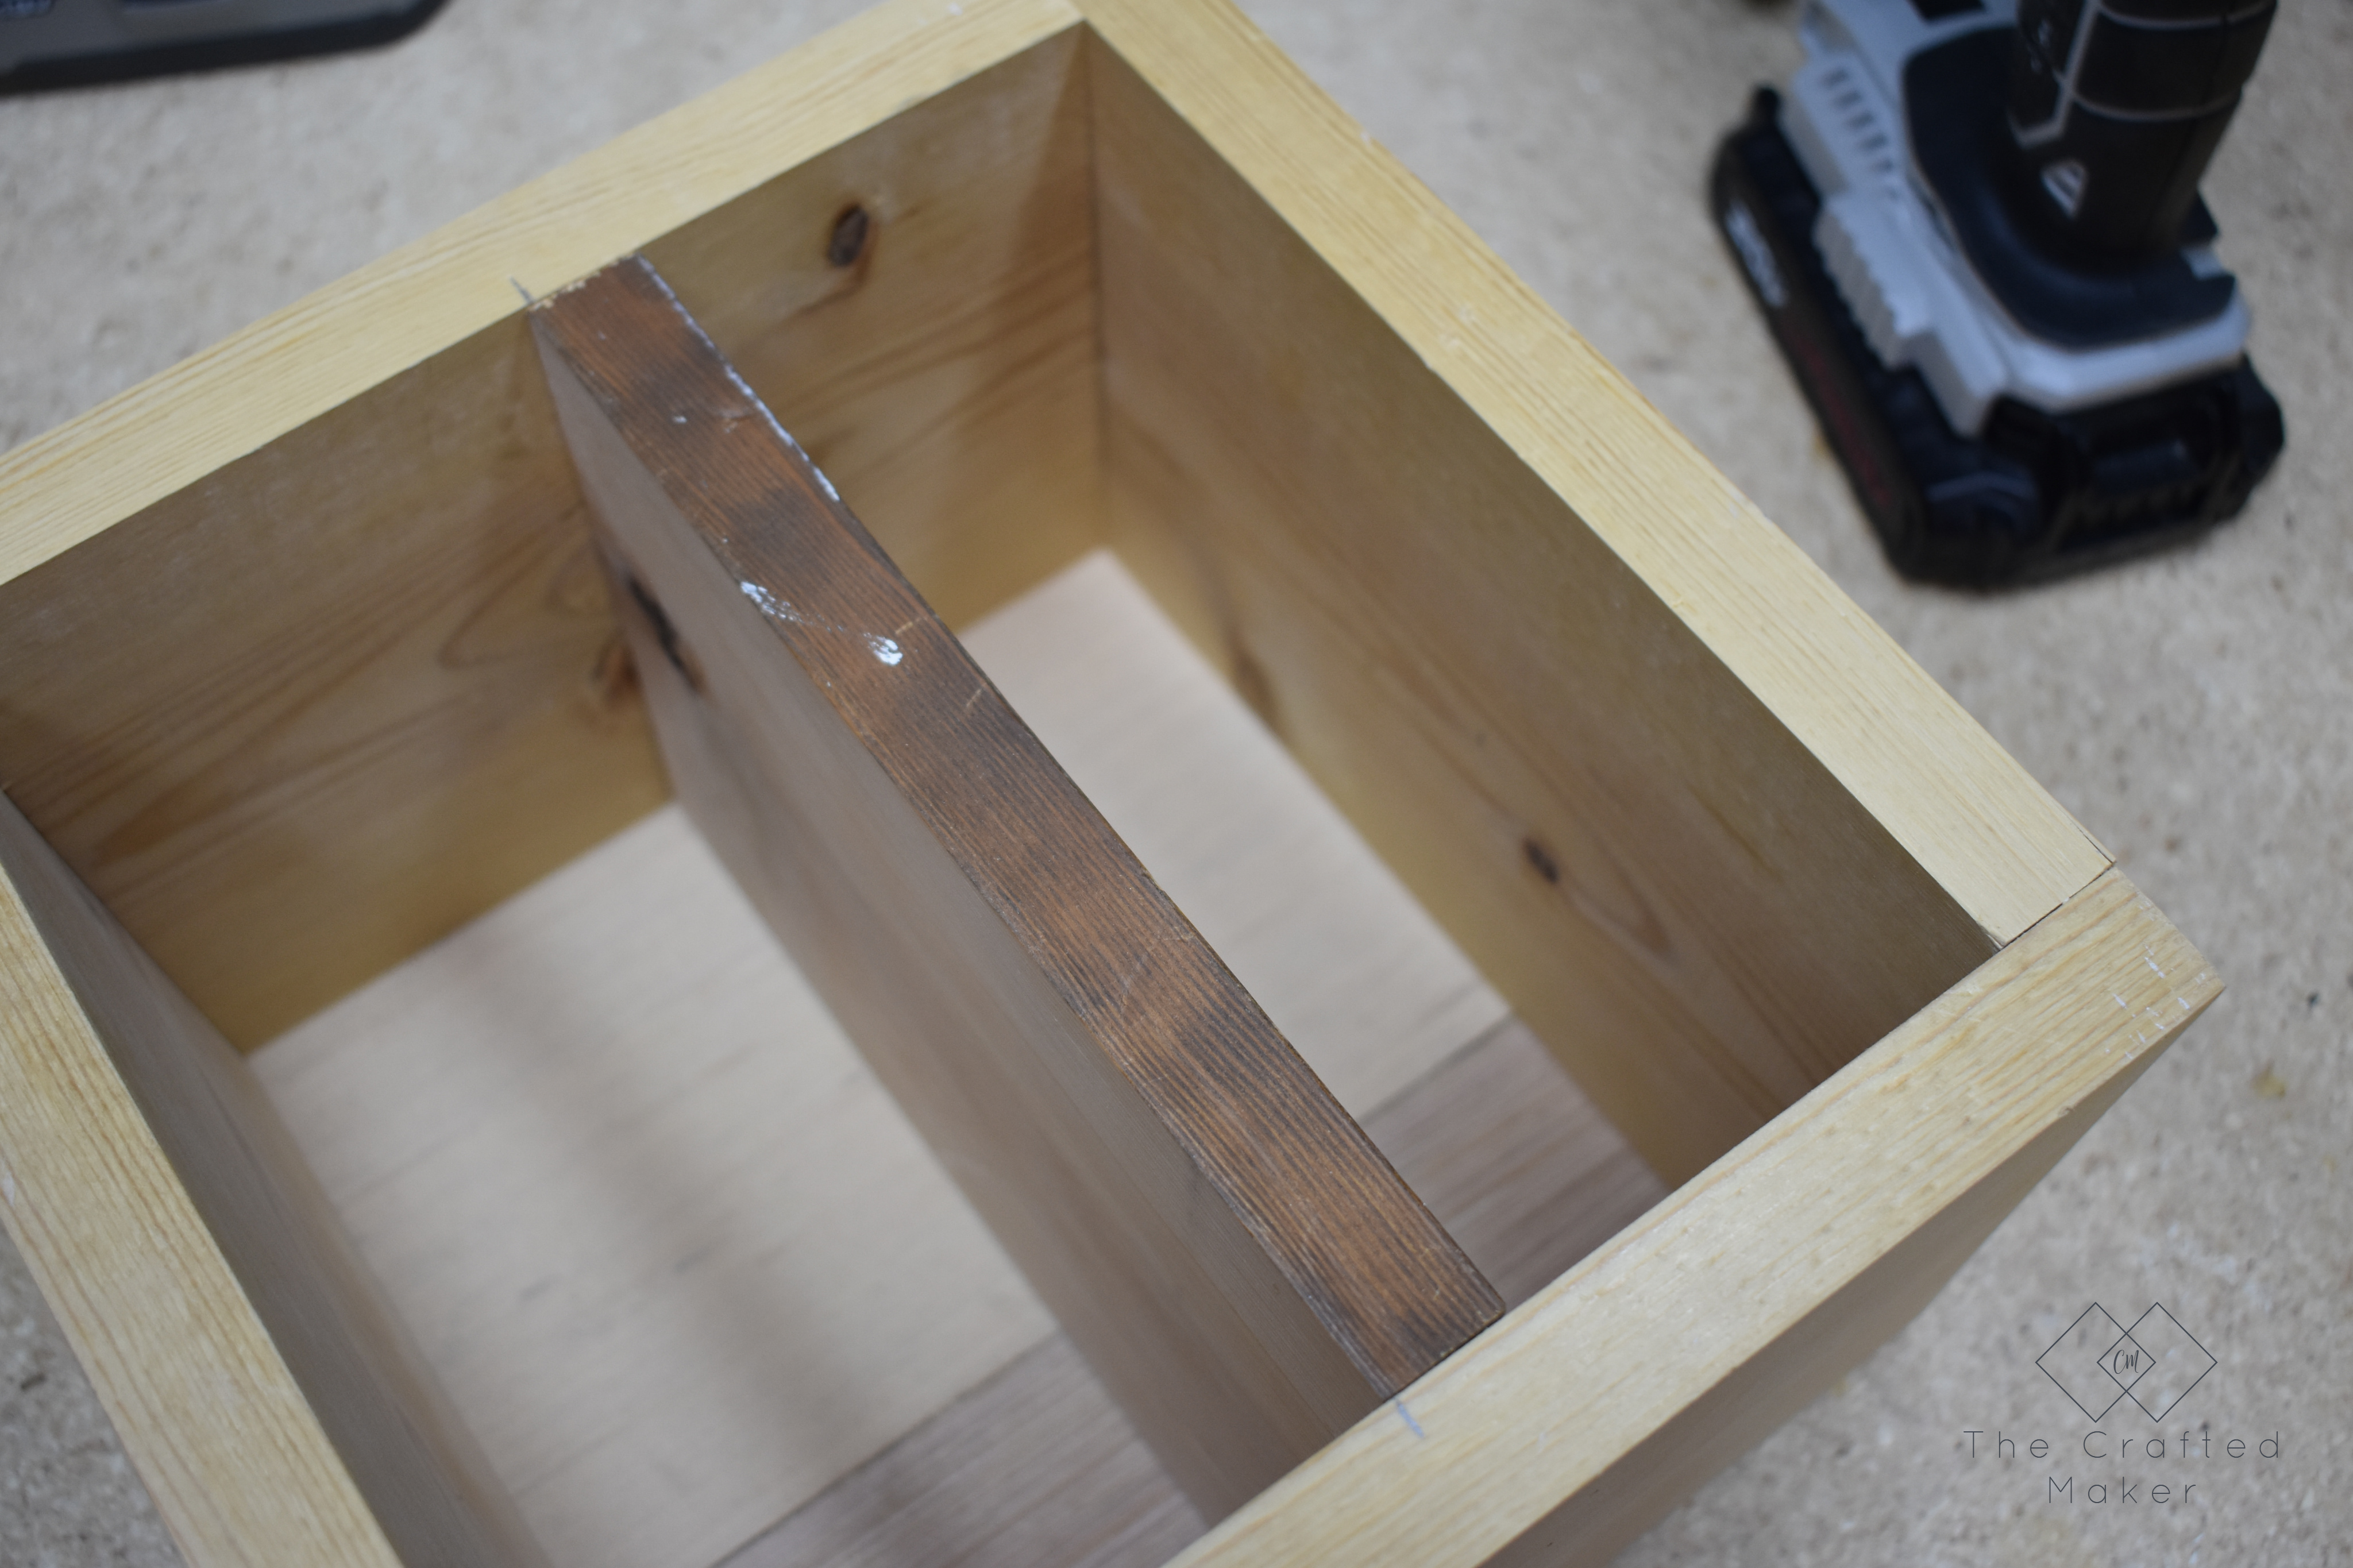
With the outside of the box all done, it’s time to assemble the inside. I wanted to add dividers to this DIY desk organizer so it would be easy to place things where they needed to go, you know to “organize” them.

I measured and cut my first piece. This is going to be placed at 3.5″. I cut out this piece using my jigsaw and attached with the nailer and 1 1/2″ 18g nails.

Do you ever feel like you need more organization on your desk or work area? Build this easy and simple DIY desk organizer in a couple of hours.

Do you ever feel like you need more organization on your desk or work area? Build this easy and simple DIY desk organizer in a couple of hours.

Do you ever feel like you need more organization on your desk or work area? Build this easy and simple DIY desk organizer in a couple of hours.

Do you ever feel like you need more organization on your desk or work area? Build this easy and simple DIY desk organizer in a couple of hours.

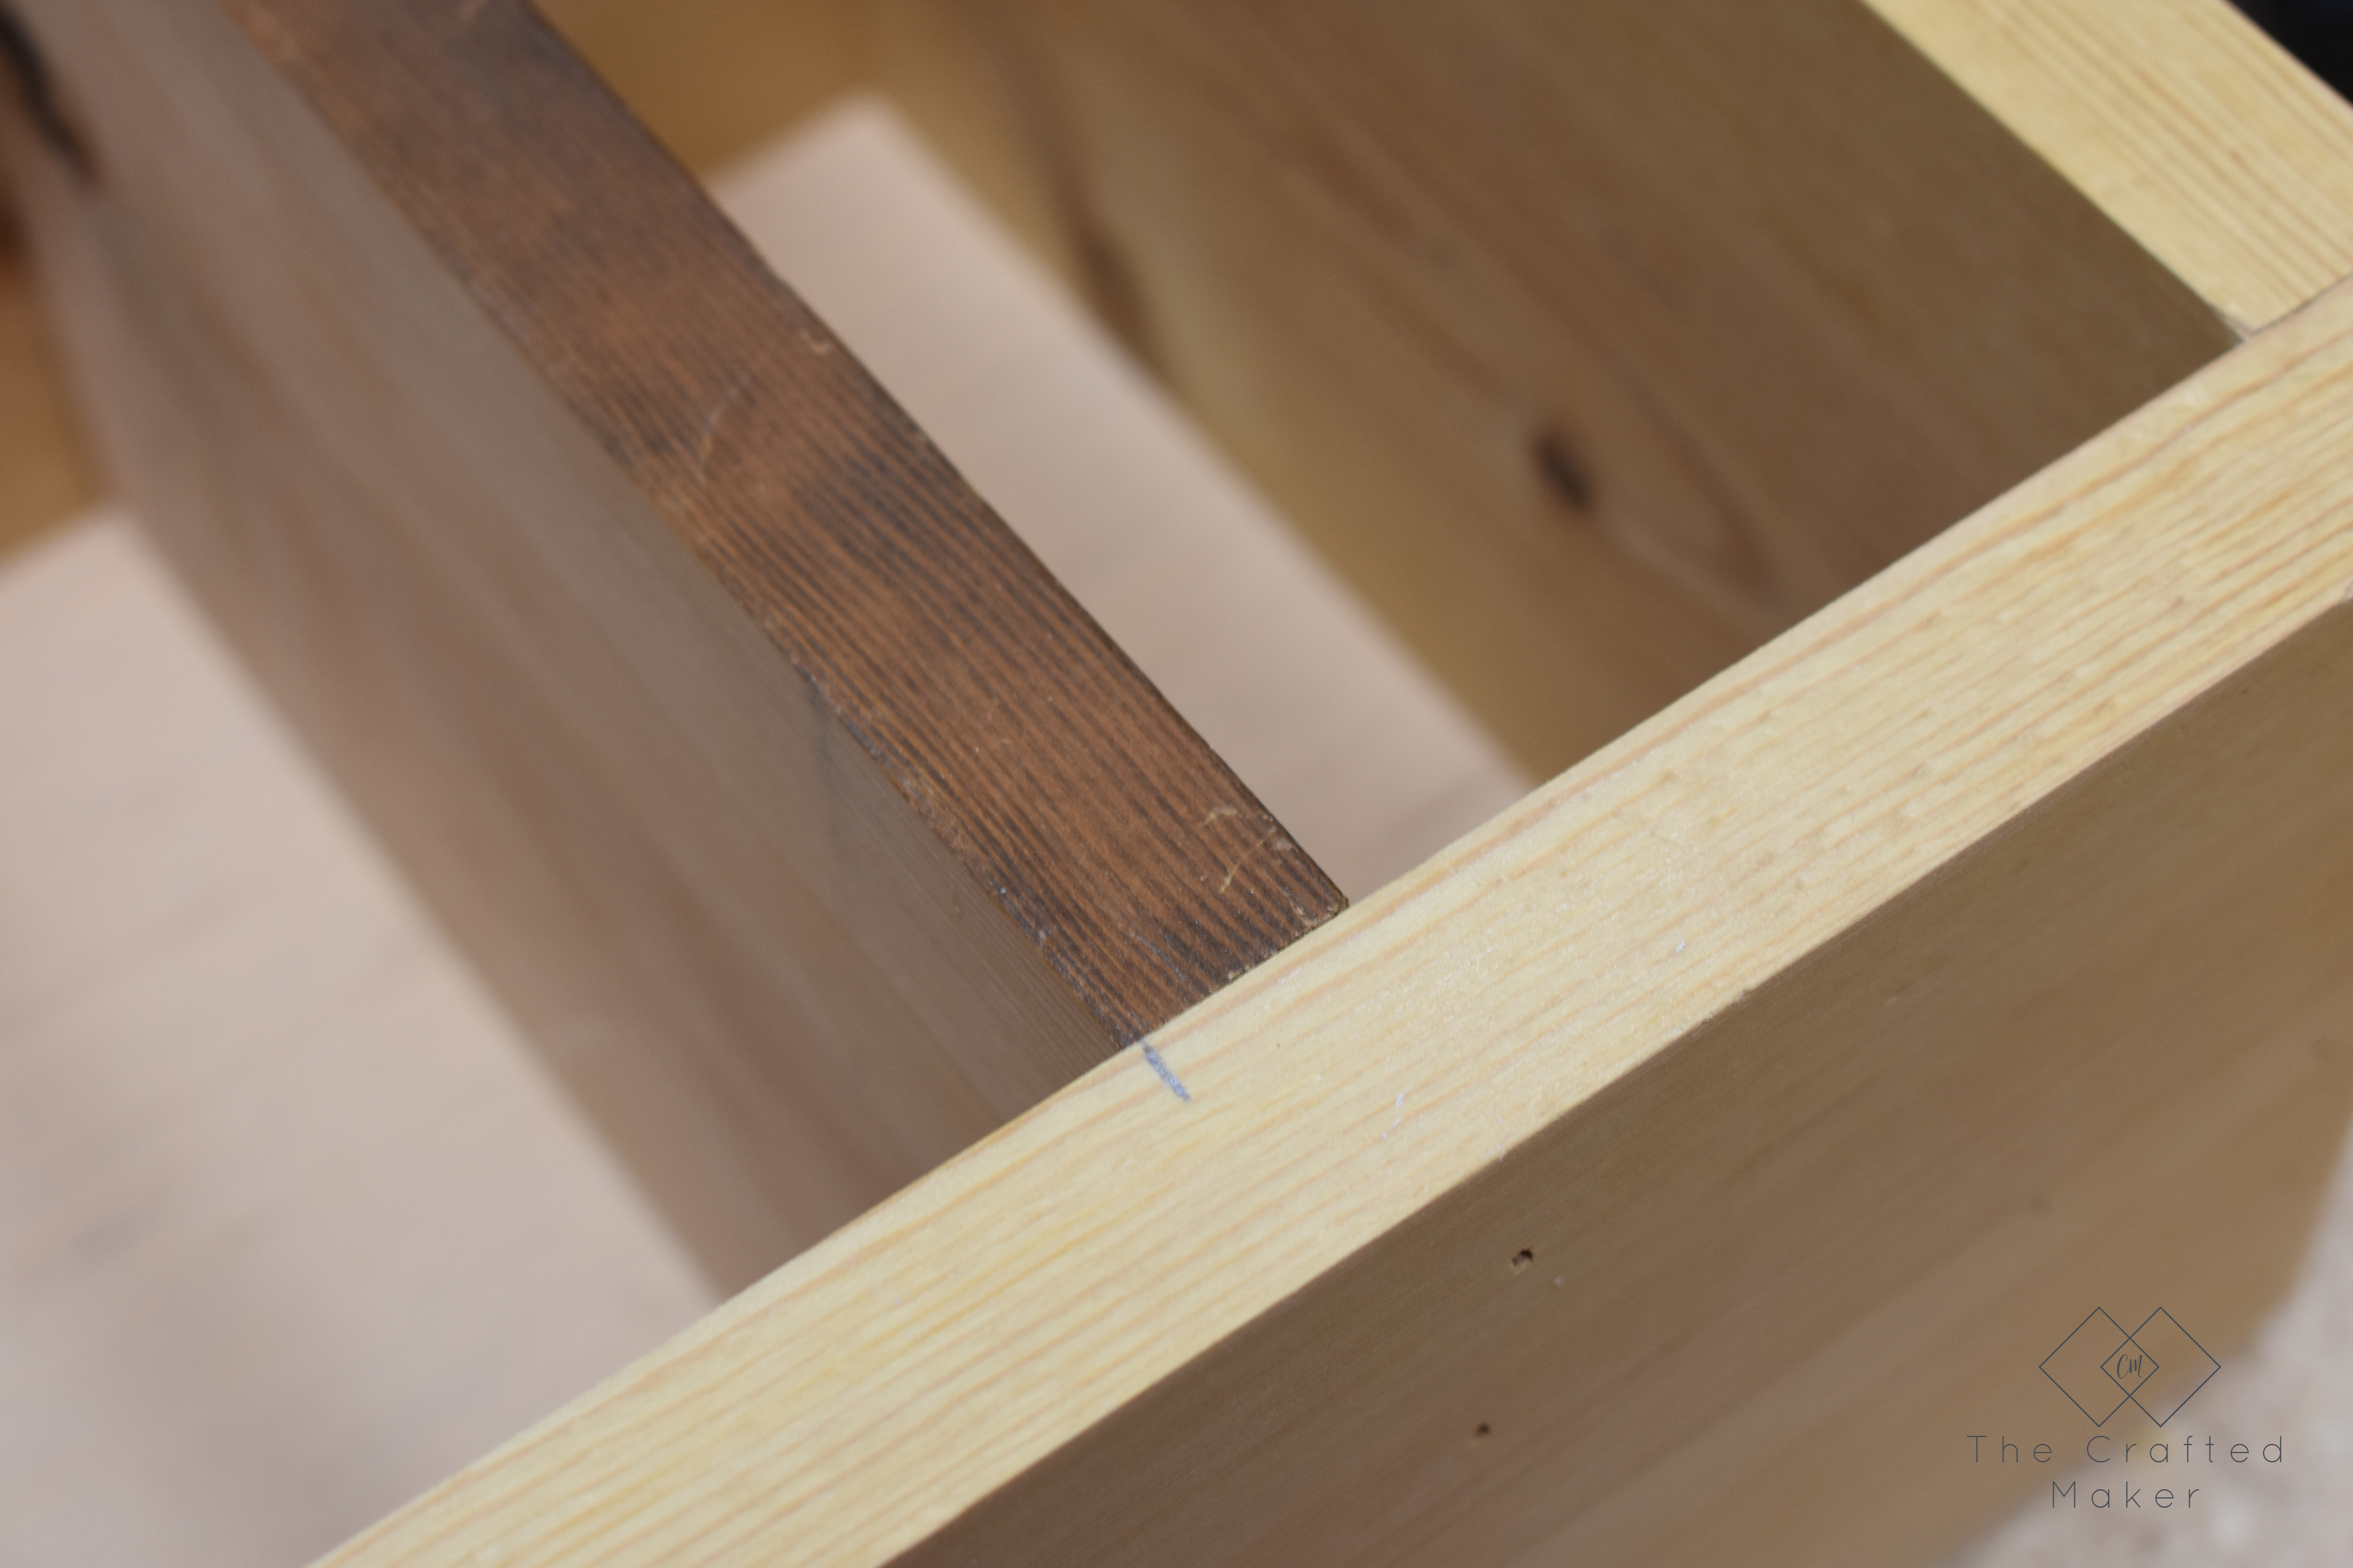
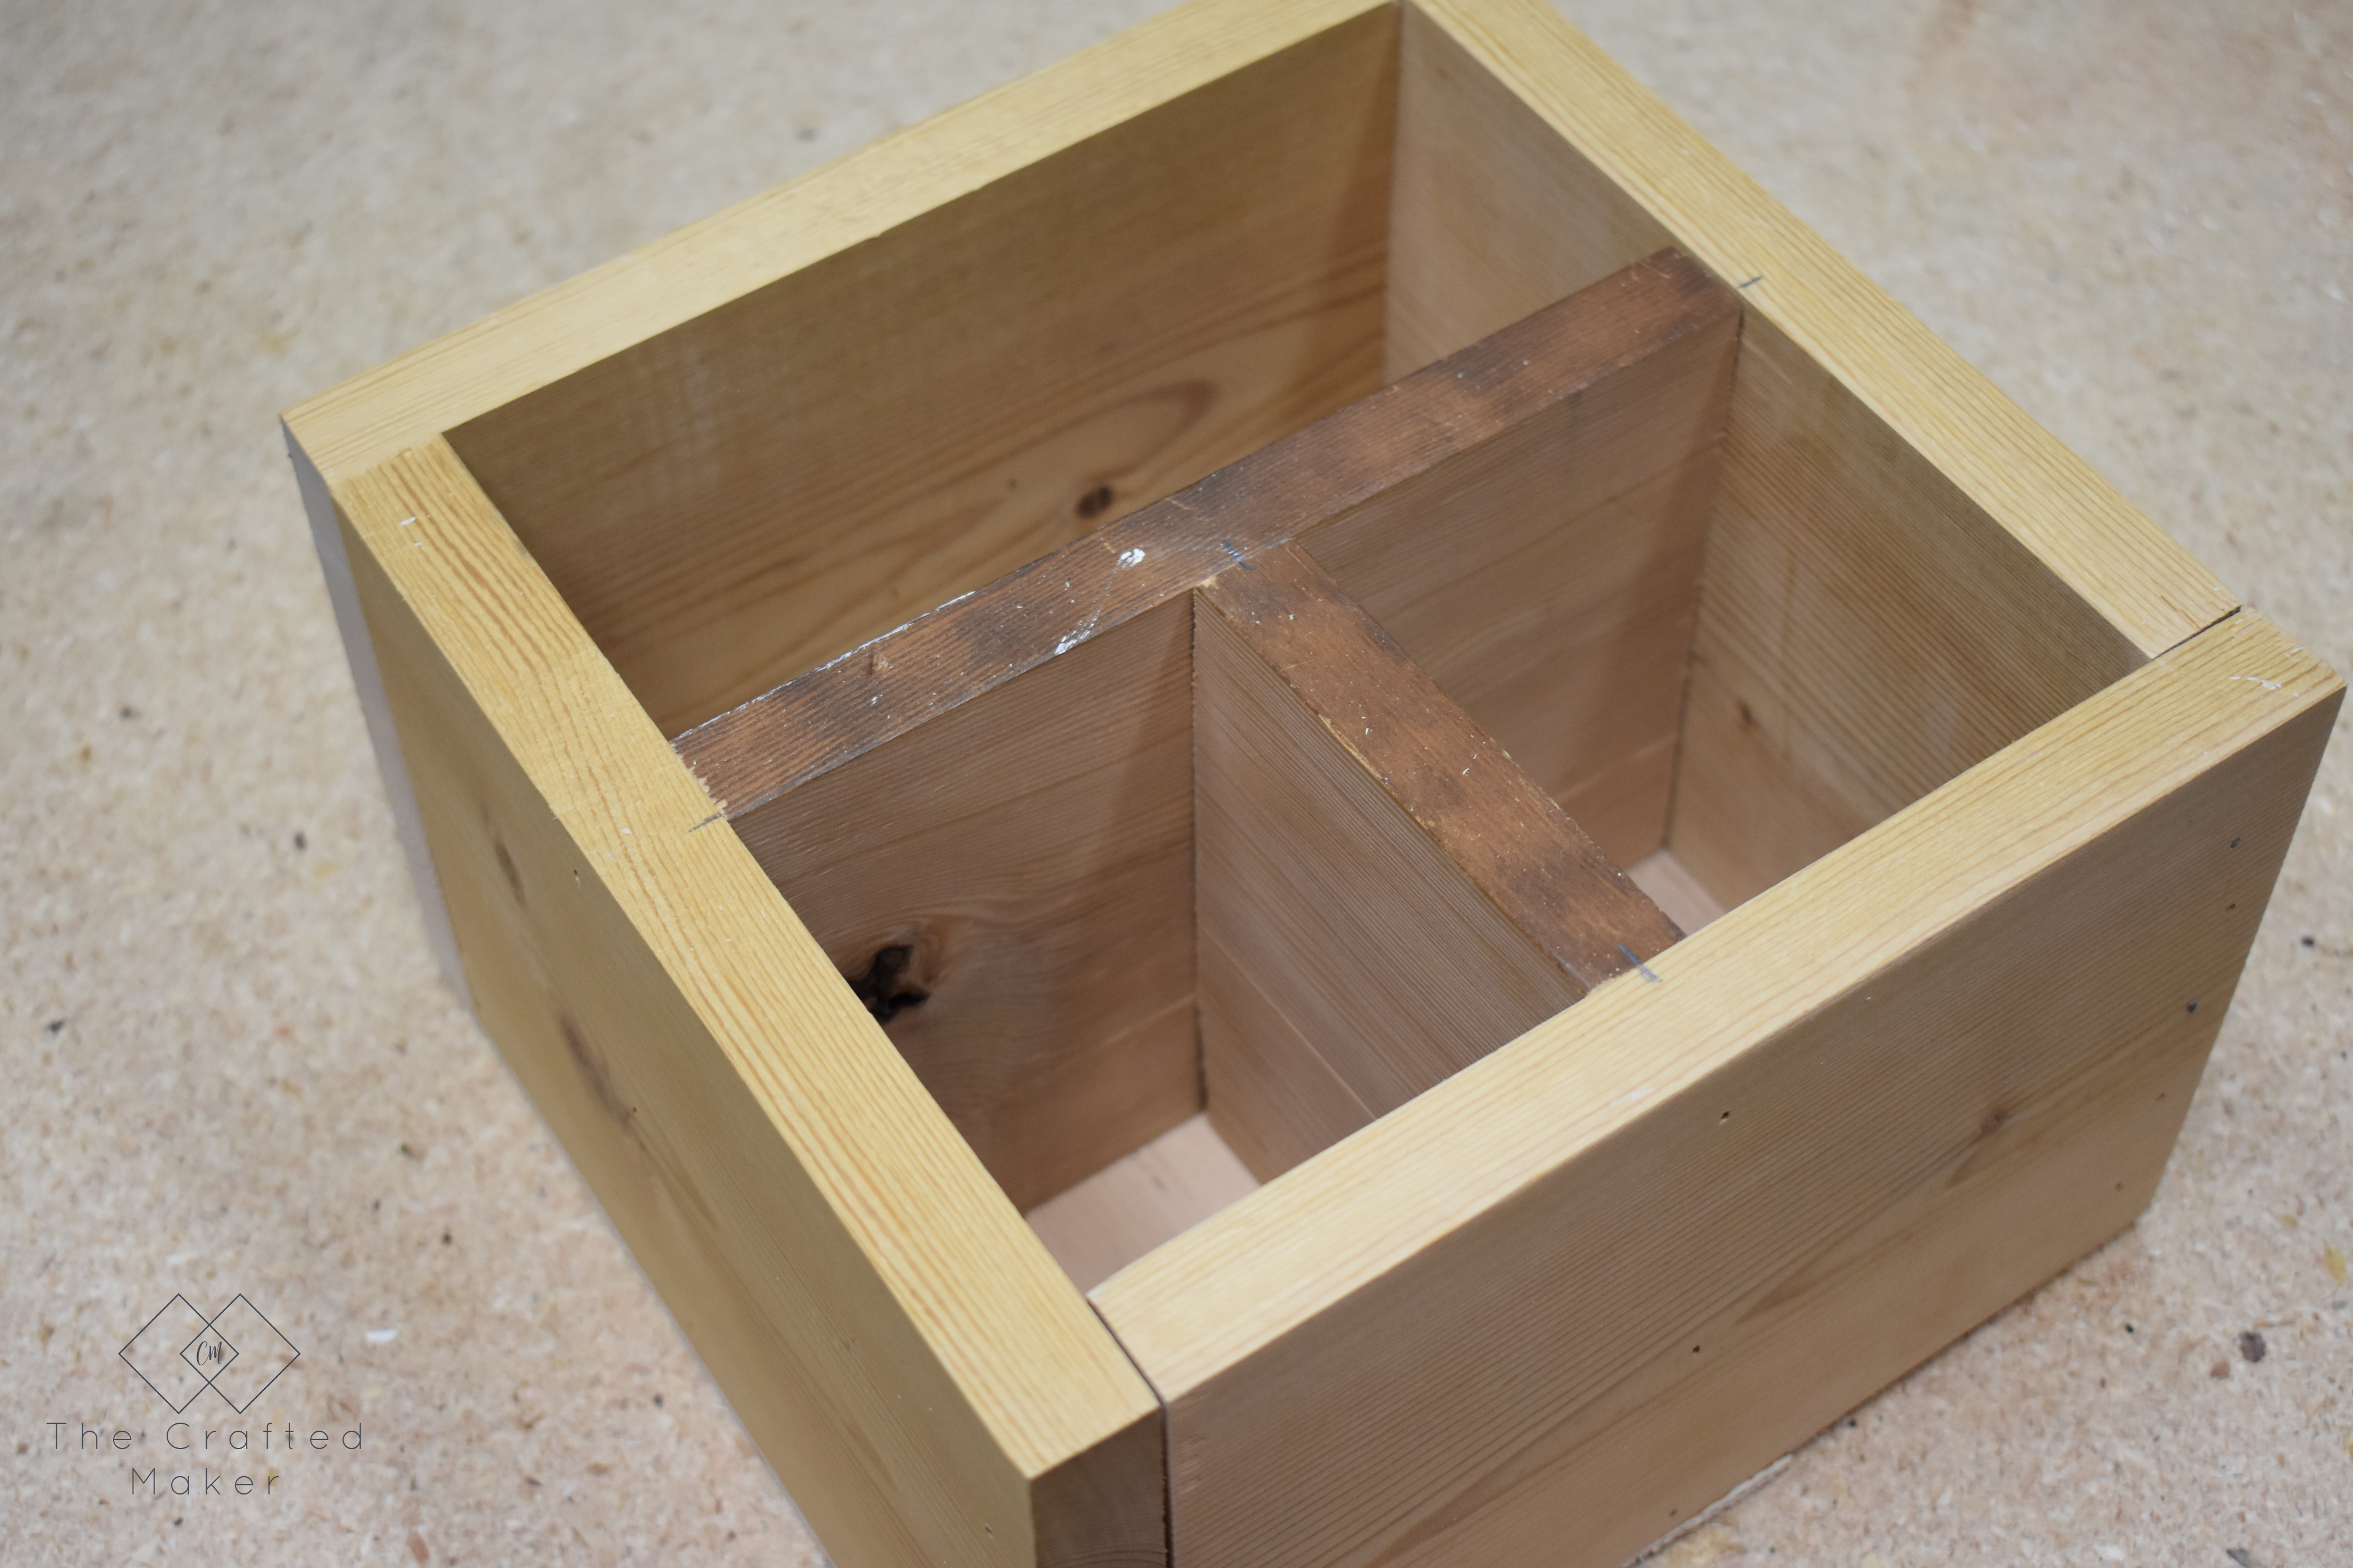
I wanted a more defined area for pens, pencils, and scissors, so I added another divider at the front of the DIY desk organizer. Just like the center divider, I measured and cut out another piece to fit in this space using my jigsaw again and attached with 1 1/2″ 18g nails.

Do you ever feel like you need more organization on your desk or work area? Build this easy and simple DIY desk organizer in a couple of hours.

Do you ever feel like you need more organization on your desk or work area? Build this easy and simple DIY desk organizer in a couple of hours.

Finishing the DIY Desk Organizer

The wood I’m using looks pretty rough at this time, but not to worry, that is where the sander comes in handy! I sanded the entire project starting with 80 grit on the wood that had the old finish on it and sanded the rest with 120.

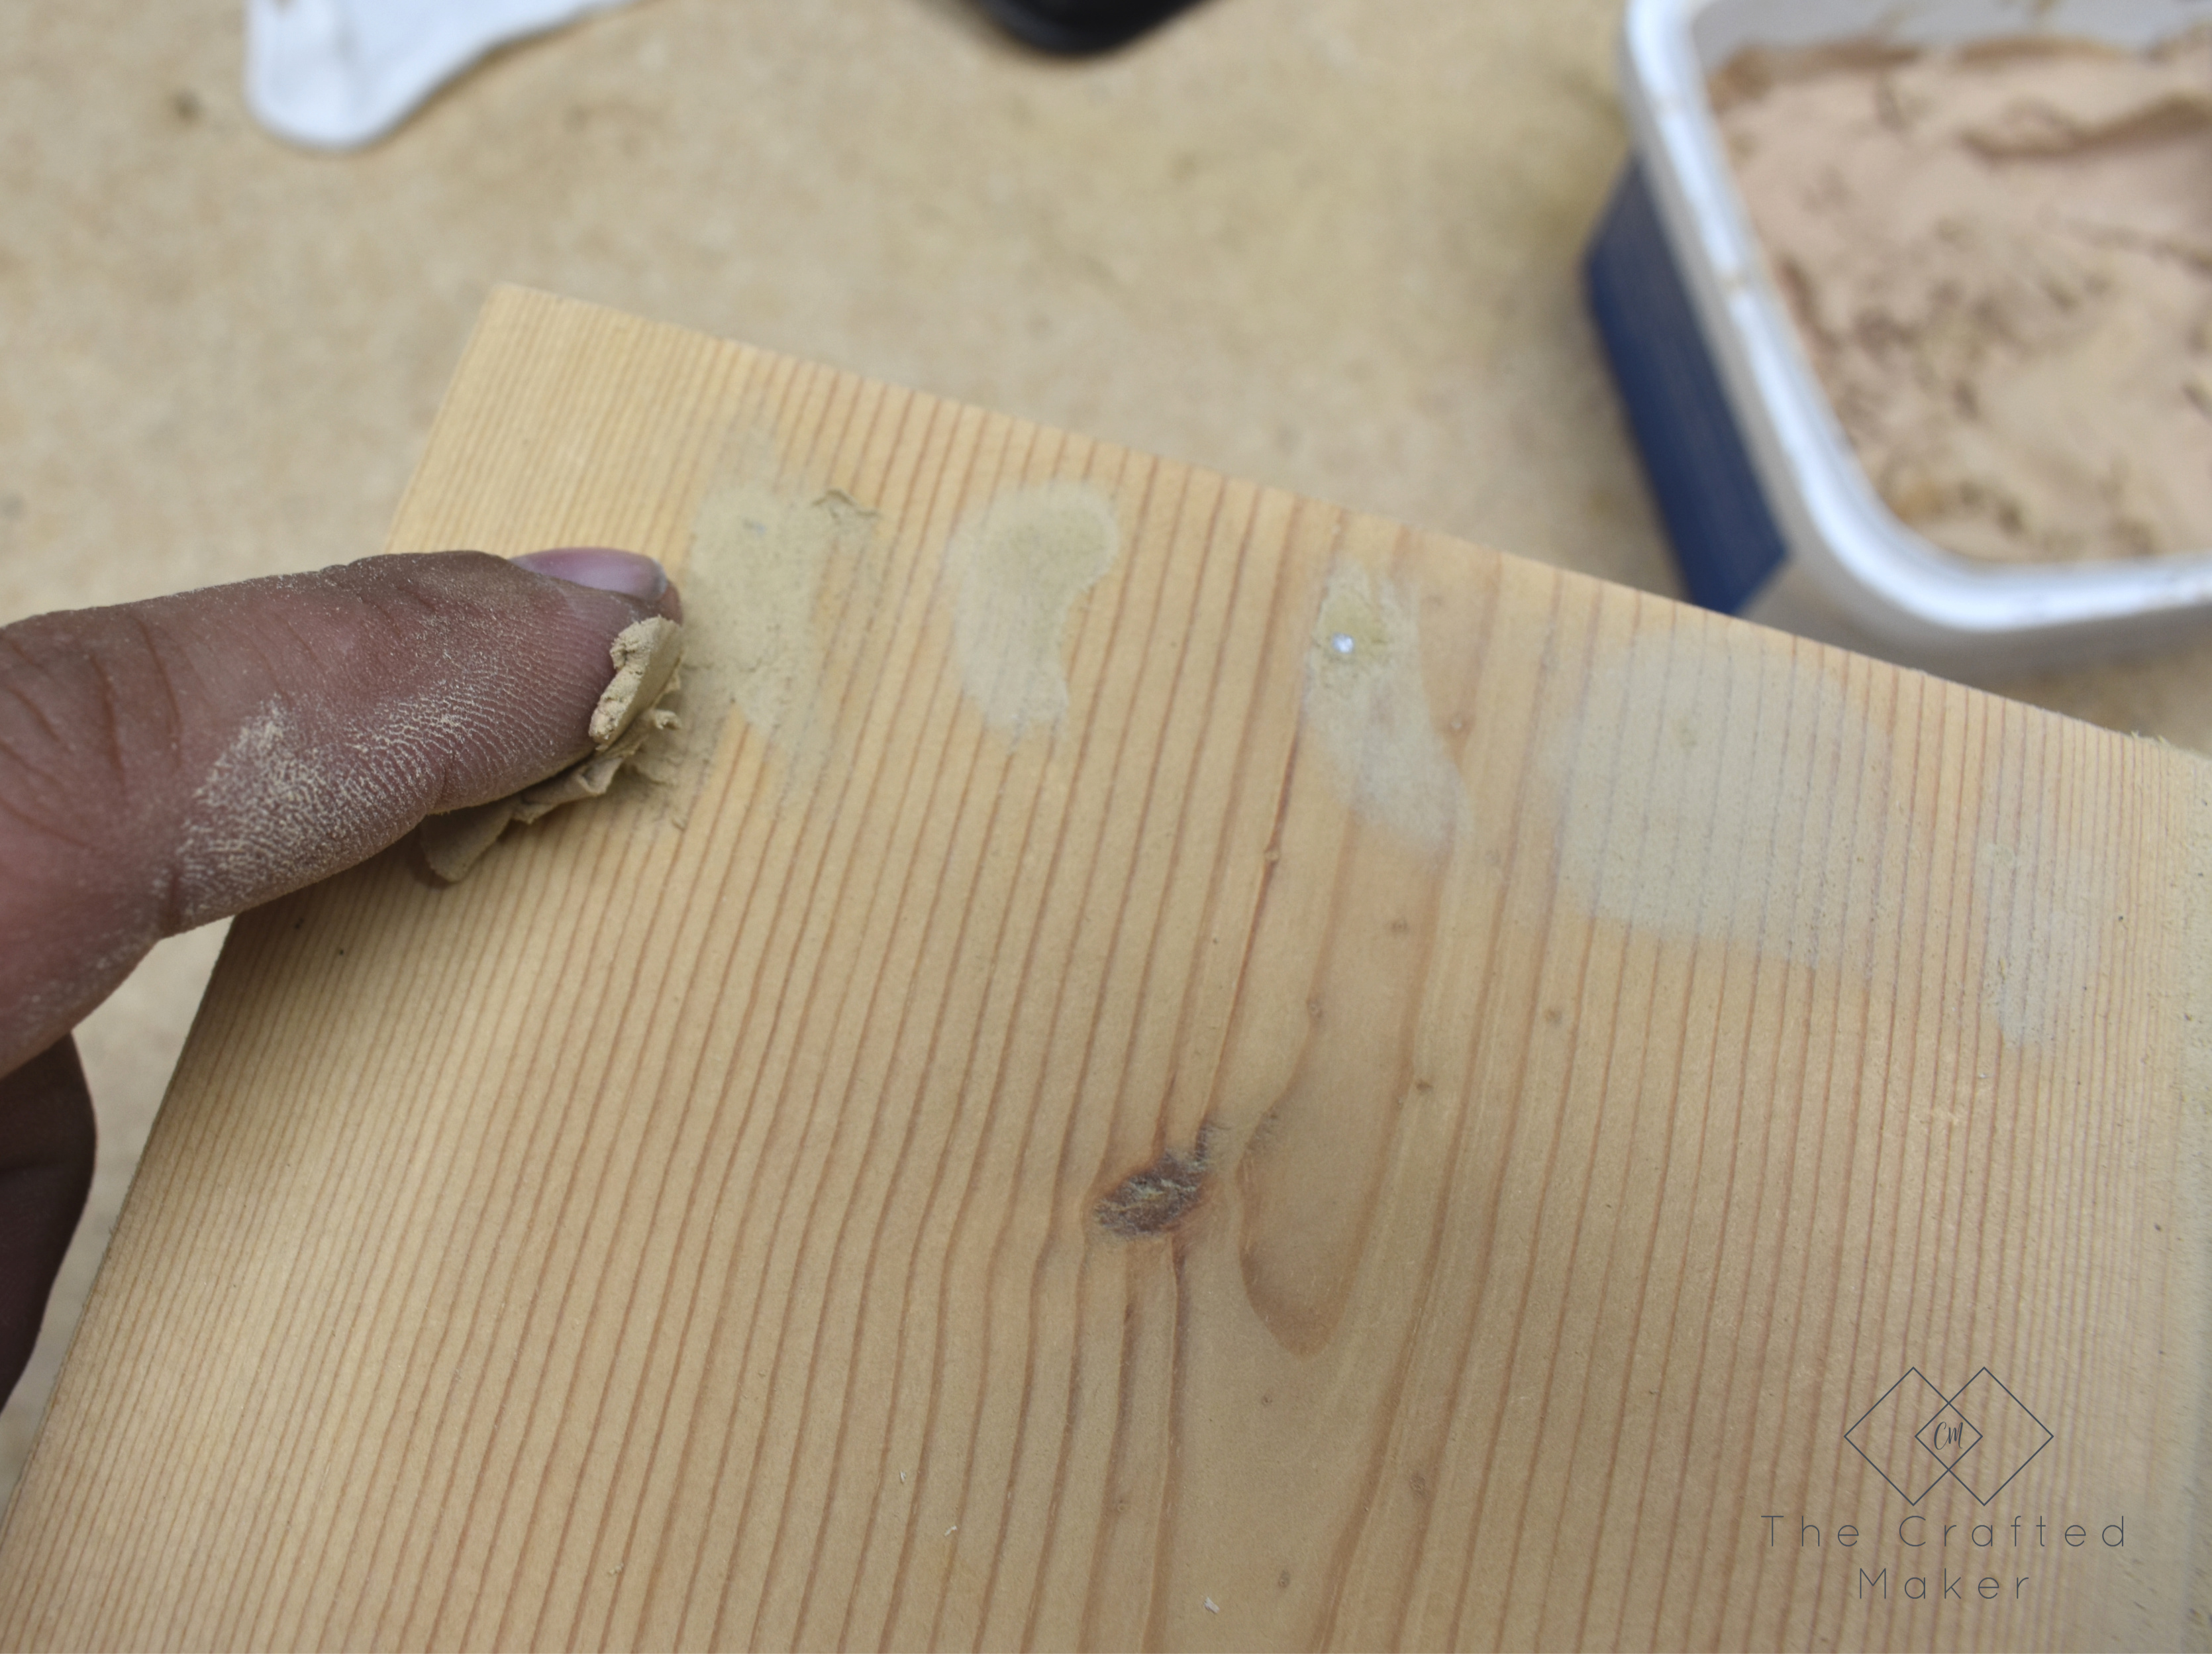
At this time, fill any gaps, nail holes, or imperfections in the wood with wood filler and allowed to dry completely before lightly sanding again. The wood filler you have will give you detailed drying time instructions on the package.

Do you ever feel like you need more organization on your desk or work area? Build this easy and simple DIY desk organizer in a couple of hours.

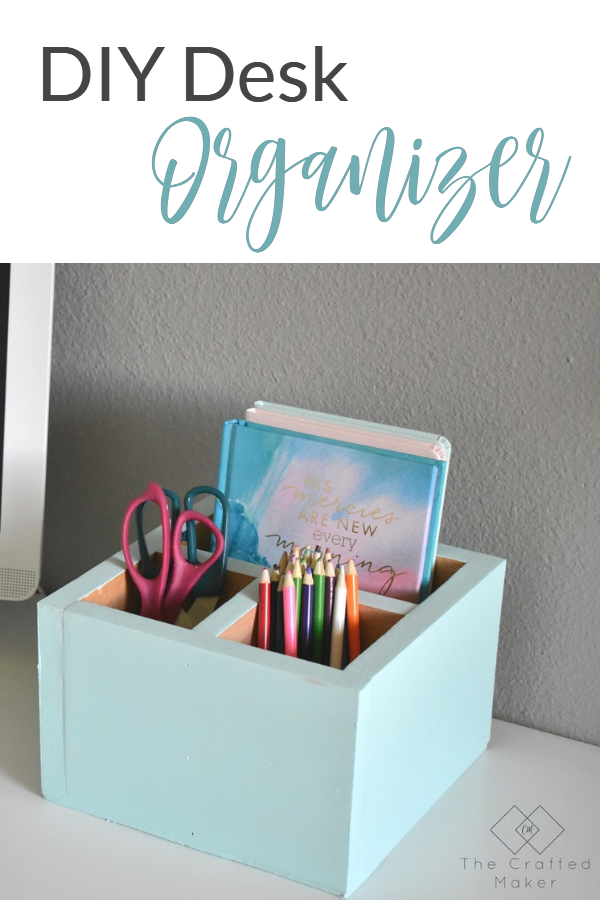
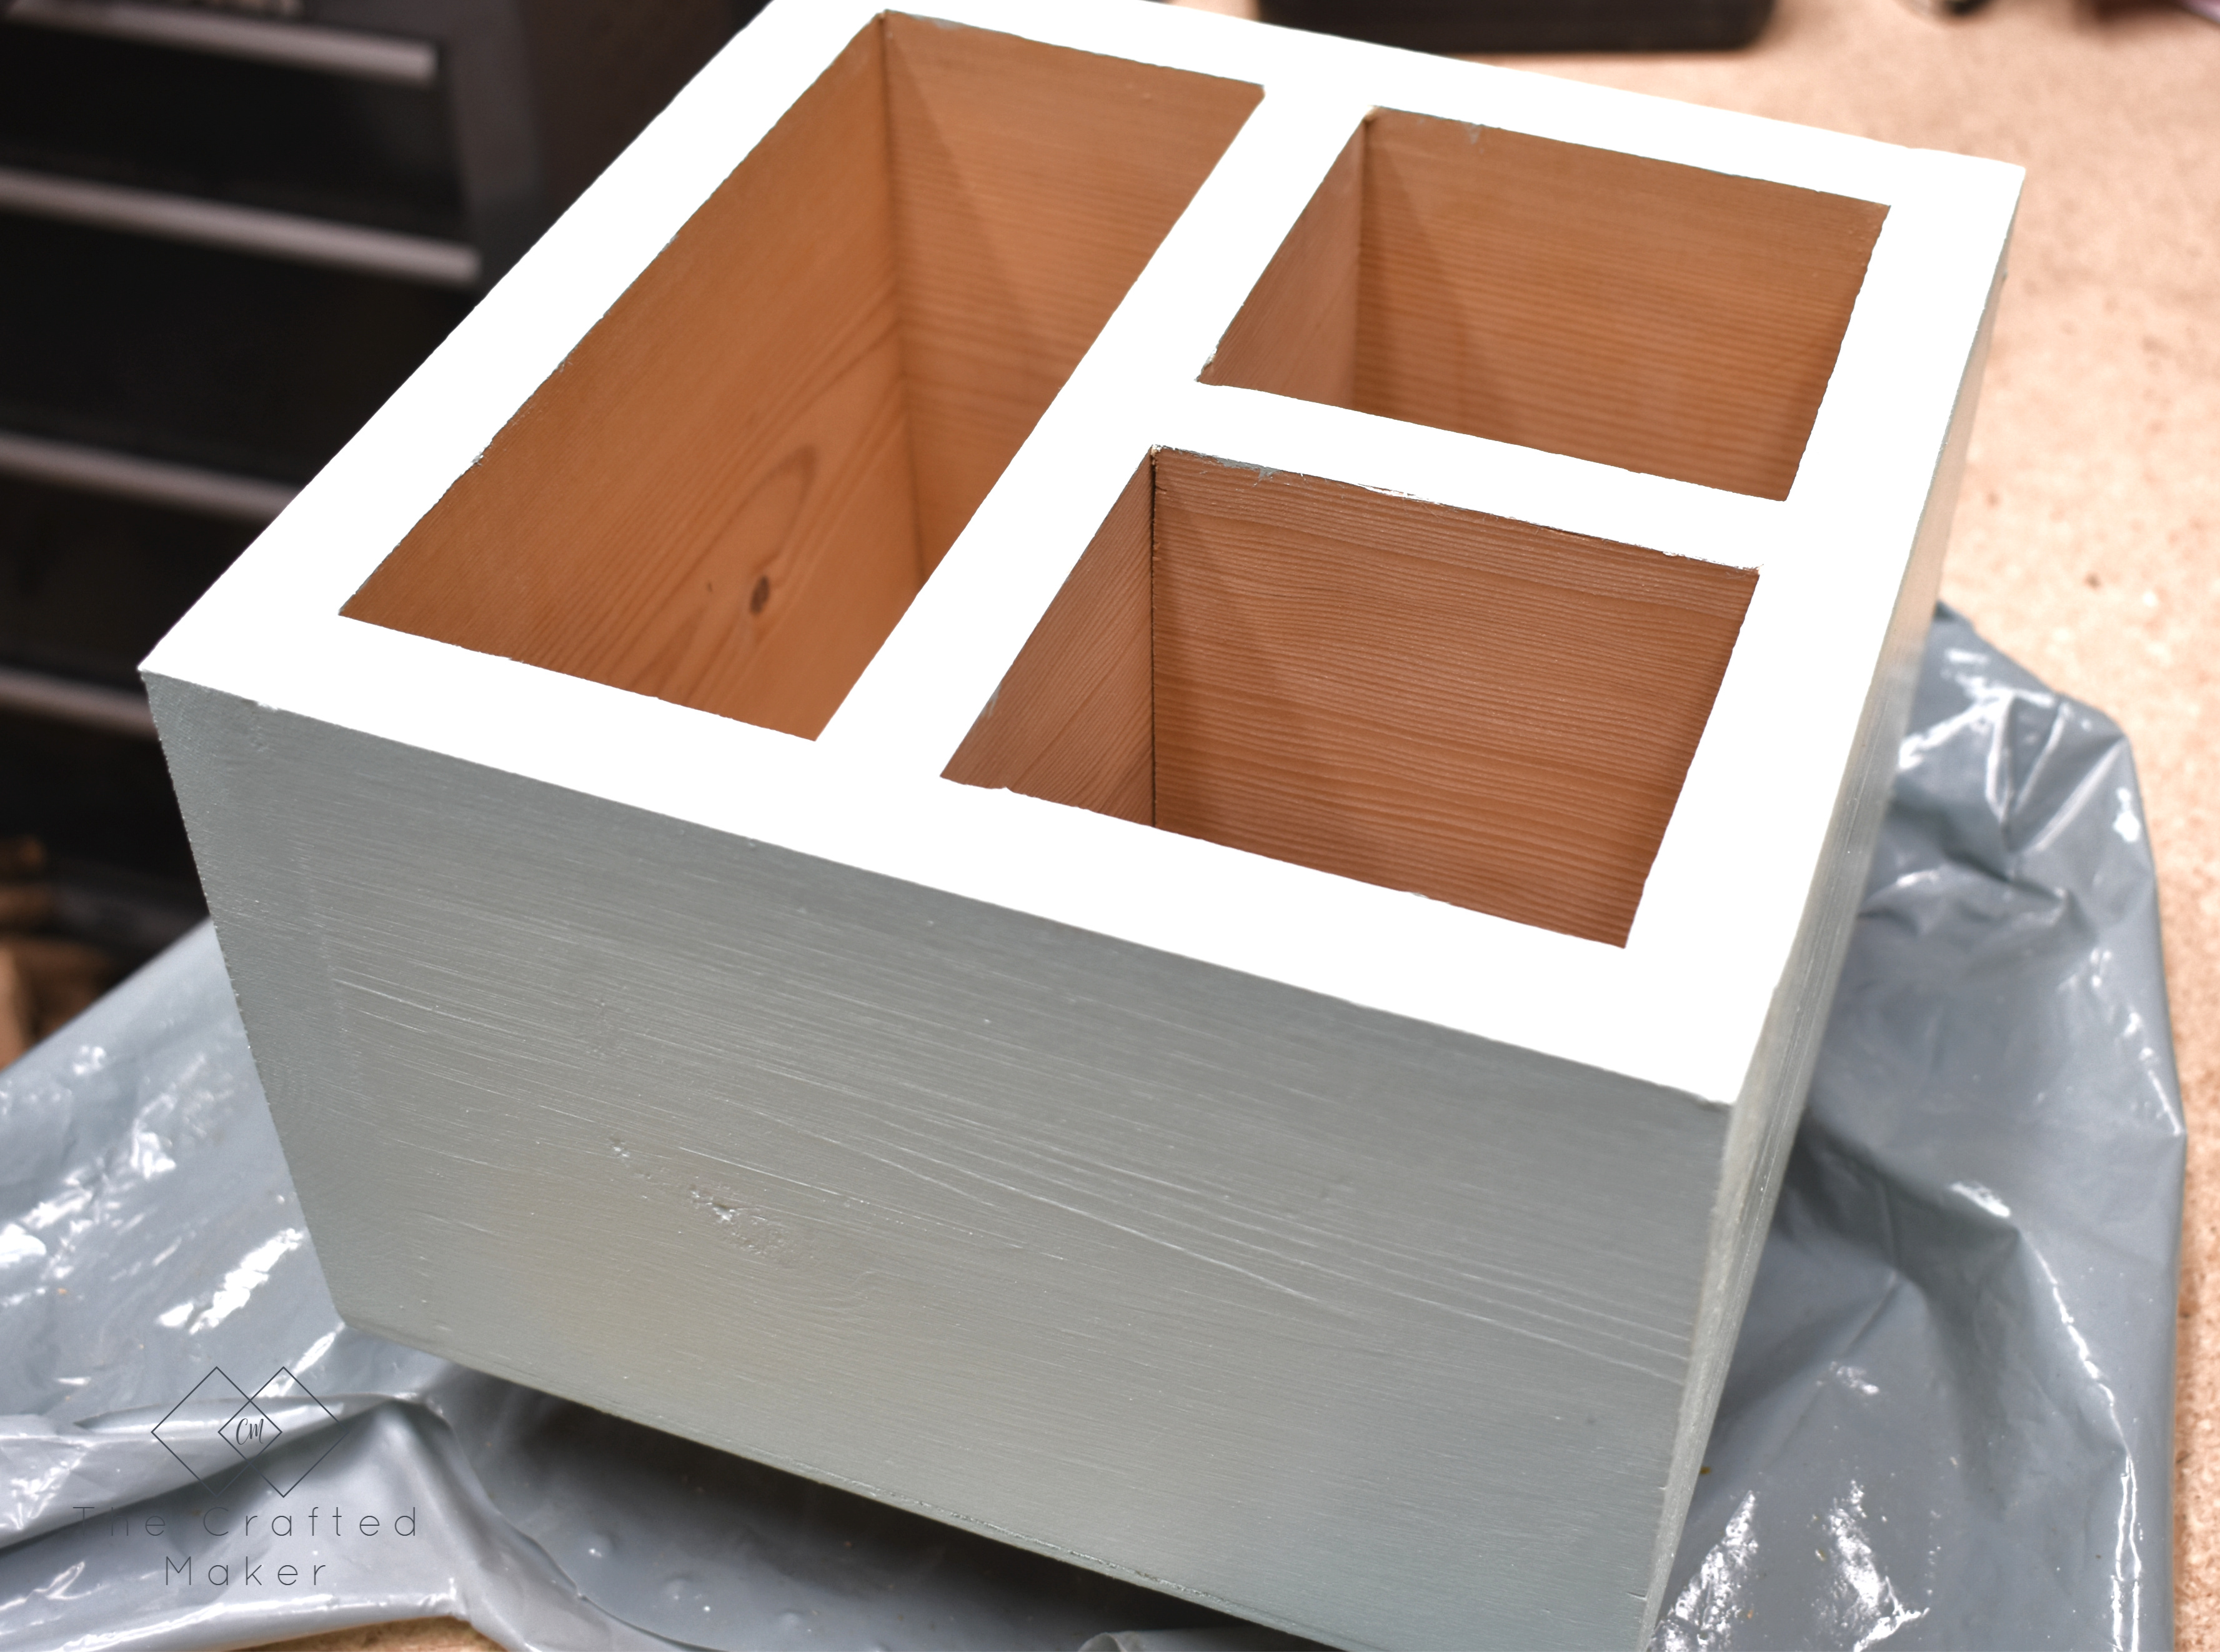
With the wood filler dry and the project sanded, it’s time to paint. My office is gray and my desk is white, so I wanted to paint this project a bright color to contrast a little. The color I chose is Valspar Mystic Sea. I bought a sample of this a while back, if you want to see this color on something else, check out this post here.

Do you ever feel like you need more organization on your desk or work area? Build this easy and simple DIY desk organizer in a couple of hours.

When I painted, I left the inside natural wood. Not only will this make painting simpler, I like the two-tone effect it gives this project. Once the paint was dry, I used a clear coat to seal the project.

Do you ever feel like you need more organization on your desk or work area? Build this easy and simple DIY desk organizer in a couple of hours.

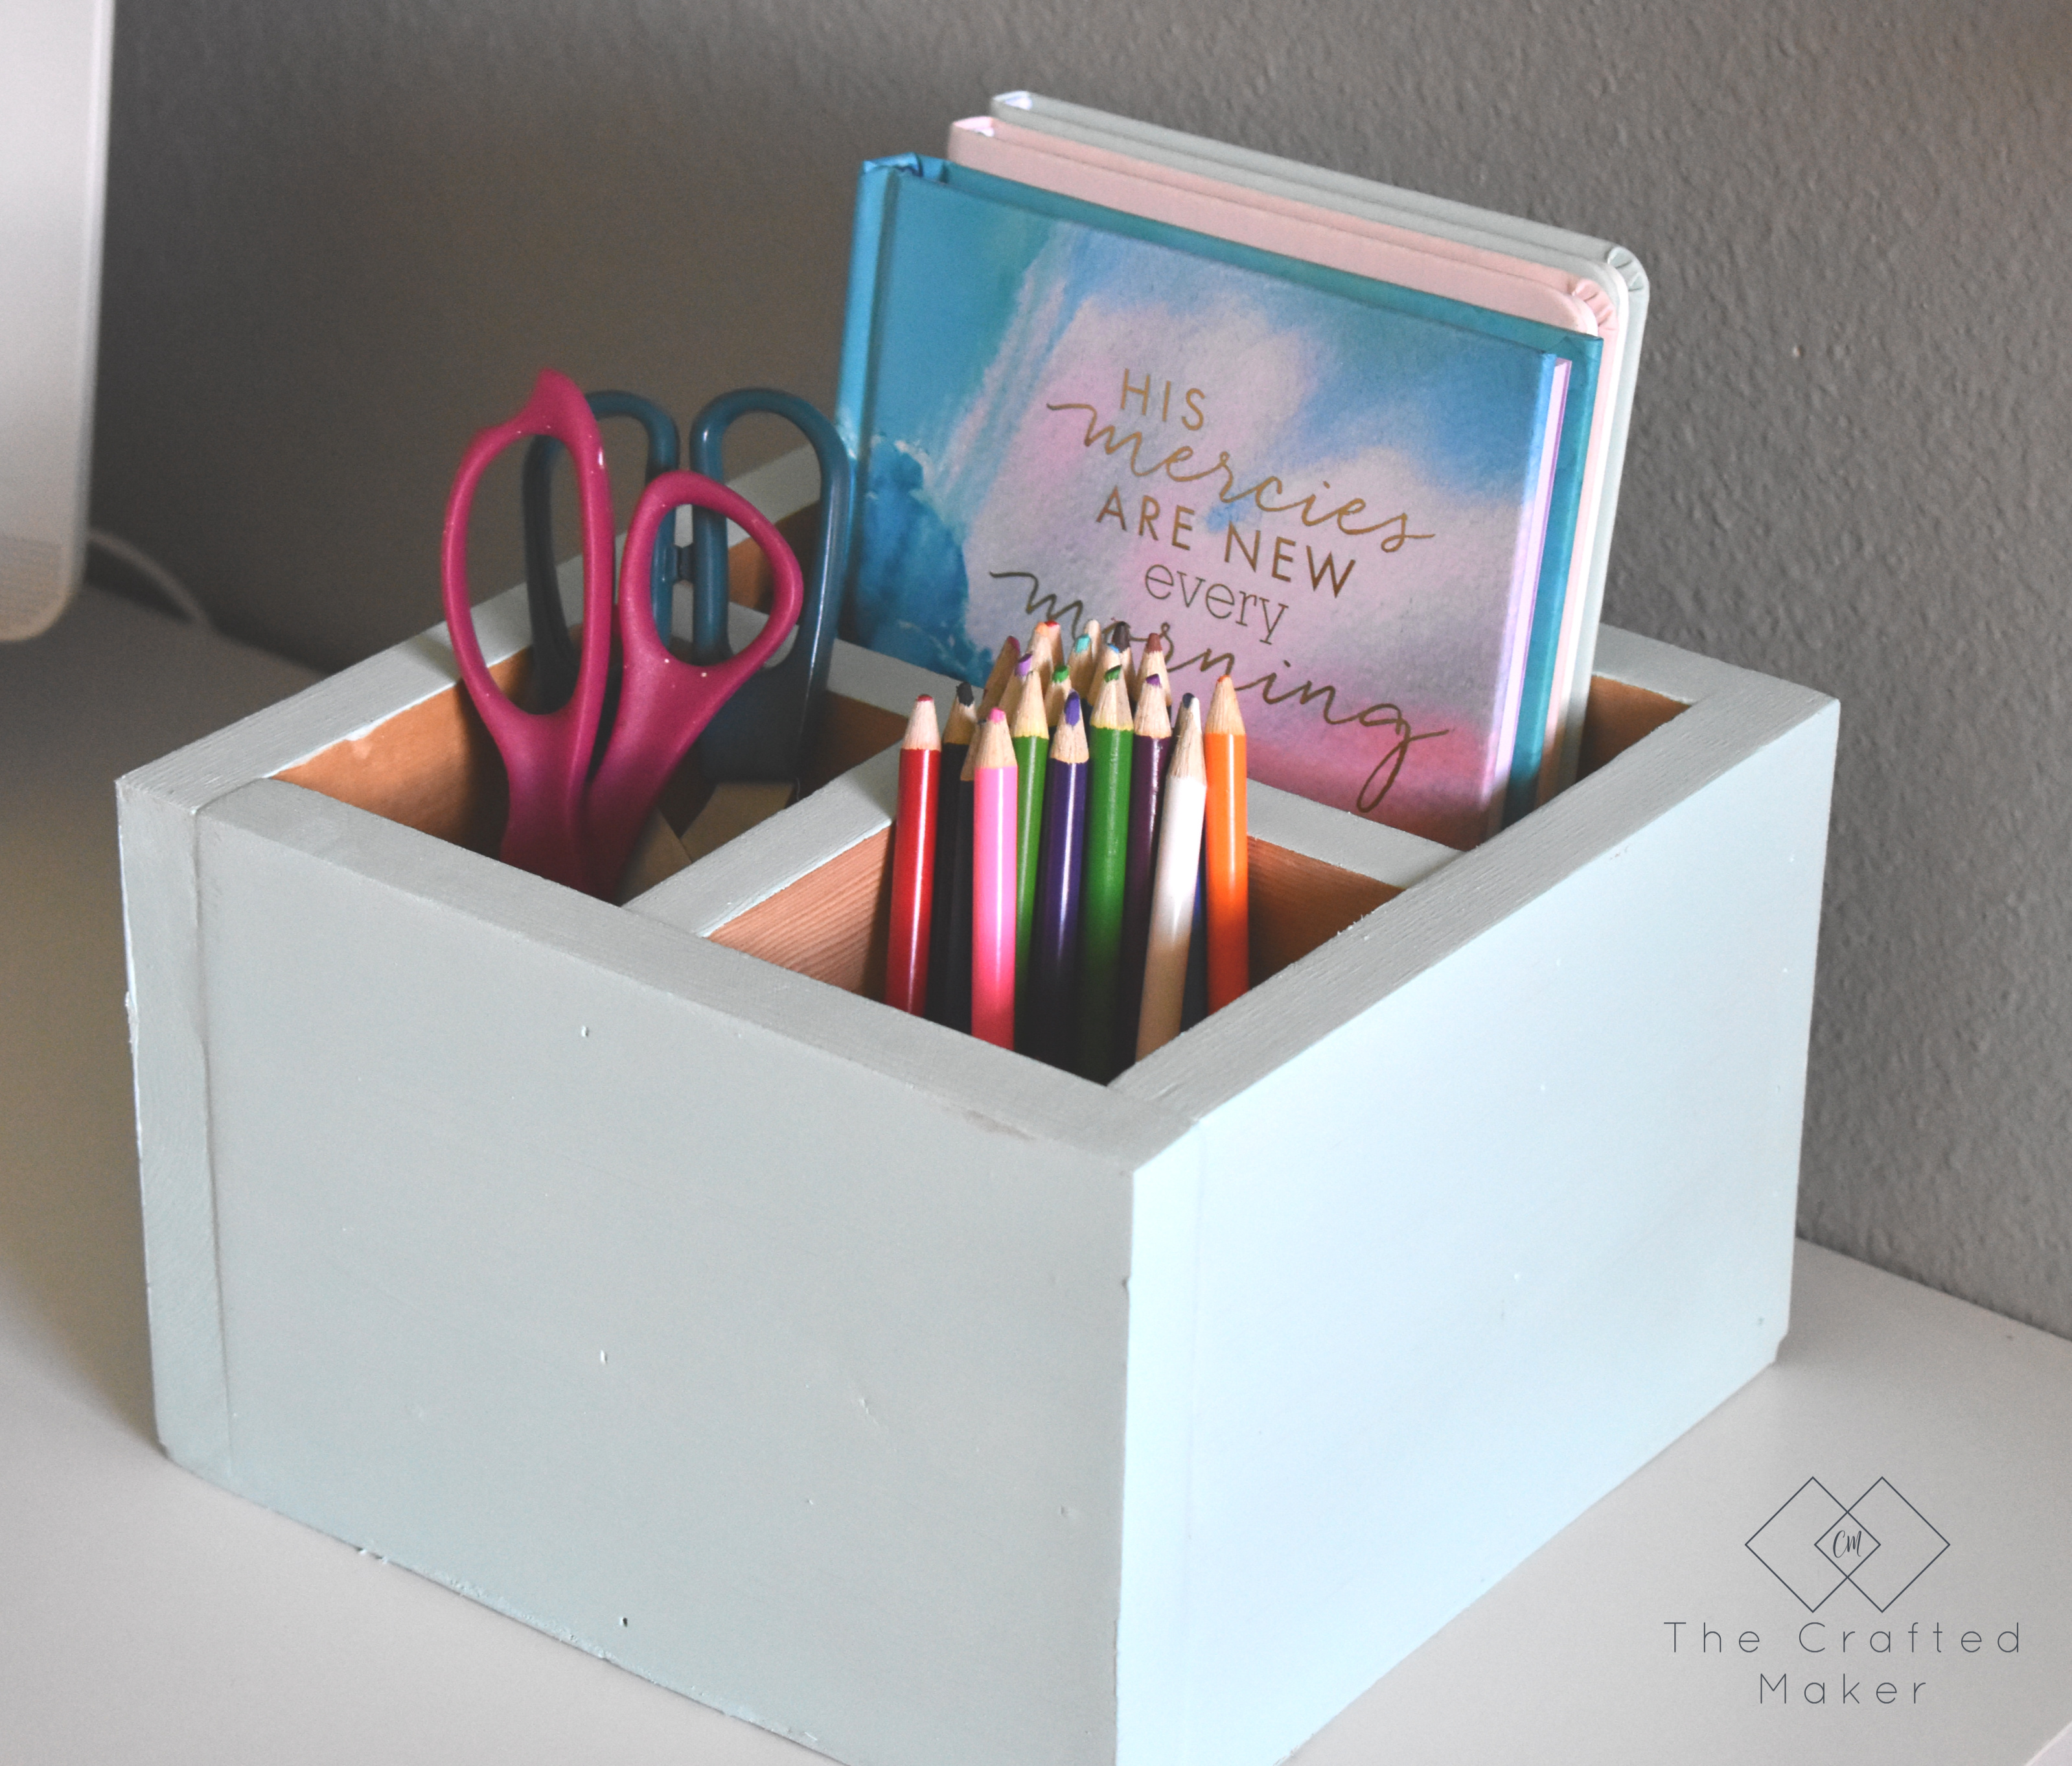
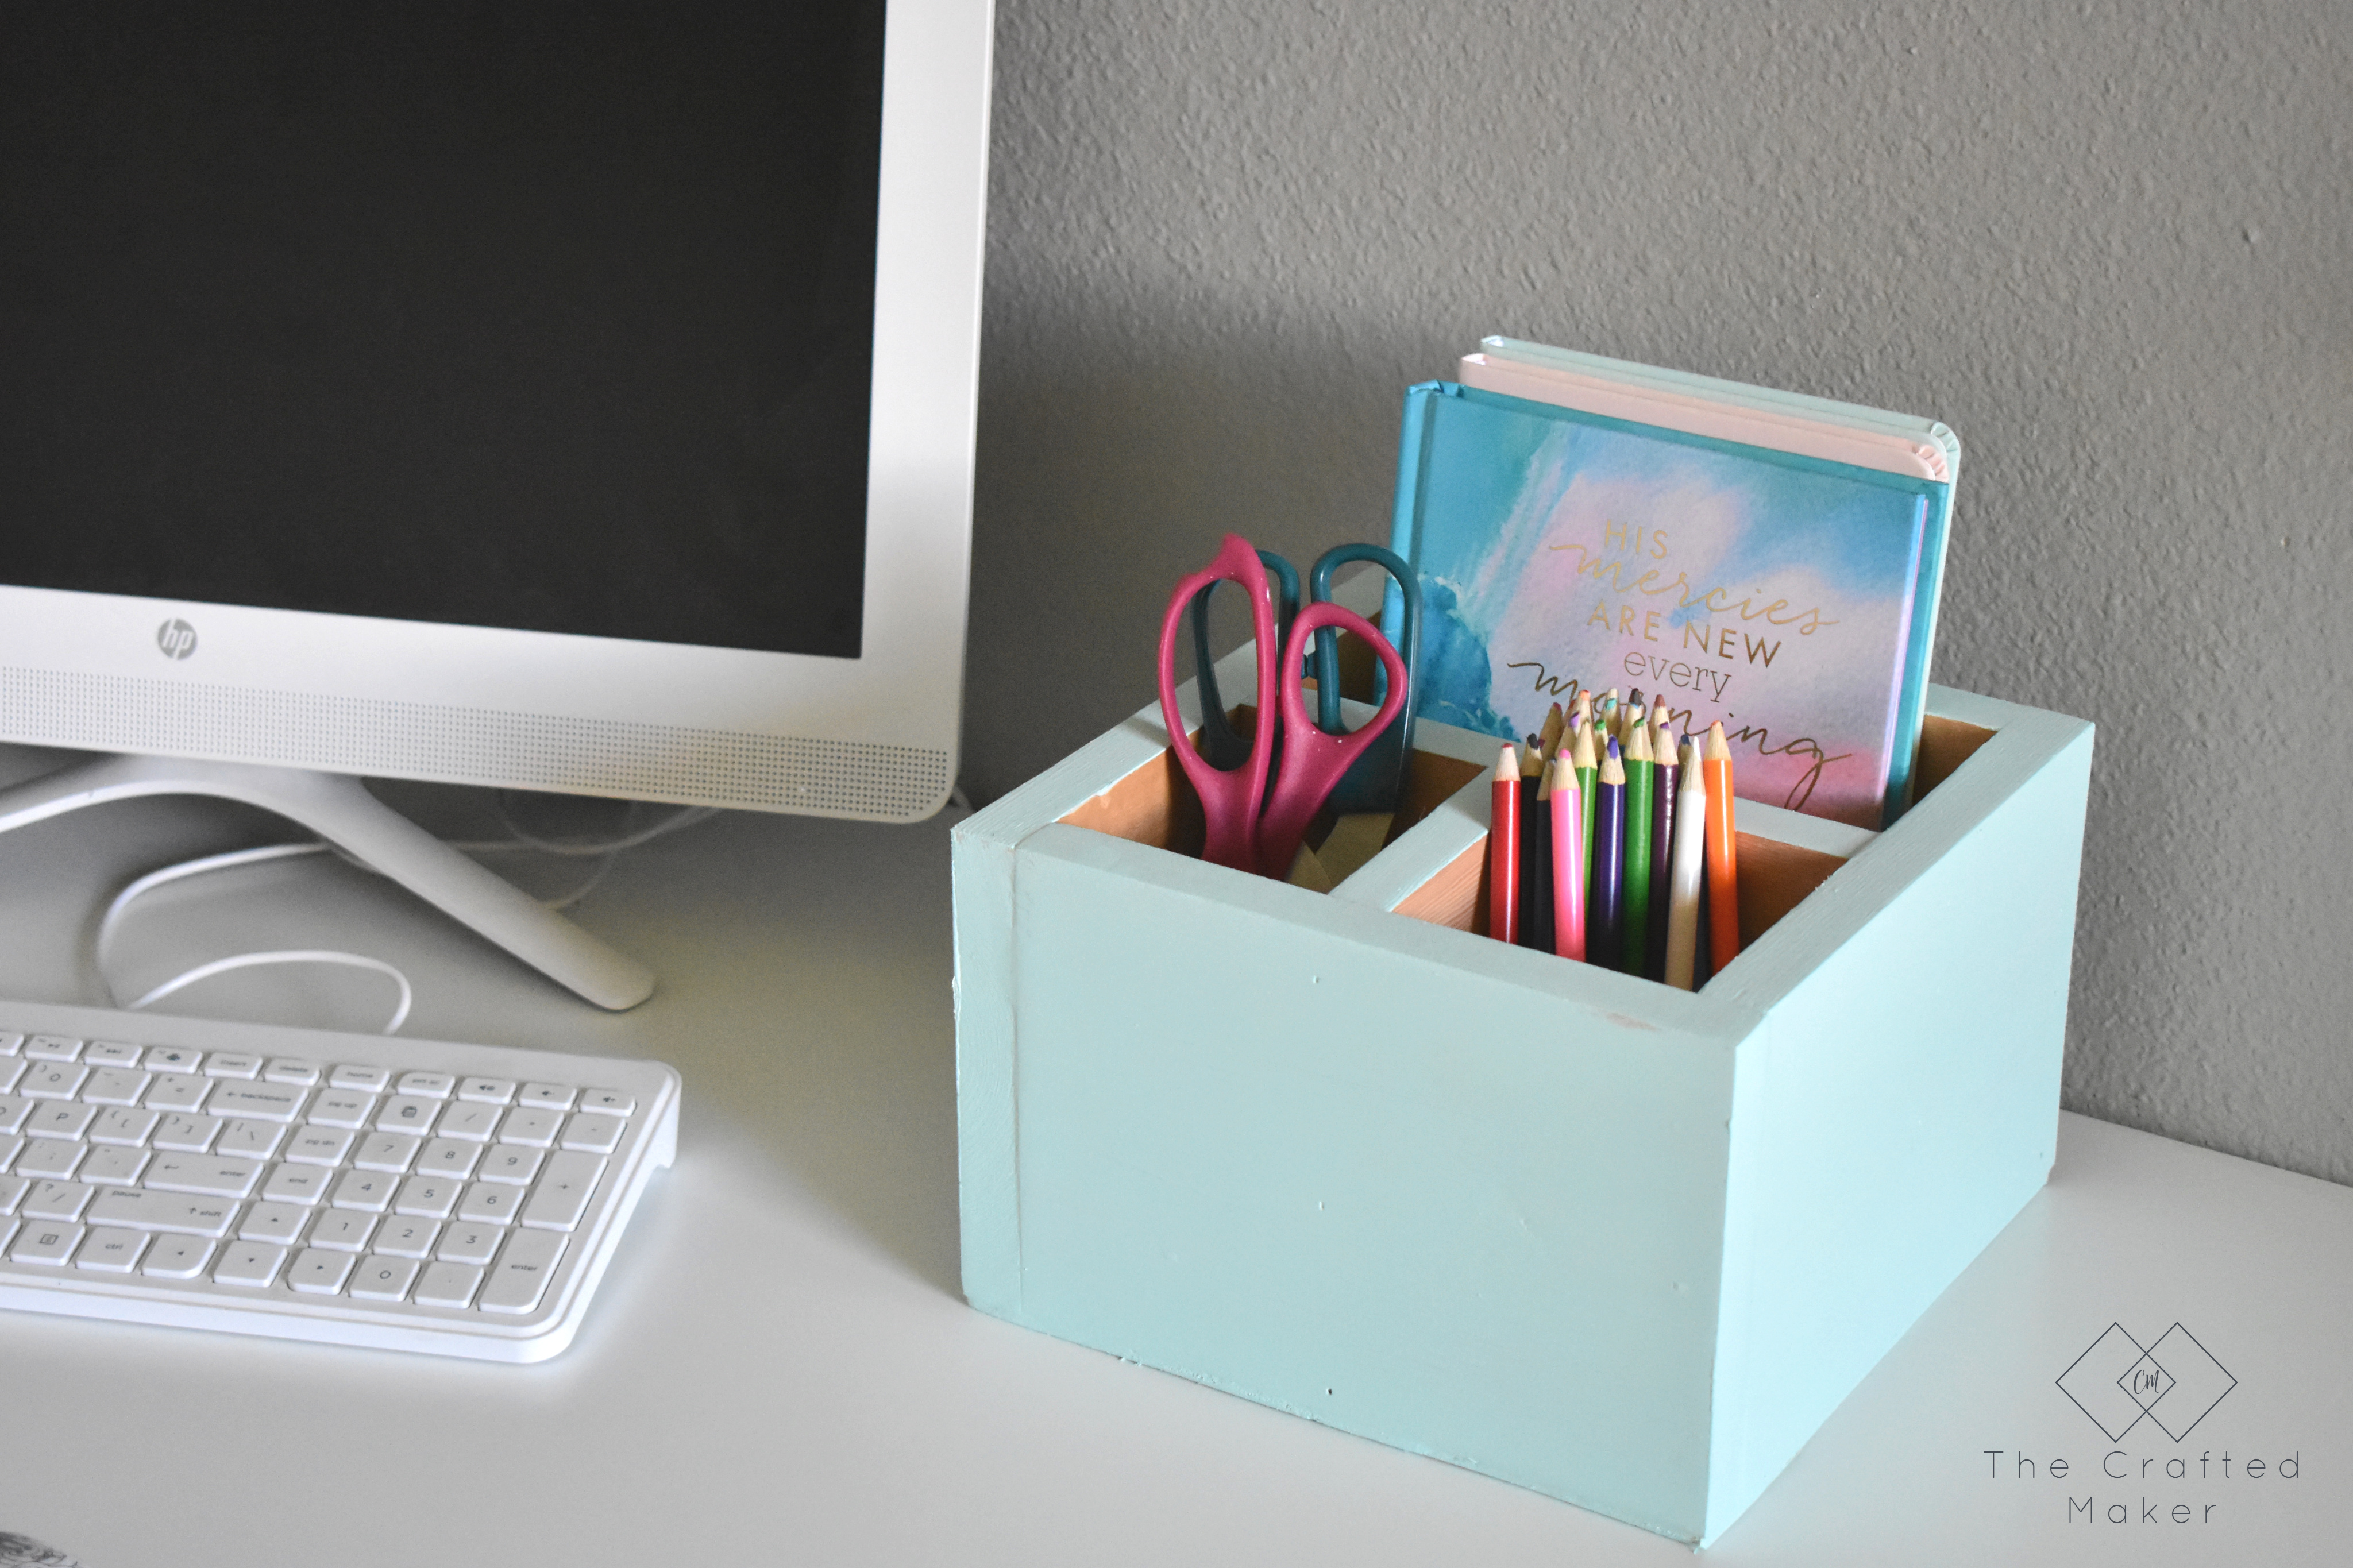
Here it is in use. I love the organization this project brings to my desk. If you want to build one of your own, go for it, and remember to send me pictures so I can share on social media. (@thecraftedmaker).

Do you ever feel like you need more organization on your desk or work area? Build this easy and simple DIY desk organizer in a couple of hours.

Do you ever feel like you need more organization on your desk or work area? Build this easy and simple DIY desk organizer in a couple of hours.

Talk to you all real soon!

Pinning is always appreciated!

Do you ever feel like you need more organization on your desk or work area? Build this easy and simple DIY desk organizer in a couple of hours. #deskorganizer #scrapwoodprojects #officeaccessories #maker

Posted In: BUILD, ORGANIZATION, SCRAPPY SATURDAY · Tagged: Basic Builds, organization, Scrappy Saturday

You’ll Also Love

Simple Wooden Tray
DIY Fall Leaf Door Hanger
Make this DIY Napkin Holder with scrap wood and a few tools. Add some convenience to your dining table setting in about an hour.DIY Napkin Holder
Next Post >

How to Repair a Privacy Fence

Hi, I’m Crissie!

Hello and welcome! I’m Crissie, the girl behind The Crafted Maker. This is my journey of DIY living where new skills are being learned, developed, and crafted one project at a time.


Follow Along!

  • Facebook
  • Instagram
  • Pinterest
  • Twitter

SEARCH THE BLOG

Join TCM Tribe!

If you want to keep in touch with us, this is the best way to do it! Just sign up below and receive all our posts in your inbox!


Free Project Planner!

  • About
  • Contact
  • Disclosure
  • Privacy Policy


Copyright © 2025 The Crafted Maker · Theme by 17th Avenue