Hey guys and gals, to keep up with my latest projects come follow along with me on Pinterest and Instagram!
I hope everyone is having a good Friday so far. It’s almost the weekend. Yay! I don’t know about all of you, but I have loads of keys for some reason. It’s like they just multiply in my house. This problem calls for a DIY hanging key holder! Before starting this project, I went through and checked all of the keys I have to make sure they are still good. Sure enough, they still are. I guess at some point in time I made copies like a mad woman for some reason (don’t ask me, I just live here).
The best part of this project is what it is made of. Do you all remember my Arhaus inspired end table? I had some boards left over from that project that worked out perfect for the key holder. I didn’t even have to cut off any length. Score!! So here is what I did…
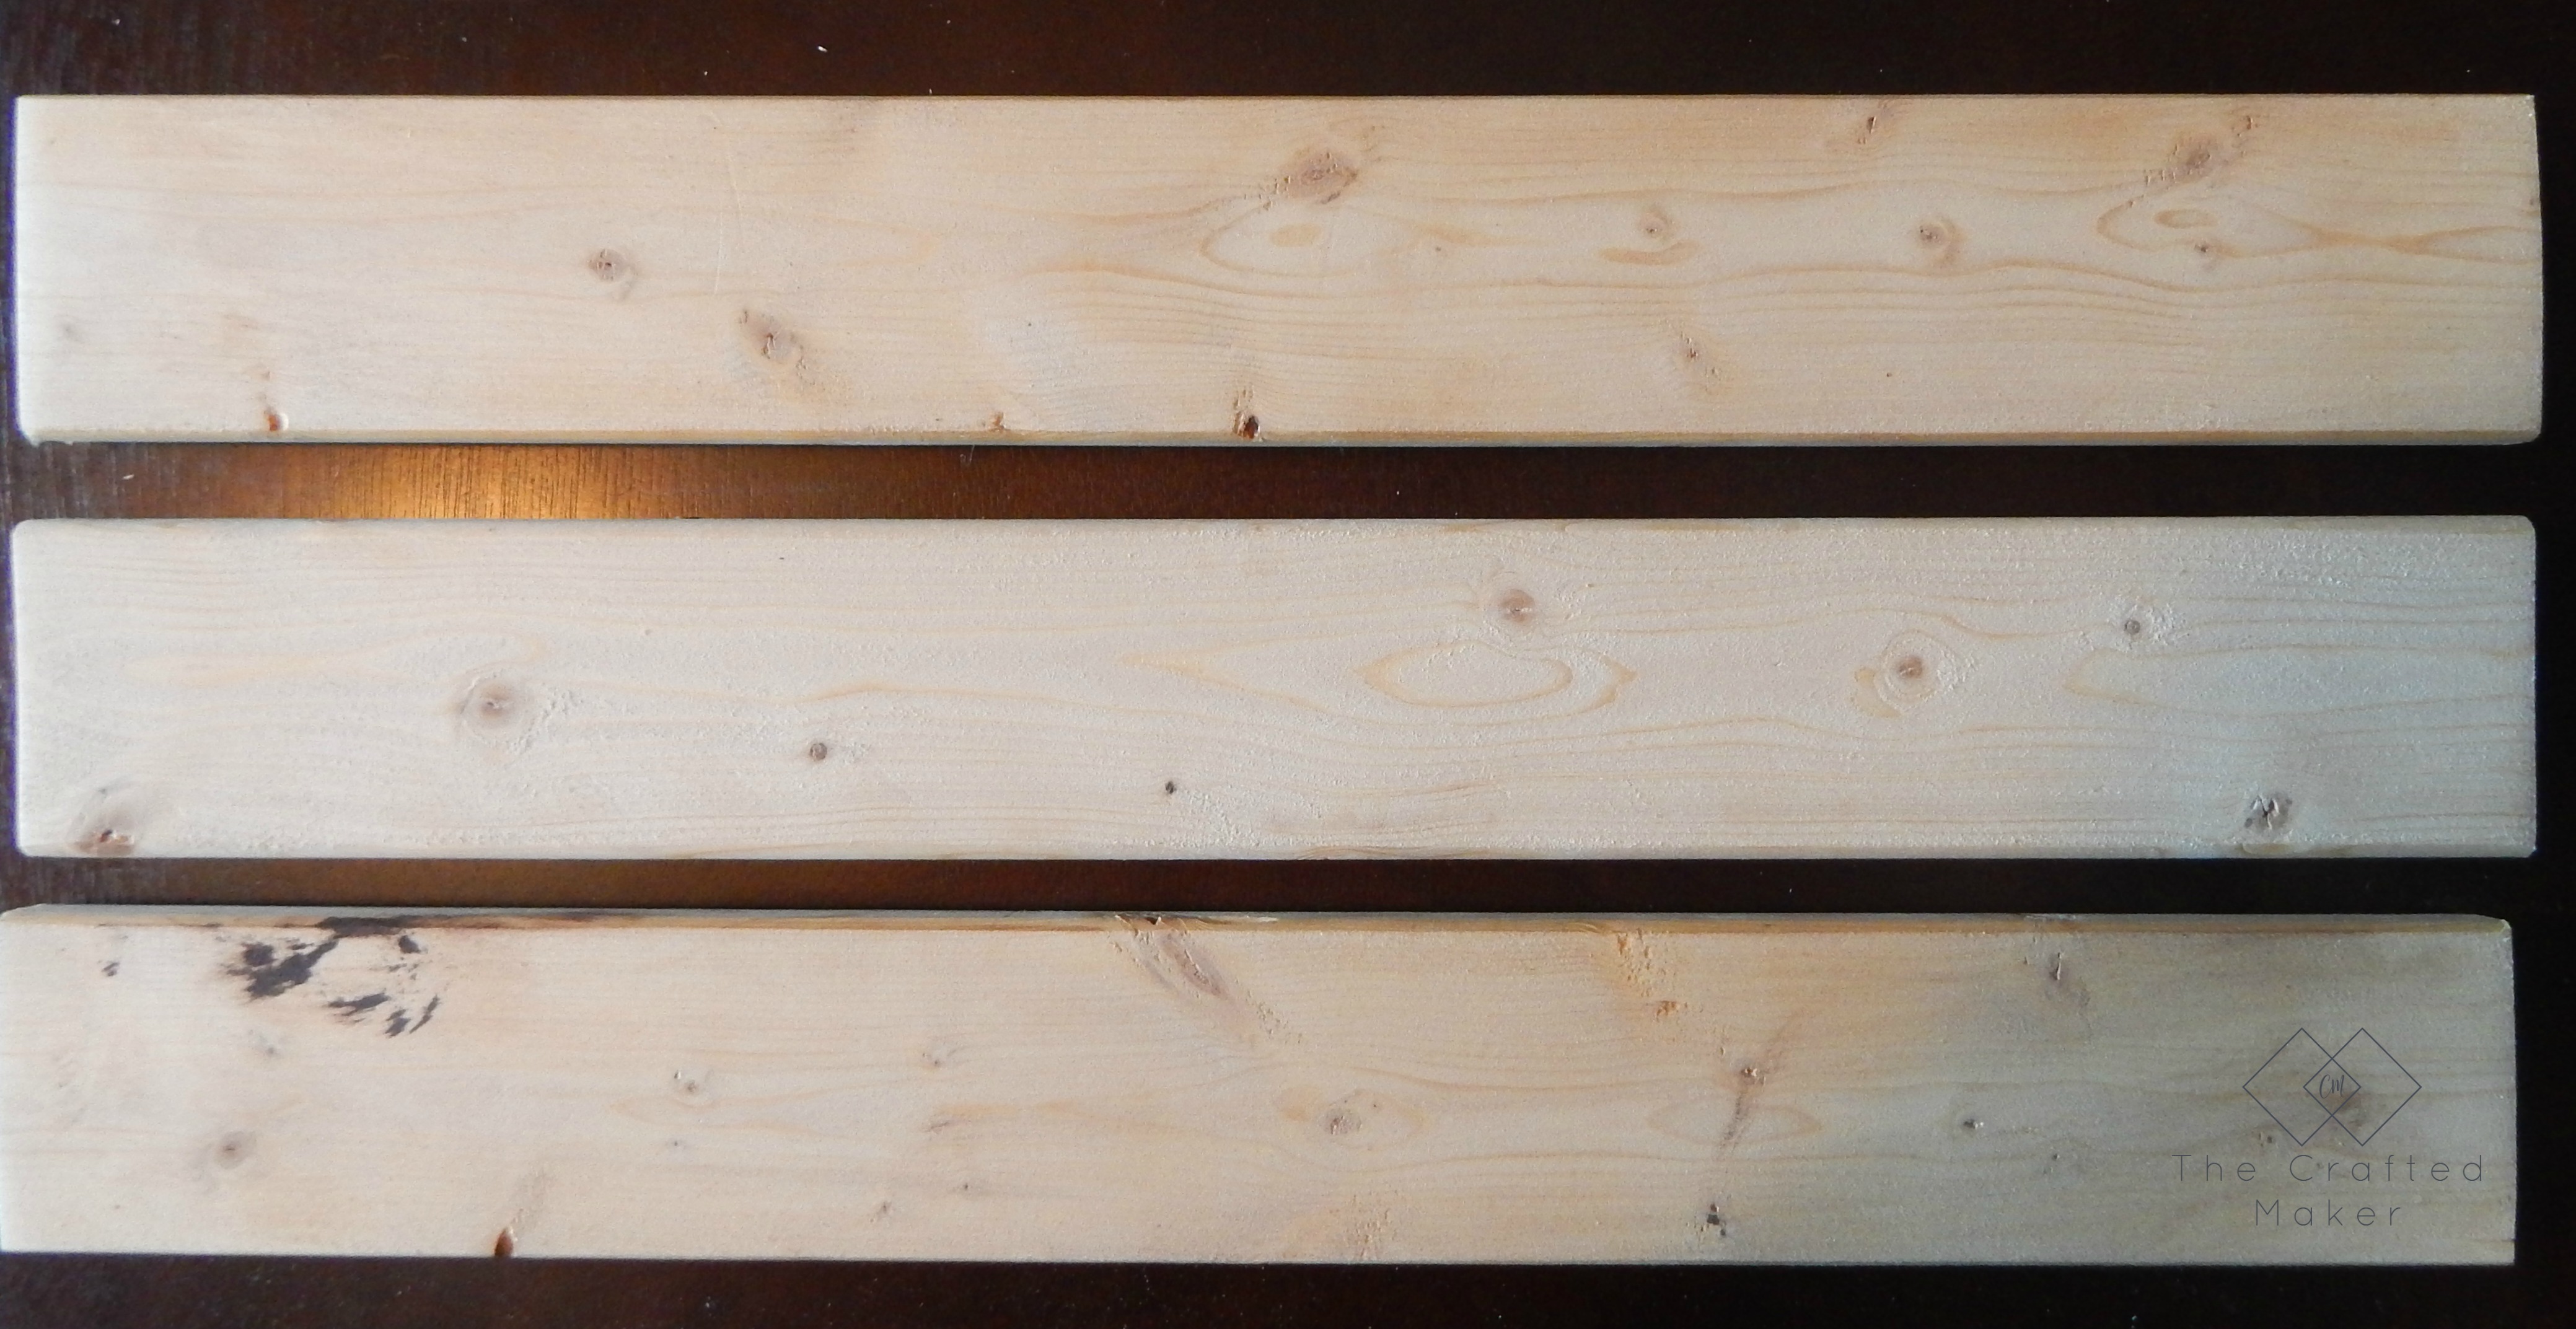
I started out with three 1×3 boards cut at 18″.
I needed an easy way to attach them together, so I decided to use pocket holes for this step. Two of the boards got pocket holes. The last board didn’t need any. The backs of these boards are ugly and haven’t been sanded, but you will never see them.

I attached the boards together with two pocket holes screws in each board. This is plenty because there won’t be that much weight on the key holder. Just don’t be that creepy person who has a 50-pound keychain.
Now that the boards are attached, I sanded them completely and stained. I decided to go with, wait for it, Kona. I know, imagine that. I can’t help the fact that Kona is the best stain color out there! One of these days I might actually branch out and use another color.

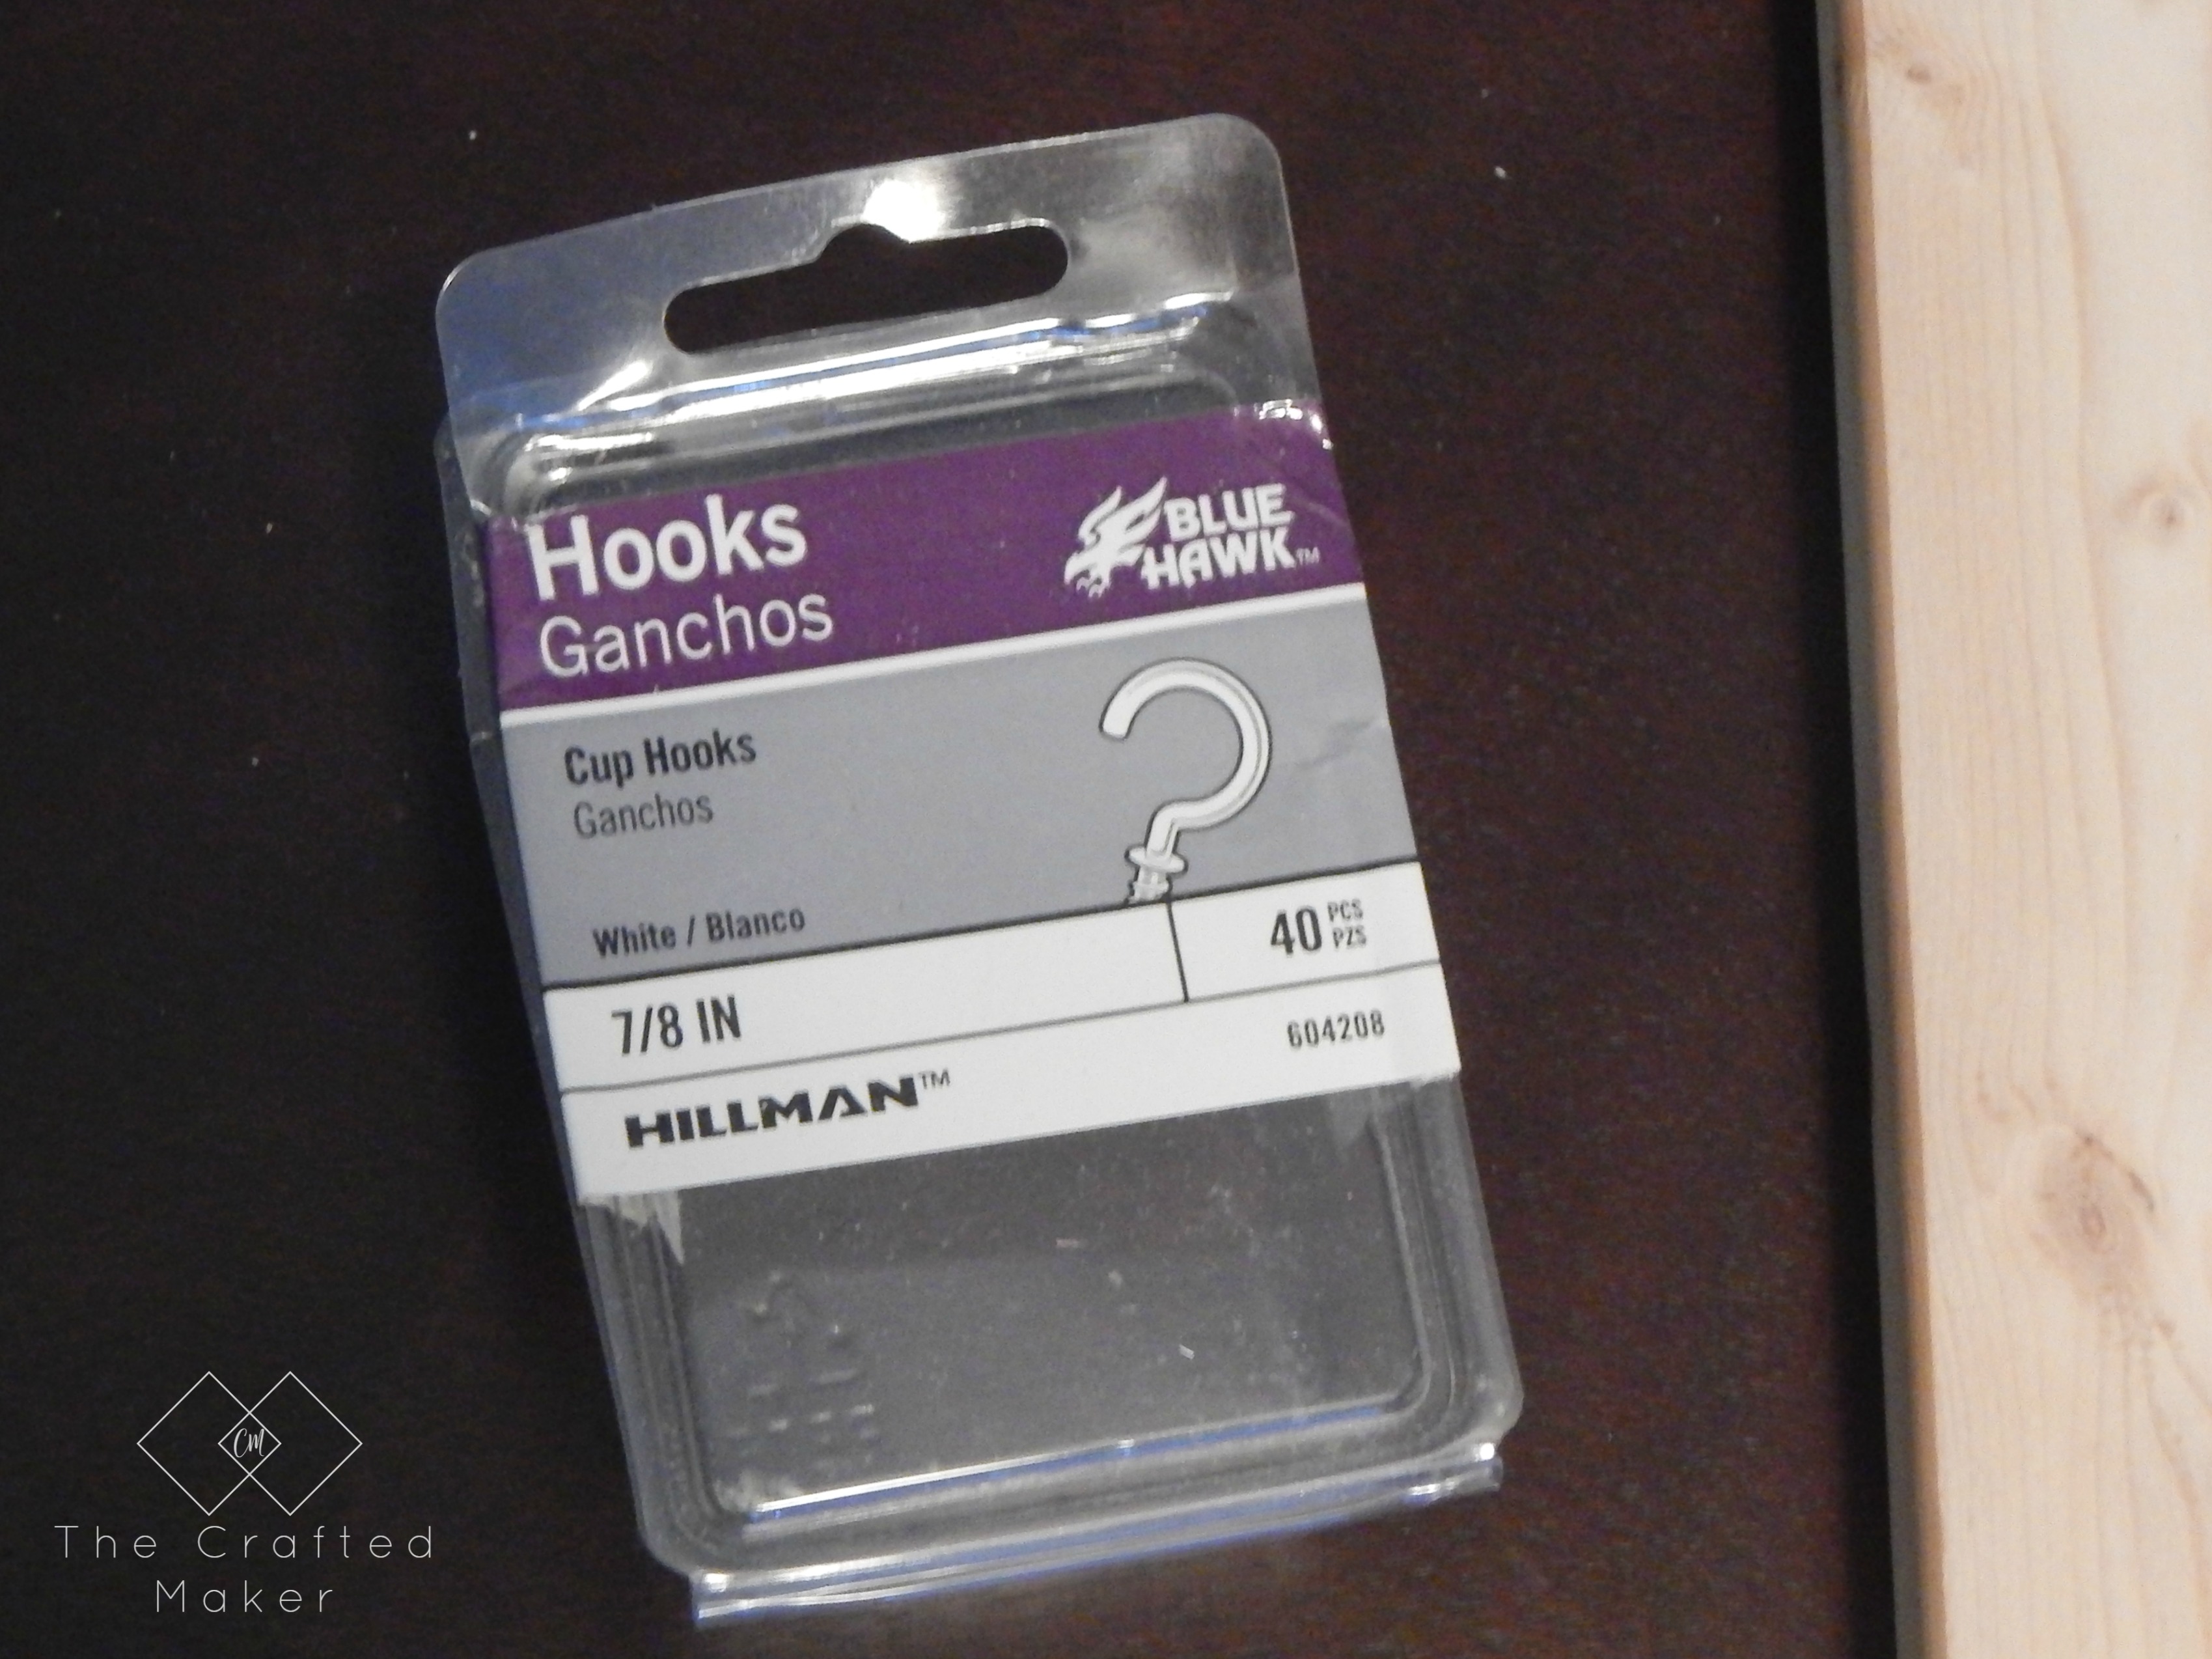
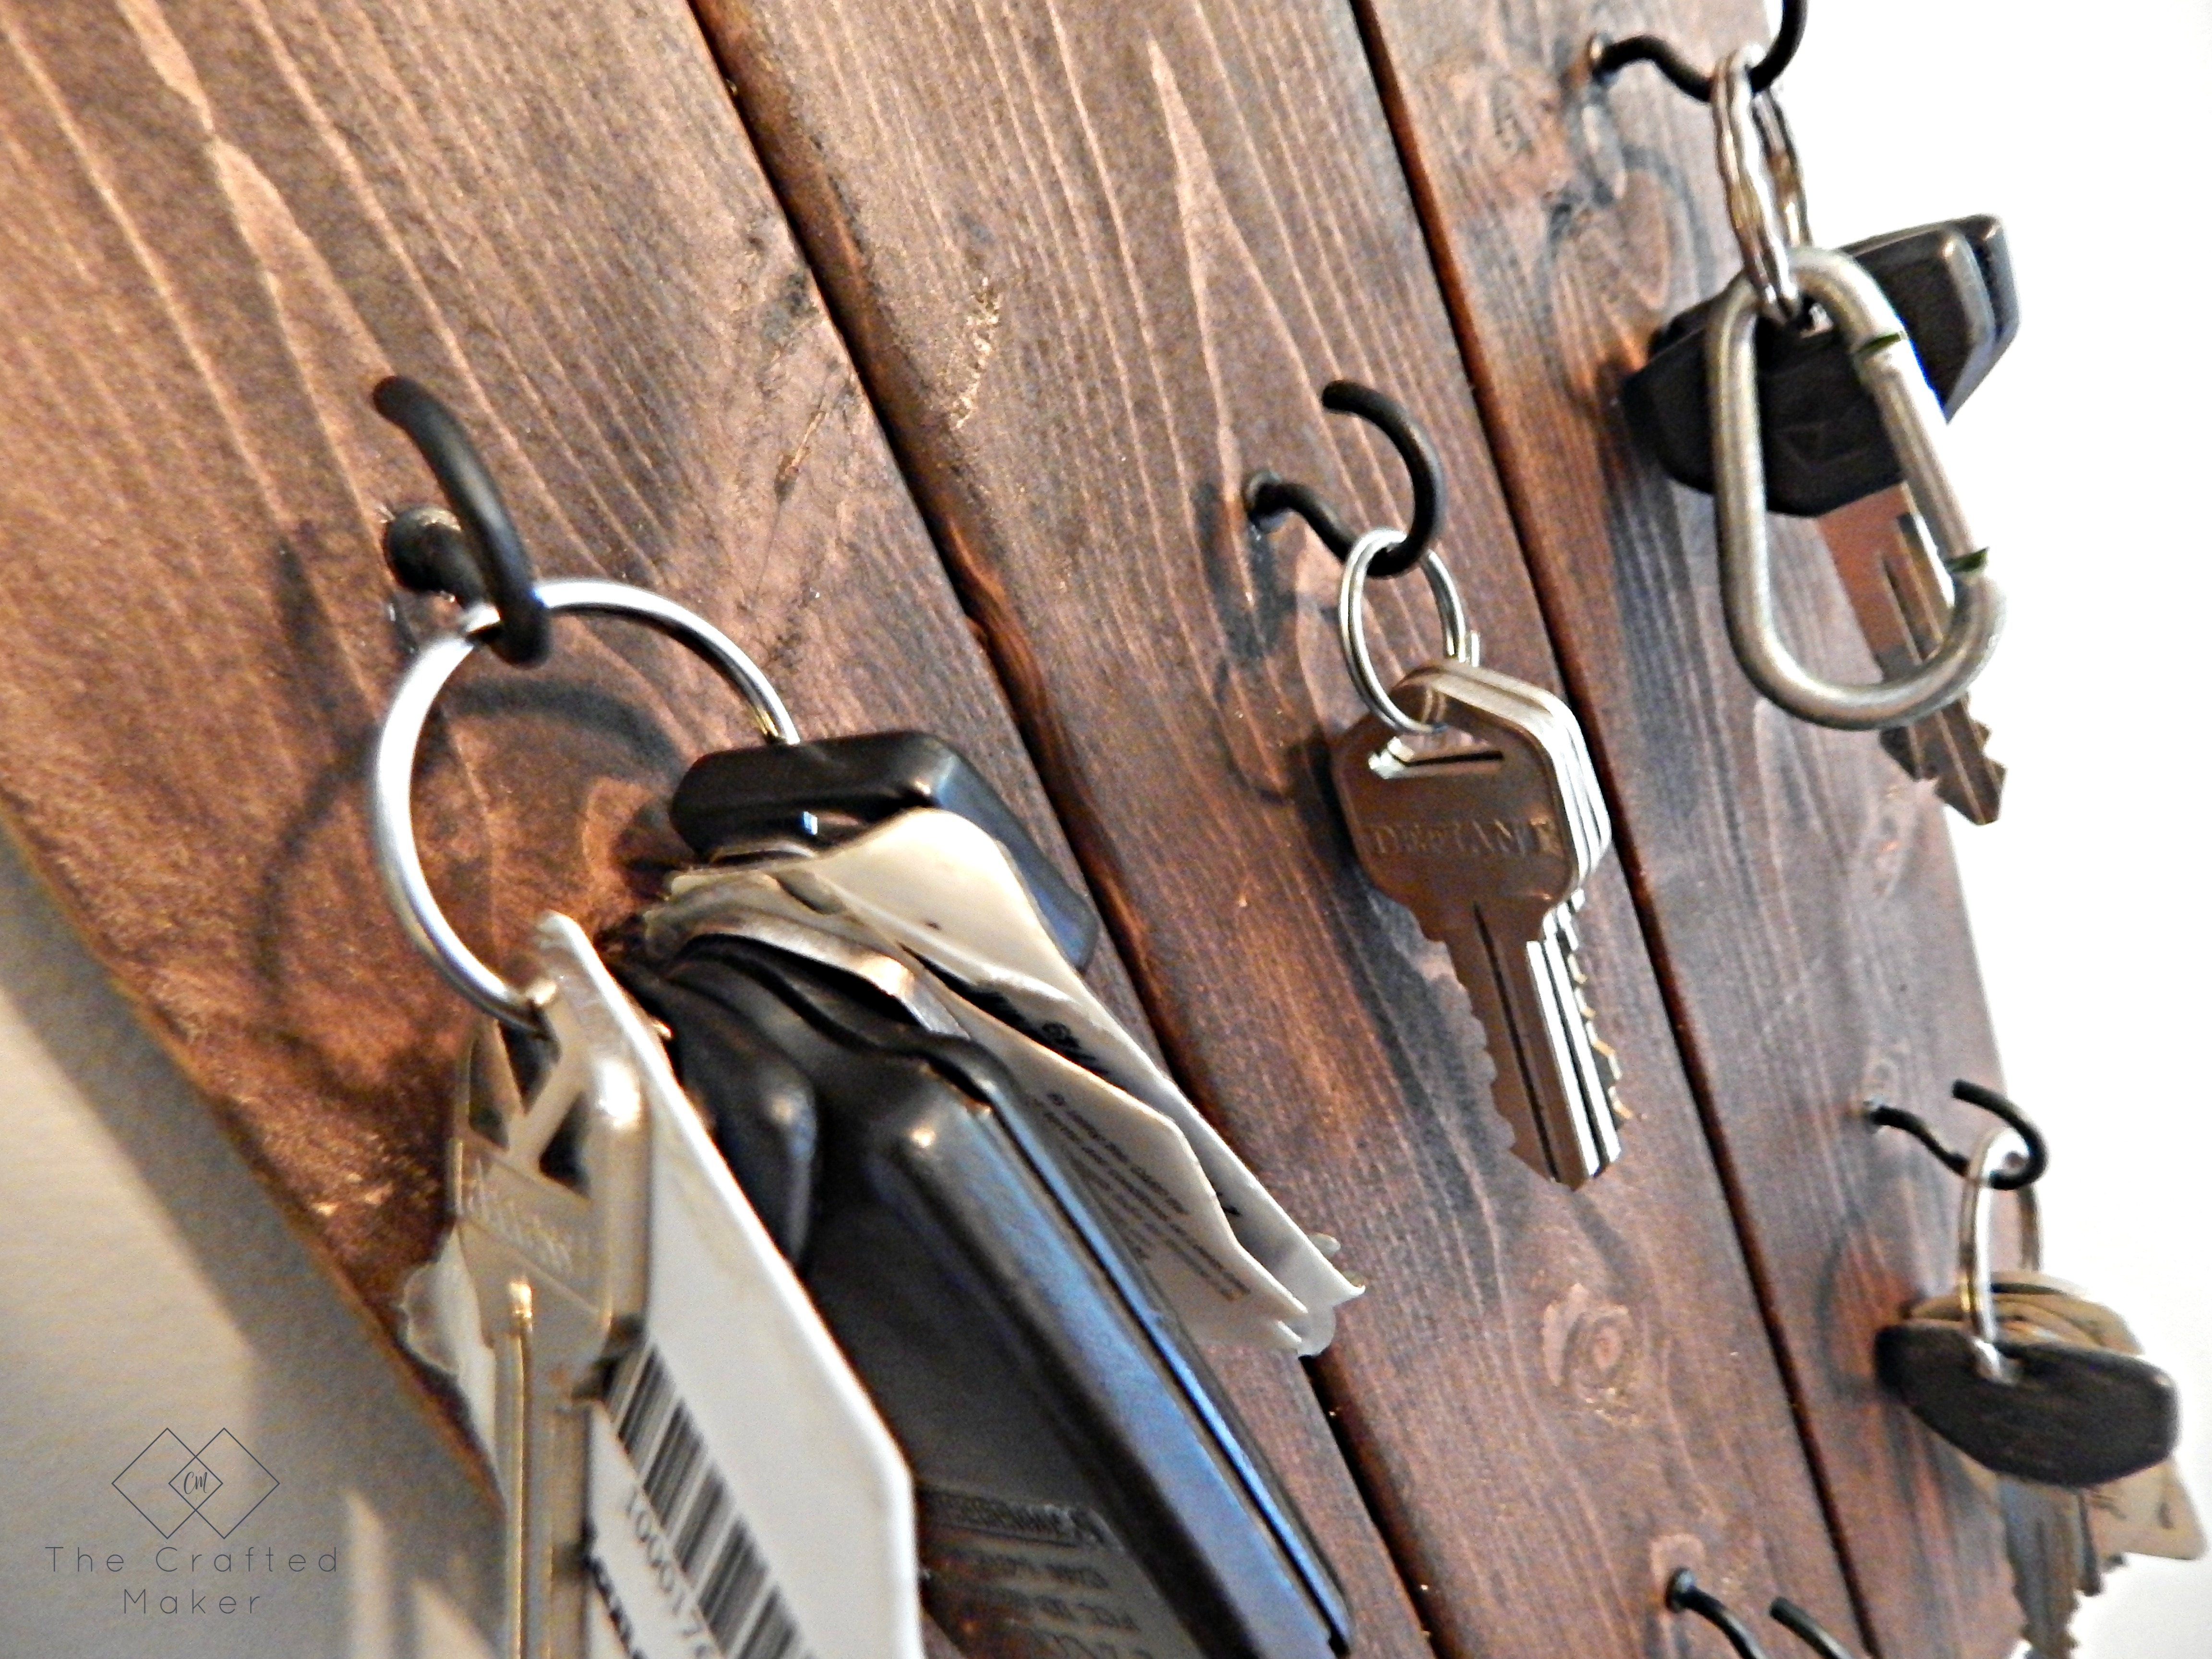
Now that the project is assembled, it’s time for the hardware. I had a few cup hooks left over from my jewelry stand project, so I decided to use them for the key hooks. You can pick these up at any hardware store.
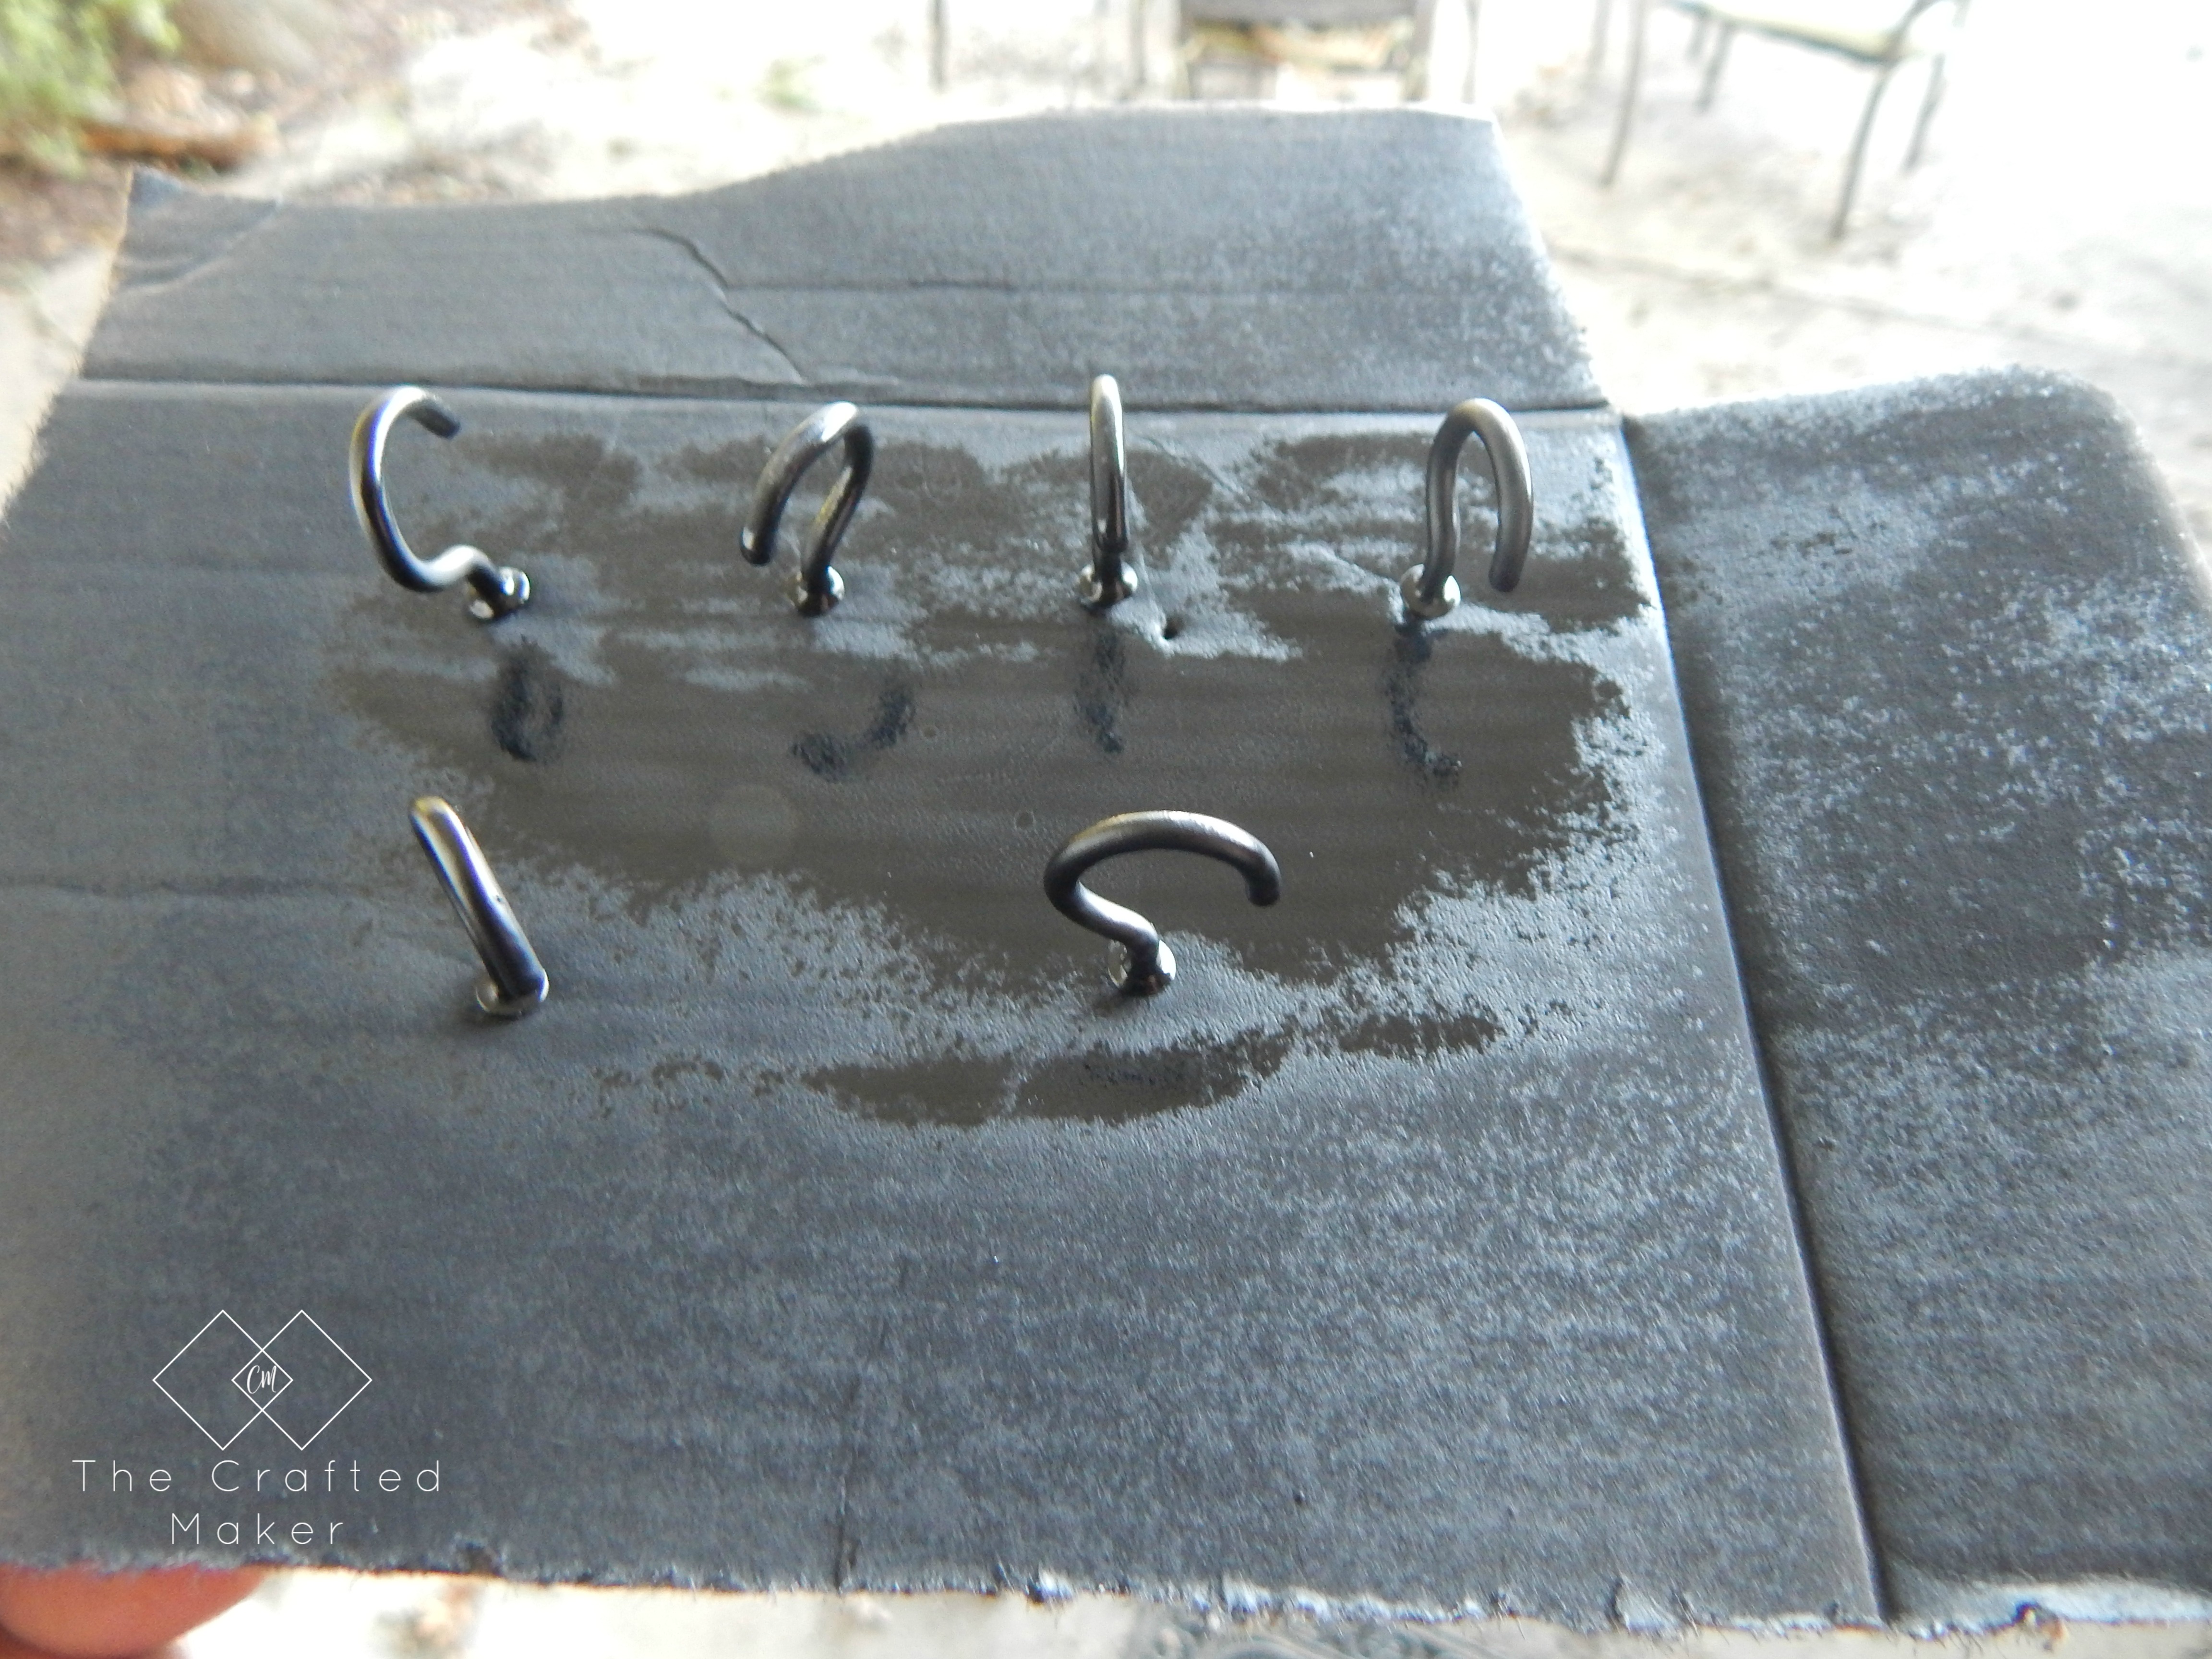
I didn’t want them to be white on the key holder, so I just stuck them in a scrap piece of cardboard and spray painted them black.
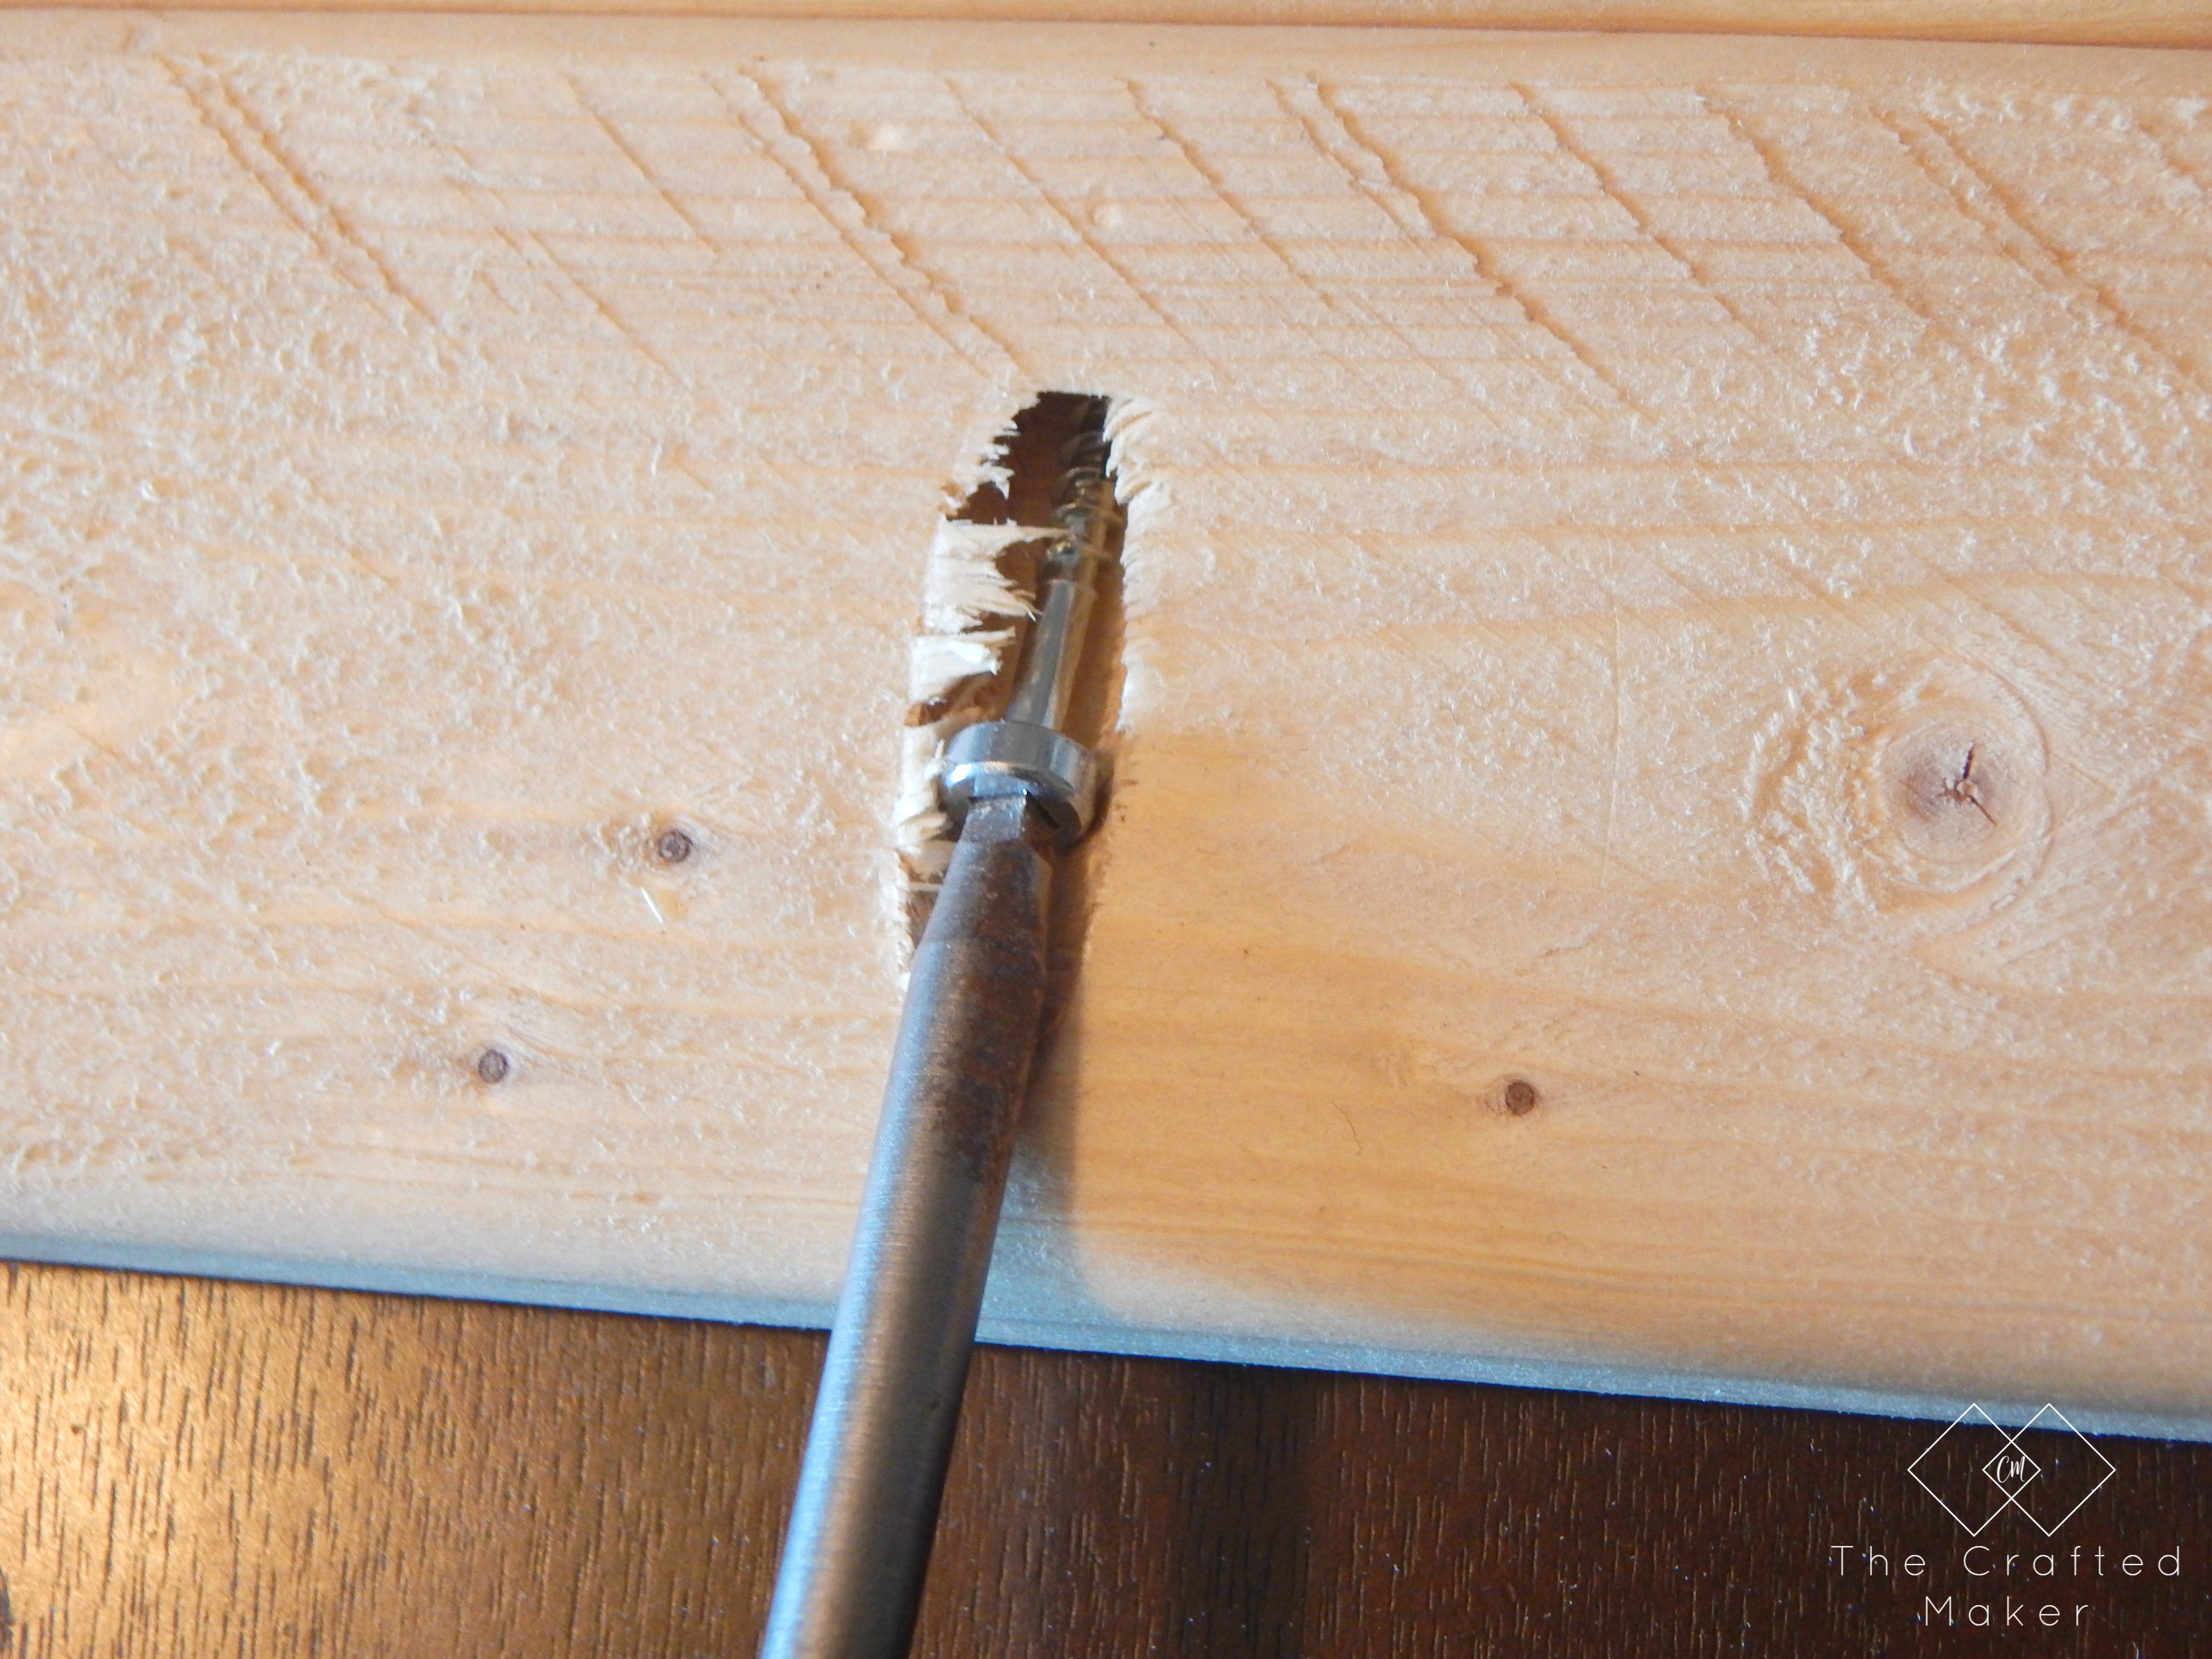
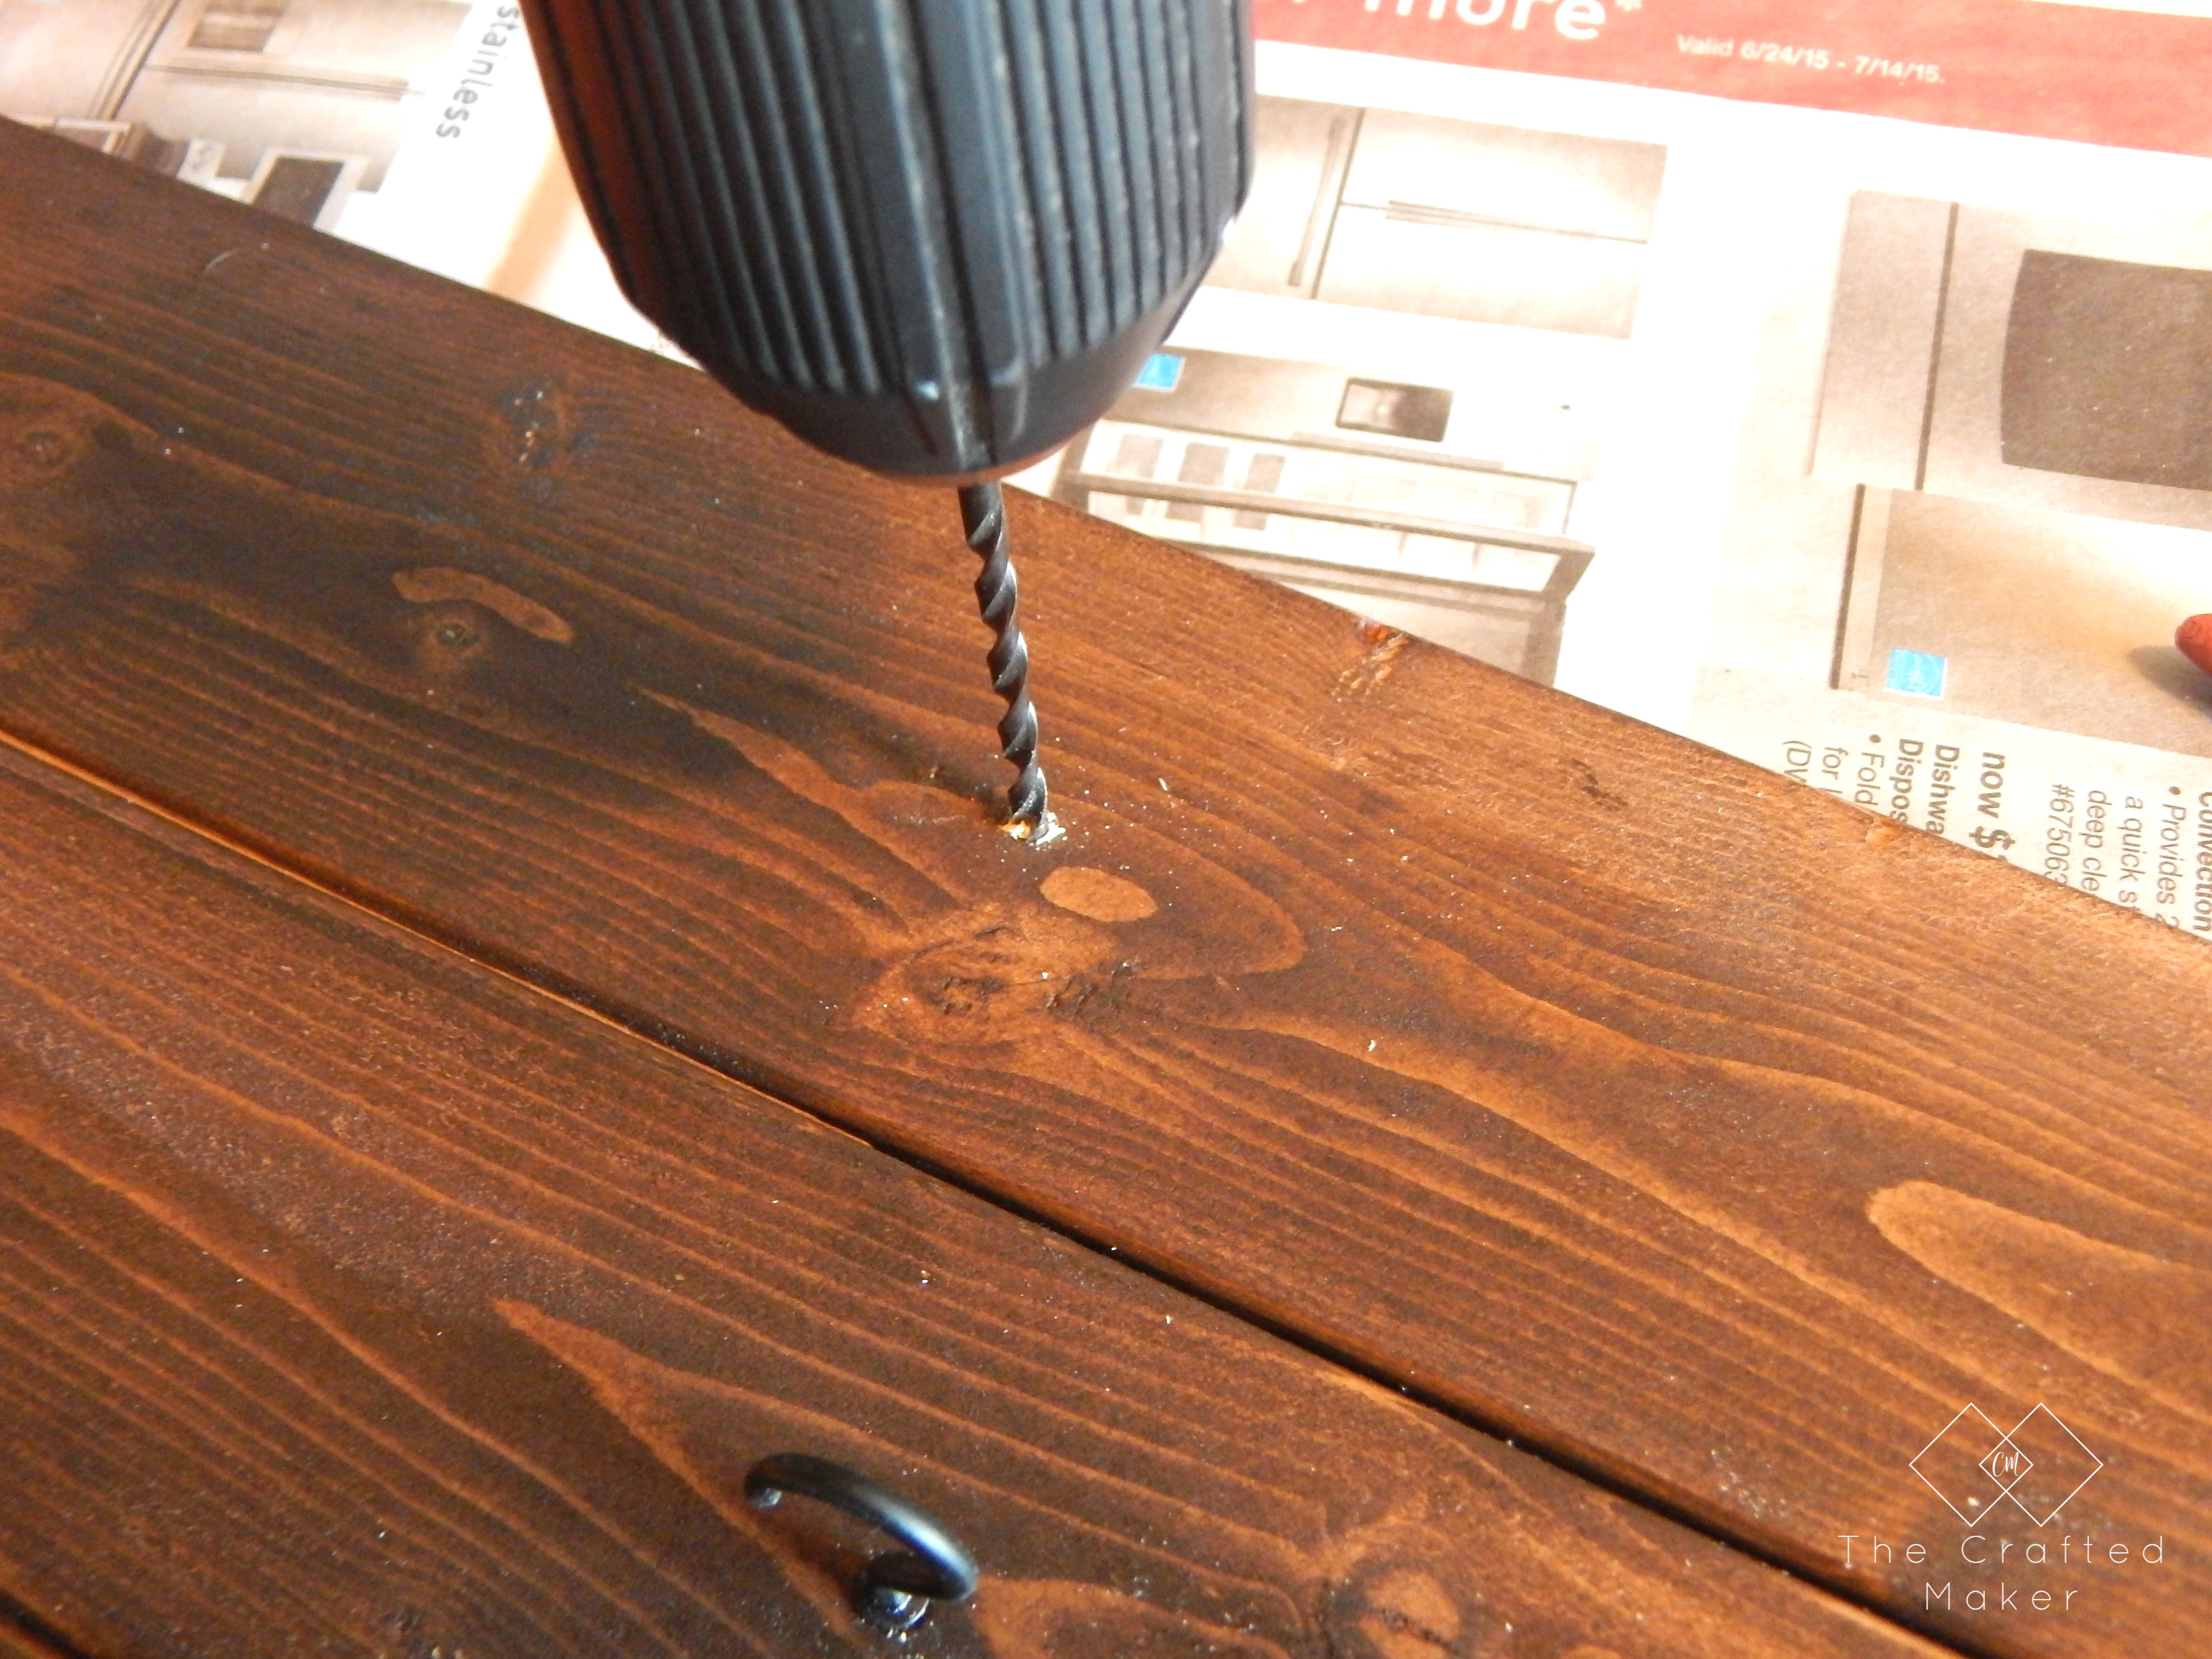
While those dried outside, I drilled pilot holes into the 1×3 boards. I placed the holes in a pattern that worked for me, but you could place the holes anywhere you wanted to.
When the cup hooks dried, I just screwed them in.
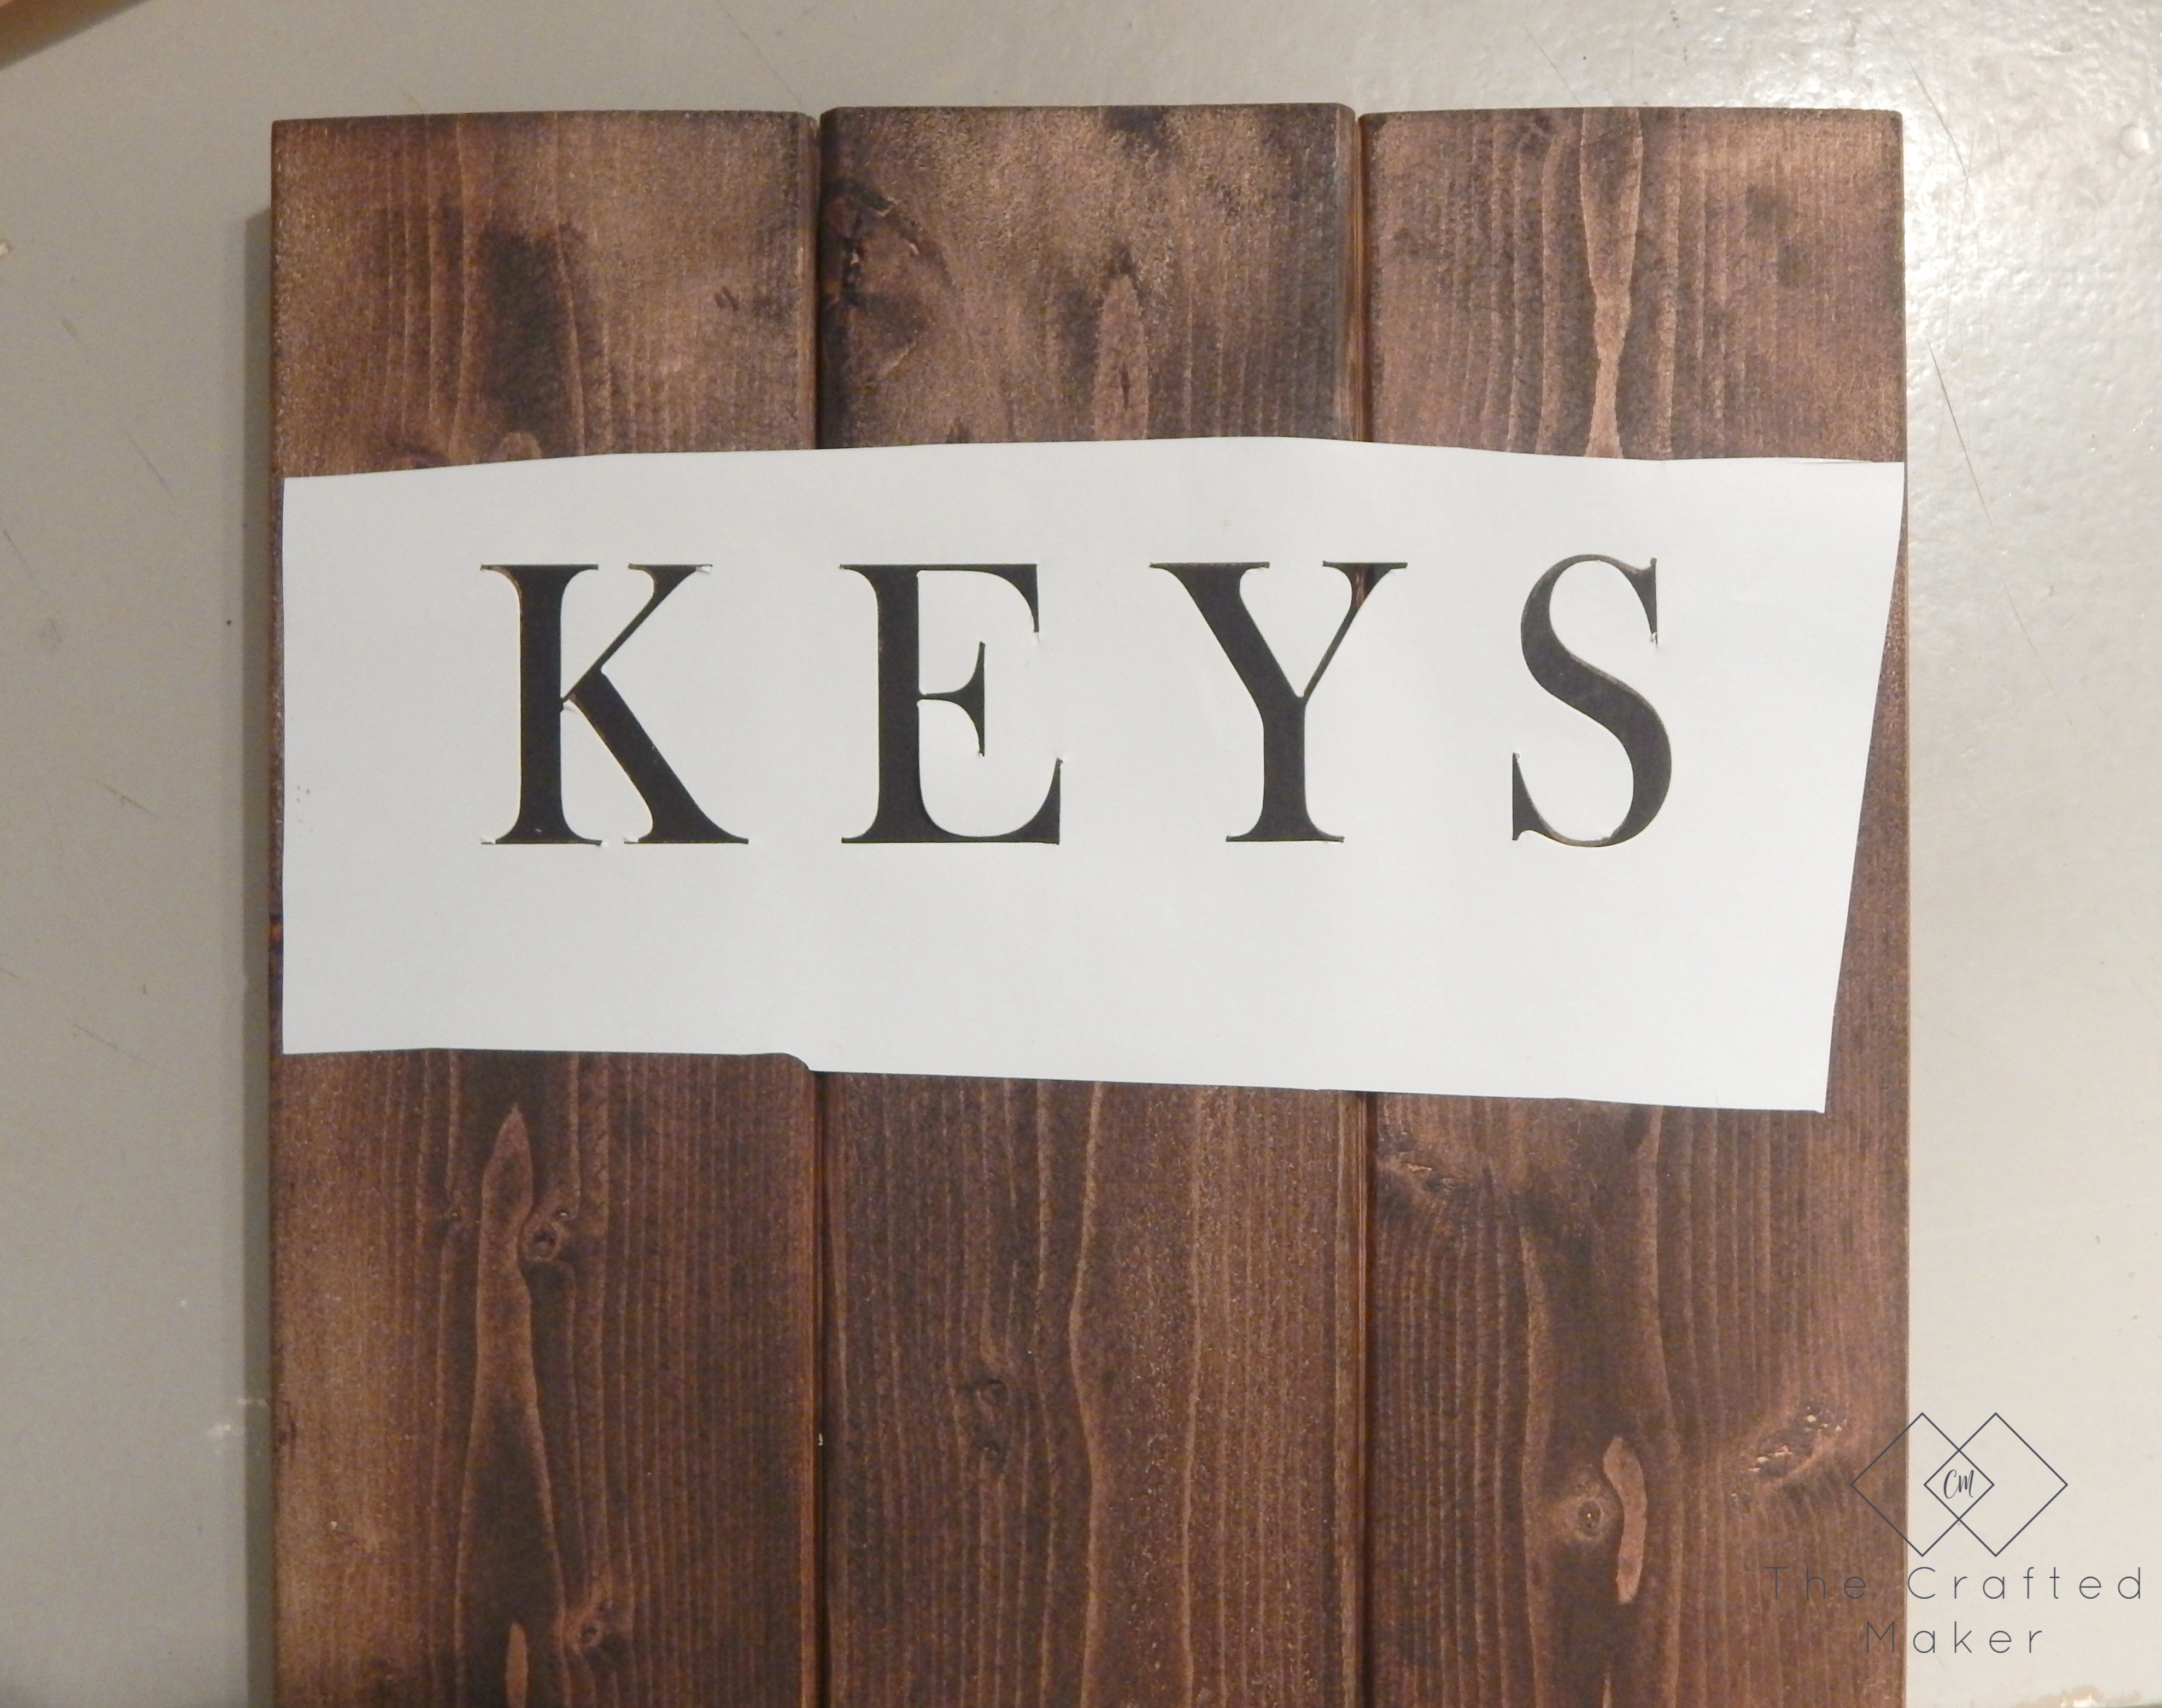
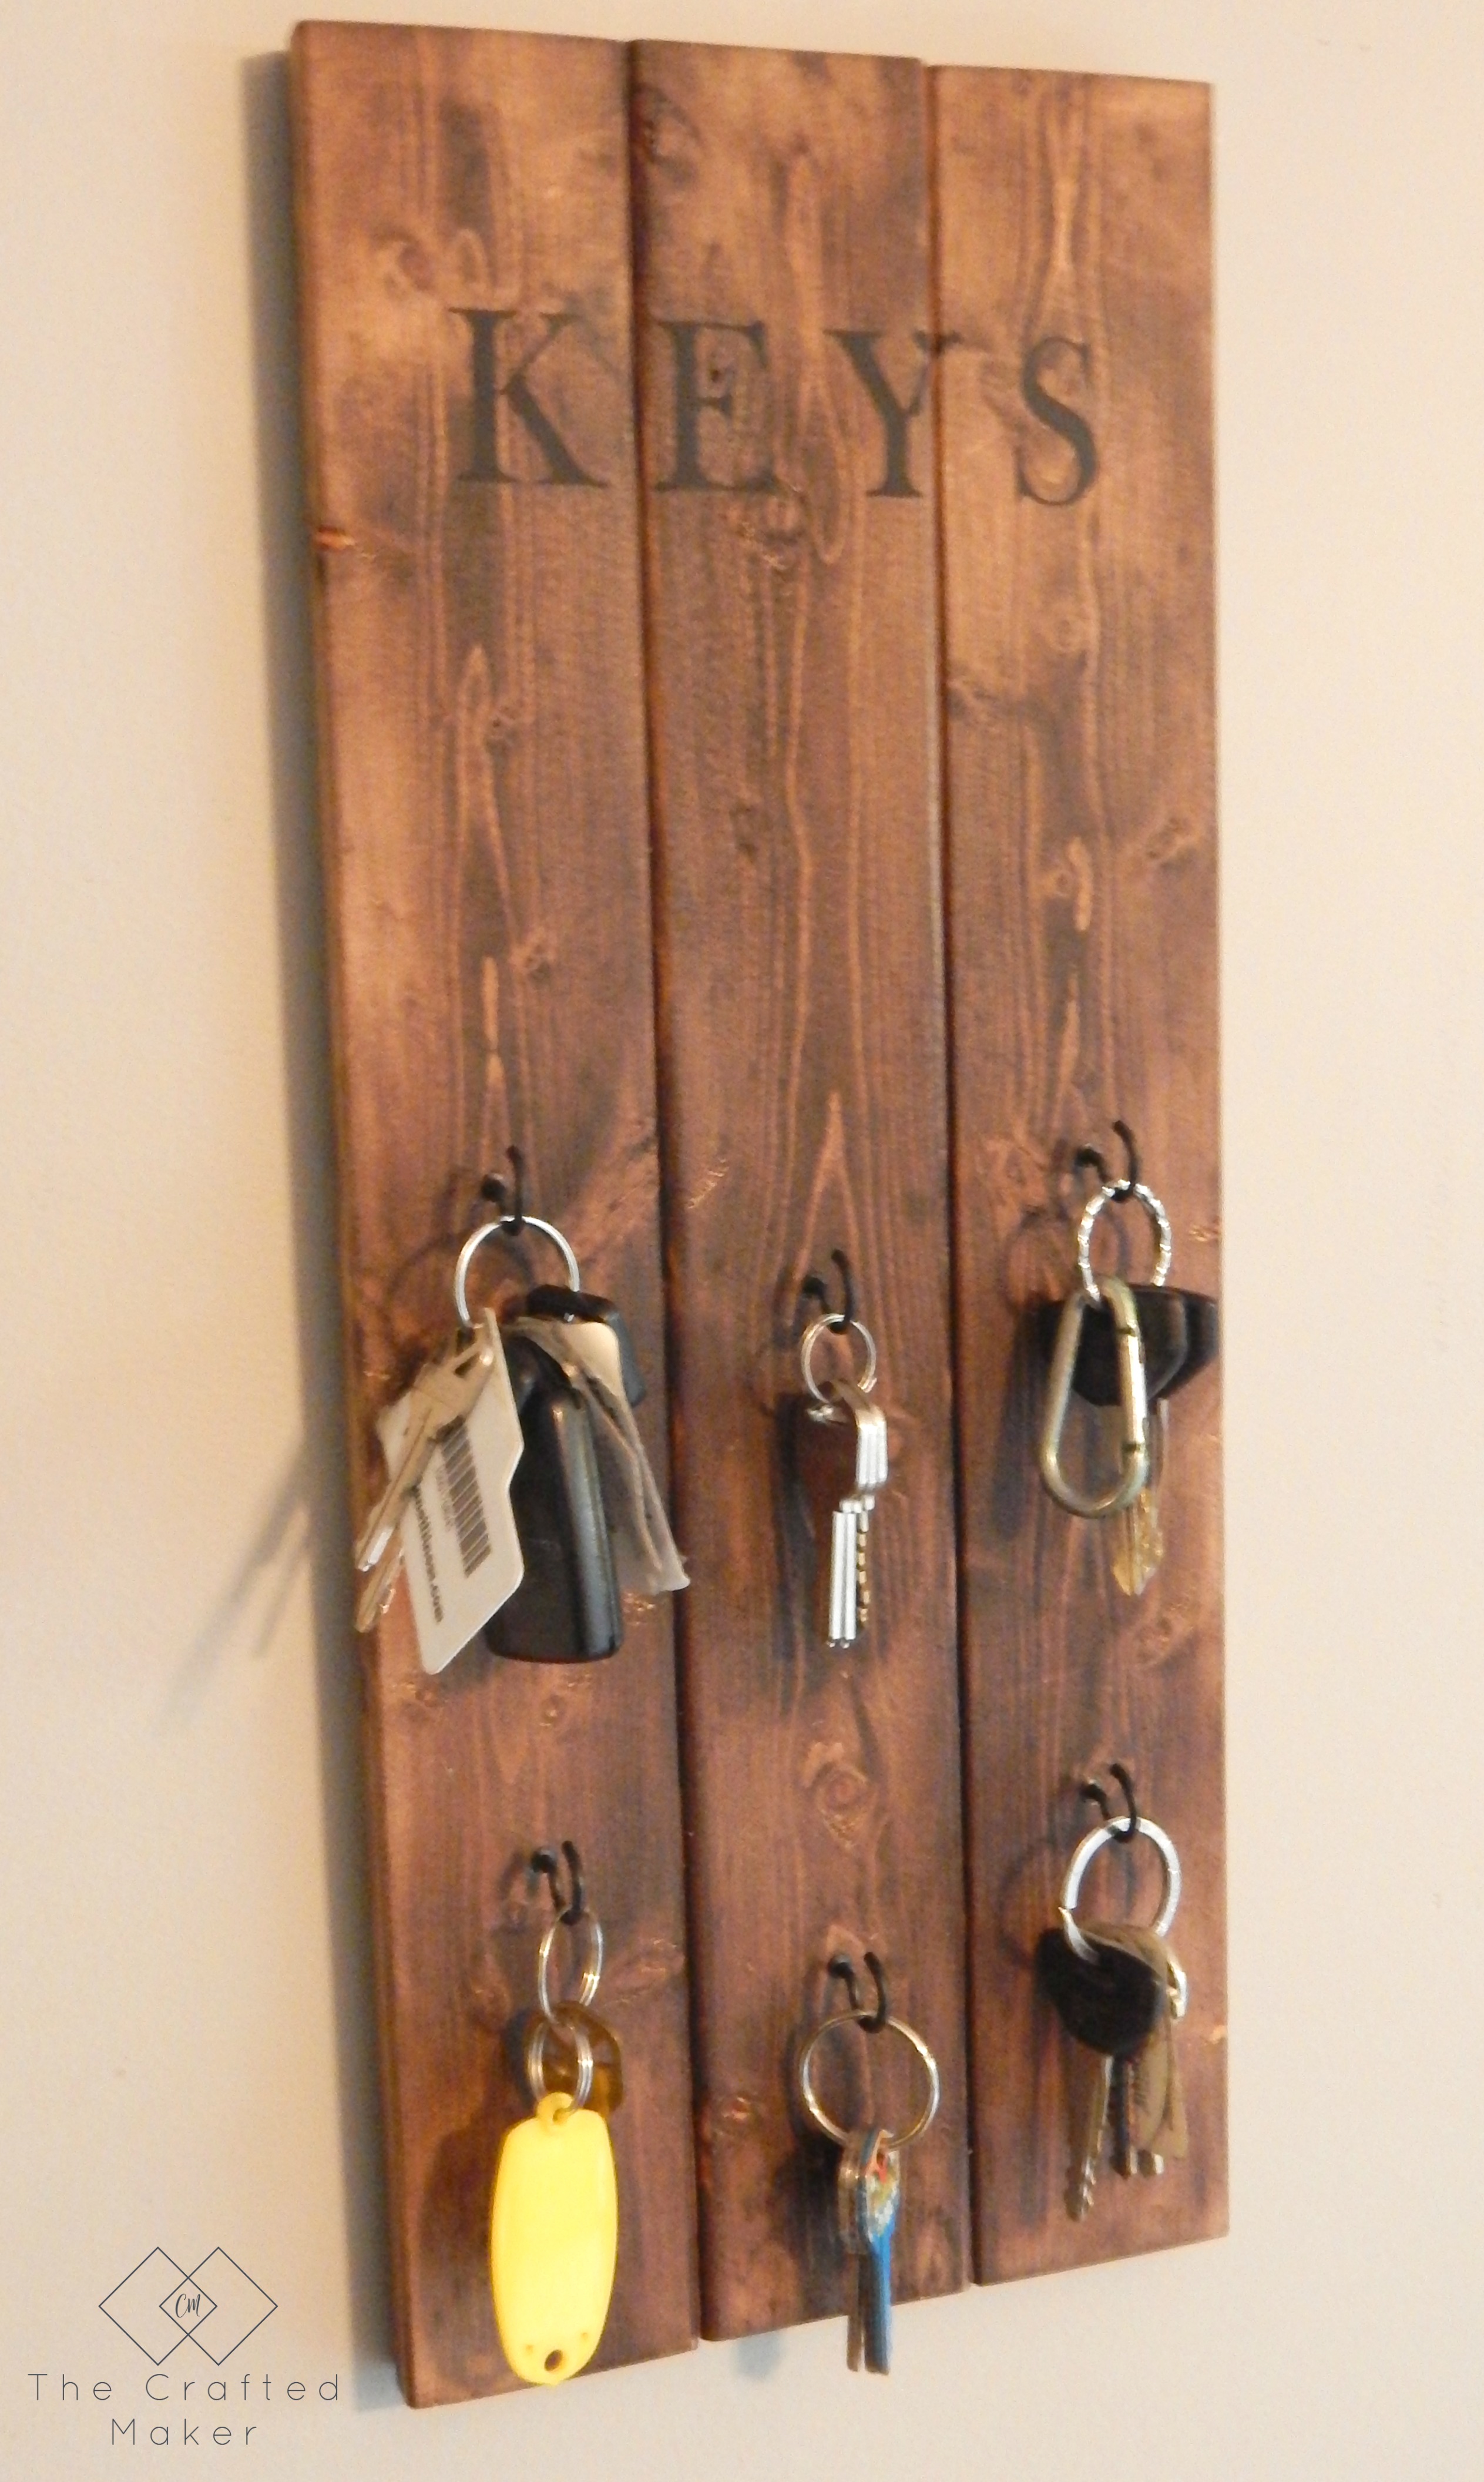
Even though its pretty obvious what this is when keys are hanging on it, I wanted to give it a little detail. I decided to make a stencil on my Silhouette. I designed the word KEYS in a font I wanted and cut it out. If you don’t have a Silhouette, you could cut out your own stencil or buy a pack of letters and match them up.

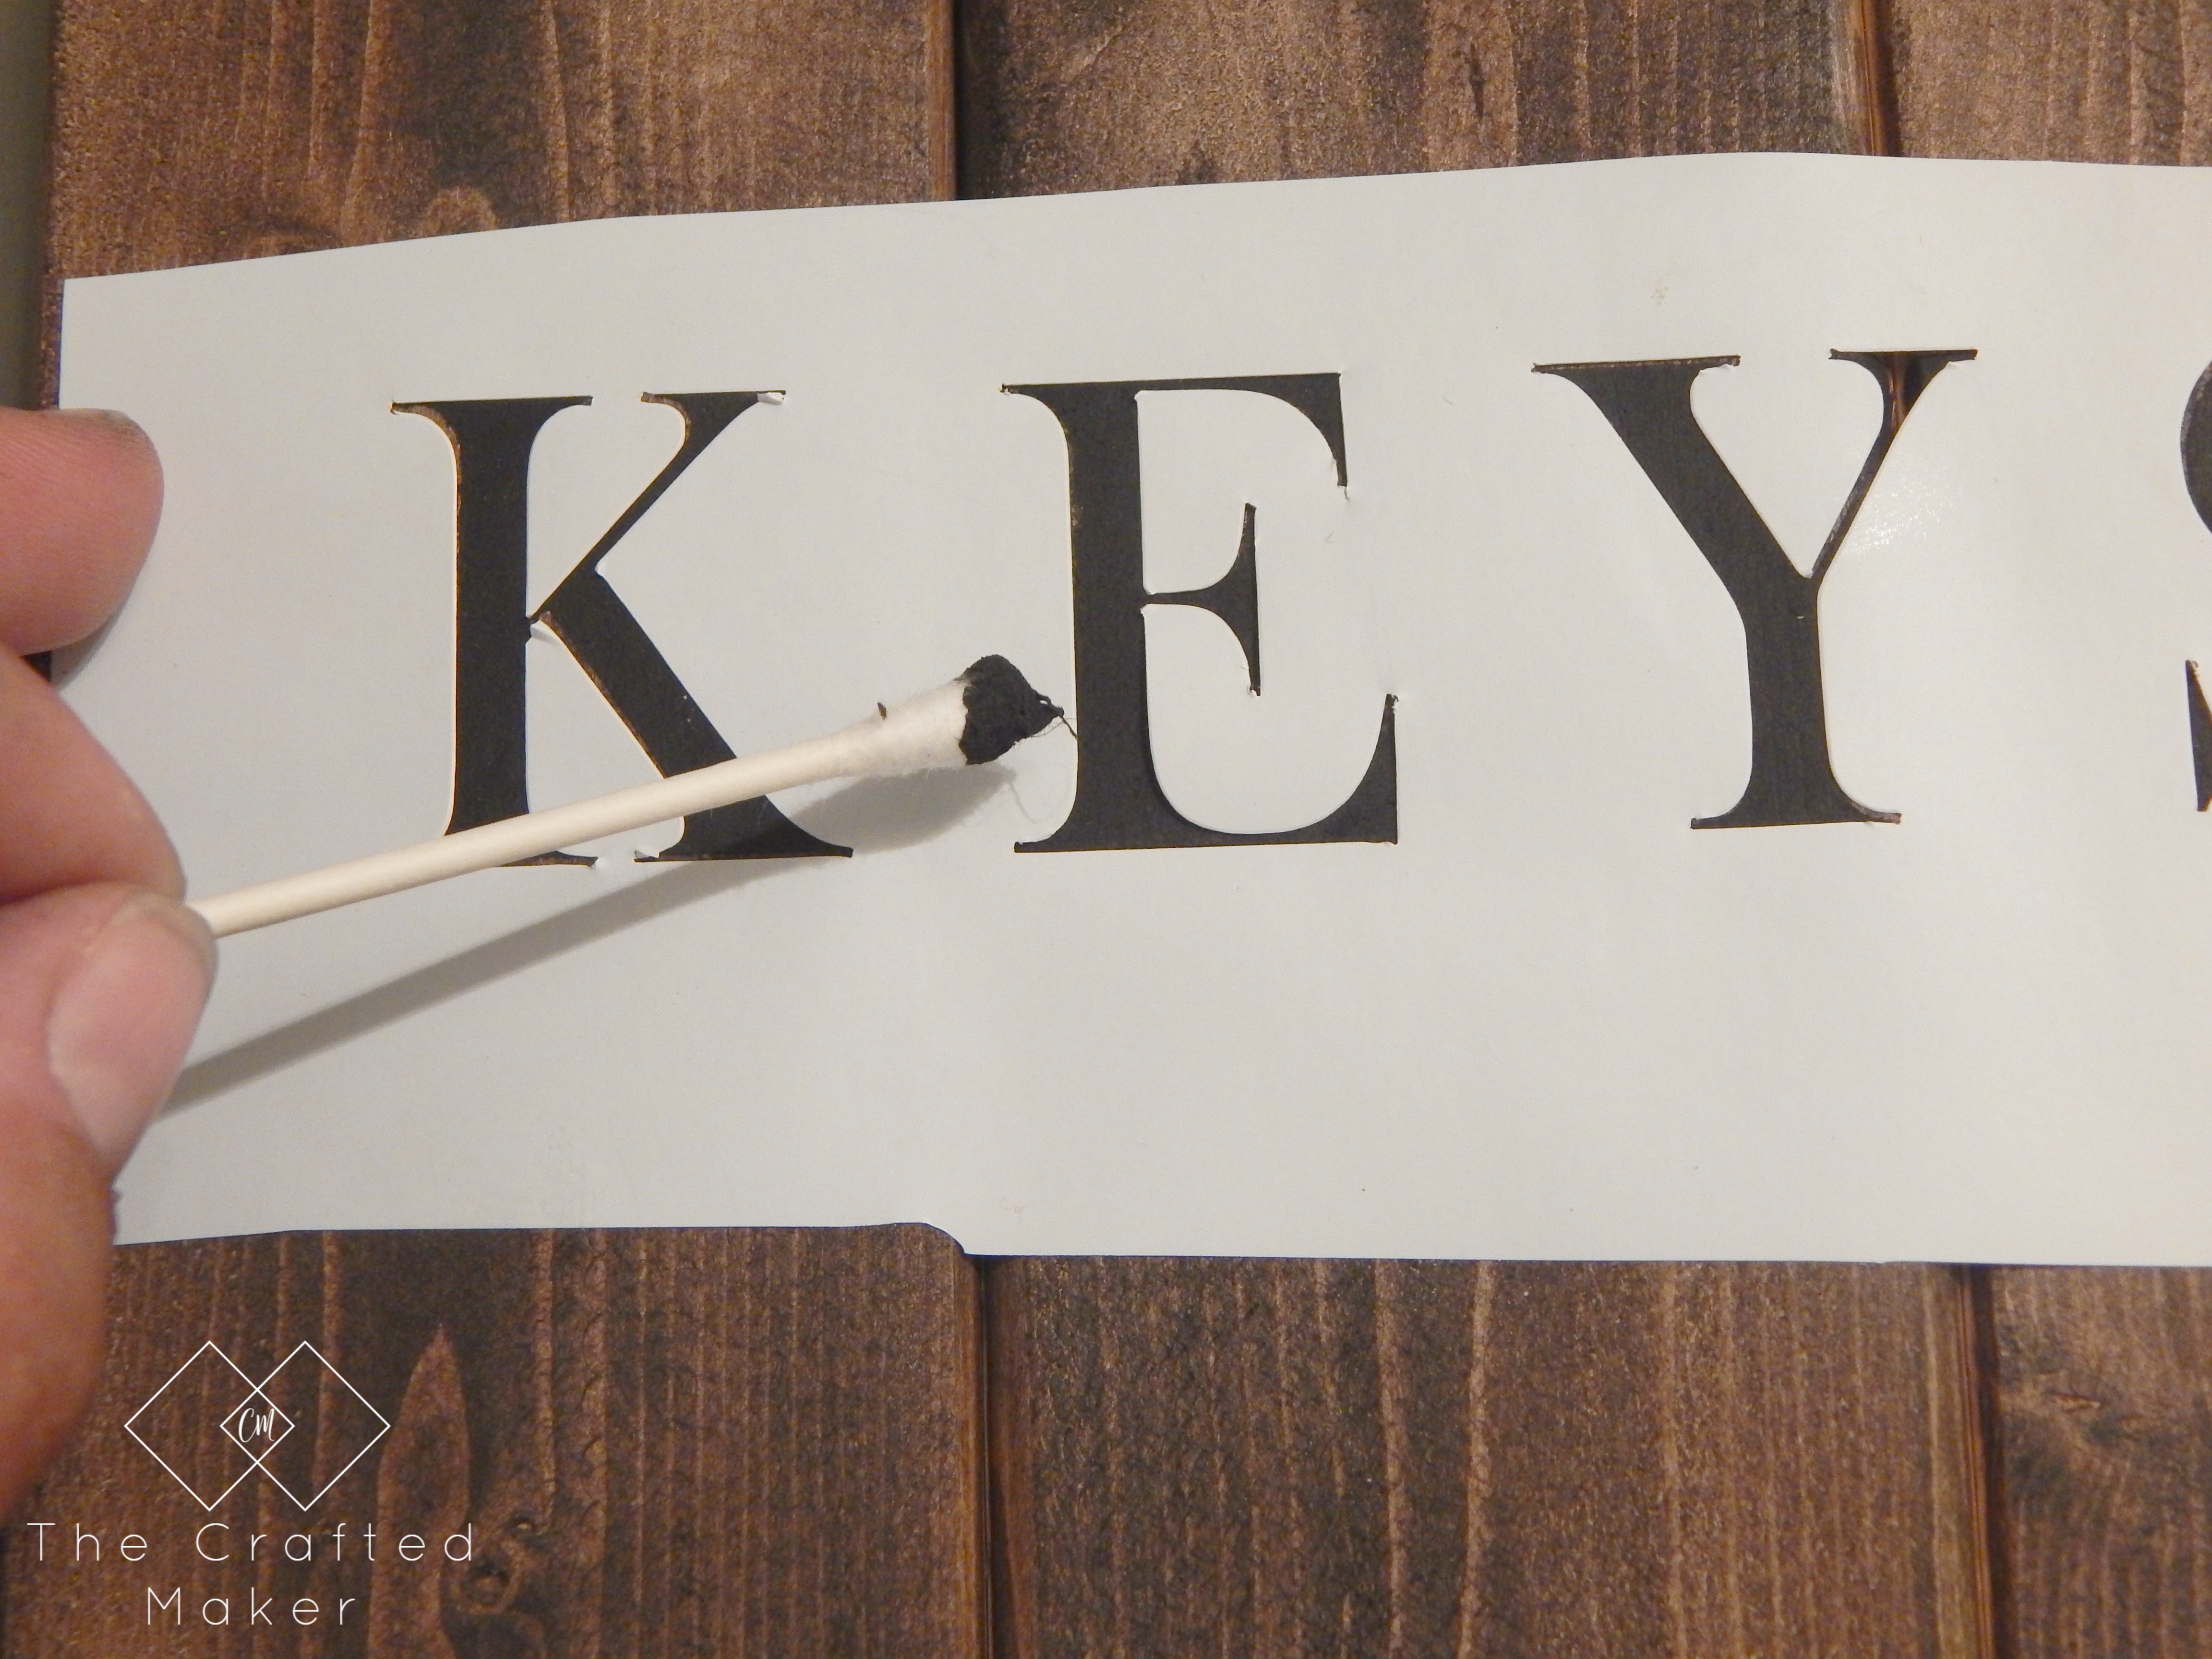
I placed the stencil on the top of the joined boards and painted with some black craft paint I already had on hand. I tried using a Q-tip for this because the space that needed paint was pretty small. It worked okay, but a stencil brush would have been better.
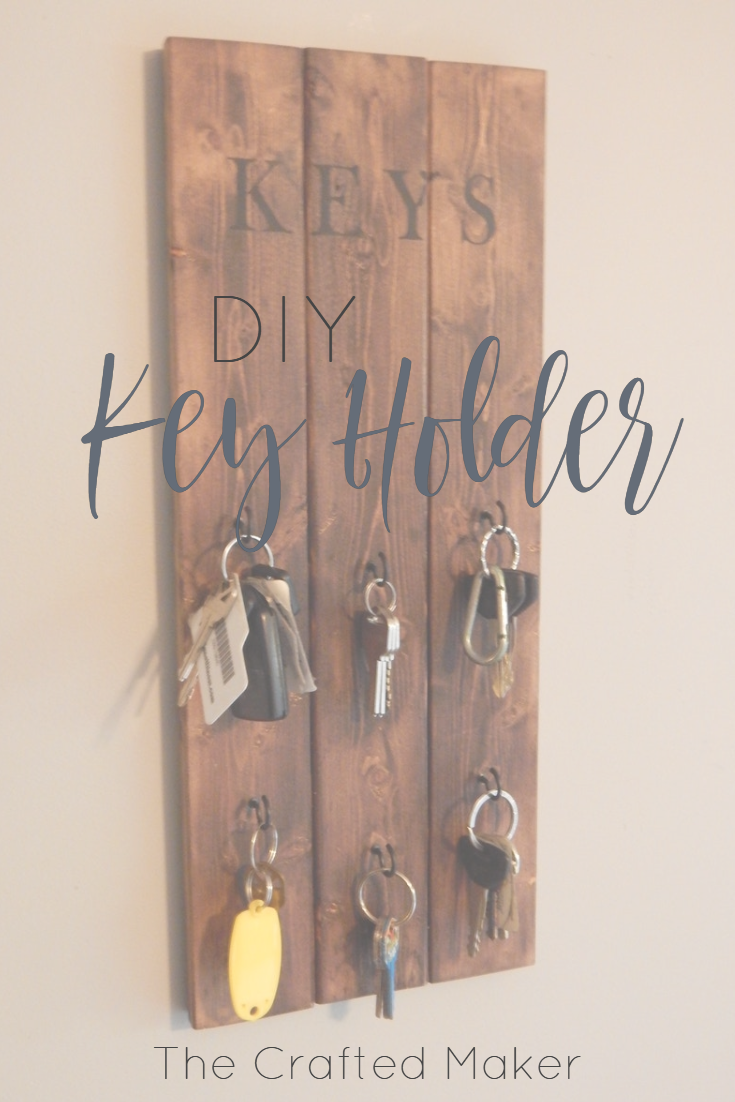
Once the paint dried, the project was complete! Pretty simple right? Here are some pics of the finished DIY Key Holder.
I hope you guys enjoyed this project. It’s really going to help me by adding a little organization to my keys. If you decide to make one of these for yourself, feel free to send me pics. I love seeing what you all create.
Thanks for spending some time with me today. Enjoy your weekend. Until next time…

Pinning is always appreciated!!


I love your new key rack! My Silhouette is one of my favorite tools in my arsenal 🙂
Thanks Ashley! It is a pretty awesome tool to have. So many fun things can be made with it.
Very creative and practical job done! I really love your design of key hanger, it looks very simple but useful. That’s would be very easy and quick to find what is the right keys you need. Thanks for sharing great ideas!
I’m glad you enjoyed it! Thanks so much.
This is something I can do to get rid of misplaced keys – thanks for sharing! It is annoying when people around the house leaves it on top of tables, worktops and forgets where they leave it.